# Orangescrum Help Centre
Guides, references and API documentation for Orangescrum Cloud and the Community Edition.
# Orangescrum Cloud
> The hosted edition — projects, agile delivery, time tracking, resource management and reporting, without running any servers.
> For the complete documentation index, see [llms.txt](https://helpdesk.orangescrum.com/llms.txt).
Source: https://helpdesk.orangescrum.com/guide/cloud/get-started/introduction
---
Orangescrum Cloud is the fully hosted edition at
[orangescrum.com](https://www.orangescrum.com). We run the infrastructure,
backups and upgrades; you get the complete feature set from a browser.
- [Quickstart](https://helpdesk.orangescrum.com/guide/cloud/get-started/quickstart): From sign-up to your first tracked task in about ten minutes.
- [Plans and limits](https://helpdesk.orangescrum.com/guide/cloud/plans/plans-and-limits): What each tier includes and where the limits sit.
## What you can do
- **Plan work**: Projects, milestones, Gantt charts, critical path and project calendars.
- **Run agile**: Backlog, sprints, epics and features, velocity and burndown, Scrumban.
- **Track time**: Timer, weekly timesheets, approvals, budget and cost, invoicing.
- **Manage people**: Resource allocation, availability, workload and utilisation.
- **Assure quality**: Test case manager, test scenarios, defect tracking.
- **Integrate**: GitHub, GitLab, Bitbucket, Azure DevOps, Google Calendar and Drive.
## The three tiers
| | Basic Unlimited | Pro Unlimited | Premium Unlimited |
| --- | :---: | :---: | :---: |
| **Price / month** | $29 | $69 | $349 |
| **Users** | Unlimited | Unlimited | Unlimited |
| **Projects** | 10 | Unlimited | Unlimited |
| **Storage** | 50 GB | 100 GB | 500 GB |
| **Free trial** | 14 days | 14 days | 14 days |
Every tier has **unlimited users** — you are not billed per seat. What changes
between tiers is which modules you get, and the project and storage ceilings.
- [Full feature matrix](https://helpdesk.orangescrum.com/guide/cloud/plans/feature-matrix): Exactly which features land in which tier.
## How Cloud differs from Community
The [Community Edition](https://helpdesk.orangescrum.com/guide/community/get-started/introduction) is free and
open source, and covers projects, tasks and manual time entry. Cloud adds
everything else — agile, Gantt, resourcing, reporting, integrations, SSO and the
API — and we operate it for you.
> **Also available self-hosted**
>
> If you need the full feature set on your own infrastructure, the commercial
> self-hosted edition is the same product deployed in your environment. See
> [orangescrum.com/self-hosted](https://www.orangescrum.com/self-hosted).
## For developers
Premium includes the [Developer API](https://helpdesk.orangescrum.com/guide/api/introduction) — 59 REST
endpoints — and the [MCP server](https://helpdesk.orangescrum.com/guide/mcp/introduction), which connects
Claude, Cursor, GitHub Copilot and the Codex CLI directly to your workspace.
## Where to go next
- [Take the tour](https://helpdesk.orangescrum.com/guide/cloud/get-started/workspace-tour): Find your way around the interface.
- [Invite your team](https://helpdesk.orangescrum.com/guide/cloud/get-started/invite-your-team): Roles, invitations and a sensible starting structure.
- [Create a project](https://helpdesk.orangescrum.com/guide/cloud/projects/create-a-project): Set up the first real piece of work.
- [FAQ](https://www.orangescrum.com/help): Billing, account and general questions.
# Quickstart
> Sign up, create a project, add your first tasks and get your team working — in about ten minutes.
> For the complete documentation index, see [llms.txt](https://helpdesk.orangescrum.com/llms.txt).
Source: https://helpdesk.orangescrum.com/guide/cloud/get-started/quickstart
---
**Create your workspace**
Sign up at [orangescrum.com](https://www.orangescrum.com/signup). You get a
**14-day free trial** with no card required.
Your workspace name becomes part of your URL, so pick your organisation's
name rather than a project name.
**Create your first project**
**Projects → Create.** Give it a name and a short name — the short name
prefixes every task reference, so keep it to two or three letters.
Start with one real project rather than a test one. You will keep it, and
seeing your own work in the tool tells you more than sample data.
- [Project setup in detail](https://helpdesk.orangescrum.com/guide/cloud/projects/create-a-project): Dates, status, members and settings.
**Add tasks**
Add five to ten tasks that reflect what is actually in flight. For each,
set an assignee and a due date — those two fields drive nearly every view
and report in the product.
Do not spend time on estimates or custom fields yet.
**Pick a view that matches how you work**
| You work in | Use |
| --- | --- |
| Flowing work, no fixed iterations | [Kanban board](https://helpdesk.orangescrum.com/guide/cloud/views/kanban-board) |
| Fixed-length sprints | [Agile & Scrum](https://helpdesk.orangescrum.com/guide/cloud/agile/overview) |
| Dated plans and dependencies | [Gantt chart](https://helpdesk.orangescrum.com/guide/cloud/views/gantt-chart) |
| Deadline-driven delivery | [Milestones](https://helpdesk.orangescrum.com/guide/cloud/views/milestones) |
You can change your mind later — the data is the same underneath.
**Invite your team**
**Users → Invite.** Add people, assign roles, and add them to the project.
> **Invitation without project membership does nothing useful**
>
> A new user who is not a member of any project signs in to an empty
> workspace. Add them to the project in the same sitting.
- [Roles and invitations](https://helpdesk.orangescrum.com/guide/cloud/get-started/invite-your-team): Who should get which role.
**Start tracking time (optional)**
If you bill clients or care about estimates versus actuals, turn on time
tracking now rather than later — retrofitting it means a gap in your data.
- [Time tracking](https://helpdesk.orangescrum.com/guide/cloud/time/time-tracking): Timer, manual entry and timesheets.
## Your first week
- **Day 1 — one real project**: Real tasks, real assignees, real dates.
- **Day 2 — get everyone in**: Invite the team and add them to the project. Adoption fails when only one person is in the tool.
- **Day 3 — pick your view**: Board or sprints. Agree it as a team rather than each person choosing.
- **Day 5 — review together**: Look at the board in a standup. That is what makes it stick.
## Common early mistakes
**Creating a project per sprint**
Projects are containers for a deliverable or a team. Sprints live inside a
project — see [Sprints](https://helpdesk.orangescrum.com/guide/cloud/agile/sprints).
**Configuring everything before using anything**
Custom fields, statuses and automation are easier to design once you have
seen real work flow through. Start plain.
**Importing years of history on day one**
Import what is active. Archived work adds noise and hides the tasks that
matter.
**Leaving tasks unassigned**
An unassigned task is nobody's job. It will not move.
- [Next: the workspace tour](https://helpdesk.orangescrum.com/guide/cloud/get-started/workspace-tour): Where everything lives.
# Workspace tour
> Where everything lives — navigation, dashboards, search and the views you will use daily.
> For the complete documentation index, see [llms.txt](https://helpdesk.orangescrum.com/llms.txt).
Source: https://helpdesk.orangescrum.com/guide/cloud/get-started/workspace-tour
---
A quick orientation so the rest of these guides make sense.
## The sidebar
Your main navigation. What appears depends on your **plan** and your **role** —
a feature not in your tier simply is not shown, which is why your sidebar may be
shorter than a colleague's.
| Item | What it is |
| --- | --- |
| **Dashboard** | Your cross-project overview |
| **Projects** | Every project you are a member of |
| **Tasks / My Work** | Everything assigned to you, across projects |
| **Scrum / Backlog** | Agile views — Pro and Premium |
| **Time Log** | Timer, entries and timesheets — Pro and Premium |
| **Resources** | Allocation and availability — Premium |
| **Reports** | Dashboards and analytics — Premium |
| **Users** | People and roles — admins |
| **Settings** | Workspace configuration — admins |
> **Missing something?**
>
> If a menu item you expect is absent, check your
> [plan](https://helpdesk.orangescrum.com/guide/cloud/plans/feature-matrix) first, then your role. Admins can
> also enable or disable features per company.
## My Work
The page most people live in: everything assigned to you across every project,
filterable by status, priority and due date.
> **Tip**
>
> Start here rather than on the dashboard. The dashboard tells you how things
> are going; My Work tells you what to do next.
## Projects
Each project opens to its own set of views:
- **Tasks**: The list. Filter, sort, bulk-edit.
- **Board**: Kanban columns by status.
- **Gantt**: Timeline with dependencies and critical path.
- **Calendar**: Tasks by date.
- **Milestones**: Delivery points and what hangs off them.
- **Files**: Everything attached to this project's tasks.
## The task detail
Where the actual work happens. One task carries its description, assignee,
dates, estimate, subtasks, checklists, labels, comments, attachments, logged
time and full activity history.
The activity trail is the part people underuse — it answers "why is this like
this?" long after everyone has forgotten.
## Search
Global search spans projects, tasks and documents. Two habits make it far more
useful:
- Search by **task reference** (`WR-142`) when you know it — it goes straight
there.
- Save the filters you rebuild every morning rather than reconstructing them.
## Notifications
In-app and email. You are notified when you are assigned something, mentioned
with `@`, or watching a task.
> **Tune these early**
>
> Default notification settings on a busy workspace produce enough email that
> people stop reading it — including the messages that mattered. Set your
> preferences in the first week.
## Real-time updates
Boards and task pages update live. If a colleague moves a card, you see it move
without refreshing — which matters most during standups and planning sessions
where several people are editing at once.
## Admin areas
For workspace admins:
- [Users and roles](https://helpdesk.orangescrum.com/guide/cloud/admin/users-and-roles): Invitations, roles, deactivation.
- [Security](https://helpdesk.orangescrum.com/guide/cloud/admin/security): Two-factor, SSO, session policy.
- [Teams and business units](https://helpdesk.orangescrum.com/guide/cloud/admin/teams-and-business-units): Organisational structure.
- [Subscription](https://helpdesk.orangescrum.com/guide/cloud/plans/manage-subscription): Plan, invoices, billing details.
- [Next: invite your team](https://helpdesk.orangescrum.com/guide/cloud/get-started/invite-your-team): Roles and a sensible starting structure.
# Invite your team
> Send invitations, pick the right roles, and set up a structure that still works at fifty people.
> For the complete documentation index, see [llms.txt](https://helpdesk.orangescrum.com/llms.txt).
Source: https://helpdesk.orangescrum.com/guide/cloud/get-started/invite-your-team
---
Every Cloud tier has **unlimited users** — you are never billed per seat, so
invite everyone who touches the work rather than rationing access.
## Sending invitations
**Open Users**
**Users → Invite.** Admin only.
**Enter addresses and pick a role**
You can invite several people at once. Role can be changed later.
**Add them to projects**
This is the step people skip. A user with no project membership signs in to
an empty workspace and concludes the tool is broken.
**Check they arrived**
Pending invitations are visible in the Users list. Ask people to check spam
if nothing shows up.
## Choosing roles
Give people the least access that lets them do their job — then widen it when
they hit a wall. Widening is a two-minute conversation; unpicking an
over-permissioned workspace is not.
| Role | Typical use |
| --- | --- |
| **Admin** | Workspace owners. Manage users, billing, settings, every project |
| **Manager** | Project and team leads. Create projects, manage members, approve time |
| **Member** | The default. Work on tasks in projects they belong to |
| **Client / limited** | External stakeholders who should see progress but not internals |
Pro and Premium add **custom roles**, so you can define exactly what each group
can do rather than fitting people into the defaults. See
[Users and roles](https://helpdesk.orangescrum.com/guide/cloud/admin/users-and-roles).
> **Admin is not a seniority badge**
>
> Admins can see everything, change billing and delete projects. Two or three is
> usually right, regardless of how many senior people you have.
## Structuring access
Access follows **project membership**. Two patterns cover most organisations:
- **Small team, one project each**: Add people directly to the projects they work on. Simple, and fine up to about twenty people.
- **Larger org, teams**: Group people into teams and manage membership at that level. Far less churn when someone joins or moves.
Premium adds **business units** for organisational structure above teams — see
[Teams and business units](https://helpdesk.orangescrum.com/guide/cloud/admin/teams-and-business-units).
## Helping people land
The first week decides whether a tool sticks:
**Have work waiting**
Assign each person two or three real tasks before they sign in. An empty
workspace teaches nothing.
**Agree the workflow out loud**
What each status means, when a task is "done", who assigns. Ten minutes now
prevents months of drift.
**Run one meeting in the tool**
Do your next standup off the board. Nothing drives adoption like the team
seeing it used for a real decision.
**Point them at notification settings**
People who get flooded in week one stop reading notifications permanently.
## Removing someone
> **Reassign before deactivating**
>
> Tasks stay assigned to a deactivated user and drop out of the team's normal
> views. Reassign their open work first, then deactivate.
Deactivate rather than delete — it blocks access while keeping their comments,
history and logged time attributable. On Premium, the
[audit trail](https://helpdesk.orangescrum.com/guide/cloud/admin/audit-trail) records the change.
- [Next: create a project](https://helpdesk.orangescrum.com/guide/cloud/projects/create-a-project): Set up your first real piece of work.
# Editions
> Cloud, self-hosted and Community — which deployment fits, and what each one gives you.
> For the complete documentation index, see [llms.txt](https://helpdesk.orangescrum.com/llms.txt).
Source: https://helpdesk.orangescrum.com/guide/cloud/plans/editions
---
Orangescrum ships in three forms. The feature set and who operates it are the
two things that differ.
- [Cloud](https://helpdesk.orangescrum.com/guide/cloud/get-started/introduction): We host it. Full feature set, three tiers, unlimited users.
- [Self-hosted](https://helpdesk.orangescrum.com/guide/self-hosted/get-started/introduction): Same product, your infrastructure. Commercially licensed.
- [Community](https://helpdesk.orangescrum.com/guide/community/get-started/introduction): Free and open source under AGPL v3. A focused core.
## Choosing
**Choose Cloud if…**
You want the full product without operating it. No servers, no upgrades, no
backup schedule, no on-call. This is the right default unless something
below pushes you elsewhere.
**Choose self-hosted if…**
Data residency, regulatory requirements or internal policy mean the data
must stay on infrastructure you control — and you still need agile,
reporting, resourcing and integrations. See the
[Self-hosted guide](https://helpdesk.orangescrum.com/guide/self-hosted/get-started/introduction).
**Choose Community if…**
You want projects, tasks and manual time entry on your own server, for free,
and you can live without agile boards, Gantt, reporting, resourcing and
integrations. Also the right choice if you want to read or modify the source.
## What Community leaves out
The Community Edition was carved out of the commercial codebase. It keeps
projects, tasks, subtasks, milestones, checklists, labels, comments,
attachments and manual time entry — and removes everything else:
| Not in Community | Where it lives |
| --- | --- |
| Sprints, backlog, epics, velocity | Cloud Pro and above |
| Gantt, critical path, dependencies | Cloud (Gantt from Basic, critical path Premium) |
| Reports and dashboards | Cloud Premium |
| Resource management and availability | Cloud Premium |
| Budget, cost and invoicing | Cloud Pro and Premium |
| Test case manager and defects | Cloud Premium / Pro |
| Wiki and documents | Cloud |
| Git, Azure DevOps, Google integrations | Cloud Pro and above |
| SSO, teams, business units, audit trail | Cloud Premium |
| Developer API and MCP | Cloud Premium |
| Running timer, timesheets, approvals | Cloud Pro and above |
| Custom fields, custom statuses, automation | Cloud Pro and above |
> **Removed, not locked**
>
> These are not paywalled toggles — the code is not in the Community Edition.
> There is no licence check to circumvent and no seat counter.
## Licensing
| Edition | Licence |
| --- | --- |
| Cloud | Commercial subscription |
| Self-hosted | Commercial licence |
| Community | [GNU AGPL v3.0](https://helpdesk.orangescrum.com/guide/community/project/licence) |
The AGPL's network clause matters if you plan to modify the Community Edition
and offer it to others over a network — read the
[licence page](https://helpdesk.orangescrum.com/guide/community/project/licence) before building on it.
## Moving between editions
Community → Cloud or self-hosted is an **assisted migration**, not a
configuration change: the Community schema was trimmed to roughly 149 tables
against the full product's ~310. Talk to Orangescrum before planning dates.
- [Migration guidance](https://helpdesk.orangescrum.com/guide/community/project/upgrade-to-cloud): What moving involves.
## Next
- [Plans and limits](https://helpdesk.orangescrum.com/guide/cloud/plans/plans-and-limits): The three Cloud tiers in detail.
- [Feature matrix](https://helpdesk.orangescrum.com/guide/cloud/plans/feature-matrix): Feature-by-feature, tier by tier.
# Plans and limits
> The three Cloud tiers — price, limits and what each one is built for.
> For the complete documentation index, see [llms.txt](https://helpdesk.orangescrum.com/llms.txt).
Source: https://helpdesk.orangescrum.com/guide/cloud/plans/plans-and-limits
---
Every tier includes **unlimited users**. You are not billed per seat; what
changes is the module set and the project and storage ceilings.
## At a glance
| | Basic Unlimited | Pro Unlimited | Premium Unlimited |
| --- | :---: | :---: | :---: |
| **Price / month** | $29 | $69 | $349 |
| **Users** | Unlimited | Unlimited | Unlimited |
| **Projects** | 10 | Unlimited | Unlimited |
| **Storage** | 50 GB | 100 GB | 500 GB |
| **Free trial** | 14 days | 14 days | 14 days |
## Basic Unlimited — $29/mo
*For small teams and freelancers.* Everything you need to organise work and
deliver projects on time.
- Unlimited tasks
- Kanban board
- Gantt chart
- Milestones and checklists
- Project templates
- Project calendar
- @mention, reminders and daily catch-up
- Roles and permissions
**Limits:** 10 projects, 50 GB storage.
> **Note**
>
> The project cap is the constraint people hit first on Basic. If you create a
> project per client or per release, count them before choosing this tier.
## Pro Unlimited — $69/mo
*For growing teams that need process.* Everything in Basic, plus agile
workflows, time tracking and integrations.
- Agile — sprint board, backlog, velocity and burndown charts
- Custom workflow and custom fields
- Automation
- Timer, weekly timesheet and approval
- Workload management
- Project budget
- Bug and defect management
- GitHub / GitLab integration
- Google Drive and Google Calendar
**Limits:** unlimited projects, 100 GB storage.
## Premium Unlimited — $349/mo
*For organisations.* Everything in Pro, plus full resource management, advanced
planning and the developer surface.
- Program management
- Critical path analysis
- Resource allocation, availability, utilisation and cost
- Budget and cost reports, invoicing
- Epic and feature board, Scrumban board
- Approvals for epics and features
- Advanced dashboards
- **APIs** — [Developer API](https://helpdesk.orangescrum.com/guide/api/introduction) and
[MCP server](https://helpdesk.orangescrum.com/guide/mcp/introduction)
- Audit trail and business units
- Single sign-on
- Test Case Manager
**Limits:** unlimited projects, 500 GB storage.
## Which tier?
- **Basic**: A handful of projects, no sprints, no time billing. Task management done properly.
- **Pro**: You run sprints, track time, or need Git integration. The most common choice for delivery teams.
- **Premium**: You need resourcing, reporting, SSO, audit or API access.
> **Tip**
>
> The three questions that usually decide it: do you run **sprints** (→ Pro), do
> you need **resource management or reporting** (→ Premium), do you need **API
> access** (→ Premium)?
## Storage
Storage covers task attachments and uploaded documents. It is the limit teams
reach without noticing, because it accrues quietly.
**Watch it in Settings**
Current usage is shown in your workspace settings.
**Link large files rather than uploading**
Connect Google Drive and link instead of attaching — see
[Google Workspace](https://helpdesk.orangescrum.com/guide/cloud/integrations/google-workspace).
**Clean up archived projects**
Old attachments still count.
## Trials
All tiers come with a **14-day free trial**. During the trial you have the full
tier feature set. If you do not subscribe, the workspace locks rather than being
deleted — your data waits.
## Per-company adjustments
Any individual feature can be enabled or disabled for a single company
independently of its tier. If your team needs one capability from a higher tier,
ask — it does not always require a full upgrade.
- [Full feature matrix](https://helpdesk.orangescrum.com/guide/cloud/plans/feature-matrix): Feature by feature, tier by tier.
# Feature matrix
> Every feature, and the tier it first appears in.
> For the complete documentation index, see [llms.txt](https://helpdesk.orangescrum.com/llms.txt).
Source: https://helpdesk.orangescrum.com/guide/cloud/plans/feature-matrix
---
The definitive breakdown of what lands where.
## Limits
| | Basic | Pro | Premium |
| --- | :---: | :---: | :---: |
| Price (USD / month) | $29 | $69 | $349 |
| Users | Unlimited | Unlimited | Unlimited |
| Projects | 10 | Unlimited | Unlimited |
| Storage | 50 GB | 100 GB | 500 GB |
| Free trial | 14 days | 14 days | 14 days |
## Features
| Feature | Basic | Pro | Premium |
| --- | :---: | :---: | :---: |
| Kanban Board | ✓ | ✓ | ✓ |
| Gantt Chart | ✓ | ✓ | ✓ |
| Milestone Board | ✓ | ✓ | ✓ |
| Project Templates | ✓ | ✓ | ✓ |
| Project Calendar | ✓ | ✓ | ✓ |
| Custom Role Access & Permissions | ✓ | ✓ | ✓ |
| Task Reminder | ✓ | ✓ | ✓ |
| Agile Framework | — | ✓ | ✓ |
| Sprints | — | ✓ | ✓ |
| Epics | — | ✓ | ✓ |
| Custom Fields | — | ✓ | ✓ |
| Custom Task Statuses | — | ✓ | ✓ |
| Automation Templates | — | ✓ | ✓ |
| Timesheet | — | ✓ | ✓ |
| Approvals | — | ✓ | ✓ |
| Team Management | — | ✓ | ✓ |
| Budget & Cost Management | — | ✓ | ✓ |
| Import & Export | — | ✓ | ✓ |
| GitHub Sync | — | ✓ | ✓ |
| GitLab Sync | — | ✓ | ✓ |
| Bitbucket Sync | — | ✓ | ✓ |
| Google Calendar Sync | — | ✓ | ✓ |
| Program Management | — | — | ✓ |
| Critical Path | — | — | ✓ |
| Resource Management | — | — | ✓ |
| Resource Availability | — | — | ✓ |
| Feature Board | — | — | ✓ |
| Invoice Management | — | — | ✓ |
| Advanced Reports | — | — | ✓ |
| Advanced Dashboards | — | — | ✓ |
| API Access | — | — | ✓ |
| Audit Trail & Activity Logs | — | — | ✓ |
| Business Units & Organisational Structuring | — | — | ✓ |
| Single Sign-On (SSO) | — | — | ✓ |
| Test Case Manager | — | — | ✓ |
## Reading the matrix
> **Tiers are cumulative**
>
> Pro includes everything in Basic; Premium includes everything in Pro. A ✓ in
> a column means the feature is available at that tier and every tier to its
> right.
## Per-company overrides
These are the **published tier defaults**. Any individual feature can be turned
on or off for a single company from the admin panel, independently of its plan.
That is used for:
- One-off enterprise requirements
- Beta access to something new
- Restoring access for grandfathered customers
> **Tip**
>
> If you need exactly one capability from a higher tier, ask before upgrading
> the whole plan. It is not always necessary.
## Grandfathered plans
The retired **Startup** and **Professional** tiers still have active customers.
Those plans retain access to features regardless of the matrix above, so nothing
broke when the current tiers rolled out.
Per-company overrides still take precedence, so a specific feature can be
disabled for an individual grandfathered customer if needed.
## Notable placements
**Gantt is in Basic, critical path is Premium**
The chart itself — timelines and dependencies — is available from the
entry tier. Automatic critical path analysis on top of it is Premium.
**Defect management is Pro, Test Case Manager is Premium**
Bug and defect tracking arrives with Pro. The structured test-case,
scenario and step manager is Premium.
**Custom roles are in Basic, but teams are Pro**
You can define roles and permissions from the entry tier. Grouping people
into teams — and business units above them — comes later.
**API and MCP are Premium only**
Both the [Developer API](https://helpdesk.orangescrum.com/guide/api/introduction) and the
[MCP server](https://helpdesk.orangescrum.com/guide/mcp/introduction) sit behind API Access.
- [Manage your subscription](https://helpdesk.orangescrum.com/guide/cloud/plans/manage-subscription): Upgrade, downgrade, invoices and billing.
# Manage your subscription
> Upgrade, downgrade, handle trials and find your invoices.
> For the complete documentation index, see [llms.txt](https://helpdesk.orangescrum.com/llms.txt).
Source: https://helpdesk.orangescrum.com/guide/cloud/plans/manage-subscription
---
Billing lives in workspace settings and is available to admins.
## During the trial
Every plan starts with a **14-day free trial** at the full feature set of the
tier you picked. No card is required to start.
> **Your data is not deleted when a trial ends**
>
> If you do not subscribe, the workspace locks rather than being wiped. Add a
> payment method and everything is there.
## Subscribing
**Open Settings → Subscription**
Admin only.
**Pick your tier**
Compare in [Plans and limits](https://helpdesk.orangescrum.com/guide/cloud/plans/plans-and-limits). Choose
for what you need in the next quarter, not the next year — changing later is
straightforward.
**Add payment details**
Card details are handled by the payment processor.
**Confirm**
Access continues without interruption from the trial.
## Upgrading
Upgrades take effect **immediately** — the new tier's features appear as soon as
the change is processed, and billing is prorated.
Upgrade when you hit one of these:
- **Basic → Pro**: You need sprints, custom fields, timesheets, or Git integration — or you have run out of the 10-project cap.
- **Pro → Premium**: You need resource management, advanced reports, SSO, audit trail, or API access.
## Downgrading
Downgrades take effect at the **end of the current billing period**, so you keep
what you paid for.
> **Check what you lose first**
>
> Downgrading removes access to that tier's features and applies its limits. If
> you have 40 projects and move to Basic — a 10-project tier — sort out which
> projects to archive **before** the change, not after.
Data is not deleted on downgrade; it becomes inaccessible until you upgrade
again. Export anything you need first — see
[Import and export](https://helpdesk.orangescrum.com/guide/cloud/tasks/import-and-export).
## Invoices
Invoices are in **Settings → Subscription → Billing history**, downloadable as
PDF. Update your billing address and tax details there too — they appear on
future invoices, not past ones.
## Payment problems
**Payment failed**
We retry a failed charge before suspending anything. Update the card in
Settings → Subscription. Suspension locks the workspace; it does not delete
data.
**Need to change the card**
Add the new card and remove the old one in the same visit, so no charge
falls between them.
**Need a VAT or GST number on the invoice**
Add it to your billing details. It appears on subsequent invoices; ask
support to reissue an existing one.
**Want annual billing or a PO**
Contact sales — annual terms and purchase-order billing are available for
larger accounts.
## Cancelling
Cancel in Settings → Subscription. Access continues to the end of the paid
period.
**Export your data first**
Do this while you still have full access, not after cancellation.
**Tell your team**
Give people time to retrieve anything they need.
**Then cancel**
You keep access until the period ends.
## Need one feature from a higher tier?
Individual features can be enabled per company independently of the plan. If a
single capability is driving an upgrade, ask first — it may not be necessary.
- [Billing questions](https://www.orangescrum.com/help): The FAQ covers most billing and account questions.
- [Contact support](mailto:support@orangescrum.com): For anything account-specific.
# Create a project
> Set up a project properly the first time — naming, dates, members and the settings that matter later.
> For the complete documentation index, see [llms.txt](https://helpdesk.orangescrum.com/llms.txt).
Source: https://helpdesk.orangescrum.com/guide/cloud/projects/create-a-project
---
A project is the container for tasks, milestones, files, time and reporting.
Everything else hangs off it, so the few minutes spent here pay back.
## Create it
**Projects → Create**
Or start from a [template](https://helpdesk.orangescrum.com/guide/cloud/projects/project-templates) if you
have one that fits.
**Name and short name**
The **short name** prefixes every task reference — `WR-142` — so keep it to
two or three characters and make it unique. It appears in every standup,
commit message and conversation, and changing it later invalidates
references people have already written down.
**Type and status**
Project type drives some reporting groupings. Status is Started, Hold,
Stack or Completed.
**Dates**
Start and end dates are optional but feed the
[Gantt chart](https://helpdesk.orangescrum.com/guide/cloud/views/gantt-chart), calendar and portfolio views.
A rough estimate beats leaving them blank.
**Members**
Only members see the project. Add them now — an invited user with no project
membership sees an empty workspace.
## Naming that scales
At five projects any naming works. At fifty it decides whether people can find
anything.
- **Do**: Name after the deliverable or client: "Acme — Website Redesign". Prefix consistently if you have client work.
- **Don't**: Name after time periods ("Q3 Work") or people ("Priya's Projects"). Both stop making sense within months.
## One project or several?
**One project per sprint?**
No. Sprints live **inside** a project. A project per sprint scatters your
history and breaks velocity tracking.
**One project per client?**
Good if each client is one ongoing stream of work. If a client has several
distinct deliverables with different teams, split them and group with
[programs](https://helpdesk.orangescrum.com/guide/cloud/projects/programs) on Premium.
**One project per team?**
Works when a team owns a continuous product. Use milestones for the
delivery points.
**One giant project for everything?**
Only at the very start. Filters stop being enough surprisingly quickly, and
per-project reporting becomes meaningless.
> **Basic has a 10-project cap**
>
> If you create a project per client or release on Basic, count them before you
> design the structure. Pro and Premium are unlimited.
## Set up before you invite people
Two settings are much easier to get right before there is data:
- **Statuses**: On Pro and above, define your [custom statuses](https://helpdesk.orangescrum.com/guide/cloud/tasks/custom-fields-and-statuses) first. Renaming later leaves tasks in columns whose meaning has shifted.
- **Custom fields**: Add the two or three that genuinely drive decisions. Adding fields later is fine; back-filling them across 400 tasks is not.
## Members and visibility
Project membership controls visibility. Admins see everything regardless.
On Pro and above, manage membership through
[teams](https://helpdesk.orangescrum.com/guide/cloud/admin/teams-and-business-units) rather than individually —
far less churn when someone joins or moves.
> **Removing a member does not reassign their tasks**
>
> Their tasks stay assigned and disappear from the team's normal views.
> Reassign first.
## Archiving
Set status to **Completed** and filter it out. Keep the data — it feeds
historical reporting and estimates.
> **Deleting is permanent**
>
> Deleting a project removes its tasks, comments, attachments and logged time
> with no undo. Archive unless you are certain.
- [Next: project settings](https://helpdesk.orangescrum.com/guide/cloud/projects/project-settings): Everything you can configure once the project exists.
# Project settings
> Members, statuses, custom fields, notifications and the rest of a project's configuration.
> For the complete documentation index, see [llms.txt](https://helpdesk.orangescrum.com/llms.txt).
Source: https://helpdesk.orangescrum.com/guide/cloud/projects/project-settings
---
Open a project and go to its settings. What you see depends on your
[plan](https://helpdesk.orangescrum.com/guide/cloud/plans/feature-matrix) and role.
## General
| Setting | Notes |
| --- | --- |
| **Name** | Safe to change at any time |
| **Short name** | Prefixes task references — changing it invalidates references already shared |
| **Description** | Worth filling in: it is where new joiners look first |
| **Type** | Groups projects in portfolio views |
| **Status** | Started, Hold, Stack, Completed |
| **Start / end date** | Feeds Gantt, calendar and portfolio views |
> **Think twice about the short name**
>
> `WR-142` may already be written in commit messages, tickets and chat threads.
> Renaming makes those references dead ends.
## Members
Add and remove people, and set their project-level role.
> **Tip**
>
> On Pro and above, add [teams](https://helpdesk.orangescrum.com/guide/cloud/admin/teams-and-business-units)
> rather than individuals. Membership then follows team changes automatically
> instead of needing a manual edit per project.
## Statuses
Define the columns work moves through. The defaults are a starting point, not a
prescription.
**Match your real workflow**
If work genuinely waits in code review, add a **Review** status. Statuses
that mirror reality get used; aspirational ones get bypassed.
**Keep the list short**
Five or six columns fit on a board. Twelve produce horizontal scrolling and
a board nobody reads.
**Define 'done' explicitly**
The single most common source of disagreement. Write it in the project
description.
See [Custom fields and statuses](https://helpdesk.orangescrum.com/guide/cloud/tasks/custom-fields-and-statuses).
## Custom fields
Add fields specific to this project — client name, environment, release
version, component.
> **Every field is a tax on task creation**
>
> Each one is another thing to fill in, and half-filled fields are worse than no
> field because reports quietly become wrong. Add a field only when you can name
> the decision it informs.
## Automation
Rules that fire on events — assign a reviewer when status becomes Review, notify
a channel when a blocker appears, set a due date when work starts.
Start with one rule that removes real manual work, and watch it for a week
before adding more. Automation that surprises people gets switched off.
## Notifications
Control what the project generates. Defaults are chatty by design.
- **Tune per project**: A high-traffic project should be quieter than a critical one.
- **Let people opt in**: Watchers subscribe themselves to what they care about.
## Budget and cost
Set a project budget, default hourly rates and cost approval thresholds. Feeds
[Budget and cost](https://helpdesk.orangescrum.com/guide/cloud/time/budget-and-cost) reporting.
## Integrations
Connect this project to a Git repository, Azure DevOps or Google Calendar. Set
up per project, not globally, so each links to the right repo. See
[Integrations](https://helpdesk.orangescrum.com/guide/cloud/integrations/overview).
## Archiving and deleting
Set status to **Completed** to archive. Keep the data — it feeds historical
reporting and makes future estimates better.
> **Deletion removes everything**
>
> Tasks, comments, attachments and logged time, permanently. Export first if
> there is any doubt.
- [Next: project templates](https://helpdesk.orangescrum.com/guide/cloud/projects/project-templates): Stop configuring the same project twice.
# Project templates
> Turn a repeatable project shape into a template so the next one starts configured.
> For the complete documentation index, see [llms.txt](https://helpdesk.orangescrum.com/llms.txt).
Source: https://helpdesk.orangescrum.com/guide/cloud/projects/project-templates
---
If you run the same kind of project repeatedly — client onboarding, a release
cycle, a site build — a template saves the setup and, more importantly, stops
steps being forgotten.
Available on every tier.
## What a template carries
| Included | Not included |
| --- | --- |
| Task structure and titles | Assignees |
| Milestones | Absolute dates |
| Statuses and workflow | Comments and attachments |
| Custom fields | Logged time |
| Checklists | Historical activity |
Dates are stored as **offsets from the project start**, so a task due "day 10"
lands correctly whenever you kick off.
## Create one
**Run the project once properly**
Templates built from imagination miss the steps that only surface in
practice. Build from a project you have actually finished.
**Save it as a template**
From project settings.
**Strip what shouldn't repeat**
Remove one-off tasks and anything specific to that client or release.
**Name it for the situation**
"New client onboarding", not "Copy of Acme project".
## Use one
**Projects → Create → From template.** Set the name, short name and start date;
relative dates resolve from there.
> **Templates create unassigned tasks**
>
> Assignment is deliberately not carried over — the right owner differs per
> project. Assign in the same sitting, or you will have a project full of tasks
> nobody owns.
## What makes a good template
- **The steps people forget**: Kick-off call, access requests, the compliance sign-off. Templates are most valuable for the boring mandatory things.
- **Real dependencies**: If design must precede build, encode it — see [Subtasks and dependencies](https://helpdesk.orangescrum.com/guide/cloud/tasks/subtasks-and-dependencies).
- **Realistic offsets**: Base them on how long things actually took, not the optimistic version.
- **Checklists for detail**: Keep the task list readable; push the fine-grained steps into [checklists](https://helpdesk.orangescrum.com/guide/cloud/tasks/checklists).
## Keeping them alive
Templates rot. A template encoding last year's process actively misleads people.
**Give each template an owner**
Someone whose job it is to keep it current.
**Review after each use**
What did you add every time? What did you delete every time? Fold both back
in.
**Retire unused ones**
A list of twelve templates where three are current is worse than three
templates.
> **Tip**
>
> When a retrospective produces "we should always remember to…", the template is
> where that belongs. Otherwise it is forgotten by the next project.
## Not the same as automation
A template shapes a project **at creation**. [Automation](https://helpdesk.orangescrum.com/guide/cloud/projects/project-settings#automation)
reacts to events **while it runs**. Use both: the template creates the review
task, automation assigns it when the work reaches Review.
- [Next: programs](https://helpdesk.orangescrum.com/guide/cloud/projects/programs): Grouping related projects on Premium.
# Programs
> Group related projects into a program and manage them as one initiative.
> For the complete documentation index, see [llms.txt](https://helpdesk.orangescrum.com/llms.txt).
Source: https://helpdesk.orangescrum.com/guide/cloud/projects/programs
---
> **Premium Unlimited**
>
> Program management is a Premium feature. See
> [Plans and limits](https://helpdesk.orangescrum.com/guide/cloud/plans/plans-and-limits).
A **program** groups related projects that together deliver one outcome — a
product line, a client account, a multi-workstream transformation. It gives you
a level above the project without forcing everything into one enormous project.
## When you need one
- **You do need a program**: Several teams, separate projects, one shared outcome and one sponsor asking "how is it going?" across all of them.
- **You don't**: A single team with several workstreams. Use milestones inside one project.
Signals it is time:
- You are manually assembling a status report from three project views
- The same dependency keeps crossing project boundaries
- One person is accountable for delivery across several projects
- Budget is tracked at a level above the individual project
## Setting one up
**Create the program**
Name it after the outcome, not the department. "Mobile launch" ages better
than "Digital team work".
**Add projects**
Existing projects can join without disruption — their tasks, history and
reporting are untouched.
**Assign an owner**
One accountable person. A program with no owner becomes a folder.
**Set dates and budget**
Program-level dates and budget roll up from and against the member projects.
## What it gives you
| View | Answers |
| --- | --- |
| **Program overview** | Where does the whole initiative stand? |
| **Rolled-up timeline** | How do the project timelines interact? |
| **Cross-project dependencies** | What is blocking what, across teams? |
| **Aggregate budget** | Total spend against total budget |
| **Resource view** | Who is committed across the program? |
## Structure that works
**Keep projects meaningful on their own**
Each project should still make sense to the team that runs it. A program is
a lens over projects, not a reason to fragment work into pieces too small to
manage.
**Make cross-project dependencies explicit**
The dependencies that hurt are the ones between teams. Record them —
otherwise they surface as a surprise in the week they bite.
**Don't nest programs**
A program of programs is an org chart, not a plan. If you need that, the
scope is probably too broad.
**Close programs when they finish**
An initiative that "ends" but stays open drifts into being a permanent
department view, and stops meaning anything.
## Reporting
Programs feed the [advanced dashboards](https://helpdesk.orangescrum.com/guide/cloud/agile/reports) — progress,
budget consumption and resource load across every member project. This is the
view for a steering meeting, where per-project detail is too granular.
> **Roll-ups inherit their inputs' quality**
>
> Program reporting is only as good as the underlying projects. If one team does
> not maintain dates or statuses, the program view is confidently wrong. Fix the
> project hygiene first.
- [Resource management](https://helpdesk.orangescrum.com/guide/cloud/time/resource-management): Who is committed where, across the program.
- [Budget and cost](https://helpdesk.orangescrum.com/guide/cloud/time/budget-and-cost): Tracking spend at program level.
# Create tasks
> Capture work as tasks that people can actually pick up and finish.
> For the complete documentation index, see [llms.txt](https://helpdesk.orangescrum.com/llms.txt).
Source: https://helpdesk.orangescrum.com/guide/cloud/tasks/create-tasks
---
Tasks are the unit of work. Every task belongs to one project and carries an
assignee, status, priority, type and dates.
## Create one
From a project, from **My Work**, or from the board. The only required field is
a title — everything else can follow.
| Field | Why it matters |
| --- | --- |
| **Title** | The one thing everyone reads. Make it an action |
| **Description** | Context, acceptance criteria, links |
| **Assignee** | One person. Unassigned tasks do not move |
| **Status** | Where it is in the workflow |
| **Priority** | Low, medium, high, urgent |
| **Type** | Task, bug, and your own types |
| **Due date** | Drives overdue filters and the calendar |
| **Estimate** | Feeds velocity, workload and budget |
| **Milestone / sprint** | Which delivery point it belongs to |
## Writing a good task
- **Title as an action**: "Fix checkout redirect on mobile Safari" — not "Checkout bug". The reader should know what done looks like from the title alone.
- **Say what done means**: Put acceptance criteria in the description. Most rework comes from an unstated expectation, not a hard problem.
- **One outcome per task**: If the title contains "and", it is probably two tasks — or a parent with [subtasks](https://helpdesk.orangescrum.com/guide/cloud/tasks/subtasks-and-dependencies).
- **Include how to reproduce**: For bugs: steps, expected, actual, environment. Without them the first day is spent reconstructing the report.
> **Always assign an owner**
>
> An unassigned task is nobody's job. If you genuinely cannot pick an owner,
> assign it to whoever will decide the owner — not to nobody.
## Priority that means something
Priority only helps if the distribution is honest.
| Priority | Meaning |
| --- | --- |
| **Urgent** | Drop what you are doing |
| **High** | This sprint, before the medium work |
| **Medium** | Normal planned work |
| **Low** | When there is room |
> **Tip**
>
> If more than about one task in ten is urgent, the field has stopped carrying
> information. Re-triage rather than inventing a higher level.
## Bulk creation
Two options when you have a lot to capture at once:
- **Quick-add**: Type titles in sequence, fill in the details afterwards. Best for a planning session where speed matters.
- [Import](https://helpdesk.orangescrum.com/guide/cloud/tasks/import-and-export): CSV import on Pro and Premium. Best for migrating from another tool.
## Estimates
Estimates feed velocity, workload and budget. Two rules keep them useful:
- **Be consistent, not accurate.** Consistent estimates make velocity
predictive even when every individual number is wrong.
- **Estimate before starting.** An estimate written after the work is a record,
not a forecast.
## Recurring work
For work that repeats on a schedule, set up recurrence rather than remembering
to recreate it. For work that repeats in *shape* — the same five tasks each
release — use a [project template](https://helpdesk.orangescrum.com/guide/cloud/projects/project-templates).
## Templates for tasks
If your team writes bug reports or feature requests to a standard shape, put
that structure in the description template so nobody has to remember the format.
- [Next: the task detail](https://helpdesk.orangescrum.com/guide/cloud/tasks/task-details): Everything a task holds once it exists.
# Task details
> The task page — comments, attachments, watchers, activity history and everything attached to a piece of work.
> For the complete documentation index, see [llms.txt](https://helpdesk.orangescrum.com/llms.txt).
Source: https://helpdesk.orangescrum.com/guide/cloud/tasks/task-details
---
The task detail is where work actually happens. It gathers the description,
people, dates, subtasks, checklists, files, time and the full history in one
place.
## Layout
| Area | Holds |
| --- | --- |
| **Header** | Title, reference, status, priority |
| **Description** | Rich text, images, links, acceptance criteria |
| **Properties** | Assignee, dates, estimate, type, milestone, sprint, custom fields |
| **Subtasks** | Child tasks with their own owners |
| **Checklists** | Tick-off items inside the task |
| **Comments** | Discussion, with `@mentions` |
| **Attachments** | Files |
| **Time** | Logged hours against this task |
| **Activity** | Every change, with who and when |
## Comments and mentions
Discussion belongs on the task, not in chat. The difference shows up six months
later when someone asks why a decision was made — the task still has the
answer.
`@mention` someone to pull them in; they are notified and become a watcher.
- **Decide in comments**: If a decision was made in a call, write it here. Undocumented decisions get re-litigated.
- **Close with a summary**: A short "what was actually done" comment on close is the highest-value comment on most tasks.
## Watchers
Watchers get notified without being assigned. Useful for a lead who wants
visibility, or a stakeholder tracking one specific item.
> **Tip**
>
> Add a watcher instead of reassigning when someone only needs to *know*. Reassigning
> to signal interest is how tasks end up owned by people who are not doing them.
## Attachments
Drop files onto the task or embed them in the description. They count against
your workspace [storage](https://helpdesk.orangescrum.com/guide/cloud/plans/plans-and-limits).
For large files, link from Google Drive instead of attaching — see
[Google Workspace](https://helpdesk.orangescrum.com/guide/cloud/integrations/google-workspace).
## Time
Start the timer or add hours manually from the task. Entries roll up into
[timesheets](https://helpdesk.orangescrum.com/guide/cloud/time/timesheets-and-approvals) and
[budget reporting](https://helpdesk.orangescrum.com/guide/cloud/time/budget-and-cost).
## Activity history
Every field change, status move, comment and time entry, with the person and
timestamp. This is the record that settles "when did this change?" and "who
moved it to done?".
On Premium, workspace-wide activity is also available in the
[audit trail](https://helpdesk.orangescrum.com/guide/cloud/admin/audit-trail).
## Linked work
- [Subtasks](https://helpdesk.orangescrum.com/guide/cloud/tasks/subtasks-and-dependencies): Break the work down; each child gets its own owner and date.
- [Dependencies](https://helpdesk.orangescrum.com/guide/cloud/tasks/subtasks-and-dependencies): "Blocks" and "blocked by" relationships that drive the Gantt.
- [Defects](https://helpdesk.orangescrum.com/guide/cloud/quality/defects): Link a defect to the task that introduced or fixes it.
- [Commits](https://helpdesk.orangescrum.com/guide/cloud/integrations/git-sync): Reference the task key in a commit message and it appears here.
## Keeping tasks readable
**A 60-comment task is a failure signal**
It usually means the task is too big, or a decision is stuck. Split it, or
escalate the decision — do not keep commenting.
**Update the description, don't bury changes in comments**
If scope changes, edit the description. Nobody reads comment 23 to discover
the acceptance criteria moved.
**Close tasks that are done**
An open task that is finished distorts every report and every board.
- [Next: subtasks and dependencies](https://helpdesk.orangescrum.com/guide/cloud/tasks/subtasks-and-dependencies): Breaking work down and sequencing it.
# Subtasks and dependencies
> Break large work into subtasks, and sequence work that genuinely blocks other work.
> For the complete documentation index, see [llms.txt](https://helpdesk.orangescrum.com/llms.txt).
Source: https://helpdesk.orangescrum.com/guide/cloud/tasks/subtasks-and-dependencies
---
Two different tools that people often confuse:
- **Subtasks** break one piece of work into smaller pieces.
- **Dependencies** say one piece of work cannot start until another finishes.
## Subtasks
A subtask is a real task — its own assignee, dates, estimate and status — that
belongs to a parent.
Use one when a piece of the work needs to be **owned or scheduled separately**.
If it just needs ticking off, use a [checklist](https://helpdesk.orangescrum.com/guide/cloud/tasks/checklists)
instead.
- **Subtask**: "Write migration script" — someone owns it, it takes a day, it has a due date.
- **Checklist item**: "Update the changelog" — thirty seconds, same person, no scheduling.
> **Closing a parent does not close its subtasks**
>
> They stay open and keep appearing in filters and reports. Close them first, or
> from the parent's subtask list.
### How deep
One level. A subtask of a subtask means the parent should have been a
[milestone](https://helpdesk.orangescrum.com/guide/cloud/views/milestones) or an
[epic](https://helpdesk.orangescrum.com/guide/cloud/agile/epics-and-features), not a task.
## Dependencies
A dependency records that work must happen in order. The Gantt chart uses them
to shift dates when something slips, and on Premium to calculate the
[critical path](https://helpdesk.orangescrum.com/guide/cloud/views/gantt-chart#critical-path).
| Type | Meaning |
| --- | --- |
| **Blocks** | This task must finish before the other can start |
| **Blocked by** | This task cannot start until the other finishes |
### Use them sparingly
> **Over-linking makes the Gantt useless**
>
> Every dependency constrains the schedule. A plan with hundreds of them becomes
> brittle — one slipped task cascades into a redrawn timeline nobody trusts, and
> the team stops looking at it.
Record a dependency when it is a **genuine hard constraint**: the API must exist
before the client can call it. Do not record soft preferences about what people
would rather do first — that is what priority and sprint planning are for.
- **Real dependency**: "Database migration blocks API rollout." Physically true.
- **Not a dependency**: "We'd rather do the design first." That is sequencing preference — use priority.
### Cross-project dependencies
The ones that actually cause trouble are between teams. Record those explicitly:
they are exactly the constraints that surprise people, because neither team sees
the other's board.
On Premium, [programs](https://helpdesk.orangescrum.com/guide/cloud/projects/programs) surface cross-project
dependencies in one view.
## Which to use
**Big task, several people**
Subtasks. Each person owns one.
**Sequential work, same person**
Usually neither — one task with a checklist. Add subtasks only if the pieces
need separate dates.
**Work spanning teams in order**
Dependencies. The Gantt then shows the knock-on effect when something slips.
**Work spanning sprints**
Split into separate tasks per sprint, linked by a dependency. A task that
straddles sprints breaks velocity.
## Seeing the structure
- [Gantt chart](https://helpdesk.orangescrum.com/guide/cloud/views/gantt-chart): Dependencies as arrows, with critical path on Premium.
- [Task detail](https://helpdesk.orangescrum.com/guide/cloud/tasks/task-details): Subtasks and links on the task itself.
# Checklists
> Lightweight tick-off lists inside a task, and reusable checklist templates.
> For the complete documentation index, see [llms.txt](https://helpdesk.orangescrum.com/llms.txt).
Source: https://helpdesk.orangescrum.com/guide/cloud/tasks/checklists
---
A checklist is a list of items inside a task. No assignee, no dates — just
things to tick. It keeps a task readable while making sure the small steps
actually happen.
## Checklist or subtask?
- **Checklist item**: Small, same person, no scheduling. "Update the changelog", "Add a regression test".
- [Subtask](https://helpdesk.orangescrum.com/guide/cloud/tasks/subtasks-and-dependencies): Needs its own owner, date or estimate.
If you would never put a due date on it, it is a checklist item.
## Adding one
Open the task and add items to the checklist section. Tick them as you go; the
task shows completion progress.
## Groups
Items can be organised into named groups, so one task can carry several distinct
lists — "Before merge", "Before release", "After deploy" — without becoming an
undifferentiated wall of ticks.
## Templates
Reusable checklists you attach to a task rather than retyping. This is where
checklists earn their keep: a definition of done, a release checklist, a code
review checklist, an onboarding sequence.
**Build from something real**
Take the list a team already keeps in a doc or in their head and make it a
template.
**Keep it to what gets skipped**
A template listing the obvious steps trains people to tick without reading.
Include the steps that actually get forgotten.
**Attach it to the task**
Add the group from the template when you create the task.
**Revise it after incidents**
When something is missed, that is the moment to add the item — while you
still remember why it matters.
## Definition of done
The most valuable checklist most teams can have. Disagreement about "done" is
the single most common source of rework.
A concrete example:
- Acceptance criteria met
- Tests written and passing
- Code reviewed
- Documentation updated
- Deployed to staging and verified
> **Tip**
>
> Write it once as a template, attach it to every task, and the conversation
> stops recurring.
## Keeping them honest
**Ticking without doing**
The failure mode of every checklist. It happens when the list is too long or
the items are obvious. Cut it back to what genuinely gets missed — a
five-item list people read beats a twenty-item list they tick through.
**Checklists that duplicate the workflow**
If an item is "code reviewed" and you also have a Review status, you are
tracking the same thing twice and they will disagree. Pick one.
**Stale templates**
Give each template an owner. A checklist enforcing last year's process is
worse than none.
## Where checklists show up
Checklist completion appears on the task, on
[board](https://helpdesk.orangescrum.com/guide/cloud/views/kanban-board) cards, and in progress reporting — so a
task at 8/10 is visibly nearly done without opening it.
- [Next: custom fields and statuses](https://helpdesk.orangescrum.com/guide/cloud/tasks/custom-fields-and-statuses): Shaping tasks to your own workflow.
# Custom fields and statuses
> Shape tasks and workflow to how your team actually works — without creating a form nobody fills in.
> For the complete documentation index, see [llms.txt](https://helpdesk.orangescrum.com/llms.txt).
Source: https://helpdesk.orangescrum.com/guide/cloud/tasks/custom-fields-and-statuses
---
> **Pro and Premium**
>
> Custom fields and custom task statuses require Pro Unlimited or above. See the
> [feature matrix](https://helpdesk.orangescrum.com/guide/cloud/plans/feature-matrix).
## Custom statuses
The default statuses are a starting point. Custom statuses let the board reflect
the stages work genuinely passes through.
### Designing them
**Describe the real path**
Ask the team to walk a recent task from idea to shipped. The stages they
name are your statuses — not the ones you wish they used.
**Keep it to five or six**
A board with six columns is readable. Twelve means horizontal scrolling and
a board people stop opening.
**Separate waiting from working**
"In review" and "Waiting on customer" are different problems. If work
regularly stalls in a state, give it a column — that is where your queue is.
**Define done explicitly**
Write down what "Done" requires. See
[checklists](https://helpdesk.orangescrum.com/guide/cloud/tasks/checklists).
> **Renaming a status changes its meaning retroactively**
>
> Historical tasks move with it, so past reports shift too. Get the set right
> before there is much data.
### A workable default
| Status | Means |
| --- | --- |
| **Backlog** | Not started, not committed |
| **To do** | Committed to this sprint or week |
| **In progress** | Actively being worked |
| **In review** | Waiting on someone else |
| **Done** | Meets the definition of done |
## Custom fields
Fields specific to your work — client, environment, release version, component,
severity.
### Add them sparingly
Every field is a tax paid on every task created. Half-filled fields are worse
than no field, because reports built on them are quietly wrong.
> **Tip**
>
> Before adding a field, name the **decision** it informs and the **report** it
> feeds. If you cannot, do not add it.
### Field types
| Type | Good for |
| --- | --- |
| Text | Free-form references — a ticket id |
| Number | Quantities, scores |
| Date | Dates other than start and due |
| Dropdown | A fixed set — environment, severity |
| Multi-select | Several from a set — affected components |
| User | A second person — reviewer, approver |
| Checkbox | A yes/no flag |
> **Prefer dropdowns over text**
>
> A text field becomes "prod", "Prod", "production" and "PROD" within a month,
> and cannot be reported on. A dropdown stays clean.
### Fields versus labels
- **Custom field**: Structured, one value, reportable. "Environment: staging".
- **Label**: Ad hoc, many per task, no structure. "needs-design", "blocked".
Use a field when you will filter or report on it. Use a label when you just need
to mark something.
## Scope
Both can be defined per project, so a client-services project can carry a
"Client" field that an internal project does not.
> **Per-project fields make cross-project reporting harder**
>
> If you want a workspace-wide report on a value, define the field consistently
> everywhere — or it will only cover some projects.
## Automation
Once statuses are meaningful, [automation](https://helpdesk.orangescrum.com/guide/cloud/projects/project-settings#automation)
can act on them — assign a reviewer when a task hits Review, or flag anything
sitting in Blocked for over two days.
Start with one rule that removes real manual work.
- [Next: import and export](https://helpdesk.orangescrum.com/guide/cloud/tasks/import-and-export): Getting data in and out.
# Import and export
> Bring work in from another tool, and get your data back out.
> For the complete documentation index, see [llms.txt](https://helpdesk.orangescrum.com/llms.txt).
Source: https://helpdesk.orangescrum.com/guide/cloud/tasks/import-and-export
---
> **Pro and Premium**
>
> Import and export require Pro Unlimited or above. See the
> [feature matrix](https://helpdesk.orangescrum.com/guide/cloud/plans/feature-matrix).
## Importing tasks
CSV import creates tasks in bulk — the usual path when migrating from another
tool or from a spreadsheet.
**Export from the old tool**
Most trackers export CSV. Get everything, then trim.
**Decide what actually moves**
> **Do not import everything**
>
> Years of closed tasks add noise and hide the work that matters. Import
> what is **open or recently closed**; archive the rest as a CSV file
> somewhere safe.
**Map the columns**
Match your CSV headers to Orangescrum fields. At minimum: title, status,
assignee, due date.
Assignees match on **email address**. Anyone not already a user in the
workspace will not map — invite them first.
**Test with 20 rows**
Import a small slice into a scratch project and look at the result. Fix the
mapping, then run the full file.
**Import for real**
Then spot-check: pick five tasks and compare against the source.
### Common mapping problems
**Dates come in wrong**
Date format ambiguity — `03/04/2026` is two different dates depending on
locale. Convert the CSV to `YYYY-MM-DD` before importing.
**Assignees are blank**
The CSV has display names, not email addresses, or the people are not users
yet. Invite them first, then map on email.
**Statuses don't match**
Your source statuses differ from your Orangescrum
[custom statuses](https://helpdesk.orangescrum.com/guide/cloud/tasks/custom-fields-and-statuses). Either map
them during import, or set up matching statuses first.
**Descriptions lose formatting**
CSV carries plain text. Rich formatting, embedded images and attachments do
not survive — plan to re-attach anything critical.
**Everything imported twice**
A re-run duplicates rather than updating. Delete the first batch before
retrying.
## What doesn't import
| Not carried over | Do instead |
| --- | --- |
| Comment history | Export to PDF/CSV and keep as an archive |
| Attachments | Re-attach the ones that matter |
| Time logs | Export from the old tool and keep for reporting |
| Cross-tool links | Re-link after import |
> **Keep the old system read-only for a while**
>
> Do not decommission it the day you migrate. Keep it readable for a few months
> so people can retrieve history you did not bring across.
## Exporting
Export task lists to CSV from the task list view, with your current filters
applied — so you can export exactly the slice you want rather than everything.
Useful for:
- **Reporting elsewhere**: Pull into a spreadsheet or BI tool for analysis you cannot do in-product.
- **Client reporting**: A filtered export of one client's work.
- **Backups**: A periodic snapshot outside the product.
- **Bulk editing**: Export, edit in a spreadsheet, re-import as new tasks.
Sprint reports can also be exported to PDF — see
[Reports](https://helpdesk.orangescrum.com/guide/cloud/agile/reports).
## Programmatic access
For anything ongoing, use the [Developer API](https://helpdesk.orangescrum.com/guide/api/introduction) rather
than scheduled CSV exports — 59 endpoints covering projects, tasks, timelogs and
more, with proper filtering.
- [Developer API](https://helpdesk.orangescrum.com/guide/api/introduction): Read and write your data programmatically.
# Kanban board
> See work as cards in columns, spot where it is stuck, and limit what is in flight.
> For the complete documentation index, see [llms.txt](https://helpdesk.orangescrum.com/llms.txt).
Source: https://helpdesk.orangescrum.com/guide/cloud/views/kanban-board
---
The board shows tasks as cards in columns by status. Drag a card to move it.
Available on every tier.
It is the right default for teams whose work flows continuously rather than in
fixed iterations. If you work in sprints, see
[Agile and Scrum](https://helpdesk.orangescrum.com/guide/cloud/agile/overview).
## Reading the board
The value is not the cards — it is **where they pile up**. A column with a
growing stack is your bottleneck, and it is usually not the column people
expect.
- **Cards stacking in Review**: Reviews are not happening fast enough. Adding more development capacity makes this worse, not better.
- **Cards stacking in Blocked**: Something external is not moving. Nobody owns unblocking it.
- **Everything in In Progress**: Too much started, not enough finished. Classic multitasking.
- **Empty middle, full ends**: Work is queued and done, but nothing is flowing. Usually a capacity or priority problem.
## Columns
Columns map to [task statuses](https://helpdesk.orangescrum.com/guide/cloud/tasks/custom-fields-and-statuses).
On Pro and above you can define your own.
Keep it to five or six. A board that scrolls horizontally is a board nobody
looks at.
> **Tip**
>
> If work regularly waits in a state, give it a column. A hidden queue is a
> queue you cannot manage.
## Work-in-progress limits
The single most effective thing you can do with a board: cap how many cards can
sit in a column at once.
**Start at roughly team size**
Five developers, WIP limit five in In Progress. Not ten.
**Enforce it**
When the column is full, nobody starts anything new — they help finish what
is there. This feels wrong for about a week.
**Watch throughput**
Finished-per-week almost always goes up, because less time is lost to
context switching and half-done work.
> **Starting is not progress**
>
> A board with twenty cards in progress and none done is worse than one with
> three in progress and five done. Only finished work delivers anything.
## Filtering
Filter by assignee, priority, label, milestone, sprint, due date or custom
field. Save the filters you rebuild every morning.
Two views most teams want:
- **My work** — assigned to me, not done
- **At risk** — overdue or due within two days
## Cards
A card shows the title, assignee, priority, due date, labels and checklist
progress at a glance — so a card at 8/10 is visibly nearly done without opening
it.
## Real-time
The board updates live. During a standup, everyone sees the same state as cards
move — no refreshing, no "hang on, mine says something different".
## Board habits that work
**Run standup off the board, right to left**
Start with the cards closest to done and work backwards. It focuses the
conversation on finishing rather than on what everyone did yesterday.
**Nothing exists unless it is a card**
Work that lives only in someone's head is invisible and unplannable. If it
is taking time, it belongs on the board.
**Age the cards**
A card that has not moved in two weeks is stuck, whatever column it is in.
Check for them weekly.
**Close things**
Done means done, and moved to Done. A board full of finished-but-open cards
distorts every metric.
- [Gantt chart](https://helpdesk.orangescrum.com/guide/cloud/views/gantt-chart): When dates and dependencies matter more than flow.
- [Agile and Scrum](https://helpdesk.orangescrum.com/guide/cloud/agile/overview): Fixed-length sprints with velocity tracking.
# Gantt chart
> Plan work against a timeline, see dependencies, and find the path that actually determines your end date.
> For the complete documentation index, see [llms.txt](https://helpdesk.orangescrum.com/llms.txt).
Source: https://helpdesk.orangescrum.com/guide/cloud/views/gantt-chart
---
The Gantt chart lays tasks along a timeline with their dependencies drawn
between them. Available on every tier; **critical path analysis** is Premium.
Use it when dates and sequence matter — client commitments, hardware lead times,
regulatory deadlines. For continuous flow, the
[board](https://helpdesk.orangescrum.com/guide/cloud/views/kanban-board) tells you more.
## What you see
- Each task as a bar spanning its start and due dates
- Arrows for [dependencies](https://helpdesk.orangescrum.com/guide/cloud/tasks/subtasks-and-dependencies)
- Milestones as markers
- Progress shading within each bar
- Today as a vertical line
Drag a bar to move it, or drag its edge to resize. Dependent tasks shift with
it.
## Getting a useful chart
A Gantt is only as good as its inputs. Three things must be true:
**Tasks have real dates**
A task without dates cannot appear on a timeline. This is the usual reason
a Gantt looks empty or wrong.
**Dependencies reflect hard constraints**
Record what genuinely blocks what. Preferences about ordering are not
dependencies.
**Estimates are honest**
Optimistic durations produce a plan that was never achievable. It will slip
on schedule.
> **Over-linking makes it brittle**
>
> Every dependency constrains the schedule. Hundreds of them mean one slipped
> task redraws the whole timeline, and the team stops trusting the chart. Link
> only real constraints.
## Critical path
The critical path is the longest chain of dependent tasks. Its length **is** your
project duration — so a delay to any task on it delays the whole project, while
a delay to anything off it may cost nothing.
This is the single most useful thing a Gantt can tell you:
- **Protect the critical path**: Put your most reliable people on it. Watch it daily.
- **Ignore float elsewhere**: A task with two weeks of slack slipping by three days is not a problem. Do not spend the team's attention on it.
- **Shorten the chain, not the tasks**: To pull in the date, remove a link or parallelise — squeezing individual estimates rarely works.
- **Recheck after every change**: The critical path moves. Yesterday's safe task can be today's constraint.
## Milestones
[Milestones](https://helpdesk.orangescrum.com/guide/cloud/views/milestones) appear as markers — the fixed points
a client or stakeholder actually cares about. Anchor the plan on them.
## Baselines and slippage
The comparison worth making is **plan versus actual**. When a bar extends past
where it started, ask why before redrawing the dates:
- Was the estimate wrong, or was the work interrupted?
- Did scope change?
- Is a dependency late?
Redrawing dates without answering that produces a plan that will slip again.
> **Tip**
>
> Re-plan deliberately, not continuously. A Gantt updated daily to match reality
> stops being a plan and becomes a diary.
## When not to use it
**Continuous, unpredictable work**
Support, maintenance, anything reactive. Use the board.
**Sprint-based delivery**
Sprints already provide the cadence. Use
[Agile and Scrum](https://helpdesk.orangescrum.com/guide/cloud/agile/overview); a Gantt over sprints usually
just duplicates it.
**Genuinely uncertain scope**
A precise timeline over unknown work is false precision. Plan the next
milestone properly and leave the rest coarse.
- [Dependencies](https://helpdesk.orangescrum.com/guide/cloud/tasks/subtasks-and-dependencies): Setting them up correctly.
- [Milestones](https://helpdesk.orangescrum.com/guide/cloud/views/milestones): The fixed points to plan against.
# Milestones
> Mark the delivery points that matter and track everything hanging off them.
> For the complete documentation index, see [llms.txt](https://helpdesk.orangescrum.com/llms.txt).
Source: https://helpdesk.orangescrum.com/guide/cloud/views/milestones
---
A milestone is a dated point a project must reach — a release, a client demo, a
regulatory deadline. Tasks are assigned to milestones so you can see what is
outstanding for each.
Available on every tier, including the
[Community Edition](https://helpdesk.orangescrum.com/guide/community/usage/tasks#milestones).
## What makes a good milestone
- **Externally meaningful**: Something a stakeholder would recognise: "Beta launch", "Client sign-off".
- **Has a real date**: A milestone without a date is a category.
- **Verifiably done**: You can say yes or no. "Improve performance" is not a milestone.
- **Few of them**: Three to six per project. Twenty milestones is a task list.
## Milestone or sprint?
They solve different problems and are often confused:
| Milestone | Sprint |
| --- | --- |
| A **deliverable** | A **time box** |
| Date set by the outside world | Fixed length, repeating |
| Can span several sprints | Always the same duration |
| "v2.0 ships 14 March" | "Sprint 7, two weeks" |
Teams running Scrum use both: sprints for cadence,
milestones for the commitments the business made.
## Setting them up
**Start from commitments**
List what you have already promised, and to whom. Those are your milestones.
**Give each a date and an owner**
An unowned milestone slips quietly.
**Assign tasks**
Every task that must be done for that delivery. This is the part that makes
a milestone useful — it turns a date into a scope.
**Look at what's left**
The gap between remaining work and remaining time is your actual status.
## Tracking
The milestone view shows completion, what is outstanding and what is at risk.
Milestones also appear as markers on the
[Gantt chart](https://helpdesk.orangescrum.com/guide/cloud/views/gantt-chart).
> **Milestone progress can mislead**
>
> "80% of tasks complete" says little if the remaining 20% is the hard part.
> Look at *which* tasks are outstanding, not just how many.
## When one is going to slip
Deal with it early — the options narrow as the date approaches.
**Say so as soon as you know**
A month's warning gives options. A day's warning gives excuses.
**Separate must-have from nice-to-have**
Most milestones have both. Cutting scope is usually better than moving the
date.
**Check the critical path**
On Premium, the [critical path](https://helpdesk.orangescrum.com/guide/cloud/views/gantt-chart#critical-path)
tells you which delays actually matter.
**Move the date if you must — once**
A milestone that moves three times has stopped meaning anything.
## Closing one
When it is delivered, close it. Then look back:
- Which tasks were missed at planning time?
- Which estimates were furthest out?
- What slipped, and why?
That is the input that makes the next milestone's estimate better. Feed it into
your [project templates](https://helpdesk.orangescrum.com/guide/cloud/projects/project-templates).
- [Gantt chart](https://helpdesk.orangescrum.com/guide/cloud/views/gantt-chart): Milestones on the timeline.
- [Sprints](https://helpdesk.orangescrum.com/guide/cloud/agile/sprints): Iteration cadence alongside milestones.
# Project calendar
> See tasks, milestones and deadlines on a calendar, and sync them with Google Calendar.
> For the complete documentation index, see [llms.txt](https://helpdesk.orangescrum.com/llms.txt).
Source: https://helpdesk.orangescrum.com/guide/cloud/views/calendar
---
The calendar plots tasks and milestones by date. Available on every tier.
It answers a question no other view answers well: **what is landing this week,
and is any of it colliding?**
## What appears
| Item | Shown on |
| --- | --- |
| Tasks | Their due date, or spanning start to due |
| Milestones | Their target date |
| Sprints | Their date range |
Filter by project, assignee, priority or label to cut the noise.
## Views
- **Month**: Deadline clustering. Where is the crunch week?
- **Week**: Day-to-day planning. What is due, and who is it on?
## What it's good for
**Spotting deadline pile-ups**
Six tasks due the same Friday is obvious on a calendar and invisible on a
list. Move some now rather than discovering it that morning.
**Planning around absence**
Overlay who is away against what is due. Reassign before it becomes a
problem, not after.
**Client conversations**
A calendar is the view non-technical stakeholders read without explanation.
**Finding empty weeks**
A stretch with nothing due usually means work is not dated, not that there
is nothing to do.
## Google Calendar sync
Push Orangescrum dates into Google Calendar so deadlines sit alongside meetings.
**Connect the integration**
See [Google Workspace](https://helpdesk.orangescrum.com/guide/cloud/integrations/google-workspace).
**Choose what syncs**
Usually your own assigned tasks and project milestones. Syncing everything
buries your real calendar.
**Check the direction**
Sync is from Orangescrum to Google. Do not expect edits in Google to flow
back.
> **Sync everything and you will read nothing**
>
> A calendar with forty task entries a day is a calendar people stop opening —
> including for their actual meetings. Sync milestones and your own due dates.
## Making it accurate
The calendar only shows what has dates. If it looks empty, that is your finding:
**Find undated work**
Filter the task list for tasks with no due date.
**Date what is committed**
Anything promised to someone needs a date. Genuinely undated backlog items
can stay undated — that is what a
[backlog](https://helpdesk.orangescrum.com/guide/cloud/agile/backlog) is for.
**Keep dates honest**
A due date that everyone knows is fictional trains people to ignore all due
dates.
- [Milestones](https://helpdesk.orangescrum.com/guide/cloud/views/milestones): The delivery points behind the dates.
- [Gantt chart](https://helpdesk.orangescrum.com/guide/cloud/views/gantt-chart): Sequence and dependencies, not just dates.
# Agile overview
> Sprints, backlog, epics and the reports that tell you whether your process is working.
> For the complete documentation index, see [llms.txt](https://helpdesk.orangescrum.com/llms.txt).
Source: https://helpdesk.orangescrum.com/guide/cloud/agile/overview
---
> **Pro and Premium**
>
> The agile framework — sprints, backlog, epics, velocity and burndown —
> requires Pro Unlimited or above. Epic and feature boards and Scrumban are
> Premium. See the [feature matrix](https://helpdesk.orangescrum.com/guide/cloud/plans/feature-matrix).
## Is agile right for this work?
Not every team should run sprints. Use them when:
- **Sprints fit**: Predictable capacity, work that can be sized, a team that plans together, and a need to forecast.
- **Sprints don't**: Reactive or support work, constantly shifting priorities, or a team of one. Use the [board](https://helpdesk.orangescrum.com/guide/cloud/views/kanban-board).
Running sprints badly is worse than not running them: a sprint that never
completes teaches the team that commitments are optional.
## The pieces
| Concept | What it is |
| --- | --- |
| **Backlog** | Everything not yet committed, ordered by priority |
| **Sprint** | A fixed time box the team commits to |
| **Epic** | A large body of work spanning sprints |
| **Feature** | A deliverable slice within an epic |
| **Story / task** | The unit the team estimates and completes |
| **Velocity** | How much the team actually completes per sprint |
| **Burndown** | Remaining work over the sprint |
## The cycle
**Groom the backlog**
Ongoing, not a one-off. Items near the top should be understood, estimated
and ready. See [Backlog](https://helpdesk.orangescrum.com/guide/cloud/agile/backlog).
**Plan the sprint**
Pull from the top of the backlog until you reach your capacity — which is
your recent velocity, not your optimism. See
[Sprints](https://helpdesk.orangescrum.com/guide/cloud/agile/sprints).
**Work the sprint**
The sprint board is the team's daily view. Scope stays fixed; that is what
makes the time box mean anything.
**Review and retrospect**
Show what was completed. Then discuss what to change — and change one thing,
not five.
**Read the numbers**
Velocity and burndown over several sprints. See
[Reports](https://helpdesk.orangescrum.com/guide/cloud/agile/reports).
## Scrumban
A middle path: sprint cadence and planning, with WIP limits and continuous flow
inside the sprint. Suits teams that want predictability but face interruptions
that pure Scrum handles badly.
## Getting started without over-engineering
**Start with two-week sprints**
Long enough to finish something, short enough to correct course. Change the
length only after several sprints of evidence.
**Skip epics at first**
Backlog and sprints alone. Add epics when you actually have work spanning
several sprints.
**Estimate consistently, not accurately**
Consistency is what makes velocity predictive. Perfect individual estimates
are neither achievable nor necessary.
**Ignore velocity for three sprints**
The first few numbers are noise. Only the trend means anything.
> **Velocity is not a productivity target**
>
> The moment it becomes a target, estimates inflate and the number stops
> measuring anything. Use it to forecast, never to compare teams or people.
## Where next
- [Backlog](https://helpdesk.orangescrum.com/guide/cloud/agile/backlog): Keeping it ordered and ready.
- [Sprints](https://helpdesk.orangescrum.com/guide/cloud/agile/sprints): Planning, running and completing them.
- [Epics and features](https://helpdesk.orangescrum.com/guide/cloud/agile/epics-and-features): Structuring work above the sprint.
- [Reports](https://helpdesk.orangescrum.com/guide/cloud/agile/reports): Velocity, burndown and what they actually tell you.
# Backlog
> Keep an ordered, ready list of work so sprint planning takes twenty minutes instead of two hours.
> For the complete documentation index, see [llms.txt](https://helpdesk.orangescrum.com/llms.txt).
Source: https://helpdesk.orangescrum.com/guide/cloud/agile/backlog
---
> **Pro and Premium**
>
> The backlog is part of the agile framework, available on Pro Unlimited and
> above.
The backlog is everything not yet committed to a sprint, ordered by priority.
Its job is simple: whenever you plan a sprint, the next thing to work on should
already be at the top and ready to start.
## What "ordered" means
A single ranked list, not buckets. If two items are both "high priority", one is
still above the other — someone has to decide, and it is better decided in
advance than in a planning meeting.
> **Tip**
>
> The top ten items should be genuinely ready. Below that, rough is fine.
> Refining item 200 is wasted work — it will change or be deleted before you get
> there.
## Ready to start
An item at the top of the backlog should be pullable without a conversation:
| Ready means | Not ready |
| --- | --- |
| The outcome is clear | "Improve the dashboard" |
| Acceptance criteria written | Nobody knows what done means |
| Estimated | No sense of size |
| Dependencies known | Blocked by something unfinished |
| Small enough for one sprint | Obviously several sprints of work |
> **Unready items poison sprint planning**
>
> If the team has to design the work during planning, planning takes hours and
> the estimates are guesses. Grooming is what prevents that.
## Grooming
A short, regular session — 30–60 minutes a week for most teams — where you:
**Re-rank the top**
Priorities change. The order should reflect this week, not last quarter.
**Refine what's coming**
Take the next sprint's worth and make it ready. Add criteria, estimate,
identify dependencies.
**Split what's too big**
Anything that cannot finish in one sprint gets broken down — or promoted to
an [epic](https://helpdesk.orangescrum.com/guide/cloud/agile/epics-and-features).
**Delete aggressively**
This is the step teams skip, and it is the most valuable one.
## Delete more than you think
A backlog of 400 items is not an asset. Nobody reads to the bottom, so anything
down there is invisible — while still costing attention every time you scroll
past it.
- **Delete it**: Untouched for six months, or nobody can explain why it matters. If it genuinely matters, it will come back.
- **Keep it**: A real commitment, or something you will act on this quarter.
> **Tip**
>
> A backlog you can read in one sitting is worth more than a comprehensive one
> you never open.
## Estimating
Estimate at the top of the backlog, not throughout. Items far down will change
before you build them.
Be **consistent rather than accurate** — velocity works as a forecast when
estimates are internally consistent, even if every number is systematically
wrong.
## From backlog to sprint
At planning, pull from the top until you hit capacity — your recent
[velocity](https://helpdesk.orangescrum.com/guide/cloud/agile/reports), not your optimism.
> **Don't cherry-pick from the middle**
>
> If the team routinely skips past top items to pull easier ones, the order is
> wrong or the top items are not ready. Fix that rather than working around it.
## Backlog and epics
Large work sits in the backlog as an [epic](https://helpdesk.orangescrum.com/guide/cloud/agile/epics-and-features)
until it is close enough to break down. That keeps big items visible without
cluttering the list with fifty speculative sub-items.
- [Next: sprints](https://helpdesk.orangescrum.com/guide/cloud/agile/sprints): Planning, running and completing them.
# Sprints
> Plan, run and complete sprints — and handle the work that doesn't finish.
> For the complete documentation index, see [llms.txt](https://helpdesk.orangescrum.com/llms.txt).
Source: https://helpdesk.orangescrum.com/guide/cloud/agile/sprints
---
> **Pro and Premium**
>
> Sprints require Pro Unlimited or above.
A sprint is a fixed time box the team commits to. Its value comes entirely from
the box being **fixed**: same length every time, scope agreed at the start.
## Creating one
**Set the length**
Two weeks suits most teams. One week for fast-moving work with short
feedback loops; three or four only if your work genuinely cannot produce
anything meaningful sooner.
> **Don't vary the length**
>
> Variable-length sprints make velocity meaningless, because you cannot
> compare one sprint's output to the next.
**Set the goal**
One sentence describing what this sprint achieves. Not a task list — an
outcome. It is what you use to decide whether mid-sprint requests belong.
**Pull work from the backlog**
From the top, in order, until you reach capacity. See
[Backlog](https://helpdesk.orangescrum.com/guide/cloud/agile/backlog).
**Start it**
Once started, scope is fixed.
## Capacity
Capacity is your **recent velocity**, not your theoretical hours.
- **Use the last 3–5 sprints**: Take the average of what the team actually completed. That is your number.
- **Adjust for absence**: Two of six people away for a week is roughly a sixth off. Do not pretend otherwise.
- **Leave room**: Something always comes up. Planning to 100% guarantees a miss.
- **Don't plan on a new team's first sprints**: You have no velocity yet. Commit to less than feels right and measure.
> **Consistently missing the sprint is a planning problem**
>
> If the team finishes 60% of what it commits to, sprint after sprint, the fix
> is to commit to less — not to work harder. A sprint that is never met stops
> functioning as a commitment.
## Running it
The sprint board is the team's daily view. Statuses are your
[custom statuses](https://helpdesk.orangescrum.com/guide/cloud/tasks/custom-fields-and-statuses).
**Standup off the board**
Right to left — start with what is closest to done. It biases the
conversation toward finishing.
**Watch the burndown**
Flat for three days means something is stuck. Find out what before the
second week.
**Protect the scope**
New requests go to the backlog for the next sprint. If something genuinely
cannot wait, something else comes out — an explicit trade, not a silent
addition.
## Mid-sprint changes
**Something urgent comes in**
Ask whether it can wait two weeks. Most things can. If it truly cannot,
remove work of equivalent size and say so — a sprint that quietly grows is
a sprint that will be missed.
**A task turns out much bigger**
Do not let it eat the sprint. Split it: deliver the part that fits, push
the rest to the backlog.
**Someone is blocked**
Raise it immediately. Blocked work in a fixed time box is the most expensive
kind — the clock runs regardless.
**The team finishes early**
Pull the next item from the top of the backlog. Do not invent work.
## Completing
When the sprint ends, complete it. Unfinished tasks are moved back to the
backlog or into the next sprint — the completion flow prompts you.
> **Don't extend a sprint to finish work**
>
> Extending destroys the fixed time box and the velocity data with it. End the
> sprint, carry the work over, and let the velocity number be honest.
Then do the two ceremonies that make the cycle worth anything:
- **Review** — show what was completed
- **Retrospective** — decide **one** thing to change next sprint
> **Tip**
>
> One change per retrospective. Five improvements means none of them get done or
> measured.
## Carryover
A little carryover is normal. A pattern is a signal:
| Pattern | Likely cause |
| --- | --- |
| Same task carried three sprints | Too big, or blocked and nobody has said so |
| Half the sprint carries over | Over-committing — cut capacity |
| Everything finishes on the last day | Work is not being started early enough |
- [Next: reports](https://helpdesk.orangescrum.com/guide/cloud/agile/reports): Velocity, burndown and what they actually tell you.
# Epics and features
> Structure work above the sprint without losing sight of what is actually shipping.
> For the complete documentation index, see [llms.txt](https://helpdesk.orangescrum.com/llms.txt).
Source: https://helpdesk.orangescrum.com/guide/cloud/agile/epics-and-features
---
> **Epics on Pro, feature board on Premium**
>
> Epics require Pro Unlimited. The epic and feature board, and approvals for
> epics and features, are Premium. See the
> [feature matrix](https://helpdesk.orangescrum.com/guide/cloud/plans/feature-matrix).
## The hierarchy
| Level | Spans | Example |
| --- | --- | --- |
| **Epic** | Several sprints | "Self-service onboarding" |
| **Feature** | Roughly a sprint | "Email verification flow" |
| **Story / task** | Days | "Send verification email" |
You do not need all three. Most teams do fine with epics and tasks; add features
when an epic is large enough that its middle layer is genuinely useful.
## Epics
An epic is a body of work too large for one sprint, held together by a shared
outcome.
- **A good epic**: "Reduce checkout abandonment" — one outcome, several sprints, clear when it is done.
- **A bad epic**: "Frontend work" — a category, not an outcome. It will never be finished.
### Keeping epics honest
**Give it a definition of done**
An epic without one runs forever, absorbing loosely related work.
**Don't break it all down at once**
Detail the next sprint's worth. Detailing sprint five's work now guarantees
rewriting it.
**Close it when the outcome is met**
Not when every idea anyone ever attached to it is done.
**Cap how many are open**
Three or four active epics per team. Twelve means nothing is being focused
on.
> **Epics that never close are the common failure**
>
> An epic open for a year, still collecting tasks, has become a folder. It tells
> you nothing about progress. Close it and start a new one with a fresh
> outcome.
## Features
A feature is a deliverable slice of an epic — roughly a sprint's worth,
independently valuable.
The test: **could you ship this on its own and have it mean something to a
user?** If not, it is a task, not a feature.
### The feature board
A board at feature level rather than task level. It is the right view for a
stakeholder conversation, where individual tasks are too granular and the epic
is too coarse.
## Approvals
Epics and features can require approval before work starts. Useful where budget
or compliance sign-off gates delivery.
> **Tip**
>
> Add approvals only where a real gate exists. An approval step that is always
> granted teaches everyone to route around it.
## Scaled agile
For several teams working toward a shared outcome, epics and features provide
the layer above individual team sprints — and
[programs](https://helpdesk.orangescrum.com/guide/cloud/projects/programs) group the projects those teams work
in.
> **Structure is not coordination**
>
> A tidy hierarchy does not make teams talk to each other. The cross-team
> [dependencies](https://helpdesk.orangescrum.com/guide/cloud/tasks/subtasks-and-dependencies) still need to be
> recorded and actively managed.
## Start simple
**Sprints and tasks only**
Run this until it visibly stops working.
**Add epics when work spans sprints**
When you keep asking "how is the onboarding work going?" and cannot answer
from a sprint board.
**Add features only if the middle layer helps**
Most teams never need it. Adding it "for completeness" creates overhead
without insight.
- [Backlog](https://helpdesk.orangescrum.com/guide/cloud/agile/backlog): Where epics live before they are broken down.
- [Reports](https://helpdesk.orangescrum.com/guide/cloud/agile/reports): Progress across epics and sprints.
# Reports
> Velocity, burndown, sprint reports and dashboards — what they measure and how to read them without fooling yourself.
> For the complete documentation index, see [llms.txt](https://helpdesk.orangescrum.com/llms.txt).
Source: https://helpdesk.orangescrum.com/guide/cloud/agile/reports
---
> **Agile charts on Pro, advanced dashboards on Premium**
>
> Velocity and burndown come with the agile framework on Pro Unlimited. Advanced
> reports and dashboards are Premium.
## Velocity
How much the team actually completed per sprint, in whatever unit you estimate.
Its only legitimate use is **forecasting**: if you average 30 points a sprint
and the remaining work is 150 points, you have about five sprints left.
> **Never use velocity as a target**
>
> The moment it becomes a goal, estimates inflate. The number goes up, nothing
> more gets delivered, and you have destroyed your only forecasting tool. Never
> compare velocity between teams either — estimates are not calibrated across
> teams and never will be.
### Reading it
| Pattern | Likely meaning |
| --- | --- |
| Stable across sprints | Healthy. Forecast with confidence |
| Steadily rising | Either genuine improvement, or estimate inflation. Check throughput in task counts |
| Volatile | Inconsistent estimating, or interruptions |
| Falling | Technical debt, absence, or work getting harder |
> **Tip**
>
> Ignore the first three sprints of a new team entirely. There is no signal
> there.
## Burndown
Remaining work over the sprint. Its value is in-flight — it tells you on day
four whether you are in trouble.
- **Steady decline**: Healthy. Work is being finished throughout.
- **Flat then a cliff**: Everything completes on the last day. Usually means tasks are too big, or work is not being closed as it finishes.
- **Flat all sprint**: Something is stuck. Find it now, not at review.
- **Line goes up**: Scope was added mid-sprint. That is what breaks a time box.
## Sprint reports
A per-sprint summary: what was committed, what completed, what carried over.
Exportable to PDF for stakeholders.
The number worth watching over time is **committed versus completed**. A team
consistently completing 60% of its commitment does not have a productivity
problem — it has a planning problem.
## Advanced dashboards
Cross-project views for people who do not work in a single project: portfolio
progress, resource utilisation, budget consumption, workload distribution.
> **Roll-ups inherit their inputs**
>
> A portfolio dashboard is only as good as the project data behind it. One team
> not maintaining statuses makes the whole view confidently wrong. Fix project
> hygiene before trusting the roll-up.
## Using reports honestly
**Measure the process, not the people**
These charts describe how work flows. The moment they are used to rank
individuals, people optimise the numbers instead of the work, and the data
becomes worthless.
**Trends beat snapshots**
One sprint is noise. Look at five before concluding anything.
**Ask why before acting**
A dip might be two people on holiday. Investigate before responding.
**Pick a few metrics and stick to them**
Watching twenty means watching none. Velocity, carryover and cycle time are
enough for most teams.
## Getting data out
Sprint reports export to PDF; task lists export to CSV — see
[Import and export](https://helpdesk.orangescrum.com/guide/cloud/tasks/import-and-export).
For anything ongoing, use the [Developer API](https://helpdesk.orangescrum.com/guide/api/introduction) rather
than scheduled exports.
- [Sprints](https://helpdesk.orangescrum.com/guide/cloud/agile/sprints): Where the numbers come from.
- [Resource management](https://helpdesk.orangescrum.com/guide/cloud/time/resource-management): Utilisation and workload reporting.
# Time tracking
> Log hours with the timer or manually, and get data that is actually worth having.
> For the complete documentation index, see [llms.txt](https://helpdesk.orangescrum.com/llms.txt).
Source: https://helpdesk.orangescrum.com/guide/cloud/time/time-tracking
---
> **Pro and Premium**
>
> The timer, timesheets and approvals require Pro Unlimited or above. The
> [Community Edition](https://helpdesk.orangescrum.com/guide/community/usage/time-entry) has manual entry only.
## Decide why you are tracking
This determines everything else, and teams that skip it end up with data nobody
uses.
- **Client billing**: Accuracy matters to the hour. Billable/non-billable matters. Approvals matter.
- **Estimate calibration**: Rough is fine. You want to know that "two days" tasks take four.
- **Capacity planning**: You need coverage, not precision. Where does the team's time actually go?
- **Because someone said so**: Do not. Tracking nobody uses produces fiction and resentment.
## Two ways to log
### The timer
Start it from the task, stop when you finish. Most accurate, because it does not
rely on memory.
> **Remember to stop it**
>
> A timer left running overnight produces a 14-hour entry. Check for running
> timers at the end of the day, and correct rather than deleting — the entry
> still represents real work.
### Manual entry
Add hours against a task with a date and description. Better for people who work
in long uninterrupted blocks, or who forget the timer.
## Log daily
The single habit that determines whether time data is worth anything.
- **Logged daily**: Roughly accurate. Five minutes at the end of the day.
- **Logged Friday afternoon**: Fiction. Nobody remembers Tuesday, so the week gets divided into plausible round numbers.
## Write useful descriptions
"Worked on task" tells you nothing later. "Traced the redirect loop to the
session cookie domain" tells you everything — including why it took four hours.
> **Tip**
>
> When a client queries an invoice, the descriptions are what you show them. Write
> them as if they will be read by someone outside the team, because they might
> be.
## Log against real tasks
If there is no task for the work, create one. A catch-all "misc" or "admin" task
absorbing 30% of the team's hours hides exactly the information you were trying
to collect.
## Billable and non-billable
Mark entries billable or not, and set rates per project or per person. Feeds
[budget and cost](https://helpdesk.orangescrum.com/guide/cloud/time/budget-and-cost) and invoicing.
Decide the rules up front — is internal meeting time billable? travel? — and
write them down. Ambiguity here produces inconsistent data across the team.
## Making it stick
**Explain what it's for**
People log time honestly when they understand the purpose and it is not
surveillance.
**Show them the output**
If nobody ever sees a report built from this data, logging feels pointless —
and the quality drops accordingly.
**Never use it to compare people**
The fastest way to get fictional data. Hours logged are not a measure of
contribution.
**Make it a two-minute habit**
End of day, every day. Not a weekly chore.
## Reviewing
Time entries roll into [timesheets](https://helpdesk.orangescrum.com/guide/cloud/time/timesheets-and-approvals)
for approval, and into
[budget and cost](https://helpdesk.orangescrum.com/guide/cloud/time/budget-and-cost) reporting.
The most useful comparison is **estimate versus actual**. It is how estimates
get better, and it only works if the logging is honest.
- [Timesheets and approvals](https://helpdesk.orangescrum.com/guide/cloud/time/timesheets-and-approvals): Weekly submission and sign-off.
- [Budget and cost](https://helpdesk.orangescrum.com/guide/cloud/time/budget-and-cost): What the hours cost.
# Timesheets and approvals
> Weekly timesheet submission and manager sign-off, without turning it into a bottleneck.
> For the complete documentation index, see [llms.txt](https://helpdesk.orangescrum.com/llms.txt).
Source: https://helpdesk.orangescrum.com/guide/cloud/time/timesheets-and-approvals
---
> **Pro and Premium**
>
> Timesheets and approvals require Pro Unlimited or above.
A timesheet collects a person's [time entries](https://helpdesk.orangescrum.com/guide/cloud/time/time-tracking)
for a week into one view they submit, and a manager approves.
## The weekly cycle
**Log daily**
The timesheet assembles itself from entries logged as work happens. It is
not a form to fill in on Friday.
**Review before submitting**
Check for gaps, timers left running, and days that total 14 hours. Fix them
now — after approval it is a correction request.
**Submit**
Usually end of week. Once submitted it locks pending review.
**Manager approves or returns it**
With a reason if returned, so the person knows what to fix.
## Do you need approvals?
- **Yes**: You invoice clients from these hours, or a contract or regulation requires sign-off.
- **Probably not**: Time is for internal estimate calibration. Approvals add a step and catch almost nothing.
> **Approval is not a rubber stamp — or a bottleneck**
>
> A manager approving forty timesheets in two minutes is not reviewing anything,
> and the process is pure overhead. A manager who takes a week to approve blocks
> invoicing. If neither is working, drop approvals.
## Approving well
**Approve on a schedule**
Monday morning, every week. Predictable beats fast-but-erratic.
**Look for the things that matter**
Missing days, implausible totals, everything against one catch-all task,
billable flags that look wrong.
**Return with a reason**
"Please split Wednesday between the two projects" is actionable. "Rejected"
is not.
**Have a deputy**
Approvals should not stop because one person is away.
## Corrections after approval
Time gets logged wrong, and it is usually discovered after approval. Agree the
process in advance:
- Who can reopen an approved timesheet
- What happens if the period is already invoiced
- Whether corrections are adjustments or amendments
> **Premium keeps a record**
>
> On Premium, the [audit trail](https://helpdesk.orangescrum.com/guide/cloud/admin/audit-trail) records
> submissions, approvals and changes — which is what you need when a client
> queries an invoice months later.
## Common problems
**Everyone submits late**
Usually because they are reconstructing the week rather than logging daily.
Fix the daily habit; the timesheet then takes thirty seconds.
**Every week is exactly 40 hours**
A sign of fiction, not discipline. Real weeks are lumpy. Investigate before
building invoices on it.
**Approvals pile up**
Either the approver is overloaded, or approval adds no value here. Fix one
or drop the other.
**Entries are all on one task**
People are logging against a catch-all rather than real tasks. That hides
exactly what you wanted to measure.
## What it feeds
- [Budget and cost](https://helpdesk.orangescrum.com/guide/cloud/time/budget-and-cost): Approved hours drive cost and invoicing.
- [Resource management](https://helpdesk.orangescrum.com/guide/cloud/time/resource-management): Actual hours versus planned capacity.
# Resource management
> See who is committed to what, spot overload before it happens, and plan capacity honestly.
> For the complete documentation index, see [llms.txt](https://helpdesk.orangescrum.com/llms.txt).
Source: https://helpdesk.orangescrum.com/guide/cloud/time/resource-management
---
> **Premium Unlimited**
>
> Resource management, availability and utilisation are Premium features. Basic
> workload management is available on Pro.
Resource management answers three questions: **who is available**, **who is
overloaded**, and **can we take this on?**
## Allocation
Assign people to projects with a percentage of their time and a date range —
"Priya, 50% on Website Redesign, March to May".
> **Allocation is a plan, not a fact**
>
> What people are allocated to and what they actually work on diverge. Compare
> allocation against logged
> [time](https://helpdesk.orangescrum.com/guide/cloud/time/time-tracking) regularly, or you are planning against
> fiction.
## Availability
Capacity minus commitments minus absence. Feeds:
- **Can we take this on?**: Real available hours in the window, not a hopeful guess.
- **Who can help?**: Who genuinely has room this week.
- **When can we start?**: The earliest date the right people are free.
- **Who is drowning?**: Over-allocation, visible before it becomes a missed deadline.
## Utilisation
Booked or logged time as a percentage of capacity. Useful, and very easy to
misuse.
> **100% utilisation is a broken system, not a good one**
>
> A team booked to 100% has no capacity to absorb anything — a sick day, an
> incident, a task that turns out harder than expected. Everything becomes late
> the moment reality intrudes. Sustainable planning sits around 70–80%.
The remaining 20–30% is not waste. It is meetings, code review, helping
colleagues, learning, and the buffer that lets a plan survive contact with the
week.
## Planning honestly
**Start from real capacity**
Subtract holidays, public holidays, known absence, and standing meetings.
What is left is what you can plan.
**Plan to 70–80%**
Not 100%. The gap is what absorbs the unexpected.
**Check for over-allocation**
Someone at 130% across three projects will miss on all three, and each
project manager will think they were unlucky.
**Reconcile with actuals**
Monthly, compare allocation to logged time. Adjust the plan to reality
rather than insisting reality was wrong.
## Over-allocation
The most common and most damaging problem, because each project sees only its
own slice.
**Spot it early**
The availability view shows total commitment across every project. This is
the only place over-allocation is visible.
**Fix it by deciding, not by hoping**
Something must give: move a date, reduce scope, or reassign. Splitting
someone across four projects and hoping is the option that always fails.
**Watch context switching**
Someone at 25% on four projects is far less productive than someone at 100%
on one. The percentages add up; the productivity does not.
## Skills and matching
Availability is necessary but not sufficient — the available person also has to
be able to do the work. Record skills so the answer to "who is free?" is not
someone who cannot take it on.
## Reporting
Utilisation, allocation and availability roll into the
[advanced dashboards](https://helpdesk.orangescrum.com/guide/cloud/agile/reports), across projects and
[programs](https://helpdesk.orangescrum.com/guide/cloud/projects/programs).
- [Budget and cost](https://helpdesk.orangescrum.com/guide/cloud/time/budget-and-cost): What allocated time costs.
- [Time tracking](https://helpdesk.orangescrum.com/guide/cloud/time/time-tracking): The actuals to reconcile against.
# Budget and cost
> Track spend against budget, understand where money goes, and invoice from tracked time.
> For the complete documentation index, see [llms.txt](https://helpdesk.orangescrum.com/llms.txt).
Source: https://helpdesk.orangescrum.com/guide/cloud/time/budget-and-cost
---
> **Budget on Pro, cost reports and invoicing on Premium**
>
> Project budget and cost management come with Pro Unlimited. Budget and cost
> reports and invoice management are Premium.
## How cost is calculated
Cost comes from **logged time × rate**. Which means it is only as good as your
[time tracking](https://helpdesk.orangescrum.com/guide/cloud/time/time-tracking).
> **Bad time data makes cost reporting worse than useless**
>
> A cost report built on hours reconstructed on Friday afternoon is not
> approximately right — it is confidently wrong, and people make decisions on
> it. Fix the logging habit before trusting the numbers.
## Setting a budget
**Set it on the project**
Total budget in project settings, in money or hours.
**Set rates**
A default project rate, or per-person rates where they differ meaningfully.
**Decide what's billable**
Meetings? Travel? Rework? Write the rules down — otherwise each person
decides differently and the data is inconsistent.
**Set an alert threshold**
80% is a useful trigger. Finding out at 100% is finding out too late.
## Tracking spend
The budget view shows spend to date, remaining, and burn rate.
The number that actually predicts trouble is **burn rate against progress**:
- **60% budget, 60% done**: On track.
- **60% budget, 30% done**: You will be roughly double budget. Act now, not at 90%.
- **30% budget, 60% done**: Either genuinely efficient, or time is not being logged. Check which.
- **100% budget, 80% done**: The conversation you should have had at 60%.
## When a project is going over
**Say so early**
The options at 60% are real. At 95% the only option is asking for more
money.
**Find out why**
Underestimated? Scope grew? Rework? Each has a different fix, and guessing
picks the wrong one.
**Separate must-have from nice-to-have**
Cutting scope is usually more palatable than a budget increase.
**Re-baseline once**
A budget revised three times is not a budget.
## Invoicing
Generate invoices from approved billable time.
**Approve the timesheets**
Invoice from [approved](https://helpdesk.orangescrum.com/guide/cloud/time/timesheets-and-approvals) time
only. Invoicing unreviewed entries is how disputes start.
**Generate the invoice**
For a project and period, from billable entries.
**Read it before sending**
Check the line descriptions. They are what the client reads, and vague ones
invite queries.
**Send and track**
Record payment against it.
> **Tip**
>
> Time entry descriptions become invoice lines. That is the real reason to write
> useful ones — see
> [Time tracking](https://helpdesk.orangescrum.com/guide/cloud/time/time-tracking#write-useful-descriptions).
## Reporting
Budget and cost reports cover spend by project, by person and by period, and
roll up across [programs](https://helpdesk.orangescrum.com/guide/cloud/projects/programs).
The most valuable comparison is **estimate versus actual cost** across finished
projects. It is how quoting gets better, and most teams never look at it.
## Common mistakes
**Only checking budget at the end**
By then nothing can be done. Check weekly.
**Ignoring unbilled time**
Non-billable hours still cost you. A project that is profitable on billable
hours alone may not be.
**One rate for everyone**
Fine if true. If a senior and a junior cost very different amounts, one rate
makes every project report wrong in a different direction.
**Not looking back after delivery**
The estimate-versus-actual comparison on a finished project is the single
most useful number you have for the next quote.
- [Time tracking](https://helpdesk.orangescrum.com/guide/cloud/time/time-tracking): Where the numbers come from.
- [Resource management](https://helpdesk.orangescrum.com/guide/cloud/time/resource-management): Planned cost from allocation.
# Test Case Manager
> Write test cases and scenarios, organise them into steps, and link failures to defects.
> For the complete documentation index, see [llms.txt](https://helpdesk.orangescrum.com/llms.txt).
Source: https://helpdesk.orangescrum.com/guide/cloud/quality/test-case-manager
---
> **Premium Unlimited**
>
> The Test Case Manager is a Premium feature.
Structured test management inside the same workspace as the work being tested —
so a failing test links to a defect, which links to the task that fixes it.
## The structure
| Level | What it is |
| --- | --- |
| **Test scenario** | A grouping — a feature area or user journey |
| **Test case** | One thing being verified |
| **Test step** | An ordered action with an expected result |
| **Defect** | Raised when a case fails |
## Writing test cases
**Start from the scenario**
Group by feature area — "Checkout", "User registration". Scenarios keep a
large suite navigable.
**One outcome per case**
"Checkout succeeds with a saved card" is a case. "Checkout works" is a
scenario.
**Write steps someone else can follow**
Each step: an action and an expected result. If it only makes sense to the
author, it will not survive them leaving.
**State the preconditions**
What data and state must exist first. Most "flaky" manual tests are actually
unstated preconditions.
> **Tip**
>
> The test is whether someone who has never seen the feature can execute the
> case from the steps alone. If not, add detail.
## Steps
Steps are ordered and reorderable. Keep them at a consistent granularity — a
case with two enormous steps and eight trivial ones is hard to execute and
harder to maintain.
## Running tests
Execute a case, record the result per step, and raise a
[defect](https://helpdesk.orangescrum.com/guide/cloud/quality/defects) from a failure. The defect carries the
link back, so whoever picks it up can see exactly what was being tested.
## Keeping a suite maintainable
This is where test suites usually fail — not in writing them, but in keeping
them true.
**Delete cases that no longer apply**
A suite full of cases for removed features trains people to ignore failures.
That is worse than having no suite.
**Update cases when the feature changes**
Make it part of the task that changes the feature, not a separate cleanup
that never happens.
**Prefer fewer, better cases**
Two hundred maintained cases beat a thousand where half are stale. Coverage
numbers are not the goal.
**Give scenarios owners**
Unowned areas of the suite decay silently.
## Import and export
Test cases can be imported in bulk — useful when migrating from a spreadsheet or
another tool. Review a sample after importing; formatting rarely survives
untouched.
## Manual and automated
The Test Case Manager covers **manual** testing. It complements automated tests
rather than replacing them.
- **Automate**: Anything run every build: regression, API contracts, unit-level behaviour.
- **Test manually**: Exploratory testing, usability, visual checks, and things too expensive to automate.
> **Don't manually re-run what CI already covers**
>
> It is slow, it is boring, and bored testers miss things. Manual effort belongs
> where a human notices what a script cannot.
## API access
Test cases, scenarios and steps are all reachable from the
[Developer API](https://helpdesk.orangescrum.com/guide/api/introduction) — useful for syncing with an external
QA tool or generating cases programmatically.
- [Next: defects](https://helpdesk.orangescrum.com/guide/cloud/quality/defects): Raising, triaging and closing bugs.
# Defects
> Raise, triage and close bugs — and link them to the tests and tasks they relate to.
> For the complete documentation index, see [llms.txt](https://helpdesk.orangescrum.com/llms.txt).
Source: https://helpdesk.orangescrum.com/guide/cloud/quality/defects
---
> **Pro and Premium**
>
> Bug and defect management comes with Pro Unlimited. Linking defects to test
> cases requires the Premium [Test Case Manager](https://helpdesk.orangescrum.com/guide/cloud/quality/test-case-manager).
## Raising a defect
A defect report is only useful if someone else can reproduce it. Four things
are non-negotiable:
**Steps to reproduce**
Numbered, from a known starting state. "It breaks sometimes" is not a
report.
**Expected versus actual**
Both. "It's broken" leaves the reader guessing what correct looks like.
**Environment**
Browser, OS, device, version, which environment. Half of all "cannot
reproduce" outcomes are environment mismatches.
**Evidence**
Screenshot, recording, console output, request id.
> **A defect nobody can reproduce gets closed**
>
> Not because it is not real, but because there is nothing to act on. The ten
> minutes spent writing a proper report saves hours of back-and-forth.
## Severity and priority
Two different things, and conflating them is why triage meetings drag.
| | Asks |
| --- | --- |
| **Severity** | How bad is the impact when it happens? |
| **Priority** | When are we going to fix it? |
A crash affecting one user on an obsolete browser is **high severity, low
priority**. Cosmetic misalignment on the signup page is **low severity, high
priority** — because it is the first thing every prospect sees.
## Triage
Regular, short, and decisive. The output of triage is a decision per defect, not
a discussion.
- **Fix now**: Goes into the current sprint. Something else comes out.
- **Fix soon**: Into the [backlog](https://helpdesk.orangescrum.com/guide/cloud/agile/backlog), ranked honestly against features.
- **Won't fix**: Say so, with a reason. An honest "won't fix" beats a defect that sits open for two years.
- **Need more info**: Back to the reporter with a specific question — and a deadline, or it stalls forever.
> **A defect list nobody triages is a graveyard**
>
> Once it passes a few hundred untriaged items, people stop reading it and start
> reporting bugs in chat instead. Triage weekly and close aggressively.
## Linking
A defect can be linked to the test case that found it, the task that fixes it,
and the release it affects.
That chain is what makes the data worth keeping: months later you can see what
was being tested, what broke, and what was changed to fix it.
## Status flow
A workable default:
| Status | Means |
| --- | --- |
| **New** | Raised, not triaged |
| **Confirmed** | Reproduced, accepted |
| **In progress** | Being fixed |
| **Ready to verify** | Fixed, awaiting retest |
| **Closed** | Verified fixed |
| **Won't fix** | Accepted and declined, with a reason |
> **Tip**
>
> **Ready to verify** is the status teams most often omit, and the one that
> prevents defects being closed by the developer who fixed them without anyone
> else checking.
## Patterns worth noticing
Individual defects are noise; the pattern is the signal.
**The same area keeps breaking**
That is a design or test-coverage problem, not a run of bad luck. Fix the
cause, not the tenth symptom.
**Defects spike after every release**
Insufficient pre-release testing, or releases too large to verify.
**Most defects come from one source**
If a single customer or tester finds most bugs, everyone else has stopped
reporting — usually because reports went nowhere.
**Reopened defects**
Fixes that do not hold mean the root cause was not found. Track reopen rate.
## API access
Defects are available through the [Developer API](https://helpdesk.orangescrum.com/guide/api/introduction) —
list, create, update, link and change status — so you can sync with an external
support desk or monitoring tool.
- [Test Case Manager](https://helpdesk.orangescrum.com/guide/cloud/quality/test-case-manager): Where defects come from.
- [Defects API](https://helpdesk.orangescrum.com/guide/api/endpoints/defects/defects-list): Programmatic access.
# Integrations
> Connect Orangescrum to the tools your team already uses — Git, Azure DevOps, Google Workspace and more.
> For the complete documentation index, see [llms.txt](https://helpdesk.orangescrum.com/llms.txt).
Source: https://helpdesk.orangescrum.com/guide/cloud/integrations/overview
---
> **Pro and Premium**
>
> Git sync and Google Workspace integrations require Pro Unlimited or above.
> SSO is Premium. See the
> [feature matrix](https://helpdesk.orangescrum.com/guide/cloud/plans/feature-matrix).
## What's available
- [Git sync](https://helpdesk.orangescrum.com/guide/cloud/integrations/git-sync): GitHub, GitLab and Bitbucket. Link commits, branches and pull requests to tasks.
- [Azure DevOps](https://helpdesk.orangescrum.com/guide/cloud/integrations/azure-devops): Sync work items between Orangescrum and Azure Boards.
- [Google Workspace](https://helpdesk.orangescrum.com/guide/cloud/integrations/google-workspace): Calendar sync and Drive attachments.
- [Developer API](https://helpdesk.orangescrum.com/guide/api/introduction): Build your own — 59 REST endpoints.
- [MCP / AI Connect](https://helpdesk.orangescrum.com/guide/mcp/introduction): Connect Claude, Cursor or Copilot directly.
- [SSO](https://helpdesk.orangescrum.com/guide/cloud/admin/security): Single sign-on with your identity provider.
## Choosing what to connect
Every integration is a thing that can break, produce noise, or drift out of
sync. Connect the ones that remove real manual work.
**Start with where you lose time**
If people copy ticket numbers into commit messages by hand, Git sync pays
for itself immediately. If nobody does that, it will not.
**One at a time**
Connect it, use it for a fortnight, then decide whether to add another.
Turning on five at once means you cannot tell which one is causing the noise.
**Set it up per project**
Most integrations are configured per project, so each links to the right
repository or calendar.
**Check what it generates**
An integration that posts a notification for every commit will be muted
within a week — including the notifications that mattered.
## Two-way sync needs care
> **Two-way sync means two sources of truth**
>
> When the same item exists in two systems and both can edit it, they will
> eventually disagree. Decide which system owns which field **before** turning
> it on — for example, Orangescrum owns priority and assignee, the other tool
> owns status.
This applies most to [Azure DevOps](https://helpdesk.orangescrum.com/guide/cloud/integrations/azure-devops).
Git sync is largely one-way and much safer.
## Permissions
Integrations authenticate as a user or an app, and inherit those permissions.
**Use a service account where you can**
An integration wired to a person's account breaks when that person leaves.
**Grant the narrowest scope that works**
Read-only if the integration only reads.
**Review connections periodically**
Disconnect what nobody uses. Every live connection is exposure.
## When something stops syncing
**Check the credential first**
Expired tokens and revoked access are the most common cause by a wide
margin, and they fail quietly.
**Then check the mapping**
A status or field renamed on either side breaks the mapping. Renaming
statuses is a frequent trigger.
**Then check permissions**
Someone's access changed, or a repository moved.
**Then reconnect**
Re-authorising fixes a surprising proportion of problems.
## Building your own
If nothing off the shelf fits, the [Developer API](https://helpdesk.orangescrum.com/guide/api/introduction)
covers projects, tasks, timelogs, users, test cases, defects and checklists.
- [Developer API](https://helpdesk.orangescrum.com/guide/api/introduction): 59 endpoints, HMAC-signed, with an OpenAPI spec.
# Git sync
> Connect GitHub, GitLab or Bitbucket so commits, branches and pull requests link to tasks automatically.
> For the complete documentation index, see [llms.txt](https://helpdesk.orangescrum.com/llms.txt).
Source: https://helpdesk.orangescrum.com/guide/cloud/integrations/git-sync
---
> **Pro and Premium**
>
> GitHub, GitLab and Bitbucket sync require Pro Unlimited or above.
Git sync links code to the task it belongs to. Reference a task key in a commit
message or branch name and the commit appears on that task — no manual copying,
and a permanent record of which change addressed which requirement.
## Connecting
**Open project settings → Integrations**
Git sync is configured **per project**, so each project links to the right
repository.
**Authorise the provider**
GitHub, GitLab or Bitbucket. You will be asked to grant access.
> **Tip**
>
> Use a service account rather than a personal one. A connection wired to an
> individual breaks the day they leave.
**Pick the repository**
One project can watch more than one repo where that reflects reality.
**Test it**
Push a commit referencing a task key and confirm it appears on the task.
## Referencing tasks
Include the task key — the project short name plus the number — in the commit
message or branch name:
```bash
git commit -m "WR-142 fix checkout redirect on mobile Safari"
git checkout -b WR-142-checkout-redirect
```
> **The short name must match**
>
> The key comes from the project's short name. If the short name is changed
> after people have started referencing it, older commits stop linking. Settle
> the short name early — see
> [Create a project](https://helpdesk.orangescrum.com/guide/cloud/projects/create-a-project).
## What appears on the task
| Event | Shown |
| --- | --- |
| Commit | Message, author, hash, link |
| Branch | Name and status |
| Pull / merge request | Title, state, reviewers |
Which makes a few questions answerable that otherwise are not: what code
implemented this? was it reviewed? has it shipped?
## Habits that make it work
- **Reference in the first line**: Some tooling truncates commit bodies. Put the key at the front.
- **Branch names too**: Then the whole branch links, not just individual commits.
- **One task per branch**: A branch touching five tasks makes the history unreadable.
- **Say what changed**: "WR-142 fix" links correctly and explains nothing. The message is read far more often than it is written.
## Automation
On Pro and above you can automate on Git events — move a task to **In review**
when a pull request opens, or to **Done** when it merges.
> **Merged is not always done**
>
> If your definition of done includes deployment or verification, auto-closing
> on merge marks work complete before it is. Move it to Ready to verify instead.
## Troubleshooting
**Commits aren't appearing**
In order: is the key formatted correctly (`WR-142`, matching the project
short name)? Is the connection still authorised — tokens expire silently? Is
the repo actually the one linked to this project?
**It stopped working after someone left**
The integration was authorised with their account. Reconnect with a service
account.
**Wrong task gets linked**
Two projects with the same or similar short names. Short names need to be
unique — that is what they are for.
**Too many notifications**
Every commit is generating a notification. Tune it in project notification
settings, or people will mute the project entirely.
- [Azure DevOps](https://helpdesk.orangescrum.com/guide/cloud/integrations/azure-devops): Work item sync with Azure Boards.
- [All integrations](https://helpdesk.orangescrum.com/guide/cloud/integrations/overview): What else you can connect.
# Azure DevOps
> Sync work items between Orangescrum and Azure Boards without creating two conflicting sources of truth.
> For the complete documentation index, see [llms.txt](https://helpdesk.orangescrum.com/llms.txt).
Source: https://helpdesk.orangescrum.com/guide/cloud/integrations/azure-devops
---
> **Pro and Premium**
>
> The Azure DevOps integration requires Pro Unlimited or above.
Connects Orangescrum projects to Azure Boards so work items stay aligned across
both — typically where engineering lives in Azure DevOps while planning,
resourcing and client reporting happen in Orangescrum.
## Decide the ownership model first
This is the decision that determines whether the integration helps or creates
constant confusion.
> **Two systems that can both edit the same field will disagree**
>
> Not "might" — will. Decide which system owns which field **before** connecting,
> write it down, and configure the sync to match.
A model that works in practice:
| Field | Owned by | Why |
| --- | --- | --- |
| Title, description | Either, synced | Rarely contested |
| **Status** | Azure DevOps | Engineers update it where they work |
| **Assignee** | Azure DevOps | Same reason |
| **Priority, dates** | Orangescrum | Planning happens here |
| **Estimates** | Orangescrum | Feeds velocity and budget |
## Connecting
**Open project settings → Integrations**
Configured per project.
**Authorise Azure DevOps**
Use a service account, not an individual's. A connection tied to a person
breaks when they leave.
**Select the organisation and project**
Map one Orangescrum project to one Azure Boards project.
**Map work item types**
Azure's User Story, Bug and Task map to your Orangescrum types. Get this
right — a bad mapping is tedious to unpick once items exist.
**Map statuses**
Azure states to your
[custom statuses](https://helpdesk.orangescrum.com/guide/cloud/tasks/custom-fields-and-statuses). Any state
without a mapping will not sync.
**Set the sync direction per field**
Following the ownership model you agreed.
## Test before trusting
**Start with one small project**
Never a live one with hundreds of items.
**Create an item on each side**
Confirm it appears in the other, with the fields you expect.
**Edit the same item on both sides**
Deliberately create a conflict and see what happens. This is the behaviour
you most need to understand.
**Then roll out**
One project at a time.
## Keeping it healthy
- **Don't rename statuses casually**: A rename on either side breaks the mapping silently. Update both.
- **Watch the sync log**: Failures are usually quiet. Check it rather than waiting for someone to notice a stale item.
- **Agree where to comment**: Comments in two places means half the conversation is invisible to half the team. Pick one.
- **Review quarterly**: Mappings drift as both tools evolve.
## Troubleshooting
**Items stopped syncing**
Check the credential first — Azure tokens expire. Then check whether a
status or work item type was renamed.
**Some items sync, others don't**
Almost always an unmapped work item type or status. Items in an unmapped
state are skipped.
**Fields keep reverting**
Both sides own the field and are overwriting each other. Fix the sync
direction — this is the ownership model problem.
**Duplicates appeared**
Usually a reconnection that did not recognise existing links. Stop the sync
before cleaning up, or you will be deleting duplicates faster than they are
recreated.
## Is it worth it?
- **Yes**: Engineering genuinely lives in Azure Boards, and planning or client reporting genuinely lives in Orangescrum. Both are used daily.
- **Probably not**: One tool is barely used. Syncing two systems where one is abandoned adds complexity and no benefit — consolidate instead.
- [All integrations](https://helpdesk.orangescrum.com/guide/cloud/integrations/overview): What else you can connect.
# Google Workspace
> Sync deadlines to Google Calendar and attach files from Drive without consuming workspace storage.
> For the complete documentation index, see [llms.txt](https://helpdesk.orangescrum.com/llms.txt).
Source: https://helpdesk.orangescrum.com/guide/cloud/integrations/google-workspace
---
> **Pro and Premium**
>
> Google Calendar and Drive integrations require Pro Unlimited or above.
## Google Calendar
Pushes Orangescrum dates into Google Calendar so deadlines sit alongside
meetings — which is where most people actually look.
**Connect your Google account**
From your profile or project settings. You will be asked to grant calendar
access.
**Choose what syncs**
Your assigned task due dates, project milestones, and sprint dates.
**Pick a target calendar**
Use a **separate calendar**, not your primary one. You can then toggle it
off during a focused week without losing your meetings.
> **Sync everything and you will read nothing**
>
> Forty task entries a day buries your actual meetings, and people respond by
> hiding the calendar entirely — including the deadlines that mattered. Sync
> your own due dates and project milestones. Nothing else.
### Direction
Sync runs **from Orangescrum to Google**. Editing an event in Google does not
move the task — change the date in Orangescrum.
## Google Drive
Attach Drive files to tasks by link rather than uploading a copy.
- **Link from Drive**: Doesn't count against [storage](https://helpdesk.orangescrum.com/guide/cloud/plans/plans-and-limits). Always the current version. Drive permissions apply.
- **Upload directly**: Counts against storage. A frozen snapshot. Orangescrum permissions apply.
Link for living documents — specs, designs, sheets people keep editing. Upload
for point-in-time evidence: a screenshot of a bug, a signed-off document.
> **Drive permissions are separate**
>
> A linked file is only visible to people who have access **in Drive**. Someone
> can be a project member and still hit "request access". Check sharing when you
> link something the whole team needs.
## Google sign-in
Sign in with a Google account instead of a password. Distinct from full
[SSO](https://helpdesk.orangescrum.com/guide/cloud/admin/security), which is Premium and enforces
organisation-wide identity policy.
## Connecting well
**Grant the narrowest scope**
Calendar access does not require Drive access. Only grant what you use.
**Connect per person for calendar**
Calendar sync is personal — each user connects their own account.
**Review connections periodically**
Disconnect what nobody uses.
## Troubleshooting
**Calendar events stopped appearing**
The Google authorisation expired or was revoked — often when a workspace
admin changes app access policy. Reconnect.
**Events are on the wrong calendar**
Change the target in the integration settings. Existing events do not move;
they will need clearing manually.
**Colleagues can't open a linked Drive file**
Drive sharing, not Orangescrum permissions. Share the file or the containing
folder with the team.
**Deleted a task but the calendar event remains**
Deletions do not always propagate. Remove the event in Google.
- [Project calendar](https://helpdesk.orangescrum.com/guide/cloud/views/calendar): The in-product calendar view.
- [All integrations](https://helpdesk.orangescrum.com/guide/cloud/integrations/overview): What else you can connect.
# Users and roles
> Manage people, design roles that fit your organisation, and offboard safely.
> For the complete documentation index, see [llms.txt](https://helpdesk.orangescrum.com/llms.txt).
Source: https://helpdesk.orangescrum.com/guide/cloud/admin/users-and-roles
---
Every Cloud tier includes **unlimited users** — access is never a cost decision.
## The default roles
| Role | Scope |
| --- | --- |
| **Admin** | Everything: users, billing, settings, every project |
| **Manager** | Create projects, manage members, approve time |
| **Member** | Work on tasks in projects they belong to |
| **Client / limited** | Restricted view for external stakeholders |
> **Keep admins few**
>
> Admins can see every project, change billing and delete data. Two or three is
> usually right regardless of how senior people are. Admin is a responsibility,
> not a rank.
## Custom roles
Available from Basic Unlimited. Define exactly what a group can do rather than
forcing people into the defaults.
**Start from a real problem**
Create a role when someone genuinely needs a permission set the defaults do
not offer — not to mirror job titles.
**Grant the minimum**
Start restrictive. Widening when someone hits a wall is a two-minute
conversation; unpicking an over-permissioned workspace is a project.
**Keep the list short**
Fifteen roles nobody can distinguish is worse than four clear ones.
**Review it periodically**
Roles accumulate permissions. Check what each one can actually do once or
twice a year.
## Access is project membership
Roles say what someone can do; **project membership** says where. A member with
full permissions who belongs to no projects sees an empty workspace.
This catches people out constantly when onboarding — the invitation goes out,
the person signs in, and there is nothing there.
> **Tip**
>
> On Pro and above, manage membership through
> [teams](https://helpdesk.orangescrum.com/guide/cloud/admin/teams-and-business-units) rather than individually.
> Far less churn when someone joins, moves or leaves.
## Onboarding
**Invite with the right role**
Users → Invite.
**Add them to projects immediately**
In the same sitting.
**Assign real work**
Two or three tasks waiting on day one teaches more than any tour.
**Point them at notification settings**
People flooded in week one mute everything permanently.
## Offboarding
The step most often done badly, and the one with real consequences.
**Reassign their open tasks first**
Tasks stay assigned to a deactivated user and drop out of the team's views.
Do this **before** deactivating.
**Check what they owned**
Projects, milestones, approval responsibilities, and any
[integration](https://helpdesk.orangescrum.com/guide/cloud/integrations/overview) authorised with their
account — integrations tied to a personal account break silently on
departure.
**Deactivate, don't delete**
Deactivating blocks access while keeping their comments, history and logged
time attributable. Deleting orphans all of it.
**Confirm admin coverage**
Never leave the workspace with a single admin, or none.
> **Deactivation is not instant lockout everywhere**
>
> If the person authenticated through [SSO](https://helpdesk.orangescrum.com/guide/cloud/admin/security), also
> remove them at the identity provider. Deactivating in one place only is a
> common gap.
## Auditing access
Review quarterly:
- **Who is an admin?**: It grows quietly. Trim it.
- **Any active leavers?**: Cross-check against HR.
- **Who is in sensitive projects?**: Membership accumulates and is rarely removed.
- **What can each role do?**: Permissions get added and never taken away.
On Premium, the [audit trail](https://helpdesk.orangescrum.com/guide/cloud/admin/audit-trail) records role and
membership changes.
- [Teams and business units](https://helpdesk.orangescrum.com/guide/cloud/admin/teams-and-business-units): Structure above the individual.
- [Security](https://helpdesk.orangescrum.com/guide/cloud/admin/security): Two-factor, SSO and session policy.
# Teams and business units
> Group people so access, reporting and planning follow your organisation instead of fighting it.
> For the complete documentation index, see [llms.txt](https://helpdesk.orangescrum.com/llms.txt).
Source: https://helpdesk.orangescrum.com/guide/cloud/admin/teams-and-business-units
---
> **Teams on Pro, business units on Premium**
>
> Team management requires Pro Unlimited. Business units and organisational
> structuring are Premium.
## Teams
A team is a named group of people. Its value is that **membership becomes a
property of the team**, not of every project individually.
- **Without teams**: A new joiner is added to eleven projects by hand. Someone forgets one, and they cannot see the work for a week.
- **With teams**: Add them to the team. Project access follows.
### Designing teams
**Mirror how people actually work**
Teams that reflect real working groups stay accurate. Teams that mirror the
org chart go stale within a reorg.
**Keep them stable**
A team reshuffled monthly provides no benefit over individual assignment.
**Give each an owner**
Someone responsible for membership.
**Don't over-split**
Six people in three teams of two is overhead with no payoff.
### What teams give you
| Use | Effect |
| --- | --- |
| Project access | Add the team, not eleven people |
| Assignment | Assign to a team, let them pick up |
| Reporting | Velocity and workload per team |
| Resourcing | Capacity at team level |
| Notifications | Notify a group |
## Business units
A level above teams: divisions, departments, regions, or legal entities.
Use them when you need to **report and budget** at a level above the team —
"how is the EMEA division tracking against budget?" — not merely to draw an org
chart.
- **You need them**: Separate P&Ls, distinct budgets, or reporting lines that must not see each other's detail.
- **You don't**: One company, one budget, forty people. Teams are enough.
### What they give you
- Budget and cost reporting rolled up by unit
- Resource capacity and utilisation at unit level
- Access boundaries between parts of the organisation
- Portfolio views scoped to a division
## Structure that survives
**Don't rebuild your org chart**
Org charts change constantly. Model how work is actually grouped, which
changes far less, and you will not be rebuilding this every reorg.
**Two levels is usually enough**
Business unit → team → people. Deeper hierarchies produce reports nobody
reads and access rules nobody understands.
**People work across boundaries**
Someone can be in more than one team. Structure should not force you to
pretend otherwise.
**Review after every reorg**
Stale structure quietly grants access that should have been removed.
## How this interacts with projects and programs
| Concept | Groups |
| --- | --- |
| **Team** | People |
| **Business unit** | Teams |
| **Project** | Work |
| **[Program](https://helpdesk.orangescrum.com/guide/cloud/projects/programs)** | Projects |
Teams and business units organise **who**; projects and programs organise
**what**. They are independent — a program can draw on several teams, and a team
can work across several programs.
- [Users and roles](https://helpdesk.orangescrum.com/guide/cloud/admin/users-and-roles): Permissions for the people in these groups.
- [Resource management](https://helpdesk.orangescrum.com/guide/cloud/time/resource-management): Capacity planning by team and unit.
# Security
> Two-factor authentication, single sign-on, and the settings worth getting right.
> For the complete documentation index, see [llms.txt](https://helpdesk.orangescrum.com/llms.txt).
Source: https://helpdesk.orangescrum.com/guide/cloud/admin/security
---
> **Two-factor on all tiers, SSO on Premium**
>
> Two-factor authentication is available on every plan. Single sign-on requires
> Premium Unlimited.
## Two-factor authentication
The highest-value security change available on any tier, and the cheapest.
**Enable it for admins first**
An admin account can see every project and change billing. If you do nothing
else on this page, do this.
**Then require it workspace-wide**
Announce it, give people a week, then enforce.
**Make sure people save recovery codes**
The support burden of 2FA is almost entirely people who lost their phone and
have no recovery code.
> **Have a recovery path before you enforce**
>
> Know how an admin who loses their second factor gets back in — before it
> happens, not during.
## Single sign-on
Authenticate through your existing identity provider. Worth it when you have
enough people that account lifecycle is a real burden.
- **What you gain**: One set of credentials, central policy enforcement, and offboarding that actually removes access everywhere.
- **What to plan for**: Setup with your IdP, a break-glass admin account, and a decision about whether password login stays enabled.
> **Keep one non-SSO admin**
>
> If SSO breaks or the IdP is misconfigured, an account that can sign in without
> it is the difference between a short incident and being locked out of your own
> workspace. Protect it with 2FA and a strong password.
### Offboarding with SSO
Removing someone at the IdP blocks sign-in, but their Orangescrum account is
still there and still assigned work. Do both:
**Reassign their tasks**
Before anything else.
**Remove them at the identity provider**
Blocks authentication.
**Deactivate in Orangescrum**
Removes them from views and assignment lists.
## Sessions and access
- **Review admins quarterly**: The admin list grows and never shrinks on its own.
- **Audit integration credentials**: Integrations authorised with a departed person's account fail silently. Use service accounts.
- **Check project membership**: Access accumulates. People rarely get removed from projects they have stopped working on.
- **Watch the audit trail**: On Premium — see [Audit trail](https://helpdesk.orangescrum.com/guide/cloud/admin/audit-trail).
## API keys
[Developer API](https://helpdesk.orangescrum.com/guide/api/authentication) keys are credentials with real reach.
**Scope them narrowly**
Read-only where the integration only reads. A wildcard scope should be rare
and deliberate.
**One key per integration**
So you can revoke one without breaking the others, and the audit trail tells
you which system did what.
**Store them properly**
A secrets manager. Never source control, never a shared document. The secret
is shown once and cannot be retrieved.
**Rotate and revoke**
Rotate periodically; revoke immediately when an integration is retired.
> **MCP keys can write**
>
> A key connected to an [AI assistant](https://helpdesk.orangescrum.com/guide/mcp/introduction) lets it create
> and change real records. Start read-only, watch the audit trail, and widen
> scope only once you trust the workflows.
## Data handling
**Attachments inherit project permissions**
A file on a task is visible to that project's members. Sensitive material
belongs in a project with restricted membership, not a general one.
**Linked Drive files have their own permissions**
A [Drive link](https://helpdesk.orangescrum.com/guide/cloud/integrations/google-workspace) is governed by
Google's sharing, not Orangescrum's. The two can disagree.
**Export before downgrading or cancelling**
Access to a tier's data ends with the tier. Export while you still have it.
- [Audit trail](https://helpdesk.orangescrum.com/guide/cloud/admin/audit-trail): Who did what, and when.
- [Security overview](https://www.orangescrum.com/securities): Orangescrum's platform security posture.
# Audit trail
> A record of who changed what and when — for compliance, incident review and settling disputes.
> For the complete documentation index, see [llms.txt](https://helpdesk.orangescrum.com/llms.txt).
Source: https://helpdesk.orangescrum.com/guide/cloud/admin/audit-trail
---
> **Premium Unlimited**
>
> The audit trail and activity logs are Premium features.
The audit trail records actions across the workspace: who did it, what changed,
and when. It is the record you need when something is queried months later and
nobody's memory is reliable.
## What it covers
| Area | Recorded |
| --- | --- |
| **Access** | Sign-ins, role changes, project membership |
| **Data** | Task, project and field changes |
| **Time** | Timesheet submissions, approvals, corrections |
| **Admin** | Settings, subscription, feature toggles |
| **API** | Every [Developer API](https://helpdesk.orangescrum.com/guide/api/introduction) and [MCP](https://helpdesk.orangescrum.com/guide/mcp/introduction) request, with status code and response time |
Individual tasks also carry their own activity history — see
[Task details](https://helpdesk.orangescrum.com/guide/cloud/tasks/task-details#activity-history). The audit
trail is the workspace-wide view.
## What it's actually for
- **Compliance evidence**: Demonstrating access control and change history to an auditor.
- **Incident review**: What changed just before things went wrong.
- **Billing disputes**: When a client queries an invoice, the trail shows when time was logged, submitted, approved and amended.
- **Offboarding checks**: Confirming access was actually removed.
## Using it well
**Know how to search it before you need to**
Nobody learns a new tool well during an incident. Run a query now.
**Narrow by time first**
Then by person or object. Starting broad returns more than you can read.
**Establish the sequence**
The order of events usually tells you more than any single entry.
**Export what matters**
For a formal investigation or audit, export the relevant window rather than
relying on it staying queryable.
## API and MCP activity
Every API request is logged with its status code and response time — including
[MCP](https://helpdesk.orangescrum.com/guide/mcp/introduction) tool calls from an AI assistant.
This is the authoritative record of what an assistant actually did, as opposed
to what it reported doing. If you have connected a read-write key, this log is
how you verify the workflows before widening trust.
> **Tip**
>
> One API key per integration makes this log far more useful — you can tell
> which system made each call.
## What it is not
> **Not a backup, and not a productivity monitor**
>
> The audit trail records that a change happened; it does not let you restore
> the previous state. And using it to monitor individual activity is both a poor
> measure and a fast way to lose the team's trust — it exists for security and
> compliance.
## Related records
- [Task activity](https://helpdesk.orangescrum.com/guide/cloud/tasks/task-details): Per-task history, visible to everyone on the project.
- [Timesheet history](https://helpdesk.orangescrum.com/guide/cloud/time/timesheets-and-approvals): Submissions, approvals and corrections.
- [Security](https://helpdesk.orangescrum.com/guide/cloud/admin/security): The controls the trail records.
- [Users and roles](https://helpdesk.orangescrum.com/guide/cloud/admin/users-and-roles): Access changes that appear here.
# Self-hosted Orangescrum
> The Enterprise edition running on your own servers — the full product, your infrastructure, your data.
> For the complete documentation index, see [llms.txt](https://helpdesk.orangescrum.com/llms.txt).
Source: https://helpdesk.orangescrum.com/guide/self-hosted/get-started/introduction
---
Orangescrum Self-Hosted (also called the On-Premises or Enterprise edition) is
the complete commercial product deployed inside your own environment. Same
feature set as [Cloud](https://helpdesk.orangescrum.com/guide/cloud/get-started/introduction); you own the
servers, the database and the data.
- [Prerequisites](https://helpdesk.orangescrum.com/guide/self-hosted/get-started/prerequisites): Hardware, OS and database requirements before you start.
- [Install](https://helpdesk.orangescrum.com/guide/self-hosted/install/deployment-options): Docker or a traditional Apache/Nginx deployment.
## Who this section is for
Your **IT or operations team**. Installing, backing up and upgrading the server
is a one-time-then-occasional administrative job.
> **Everyday users start elsewhere**
>
> If Orangescrum is already running and you just want to use it, none of this
> applies — go to the [Cloud user guide](https://helpdesk.orangescrum.com/guide/cloud/get-started/introduction).
> The product works identically whoever hosts it.
## Choosing self-hosted
- **Reasons that hold up**: Data residency or regulatory requirements, an internal policy that data cannot leave your network, or an air-gapped environment.
- **Reasons that usually don't**: "It'll be cheaper." Price the operational cost honestly — servers, backups, TLS, monitoring, upgrades and someone on call — against the subscription.
## How it compares
| | Cloud | Self-hosted | [Community](https://helpdesk.orangescrum.com/guide/community/get-started/introduction) |
| --- | :---: | :---: | :---: |
| Full feature set | ✓ | ✓ | — |
| Who operates it | Orangescrum | You | You |
| Your infrastructure | — | ✓ | ✓ |
| Licence | Subscription | Commercial | AGPL v3 (free) |
| Backups, upgrades, TLS | Handled | Your job | Your job |
| Agile, Gantt, resourcing, reporting | ✓ | ✓ | — |
| Add-ons (Wiki, DMS, Test Case Manager, SAFe) | ✓ | ✓ | — |
> **Self-hosted is not the free edition**
>
> The free, open-source [Community Edition](https://helpdesk.orangescrum.com/guide/community/get-started/introduction)
> is also self-hosted, but it is a deliberately reduced product — no agile
> boards, Gantt, reporting, resourcing or integrations. This section covers the
> **commercial** Enterprise edition, which requires a licence.
## What you take on
Running it yourself means owning these, permanently:
**Backups you have tested**
Not just configured — actually restored at least once. See
[Backup](https://helpdesk.orangescrum.com/guide/self-hosted/operate/backup).
**TLS and certificate renewal**
A domain, a certificate, and something that renews it before it expires.
**Upgrades**
Applied in a maintenance window, rehearsed on a copy first. See
[Upgrade](https://helpdesk.orangescrum.com/guide/self-hosted/operate/upgrade).
**Monitoring**
Disk, container health and the error log. Attachment storage is what fills
up first.
**SMTP**
Without working outbound mail, invitations and password resets silently fail.
## Add-ons
The optional modules — Wiki, Document Management, Risk Management, Test Case
Manager, Scaled Agile (SAFe), Advanced Dashboard (Superset), Public API — are
enabled per licence. Some need extra infrastructure: the reporting dashboard
runs its own Superset service and database, which is why the stack has more than
one container.
## Getting help
Deployment questions, licensing and sizing all go through Orangescrum directly —
this is a supported commercial product, not a self-service install.
- [Technical support](mailto:support@orangescrum.com): support@orangescrum.com
- [Sales & licensing](mailto:sales@orangescrum.com): sales@orangescrum.com
- [Next: prerequisites](https://helpdesk.orangescrum.com/guide/self-hosted/get-started/prerequisites): What the servers need before you begin.
# Prerequisites
> Hardware, operating system, database and network requirements for a production self-hosted deployment.
> For the complete documentation index, see [llms.txt](https://helpdesk.orangescrum.com/llms.txt).
Source: https://helpdesk.orangescrum.com/guide/self-hosted/get-started/prerequisites
---
Sizing below is for a production deployment supporting **100 or more concurrent
users**. Smaller teams can scale down; larger or unusual workloads should be
sized with Orangescrum directly.
> **These are starting points, not hard limits**
>
> The figures come from typical processing and operational requirements. For
> tailored sizing, contact sales@orangescrum.com.
## Servers
A production install is **three roles**. They can be separate machines or
co-located on fewer, larger ones — but the database should not share a disk with
attachment storage.
### Application server
| Specification | Requirement |
| --- | --- |
| Instances | 1 |
| Load balancer | 1 — required for high availability |
| CPU | 8 cores minimum |
| RAM | 32 GB or more |
| App install directory | ~100 GB |
| File attachments | 1 TB or more |
| Application logs | 1 GB minimum |
| **Total disk** | **500 GB or more** |
### Database server
| Specification | Requirement |
| --- | --- |
| Instances | 1 |
| CPU | 8 cores minimum |
| RAM | 32 GB or more |
| **Total disk** | **1 TB or more** |
### Auxiliary server — Advanced Dashboard & Wiki
| Specification | Requirement |
| --- | --- |
| Instances | 1 |
| CPU | 8 cores minimum |
| RAM | 32 GB or more |
| **Total disk** | **500 GB or more** |
> **Attachment storage grows without bound**
>
> A NAS can be mounted to extend attachment capacity beyond the initial disk
> allocation. Plan for this before the disk fills rather than after — it is the
> volume that fills first on every long-running install.
## Operating system
| Operating system | Version | Status |
| --- | --- | --- |
| Red Hat Enterprise Linux | 9.6 | Fully supported |
| CentOS Stream | 9 | Fully supported |
| Ubuntu LTS | 22.04 | Fully supported |
## Database
PostgreSQL is the only supported database — there is no MySQL option.
| Component | Version | Notes |
| --- | --- | --- |
| PostgreSQL Server | 16.10 or above | Latest stable |
| EDB Postgres Advanced Server (EPAS) or Community Edition | 16.10 or above | Either is supported |
| pgAdmin | 8.x | Administration and monitoring |
| PostGIS extension | 3.4 | Only if you need geospatial data |
| `psql` CLI client | 16.x | Bundled with the server |
| `libpq` | 16.x | Client connection library |
| `pg_dump` / `pg_restore` | 16.x | Backup and restore |
| cURL | Latest stable | Extension installs and integrations |
> **Version guidance differs by deployment model**
>
> The current prerequisites specify **PostgreSQL 16.10+**. Older Enterprise
> documentation states a floor of PostgreSQL 12 for traditional installs. Deploy
> against 16.x unless Orangescrum support tells you otherwise for your licence
> and version — see [Deployment options](https://helpdesk.orangescrum.com/guide/self-hosted/install/deployment-options).
## Application runtime
Required for a **traditional** (non-container) install. The Docker deployment
bundles all of this in the image.
| Component | Requirement |
| --- | --- |
| PHP | 8.2 or higher |
| PHP extensions | `pdo_pgsql`, `mbstring`, `intl`, `openssl`, `tokenizer`, `json`, `xml`, `ctype`, `curl`, `gd`, `zip` |
| Web server | Apache or Nginx |
| Composer | Latest |
Verify before you start:
```bash
php -v
php -m | grep -E "pdo_pgsql|mbstring|intl|openssl|tokenizer|json|xml|ctype|curl|gd|zip"
psql --version
composer --version
```
For the container deployment you need Docker instead:
| Component | Minimum |
| --- | --- |
| Docker Engine | 24.x |
| Docker Compose plugin | 2.x |
```bash
docker --version
docker compose version
```
## Network and connectivity
| Requirement | Detail |
| --- | --- |
| **Internet access** | Required during initial setup to download packages and images |
| **Domain name** | A valid domain pointed at the server |
| **SSL certificate** | TLS recommended — Let's Encrypt or a commercial certificate |
| **Firewall** | Open 80 (HTTP) and 443 (HTTPS); restrict 5432 (PostgreSQL) to the internal network |
| **Outbound SMTP** | Required for notifications and user invitations |
> **Never expose PostgreSQL publicly**
>
> Port 5432 must be reachable only from the application server. An internet-facing
> database is the single most damaging misconfiguration on a self-hosted install.
## Licence
A valid Orangescrum Enterprise **licence email** is verified during installation
and the key is stored with your instance. Have it to hand before you begin — see
[Licence and versions](https://helpdesk.orangescrum.com/guide/self-hosted/admin/licence).
## Before you begin
**Decide the hostname**
It goes into configuration and every generated email link. Changing it later
means editing config and clearing caches.
**Have SMTP details ready**
Host, port, username, password and from-address. SMTP is set during
installation.
**Plan the backup target**
Somewhere off this machine. See [Backup](https://helpdesk.orangescrum.com/guide/self-hosted/operate/backup).
**Confirm your licence and add-ons**
Which optional modules are covered determines whether you need the auxiliary
server.
- [Next: architecture](https://helpdesk.orangescrum.com/guide/self-hosted/get-started/architecture): What actually runs once it is deployed.
# Architecture
> The services, volumes, ports and data stores that make up a deployed Enterprise instance.
> For the complete documentation index, see [llms.txt](https://helpdesk.orangescrum.com/llms.txt).
Source: https://helpdesk.orangescrum.com/guide/self-hosted/get-started/architecture
---
Knowing what runs where is what makes backup, migration and troubleshooting
straightforward rather than guesswork.
## The container stack
A Docker deployment defines four services:
| Service | Purpose | Port |
| --- | --- | --- |
| `orangescrum-app` | The application | 8080 |
| `orangescrum-postgresdb` | Main PostgreSQL database | 5432 (internal) |
| `orangescrum-reports` | Advanced Dashboard (Superset) | 8088 |
| `orangescrum-reports-db` | Superset's own PostgreSQL database | internal |
> **Two databases, not one**
>
> Reporting runs on Superset, which keeps its own metadata database separate
> from the application's. Both must be backed up — a backup covering only the
> main database restores an instance with no dashboards.
The reports service depends on its database being **healthy** before it starts,
so on a cold boot expect it to come up last. Allow a minute or two before
concluding something is broken.
## Persistent volumes
Four named volumes hold everything that must survive a container rebuild:
| Volume | Mounted at | Contents |
| --- | --- | --- |
| `orangescrum-app-files` | `/var/www/html/webroot/files` | Uploaded files and attachments |
| `orangescrum-app-config` | `/var/www/html/config` | Application configuration |
| `orangescrum-postgres-data` | `/var/lib/postgresql/data` | Main application database |
| `orangescrum-reports-data` | `/var/lib/postgresql/data` | Superset reports database |
> **Volume names are prefixed by the compose project**
>
> On disk they appear as `orangescrum-ee_orangescrum-app-files` and so on. Always
> confirm with `docker volume ls` before writing backup or restore commands —
> guessing the prefix is the most common cause of a restore that silently
> populates nothing.
## Data outside Docker
Not everything lives in a volume:
| Item | Typical location | Why it matters |
| --- | --- | --- |
| Application data root | `/data` (or your configured path) | Application files on the VM host |
| Host config | `/etc/app/` or the app root | Environment-specific settings |
| Cron jobs and scripts | `/etc/cron.d/` or the app folder | Scheduled digests and reminders |
| Compose definition | `docker-compose.yml` | The stack itself |
| Reports image build | `osreports.Dockerfile` | Custom Superset build |
| Secrets | `./secrets/` | Plaintext service passwords |
### The secrets directory
Four files hold credentials the services read at startup:
| File | Used by |
| --- | --- |
| `secrets/postgres_password.txt` | Main database |
| `secrets/reports_admin_user.txt` | Reports service |
| `secrets/reports_admin_email.txt` | Reports service |
| `secrets/reports_admin_password.txt` | Reports service |
> **These are plaintext credentials**
>
> Anything that backs up the secrets directory produces an archive containing
> live passwords. Store those archives encrypted, restrict who can read them, and
> never put the directory in version control.
## Traditional deployment
Without containers the shape is the same, just managed by the host:
- **PHP-FPM behind Apache or Nginx**, document root at `webroot/`
- **PostgreSQL** as a system service
- Attachments under `webroot/files`, configuration in `config/`
- Cron entries for scheduled jobs
Everything above the document root must be unreachable over HTTP.
## Background jobs
Some behaviour depends on scheduled work rather than the request cycle:
- **Daily Catch-Up**: The record is written immediately; the email fires from a background job.
- **Task reminders**: Stored against the task, delivered by a scheduled job at the chosen time.
> **If digests never arrive, check the scheduler first**
>
> The data being present in the database does not mean delivery ran. Confirm the
> cron entries survived your install or migration — they live outside Docker and
> are easy to lose.
## Request path
```
Browser
→ Load balancer / reverse proxy (TLS terminates here)
→ orangescrum-app :8080
→ orangescrum-postgresdb :5432
→ orangescrum-reports :8088 (Advanced Dashboard)
→ orangescrum-reports-db
```
TLS terminates at the proxy; the application itself listens on plain HTTP inside
the network. That is why `443` is what you expose and `8080` is what you do not.
- [Deployment options](https://helpdesk.orangescrum.com/guide/self-hosted/install/deployment-options): Docker or traditional — how to choose.
- [Backup](https://helpdesk.orangescrum.com/guide/self-hosted/operate/backup): Everything on this page, and how to capture it.
# Deployment options
> Containers or a traditional Apache/Nginx install — what each involves and how to choose.
> For the complete documentation index, see [llms.txt](https://helpdesk.orangescrum.com/llms.txt).
Source: https://helpdesk.orangescrum.com/guide/self-hosted/install/deployment-options
---
Orangescrum Enterprise ships two supported deployment models. Both run the same
application; they differ in how you manage the runtime.
- **Docker (recommended)**: A `docker-compose.yml` and Dockerfiles are provided. You get a known-good PHP build, the reporting stack wired up, and a migration story that is mostly moving volumes.
- **Traditional**: PHP-FPM behind Apache or Nginx, PostgreSQL as a system service. Choose this when your organisation standardises on VMs and configuration management rather than containers.
## Choosing
**Pick Docker if…**
You want the shortest path to a correct runtime, you plan to use the
Advanced Dashboard (which needs Superset and its own database), or you
expect to migrate between servers. The
[backup and migration procedure](https://helpdesk.orangescrum.com/guide/self-hosted/operate/migration) is
written for this model.
**Pick traditional if…**
You have existing Apache/Nginx and PostgreSQL infrastructure, hardened OS
images, or a policy against containers. Everything works — you just own more
of the runtime.
**Can I mix them?**
Yes. A common arrangement is the application in containers with PostgreSQL as
an external managed database, so backups and failover are handled by your
existing database tooling.
## What differs in practice
| | Docker | Traditional |
| --- | --- | --- |
| PHP version and extensions | In the image | You install and maintain them |
| PostgreSQL | Container or external | System service or external |
| Advanced Dashboard (Superset) | Included in the stack | Deployed separately by an admin |
| Upgrades | Pull images, run migrations | Pull code, `composer install`, build assets, run migrations |
| Backup | Volumes plus `pg_dump` | Filesystem plus `pg_dump` |
| Migration | Move volumes and secrets | Rsync files, restore database |
> **Superset is not optional for reporting**
>
> The OS Report / Advanced Dashboard module only appears once Superset is
> installed and connected to your Orangescrum data. On a traditional install an
> administrator has to deploy it; the container stack includes it.
## Version guidance
The two models have historically carried different documented floors:
| Component | Current prerequisites | Older traditional-install guidance |
| --- | --- | --- |
| PostgreSQL | 16.10 or above | 12 or above |
| PHP | Bundled in image | 8.2 or above |
> **Deploy against the current prerequisites**
>
> Target **PostgreSQL 16.x** unless Orangescrum support specifies otherwise for
> your licence and version. The lower floor reflects older releases, not a
> recommendation for a new install. Full detail in
> [Prerequisites](https://helpdesk.orangescrum.com/guide/self-hosted/get-started/prerequisites).
## Before you install
**Meet the prerequisites**
Hardware, OS, PostgreSQL and network. See
[Prerequisites](https://helpdesk.orangescrum.com/guide/self-hosted/get-started/prerequisites).
**Point your domain at the server**
The hostname is baked into generated links.
**Have your licence email ready**
The installer validates it before it will proceed.
**Have SMTP details ready**
Mail is configured during the install, not afterwards in the UI.
## The package
Exact commands, migration specifics and environment-tuned troubleshooting ship as
the **Installation & Upgrade Guide** included with your package. This section
covers the shape and the operational procedures; where the two disagree, your
package guide is authoritative for your version.
- [Run the installer](https://helpdesk.orangescrum.com/guide/self-hosted/install/installer): The guided browser wizard, step by step.
- [Configuration](https://helpdesk.orangescrum.com/guide/self-hosted/install/configuration): Domain, TLS, SMTP, firewall and secrets.
# Install
> The guided browser installer — licence check, requirements, database and first admin account.
> For the complete documentation index, see [llms.txt](https://helpdesk.orangescrum.com/llms.txt).
Source: https://helpdesk.orangescrum.com/guide/self-hosted/install/installer
---
Orangescrum installs through a **guided browser wizard**. It is a one-time task
for whoever deploys the server.
## Run the installer
**Open the installer**
Browse to `http://your-domain/install` on the new server. The first person to
load it walks through the wizard once; everyone else just gets the login page
afterwards.
**Verify your licence**
Enter your licence email. The installer validates it and stores the key with
your instance.
> **This step needs outbound internet access**
>
> Licence validation calls Orangescrum. On a restricted network, allow it
> before you start — see [Licence](https://helpdesk.orangescrum.com/guide/self-hosted/admin/licence).
**Pass the requirements check**
The wizard checks the PHP version, required extensions, file permissions and
database connectivity, and flags anything missing. Fix what it reports before
continuing — later steps assume this passed.
`pdo_pgsql` is the extension people most often lack. Orangescrum runs on
PostgreSQL only; a host with `pdo_mysql` and no `pdo_pgsql` fails here.
**Configure the database**
Supply the PostgreSQL host, port, database name, user and password. The
connection is tested before you can proceed.
From inside a container the host is the **service name**
(`orangescrum-postgresdb`), not `localhost`.
**Configure SMTP**
Mail is set during installation. Get this right now — invitations and
password resets depend on it, and changing it later means editing a server
config file rather than a settings page.
**Run the install**
The installer creates the database tables and loads the default seed data.
This is the slow step; do not reload the page.
**Finish up**
Clear the application cache and set the administrator password using the
provided console commands, then log in.
```bash
php bin/cake.php cache clear_all
php bin/cake.php change_admin_password
```
In Docker:
```bash
docker compose exec orangescrum-app php bin/cake.php cache clear_all
docker compose exec orangescrum-app php bin/cake.php change_admin_password
```
## Verify the install
Sign in and confirm the core pages load, then check the log is clean:
```bash
docker compose exec orangescrum-app tail -50 logs/error.log
```
Also confirm the stack is healthy and both services answer:
```bash
docker compose ps
curl -f http://localhost:8080 # application
curl -f http://localhost:8088 # Advanced Dashboard (Superset)
```
> **Reports come up last**
>
> `orangescrum-reports` waits for its database to be healthy. Give it 60 seconds
> before treating a not-yet-ready reports service as a failure.
## Troubleshooting the install
**The installer reappears after finishing**
Installed state is written into `config/`. If that directory is not writable —
or the Docker config volume was recreated — the app cannot tell it has been
installed. Check permissions and confirm the `app-config` volume exists.
**Requirements check fails on an extension**
Install it and restart PHP-FPM or Apache. `pdo_pgsql` is the usual one.
**Database connection refused**
In containers the host is the service name, not `localhost`. Confirm the
database is healthy first — `docker compose ps`.
**Schema creation times out**
The migration run exceeds `max_execution_time`. Raise it to 300 seconds and
re-run.
**Licence validation fails**
Check outbound internet access and that the licence email is exactly the one
issued to you. Contact support@orangescrum.com if it still rejects.
## Don't stop here
An install is not finished until it is reachable over TLS, sending mail, and
backed up:
- [Configuration](https://helpdesk.orangescrum.com/guide/self-hosted/install/configuration): Domain, TLS, firewall and mail.
- [Backup](https://helpdesk.orangescrum.com/guide/self-hosted/operate/backup): Set this up before there is data worth losing.
# Configuration
> Domain, TLS, firewall, SMTP and secrets — what to set before an instance goes live.
> For the complete documentation index, see [llms.txt](https://helpdesk.orangescrum.com/llms.txt).
Source: https://helpdesk.orangescrum.com/guide/self-hosted/install/configuration
---
The installer gets the application running. These are the things that make it
safe and usable.
## Domain and TLS
**Point a domain at the server**
Generated links — invitations, password resets, notifications — are built
from the configured base URL. If it disagrees with the address people
actually use, the application still works but every emailed link goes
somewhere wrong.
**Terminate TLS in front of the app**
Nginx, Apache, Caddy or a load balancer. The application listens on plain
HTTP inside the network; `443` is what you expose.
```bash
sudo certbot --nginx -d orangescrum.example.com
```
**Automate renewal**
An expired certificate takes the whole instance offline. Confirm the renewal
timer is active, not just that the certificate installed.
## Firewall
| Port | Rule |
| --- | --- |
| 80 (HTTP) | Open — redirect to HTTPS |
| 443 (HTTPS) | Open |
| 5432 (PostgreSQL) | **Internal network only** |
| 8080 (app) | Internal only — reached through the proxy |
| 8088 (Superset) | Internal only, or restricted to admins |
```bash
sudo ufw allow 80/tcp
sudo ufw allow 443/tcp
sudo ufw deny 5432/tcp
```
> **Never expose the database or the raw app port**
>
> Publishing 5432 is the most damaging misconfiguration on a self-hosted install.
> Publishing 8080 bypasses your TLS termination and serves the app in the clear.
## SMTP
Configured during [installation](https://helpdesk.orangescrum.com/guide/self-hosted/install/installer). Without
it, invitations and password resets are never delivered — and the failure is
silent from the sender's point of view.
| Setting | Example |
| --- | --- |
| Host | `smtp.example.com` |
| Port | `587` |
| Username | `notifications@example.com` |
| Password | your SMTP password |
| From address | `notifications@example.com` |
Test by triggering a password reset for an account you control, then check the
log:
```bash
docker compose exec orangescrum-app tail -50 logs/error.log
```
> **Use a real relay**
>
> Mail sent directly from a VPS is usually filed as spam. Use a transactional
> provider or your organisation's relay, and publish SPF and DKIM records.
To change SMTP after installation you edit a server config file — it is not
exposed in the admin UI. Plan for that when handing over to a team that expects
to self-serve.
## Secrets
Service credentials live as plaintext files in `./secrets/`:
| File | Used by |
| --- | --- |
| `postgres_password.txt` | Main database |
| `reports_admin_user.txt` | Reports service |
| `reports_admin_email.txt` | Reports service |
| `reports_admin_password.txt` | Reports service |
**Change every default before going live**
Anything shipped as an example is public knowledge.
**Restrict filesystem access**
`chmod 600` and owned by the account that runs the stack.
**Never commit them**
Add `secrets/` to `.gitignore`. Backups of this directory are archives of
live passwords — encrypt them.
## Storage
Attachments accumulate under the app-files volume (`webroot/files`). This is the
volume that fills the disk on every long-running install.
- **Monitor it**: Alert at 80%. `docker system df -v` shows per-volume usage.
- **Extend it**: A NAS can be mounted to expand capacity beyond the initial allocation.
## Background jobs
Daily Catch-Up digests and task reminders are delivered by scheduled jobs, not by
the web request. They live outside the container, in host cron.
> **Cron is easy to lose in a migration**
>
> If digests and reminders stop after a server move, the scheduler is the first
> thing to check — the records will look correct in the database because storing
> them and delivering them are separate steps.
## Applying changes
```bash
docker compose up -d --force-recreate orangescrum-app
docker compose exec orangescrum-app php bin/cake.php cache clear_all
```
```bash
sudo systemctl restart php8.2-fpm
php bin/cake.php cache clear_all
```
> **Tip**
>
> If a setting appears not to apply, clear the cache before assuming the change
> did not take.
- [Next: backup](https://helpdesk.orangescrum.com/guide/self-hosted/operate/backup): Before the instance carries anything you cannot lose.
# Backup
> What to capture, the exact commands, and how to prove a backup is restorable.
> For the complete documentation index, see [llms.txt](https://helpdesk.orangescrum.com/llms.txt).
Source: https://helpdesk.orangescrum.com/guide/self-hosted/operate/backup
---
A complete backup is **four things**: the application data on the host, the
Docker volumes, logical database dumps, and the compose files plus secrets. Miss
any one and the restore is partial.
> **An untested backup is not a backup**
>
> Restore into a scratch instance at least once. Most backup failures are
> discovered during the first real restore, which is the worst possible time.
> **Run these on the source server**
>
> Every command below runs on the server you are backing up. Confirm container
> names with `docker ps` first — they vary with the compose project name.
## 1. Application data on the host
The application root outside Docker — typically `/data` — holds files the
containers do not.
```bash
mkdir -p /backup/$(date +%F)
tar -czf /backup/$(date +%F)/app-data.tar.gz /data
# Confirm the archive is not empty
tar -tzf /backup/$(date +%F)/app-data.tar.gz | head -20
```
Also capture host config (`/etc/app/`) and any cron entries
(`/etc/cron.d/`) — those drive digests and reminders.
## 2. Docker volumes
Each volume is archived by mounting it into a throwaway Alpine container.
```bash
# Uploaded files and attachments
docker run --rm \
-v orangescrum-ee_orangescrum-app-files:/data \
-v /backup/$(date +%F):/backup \
alpine tar -czf /backup/app-files.tar.gz -C /data .
# Application configuration
docker run --rm \
-v orangescrum-ee_orangescrum-app-config:/data \
-v /backup/$(date +%F):/backup \
alpine tar -czf /backup/app-config.tar.gz -C /data .
# Main database volume
docker run --rm \
-v orangescrum-ee_orangescrum-postgres-data:/data \
-v /backup/$(date +%F):/backup \
alpine tar -czf /backup/postgres-data.tar.gz -C /data .
# Reports (Superset) database volume
docker run --rm \
-v orangescrum-ee_orangescrum-reports-data:/data \
-v /backup/$(date +%F):/backup \
alpine tar -czf /backup/reports-data.tar.gz -C /data .
```
> **Check the volume prefix**
>
> Compose prefixes volume names with the project name — `orangescrum-ee_` above.
> Confirm with `docker volume ls`. A wrong prefix produces an archive of an empty
> volume, and nothing warns you.
File volumes can be captured while the stack runs. Database volumes ideally
should not — which is why the next step exists.
## 3. Logical database dumps — do not skip
A volume-level copy of a **running** database can be inconsistent. `pg_dump`
gives you a guaranteed clean, restorable backup. Take both.
```bash
# Confirm the container names first
docker ps --format '{{.Names}}' | grep postgres
# Main application database
docker exec orangescrum-ee-orangescrum-postgresdb-1 \
pg_dump -U orangescrum postgres \
> /backup/$(date +%F)/main-db.sql
# Reports / Superset database
docker exec orangescrum-ee-orangescrum-reports-db-1 \
pg_dump -U postgres superset \
> /backup/$(date +%F)/reports-db.sql
# Verify the dumps are non-empty
ls -lh /backup/$(date +%F)/*.sql
```
> **Check the dump size every time**
>
> A failed `pg_dump` still creates the file — just a near-empty one. If your
> backup suddenly shrinks, that is the signal. Alert on it.
## 4. Compose files and secrets
```bash
cp docker-compose.yml /backup/$(date +%F)/
cp osreports.Dockerfile /backup/$(date +%F)/ # if present
# Secrets — store this archive encrypted
tar -czf /backup/$(date +%F)/secrets.tar.gz ./secrets/
```
> **The secrets archive contains live passwords**
>
> Encrypt it at rest and restrict who can read it. Never place it in version
> control or an unencrypted object store.
## Bundle and ship it off the machine
```bash
tar -czf orangescrum-backup-$(date +%F).tar.gz /backup/$(date +%F)/
# Transfer — rsync resumes if interrupted
rsync -avz --progress \
orangescrum-backup-$(date +%F).tar.gz \
user@BACKUP_HOST:/backups/
```
> **A backup on the same host is not a backup**
>
> It does not survive losing the host, which is the scenario you are insuring
> against.
## What a complete set looks like
| File | Contents |
| --- | --- |
| `app-data.tar.gz` | Host application root (`/data`) |
| `app-files.tar.gz` | Attachments volume |
| `app-config.tar.gz` | Configuration volume |
| `postgres-data.tar.gz` | Main database volume |
| `reports-data.tar.gz` | Superset database volume |
| `main-db.sql` | Logical dump, main database |
| `reports-db.sql` | Logical dump, Superset database |
| `secrets.tar.gz` | Service credentials |
| `docker-compose.yml` | Stack definition |
| `osreports.Dockerfile` | Reports image build |
## Automate it
```
0 2 * * * /usr/local/bin/orangescrum-backup.sh >> /var/log/orangescrum-backup.log 2>&1
```
Then watch the things that actually fail:
- **Backup freshness**: Alert if last night's archive is missing.
- **Backup size**: A sudden drop means a dump failed and wrote nothing.
- **Off-host copy**: Confirm the transfer succeeded, not just the archive.
- **Retention**: Keep enough history to survive a problem noticed late.
## Prove it works
Quarterly, restore into a throwaway instance and sign in. It costs an hour and
tells you whether your backups are real.
- [Restore procedure](https://helpdesk.orangescrum.com/guide/self-hosted/operate/migration): The full restore, written as a server migration.
# Migrate to a new server
> Restore a full backup onto fresh infrastructure with data intact, and verify before cutting over.
> For the complete documentation index, see [llms.txt](https://helpdesk.orangescrum.com/llms.txt).
Source: https://helpdesk.orangescrum.com/guide/self-hosted/operate/migration
---
This is the restore procedure, written as a server move. The same steps recover
an instance after a failure — the only difference is whether the old server is
still around.
> **Everything here runs on the NEW server**
>
> Unless a step says otherwise. Start from a complete backup — see
> [Backup](https://helpdesk.orangescrum.com/guide/self-hosted/operate/backup).
## 1. Prepare the new server
| Requirement | Install | Minimum |
| --- | --- | --- |
| Docker Engine | `curl -fsSL https://get.docker.com \| sh` | 24.x |
| Docker Compose plugin | `apt install docker-compose-plugin` | 2.x |
| curl | `apt install curl` | any |
| rsync / scp | `apt install rsync openssh-client` | any |
```bash
docker --version
docker compose version
```
Meet the [prerequisites](https://helpdesk.orangescrum.com/guide/self-hosted/get-started/prerequisites) too —
migrating onto an undersized box just moves the problem.
## 2. Extract the backup
```bash
cd /home/user
tar -xzf orangescrum-backup-YYYY-MM-DD.tar.gz
ls -lh backup/YYYY-MM-DD/
```
Confirm all ten files are present before going further.
## 3. Restore host application data
```bash
mkdir -p /data
tar -xzf backup/YYYY-MM-DD/app-data.tar.gz -C /
ls -lh /data
```
## 4. Prepare the project directory
```bash
mkdir -p /opt/orangescrum
cd /opt/orangescrum
cp /home/user/backup/YYYY-MM-DD/docker-compose.yml .
cp /home/user/backup/YYYY-MM-DD/osreports.Dockerfile . # if present
# Secrets
tar -xzf /home/user/backup/YYYY-MM-DD/secrets.tar.gz -C /opt/orangescrum/
ls secrets/
```
Verify every `.txt` file is present — a missing secret shows up later as a
container that restarts forever.
## 5. Create the volumes and restore into them
Create each volume first, then populate it.
```bash
docker volume create orangescrum-ee_orangescrum-app-files
docker volume create orangescrum-ee_orangescrum-app-config
docker volume create orangescrum-ee_orangescrum-postgres-data
docker volume create orangescrum-ee_orangescrum-reports-data
for v in app-files app-config postgres-data reports-data; do
docker run --rm \
-v orangescrum-ee_orangescrum-$v:/data \
-v /home/user/backup/YYYY-MM-DD:/backup \
alpine tar -xzf /backup/$v.tar.gz -C /data
done
```
> **Volume names must match the compose project**
>
> If the prefix differs from the source server, the stack creates its own empty
> volumes and starts with no data. Confirm with `docker volume ls` before
> starting.
## 6. Start the stack
```bash
cd /opt/orangescrum
docker compose pull
docker compose up -d
docker compose ps
docker compose logs -f --tail=50
```
Allow one to two minutes for health checks. The reports service waits for its
database to be healthy before it starts.
## 7. If the database did not come back — restore from the dumps
The volume restore is the fast path; the SQL dumps are the reliable fallback.
```bash
docker compose ps orangescrum-postgresdb # wait for healthy
docker exec -i orangescrum-ee-orangescrum-postgresdb-1 \
psql -U orangescrum postgres \
< /home/user/backup/YYYY-MM-DD/main-db.sql
docker exec -i orangescrum-ee-orangescrum-reports-db-1 \
psql -U postgres superset \
< /home/user/backup/YYYY-MM-DD/reports-db.sql
```
## 8. Verify before you cut over
```bash
docker compose ps
curl -f http://localhost:8080 # application
curl -f http://localhost:8088 # reports
docker compose logs orangescrum-app --tail=30
docker compose logs orangescrum-postgresdb --tail=30
```
Then confirm the data really arrived:
```bash
docker exec -it orangescrum-ee-orangescrum-postgresdb-1 \
psql -U orangescrum postgres -c '\dt'
docker exec -it orangescrum-ee-orangescrum-postgresdb-1 \
psql -U orangescrum postgres -c 'SELECT count(*) FROM users;'
```
### Verification checklist
**Work through every item before switching DNS**
- All four containers report **healthy**
- Application answers on 8080
- Reports answer on 8088
- You can log in with existing credentials
- Projects, tasks and users are visible
- **A file attachment downloads** — a database-only restore looks perfect until someone clicks a file
- The reports dashboard loads existing dashboards
- `/data` on the host is intact
- Scheduled jobs (digests, reminders) are present in cron
## 9. Cut over
**Update DNS or the load balancer**
Point at the new server's address.
**Reissue or move TLS certificates**
A migration with a stale certificate presents as a total outage.
**Keep the source server running**
Until verification is fully complete. It is your rollback.
**Re-check background jobs**
Cron lives outside Docker and is the thing most often lost in a move.
## Troubleshooting
| Symptom | Resolution |
| --- | --- |
| Container keeps restarting | `docker compose logs ` — usually a wrong password in a secrets file |
| Database connection refused | Ensure the database container is healthy before the app starts |
| Port not accessible | `ufw allow 8080/tcp`, `ufw allow 8088/tcp`, or fix the proxy |
| Volume looks empty after restore | The tar restore failed or the prefix was wrong: `docker run --rm -v :/data alpine ls /data` |
| Permission denied on `/data` | Re-apply ownership: `chown -R www-data:www-data /data` |
| Reports service will not start | It waits on its database — give it ~60s, then check its logs |
- [Upgrading](https://helpdesk.orangescrum.com/guide/self-hosted/operate/upgrade): Moving to a newer Orangescrum version.
# Upgrade
> Move to a newer Orangescrum release without losing data — and how to roll back if it goes wrong.
> For the complete documentation index, see [llms.txt](https://helpdesk.orangescrum.com/llms.txt).
Source: https://helpdesk.orangescrum.com/guide/self-hosted/operate/upgrade
---
Upgrades pull new code and apply database migrations. The order matters, and the
backup is not optional.
> **Back up before every upgrade**
>
> Migrations alter the schema in place. If one fails halfway, a restore is the
> only way back — and rollback in practice means **restoring the backup**, not
> reversing the migration. See [Backup](https://helpdesk.orangescrum.com/guide/self-hosted/operate/backup).
## Before you touch production
**Read the release notes**
Check for breaking changes and required manual steps. Do not skip this
because the last few upgrades were uneventful.
**Rehearse on a copy**
Restore last night's backup into a scratch instance and upgrade that first.
This catches migration failures where they cost nothing.
**Pick a maintenance window**
Migrations can lock tables. Do it when nobody is working.
**Confirm you can roll back**
Which means: confirm you have a backup you have actually restored before.
## Docker
**Take a full backup**
Database dumps, volumes, secrets and compose files.
**Pull the new version**
```bash
cd /opt/orangescrum
git fetch --tags
git checkout
```
**Rebuild and restart**
```bash
docker compose pull
docker compose up -d --build
```
Volumes are preserved, so your data and attachments survive the rebuild.
**Run migrations**
```bash
docker compose exec orangescrum-app php bin/cake.php migrations migrate
```
**Clear caches**
```bash
docker compose exec orangescrum-app php bin/cake.php cache clear_all
```
**Verify**
Sign in; load a project, a task detail, the time log and a report. Then check
the log:
```bash
docker compose exec orangescrum-app tail -50 logs/error.log
```
## Traditional install
```bash
# 1. Back up the database and webroot/files first.
# 2. New code
git fetch --tags && git checkout
# 3. Dependencies and assets
composer install --no-dev --optimize-autoloader
npm install && npm run build
# 4. Migrations
php bin/cake.php migrations migrate
# 5. Caches
php bin/cake.php cache clear_all
# 6. Permissions, if new files were added
sudo chown -R www-data:www-data .
```
## Supported upgrade paths
The same tooling handles several scenarios:
| Path | What happens |
| --- | --- |
| **V2 → V3** | Migrates an existing V2 database with automatic data conversion |
| **Re-install over V3** | Re-runs installation against an existing database |
| **V3 → V3 feature upgrade** | Applies new feature migrations to a running install |
> **Your package guide is authoritative**
>
> Exact commands and migration specifics for your version ship as the
> **Installation & Upgrade Guide** included with your package. Where it disagrees
> with this page, follow the package guide.
## When an upgrade fails
**A migration errors out halfway**
Do not re-run it hoping it resolves itself — a partially applied migration
leaves the schema in a state the next attempt does not expect. Restore the
backup, reproduce on a copy, and contact support with the error.
**Pages 500 after upgrading**
Usually a stale cache: `cache clear_all`. If that does not fix it,
`logs/error.log` will name the missing class or template — an incomplete
asset build is the common cause.
**Styling looks broken**
The front-end bundle did not rebuild. Re-run `npm install && npm run build`,
then hard-refresh.
**Reports stopped working**
Superset runs as its own service with its own database. Check
`docker compose logs orangescrum-reports` and confirm its database is healthy.
**Login works but pages are empty**
Often a base-URL or cookie-domain mismatch introduced by new config. Compare
against [Configuration](https://helpdesk.orangescrum.com/guide/self-hosted/install/configuration).
## After the upgrade
- **Check background jobs**: Confirm digests and reminders still fire — cron lives outside the app.
- [Check the licence](https://helpdesk.orangescrum.com/guide/self-hosted/admin/licence): Confirm your licence covers the new version.
- **Take a fresh backup**: Your pre-upgrade backup no longer matches the schema.
- **Tell your users**: Especially if the release changes anything visible.
# Troubleshooting
> Reading the logs, and the failures that actually happen on a self-hosted deployment.
> For the complete documentation index, see [llms.txt](https://helpdesk.orangescrum.com/llms.txt).
Source: https://helpdesk.orangescrum.com/guide/self-hosted/operate/troubleshooting
---
## Where to look first
```bash
# Application errors — start here
docker compose exec orangescrum-app tail -100 logs/error.log
# Container output
docker compose logs -f orangescrum-app
# Is everything up and healthy?
docker compose ps
# Database reachable?
docker compose exec orangescrum-postgresdb pg_isready -U orangescrum
```
On a traditional install, `logs/error.log` sits in the project root alongside the
web server's own error log.
## Common failures
**A container keeps restarting**
`docker compose logs `. The most common cause is a **wrong or
missing password in a secrets file** — especially after a migration where the
secrets directory was restored incompletely. Confirm every `.txt` file exists
in `./secrets/`.
**Database connection refused**
The app started before the database was healthy. Check
`docker compose ps` — the app has a dependency on the database's health
check. From inside a container the host is the **service name**, not
`localhost`.
**500 on every page after a config change**
Stale cache:
```bash
docker compose exec orangescrum-app php bin/cake.php cache clear_all
```
If it persists, `logs/error.log` names the missing class or template.
**Login succeeds then bounces straight back**
A session cookie problem. Confirm the configured base URL matches the address
people actually use, that the cookie domain matches the host, and that secure
cookies are not required while you are serving plain HTTP behind a
misconfigured proxy.
**Invitations and password resets never arrive**
SMTP is not configured or is failing silently. Trigger a reset and check
`logs/error.log` immediately. Also check spam — mail from a VPS without SPF
and DKIM is usually filtered. SMTP is set during installation and changed in
a server config file, not the admin UI.
**Attachments upload but will not download**
The files volume is not mounted where the app expects, or permissions are
wrong:
```bash
docker volume ls | grep app-files
docker compose exec orangescrum-app ls -la webroot/files
```
After a partial restore the database can reference files that were never
restored — the instance looks healthy until someone clicks one.
**Uploads fail above a certain size**
Raise `upload_max_filesize` and `post_max_size` in PHP, and
`client_max_body_size` in Nginx. All three must allow it; the smallest wins.
**Reports / Advanced Dashboard is missing or empty**
OS Report only appears when Superset is installed and connected to your
Orangescrum data. In the container stack it is `orangescrum-reports`, which
waits for `orangescrum-reports-db` to be healthy — give it ~60 seconds, then:
```bash
docker compose logs orangescrum-reports --tail=50
```
On a traditional install an administrator has to deploy Superset separately.
**Daily Catch-Up or reminders never send**
The record is written to the database, but delivery runs from a **scheduled
job on the host**. Confirm the cron entries exist — they live outside Docker
and are the thing most often lost in a migration.
**The installer reappears after a successful install**
Installed state is written into `config/`. Check that directory is writable
and that the `app-config` volume still exists.
**Port not accessible**
Firewall or proxy. `ufw allow 443/tcp`; confirm the reverse proxy forwards to
8080. Do not open 8080 publicly — that bypasses TLS.
**Disk full**
Attachments and PostgreSQL data are the two that grow:
```bash
docker system df -v
df -h
```
Prune old images and stopped containers — but never with `-v` unless you are
certain which volumes go with it.
**Locked out — no working admin**
```bash
docker compose exec orangescrum-app php bin/cake.php change_admin_password
```
## Health checks worth automating
- **Container health**: Alert when any service leaves `healthy`.
- **Disk**: Alert at 80% on the volumes holding attachments and the database.
- **Backup freshness and size**: A missing or suddenly-small archive means a failed dump.
- **Certificate expiry**: An expired certificate is a total outage.
## Escalating to support
Include:
- What you did, what happened, what you expected
- Relevant lines from `logs/error.log`
- Your Orangescrum version and deployment model (Docker or traditional)
- `docker compose ps` output
- Whether it reproduces after a cache clear and restart
- [Contact support](mailto:support@orangescrum.com): support@orangescrum.com
# Licence and versions
> How licensing works on a self-hosted install, where to check it, and what governs limits.
> For the complete documentation index, see [llms.txt](https://helpdesk.orangescrum.com/llms.txt).
Source: https://helpdesk.orangescrum.com/guide/self-hosted/admin/licence
---
Self-hosted Orangescrum is a **commercially licensed** product. The licence is
verified during installation and stored with your instance.
## Where to check it
**Subscription & Plan** in the admin area shows:
| | |
| --- | --- |
| **Licence & contract** | Who it is issued to and its term |
| **Plan limits** | What your agreement covers |
| **Current usage** | Users and workspaces in use |
| **Version** | The Orangescrum release you are running |
That version number is the first thing support will ask for.
## How limits work
> **The application does not enforce a project cap**
>
> Self-hosted Orangescrum does not limit projects in the software. If your
> install was sold with a per-seat or per-project licence, that limit is
> **contractual** rather than technical — the product will not stop you
> exceeding it.
That cuts both ways: nothing breaks if you go over, and nothing warns you
either. Check **Current usage** against your agreement periodically rather than
assuming the software is policing it.
## During installation
The installer asks for your **licence email**, validates it with Orangescrum, and
stores the key with the instance.
> **Validation needs outbound internet access**
>
> On a restricted or air-gapped network, allow the call before you start — or
> arrange an offline activation with support ahead of the install window.
## Add-ons
Optional modules are enabled per licence:
- **Wiki**:
- **Document Management**
- **Risk Management**
- **Test Case Manager**
- **Scaled Agile (SAFe)**
- **Advanced Dashboard**
- **Public API & webhooks**
- **Versions & Releases** Some need infrastructure as well as a licence — the Advanced Dashboard runs Superset and its own database, which is why the deployment has more than one service. See [Architecture](https://helpdesk.orangescrum.com/guide/self-hosted/get-started/architecture). ## Versions and releases Check your version before reporting a problem or planning an upgrade — behaviour and available modules differ between releases. Release notes accompany each package. Applying a new release safely.
## The Public API differs from Cloud
> **Do not follow the Cloud API reference for a self-hosted install**
>
> The self-hosted **Public API** add-on is a different surface from the Orangescrum
> Cloud Developer API documented in the [API section](https://helpdesk.orangescrum.com/guide/api/introduction).
> Self-hosted exposes conventional REST — `GET`, `POST`, `PATCH`, `DELETE` under
> `/api/v1/{resource}` — plus a GraphQL endpoint and webhooks, authenticated with
> an `X-API-Key` header. Cloud's partner API is all `POST`, with HMAC-signed and
> encrypted payloads.
> Your instance ships an interactive reference at **`/developer`** — Swagger UI
> and GraphiQL against your own data. That is authoritative for your version.
An Owner or Admin enables the add-on and generates keys under
**Public API → Keys**. The secret is shown once at creation.
## Renewals and changes
- [Sales & licensing](mailto:sales@orangescrum.com): Renewals, seat changes, add-ons and custom sizing.
- [Technical support](mailto:support@orangescrum.com): Activation problems and deployment help.
# Security
> Hardening a self-hosted deployment — network exposure, credentials, TLS and access review.
> For the complete documentation index, see [llms.txt](https://helpdesk.orangescrum.com/llms.txt).
Source: https://helpdesk.orangescrum.com/guide/self-hosted/admin/security
---
On Cloud, most of this is handled for you. Self-hosted, it is yours. The items
below are ordered by how much damage getting them wrong causes.
## Network exposure
> **PostgreSQL must never be internet-facing**
>
> Port 5432 should be reachable only from the application server. An exposed
> database is the single most damaging misconfiguration on a self-hosted install.
| Port | Should be |
| --- | --- |
| 443 (HTTPS) | Public |
| 80 (HTTP) | Public — redirect to HTTPS |
| 8080 (application) | Internal only, behind the proxy |
| 8088 (Superset) | Internal, or restricted to admins |
| 5432 (PostgreSQL) | Internal network only |
```bash
sudo ufw allow 80/tcp
sudo ufw allow 443/tcp
sudo ufw deny 5432/tcp
sudo ufw status verbose
```
> **Publishing 8080 bypasses your TLS**
>
> If the app port is reachable from outside, traffic reaches it without ever
> passing through the proxy that terminates TLS. Bind it to the internal
> interface.
## Credentials
Service passwords live as **plaintext files** in `./secrets/`.
**Change every shipped default**
Anything that came with the package is public knowledge.
**Restrict filesystem access**
`chmod 600`, owned by the account that runs the stack.
**Keep them out of version control**
Add `secrets/` to `.gitignore`.
**Encrypt every backup that contains them**
A `secrets.tar.gz` is an archive of live passwords. Store it encrypted with
restricted access — see [Backup](https://helpdesk.orangescrum.com/guide/self-hosted/operate/backup).
## TLS
- Terminate TLS at the proxy or load balancer; the app speaks plain HTTP inside.
- Use Let's Encrypt or a commercial certificate.
- **Automate renewal and alert on expiry** — a lapsed certificate is a full
outage, and it happens on a predictable date you can monitor.
## Application access
The same controls as Cloud apply once you are inside the product:
- **Two-factor authentication**: Enable for admins first, then require it workspace-wide. Make sure people save recovery codes.
- [Roles and permissions](https://helpdesk.orangescrum.com/guide/cloud/admin/users-and-roles): Grant the least access that works. Keep the admin list short.
- **SSO**: Where your licence includes it, keep one break-glass admin that does not depend on the identity provider.
- [Audit trail](https://helpdesk.orangescrum.com/guide/cloud/admin/audit-trail): Who changed what, and when.
## API keys
If the **Public API** add-on is enabled, keys are real credentials:
- Scope them narrowly; a key can never exceed its owning role's permissions
- One key per integration, so you can revoke one without breaking the rest
- The secret is shown **once** at creation — store it in a secrets manager
- Rotate periodically; revoke immediately when an integration is retired
Webhook deliveries are signed with `X-OS-Signature` (HMAC-SHA256). **Verify that
signature** on your endpoint rather than trusting the payload.
## Data handling
**Attachments inherit project permissions**
A file on a task is visible to that project's members. Sensitive material
belongs in a project with restricted membership.
**Backups contain everything**
Database dumps and the secrets archive together are a complete copy of your
workspace and its credentials. Encrypt at rest, restrict access, and keep
them off the application host.
**Logs can contain identifiers**
`logs/error.log` may include request context. Treat it as sensitive when
sharing with support.
## Review on a schedule
- **Quarterly**: Admin list, project membership, active API keys, and whether any leavers still have accounts.
- **Continuously**: Certificate expiry, container health, disk headroom, backup freshness.
- [Orangescrum platform security](https://www.orangescrum.com/securities): Product security posture and disclosures.
# Community Edition
> The free, open-source Orangescrum you host yourself — no licence key, no seat limits, AGPL v3.
> For the complete documentation index, see [llms.txt](https://helpdesk.orangescrum.com/llms.txt).
Source: https://helpdesk.orangescrum.com/guide/community/get-started/introduction
---
Orangescrum Community Edition is a **free and open-source** project management
tool you run on your own infrastructure. It is licensed under the
[GNU AGPL v3.0](https://helpdesk.orangescrum.com/guide/community/project/licence), needs no licence key to
install or run, and imposes **no limits on users, projects or storage**.
- [Install with Docker](https://helpdesk.orangescrum.com/guide/community/install/docker): One `docker compose up` and an install wizard.
- [What's included](https://helpdesk.orangescrum.com/guide/community/get-started/whats-included): The exact feature set — and what it deliberately leaves out.
## Who it's for
Teams that want a self-contained task tracker they fully control: projects,
tasks, collaboration and manual time entry, running on their own server with
their own database and no vendor in the loop.
It is deliberately **small**. The Community Edition was carved out of the full
commercial product, keeping a focused core and removing everything else. If you
need agile boards, Gantt charts, resource management or reporting, those live in
[Orangescrum Cloud](https://helpdesk.orangescrum.com/guide/cloud/get-started/introduction) or the self-hosted
commercial edition.
## What you get
- **Projects**: Create projects, add members, track status.
- **Tasks**: Status, priority, type, assignee, due date, description — plus subtasks and milestones.
- **Collaboration**: Comments, attachments, checklists and labels on every task.
- **Time entry**: Log hours manually against tasks and review them in a list view.
## The stack
| Component | Version |
| --- | --- |
| PHP | 8.2+ |
| Framework | CakePHP 4.6 |
| Database | PostgreSQL 16 |
| Deployment | Docker / Docker Compose |
## Honest limitations
Worth knowing before you commit:
- **Single company per install.** There is no multi-tenancy — one workspace per
deployment.
- **Two roles.** Admin and user. No custom roles or granular permissions.
- **No integrations.** No GitHub, Slack, Google Calendar or SSO.
- **No API.** The Developer API and MCP server are Cloud features.
- **Manual time entry only.** There is no running timer.
- **Version 0.1.0.** Early. Expect rough edges and read the release notes before
upgrading.
> **Nothing is crippled**
>
> These are features that were removed, not features that are locked. There is no
> paywall, no seat counter and no phone-home licence check in the code.
## Next steps
- [Requirements](https://helpdesk.orangescrum.com/guide/community/get-started/requirements): What the host needs before you start.
- [Install with Docker](https://helpdesk.orangescrum.com/guide/community/install/docker): The fastest path to a running instance.
# What's included
> The exact feature set of the Community Edition, and an honest list of what it leaves out.
> For the complete documentation index, see [llms.txt](https://helpdesk.orangescrum.com/llms.txt).
Source: https://helpdesk.orangescrum.com/guide/community/get-started/whats-included
---
The Community Edition is a deliberate subset of the commercial product. This
page is the definitive list, so you can decide before installing rather than
after.
## Included
- **Projects**: Create and manage projects, add members, set status.
- **Tasks**: Status, priority, type, assignee, due date and description.
- **Subtasks & milestones**: Break work down and group it against milestones.
- **Comments & attachments**: Discussion and file uploads on every task.
- **Checklists**: Lightweight to-do lists inside a task.
- **Labels**: Plus the Label Customizer plugin for renaming them to your own vocabulary.
- **Manual time entry**: Log hours against a task and review them in the list view.
- **Kanban view**: A board view of your tasks under **More**.
- **Users & roles**: Admin and user roles, single company.
- **Two-factor auth**: Available as part of the login flow.
### The navigation you get
The sidebar is trimmed to what actually ships:
- Dashboard
- Projects
- Tasks
- Time Log → Time Log List View
- More → Kanban
- Users
## Not included
Everything below was removed from the codebase, not hidden behind a flag:
| Area | Not in Community |
| --- | --- |
| **Agile** | Sprints, backlog, epics, velocity and burndown charts, Scrumban |
| **Planning** | Gantt chart, critical path, dependencies, project templates |
| **Reporting** | Dashboards, reports, Superset / BI |
| **Resourcing** | Resource management, availability, workload, budget and cost |
| **Quality** | Test case manager, test scenarios, defect tracking |
| **Documents** | Wiki, document management |
| **Finance** | Invoices, billing |
| **HR** | Attendance, leave management |
| **Collaboration** | Chat |
| **Integrations** | GitHub, GitLab, Bitbucket, Azure DevOps, Google Workspace, Slack, Zoom |
| **Identity** | SSO, LDAP, SAML |
| **Extensibility** | Custom fields, custom task statuses, automation |
| **Developer** | Developer API, MCP server |
| **Time** | Running timer, timesheets, approvals |
| **Structure** | Multi-company / multi-tenancy, teams, business units, programs |
> **Why manual time entry but no timer**
>
> Time logging is core to how people use a task tracker, so the manual entry
> path stayed. The floating timer bar, per-task "Start timer" buttons and
> timesheet approval workflow were part of the commercial time-tracking module
> and were removed with it.
## Under the hood
Three plugins ship because the core depends on them, not as user-facing
features:
| Plugin | Why it's there |
| --- | --- |
| `EmailTemplating` | Templated mail used by core notifications |
| `CloudStorage` | Storage abstraction behind task attachments |
| `TwoFactorAuth` | Coupled into the login flow |
Plus `LabelCustomizer`, which **is** a user-facing feature.
## Choosing between editions
- **Stay on Community**: You want projects, tasks and time entry on your own server, and you are happy without agile boards, reporting or integrations.
- [Move to Cloud](https://helpdesk.orangescrum.com/guide/cloud/plans/editions): You need sprints, Gantt, resource management, reporting, integrations, SSO or the API.
- [Upgrade path](https://helpdesk.orangescrum.com/guide/community/project/upgrade-to-cloud): What moving to Cloud or the commercial self-hosted edition involves.
# Requirements
> What the host machine needs before you install the Community Edition.
> For the complete documentation index, see [llms.txt](https://helpdesk.orangescrum.com/llms.txt).
Source: https://helpdesk.orangescrum.com/guide/community/get-started/requirements
---
There are two ways to run the Community Edition, with different prerequisites.
- [Docker (recommended)](https://helpdesk.orangescrum.com/guide/community/install/docker): Everything is in the image. You need Docker and nothing else.
- [Manual install](https://helpdesk.orangescrum.com/guide/community/install/manual): You provide PHP, PostgreSQL and a web server yourself.
## Docker
| Requirement | Minimum |
| --- | --- |
| Docker Engine | 20.10+ |
| Docker Compose | v2 (the `docker compose` subcommand) |
| Free disk | ~2 GB for images plus your attachments |
| Free port | `8091` by default |
Check with:
```bash
docker --version
docker compose version
```
## Manual install
| Requirement | Minimum |
| --- | --- |
| PHP | 8.2 or higher |
| PostgreSQL | 12 or higher (16 recommended) |
| Web server | Apache or Nginx |
| Composer | Latest |
### PHP extensions
All of these must be present:
`pdo_pgsql` · `mbstring` · `intl` · `openssl` · `tokenizer` · `json` · `xml` ·
`ctype` · `curl` · `gd` · `zip`
Verify:
```bash
php -v
php -m | grep -E "pdo_pgsql|mbstring|intl|openssl|tokenizer|json|xml|ctype|curl|gd|zip"
```
> **pdo_pgsql is the one people miss**
>
> Orangescrum runs on PostgreSQL only — there is no MySQL support. A host with
> `pdo_mysql` but not `pdo_pgsql` will fail at the database step of the
> installer.
## Sizing
For a small team, modest hardware is fine:
| Users | vCPU | RAM | Disk |
| --- | --- | --- | --- |
| Up to 25 | 2 | 4 GB | 20 GB + attachments |
| Up to 100 | 4 | 8 GB | 50 GB + attachments |
Attachment storage is the variable that grows. Plan disk around how much your
team uploads, and keep it on a volume you can extend.
## Network
- **Outbound SMTP** if you want email notifications. Without a mail server
configured, invitations and notifications will not be delivered.
- **A hostname and TLS certificate** for anything beyond local testing. The
default compose file serves plain HTTP on `localhost` and explicitly relaxes
the secure-cookie setting to allow it — see
[Configuration](https://helpdesk.orangescrum.com/guide/community/install/configuration) before exposing it.
> **Do not expose the default setup to the internet**
>
> The shipped `docker-compose.yml` uses well-known database credentials and
> disables secure cookies for plain-HTTP localhost development. Change both
> before the instance is reachable from anywhere but your machine.
## Before you start
**Pick your hostname**
Decide the URL now. It goes into `FULL_BASE_URL` and changing it later means
editing config and clearing caches.
**Plan your database**
Docker gives you a PostgreSQL container. For production, consider an
external managed database you can back up independently.
**Have SMTP details ready**
Host, port, username, password and the from-address.
**Decide your backup story**
See [Backup and restore](https://helpdesk.orangescrum.com/guide/community/operate/backup-and-restore) —
worth reading before you have data to lose.
# Install with Docker
> Bring up Orangescrum Community Edition and PostgreSQL with a single compose command.
> For the complete documentation index, see [llms.txt](https://helpdesk.orangescrum.com/llms.txt).
Source: https://helpdesk.orangescrum.com/guide/community/install/docker
---
The fastest way to a running instance. The compose file starts two services —
the application and PostgreSQL 16 — with persistent volumes for attachments,
config and database data.
## Install
**Get the source**
```bash
git clone https://github.com/Orangescrum/orangescrum.git
cd orangescrum
```
**Start the stack**
```bash
docker compose up -d --build
```
The first build pulls base images and compiles assets, so expect several
minutes. Later starts are quick.
**Watch it come up**
```bash
docker compose ps
docker compose logs -f orangescrum-app
```
The app container has a healthcheck and depends on Postgres being healthy,
so it will wait for the database rather than crash-looping.
**Open the install wizard**
Visit **http://localhost:8091**. A fresh database redirects you straight to
the installer.
Follow [Install wizard](https://helpdesk.orangescrum.com/guide/community/install/install-wizard) from here.
## What the compose file gives you
| Service | Image | Purpose |
| --- | --- | --- |
| `orangescrum-app` | built from `Dockerfile` | The application on port `8091` |
| `orangescrum-postgres` | `postgres:16` | Database |
### Volumes
Data lives outside the containers, so rebuilding the image does not lose it:
| Volume | Holds |
| --- | --- |
| `orangescrum-app-files` | Task attachments |
| `orangescrum-app-config` | Generated configuration |
| `orangescrum-postgres-data` | The database |
> **`docker compose down -v` deletes everything**
>
> The `-v` flag removes those volumes — database, attachments and config. Use
> plain `docker compose down` to stop the stack. Only use `-v` when you
> genuinely want to start from an empty install.
### Default environment
```yaml
DB_HOST: orangescrum-postgres
DB_USERNAME: orangescrum
DB_PASSWORD: orangescrum
DB_NAME: orangescrum
CACHE_ENGINE: file
FULL_BASE_URL: http://oss.localhost:8091
SESSION_COOKIE_SECURE: "false"
SESSION_COOKIE_NAME: OSS_SESSID
SESSION_COOKIE_DOMAIN: oss.localhost
CSRF_COOKIE_NAME: oss_csrfToken
```
> **These defaults are for local development**
>
> The database password is `orangescrum` and `SESSION_COOKIE_SECURE` is
> explicitly `false` so session cookies work over plain HTTP on localhost.
> Both must change before this is reachable from anywhere else — see
> [Configuration](https://helpdesk.orangescrum.com/guide/community/install/configuration).
The cookie names and `SESSION_COOKIE_DOMAIN` are deliberately distinct so a
Community instance on `localhost` does not clash with any other local app's
session.
## Everyday commands
```bash
# Stop, keeping all data
docker compose down
# Start again
docker compose up -d
# Follow application logs
docker compose logs -f orangescrum-app
# A shell inside the app container
docker compose exec orangescrum-app bash
# A psql session
docker compose exec orangescrum-postgres psql -U orangescrum -d orangescrum
```
## Changing the port
`8091` is the host-side port. To serve on `8080` instead, edit the mapping:
```yaml
ports:
- "8080:80"
```
Then update `FULL_BASE_URL` to match and recreate the container:
```bash
docker compose up -d --force-recreate orangescrum-app
```
> **Keep FULL_BASE_URL in sync**
>
> Generated links — email invitations, password resets — are built from
> `FULL_BASE_URL`. If it disagrees with the address people actually use, those
> links will point at the wrong place.
## Optional: OnlyOffice
An extra compose file ships for document preview:
```bash
docker compose -f docker-compose.yml -f docker-compose.onlyoffice.yml up -d
```
## If it doesn't come up
**Port 8091 already in use**
Something else holds the port. Change the host side of the mapping, or stop
the other process. On Windows, check with `netstat -ano | findstr 8091`.
**App container restarts repeatedly**
Check `docker compose logs orangescrum-app`. Usually the database is not
ready yet — the healthcheck retries — or a volume has stale config from a
previous install.
**Installer reappears after a successful install**
The config volume was recreated. Confirm `orangescrum-app-config` still
exists with `docker volume ls`.
- [Next: the install wizard](https://helpdesk.orangescrum.com/guide/community/install/install-wizard): Create the database schema and your admin account.
# Manual install
> Run the Community Edition directly on PHP, PostgreSQL and Apache or Nginx.
> For the complete documentation index, see [llms.txt](https://helpdesk.orangescrum.com/llms.txt).
Source: https://helpdesk.orangescrum.com/guide/community/install/manual
---
If you would rather not use Docker — or you are deploying onto existing
infrastructure — the application runs as an ordinary CakePHP project.
> **Note**
>
> [Docker](https://helpdesk.orangescrum.com/guide/community/install/docker) is the supported path and gets you a
> known-good PHP build. Choose manual only if you have a reason to.
## Before you start
Confirm the host meets the [requirements](https://helpdesk.orangescrum.com/guide/community/get-started/requirements):
PHP 8.2+, PostgreSQL 12+, Composer, and the extension list.
```bash
php -v
php -m | grep -E "pdo_pgsql|mbstring|intl|openssl|tokenizer|json|xml|ctype|curl|gd|zip"
psql --version
composer --version
```
## Install
**Get the source**
```bash
git clone https://github.com/Orangescrum/orangescrum.git
cd orangescrum
```
**Install PHP dependencies**
```bash
composer install --no-dev --optimize-autoloader
```
**Build front-end assets**
```bash
npm install
npm run build
```
**Create the database**
```bash
sudo -u postgres createuser --pwprompt orangescrum
sudo -u postgres createdb --owner=orangescrum orangescrum
```
Note the credentials — the installer asks for them.
**Set file permissions**
The web server user needs to write to `tmp/`, `logs/`, `config/` and the
attachment directory:
```bash
sudo chown -R www-data:www-data /var/www/orangescrum
sudo chmod -R 755 /var/www/orangescrum
sudo chmod -R 775 /var/www/orangescrum/tmp \
/var/www/orangescrum/logs \
/var/www/orangescrum/config \
/var/www/orangescrum/webroot/files
```
> **Warning**
>
> `config/` must stay writable — the installer writes the generated database
> configuration there. A read-only `config/` fails late, after the schema has
> already been created.
**Point the web server at webroot/**
The document root is `webroot/`, **not** the project root. Everything above
it must be unreachable over HTTP.
**Run the installer**
Open your site in a browser. Continue with
[Install wizard](https://helpdesk.orangescrum.com/guide/community/install/install-wizard).
## Web server configuration
```nginx
server {
listen 80;
server_name orangescrum.example.com;
root /var/www/orangescrum/webroot;
index index.php;
client_max_body_size 64M;
location / {
try_files $uri $uri/ /index.php?$args;
}
location ~ \.php$ {
include fastcgi_params;
fastcgi_pass unix:/run/php/php8.2-fpm.sock;
fastcgi_param SCRIPT_FILENAME $document_root$fastcgi_script_name;
}
# Never serve the application source.
location ~ ^/(config|src|vendor|tests|logs|tmp)/ {
deny all;
}
}
```
```apache
ServerName orangescrum.example.com
DocumentRoot /var/www/orangescrum/webroot
Options -Indexes +FollowSymLinks
AllowOverride All
Require all granted
ErrorLog ${APACHE_LOG_DIR}/orangescrum-error.log
CustomLog ${APACHE_LOG_DIR}/orangescrum-access.log combined
```
`mod_rewrite` must be enabled:
```bash
sudo a2enmod rewrite && sudo systemctl restart apache2
```
## PHP settings
Defaults are too tight for file uploads and the installer's migration run:
```ini
memory_limit = 256M
upload_max_filesize = 64M
post_max_size = 64M
max_execution_time = 300
```
## After installing
```bash
# Clear caches after any config change
php bin/cake.php cache clear_all
# Set the admin password
php bin/cake.php change_admin_password
```
## TLS
Anything beyond local testing should be behind HTTPS. With Certbot:
```bash
sudo certbot --nginx -d orangescrum.example.com
```
Then set `SESSION_COOKIE_SECURE` to `true` and update `FULL_BASE_URL` to the
`https://` address — see [Configuration](https://helpdesk.orangescrum.com/guide/community/install/configuration).
- [Next: the install wizard](https://helpdesk.orangescrum.com/guide/community/install/install-wizard): Create the schema and your admin account.
# Install wizard
> The browser-based installer that creates the schema, seeds defaults and sets up your admin account.
> For the complete documentation index, see [llms.txt](https://helpdesk.orangescrum.com/llms.txt).
Source: https://helpdesk.orangescrum.com/guide/community/install/install-wizard
---
On first visit, a fresh instance redirects to the install wizard. It checks the
environment, creates the database schema, seeds default data and hands you a
working workspace.
> **No licence step**
>
> The Community Edition is licence-free. There is no key to enter, no email to
> register and no phone-home check — the licence step present in the commercial
> installer is skipped entirely.
## What it does
**System requirements check**
Verifies the PHP version, the required extensions and that `config/`,
`tmp/` and `logs/` are writable. Fix anything flagged here before
continuing — later steps assume it passed.
**Database configuration**
Enter your PostgreSQL connection details:
| Field | Docker default |
| --- | --- |
| Host | `orangescrum-postgres` |
| Port | `5432` |
| Database | `orangescrum` |
| Username | `orangescrum` |
| Password | `orangescrum` |
The connection is tested before you can proceed.
**Schema creation**
Runs the migrations that create the tables, then drops the tables belonging
to features the Community Edition does not ship. A finished install has
roughly **149 tables**.
This is the slow step — a few minutes is normal. Do not reload the page.
**Seed data**
Inserts defaults: task types, statuses, priorities, roles and the initial
company record.
**Finish**
You are redirected to sign-up, where you create the first account.
## Creating the admin account
The first account created after installation is the administrator. It can:
- Invite and deactivate users
- Create and archive projects
- Change company-wide settings
> **Use a real address**
>
> Password resets and invitations go by email. If SMTP is not configured yet,
> set it up before you need to reset that password — see
> [Configuration](https://helpdesk.orangescrum.com/guide/community/install/configuration).
If you installed manually, you can also set the password from the CLI:
```bash
php bin/cake.php change_admin_password
```
Or in Docker:
```bash
docker compose exec orangescrum-app php bin/cake.php change_admin_password
```
## Verifying the install
After signing in, confirm these pages load without error:
- The dashboard at `/`
- Projects at `/projects/manage`
- Tasks at `/easycases/dashboard`
- Your work at `/yourWorks`
Then check the log is clean:
```bash
docker compose exec orangescrum-app tail -50 logs/error.log
```
## Troubleshooting
**The wizard reappears after finishing**
Configuration is written to `config/`. If that directory is not writable, or
the Docker config volume was recreated, the app cannot tell it has been
installed. Check permissions, and confirm `orangescrum-app-config` exists.
**Schema creation times out**
The migration run exceeds `max_execution_time`. Raise it to 300 seconds and
re-run. In Docker this is already configured.
**Database connection failed**
From the app container, the host is the **service name**
(`orangescrum-postgres`), not `localhost` — the database is in a different
container. For a manual install on the same machine, `localhost` is correct.
**Extension missing at the requirements step**
Install it and restart PHP-FPM or Apache. `pdo_pgsql` is the usual culprit;
Orangescrum does not support MySQL.
**Re-running the installer on an existing database**
The installer is designed to run against an empty schema. Pointing it at a
database that already has data risks conflicts — back up first, and prefer a
fresh database.
- [Next: configuration](https://helpdesk.orangescrum.com/guide/community/install/configuration): Mail, base URL, sessions and the settings to change before going live.
# Configuration
> Environment variables, mail, sessions and the settings to change before you expose an instance.
> For the complete documentation index, see [llms.txt](https://helpdesk.orangescrum.com/llms.txt).
Source: https://helpdesk.orangescrum.com/guide/community/install/configuration
---
The application reads its settings from environment variables. In Docker these
live in `docker-compose.yml`; for a manual install, set them in the web server
or shell environment.
## Core variables
| Variable | Purpose | Docker default |
| --- | --- | --- |
| `DB_HOST` | PostgreSQL host | `orangescrum-postgres` |
| `DB_NAME` | Database name | `orangescrum` |
| `DB_USERNAME` | Database user | `orangescrum` |
| `DB_PASSWORD` | Database password | `orangescrum` |
| `FULL_BASE_URL` | Public URL of the instance | `http://oss.localhost:8091` |
| `CACHE_ENGINE` | Cache backend | `file` |
| `SESSION_COOKIE_SECURE` | Require HTTPS for session cookies | `false` |
| `SESSION_COOKIE_NAME` | Session cookie name | `OSS_SESSID` |
| `SESSION_COOKIE_DOMAIN` | Cookie domain | `oss.localhost` |
| `CSRF_COOKIE_NAME` | CSRF cookie name | `oss_csrfToken` |
### FULL_BASE_URL
Every generated link — invitations, password resets, notification emails — is
built from this. It must match the address people actually type, including
scheme and port.
```yaml
FULL_BASE_URL: https://orangescrum.example.com
```
> **A mismatch breaks invitations silently**
>
> The app keeps working; only the links in emails point somewhere wrong. Set
> this correctly before inviting anyone.
## Before you go live
The shipped defaults are tuned for plain-HTTP localhost development. Four things
must change:
**Change the database password**
`orangescrum` is published in the repository. Set a strong password in both
the `orangescrum-postgres` service and the app's `DB_PASSWORD`, then
recreate both containers.
**Turn on secure cookies**
```yaml
SESSION_COOKIE_SECURE: "true"
```
This is `false` by default *because* the default deployment is plain HTTP.
Once you are behind TLS, flip it — otherwise the session cookie can travel
unencrypted.
**Set the real base URL and cookie domain**
```yaml
FULL_BASE_URL: https://orangescrum.example.com
SESSION_COOKIE_DOMAIN: orangescrum.example.com
```
**Terminate TLS**
Put Nginx, Caddy or a load balancer in front, or use Certbot directly on a
manual install.
> **Do not skip these**
>
> Publishing the default compose file to the internet exposes a database with a
> known password and sends session cookies over plain HTTP.
## Email
Without SMTP, invitations, password resets and notifications are never
delivered. Configure it early — a broken password reset is discovered at the
worst possible moment.
| Variable | Example |
| --- | --- |
| `EMAIL_HOST` | `smtp.example.com` |
| `EMAIL_PORT` | `587` |
| `EMAIL_USERNAME` | `notifications@example.com` |
| `EMAIL_PASSWORD` | your SMTP password |
| `EMAIL_FROM` | `notifications@example.com` |
Send a test by triggering a password reset for an account you control, then
check the log:
```bash
docker compose exec orangescrum-app tail -50 logs/error.log
```
> **Use a real relay**
>
> Mail sent directly from a random VPS is usually filed as spam. Use a
> transactional provider or your organisation's relay, and set SPF and DKIM.
## Caching
`file` is the default and fine for a single server. Clear the cache after any
configuration change:
```bash
docker compose exec orangescrum-app php bin/cake.php cache clear_all
```
> **Tip**
>
> If a setting seems not to apply, clear the cache before assuming the change
> did not take.
## Attachment storage
Uploads go to `webroot/files`, backed by the `orangescrum-app-files` volume in
Docker. This grows without bound — it is the volume to watch, and the one your
backups must include.
## Applying changes
```bash
docker compose up -d --force-recreate orangescrum-app
docker compose exec orangescrum-app php bin/cake.php cache clear_all
```
```bash
sudo systemctl restart php8.2-fpm
php bin/cake.php cache clear_all
```
- [Backup and restore](https://helpdesk.orangescrum.com/guide/community/operate/backup-and-restore): Set this up before you have data worth losing.
# Projects
> Create projects, add members and keep track of status in the Community Edition.
> For the complete documentation index, see [llms.txt](https://helpdesk.orangescrum.com/llms.txt).
Source: https://helpdesk.orangescrum.com/guide/community/usage/projects
---
A project is the container for everything else — tasks, milestones, files and
time. Every task belongs to exactly one project.
## Create a project
**Open Projects**
**Projects** in the sidebar lists everything you can see.
**Create**
Give it a name and a short name. The short name prefixes task references, so
keep it brief and distinctive — `WR` for Website Redesign.
**Set dates and status**
Start and end dates are optional but make the project list far more useful.
**Add members**
Only members can see the project and its tasks. Add them now or later from
project settings.
> **What you won't find here**
>
> Project templates, programs, portfolios, budgets and custom fields are
> commercial features and are not present in the Community Edition. See
> [What's included](https://helpdesk.orangescrum.com/guide/community/get-started/whats-included).
## Project status
| Status | Use it for |
| --- | --- |
| **Started** | Active work |
| **Hold** | Paused, expected to resume |
| **Stack** | Queued, not started |
| **Completed** | Finished |
Status is a label for filtering — it does not lock the project or stop people
adding tasks.
## Members and visibility
Visibility follows membership: a user sees a project only if they are a member
of it. Admins can see and manage every project.
> **Removing a member does not reassign their work**
>
> Tasks stay assigned to the removed user, who can no longer open them. Reassign
> before removing someone, or those tasks become invisible to everyone but an
> admin.
## The project view
Inside a project you get:
- **Tasks** — the task list, filterable by status, priority and assignee
- **Kanban** — the same tasks as a board, under **More**
- **Milestones** — group tasks by delivery point
- **Files** — attachments uploaded to this project's tasks
## Archiving
Completed projects clutter the list. Mark a project **Completed** and filter it
out rather than deleting it — deletion removes its tasks, comments, attachments
and logged time permanently.
> **Deletion is not recoverable**
>
> There is no trash or undo. If you are unsure, set the status to Completed
> instead.
## Tips
- **Keep projects coarse**: One per deliverable or team, not per sprint. Milestones handle the finer-grained structure.
- **Short names matter**: They appear on every task reference. Two or three letters is ideal.
- [Next: tasks](https://helpdesk.orangescrum.com/guide/community/usage/tasks): The day-to-day unit of work.
# Tasks
> Create and track tasks, break them into subtasks, and collaborate with comments, attachments and checklists.
> For the complete documentation index, see [llms.txt](https://helpdesk.orangescrum.com/llms.txt).
Source: https://helpdesk.orangescrum.com/guide/community/usage/tasks
---
Tasks are the unit of work. Each belongs to one project and carries a status,
priority, type, assignee and dates.
## Create a task
From inside a project, or from **Tasks** in the sidebar. The only required field
is a title — everything else can be filled in later.
| Field | Notes |
| --- | --- |
| **Title** | Required. Keep it an action: "Fix login redirect", not "Login" |
| **Description** | Rich text, supports attachments |
| **Assignee** | One person. Unassigned tasks are nobody's job |
| **Status** | `Open` or `Closed` |
| **Priority** | Low, medium, high, urgent |
| **Type** | Task, bug, and the other seeded types |
| **Due date** | Drives overdue filtering |
| **Milestone** | Optional grouping |
> **Statuses are fixed**
>
> The Community Edition ships `Open` and `Closed`. Custom task statuses and
> custom fields are commercial features.
## Subtasks
Break a large task into steps that need their own assignee or due date. Subtasks
are real tasks — they appear in lists and can be assigned independently.
Use a subtask when the piece needs to be owned or scheduled separately; use a
[checklist](#checklists) when it just needs ticking off.
> **Closing a parent does not close its subtasks**
>
> They stay open and keep showing up in filters. Close them first, or from the
> parent's subtask list.
## Checklists
Lightweight to-do items inside a task. No assignee, no due date — just a list
you tick.
Good for repeatable steps: a release checklist, a review checklist, a definition
of done.
## Comments and mentions
Discussion lives on the task, which keeps the reasoning next to the work rather
than in a chat log nobody can find later.
> **Tip**
>
> When you close a task, leave a comment saying what was actually done. Six
> months on, that comment is the only record of why the code looks the way it
> does.
## Attachments
Drop files onto a task or its description. They are stored on the server —
under the `orangescrum-app-files` volume in Docker — and appear in the project's
**Files** view.
Watch the size of that volume: attachments are the fastest-growing part of a
Community install, and they must be in your
[backups](https://helpdesk.orangescrum.com/guide/community/operate/backup-and-restore).
## Labels
Cross-cutting tags — `needs-design`, `blocked`, `customer-reported`. Unlike
status and priority, a task can carry several.
The **Label Customizer** plugin lets you rename labels to your team's own
vocabulary. See [Labels](https://helpdesk.orangescrum.com/guide/community/usage/labels).
## Milestones
Group tasks by delivery point — a release, a phase, a client deadline. A task
belongs to at most one milestone.
Milestones are the closest thing the Community Edition has to sprints. There is
no burndown, velocity or sprint report; those are
[Cloud features](https://helpdesk.orangescrum.com/guide/cloud/agile/overview).
## Views
- **List**: The default. Filter by status, priority, assignee and due date.
- **Kanban**: Under **More**. Columns by status; drag to move.
## Time
Log hours against a task manually — see
[Time entry](https://helpdesk.orangescrum.com/guide/community/usage/time-entry). There is no running timer in
this edition.
## What's not here
Task dependencies, custom fields, custom statuses, automation, recurring tasks
and import/export are all commercial features. Full list in
[What's included](https://helpdesk.orangescrum.com/guide/community/get-started/whats-included).
- [Next: time entry](https://helpdesk.orangescrum.com/guide/community/usage/time-entry): Logging and reviewing hours.
# Time entry
> Log hours manually against tasks and review them in the Time Log list.
> For the complete documentation index, see [llms.txt](https://helpdesk.orangescrum.com/llms.txt).
Source: https://helpdesk.orangescrum.com/guide/community/usage/time-entry
---
The Community Edition supports **manual time entry**: you record hours against a
task after the fact. There is no running timer, no timesheet and no approval
workflow — those belong to the commercial time-tracking module.
## Logging time
**Open the task**
Time is always recorded against a specific task, never a project directly.
**Add a time entry**
Use the time-log section on the task page.
**Fill in the entry**
| Field | Notes |
| --- | --- |
| **Hours** | Decimal, e.g. `1.5` for ninety minutes |
| **Date** | Defaults to today; backdate as needed |
| **Description** | What you actually did |
> **Tip**
>
> Write a real description. "Worked on task" tells you nothing later; "traced
> the redirect loop to the session cookie domain" tells you everything.
## Reviewing time
**Time Log → Time Log List View** in the sidebar shows entries across projects,
filterable by project, user and date range.
This is the reporting surface. There are no charts, utilisation views or
exportable timesheets — for those, see
[Cloud time tracking](https://helpdesk.orangescrum.com/guide/cloud/time/time-tracking).
## Editing and deleting
Entries can be edited or removed by the person who created them, and by admins.
There is no approval step, so corrections take effect immediately.
> **No audit trail on time edits**
>
> A changed or deleted entry leaves no record of what it was before. If time
> data feeds invoicing, export it regularly.
## Making it stick
Manual entry only works if people actually do it. What helps:
- **Log daily**: Reconstructing a week on Friday produces fiction. Five minutes a day is accurate.
- **Log against real tasks**: If there is no task for the work, create one. A catch-all "misc" task hides where time actually goes.
- **Round sensibly**: Quarter-hours are precise enough. Chasing minutes wastes more time than it measures.
- **Export periodically**: Pull the data out on a schedule if it matters for billing.
## Not in this edition
- Running timer and the floating timer bar
- Weekly timesheets
- Approval workflow
- Billable versus non-billable rates
- Budget and cost tracking
- Utilisation reporting
These are part of the commercial Timelog and Resource Tracking modules.
- [Next: labels](https://helpdesk.orangescrum.com/guide/community/usage/labels): Tagging and the Label Customizer plugin.
# Labels
> Tag tasks with cross-cutting categories, and rename them to your own vocabulary with the Label Customizer.
> For the complete documentation index, see [llms.txt](https://helpdesk.orangescrum.com/llms.txt).
Source: https://helpdesk.orangescrum.com/guide/community/usage/labels
---
Labels are free-form tags on tasks. Unlike status and priority — where a task
has exactly one value — a task can carry several labels at once.
They are the Community Edition's only extensibility point for categorising work,
since custom fields and custom statuses are commercial features.
## Using labels
Add them from the task page. Filter by them in the task list and on the Kanban
board.
Labels that earn their place:
- **State that isn't status**: `blocked`, `needs-review`, `waiting-on-customer` — real states that are not Open or Closed.
- **Origin**: `customer-reported`, `tech-debt`, `regression`.
- **Area**: `frontend`, `api`, `infra` — useful when a project spans several surfaces.
- **Effort**: `quick-win`, `spike` — where a full estimate is overkill.
## Label Customizer
The `LabelCustomizer` plugin — one of the few feature plugins that ships with
this edition — lets an admin rename labels to match how your team actually
talks. If you say "ticket" rather than "task", or "epic" rather than
"milestone", you can change the wording without touching code.
> **Note**
>
> Renaming changes the display text. It does not add new label types or change
> behaviour.
## Keeping labels useful
Label sets rot faster than anything else in a tracker. A few rules keep them
worth having:
**Keep the list short**
Ten labels people use beats fifty they ignore. If you cannot remember the
list, it is too long.
**Agree what each one means**
`blocked` should have one definition, not one per person. Write it down.
**Don't duplicate status or priority**
An `urgent` label alongside an urgent priority guarantees they disagree.
**Prune regularly**
Retire labels nobody has applied in months.
> **Deleting a label removes it everywhere**
>
> It is stripped from every task that carried it, and there is no undo. Check
> what is using a label before removing it.
## Labels versus milestones
| Use a label | Use a milestone |
| --- | --- |
| Cross-cutting, many per task | Delivery point, one per task |
| `frontend`, `blocked` | "v2.1 release", "Client demo" |
| No dates | Has a date |
- [Next: users and roles](https://helpdesk.orangescrum.com/guide/community/usage/users-and-roles): Inviting people and what each role can do.
# Users and roles
> Invite people, understand the two roles, and manage access in a single-company install.
> For the complete documentation index, see [llms.txt](https://helpdesk.orangescrum.com/llms.txt).
Source: https://helpdesk.orangescrum.com/guide/community/usage/users-and-roles
---
The Community Edition has **two roles** and **one company**. There is no custom
role builder, no permission matrix and no multi-tenancy — those are commercial
features.
## The two roles
| Role | Can do |
| --- | --- |
| **Admin** | Everything: manage users, create and delete any project, change company settings, see all data |
| **User** | Work inside projects they are a member of — create and edit tasks, comment, upload, log time |
Access control is therefore mostly about **project membership**: a user sees a
project only if they belong to it.
> **Admins see everything**
>
> There is no way to hide a project from an admin. If some work must be
> invisible to certain people, they cannot be admins.
## Inviting people
**Open Users**
**Users** in the sidebar. Admin only.
**Send an invitation**
Enter the email address and pick the role.
**They accept**
The invitation email contains a link built from `FULL_BASE_URL`. If that
setting is wrong, the link points nowhere useful.
**Add them to projects**
A new user with no project memberships sees an empty workspace. This step is
easy to forget.
> **Invitations need working email**
>
> Without SMTP configured, no invitation is ever delivered — and the failure is
> silent from the inviter's point of view. Configure mail first: see
> [Configuration](https://helpdesk.orangescrum.com/guide/community/install/configuration).
## Deactivating someone
Deactivate rather than delete. Deactivating blocks sign-in while keeping their
tasks, comments and logged time intact and attributable.
**Reassign their open work first**
Tasks stay assigned to a deactivated user and drop out of everyone else's
view. Reassign before deactivating, not after.
**Deactivate the account**
From the Users list.
**Check the admin count**
Never leave the instance without at least one active admin. If you do, the
only way back is the CLI.
If you are locked out:
```bash
docker compose exec orangescrum-app php bin/cake.php change_admin_password
```
## Two-factor authentication
The `TwoFactorAuth` plugin ships as part of the login flow. Enable it for admin
accounts at minimum — an admin account on a self-hosted instance is the keys to
everything.
## Passwords and resets
Resets go by email, so they depend on the same SMTP configuration as
invitations. Test the reset flow with an account you control **before** you need
it in anger.
## What's not here
- Custom roles and granular permissions
- Teams and business units
- Multi-company / multi-tenant workspaces
- SSO, LDAP, SAML
- Guest or client-only accounts
- User audit trail
- [Upgrading](https://helpdesk.orangescrum.com/guide/community/operate/upgrade): How to move to a newer Community release safely.
# Upgrade
> Move to a newer Community Edition release without losing data.
> For the complete documentation index, see [llms.txt](https://helpdesk.orangescrum.com/llms.txt).
Source: https://helpdesk.orangescrum.com/guide/community/operate/upgrade
---
Upgrades pull new code and run any new database migrations. The order matters —
back up first, and never skip the migration step.
> **Back up before every upgrade**
>
> Migrations alter the schema in place. If one fails halfway, a backup is the
> only way back. See
> [Backup and restore](https://helpdesk.orangescrum.com/guide/community/operate/backup-and-restore).
## Docker
**Back up**
```bash
docker compose exec orangescrum-postgres \
pg_dump -U orangescrum orangescrum > backup-$(date +%F).sql
docker run --rm \
-v orangescrum_orangescrum-app-files:/files \
-v "$PWD":/backup alpine \
tar czf /backup/files-$(date +%F).tar.gz -C /files .
```
**Read the release notes**
Check for breaking changes and required manual steps before pulling. Do not
skip this because the last few upgrades were uneventful.
**Pull the new code**
```bash
git fetch --tags
git checkout
```
**Rebuild and restart**
```bash
docker compose up -d --build
```
Volumes are preserved — your database and attachments survive the rebuild.
**Run migrations**
```bash
docker compose exec orangescrum-app php bin/cake.php migrations migrate
```
**Clear caches**
```bash
docker compose exec orangescrum-app php bin/cake.php cache clear_all
```
**Verify**
Sign in and load the dashboard, a project, a task detail and the time log.
Then check the error log:
```bash
docker compose exec orangescrum-app tail -50 logs/error.log
```
## Manual install
```bash
# 1. Back up the database and webroot/files first.
# 2. Pull the new code
git fetch --tags && git checkout
# 3. Dependencies
composer install --no-dev --optimize-autoloader
npm install && npm run build
# 4. Migrations
php bin/cake.php migrations migrate
# 5. Caches
php bin/cake.php cache clear_all
# 6. Permissions, if files were added
sudo chown -R www-data:www-data .
```
## Before you upgrade production
**Rehearse on a copy**
Restore last night's backup into a scratch instance and upgrade that first.
This catches migration failures where they cost nothing.
**Pick a quiet window**
Migrations can lock tables. Do it when nobody is working.
**Know how to roll back**
Checking out the old tag is easy; **reversing a migration is not**. Rollback
in practice means restoring the backup — make sure you have one you have
actually tested.
## If an upgrade fails
**Migration errors out halfway**
Do not re-run it hoping it will sort itself out — a partially applied
migration leaves the schema in a state the next attempt does not expect.
Restore the backup, reproduce on a copy, and report the error.
**Pages 500 after upgrading**
Usually a stale cache. Run `cache clear_all`. If that does not fix it, check
`logs/error.log` — a missing template or asset points to an incomplete
build; re-run `npm run build`.
**Assets look broken**
The front-end bundle did not rebuild. Re-run `npm install && npm run build`,
then hard-refresh the browser.
**Login works but pages are empty**
Often a `FULL_BASE_URL` or cookie-domain mismatch introduced by the new
config. Compare against
[Configuration](https://helpdesk.orangescrum.com/guide/community/install/configuration).
> **Version 0.1.0**
>
> The Community Edition is early. Read the release notes for every upgrade —
> breaking changes are more likely than in a mature project.
# Backup and restore
> What to back up, how to automate it, and how to prove a restore actually works.
> For the complete documentation index, see [llms.txt](https://helpdesk.orangescrum.com/llms.txt).
Source: https://helpdesk.orangescrum.com/guide/community/operate/backup-and-restore
---
A Community install holds two things you cannot regenerate: the **PostgreSQL
database** and the **attachment files**. Back up both, or your restore will be
half a system.
> **An untested backup is not a backup**
>
> Restore into a scratch instance at least once. Most backup failures are
> discovered during the first real restore, which is the worst time.
## What to back up
| Item | Docker location | Manual location |
| --- | --- | --- |
| Database | `orangescrum-postgres-data` volume | Your PostgreSQL data directory |
| Attachments | `orangescrum-app-files` volume | `webroot/files` |
| Configuration | `orangescrum-app-config` volume | `config/` |
The config volume is small but holds the generated database configuration —
including it saves a fiddly manual step on restore.
## Backing up (Docker)
```bash
#!/usr/bin/env bash
set -euo pipefail
STAMP=$(date +%F-%H%M)
DEST=/backups/orangescrum
mkdir -p "$DEST"
# Database — custom format compresses and restores selectively.
docker compose exec -T orangescrum-postgres \
pg_dump -U orangescrum -Fc orangescrum > "$DEST/db-$STAMP.dump"
# Attachments.
docker run --rm \
-v orangescrum_orangescrum-app-files:/files:ro \
-v "$DEST":/backup alpine \
tar czf "/backup/files-$STAMP.tar.gz" -C /files .
# Configuration.
docker run --rm \
-v orangescrum_orangescrum-app-config:/config:ro \
-v "$DEST":/backup alpine \
tar czf "/backup/config-$STAMP.tar.gz" -C /config .
# Keep 30 days.
find "$DEST" -type f -mtime +30 -delete
```
> **Check your volume prefix**
>
> Compose prefixes volume names with the project name — `orangescrum-oss` in the
> shipped file. Confirm with `docker volume ls` and adjust the script.
Schedule it nightly:
```
0 2 * * * /usr/local/bin/orangescrum-backup.sh >> /var/log/orangescrum-backup.log 2>&1
```
## Backing up (manual install)
```bash
pg_dump -U orangescrum -Fc orangescrum > db-$(date +%F).dump
tar czf files-$(date +%F).tar.gz -C /var/www/orangescrum/webroot files
tar czf config-$(date +%F).tar.gz -C /var/www/orangescrum config
```
## Restoring
**Stop the application**
```bash
docker compose stop orangescrum-app
```
Restoring underneath a running app produces inconsistent state.
**Restore the database**
```bash
docker compose exec -T orangescrum-postgres \
dropdb -U orangescrum --if-exists orangescrum
docker compose exec -T orangescrum-postgres \
createdb -U orangescrum orangescrum
docker compose exec -T orangescrum-postgres \
pg_restore -U orangescrum -d orangescrum < /backups/orangescrum/db-2026-08-01-0200.dump
```
**Restore attachments**
```bash
docker run --rm \
-v orangescrum_orangescrum-app-files:/files \
-v /backups/orangescrum:/backup alpine \
sh -c "rm -rf /files/* && tar xzf /backup/files-2026-08-01-0200.tar.gz -C /files"
```
**Start and clear caches**
```bash
docker compose start orangescrum-app
docker compose exec orangescrum-app php bin/cake.php cache clear_all
```
**Verify**
Sign in, open a project, open a task with an attachment, and download it.
A database-only restore looks fine until someone clicks a file.
## Testing the restore
Quarterly, restore into a throwaway instance on a different port:
```bash
docker compose -p orangescrum-test up -d
```
Then run the restore against that project name. It costs an hour and tells you
whether your backups are real.
## What to watch
- **Backup size**: A sudden drop usually means the dump failed and wrote a near-empty file. Alert on it.
- **Attachment volume growth**: This is what fills the disk. Track it before it stops the app.
- **Off-machine copies**: A backup on the same host does not survive losing the host.
- **Encryption**: Dumps contain everything. Encrypt them at rest.
- [Troubleshooting](https://helpdesk.orangescrum.com/guide/community/operate/troubleshooting): Common failures and how to read the logs.
# Troubleshooting
> Reading the logs, and the failures that actually come up on a self-hosted install.
> For the complete documentation index, see [llms.txt](https://helpdesk.orangescrum.com/llms.txt).
Source: https://helpdesk.orangescrum.com/guide/community/operate/troubleshooting
---
## Where to look first
```bash
# Application errors — start here
docker compose exec orangescrum-app tail -100 logs/error.log
# Container output
docker compose logs -f orangescrum-app
# Is everything running?
docker compose ps
# Database reachable?
docker compose exec orangescrum-postgres pg_isready -U orangescrum
```
For a manual install, `logs/error.log` sits in the project root, alongside your
web server's own error log.
## Common failures
**500 on every page after a config change**
Nearly always a stale cache:
```bash
docker compose exec orangescrum-app php bin/cake.php cache clear_all
```
If it persists, `logs/error.log` will name the missing class or template.
**Login succeeds then immediately bounces back**
A session cookie problem. Check that `FULL_BASE_URL` matches the address you
are actually using, that `SESSION_COOKIE_DOMAIN` matches the host, and that
`SESSION_COOKIE_SECURE` is `false` if you are on plain HTTP — a secure
cookie over HTTP is never stored, so the session is lost on every request.
**Invitations and password resets never arrive**
SMTP is not configured, or is failing silently. Check `logs/error.log` right
after triggering a reset. Also check spam — mail sent directly from a VPS
without SPF and DKIM is usually filtered. See
[Configuration](https://helpdesk.orangescrum.com/guide/community/install/configuration).
**Attachments upload but won't download**
The files volume is not mounted where the app expects, or permissions are
wrong. Confirm the volume exists and that the web server user can read it:
```bash
docker volume ls | grep app-files
docker compose exec orangescrum-app ls -la webroot/files
```
After a partial restore, the database may reference files that were never
restored — a database-only restore looks healthy until someone clicks a
file.
**Uploads fail above a certain size**
Raise `upload_max_filesize` and `post_max_size` in PHP, and
`client_max_body_size` in Nginx. All three must allow the size; the smallest
wins.
**The install wizard keeps reappearing**
The app writes its installed state into `config/`. If that directory is not
writable, or the Docker config volume was recreated, it cannot tell it has
been installed.
**Database connection refused**
From inside the app container the host is the **service name**
(`orangescrum-postgres`), not `localhost`. Also confirm Postgres is healthy —
the app has a `depends_on` healthcheck, so a restarting app container often
means the database never came up.
**Locked out — no working admin**
```bash
docker compose exec orangescrum-app php bin/cake.php change_admin_password
```
**Disk full**
Attachments and PostgreSQL data are the two that grow. Check both:
```bash
docker system df -v
```
Old images and stopped containers are worth pruning, but never with `-v`
unless you are certain which volumes go with it.
## Health checks worth automating
- **HTTP**: The app container already has a healthcheck. Alert on it going unhealthy.
- **Disk**: Alert at 80% on the volume holding attachments and the database.
- **Backup freshness**: Alert if last night's dump is missing or suspiciously small.
- **Error rate**: Watch `logs/error.log` for new entries rather than reading it after a complaint.
## Reporting a bug
The Community Edition is version 0.1.0 — bugs are expected. A useful report has:
- What you did, what happened, what you expected
- The relevant lines from `logs/error.log`
- Your version (`VERSION.txt`), PHP version and whether you use Docker
- Whether it reproduces on a fresh install
Open it on
[GitHub](https://github.com/Orangescrum/orangescrum/issues), and see
[Contributing](https://helpdesk.orangescrum.com/guide/community/project/contributing) if you want to fix it
yourself.
# Licence
> The Community Edition is GNU AGPL v3.0 — what that permits and what it obliges.
> For the complete documentation index, see [llms.txt](https://helpdesk.orangescrum.com/llms.txt).
Source: https://helpdesk.orangescrum.com/guide/community/project/licence
---
Orangescrum Community Edition is licensed under the
**GNU Affero General Public License v3.0**.
> **Not legal advice**
>
> This page summarises the licence in plain terms. The
> [full text](https://www.gnu.org/licenses/agpl-3.0.en.html) is what governs,
> and if the distinction matters to your business, talk to a lawyer.
## What you may do
- **Use it commercially**: Run it inside a business, for profit, at any scale. No fee, no seat count.
- **Modify it**: Change anything. Fork it. Strip parts out.
- **Distribute it**: Share the original or your modified version.
- **Run it privately**: Purely internal use with no obligation to publish anything.
## What you must do
The AGPL's distinguishing clause is **section 13**, the network clause:
> **Offering it over a network counts as distribution**
>
> If you modify Orangescrum and let people use it **over a network** — even
> without shipping them any files — you must offer those users the complete
> source of your modified version. This is what separates the AGPL from the
> ordinary GPL, where private SaaS use creates no obligation.
Concretely:
| Obligation | Detail |
| --- | --- |
| **Publish source** | Modified versions offered over a network must have their source available to those users |
| **Same licence** | Derivative works must also be AGPL v3.0 |
| **State changes** | Say what you modified |
| **Keep notices** | Retain copyright and licence notices |
## Does this affect me?
**We run it unmodified for our own team**
No obligation to publish anything. Using the software — modified or not —
purely internally does not trigger section 13, and unmodified use triggers
nothing at all.
**We modified it for our own team only**
Section 13 is about users interacting with it over a network. Your own
employees using your internal instance are such users — the safe reading is
that you must make the modified source available to them. In practice that
is a repository they can reach.
**We want to offer it to customers as a hosted service**
Then you must publish your modified source to those customers under the
AGPL. If that is unacceptable, you need a commercial licence — talk to
Orangescrum.
**We want to build a proprietary product on top**
The AGPL does not permit that. A commercial licence does.
## Why dual licensing exists
Andolasoft Inc. distributes both this AGPL edition and a commercially licensed
edition from a shared codebase. That is why contributions require a
[CLA](https://helpdesk.orangescrum.com/guide/community/project/contributing) — the company needs permission to
use contributed code in both. **You keep the copyright to your work.**
## Trademarks
The licence covers the code, not the name. "Orangescrum" and its logo are
trademarks. A fork must not present itself as Orangescrum in a way that implies
endorsement.
## Commercial licensing
If the AGPL does not fit — you need to build something proprietary, or offer a
hosted service without publishing your changes — a commercial licence is
available.
- [Compare editions](https://helpdesk.orangescrum.com/guide/cloud/plans/editions): What the commercial editions add.
- [Talk to us](mailto:sales@orangescrum.com): Commercial licensing enquiries.
# Contributing
> How to propose changes, the CLA requirement, and the local development setup.
> For the complete documentation index, see [llms.txt](https://helpdesk.orangescrum.com/llms.txt).
Source: https://helpdesk.orangescrum.com/guide/community/project/contributing
---
Contributions are welcome. Two things are worth knowing before you start: open
an issue first for anything non-trivial, and you will need to sign the CLA.
## Open an issue first
For anything beyond a small fix, **discuss it before you build it**. It avoids
someone spending a weekend on a change that does not fit the project's
direction — which, for a deliberately minimal edition, is a real risk. The
Community Edition's scope is intentionally narrow, and features removed on
purpose will not be accepted back.
> **Scope is a design decision, not an oversight**
>
> Agile boards, Gantt, reporting and integrations were removed deliberately.
> See [What's included](https://helpdesk.orangescrum.com/guide/community/get-started/whats-included) before
> proposing one of them.
## The CLA
Before your first contribution can be merged, you must sign the
**Contributor License Agreement**.
Why it exists: Andolasoft Inc. distributes a commercially licensed edition that
shares this codebase, and needs permission to use contributions in both.
**You keep the copyright to your work** — the CLA grants a licence, it does not
transfer ownership.
**Read CLA.md**
In the repository root.
**Add yourself to CONTRIBUTORS.md**
In your first pull request. That is the signature.
**Corporate contributors**
If you are contributing as part of your employment, your employer may need
to sign a Corporate CLA. Check with them — this catches people out after the
work is done.
## Development setup
```bash
git clone https://github.com/Orangescrum/orangescrum.git
cd orangescrum
docker compose up -d --build
```
The app comes up on **http://localhost:8091** with the install wizard. Full
detail in [Install with Docker](https://helpdesk.orangescrum.com/guide/community/install/docker).
**Stack:** CakePHP 4.6 on PHP 8.2+, PostgreSQL 16, Docker.
## Making a change
**Branch**
```bash
git checkout -b fix/short-description
```
**Follow the surrounding code**
Match the conventions of the files you are editing rather than importing
your own style. CakePHP conventions apply.
**Test it**
```bash
docker compose exec orangescrum-app vendor/bin/phpunit
```
Add tests for behaviour you change. A bug fix without a regression test
invites the bug back.
**Check the error log**
```bash
docker compose exec orangescrum-app tail -50 logs/error.log
```
A clean log is part of "it works".
**Open a pull request**
Explain what changed and why. Link the issue. Mention anything you
deliberately did not do.
## What makes a PR easy to merge
- **One thing at a time**: A focused diff gets reviewed. A 40-file refactor sits.
- **Explain the why**: The code shows what changed; the description should say why.
- **Tests included**: Especially for bug fixes.
- **No unrelated reformatting**: Whitespace churn hides the real change.
## Good first contributions
- Bug fixes with a clear reproduction
- Documentation corrections
- Accessibility improvements
- Localisation
- Test coverage for existing behaviour
## Reporting bugs
Include what you did, what happened, what you expected, the relevant
`logs/error.log` lines, your version from `VERSION.txt`, your PHP version, and
whether it reproduces on a fresh install.
- [Licence](https://helpdesk.orangescrum.com/guide/community/project/licence): What the AGPL means for your contribution and your deployment.
# Moving to Cloud
> What you gain, what migration involves, and how to decide whether it's worth it.
> For the complete documentation index, see [llms.txt](https://helpdesk.orangescrum.com/llms.txt).
Source: https://helpdesk.orangescrum.com/guide/community/project/upgrade-to-cloud
---
The Community Edition covers projects, tasks and manual time entry. If you have
outgrown that, the commercial editions add the modules that were removed.
## What you gain
| Area | Community | Cloud |
| --- | :---: | :---: |
| Projects, tasks, comments, attachments | ✓ | ✓ |
| Subtasks, milestones, checklists, labels | ✓ | ✓ |
| Manual time entry | ✓ | ✓ |
| Kanban board | ✓ | ✓ |
| Gantt chart, critical path | — | ✓ |
| Sprints, backlog, epics, velocity | — | ✓ |
| Custom fields and statuses, automation | — | ✓ |
| Timesheets, approvals, running timer | — | ✓ |
| Resource management and availability | — | ✓ |
| Budget, cost and invoicing | — | ✓ |
| Reports and dashboards | — | ✓ |
| Test case manager, defects | — | ✓ |
| Wiki and documents | — | ✓ |
| GitHub / GitLab / Bitbucket / Azure DevOps | — | ✓ |
| Google Calendar and Drive | — | ✓ |
| SSO, teams, business units, audit trail | — | ✓ |
| Developer API and MCP server | — | ✓ |
Not every feature is in every tier — see
[Plans and limits](https://helpdesk.orangescrum.com/guide/cloud/plans/plans-and-limits).
## Choosing a destination
- [Orangescrum Cloud](https://helpdesk.orangescrum.com/guide/cloud/get-started/introduction): We host and operate it. No servers, no upgrades, no backups to run.
- [Commercial self-hosted](https://helpdesk.orangescrum.com/guide/self-hosted/get-started/introduction): You keep the data on your own infrastructure and get the full feature set.
If you self-hosted the Community Edition for **data residency or control**
reasons, the commercial self-hosted edition is the natural move — the Cloud
would undo the reason you self-hosted.
If you self-hosted mainly because it was **free**, price the operational cost
honestly — backups, upgrades, TLS, monitoring, someone on call — against the
subscription before assuming self-hosting is cheaper.
## What migration involves
> **There is no one-click migration**
>
> The Community Edition was carved out of the commercial codebase and its
> database schema was trimmed — roughly 149 tables against the full product's
> ~310. Moving is an assisted data migration, not a config change. Talk to
> Orangescrum before planning dates.
**Take a full backup**
Database and attachments. See
[Backup and restore](https://helpdesk.orangescrum.com/guide/community/operate/backup-and-restore).
**Contact Orangescrum**
Share your version, roughly how much data you have, and which edition you
are moving to.
**Agree what moves**
Projects, tasks, comments, attachments, users and time logs are the core.
Confirm what is in scope before work starts.
**Rehearse**
Migrate into a trial workspace and have your team check their own projects.
Do not validate this yourself — the people who own the data will spot what
you cannot.
**Cut over**
Freeze the Community instance, run the final migration, redirect people.
Keep the old instance read-only for a while rather than deleting it.
## Keep your backups either way
Whatever you decide, do not decommission the Community instance until the new
one has been in real use for a few weeks and your backups of the old data are
somewhere safe.
- [Compare editions](https://helpdesk.orangescrum.com/guide/cloud/plans/editions): The full breakdown.
- [Talk to sales](mailto:sales@orangescrum.com): Migration and licensing questions.
# Developer API
> A signed, encrypted REST API for reading and writing Orangescrum projects, tasks, timelogs, test cases, defects and checklists.
> For the complete documentation index, see [llms.txt](https://helpdesk.orangescrum.com/llms.txt).
Source: https://helpdesk.orangescrum.com/guide/api/introduction
---
The Orangescrum Developer API lets your own systems create and update the same
records your team works with in the browser. It covers projects, tasks,
timelogs, users, the test-case manager, defects and checklists — 59 endpoints in
total, all documented in this reference and published as an
[OpenAPI 3.0 specification](https://v4-api.orangescrum.com/storage/api-docs/partner-v1.json).
> **Availability**
>
> API access is included with **Premium Unlimited** on Orangescrum Cloud. Keys
> are issued from the admin portal — talk to your account manager if you do not
> have one yet. The Community Edition does not ship the Developer API.
## Base URL
All requests go to a single production host:
```
https://v4-api.orangescrum.com
```
Every endpoint lives under `/api/v1/partner/` and is called with `POST`,
including the read operations. Filters, identifiers and pagination all travel in
the request body rather than the query string, because the body is encrypted —
see [Conventions](https://helpdesk.orangescrum.com/guide/api/conventions).
## What a request looks like
Three things happen on every call:
**Encrypt the payload**
Your parameters are serialised to JSON and encrypted with AES-256-CBC, then
sent as a single `encrypted_data` field.
**Sign the request**
You compute an HMAC-SHA256 signature over the method, path, timestamp,
nonce and body hash, and send it in `X-SIGNATURE`.
**Read the response**
Responses come back as plain JSON with a `success` flag, a `message`, and a
`data` object or array.
Both steps are covered in full — with copy-paste code — in
[Authentication](https://helpdesk.orangescrum.com/guide/api/authentication).
## A first call
`/api/v1/partner/validate` exists purely so you can prove your credentials work
before writing any real integration. It takes no payload.
```bash
curl -X POST 'https://v4-api.orangescrum.com/api/v1/partner/validate' \
-H 'Accept: application/json' \
-H 'Content-Type: application/json' \
-H 'X-API-KEY: pk_your_api_key' \
-H 'X-TIMESTAMP: 1704806400' \
-H 'X-NONCE: b7f91c2e5a8d3f1e' \
-H 'X-SIGNATURE: '
```
A success response confirms the key, its scopes and the server's clock:
```json
{
"success": true,
"message": "Authentication successful",
"data": {
"partner_id": 42,
"api_key_id": 7,
"scopes": ["*"],
"timestamp": 1704806400
}
}
```
## What you can reach
- [Projects](https://helpdesk.orangescrum.com/guide/api/endpoints/projects/projects-list): List, create, update, search and inspect projects.
- [Tasks](https://helpdesk.orangescrum.com/guide/api/endpoints/tasks/tasks-list): Full CRUD plus search across every task in the workspace.
- [Timelogs](https://helpdesk.orangescrum.com/guide/api/endpoints/timelogs/timelogs-list): Read and write time entries against tasks and projects.
- [Users](https://helpdesk.orangescrum.com/guide/api/endpoints/users/users-list): Read the workspace directory and individual user records.
- [Test management](https://helpdesk.orangescrum.com/guide/api/endpoints/test-cases/test-cases-list): Test cases, scenarios and steps from the Test Case Manager.
- [Defects](https://helpdesk.orangescrum.com/guide/api/endpoints/defects/defects-list): Raise defects, link them to test entities and move their status.
## Prefer an AI assistant?
The same API is exposed as a Model Context Protocol server, so Claude, Cursor,
GitHub Copilot and the Codex CLI can call it directly with the key you already
have. See [MCP / AI Connect](https://helpdesk.orangescrum.com/guide/mcp/introduction).
## Next steps
- [Authentication](https://helpdesk.orangescrum.com/guide/api/authentication): Generate the signature and encrypt your payload.
- [Conventions](https://helpdesk.orangescrum.com/guide/api/conventions): Identifiers, pagination, dates and the response envelope.
# Authentication
> Sign every request with HMAC-SHA256 and encrypt the payload with AES-256-CBC.
> For the complete documentation index, see [llms.txt](https://helpdesk.orangescrum.com/llms.txt).
Source: https://helpdesk.orangescrum.com/guide/api/authentication
---
The Developer API uses an **API key plus an HMAC signature**. The key identifies
you; the signature proves you hold the secret and that nobody altered the request
in transit. The secret itself is never sent.
> **Store the secret carefully**
>
> The secret key is shown **once**, when the key pair is created. It cannot be
> retrieved afterwards — only rotated. Keep it in a secrets manager, never in
> source control or client-side code.
## Credentials
| Value | Where it goes | Notes |
| --- | --- | --- |
| **API key** | `X-API-KEY` header | Public identifier, prefixed `pk_` |
| **Secret key** | never transmitted | Used only to compute the signature and encrypt the payload |
## Required headers
Every request carries six headers:
- `Accept` *string* (required) — `application/json`
- `Content-Type` *string* (required) — `application/json`
- `X-API-KEY` *string* (required) — Your API key, starting with `pk_`.
- `X-TIMESTAMP` *integer* (required) — Unix timestamp in seconds. Must be within **±5 minutes** of server time, so keep the calling machine's clock in sync via NTP.
- `X-NONCE` *string* (required) — A one-time random string, **minimum 8 characters**. Each nonce is remembered for 10 minutes and cannot be reused within that window.
- `X-SIGNATURE` *string* (required) — Hex-encoded HMAC-SHA256 of the canonical string, keyed with your secret.
## The canonical string
The signature is computed over a deterministic representation of the request —
five fields joined by newlines, in this exact order:
```
METHOD\nPATH\nTIMESTAMP\nNONCE\nSHA256(BODY)
```
| Field | Value |
| --- | --- |
| `METHOD` | Uppercase HTTP method, always `POST` |
| `PATH` | Request path including the leading slash, e.g. `/api/v1/partner/tasks/list` |
| `TIMESTAMP` | The same value sent in `X-TIMESTAMP` |
| `NONCE` | The same value sent in `X-NONCE` |
| `SHA256(BODY)` | Lowercase hex SHA-256 of the **raw request body**, byte for byte |
> **Hash the bytes you actually send**
>
> Serialise the body once, hash that exact string, and send that exact string.
> Re-encoding the JSON between hashing and sending — different key order, added
> whitespace — changes the hash and the signature will not match.
## Encrypting the payload
Request parameters are not sent as plain JSON. They are encrypted and wrapped in
a single field:
```json
{
"encrypted_data": ""
}
```
The encryption is **AES-256-CBC**:
- **Key** — the SHA-256 hash of your secret key (32 raw bytes)
- **IV** — 16 random bytes, generated per request
- **Output** — the IV prepended to the ciphertext, then Base64-encoded
Responses come back as ordinary JSON — you do not need to decrypt them.
## Worked example
```php
'550e8400-e29b-41d4-a716-446655440000'];
// 1. Encrypt the payload with AES-256-CBC.
$iv = random_bytes(16);
$cipher = openssl_encrypt(
json_encode($payload),
'aes-256-cbc',
hash('sha256', $secretKey, true),
OPENSSL_RAW_DATA,
$iv
);
$body = json_encode(['encrypted_data' => base64_encode($iv . $cipher)]);
// 2. Sign the canonical string.
$timestamp = time();
$nonce = bin2hex(random_bytes(8));
$canonical = implode("\n", ['POST', $path, $timestamp, $nonce, hash('sha256', $body)]);
$signature = hash_hmac('sha256', $canonical, $secretKey);
// 3. Send it.
$ch = curl_init("https://v4-api.orangescrum.com{$path}");
curl_setopt_array($ch, [
CURLOPT_POST => true,
CURLOPT_POSTFIELDS => $body,
CURLOPT_RETURNTRANSFER => true,
CURLOPT_HTTPHEADER => [
'Accept: application/json',
'Content-Type: application/json',
"X-API-KEY: {$apiKey}",
"X-TIMESTAMP: {$timestamp}",
"X-NONCE: {$nonce}",
"X-SIGNATURE: {$signature}",
],
]);
echo curl_exec($ch);
```
```js
import crypto from 'node:crypto';
const API_KEY = 'pk_your_api_key';
const SECRET = 'your_secret_key';
const HOST = 'https://v4-api.orangescrum.com';
function encrypt(payload, secret) {
const iv = crypto.randomBytes(16);
const key = crypto.createHash('sha256').update(secret).digest();
const cipher = crypto.createCipheriv('aes-256-cbc', key, iv);
const encrypted = Buffer.concat([
cipher.update(JSON.stringify(payload), 'utf8'),
cipher.final(),
]);
return Buffer.concat([iv, encrypted]).toString('base64');
}
export async function call(path, payload = {}) {
// Serialise once — the hash must cover the exact bytes we send.
const body = JSON.stringify({ encrypted_data: encrypt(payload, SECRET) });
const timestamp = Math.floor(Date.now() / 1000);
const nonce = crypto.randomBytes(8).toString('hex');
const bodyHash = crypto.createHash('sha256').update(body).digest('hex');
const canonical = ['POST', path, timestamp, nonce, bodyHash].join('\n');
const signature = crypto
.createHmac('sha256', SECRET)
.update(canonical)
.digest('hex');
const response = await fetch(`${HOST}${path}`, {
method: 'POST',
body,
headers: {
Accept: 'application/json',
'Content-Type': 'application/json',
'X-API-KEY': API_KEY,
'X-TIMESTAMP': String(timestamp),
'X-NONCE': nonce,
'X-SIGNATURE': signature,
},
});
return response.json();
}
console.log(await call('/api/v1/partner/projects/list', { page: 1, limit: 25 }));
```
```python
import base64, hashlib, hmac, json, os, time
import requests
from cryptography.hazmat.primitives import padding
from cryptography.hazmat.primitives.ciphers import Cipher, algorithms, modes
API_KEY = "pk_your_api_key"
SECRET = "your_secret_key"
HOST = "https://v4-api.orangescrum.com"
def encrypt(payload: dict, secret: str) -> str:
iv = os.urandom(16)
key = hashlib.sha256(secret.encode()).digest()
padder = padding.PKCS7(128).padder()
data = padder.update(json.dumps(payload).encode()) + padder.finalize()
encryptor = Cipher(algorithms.AES(key), modes.CBC(iv)).encryptor()
return base64.b64encode(iv + encryptor.update(data) + encryptor.finalize()).decode()
def call(path: str, payload: dict | None = None) -> dict:
# Serialise once — the hash must cover the exact bytes we send.
body = json.dumps({"encrypted_data": encrypt(payload or {}, SECRET)})
timestamp = int(time.time())
nonce = os.urandom(8).hex()
body_hash = hashlib.sha256(body.encode()).hexdigest()
canonical = "\n".join(["POST", path, str(timestamp), nonce, body_hash])
signature = hmac.new(SECRET.encode(), canonical.encode(), hashlib.sha256).hexdigest()
response = requests.post(
f"{HOST}{path}",
data=body,
headers={
"Accept": "application/json",
"Content-Type": "application/json",
"X-API-KEY": API_KEY,
"X-TIMESTAMP": str(timestamp),
"X-NONCE": nonce,
"X-SIGNATURE": signature,
},
timeout=30,
)
return response.json()
print(call("/api/v1/partner/projects/list", {"page": 1, "limit": 25}))
```
## Scopes
Each key carries a list of scopes. A key with `*` can reach everything; a
narrower key is rejected with `403 Forbidden` when it calls outside its scope.
Ask for the narrowest set that does the job.
## Why a request fails
**401 — Invalid signature**
Almost always the body hash. Confirm you hashed the exact bytes you sent,
that the canonical string uses `\n` (not `\r\n`), and that the field order is
`METHOD`, `PATH`, `TIMESTAMP`, `NONCE`, `SHA256(BODY)`.
**401 — Timestamp outside window**
The clock on the calling machine has drifted more than five minutes. Sync it
with NTP; do not paper over it by reading the server clock first.
**401 — Nonce already used**
The same nonce was replayed inside the 10-minute window. Generate a fresh
random value per request — never a counter that resets.
**401 — Unknown or revoked key**
The key does not exist, is inactive, has expired, or has been revoked. Check
it in the admin portal.
Every attempt — successful or not — is written to the audit trail with the
calling IP, the endpoint and the reason for failure.
- [Validate your setup](https://helpdesk.orangescrum.com/guide/api/endpoints/developer/validate): Call `/api/v1/partner/validate` first. It exercises the whole signing path without touching any data.
# Conventions
> The response envelope, identifiers, filters, dates and other patterns shared by every endpoint.
> For the complete documentation index, see [llms.txt](https://helpdesk.orangescrum.com/llms.txt).
Source: https://helpdesk.orangescrum.com/guide/api/conventions
---
Every endpoint in the Developer API follows the same handful of rules. Learn
them once and the other 58 endpoints behave the way you expect.
## Everything is a POST
Including the reads. `projects/list` and `tasks/search` are `POST` calls just
like `tasks/create`.
That is a consequence of the encrypted payload: filters and identifiers travel
inside the encrypted body rather than the query string, so there is no
meaningful `GET` form. Two practical effects:
- Never cache responses on the assumption that `POST` means "changes data".
- URLs are stable and carry no parameters, which keeps them out of proxy logs.
## The response envelope
Every response — success or failure — has the same three top-level fields:
```json
{
"success": true,
"message": "Projects retrieved successfully",
"data": []
}
```
- `success` *boolean* (required) — Whether the operation completed. Check this rather than inferring from the presence of `data`.
- `message` *string* (required) — A human-readable summary. Useful in logs; do not branch on its wording.
- `data` *object | array* — The payload. Collection endpoints return an array, single-record endpoints return an object. Absent on some error responses.
> **Tip**
>
> Branch on the HTTP status code first, then on `success`. A `200` with
> `"success": false` is possible for soft failures such as an empty filter match
> on some endpoints.
## Identifiers
Records are addressed by **UUID**, not by the numeric primary key:
```json
{ "project_id": "550e8400-e29b-41d4-a716-446655440000" }
```
| Field | Refers to |
| --- | --- |
| `project_id` | A project's `uniq_id` |
| `task_id` | A task's UUID |
| `assigned_to` | A **numeric** user id, not a UUID |
> **Users are the exception**
>
> Assignment fields such as `assigned_to` take the integer user id returned by
> `users/list`. Passing a UUID there fails validation.
## Filters
List endpoints take an optional `filters` object. Unknown keys are ignored, so a
typo silently returns unfiltered results — check your filter names when a
response looks too large.
```json
{
"filters": {
"status": "Started",
"start_date": "2024-01-01",
"end_date": "2024-12-31"
}
}
```
Date filters are inclusive: `start_date` matches records on or after the date,
`end_date` matches records on or before it.
## Dates and times
| Kind | Format | Example |
| --- | --- | --- |
| Date | `YYYY-MM-DD` | `2024-01-15` |
| Timestamp | `YYYY-MM-DD HH:MM:SS` | `2024-01-10 10:30:00` |
| Signing timestamp | Unix seconds | `1704806400` |
Timestamps in responses are in the workspace's configured timezone, not UTC. The
`X-TIMESTAMP` header used for signing is always Unix epoch seconds.
## Statuses and priorities
These are validated against fixed sets. Sending anything else returns `422`.
| Field | Accepted values |
| --- | --- |
| Task `priority` | `low`, `medium`, `high`, `urgent` |
| Task `status` | `Open`, `Closed` |
| Project `status` | `Started`, `Hold`, `Stack`, `Completed` |
> **Note**
>
> Workspaces that use **custom task statuses** still accept `Open` and `Closed`
> over the API; the custom status is reported in the task detail response.
## Creating versus updating
`create` endpoints return the new record's UUID in `data`. `update` endpoints
take that UUID plus only the fields you want to change — omitted fields are left
alone, they are not blanked.
To clear a field, send an explicit empty value rather than omitting it.
## Deletes are usually archives
Endpoints named `delete` in the test-management area archive the record rather
than destroying it, so links from defects and runs stay intact. Check each
endpoint's description for the exact behaviour.
## Pagination
Collection endpoints return the full filtered set. Where an endpoint supports
paging it is documented on that endpoint's own page — do not assume `page` and
`limit` are accepted everywhere.
- [Errors](https://helpdesk.orangescrum.com/guide/api/errors): Status codes, validation failures and what to retry.
# Errors
> Status codes the Developer API returns, what causes each one, and which are worth retrying.
> For the complete documentation index, see [llms.txt](https://helpdesk.orangescrum.com/llms.txt).
Source: https://helpdesk.orangescrum.com/guide/api/errors
---
Errors use standard HTTP status codes and the same envelope as successful
responses, so you can parse both with one code path.
```json
{
"success": false,
"message": "Invalid signature"
}
```
## Status codes
- **200** — Success. Check the success field for soft failures.
- **201** — Created. Returned by the create endpoints, with the new record's UUID in data.
- **401** — Authentication failed — key, timestamp, nonce or signature.
- **403** — Authenticated, but the key's scopes do not cover this endpoint.
- **422** — Validation error — the decrypted payload is missing a field or has a bad value.
- **429** — Rate limit exceeded.
- **500** — Server error.
## 401 Unauthorized
By far the most common error while building an integration, and it covers five
distinct causes. The `message` field tells you which:
| Message | Cause | Fix |
| --- | --- | --- |
| Missing required header | One of the four auth headers is absent | Send `X-API-KEY`, `X-TIMESTAMP`, `X-NONCE`, `X-SIGNATURE` |
| Invalid API key | Key unknown, inactive, expired or revoked | Check the key in the admin portal |
| Timestamp outside window | Clock drift beyond ±5 minutes | Sync the machine clock with NTP |
| Nonce already used | Nonce replayed within 10 minutes | Generate fresh randomness per request |
| Invalid signature | Canonical string or body hash mismatch | See below |
### Debugging an invalid signature
Nine times out of ten the body hash is the culprit. Work through these in order:
**Hash the bytes you send**
Serialise the JSON body **once** into a string, hash that string, and send
that same string. Re-serialising between hashing and sending changes key
order or whitespace and invalidates the signature.
**Check the separator**
The canonical string is joined with `\n` (LF). A `\r\n` from a Windows
here-doc or a template literal will not match.
**Check the path**
Use the path only — `/api/v1/partner/tasks/list` — with a leading slash and
no host, no query string, no trailing slash.
**Check the field order**
`METHOD`, `PATH`, `TIMESTAMP`, `NONCE`, `SHA256(BODY)`. Method uppercase.
**Check the encoding**
The signature is **hex**, lowercase. Base64 will be rejected.
> **Tip**
>
> Call `/api/v1/partner/validate` while debugging. It exercises the full signing
> path with an empty payload, which removes the body hash from the equation —
> if `validate` succeeds but a real call fails, the problem is in your body
> serialisation.
## 403 Forbidden
The key authenticated but its scopes do not cover the endpoint. Scopes are set
when the key is issued; a key with `*` reaches everything. Ask your account
manager to widen the scope, or use a key that already has it.
## 422 Validation error
The signature was fine and the payload decrypted, but its contents failed
validation — a missing required field, an unknown status value, or a UUID where
an integer id was expected.
```json
{
"success": false,
"message": "The project_id field is required."
}
```
Common causes:
- Passing a user UUID to `assigned_to`, which expects a **numeric** id
- A `priority` outside `low`, `medium`, `high`, `urgent`
- A date that is not `YYYY-MM-DD`
- Referencing a record in a project the key's workspace cannot see
## 429 Too Many Requests
You have exceeded 120 requests in a minute or 5,000 in a day. The response
carries headers telling you how long to wait:
```
X-RateLimit-Limit: 120
X-RateLimit-Remaining: 0
Retry-After: 60
```
See [Rate limits](https://helpdesk.orangescrum.com/guide/api/rate-limits) for how to stay under them.
## 500 Server error
Something failed on our side. These are logged with a correlation id.
## What to retry
> **Retry rules**
>
> Retry `429` after `Retry-After`, and `500` with exponential backoff and
> jitter — but **generate a fresh timestamp, nonce and signature for every
> attempt**. Replaying the original headers will be rejected as a reused nonce.
Never retry `401`, `403` or `422` — they are deterministic and will fail
identically until you change the request.
> **Retries are not idempotent**
>
> The create endpoints have no idempotency key. A retried `tasks/create` that
> actually succeeded the first time will create a second task. Confirm with a
> `search` before retrying a write that timed out.
## Audit trail
Every request, successful or not, is recorded with its status code, response
time, calling IP and endpoint — the same trail the MCP server writes to. If a
call behaves unexpectedly in production, that log is the place to start.
# Rate limits
> 120 requests per minute and 5,000 per day per key, with headers telling you where you stand.
> For the complete documentation index, see [llms.txt](https://helpdesk.orangescrum.com/llms.txt).
Source: https://helpdesk.orangescrum.com/guide/api/rate-limits
---
The Developer API enforces two limits at once. Exceeding either returns
`429 Too Many Requests`.
| Window | Limit |
| --- | --- |
| Per minute | 120 requests |
| Per day | 5,000 requests |
Both limits are counted **per API key**. Requests without an `X-API-KEY` header
are counted per source IP instead — which matters when a misconfigured client
starts failing authentication, because those attempts still consume quota.
## Response headers
Every response carries your current standing, so you can throttle before you get
blocked rather than after:
```
X-RateLimit-Limit: 120
X-RateLimit-Remaining: 43
```
When you are blocked, a third header tells you how long to wait:
```
Retry-After: 60
```
The value is in seconds. Honour it rather than guessing — retrying early just
burns the daily allowance.
## Staying under the limits
**Batch with filters, not loops**
One `tasks/list` call with a `filters` object beats fetching every project
and looping. Most list endpoints filter server-side.
**Cache what does not change**
The user directory and project list change rarely. Cache them for minutes,
not seconds — this alone usually removes most of the traffic.
**Back off on 429**
Sleep for `Retry-After`, then retry with exponential backoff and jitter so a
fleet of workers does not resynchronise into a thundering herd.
**Use a separate key per integration**
Limits are per key, so a nightly bulk sync on its own key cannot starve your
interactive integrations.
> **Generate fresh signing values on every retry**
>
> A retry must carry a new `X-TIMESTAMP`, a new `X-NONCE` and a recomputed
> `X-SIGNATURE`. Replaying the original headers is rejected as a reused nonce —
> and if the wait exceeded five minutes, as an expired timestamp too.
## A worked backoff
```js
async function callWithRetry(path, payload, attempt = 0) {
const response = await call(path, payload); // re-signs on every invocation
if (response.status !== 429 || attempt >= 4) return response;
const retryAfter = Number(response.headers.get('Retry-After') ?? 60);
// Exponential growth plus jitter, so parallel workers don't resynchronise.
const backoff = retryAfter * 1000 * 2 ** attempt + Math.random() * 1000;
await new Promise((resolve) => setTimeout(resolve, backoff));
return callWithRetry(path, payload, attempt + 1);
}
```
## MCP traffic counts too
The [MCP server](https://helpdesk.orangescrum.com/guide/mcp/introduction) authenticates with the same key, so
tool calls from Claude, Cursor or Copilot draw on the same 120/minute and
5,000/day budget as your REST integrations. If an assistant is doing bulk work,
give it its own key.
## Need more headroom?
The limits are configurable per deployment. If a legitimate integration needs
more, contact your Orangescrum account manager with the expected request volume
and pattern.
# Validate developer API authentication
> Test endpoint to validate HMAC-SHA256 signature authentication.
> For the complete documentation index, see [llms.txt](https://helpdesk.orangescrum.com/llms.txt).
Source: https://helpdesk.orangescrum.com/guide/api/endpoints/developer/validate
---
`POST /api/v1/partner/validate`
Test endpoint to validate HMAC-SHA256 signature authentication. Requires X-API-KEY, X-TIMESTAMP, X-NONCE, and X-SIGNATURE headers. See API_auth_Solution.md for full authentication specification.
## Authorizations
- `X-API-KEY` *string* (required) — Developer API key (starts with pk_)
- `X-TIMESTAMP` *integer* (required) — Unix timestamp in seconds (must be within ±5 minutes of server time)
- `X-NONCE` *string* (required) — One-time random string (minimum 8 characters, prevents replay attacks)
- `X-SIGNATURE` *string* (required) — HMAC-SHA256 signature of canonical string (hex-encoded)
## Request body
Optional JSON request body. Body hash (SHA256) is included in signature canonical string.
- `test` *string* — Test field
- `message` *string* — Test message
## Responses
- **200** — Authentication successful
- **401** — Authentication failed
- **403** — Insufficient scope
## Request samples
### cURL
```bash
curl -X POST 'https://v4-api.orangescrum.com/api/v1/partner/validate' \
-H 'Accept: application/json' \
-H 'Content-Type: application/json' \
-H 'X-API-KEY: pk_your_api_key' \
-H 'X-TIMESTAMP: '"$(date +%s)" \
-H 'X-NONCE: '"$(openssl rand -hex 8)" \
-H 'X-SIGNATURE: ' \
-d '{"encrypted_data":""}'
```
### Python
```python
# call() is defined on the Authentication page.
from orangescrum import call
response = call(
"/api/v1/partner/validate",
{},
)
print(response)
```
### JavaScript
```javascript
// call() is defined on the Authentication page.
import { call } from './orangescrum.js';
const response = await call('/api/v1/partner/validate', {});
console.log(response);
```
### PHP
```php
Create a new project in Orangescrum.
> For the complete documentation index, see [llms.txt](https://helpdesk.orangescrum.com/llms.txt).
Source: https://helpdesk.orangescrum.com/guide/api/endpoints/projects/projects-create
---
`POST /api/v1/partner/projects/create`
Create a new project in Orangescrum. All data must be encrypted in the request body.
## Authorizations
- `X-API-KEY` *string* (required) — Developer API key (starts with pk_)
- `X-TIMESTAMP` *integer* (required) — Unix timestamp in seconds (must be within ±5 minutes of server time)
- `X-NONCE` *string* (required) — One-time random string (minimum 8 characters, prevents replay attacks)
- `X-SIGNATURE` *string* (required) — HMAC-SHA256 signature of canonical string (hex-encoded)
## Headers
- `Accept` *string* (required) — Content type of response
- `Content-Type` *string* (required) — Content type of request
## Request body
Encrypted request data containing project details
- `encrypted_data` *string* (required) — Base64-encoded encrypted JSON data. Encryption: AES-256-CBC with 16-byte IV prepended. Key: SHA256 hash of secret key.
## Responses
- **201** — Project created successfully - Returns encrypted project data
- **401** — Unauthorized - Invalid or missing API key
- **422** — Validation error
- **500** — Server error
## Request samples
### cURL
```bash
curl -X POST 'https://v4-api.orangescrum.com/api/v1/partner/projects/create' \
-H 'Accept: application/json' \
-H 'Content-Type: application/json' \
-H 'X-API-KEY: pk_your_api_key' \
-H 'X-TIMESTAMP: '"$(date +%s)" \
-H 'X-NONCE: '"$(openssl rand -hex 8)" \
-H 'X-SIGNATURE: ' \
-d '{"encrypted_data":""}'
```
### Python
```python
# call() is defined on the Authentication page.
from orangescrum import call
response = call(
"/api/v1/partner/projects/create",
{ "name": "Mobile App Development", "priority": "High", "description": "iOS and Android app", "status": "Started", "start_date": "2024-03-01", "end_date": "2024-09-30", "estimated_hours": 1200.0 },
)
print(response)
```
### JavaScript
```javascript
// call() is defined on the Authentication page.
import { call } from './orangescrum.js';
const response = await call('/api/v1/partner/projects/create', { "name": "Mobile App Development", "priority": "High", "description": "iOS and Android app", "status": "Started", "start_date": "2024-03-01", "end_date": "2024-09-30", "estimated_hours": 1200.0 });
console.log(response);
```
### PHP
```php
Retrieve detailed information about a specific project.
> For the complete documentation index, see [llms.txt](https://helpdesk.orangescrum.com/llms.txt).
Source: https://helpdesk.orangescrum.com/guide/api/endpoints/projects/projects-detail
---
`POST /api/v1/partner/projects/detail`
Retrieve detailed information about a specific project.
## Authorizations
- `X-API-KEY` *string* (required) — Developer API key (starts with pk_)
- `X-TIMESTAMP` *integer* (required) — Unix timestamp in seconds (must be within ±5 minutes of server time)
- `X-NONCE` *string* (required) — One-time random string (minimum 8 characters, prevents replay attacks)
- `X-SIGNATURE` *string* (required) — HMAC-SHA256 signature of canonical string (hex-encoded)
## Headers
- `Accept` *string* (required) — Content type of response
- `Content-Type` *string* (required) — Content type of request
## Request body
Encrypted request data containing project_id
- `encrypted_data` *string* (required) — Base64-encoded encrypted JSON data. Encryption: AES-256-CBC with 16-byte IV prepended. Key: SHA256 hash of secret key.
## Responses
- **200** — Success - Returns encrypted project details
- **401** — Unauthorized - Invalid or missing API key
- **404** — Project not found
- **422** — Validation error
- **500** — Server error
## Request samples
### cURL
```bash
curl -X POST 'https://v4-api.orangescrum.com/api/v1/partner/projects/detail' \
-H 'Accept: application/json' \
-H 'Content-Type: application/json' \
-H 'X-API-KEY: pk_your_api_key' \
-H 'X-TIMESTAMP: '"$(date +%s)" \
-H 'X-NONCE: '"$(openssl rand -hex 8)" \
-H 'X-SIGNATURE: ' \
-d '{"encrypted_data":""}'
```
### Python
```python
# call() is defined on the Authentication page.
from orangescrum import call
response = call(
"/api/v1/partner/projects/detail",
{ "project_id": "550e8400-e29b-41d4-a716-446655440000" },
)
print(response)
```
### JavaScript
```javascript
// call() is defined on the Authentication page.
import { call } from './orangescrum.js';
const response = await call('/api/v1/partner/projects/detail', { "project_id": "550e8400-e29b-41d4-a716-446655440000" });
console.log(response);
```
### PHP
```php
Retrieve a list of projects with optional filters.
> For the complete documentation index, see [llms.txt](https://helpdesk.orangescrum.com/llms.txt).
Source: https://helpdesk.orangescrum.com/guide/api/endpoints/projects/projects-list
---
`POST /api/v1/partner/projects/list`
Retrieve a list of projects with optional filters. All data must be encrypted in the request body. Response returns decrypted JSON data.
## Authorizations
- `X-API-KEY` *string* (required) — Developer API key (starts with pk_)
- `X-TIMESTAMP` *integer* (required) — Unix timestamp in seconds (must be within ±5 minutes of server time)
- `X-NONCE` *string* (required) — One-time random string (minimum 8 characters, prevents replay attacks)
- `X-SIGNATURE` *string* (required) — HMAC-SHA256 signature of canonical string (hex-encoded)
## Headers
- `Accept` *string* (required) — Content type of response
- `Content-Type` *string* (required) — Content type of request
## Request body
Encrypted request data containing optional filters
- `encrypted_data` *string* (required) — Base64-encoded encrypted JSON data. Encryption: AES-256-CBC with 16-byte IV prepended. Key: SHA256 hash of secret key.
## Responses
- **200** — Success - Returns decrypted project list
- **401** — Unauthorized - Invalid or missing API key
- **422** — Validation error
- **500** — Server error
## Request samples
### cURL
```bash
curl -X POST 'https://v4-api.orangescrum.com/api/v1/partner/projects/list' \
-H 'Accept: application/json' \
-H 'Content-Type: application/json' \
-H 'X-API-KEY: pk_your_api_key' \
-H 'X-TIMESTAMP: '"$(date +%s)" \
-H 'X-NONCE: '"$(openssl rand -hex 8)" \
-H 'X-SIGNATURE: ' \
-d '{"encrypted_data":""}'
```
### Python
```python
# call() is defined on the Authentication page.
from orangescrum import call
response = call(
"/api/v1/partner/projects/list",
{ "filters": { "status": "Started", "start_date": "2024-01-01", "end_date": "2024-12-31" },
)
print(response)
```
### JavaScript
```javascript
// call() is defined on the Authentication page.
import { call } from './orangescrum.js';
const response = await call('/api/v1/partner/projects/list', { "filters": { "status": "Started", "start_date": "2024-01-01", "end_date": "2024-12-31" });
console.log(response);
```
### PHP
```php
Search projects with pagination.
> For the complete documentation index, see [llms.txt](https://helpdesk.orangescrum.com/llms.txt).
Source: https://helpdesk.orangescrum.com/guide/api/endpoints/projects/projects-search
---
`POST /api/v1/partner/projects/search`
Search projects with pagination. All data must be encrypted in the request body. Response returns decrypted JSON data with pagination.
## Authorizations
- `X-API-KEY` *string* (required) — Developer API key (starts with pk_)
- `X-TIMESTAMP` *integer* (required) — Unix timestamp in seconds (must be within ±5 minutes of server time)
- `X-NONCE` *string* (required) — One-time random string (minimum 8 characters, prevents replay attacks)
- `X-SIGNATURE` *string* (required) — HMAC-SHA256 signature of canonical string (hex-encoded)
## Headers
- `Accept` *string* (required) — Content type for response
- `Content-Type` *string* (required) — Content type for request
## Request body
Encrypted request data containing search query and pagination
- `encrypted_data` *string* (required) — Base64-encoded encrypted JSON data. Encryption: AES-256-CBC with 16-byte IV prepended. Key: SHA256 hash of secret key.
## Responses
- **200** — Projects searched successfully - Returns encrypted project list with pagination
- **401** — Unauthorized - Invalid or missing API key
- **422** — Validation error
- **500** — Server error
## Request samples
### cURL
```bash
curl -X POST 'https://v4-api.orangescrum.com/api/v1/partner/projects/search' \
-H 'Accept: application/json' \
-H 'Content-Type: application/json' \
-H 'X-API-KEY: pk_your_api_key' \
-H 'X-TIMESTAMP: '"$(date +%s)" \
-H 'X-NONCE: '"$(openssl rand -hex 8)" \
-H 'X-SIGNATURE: ' \
-d '{"encrypted_data":""}'
```
### Python
```python
# call() is defined on the Authentication page.
from orangescrum import call
response = call(
"/api/v1/partner/projects/search",
{ "q": "website", "page": 1, "per_page": 20 },
)
print(response)
```
### JavaScript
```javascript
// call() is defined on the Authentication page.
import { call } from './orangescrum.js';
const response = await call('/api/v1/partner/projects/search', { "q": "website", "page": 1, "per_page": 20 });
console.log(response);
```
### PHP
```php
Update an existing project.
> For the complete documentation index, see [llms.txt](https://helpdesk.orangescrum.com/llms.txt).
Source: https://helpdesk.orangescrum.com/guide/api/endpoints/projects/projects-update
---
`POST /api/v1/partner/projects/update`
Update an existing project. Only send fields that need to be updated.
## Authorizations
- `X-API-KEY` *string* (required) — Developer API key (starts with pk_)
- `X-TIMESTAMP` *integer* (required) — Unix timestamp in seconds (must be within ±5 minutes of server time)
- `X-NONCE` *string* (required) — One-time random string (minimum 8 characters, prevents replay attacks)
- `X-SIGNATURE` *string* (required) — HMAC-SHA256 signature of canonical string (hex-encoded)
## Headers
- `Accept` *string* (required) — Content type for response
- `Content-Type` *string* (required) — Content type for request
## Request body
Encrypted request data containing project_id and fields to update
- `encrypted_data` *string* (required) — Base64-encoded encrypted JSON data. Encryption: AES-256-CBC with 16-byte IV prepended. Key: SHA256 hash of secret key.
## Responses
- **200** — Project updated successfully - Returns encrypted updated project data
- **401** — Unauthorized - Invalid or missing API key
- **404** — Project not found or no permission
- **422** — Validation error
- **500** — Server error
## Request samples
### cURL
```bash
curl -X POST 'https://v4-api.orangescrum.com/api/v1/partner/projects/update' \
-H 'Accept: application/json' \
-H 'Content-Type: application/json' \
-H 'X-API-KEY: pk_your_api_key' \
-H 'X-TIMESTAMP: '"$(date +%s)" \
-H 'X-NONCE: '"$(openssl rand -hex 8)" \
-H 'X-SIGNATURE: ' \
-d '{"encrypted_data":""}'
```
### Python
```python
# call() is defined on the Authentication page.
from orangescrum import call
response = call(
"/api/v1/partner/projects/update",
{ "project_id": "550e8400-e29b-41d4-a716-446655440000", "name": "Website Redesign v2", "description": "Updated description", "status": "Completed", "start_date": "2024-01-15", "end_date": "2024-08-31", "estimated_hours": 600.0 "isactive": true },
)
print(response)
```
### JavaScript
```javascript
// call() is defined on the Authentication page.
import { call } from './orangescrum.js';
const response = await call('/api/v1/partner/projects/update', { "project_id": "550e8400-e29b-41d4-a716-446655440000", "name": "Website Redesign v2", "description": "Updated description", "status": "Completed", "start_date": "2024-01-15", "end_date": "2024-08-31", "estimated_hours": 600.0 "isactive": true });
console.log(response);
```
### PHP
```php
Create a new task in a project.
> For the complete documentation index, see [llms.txt](https://helpdesk.orangescrum.com/llms.txt).
Source: https://helpdesk.orangescrum.com/guide/api/endpoints/tasks/tasks-create
---
`POST /api/v1/partner/tasks/create`
Create a new task in a project. All data must be encrypted in the request body. Response returns decrypted JSON data with task UUID.
## Authorizations
- `X-API-KEY` *string* (required) — Developer API key (starts with pk_)
- `X-TIMESTAMP` *integer* (required) — Unix timestamp in seconds (must be within ±5 minutes of server time)
- `X-NONCE` *string* (required) — One-time random string (minimum 8 characters, prevents replay attacks)
- `X-SIGNATURE` *string* (required) — HMAC-SHA256 signature of canonical string (hex-encoded)
## Headers
- `Accept` *string* (required) — Content type of response
- `Content-Type` *string* (required) — Content type of request
## Request body
Encrypted request data containing task details
- `encrypted_data` *string* (required) — Base64-encoded encrypted JSON data. Encryption: AES-256-CBC with 16-byte IV prepended. Key: SHA256 hash of secret key.
## Responses
- **201** — Task created successfully
- **400** — Bad request - Validation failed
- **401** — Unauthorized - Invalid or missing API key
- **500** — Server error
## Request samples
### cURL
```bash
curl -X POST 'https://v4-api.orangescrum.com/api/v1/partner/tasks/create' \
-H 'Accept: application/json' \
-H 'Content-Type: application/json' \
-H 'X-API-KEY: pk_your_api_key' \
-H 'X-TIMESTAMP: '"$(date +%s)" \
-H 'X-NONCE: '"$(openssl rand -hex 8)" \
-H 'X-SIGNATURE: ' \
-d '{"encrypted_data":""}'
```
### Python
```python
# call() is defined on the Authentication page.
from orangescrum import call
response = call(
"/api/v1/partner/tasks/create",
{ "project_id": "550e8400-e29b-41d4-a716-446655440000", "title": "Implement user authentication", "description": "Add OAuth2 authentication", "assigned_to": 456, "priority": "high", "status": "Open", "estimated_hours": 40.0, "start_date": "2024-01-15", "due_date": "2024-02-15" },
)
print(response)
```
### JavaScript
```javascript
// call() is defined on the Authentication page.
import { call } from './orangescrum.js';
const response = await call('/api/v1/partner/tasks/create', { "project_id": "550e8400-e29b-41d4-a716-446655440000", "title": "Implement user authentication", "description": "Add OAuth2 authentication", "assigned_to": 456, "priority": "high", "status": "Open", "estimated_hours": 40.0, "start_date": "2024-01-15", "due_date": "2024-02-15" });
console.log(response);
```
### PHP
```php
Retrieve detailed information about a specific task using its unique ID.
> For the complete documentation index, see [llms.txt](https://helpdesk.orangescrum.com/llms.txt).
Source: https://helpdesk.orangescrum.com/guide/api/endpoints/tasks/tasks-detail
---
`POST /api/v1/partner/tasks/detail`
Retrieve detailed information about a specific task using its unique ID. All data must be encrypted in the request body. Response returns decrypted JSON data.
## Authorizations
- `X-API-KEY` *string* (required) — Developer API key (starts with pk_)
- `X-TIMESTAMP` *integer* (required) — Unix timestamp in seconds (must be within ±5 minutes of server time)
- `X-NONCE` *string* (required) — One-time random string (minimum 8 characters, prevents replay attacks)
- `X-SIGNATURE` *string* (required) — HMAC-SHA256 signature of canonical string (hex-encoded)
## Headers
- `Accept` *string* (required) — Content type of response
- `Content-Type` *string* (required) — Content type of request
## Request body
Encrypted request data containing task_id
- `encrypted_data` *string* (required) — Base64-encoded encrypted JSON data. Encryption: AES-256-CBC with 16-byte IV prepended. Key: SHA256 hash of secret key.
## Responses
- **200** — Success - Returns encrypted task details
- **400** — Bad request - Validation failed
- **401** — Unauthorized - Invalid or missing API key
- **404** — Task not found
- **500** — Server error
## Request samples
### cURL
```bash
curl -X POST 'https://v4-api.orangescrum.com/api/v1/partner/tasks/detail' \
-H 'Accept: application/json' \
-H 'Content-Type: application/json' \
-H 'X-API-KEY: pk_your_api_key' \
-H 'X-TIMESTAMP: '"$(date +%s)" \
-H 'X-NONCE: '"$(openssl rand -hex 8)" \
-H 'X-SIGNATURE: ' \
-d '{"encrypted_data":""}'
```
### Python
```python
# call() is defined on the Authentication page.
from orangescrum import call
response = call(
"/api/v1/partner/tasks/detail",
{ "task_id": "660e8400-e29b-41d4-a716-446655440001" },
)
print(response)
```
### JavaScript
```javascript
// call() is defined on the Authentication page.
import { call } from './orangescrum.js';
const response = await call('/api/v1/partner/tasks/detail', { "task_id": "660e8400-e29b-41d4-a716-446655440001" });
console.log(response);
```
### PHP
```php
Retrieve a list of tasks with optional filters.
> For the complete documentation index, see [llms.txt](https://helpdesk.orangescrum.com/llms.txt).
Source: https://helpdesk.orangescrum.com/guide/api/endpoints/tasks/tasks-list
---
`POST /api/v1/partner/tasks/list`
Retrieve a list of tasks with optional filters. All data must be encrypted in the request body. Response returns decrypted JSON data.
## Authorizations
- `X-API-KEY` *string* (required) — Developer API key (starts with pk_)
- `X-TIMESTAMP` *integer* (required) — Unix timestamp in seconds (must be within ±5 minutes of server time)
- `X-NONCE` *string* (required) — One-time random string (minimum 8 characters, prevents replay attacks)
- `X-SIGNATURE` *string* (required) — HMAC-SHA256 signature of canonical string (hex-encoded)
## Headers
- `Accept` *string* (required) — Content type of response
- `Content-Type` *string* (required) — Content type of request
## Request body
Encrypted request data containing optional filters
- `encrypted_data` *string* (required) — Base64-encoded encrypted JSON data. Encryption: AES-256-CBC with 16-byte IV prepended. Key: SHA256 hash of secret key.
## Responses
- **200** — Success - Returns encrypted task list
- **401** — Unauthorized - Invalid or missing API key
- **422** — Validation error
- **500** — Server error
## Request samples
### cURL
```bash
curl -X POST 'https://v4-api.orangescrum.com/api/v1/partner/tasks/list' \
-H 'Accept: application/json' \
-H 'Content-Type: application/json' \
-H 'X-API-KEY: pk_your_api_key' \
-H 'X-TIMESTAMP: '"$(date +%s)" \
-H 'X-NONCE: '"$(openssl rand -hex 8)" \
-H 'X-SIGNATURE: ' \
-d '{"encrypted_data":""}'
```
### Python
```python
# call() is defined on the Authentication page.
from orangescrum import call
response = call(
"/api/v1/partner/tasks/list",
{ "filters": { "project_id": "550e8400-e29b-41d4-a716-446655440000", "status": "Open", "assigned_to": 456, "priority": "high", "start_date": "2024-01-01", "due_date": "2024-12-31" } },
)
print(response)
```
### JavaScript
```javascript
// call() is defined on the Authentication page.
import { call } from './orangescrum.js';
const response = await call('/api/v1/partner/tasks/list', { "filters": { "project_id": "550e8400-e29b-41d4-a716-446655440000", "status": "Open", "assigned_to": 456, "priority": "high", "start_date": "2024-01-01", "due_date": "2024-12-31" } });
console.log(response);
```
### PHP
```php
Search tasks with pagination.
> For the complete documentation index, see [llms.txt](https://helpdesk.orangescrum.com/llms.txt).
Source: https://helpdesk.orangescrum.com/guide/api/endpoints/tasks/tasks-search
---
`POST /api/v1/partner/tasks/search`
Search tasks with pagination. All data must be encrypted in the request body. Response returns decrypted JSON data with pagination.
## Authorizations
- `X-API-KEY` *string* (required) — Developer API key (starts with pk_)
- `X-TIMESTAMP` *integer* (required) — Unix timestamp in seconds (must be within ±5 minutes of server time)
- `X-NONCE` *string* (required) — One-time random string (minimum 8 characters, prevents replay attacks)
- `X-SIGNATURE` *string* (required) — HMAC-SHA256 signature of canonical string (hex-encoded)
## Headers
- `Accept` *string* (required) — Content type for response
- `Content-Type` *string* (required) — Content type for request
## Request body
Encrypted request data containing search query and pagination
- `encrypted_data` *string* (required) — Base64-encoded encrypted JSON data. Encryption: AES-256-CBC with 16-byte IV prepended. Key: SHA256 hash of secret key.
## Responses
- **200** — Tasks searched successfully - Returns encrypted task list with pagination
- **401** — Unauthorized - Invalid or missing API key
- **422** — Validation error
- **500** — Server error
## Request samples
### cURL
```bash
curl -X POST 'https://v4-api.orangescrum.com/api/v1/partner/tasks/search' \
-H 'Accept: application/json' \
-H 'Content-Type: application/json' \
-H 'X-API-KEY: pk_your_api_key' \
-H 'X-TIMESTAMP: '"$(date +%s)" \
-H 'X-NONCE: '"$(openssl rand -hex 8)" \
-H 'X-SIGNATURE: ' \
-d '{"encrypted_data":""}'
```
### Python
```python
# call() is defined on the Authentication page.
from orangescrum import call
response = call(
"/api/v1/partner/tasks/search",
{ "q": "authentication", "page": 1, "per_page": 20 },
)
print(response)
```
### JavaScript
```javascript
// call() is defined on the Authentication page.
import { call } from './orangescrum.js';
const response = await call('/api/v1/partner/tasks/search', { "q": "authentication", "page": 1, "per_page": 20 });
console.log(response);
```
### PHP
```php
Update an existing task.
> For the complete documentation index, see [llms.txt](https://helpdesk.orangescrum.com/llms.txt).
Source: https://helpdesk.orangescrum.com/guide/api/endpoints/tasks/tasks-update
---
`POST /api/v1/partner/tasks/update`
Update an existing task. All data must be encrypted in the request body. Response returns decrypted JSON data.
## Authorizations
- `X-API-KEY` *string* (required) — Developer API key (starts with pk_)
- `X-TIMESTAMP` *integer* (required) — Unix timestamp in seconds (must be within ±5 minutes of server time)
- `X-NONCE` *string* (required) — One-time random string (minimum 8 characters, prevents replay attacks)
- `X-SIGNATURE` *string* (required) — HMAC-SHA256 signature of canonical string (hex-encoded)
## Headers
- `Accept` *string* (required) — Content type of response
- `Content-Type` *string* (required) — Content type of request
## Request body
Encrypted request data containing task_id and update fields
- `encrypted_data` *string* (required) — Base64-encoded encrypted JSON data. Encryption: AES-256-CBC with 16-byte IV prepended. Key: SHA256 hash of secret key.
## Responses
- **200** — Task updated successfully
- **400** — Bad request - Validation failed
- **401** — Unauthorized - Invalid or missing API key
- **404** — Task not found
- **500** — Server error
## Request samples
### cURL
```bash
curl -X POST 'https://v4-api.orangescrum.com/api/v1/partner/tasks/update' \
-H 'Accept: application/json' \
-H 'Content-Type: application/json' \
-H 'X-API-KEY: pk_your_api_key' \
-H 'X-TIMESTAMP: '"$(date +%s)" \
-H 'X-NONCE: '"$(openssl rand -hex 8)" \
-H 'X-SIGNATURE: ' \
-d '{"encrypted_data":""}'
```
### Python
```python
# call() is defined on the Authentication page.
from orangescrum import call
response = call(
"/api/v1/partner/tasks/update",
{ "task_id": "660e8400-e29b-41d4-a716-446655440001", "title": "Updated task title", "description": "Updated description", "assigned_to": 789, "priority": "high", "status": "Open", "custom_status": "In Progress", "estimated_hours": 50.0, "actual_hours": 35.0, "start_date": "2024-01-20", "due_date": "2024-03-01" },
)
print(response)
```
### JavaScript
```javascript
// call() is defined on the Authentication page.
import { call } from './orangescrum.js';
const response = await call('/api/v1/partner/tasks/update', { "task_id": "660e8400-e29b-41d4-a716-446655440001", "title": "Updated task title", "description": "Updated description", "assigned_to": 789, "priority": "high", "status": "Open", "custom_status": "In Progress", "estimated_hours": 50.0, "actual_hours": 35.0, "start_date": "2024-01-20", "due_date": "2024-03-01" });
console.log(response);
```
### PHP
```php
Create a new timelog entry.
> For the complete documentation index, see [llms.txt](https://helpdesk.orangescrum.com/llms.txt).
Source: https://helpdesk.orangescrum.com/guide/api/endpoints/timelogs/timelogs-create
---
`POST /api/v1/partner/timelogs/create`
Create a new timelog entry. All data must be encrypted in the request body. Response returns decrypted JSON data.
## Authorizations
- `X-API-KEY` *string* (required) — Developer API key (starts with pk_)
- `X-TIMESTAMP` *integer* (required) — Unix timestamp in seconds (must be within ±5 minutes of server time)
- `X-NONCE` *string* (required) — One-time random string (minimum 8 characters, prevents replay attacks)
- `X-SIGNATURE` *string* (required) — HMAC-SHA256 signature of canonical string (hex-encoded)
## Headers
- `Accept` *string* (required) — Content type for response
- `Content-Type` *string* (required) — Content type for request
## Request body
Encrypted request data for creating a new timelog
- `encrypted_data` *string* (required) — Base64-encoded encrypted JSON data. Encryption: AES-256-CBC with 16-byte IV prepended. Key: SHA256 hash of secret key.
## Responses
- **200** — Timelog created successfully
- **400** — Bad request - Validation failed
- **401** — Unauthorized - Invalid or missing API key
- **500** — Server error
## Request samples
### cURL
```bash
curl -X POST 'https://v4-api.orangescrum.com/api/v1/partner/timelogs/create' \
-H 'Accept: application/json' \
-H 'Content-Type: application/json' \
-H 'X-API-KEY: pk_your_api_key' \
-H 'X-TIMESTAMP: '"$(date +%s)" \
-H 'X-NONCE: '"$(openssl rand -hex 8)" \
-H 'X-SIGNATURE: ' \
-d '{"encrypted_data":""}'
```
### Python
```python
# call() is defined on the Authentication page.
from orangescrum import call
response = call(
"/api/v1/partner/timelogs/create",
{ "project_id": "550e8400-e29b-41d4-a716-446655440000", "task_id": "660e8400-e29b-41d4-a716-446655440001", "task_date": "2024-01-15", "start_time": "09:00:00", "end_time": "17:00:00", "start_datetime": "2024-01-15 09:00:00", "end_datetime": "2024-01-15 17:00:00", "total_hours": 8.0, "break_time": 1.0, "description": "Worked on authentication", "is_billable": true },
)
print(response)
```
### JavaScript
```javascript
// call() is defined on the Authentication page.
import { call } from './orangescrum.js';
const response = await call('/api/v1/partner/timelogs/create', { "project_id": "550e8400-e29b-41d4-a716-446655440000", "task_id": "660e8400-e29b-41d4-a716-446655440001", "task_date": "2024-01-15", "start_time": "09:00:00", "end_time": "17:00:00", "start_datetime": "2024-01-15 09:00:00", "end_datetime": "2024-01-15 17:00:00", "total_hours": 8.0, "break_time": 1.0, "description": "Worked on authentication", "is_billable": true });
console.log(response);
```
### PHP
```php
Retrieve detailed information about a specific timelog using its unique ID.
> For the complete documentation index, see [llms.txt](https://helpdesk.orangescrum.com/llms.txt).
Source: https://helpdesk.orangescrum.com/guide/api/endpoints/timelogs/timelogs-detail
---
`POST /api/v1/partner/timelogs/detail`
Retrieve detailed information about a specific timelog using its unique ID. All data must be encrypted in the request body. Response returns decrypted JSON data.
## Authorizations
- `X-API-KEY` *string* (required) — Developer API key (starts with pk_)
- `X-TIMESTAMP` *integer* (required) — Unix timestamp in seconds (must be within ±5 minutes of server time)
- `X-NONCE` *string* (required) — One-time random string (minimum 8 characters, prevents replay attacks)
- `X-SIGNATURE` *string* (required) — HMAC-SHA256 signature of canonical string (hex-encoded)
## Headers
- `Accept` *string* (required) — Content type for response
- `Content-Type` *string* (required) — Content type for request
## Request body
Encrypted request data containing timelog_id
- `encrypted_data` *string* (required) — Base64-encoded encrypted JSON data. Encryption: AES-256-CBC with 16-byte IV prepended. Key: SHA256 hash of secret key.
## Responses
- **200** — Timelog details retrieved successfully
- **401** — Unauthorized - Invalid or missing API key
- **404** — Timelog not found
- **500** — Server error
## Request samples
### cURL
```bash
curl -X POST 'https://v4-api.orangescrum.com/api/v1/partner/timelogs/detail' \
-H 'Accept: application/json' \
-H 'Content-Type: application/json' \
-H 'X-API-KEY: pk_your_api_key' \
-H 'X-TIMESTAMP: '"$(date +%s)" \
-H 'X-NONCE: '"$(openssl rand -hex 8)" \
-H 'X-SIGNATURE: ' \
-d '{"encrypted_data":""}'
```
### Python
```python
# call() is defined on the Authentication page.
from orangescrum import call
response = call(
"/api/v1/partner/timelogs/detail",
{ "timelog_id": "770e8400-e29b-41d4-a716-446655440002" },
)
print(response)
```
### JavaScript
```javascript
// call() is defined on the Authentication page.
import { call } from './orangescrum.js';
const response = await call('/api/v1/partner/timelogs/detail', { "timelog_id": "770e8400-e29b-41d4-a716-446655440002" });
console.log(response);
```
### PHP
```php
Retrieve a list of timelogs with optional filters.
> For the complete documentation index, see [llms.txt](https://helpdesk.orangescrum.com/llms.txt).
Source: https://helpdesk.orangescrum.com/guide/api/endpoints/timelogs/timelogs-list
---
`POST /api/v1/partner/timelogs/list`
Retrieve a list of timelogs with optional filters. All data must be encrypted in the request body. Response returns decrypted JSON data.
## Authorizations
- `X-API-KEY` *string* (required) — Developer API key (starts with pk_)
- `X-TIMESTAMP` *integer* (required) — Unix timestamp in seconds (must be within ±5 minutes of server time)
- `X-NONCE` *string* (required) — One-time random string (minimum 8 characters, prevents replay attacks)
- `X-SIGNATURE` *string* (required) — HMAC-SHA256 signature of canonical string (hex-encoded)
## Headers
- `Accept` *string* (required) — Content type for response
- `Content-Type` *string* (required) — Content type for request
## Request body
Encrypted request data containing optional filter parameters
- `encrypted_data` *string* (required) — Base64-encoded encrypted JSON data. Encryption: AES-256-CBC with 16-byte IV prepended. Key: SHA256 hash of secret key.
## Responses
- **200** — Timelogs retrieved successfully
- **400** — Bad request - Invalid filters
- **401** — Unauthorized - Invalid or missing API key
- **500** — Server error
## Request samples
### cURL
```bash
curl -X POST 'https://v4-api.orangescrum.com/api/v1/partner/timelogs/list' \
-H 'Accept: application/json' \
-H 'Content-Type: application/json' \
-H 'X-API-KEY: pk_your_api_key' \
-H 'X-TIMESTAMP: '"$(date +%s)" \
-H 'X-NONCE: '"$(openssl rand -hex 8)" \
-H 'X-SIGNATURE: ' \
-d '{"encrypted_data":""}'
```
### Python
```python
# call() is defined on the Authentication page.
from orangescrum import call
response = call(
"/api/v1/partner/timelogs/list",
{ "filters": { "project_id": "550e8400-e29b-41d4-a716-446655440000", "task_id": "660e8400-e29b-41d4-a716-446655440001", "start_date": "2024-01-01", "end_date": "2024-12-31", "is_billable": true } },
)
print(response)
```
### JavaScript
```javascript
// call() is defined on the Authentication page.
import { call } from './orangescrum.js';
const response = await call('/api/v1/partner/timelogs/list', { "filters": { "project_id": "550e8400-e29b-41d4-a716-446655440000", "task_id": "660e8400-e29b-41d4-a716-446655440001", "start_date": "2024-01-01", "end_date": "2024-12-31", "is_billable": true } });
console.log(response);
```
### PHP
```php
Search timelogs with pagination.
> For the complete documentation index, see [llms.txt](https://helpdesk.orangescrum.com/llms.txt).
Source: https://helpdesk.orangescrum.com/guide/api/endpoints/timelogs/timelogs-search
---
`POST /api/v1/partner/timelogs/search`
Search timelogs with pagination. All data must be encrypted in the request body. Response returns decrypted JSON data.
## Authorizations
- `X-API-KEY` *string* (required) — Developer API key (starts with pk_)
- `X-TIMESTAMP` *integer* (required) — Unix timestamp in seconds (must be within ±5 minutes of server time)
- `X-NONCE` *string* (required) — One-time random string (minimum 8 characters, prevents replay attacks)
- `X-SIGNATURE` *string* (required) — HMAC-SHA256 signature of canonical string (hex-encoded)
## Headers
- `Accept` *string* (required) — Content type for response
- `Content-Type` *string* (required) — Content type for request
## Request body
Encrypted request data with search and filter parameters
- `encrypted_data` *string* (required) — Base64-encoded encrypted JSON data. Encryption: AES-256-CBC with 16-byte IV prepended. Key: SHA256 hash of secret key.
## Responses
- **200** — Timelogs search results
- **400** — Bad request - Invalid search parameters
- **401** — Unauthorized - Invalid or missing API key
- **500** — Server error
## Request samples
### cURL
```bash
curl -X POST 'https://v4-api.orangescrum.com/api/v1/partner/timelogs/search' \
-H 'Accept: application/json' \
-H 'Content-Type: application/json' \
-H 'X-API-KEY: pk_your_api_key' \
-H 'X-TIMESTAMP: '"$(date +%s)" \
-H 'X-NONCE: '"$(openssl rand -hex 8)" \
-H 'X-SIGNATURE: ' \
-d '{"encrypted_data":""}'
```
### Python
```python
# call() is defined on the Authentication page.
from orangescrum import call
response = call(
"/api/v1/partner/timelogs/search",
{ "q": "authentication", "page": 1, "per_page": 20 },
)
print(response)
```
### JavaScript
```javascript
// call() is defined on the Authentication page.
import { call } from './orangescrum.js';
const response = await call('/api/v1/partner/timelogs/search', { "q": "authentication", "page": 1, "per_page": 20 });
console.log(response);
```
### PHP
```php
Update an existing timelog entry.
> For the complete documentation index, see [llms.txt](https://helpdesk.orangescrum.com/llms.txt).
Source: https://helpdesk.orangescrum.com/guide/api/endpoints/timelogs/timelogs-update
---
`POST /api/v1/partner/timelogs/update`
Update an existing timelog entry. Only send fields that need to be updated. All data must be encrypted in the request body. Response returns decrypted JSON data.
## Authorizations
- `X-API-KEY` *string* (required) — Developer API key (starts with pk_)
- `X-TIMESTAMP` *integer* (required) — Unix timestamp in seconds (must be within ±5 minutes of server time)
- `X-NONCE` *string* (required) — One-time random string (minimum 8 characters, prevents replay attacks)
- `X-SIGNATURE` *string* (required) — HMAC-SHA256 signature of canonical string (hex-encoded)
## Headers
- `Accept` *string* (required) — Content type for response
- `Content-Type` *string* (required) — Content type for request
## Request body
Encrypted request data containing timelog_id and update fields
- `encrypted_data` *string* (required) — Base64-encoded encrypted JSON data. Encryption: AES-256-CBC with 16-byte IV prepended. Key: SHA256 hash of secret key.
## Responses
- **200** — Timelog updated successfully
- **400** — Bad request - Validation failed
- **401** — Unauthorized - Invalid or missing API key
- **404** — Timelog not found
- **500** — Server error
## Request samples
### cURL
```bash
curl -X POST 'https://v4-api.orangescrum.com/api/v1/partner/timelogs/update' \
-H 'Accept: application/json' \
-H 'Content-Type: application/json' \
-H 'X-API-KEY: pk_your_api_key' \
-H 'X-TIMESTAMP: '"$(date +%s)" \
-H 'X-NONCE: '"$(openssl rand -hex 8)" \
-H 'X-SIGNATURE: ' \
-d '{"encrypted_data":""}'
```
### Python
```python
# call() is defined on the Authentication page.
from orangescrum import call
response = call(
"/api/v1/partner/timelogs/update",
{ "timelog_id": "770e8400-e29b-41d4-a716-446655440002", "task_date": "2024-01-15", "start_time": "09:00:00", "end_time": "17:00:00", "start_datetime": "2024-01-15 09:00:00", "end_datetime": "2024-01-15 17:00:00", "total_hours": 8.0, "break_time": 1.0, "description": "Updated work description", "is_billable": true },
)
print(response)
```
### JavaScript
```javascript
// call() is defined on the Authentication page.
import { call } from './orangescrum.js';
const response = await call('/api/v1/partner/timelogs/update', { "timelog_id": "770e8400-e29b-41d4-a716-446655440002", "task_date": "2024-01-15", "start_time": "09:00:00", "end_time": "17:00:00", "start_datetime": "2024-01-15 09:00:00", "end_datetime": "2024-01-15 17:00:00", "total_hours": 8.0, "break_time": 1.0, "description": "Updated work description", "is_billable": true });
console.log(response);
```
### PHP
```php
Retrieve detailed information about a specific user.
> For the complete documentation index, see [llms.txt](https://helpdesk.orangescrum.com/llms.txt).
Source: https://helpdesk.orangescrum.com/guide/api/endpoints/users/users-detail
---
`POST /api/v1/partner/users/detail`
Retrieve detailed information about a specific user. All data must be encrypted in the request body. Response returns decrypted JSON data. This is a read-only endpoint.
## Authorizations
- `X-API-KEY` *string* (required) — Developer API key (starts with pk_)
- `X-TIMESTAMP` *integer* (required) — Unix timestamp in seconds (must be within ±5 minutes of server time)
- `X-NONCE` *string* (required) — One-time random string (minimum 8 characters, prevents replay attacks)
- `X-SIGNATURE` *string* (required) — HMAC-SHA256 signature of canonical string (hex-encoded)
## Headers
- `Accept` *string* (required) — Content type for response
- `Content-Type` *string* (required) — Content type for request
## Request body
Encrypted request data containing user_id
- `encrypted_data` *string* (required) — Base64-encoded encrypted JSON data. Encryption: AES-256-CBC with 16-byte IV prepended. Key: SHA256 hash of secret key.
## Responses
- **200** — User details retrieved successfully
- **401** — Unauthorized - Invalid or missing API key
- **404** — User not found
- **500** — Server error
## Request samples
### cURL
```bash
curl -X POST 'https://v4-api.orangescrum.com/api/v1/partner/users/detail' \
-H 'Accept: application/json' \
-H 'Content-Type: application/json' \
-H 'X-API-KEY: pk_your_api_key' \
-H 'X-TIMESTAMP: '"$(date +%s)" \
-H 'X-NONCE: '"$(openssl rand -hex 8)" \
-H 'X-SIGNATURE: ' \
-d '{"encrypted_data":""}'
```
### Python
```python
# call() is defined on the Authentication page.
from orangescrum import call
response = call(
"/api/v1/partner/users/detail",
{ "user_id": "USR-001" },
)
print(response)
```
### JavaScript
```javascript
// call() is defined on the Authentication page.
import { call } from './orangescrum.js';
const response = await call('/api/v1/partner/users/detail', { "user_id": "USR-001" });
console.log(response);
```
### PHP
```php
Retrieve a list of all users.
> For the complete documentation index, see [llms.txt](https://helpdesk.orangescrum.com/llms.txt).
Source: https://helpdesk.orangescrum.com/guide/api/endpoints/users/users-list
---
`POST /api/v1/partner/users/list`
Retrieve a list of all users. This endpoint requires no payload, only authentication headers. All data must be encrypted in the request body. Response returns decrypted JSON data. This is a read-only endpoint.
## Authorizations
- `X-API-KEY` *string* (required) — Developer API key (starts with pk_)
- `X-TIMESTAMP` *integer* (required) — Unix timestamp in seconds (must be within ±5 minutes of server time)
- `X-NONCE` *string* (required) — One-time random string (minimum 8 characters, prevents replay attacks)
- `X-SIGNATURE` *string* (required) — HMAC-SHA256 signature of canonical string (hex-encoded)
## Headers
- `Accept` *string* (required) — Content type for response
- `Content-Type` *string* (required) — Content type for request
## Request body
Encrypted request data containing optional filter parameters
- `encrypted_data` *string* (required) — Base64-encoded encrypted JSON data. Encryption: AES-256-CBC with 16-byte IV prepended. Key: SHA256 hash of secret key.
## Responses
- **200** — Users retrieved successfully
- **400** — Bad request - Invalid filters
- **401** — Unauthorized - Invalid or missing API key
- **500** — Server error
## Request samples
### cURL
```bash
curl -X POST 'https://v4-api.orangescrum.com/api/v1/partner/users/list' \
-H 'Accept: application/json' \
-H 'Content-Type: application/json' \
-H 'X-API-KEY: pk_your_api_key' \
-H 'X-TIMESTAMP: '"$(date +%s)" \
-H 'X-NONCE: '"$(openssl rand -hex 8)" \
-H 'X-SIGNATURE: ' \
-d '{"encrypted_data":""}'
```
### Python
```python
# call() is defined on the Authentication page.
from orangescrum import call
response = call(
"/api/v1/partner/users/list",
{},
)
print(response)
```
### JavaScript
```javascript
// call() is defined on the Authentication page.
import { call } from './orangescrum.js';
const response = await call('/api/v1/partner/users/list', {});
console.log(response);
```
### PHP
```php
Decrypted Request Payload: Responses use the standard envelope { "success": true, "message": "...", "data": ...
> For the complete documentation index, see [llms.txt](https://helpdesk.orangescrum.com/llms.txt).
Source: https://helpdesk.orangescrum.com/guide/api/endpoints/test-cases/test-cases-create
---
`POST /api/v1/partner/test-cases/create`
## Authorizations
- `X-API-KEY` *string* (required) — Developer API key (starts with pk_)
- `X-TIMESTAMP` *integer* (required) — Unix timestamp in seconds (within ±5 minutes of server time)
- `X-NONCE` *string* (required) — One-time random string (min 8 chars, prevents replay)
- `X-SIGNATURE` *string* (required) — HMAC-SHA256 signature of canonical string (hex-encoded)
## Headers
- `Accept` *string* (required) — Content type of response
- `Content-Type` *string* (required) — Content type of request
## Request body
Encrypted request data (AES-256-CBC). The decrypted payload fields are described above.
- `encrypted_data` *string* (required) — Base64-encoded encrypted JSON data. Encryption: AES-256-CBC with 16-byte IV prepended. Key: SHA256 hash of secret key.
## Responses
- **201** — Create a test case — success
- **400** — Bad request — validation failed or invalid reference
- **401** — Unauthorized — invalid or missing API key
- **404** — Resource not found
- **500** — Server error
## Request samples
### cURL
```bash
curl -X POST 'https://v4-api.orangescrum.com/api/v1/partner/test-cases/create' \
-H 'Accept: application/json' \
-H 'Content-Type: application/json' \
-H 'X-API-KEY: pk_your_api_key' \
-H 'X-TIMESTAMP: '"$(date +%s)" \
-H 'X-NONCE: '"$(openssl rand -hex 8)" \
-H 'X-SIGNATURE: ' \
-d '{"encrypted_data":""}'
```
### Python
```python
# call() is defined on the Authentication page.
from orangescrum import call
response = call(
"/api/v1/partner/test-cases/create",
{ "project_id": ..., "name": ..., "description": ..., "type": ..., "priority": ..., "severity": ..., "behaviour": ..., "status": ..., "scenario_id": ..., "pre_condition": ..., "post_condition": ..., "expected_result": ... },
)
print(response)
```
### JavaScript
```javascript
// call() is defined on the Authentication page.
import { call } from './orangescrum.js';
const response = await call('/api/v1/partner/test-cases/create', { "project_id": ..., "name": ..., "description": ..., "type": ..., "priority": ..., "severity": ..., "behaviour": ..., "status": ..., "scenario_id": ..., "pre_condition": ..., "post_condition": ..., "expected_result": ... });
console.log(response);
```
### PHP
```php
Decrypted Request Payload: Responses use the standard envelope { "success": true, "message": "...", "data": ...
> For the complete documentation index, see [llms.txt](https://helpdesk.orangescrum.com/llms.txt).
Source: https://helpdesk.orangescrum.com/guide/api/endpoints/test-cases/test-cases-delete
---
`POST /api/v1/partner/test-cases/delete`
## Authorizations
- `X-API-KEY` *string* (required) — Developer API key (starts with pk_)
- `X-TIMESTAMP` *integer* (required) — Unix timestamp in seconds (within ±5 minutes of server time)
- `X-NONCE` *string* (required) — One-time random string (min 8 chars, prevents replay)
- `X-SIGNATURE` *string* (required) — HMAC-SHA256 signature of canonical string (hex-encoded)
## Headers
- `Accept` *string* (required) — Content type of response
- `Content-Type` *string* (required) — Content type of request
## Request body
Encrypted request data (AES-256-CBC). The decrypted payload fields are described above.
- `encrypted_data` *string* (required) — Base64-encoded encrypted JSON data. Encryption: AES-256-CBC with 16-byte IV prepended. Key: SHA256 hash of secret key.
## Responses
- **200** — Delete or archive a test case — success
- **400** — Bad request — validation failed or invalid reference
- **401** — Unauthorized — invalid or missing API key
- **404** — Resource not found
- **500** — Server error
## Request samples
### cURL
```bash
curl -X POST 'https://v4-api.orangescrum.com/api/v1/partner/test-cases/delete' \
-H 'Accept: application/json' \
-H 'Content-Type: application/json' \
-H 'X-API-KEY: pk_your_api_key' \
-H 'X-TIMESTAMP: '"$(date +%s)" \
-H 'X-NONCE: '"$(openssl rand -hex 8)" \
-H 'X-SIGNATURE: ' \
-d '{"encrypted_data":""}'
```
### Python
```python
# call() is defined on the Authentication page.
from orangescrum import call
response = call(
"/api/v1/partner/test-cases/delete",
{ "test_case_id": ..., "hard_delete": ... },
)
print(response)
```
### JavaScript
```javascript
// call() is defined on the Authentication page.
import { call } from './orangescrum.js';
const response = await call('/api/v1/partner/test-cases/delete', { "test_case_id": ..., "hard_delete": ... });
console.log(response);
```
### PHP
```php
Decrypted Request Payload: Responses use the standard envelope { "success": true, "message": "...", "data": ...
> For the complete documentation index, see [llms.txt](https://helpdesk.orangescrum.com/llms.txt).
Source: https://helpdesk.orangescrum.com/guide/api/endpoints/test-cases/test-cases-detail
---
`POST /api/v1/partner/test-cases/detail`
## Authorizations
- `X-API-KEY` *string* (required) — Developer API key (starts with pk_)
- `X-TIMESTAMP` *integer* (required) — Unix timestamp in seconds (within ±5 minutes of server time)
- `X-NONCE` *string* (required) — One-time random string (min 8 chars, prevents replay)
- `X-SIGNATURE` *string* (required) — HMAC-SHA256 signature of canonical string (hex-encoded)
## Headers
- `Accept` *string* (required) — Content type of response
- `Content-Type` *string* (required) — Content type of request
## Request body
Encrypted request data (AES-256-CBC). The decrypted payload fields are described above.
- `encrypted_data` *string* (required) — Base64-encoded encrypted JSON data. Encryption: AES-256-CBC with 16-byte IV prepended. Key: SHA256 hash of secret key.
## Responses
- **200** — Get a test case — success
- **400** — Bad request — validation failed or invalid reference
- **401** — Unauthorized — invalid or missing API key
- **404** — Resource not found
- **500** — Server error
## Request samples
### cURL
```bash
curl -X POST 'https://v4-api.orangescrum.com/api/v1/partner/test-cases/detail' \
-H 'Accept: application/json' \
-H 'Content-Type: application/json' \
-H 'X-API-KEY: pk_your_api_key' \
-H 'X-TIMESTAMP: '"$(date +%s)" \
-H 'X-NONCE: '"$(openssl rand -hex 8)" \
-H 'X-SIGNATURE: ' \
-d '{"encrypted_data":""}'
```
### Python
```python
# call() is defined on the Authentication page.
from orangescrum import call
response = call(
"/api/v1/partner/test-cases/detail",
{ "test_case_id": ... },
)
print(response)
```
### JavaScript
```javascript
// call() is defined on the Authentication page.
import { call } from './orangescrum.js';
const response = await call('/api/v1/partner/test-cases/detail', { "test_case_id": ... });
console.log(response);
```
### PHP
```php
Decrypted Request Payload: Responses use the standard envelope { "success": true, "message": "...", "data": ...
> For the complete documentation index, see [llms.txt](https://helpdesk.orangescrum.com/llms.txt).
Source: https://helpdesk.orangescrum.com/guide/api/endpoints/test-cases/test-cases-list
---
`POST /api/v1/partner/test-cases/list`
## Authorizations
- `X-API-KEY` *string* (required) — Developer API key (starts with pk_)
- `X-TIMESTAMP` *integer* (required) — Unix timestamp in seconds (within ±5 minutes of server time)
- `X-NONCE` *string* (required) — One-time random string (min 8 chars, prevents replay)
- `X-SIGNATURE` *string* (required) — HMAC-SHA256 signature of canonical string (hex-encoded)
## Headers
- `Accept` *string* (required) — Content type of response
- `Content-Type` *string* (required) — Content type of request
## Request body
Encrypted request data (AES-256-CBC). The decrypted payload fields are described above.
- `encrypted_data` *string* (required) — Base64-encoded encrypted JSON data. Encryption: AES-256-CBC with 16-byte IV prepended. Key: SHA256 hash of secret key.
## Responses
- **200** — List test cases — success
- **400** — Bad request — validation failed or invalid reference
- **401** — Unauthorized — invalid or missing API key
- **404** — Resource not found
- **500** — Server error
## Request samples
### cURL
```bash
curl -X POST 'https://v4-api.orangescrum.com/api/v1/partner/test-cases/list' \
-H 'Accept: application/json' \
-H 'Content-Type: application/json' \
-H 'X-API-KEY: pk_your_api_key' \
-H 'X-TIMESTAMP: '"$(date +%s)" \
-H 'X-NONCE: '"$(openssl rand -hex 8)" \
-H 'X-SIGNATURE: ' \
-d '{"encrypted_data":""}'
```
### Python
```python
# call() is defined on the Authentication page.
from orangescrum import call
response = call(
"/api/v1/partner/test-cases/list",
{ "project_id": ..., "scenario_id": ..., "status": ..., "priority": ..., "q": ..., "include_archived": ..., "page": ..., "per_page": ... },
)
print(response)
```
### JavaScript
```javascript
// call() is defined on the Authentication page.
import { call } from './orangescrum.js';
const response = await call('/api/v1/partner/test-cases/list', { "project_id": ..., "scenario_id": ..., "status": ..., "priority": ..., "q": ..., "include_archived": ..., "page": ..., "per_page": ... });
console.log(response);
```
### PHP
```php
Decrypted Request Payload: Responses use the standard envelope { "success": true, "message": "...", "data": ...
> For the complete documentation index, see [llms.txt](https://helpdesk.orangescrum.com/llms.txt).
Source: https://helpdesk.orangescrum.com/guide/api/endpoints/test-cases/test-cases-update
---
`POST /api/v1/partner/test-cases/update`
## Authorizations
- `X-API-KEY` *string* (required) — Developer API key (starts with pk_)
- `X-TIMESTAMP` *integer* (required) — Unix timestamp in seconds (within ±5 minutes of server time)
- `X-NONCE` *string* (required) — One-time random string (min 8 chars, prevents replay)
- `X-SIGNATURE` *string* (required) — HMAC-SHA256 signature of canonical string (hex-encoded)
## Headers
- `Accept` *string* (required) — Content type of response
- `Content-Type` *string* (required) — Content type of request
## Request body
Encrypted request data (AES-256-CBC). The decrypted payload fields are described above.
- `encrypted_data` *string* (required) — Base64-encoded encrypted JSON data. Encryption: AES-256-CBC with 16-byte IV prepended. Key: SHA256 hash of secret key.
## Responses
- **200** — Update a test case — success
- **400** — Bad request — validation failed or invalid reference
- **401** — Unauthorized — invalid or missing API key
- **404** — Resource not found
- **500** — Server error
## Request samples
### cURL
```bash
curl -X POST 'https://v4-api.orangescrum.com/api/v1/partner/test-cases/update' \
-H 'Accept: application/json' \
-H 'Content-Type: application/json' \
-H 'X-API-KEY: pk_your_api_key' \
-H 'X-TIMESTAMP: '"$(date +%s)" \
-H 'X-NONCE: '"$(openssl rand -hex 8)" \
-H 'X-SIGNATURE: ' \
-d '{"encrypted_data":""}'
```
### Python
```python
# call() is defined on the Authentication page.
from orangescrum import call
response = call(
"/api/v1/partner/test-cases/update",
{ "test_case_id": ..., "name": ..., "description": ..., "status": ..., "priority": ..., "severity": ..., "scenario_id": ... },
)
print(response)
```
### JavaScript
```javascript
// call() is defined on the Authentication page.
import { call } from './orangescrum.js';
const response = await call('/api/v1/partner/test-cases/update', { "test_case_id": ..., "name": ..., "description": ..., "status": ..., "priority": ..., "severity": ..., "scenario_id": ... });
console.log(response);
```
### PHP
```php
Decrypted Request Payload: Responses use the standard envelope { "success": true, "message": "...", "data": ...
> For the complete documentation index, see [llms.txt](https://helpdesk.orangescrum.com/llms.txt).
Source: https://helpdesk.orangescrum.com/guide/api/endpoints/test-scenarios/test-scenarios-create
---
`POST /api/v1/partner/test-scenarios/create`
## Authorizations
- `X-API-KEY` *string* (required) — Developer API key (starts with pk_)
- `X-TIMESTAMP` *integer* (required) — Unix timestamp in seconds (within ±5 minutes of server time)
- `X-NONCE` *string* (required) — One-time random string (min 8 chars, prevents replay)
- `X-SIGNATURE` *string* (required) — HMAC-SHA256 signature of canonical string (hex-encoded)
## Headers
- `Accept` *string* (required) — Content type of response
- `Content-Type` *string* (required) — Content type of request
## Request body
Encrypted request data (AES-256-CBC). The decrypted payload fields are described above.
- `encrypted_data` *string* (required) — Base64-encoded encrypted JSON data. Encryption: AES-256-CBC with 16-byte IV prepended. Key: SHA256 hash of secret key.
## Responses
- **201** — Create a test scenario — success
- **400** — Bad request — validation failed or invalid reference
- **401** — Unauthorized — invalid or missing API key
- **404** — Resource not found
- **500** — Server error
## Request samples
### cURL
```bash
curl -X POST 'https://v4-api.orangescrum.com/api/v1/partner/test-scenarios/create' \
-H 'Accept: application/json' \
-H 'Content-Type: application/json' \
-H 'X-API-KEY: pk_your_api_key' \
-H 'X-TIMESTAMP: '"$(date +%s)" \
-H 'X-NONCE: '"$(openssl rand -hex 8)" \
-H 'X-SIGNATURE: ' \
-d '{"encrypted_data":""}'
```
### Python
```python
# call() is defined on the Authentication page.
from orangescrum import call
response = call(
"/api/v1/partner/test-scenarios/create",
{ "project_id": ..., "name": ..., "description": ..., "type": ..., "coverage_percentage": ..., "test_strategy_id": ..., "status": ... },
)
print(response)
```
### JavaScript
```javascript
// call() is defined on the Authentication page.
import { call } from './orangescrum.js';
const response = await call('/api/v1/partner/test-scenarios/create', { "project_id": ..., "name": ..., "description": ..., "type": ..., "coverage_percentage": ..., "test_strategy_id": ..., "status": ... });
console.log(response);
```
### PHP
```php
Decrypted Request Payload: Responses use the standard envelope { "success": true, "message": "...", "data": ...
> For the complete documentation index, see [llms.txt](https://helpdesk.orangescrum.com/llms.txt).
Source: https://helpdesk.orangescrum.com/guide/api/endpoints/test-scenarios/test-scenarios-delete
---
`POST /api/v1/partner/test-scenarios/delete`
## Authorizations
- `X-API-KEY` *string* (required) — Developer API key (starts with pk_)
- `X-TIMESTAMP` *integer* (required) — Unix timestamp in seconds (within ±5 minutes of server time)
- `X-NONCE` *string* (required) — One-time random string (min 8 chars, prevents replay)
- `X-SIGNATURE` *string* (required) — HMAC-SHA256 signature of canonical string (hex-encoded)
## Headers
- `Accept` *string* (required) — Content type of response
- `Content-Type` *string* (required) — Content type of request
## Request body
Encrypted request data (AES-256-CBC). The decrypted payload fields are described above.
- `encrypted_data` *string* (required) — Base64-encoded encrypted JSON data. Encryption: AES-256-CBC with 16-byte IV prepended. Key: SHA256 hash of secret key.
## Responses
- **200** — Delete or archive a test scenario — success
- **400** — Bad request — validation failed or invalid reference
- **401** — Unauthorized — invalid or missing API key
- **404** — Resource not found
- **500** — Server error
## Request samples
### cURL
```bash
curl -X POST 'https://v4-api.orangescrum.com/api/v1/partner/test-scenarios/delete' \
-H 'Accept: application/json' \
-H 'Content-Type: application/json' \
-H 'X-API-KEY: pk_your_api_key' \
-H 'X-TIMESTAMP: '"$(date +%s)" \
-H 'X-NONCE: '"$(openssl rand -hex 8)" \
-H 'X-SIGNATURE: ' \
-d '{"encrypted_data":""}'
```
### Python
```python
# call() is defined on the Authentication page.
from orangescrum import call
response = call(
"/api/v1/partner/test-scenarios/delete",
{ "scenario_id": ..., "hard_delete": ... },
)
print(response)
```
### JavaScript
```javascript
// call() is defined on the Authentication page.
import { call } from './orangescrum.js';
const response = await call('/api/v1/partner/test-scenarios/delete', { "scenario_id": ..., "hard_delete": ... });
console.log(response);
```
### PHP
```php
Decrypted Request Payload: Responses use the standard envelope { "success": true, "message": "...", "data": ...
> For the complete documentation index, see [llms.txt](https://helpdesk.orangescrum.com/llms.txt).
Source: https://helpdesk.orangescrum.com/guide/api/endpoints/test-scenarios/test-scenarios-detail
---
`POST /api/v1/partner/test-scenarios/detail`
## Authorizations
- `X-API-KEY` *string* (required) — Developer API key (starts with pk_)
- `X-TIMESTAMP` *integer* (required) — Unix timestamp in seconds (within ±5 minutes of server time)
- `X-NONCE` *string* (required) — One-time random string (min 8 chars, prevents replay)
- `X-SIGNATURE` *string* (required) — HMAC-SHA256 signature of canonical string (hex-encoded)
## Headers
- `Accept` *string* (required) — Content type of response
- `Content-Type` *string* (required) — Content type of request
## Request body
Encrypted request data (AES-256-CBC). The decrypted payload fields are described above.
- `encrypted_data` *string* (required) — Base64-encoded encrypted JSON data. Encryption: AES-256-CBC with 16-byte IV prepended. Key: SHA256 hash of secret key.
## Responses
- **200** — Get a test scenario — success
- **400** — Bad request — validation failed or invalid reference
- **401** — Unauthorized — invalid or missing API key
- **404** — Resource not found
- **500** — Server error
## Request samples
### cURL
```bash
curl -X POST 'https://v4-api.orangescrum.com/api/v1/partner/test-scenarios/detail' \
-H 'Accept: application/json' \
-H 'Content-Type: application/json' \
-H 'X-API-KEY: pk_your_api_key' \
-H 'X-TIMESTAMP: '"$(date +%s)" \
-H 'X-NONCE: '"$(openssl rand -hex 8)" \
-H 'X-SIGNATURE: ' \
-d '{"encrypted_data":""}'
```
### Python
```python
# call() is defined on the Authentication page.
from orangescrum import call
response = call(
"/api/v1/partner/test-scenarios/detail",
{ "scenario_id": ... },
)
print(response)
```
### JavaScript
```javascript
// call() is defined on the Authentication page.
import { call } from './orangescrum.js';
const response = await call('/api/v1/partner/test-scenarios/detail', { "scenario_id": ... });
console.log(response);
```
### PHP
```php
Decrypted Request Payload: Responses use the standard envelope { "success": true, "message": "...", "data": ...
> For the complete documentation index, see [llms.txt](https://helpdesk.orangescrum.com/llms.txt).
Source: https://helpdesk.orangescrum.com/guide/api/endpoints/test-scenarios/test-scenarios-list
---
`POST /api/v1/partner/test-scenarios/list`
## Authorizations
- `X-API-KEY` *string* (required) — Developer API key (starts with pk_)
- `X-TIMESTAMP` *integer* (required) — Unix timestamp in seconds (within ±5 minutes of server time)
- `X-NONCE` *string* (required) — One-time random string (min 8 chars, prevents replay)
- `X-SIGNATURE` *string* (required) — HMAC-SHA256 signature of canonical string (hex-encoded)
## Headers
- `Accept` *string* (required) — Content type of response
- `Content-Type` *string* (required) — Content type of request
## Request body
Encrypted request data (AES-256-CBC). The decrypted payload fields are described above.
- `encrypted_data` *string* (required) — Base64-encoded encrypted JSON data. Encryption: AES-256-CBC with 16-byte IV prepended. Key: SHA256 hash of secret key.
## Responses
- **200** — List test scenarios — success
- **400** — Bad request — validation failed or invalid reference
- **401** — Unauthorized — invalid or missing API key
- **404** — Resource not found
- **500** — Server error
## Request samples
### cURL
```bash
curl -X POST 'https://v4-api.orangescrum.com/api/v1/partner/test-scenarios/list' \
-H 'Accept: application/json' \
-H 'Content-Type: application/json' \
-H 'X-API-KEY: pk_your_api_key' \
-H 'X-TIMESTAMP: '"$(date +%s)" \
-H 'X-NONCE: '"$(openssl rand -hex 8)" \
-H 'X-SIGNATURE: ' \
-d '{"encrypted_data":""}'
```
### Python
```python
# call() is defined on the Authentication page.
from orangescrum import call
response = call(
"/api/v1/partner/test-scenarios/list",
{ "project_id": ..., "status": ..., "type": ..., "q": ..., "include_archived": ..., "page": ..., "per_page": ... },
)
print(response)
```
### JavaScript
```javascript
// call() is defined on the Authentication page.
import { call } from './orangescrum.js';
const response = await call('/api/v1/partner/test-scenarios/list', { "project_id": ..., "status": ..., "type": ..., "q": ..., "include_archived": ..., "page": ..., "per_page": ... });
console.log(response);
```
### PHP
```php
Decrypted Request Payload: Responses use the standard envelope { "success": true, "message": "...", "data": ...
> For the complete documentation index, see [llms.txt](https://helpdesk.orangescrum.com/llms.txt).
Source: https://helpdesk.orangescrum.com/guide/api/endpoints/test-scenarios/test-scenarios-update
---
`POST /api/v1/partner/test-scenarios/update`
## Authorizations
- `X-API-KEY` *string* (required) — Developer API key (starts with pk_)
- `X-TIMESTAMP` *integer* (required) — Unix timestamp in seconds (within ±5 minutes of server time)
- `X-NONCE` *string* (required) — One-time random string (min 8 chars, prevents replay)
- `X-SIGNATURE` *string* (required) — HMAC-SHA256 signature of canonical string (hex-encoded)
## Headers
- `Accept` *string* (required) — Content type of response
- `Content-Type` *string* (required) — Content type of request
## Request body
Encrypted request data (AES-256-CBC). The decrypted payload fields are described above.
- `encrypted_data` *string* (required) — Base64-encoded encrypted JSON data. Encryption: AES-256-CBC with 16-byte IV prepended. Key: SHA256 hash of secret key.
## Responses
- **200** — Update a test scenario — success
- **400** — Bad request — validation failed or invalid reference
- **401** — Unauthorized — invalid or missing API key
- **404** — Resource not found
- **500** — Server error
## Request samples
### cURL
```bash
curl -X POST 'https://v4-api.orangescrum.com/api/v1/partner/test-scenarios/update' \
-H 'Accept: application/json' \
-H 'Content-Type: application/json' \
-H 'X-API-KEY: pk_your_api_key' \
-H 'X-TIMESTAMP: '"$(date +%s)" \
-H 'X-NONCE: '"$(openssl rand -hex 8)" \
-H 'X-SIGNATURE: ' \
-d '{"encrypted_data":""}'
```
### Python
```python
# call() is defined on the Authentication page.
from orangescrum import call
response = call(
"/api/v1/partner/test-scenarios/update",
{ "scenario_id": ..., "name": ..., "description": ..., "type": ..., "coverage_percentage": ..., "status": ... },
)
print(response)
```
### JavaScript
```javascript
// call() is defined on the Authentication page.
import { call } from './orangescrum.js';
const response = await call('/api/v1/partner/test-scenarios/update', { "scenario_id": ..., "name": ..., "description": ..., "type": ..., "coverage_percentage": ..., "status": ... });
console.log(response);
```
### PHP
```php
Decrypted Request Payload: The new step is appended at the end of the case's current order.
> For the complete documentation index, see [llms.txt](https://helpdesk.orangescrum.com/llms.txt).
Source: https://helpdesk.orangescrum.com/guide/api/endpoints/test-steps/test-steps-create
---
`POST /api/v1/partner/test-steps/create`
## Authorizations
- `X-API-KEY` *string* (required) — Developer API key (starts with pk_)
- `X-TIMESTAMP` *integer* (required) — Unix timestamp in seconds (within ±5 minutes of server time)
- `X-NONCE` *string* (required) — One-time random string (min 8 chars, prevents replay)
- `X-SIGNATURE` *string* (required) — HMAC-SHA256 signature of canonical string (hex-encoded)
## Headers
- `Accept` *string* (required) — Content type of response
- `Content-Type` *string* (required) — Content type of request
## Request body
Encrypted request data (AES-256-CBC). The decrypted payload fields are described above.
- `encrypted_data` *string* (required) — Base64-encoded encrypted JSON data. Encryption: AES-256-CBC with 16-byte IV prepended. Key: SHA256 hash of secret key.
## Responses
- **201** — Add a step to a test case — success
- **400** — Bad request — validation failed or invalid reference
- **401** — Unauthorized — invalid or missing API key
- **404** — Resource not found
- **500** — Server error
## Request samples
### cURL
```bash
curl -X POST 'https://v4-api.orangescrum.com/api/v1/partner/test-steps/create' \
-H 'Accept: application/json' \
-H 'Content-Type: application/json' \
-H 'X-API-KEY: pk_your_api_key' \
-H 'X-TIMESTAMP: '"$(date +%s)" \
-H 'X-NONCE: '"$(openssl rand -hex 8)" \
-H 'X-SIGNATURE: ' \
-d '{"encrypted_data":""}'
```
### Python
```python
# call() is defined on the Authentication page.
from orangescrum import call
response = call(
"/api/v1/partner/test-steps/create",
{ "test_case_id": ..., "name": ..., "description": ..., "expected_result": ..., "outcome": ..., "status": ... },
)
print(response)
```
### JavaScript
```javascript
// call() is defined on the Authentication page.
import { call } from './orangescrum.js';
const response = await call('/api/v1/partner/test-steps/create', { "test_case_id": ..., "name": ..., "description": ..., "expected_result": ..., "outcome": ..., "status": ... });
console.log(response);
```
### PHP
```php
Decrypted Request Payload: Responses use the standard envelope { "success": true, "message": "...", "data": ...
> For the complete documentation index, see [llms.txt](https://helpdesk.orangescrum.com/llms.txt).
Source: https://helpdesk.orangescrum.com/guide/api/endpoints/test-steps/test-steps-delete
---
`POST /api/v1/partner/test-steps/delete`
## Authorizations
- `X-API-KEY` *string* (required) — Developer API key (starts with pk_)
- `X-TIMESTAMP` *integer* (required) — Unix timestamp in seconds (within ±5 minutes of server time)
- `X-NONCE` *string* (required) — One-time random string (min 8 chars, prevents replay)
- `X-SIGNATURE` *string* (required) — HMAC-SHA256 signature of canonical string (hex-encoded)
## Headers
- `Accept` *string* (required) — Content type of response
- `Content-Type` *string* (required) — Content type of request
## Request body
Encrypted request data (AES-256-CBC). The decrypted payload fields are described above.
- `encrypted_data` *string* (required) — Base64-encoded encrypted JSON data. Encryption: AES-256-CBC with 16-byte IV prepended. Key: SHA256 hash of secret key.
## Responses
- **200** — Delete or archive a test step — success
- **400** — Bad request — validation failed or invalid reference
- **401** — Unauthorized — invalid or missing API key
- **404** — Resource not found
- **500** — Server error
## Request samples
### cURL
```bash
curl -X POST 'https://v4-api.orangescrum.com/api/v1/partner/test-steps/delete' \
-H 'Accept: application/json' \
-H 'Content-Type: application/json' \
-H 'X-API-KEY: pk_your_api_key' \
-H 'X-TIMESTAMP: '"$(date +%s)" \
-H 'X-NONCE: '"$(openssl rand -hex 8)" \
-H 'X-SIGNATURE: ' \
-d '{"encrypted_data":""}'
```
### Python
```python
# call() is defined on the Authentication page.
from orangescrum import call
response = call(
"/api/v1/partner/test-steps/delete",
{ "test_case_id": ..., "step_id": ..., "hard_delete": ... },
)
print(response)
```
### JavaScript
```javascript
// call() is defined on the Authentication page.
import { call } from './orangescrum.js';
const response = await call('/api/v1/partner/test-steps/delete', { "test_case_id": ..., "step_id": ..., "hard_delete": ... });
console.log(response);
```
### PHP
```php
Decrypted Request Payload: Steps are returned in their per-case order (position ascending).
> For the complete documentation index, see [llms.txt](https://helpdesk.orangescrum.com/llms.txt).
Source: https://helpdesk.orangescrum.com/guide/api/endpoints/test-steps/test-steps-list
---
`POST /api/v1/partner/test-steps/list`
## Authorizations
- `X-API-KEY` *string* (required) — Developer API key (starts with pk_)
- `X-TIMESTAMP` *integer* (required) — Unix timestamp in seconds (within ±5 minutes of server time)
- `X-NONCE` *string* (required) — One-time random string (min 8 chars, prevents replay)
- `X-SIGNATURE` *string* (required) — HMAC-SHA256 signature of canonical string (hex-encoded)
## Headers
- `Accept` *string* (required) — Content type of response
- `Content-Type` *string* (required) — Content type of request
## Request body
Encrypted request data (AES-256-CBC). The decrypted payload fields are described above.
- `encrypted_data` *string* (required) — Base64-encoded encrypted JSON data. Encryption: AES-256-CBC with 16-byte IV prepended. Key: SHA256 hash of secret key.
## Responses
- **200** — List the steps of a test case — success
- **400** — Bad request — validation failed or invalid reference
- **401** — Unauthorized — invalid or missing API key
- **404** — Resource not found
- **500** — Server error
## Request samples
### cURL
```bash
curl -X POST 'https://v4-api.orangescrum.com/api/v1/partner/test-steps/list' \
-H 'Accept: application/json' \
-H 'Content-Type: application/json' \
-H 'X-API-KEY: pk_your_api_key' \
-H 'X-TIMESTAMP: '"$(date +%s)" \
-H 'X-NONCE: '"$(openssl rand -hex 8)" \
-H 'X-SIGNATURE: ' \
-d '{"encrypted_data":""}'
```
### Python
```python
# call() is defined on the Authentication page.
from orangescrum import call
response = call(
"/api/v1/partner/test-steps/list",
{ "test_case_id": ..., "include_archived": ..., "page": ..., "per_page": ... },
)
print(response)
```
### JavaScript
```javascript
// call() is defined on the Authentication page.
import { call } from './orangescrum.js';
const response = await call('/api/v1/partner/test-steps/list', { "test_case_id": ..., "include_archived": ..., "page": ..., "per_page": ... });
console.log(response);
```
### PHP
```php
Decrypted Request Payload: Listed steps take positions 1..n; any omitted steps are appended after, keeping their relative order.
> For the complete documentation index, see [llms.txt](https://helpdesk.orangescrum.com/llms.txt).
Source: https://helpdesk.orangescrum.com/guide/api/endpoints/test-steps/test-steps-reorder
---
`POST /api/v1/partner/test-steps/reorder`
## Authorizations
- `X-API-KEY` *string* (required) — Developer API key (starts with pk_)
- `X-TIMESTAMP` *integer* (required) — Unix timestamp in seconds (within ±5 minutes of server time)
- `X-NONCE` *string* (required) — One-time random string (min 8 chars, prevents replay)
- `X-SIGNATURE` *string* (required) — HMAC-SHA256 signature of canonical string (hex-encoded)
## Headers
- `Accept` *string* (required) — Content type of response
- `Content-Type` *string* (required) — Content type of request
## Request body
Encrypted request data (AES-256-CBC). The decrypted payload fields are described above.
- `encrypted_data` *string* (required) — Base64-encoded encrypted JSON data. Encryption: AES-256-CBC with 16-byte IV prepended. Key: SHA256 hash of secret key.
## Responses
- **200** — Reorder the steps of a test case — success
- **400** — Bad request — validation failed or invalid reference
- **401** — Unauthorized — invalid or missing API key
- **404** — Resource not found
- **500** — Server error
## Request samples
### cURL
```bash
curl -X POST 'https://v4-api.orangescrum.com/api/v1/partner/test-steps/reorder' \
-H 'Accept: application/json' \
-H 'Content-Type: application/json' \
-H 'X-API-KEY: pk_your_api_key' \
-H 'X-TIMESTAMP: '"$(date +%s)" \
-H 'X-NONCE: '"$(openssl rand -hex 8)" \
-H 'X-SIGNATURE: ' \
-d '{"encrypted_data":""}'
```
### Python
```python
# call() is defined on the Authentication page.
from orangescrum import call
response = call(
"/api/v1/partner/test-steps/reorder",
{ "test_case_id": ..., "step_ids": ... },
)
print(response)
```
### JavaScript
```javascript
// call() is defined on the Authentication page.
import { call } from './orangescrum.js';
const response = await call('/api/v1/partner/test-steps/reorder', { "test_case_id": ..., "step_ids": ... });
console.log(response);
```
### PHP
```php
Decrypted Request Payload: Responses use the standard envelope { "success": true, "message": "...", "data": ...
> For the complete documentation index, see [llms.txt](https://helpdesk.orangescrum.com/llms.txt).
Source: https://helpdesk.orangescrum.com/guide/api/endpoints/test-steps/test-steps-update
---
`POST /api/v1/partner/test-steps/update`
## Authorizations
- `X-API-KEY` *string* (required) — Developer API key (starts with pk_)
- `X-TIMESTAMP` *integer* (required) — Unix timestamp in seconds (within ±5 minutes of server time)
- `X-NONCE` *string* (required) — One-time random string (min 8 chars, prevents replay)
- `X-SIGNATURE` *string* (required) — HMAC-SHA256 signature of canonical string (hex-encoded)
## Headers
- `Accept` *string* (required) — Content type of response
- `Content-Type` *string* (required) — Content type of request
## Request body
Encrypted request data (AES-256-CBC). The decrypted payload fields are described above.
- `encrypted_data` *string* (required) — Base64-encoded encrypted JSON data. Encryption: AES-256-CBC with 16-byte IV prepended. Key: SHA256 hash of secret key.
## Responses
- **200** — Update a test step — success
- **400** — Bad request — validation failed or invalid reference
- **401** — Unauthorized — invalid or missing API key
- **404** — Resource not found
- **500** — Server error
## Request samples
### cURL
```bash
curl -X POST 'https://v4-api.orangescrum.com/api/v1/partner/test-steps/update' \
-H 'Accept: application/json' \
-H 'Content-Type: application/json' \
-H 'X-API-KEY: pk_your_api_key' \
-H 'X-TIMESTAMP: '"$(date +%s)" \
-H 'X-NONCE: '"$(openssl rand -hex 8)" \
-H 'X-SIGNATURE: ' \
-d '{"encrypted_data":""}'
```
### Python
```python
# call() is defined on the Authentication page.
from orangescrum import call
response = call(
"/api/v1/partner/test-steps/update",
{ "test_case_id": ..., "step_id": ..., "name": ..., "description": ..., "expected_result": ..., "outcome": ..., "status": ... },
)
print(response)
```
### JavaScript
```javascript
// call() is defined on the Authentication page.
import { call } from './orangescrum.js';
const response = await call('/api/v1/partner/test-steps/update', { "test_case_id": ..., "step_id": ..., "name": ..., "description": ..., "expected_result": ..., "outcome": ..., "status": ... });
console.log(response);
```
### PHP
```php
Decrypted Request Payload: A defectno is generated automatically per project (DF For the complete documentation index, see [llms.txt](https://helpdesk.orangescrum.com/llms.txt).
Source: https://helpdesk.orangescrum.com/guide/api/endpoints/defects/defects-create
---
`POST /api/v1/partner/defects/create`
## Authorizations
- `X-API-KEY` *string* (required) — Developer API key (starts with pk_)
- `X-TIMESTAMP` *integer* (required) — Unix timestamp in seconds (within ±5 minutes of server time)
- `X-NONCE` *string* (required) — One-time random string (min 8 chars, prevents replay)
- `X-SIGNATURE` *string* (required) — HMAC-SHA256 signature of canonical string (hex-encoded)
## Headers
- `Accept` *string* (required) — Content type of response
- `Content-Type` *string* (required) — Content type of request
## Request body
Encrypted request data (AES-256-CBC). The decrypted payload fields are described above.
- `encrypted_data` *string* (required) — Base64-encoded encrypted JSON data. Encryption: AES-256-CBC with 16-byte IV prepended. Key: SHA256 hash of secret key.
## Responses
- **201** — Create a defect — success
- **400** — Bad request — validation failed or invalid reference
- **401** — Unauthorized — invalid or missing API key
- **404** — Resource not found
- **500** — Server error
## Request samples
### cURL
```bash
curl -X POST 'https://v4-api.orangescrum.com/api/v1/partner/defects/create' \
-H 'Accept: application/json' \
-H 'Content-Type: application/json' \
-H 'X-API-KEY: pk_your_api_key' \
-H 'X-TIMESTAMP: '"$(date +%s)" \
-H 'X-NONCE: '"$(openssl rand -hex 8)" \
-H 'X-SIGNATURE: ' \
-d '{"encrypted_data":""}'
```
### Python
```python
# call() is defined on the Authentication page.
from orangescrum import call
response = call(
"/api/v1/partner/defects/create",
{ "project_id": ..., "title": ..., "description": ..., "type": ..., "priority": ..., "severity": ..., "status": ..., "test_case_id": ..., "test_step_id": ..., "task_id": ... },
)
print(response)
```
### JavaScript
```javascript
// call() is defined on the Authentication page.
import { call } from './orangescrum.js';
const response = await call('/api/v1/partner/defects/create', { "project_id": ..., "title": ..., "description": ..., "type": ..., "priority": ..., "severity": ..., "status": ..., "test_case_id": ..., "test_step_id": ..., "task_id": ... });
console.log(response);
```
### PHP
```php
Decrypted Request Payload: Responses use the standard envelope { "success": true, "message": "...", "data": ...
> For the complete documentation index, see [llms.txt](https://helpdesk.orangescrum.com/llms.txt).
Source: https://helpdesk.orangescrum.com/guide/api/endpoints/defects/defects-detail
---
`POST /api/v1/partner/defects/detail`
## Authorizations
- `X-API-KEY` *string* (required) — Developer API key (starts with pk_)
- `X-TIMESTAMP` *integer* (required) — Unix timestamp in seconds (within ±5 minutes of server time)
- `X-NONCE` *string* (required) — One-time random string (min 8 chars, prevents replay)
- `X-SIGNATURE` *string* (required) — HMAC-SHA256 signature of canonical string (hex-encoded)
## Headers
- `Accept` *string* (required) — Content type of response
- `Content-Type` *string* (required) — Content type of request
## Request body
Encrypted request data (AES-256-CBC). The decrypted payload fields are described above.
- `encrypted_data` *string* (required) — Base64-encoded encrypted JSON data. Encryption: AES-256-CBC with 16-byte IV prepended. Key: SHA256 hash of secret key.
## Responses
- **200** — Get a defect — success
- **400** — Bad request — validation failed or invalid reference
- **401** — Unauthorized — invalid or missing API key
- **404** — Resource not found
- **500** — Server error
## Request samples
### cURL
```bash
curl -X POST 'https://v4-api.orangescrum.com/api/v1/partner/defects/detail' \
-H 'Accept: application/json' \
-H 'Content-Type: application/json' \
-H 'X-API-KEY: pk_your_api_key' \
-H 'X-TIMESTAMP: '"$(date +%s)" \
-H 'X-NONCE: '"$(openssl rand -hex 8)" \
-H 'X-SIGNATURE: ' \
-d '{"encrypted_data":""}'
```
### Python
```python
# call() is defined on the Authentication page.
from orangescrum import call
response = call(
"/api/v1/partner/defects/detail",
{ "defect_id": ... },
)
print(response)
```
### JavaScript
```javascript
// call() is defined on the Authentication page.
import { call } from './orangescrum.js';
const response = await call('/api/v1/partner/defects/detail', { "defect_id": ... });
console.log(response);
```
### PHP
```php
Decrypted Request Payload: Provide at least one of testcaseid, teststepid, or taskid.
> For the complete documentation index, see [llms.txt](https://helpdesk.orangescrum.com/llms.txt).
Source: https://helpdesk.orangescrum.com/guide/api/endpoints/defects/defects-link
---
`POST /api/v1/partner/defects/link`
## Authorizations
- `X-API-KEY` *string* (required) — Developer API key (starts with pk_)
- `X-TIMESTAMP` *integer* (required) — Unix timestamp in seconds (within ±5 minutes of server time)
- `X-NONCE` *string* (required) — One-time random string (min 8 chars, prevents replay)
- `X-SIGNATURE` *string* (required) — HMAC-SHA256 signature of canonical string (hex-encoded)
## Headers
- `Accept` *string* (required) — Content type of response
- `Content-Type` *string* (required) — Content type of request
## Request body
Encrypted request data (AES-256-CBC). The decrypted payload fields are described above.
- `encrypted_data` *string* (required) — Base64-encoded encrypted JSON data. Encryption: AES-256-CBC with 16-byte IV prepended. Key: SHA256 hash of secret key.
## Responses
- **200** — Link a defect to testing entities — success
- **400** — Bad request — validation failed or invalid reference
- **401** — Unauthorized — invalid or missing API key
- **404** — Resource not found
- **500** — Server error
## Request samples
### cURL
```bash
curl -X POST 'https://v4-api.orangescrum.com/api/v1/partner/defects/link' \
-H 'Accept: application/json' \
-H 'Content-Type: application/json' \
-H 'X-API-KEY: pk_your_api_key' \
-H 'X-TIMESTAMP: '"$(date +%s)" \
-H 'X-NONCE: '"$(openssl rand -hex 8)" \
-H 'X-SIGNATURE: ' \
-d '{"encrypted_data":""}'
```
### Python
```python
# call() is defined on the Authentication page.
from orangescrum import call
response = call(
"/api/v1/partner/defects/link",
{ "defect_id": ..., "test_case_id": ..., "test_step_id": ..., "task_id": ... },
)
print(response)
```
### JavaScript
```javascript
// call() is defined on the Authentication page.
import { call } from './orangescrum.js';
const response = await call('/api/v1/partner/defects/link', { "defect_id": ..., "test_case_id": ..., "test_step_id": ..., "task_id": ... });
console.log(response);
```
### PHP
```php
Decrypted Request Payload: Responses use the standard envelope { "success": true, "message": "...", "data": ...
> For the complete documentation index, see [llms.txt](https://helpdesk.orangescrum.com/llms.txt).
Source: https://helpdesk.orangescrum.com/guide/api/endpoints/defects/defects-list
---
`POST /api/v1/partner/defects/list`
## Authorizations
- `X-API-KEY` *string* (required) — Developer API key (starts with pk_)
- `X-TIMESTAMP` *integer* (required) — Unix timestamp in seconds (within ±5 minutes of server time)
- `X-NONCE` *string* (required) — One-time random string (min 8 chars, prevents replay)
- `X-SIGNATURE` *string* (required) — HMAC-SHA256 signature of canonical string (hex-encoded)
## Headers
- `Accept` *string* (required) — Content type of response
- `Content-Type` *string* (required) — Content type of request
## Request body
Encrypted request data (AES-256-CBC). The decrypted payload fields are described above.
- `encrypted_data` *string* (required) — Base64-encoded encrypted JSON data. Encryption: AES-256-CBC with 16-byte IV prepended. Key: SHA256 hash of secret key.
## Responses
- **200** — List defects — success
- **400** — Bad request — validation failed or invalid reference
- **401** — Unauthorized — invalid or missing API key
- **404** — Resource not found
- **500** — Server error
## Request samples
### cURL
```bash
curl -X POST 'https://v4-api.orangescrum.com/api/v1/partner/defects/list' \
-H 'Accept: application/json' \
-H 'Content-Type: application/json' \
-H 'X-API-KEY: pk_your_api_key' \
-H 'X-TIMESTAMP: '"$(date +%s)" \
-H 'X-NONCE: '"$(openssl rand -hex 8)" \
-H 'X-SIGNATURE: ' \
-d '{"encrypted_data":""}'
```
### Python
```python
# call() is defined on the Authentication page.
from orangescrum import call
response = call(
"/api/v1/partner/defects/list",
{ "project_id": ..., "status": ..., "priority": ..., "severity": ..., "test_case_id": ..., "q": ..., "page": ..., "per_page": ... },
)
print(response)
```
### JavaScript
```javascript
// call() is defined on the Authentication page.
import { call } from './orangescrum.js';
const response = await call('/api/v1/partner/defects/list', { "project_id": ..., "status": ..., "priority": ..., "severity": ..., "test_case_id": ..., "q": ..., "page": ..., "per_page": ... });
console.log(response);
```
### PHP
```php
Decrypted Request Payload: Responses use the standard envelope { "success": true, "message": "...", "data": ...
> For the complete documentation index, see [llms.txt](https://helpdesk.orangescrum.com/llms.txt).
Source: https://helpdesk.orangescrum.com/guide/api/endpoints/defects/defects-update
---
`POST /api/v1/partner/defects/update`
## Authorizations
- `X-API-KEY` *string* (required) — Developer API key (starts with pk_)
- `X-TIMESTAMP` *integer* (required) — Unix timestamp in seconds (within ±5 minutes of server time)
- `X-NONCE` *string* (required) — One-time random string (min 8 chars, prevents replay)
- `X-SIGNATURE` *string* (required) — HMAC-SHA256 signature of canonical string (hex-encoded)
## Headers
- `Accept` *string* (required) — Content type of response
- `Content-Type` *string* (required) — Content type of request
## Request body
Encrypted request data (AES-256-CBC). The decrypted payload fields are described above.
- `encrypted_data` *string* (required) — Base64-encoded encrypted JSON data. Encryption: AES-256-CBC with 16-byte IV prepended. Key: SHA256 hash of secret key.
## Responses
- **200** — Update a defect — success
- **400** — Bad request — validation failed or invalid reference
- **401** — Unauthorized — invalid or missing API key
- **404** — Resource not found
- **500** — Server error
## Request samples
### cURL
```bash
curl -X POST 'https://v4-api.orangescrum.com/api/v1/partner/defects/update' \
-H 'Accept: application/json' \
-H 'Content-Type: application/json' \
-H 'X-API-KEY: pk_your_api_key' \
-H 'X-TIMESTAMP: '"$(date +%s)" \
-H 'X-NONCE: '"$(openssl rand -hex 8)" \
-H 'X-SIGNATURE: ' \
-d '{"encrypted_data":""}'
```
### Python
```python
# call() is defined on the Authentication page.
from orangescrum import call
response = call(
"/api/v1/partner/defects/update",
{ "defect_id": ..., "title": ..., "description": ..., "type": ..., "priority": ..., "severity": ... },
)
print(response)
```
### JavaScript
```javascript
// call() is defined on the Authentication page.
import { call } from './orangescrum.js';
const response = await call('/api/v1/partner/defects/update', { "defect_id": ..., "title": ..., "description": ..., "type": ..., "priority": ..., "severity": ... });
console.log(response);
```
### PHP
```php
Decrypted Request Payload: Moving to a resolved/closed status also records resolutionby and resolutiondate.
> For the complete documentation index, see [llms.txt](https://helpdesk.orangescrum.com/llms.txt).
Source: https://helpdesk.orangescrum.com/guide/api/endpoints/defects/defects-status
---
`POST /api/v1/partner/defects/status`
## Authorizations
- `X-API-KEY` *string* (required) — Developer API key (starts with pk_)
- `X-TIMESTAMP` *integer* (required) — Unix timestamp in seconds (within ±5 minutes of server time)
- `X-NONCE` *string* (required) — One-time random string (min 8 chars, prevents replay)
- `X-SIGNATURE` *string* (required) — HMAC-SHA256 signature of canonical string (hex-encoded)
## Headers
- `Accept` *string* (required) — Content type of response
- `Content-Type` *string* (required) — Content type of request
## Request body
Encrypted request data (AES-256-CBC). The decrypted payload fields are described above.
- `encrypted_data` *string* (required) — Base64-encoded encrypted JSON data. Encryption: AES-256-CBC with 16-byte IV prepended. Key: SHA256 hash of secret key.
## Responses
- **200** — Update a defect's status — success
- **400** — Bad request — validation failed or invalid reference
- **401** — Unauthorized — invalid or missing API key
- **404** — Resource not found
- **500** — Server error
## Request samples
### cURL
```bash
curl -X POST 'https://v4-api.orangescrum.com/api/v1/partner/defects/status' \
-H 'Accept: application/json' \
-H 'Content-Type: application/json' \
-H 'X-API-KEY: pk_your_api_key' \
-H 'X-TIMESTAMP: '"$(date +%s)" \
-H 'X-NONCE: '"$(openssl rand -hex 8)" \
-H 'X-SIGNATURE: ' \
-d '{"encrypted_data":""}'
```
### Python
```python
# call() is defined on the Authentication page.
from orangescrum import call
response = call(
"/api/v1/partner/defects/status",
{ "defect_id": ..., "status": ... },
)
print(response)
```
### JavaScript
```javascript
// call() is defined on the Authentication page.
import { call } from './orangescrum.js';
const response = await call('/api/v1/partner/defects/status', { "defect_id": ..., "status": ... });
console.log(response);
```
### PHP
```php
Payload: {workitemtype, workitemid, workitemgroupid, label}.
> For the complete documentation index, see [llms.txt](https://helpdesk.orangescrum.com/llms.txt).
Source: https://helpdesk.orangescrum.com/guide/api/endpoints/checklist/work-items-checklist-items-add
---
`POST /api/v1/partner/work-items/checklist/items/add`
Payload: {work_item_type*, work_item_id*, work_item_group_id*, label*}.
## Authorizations
- `X-API-KEY` *string* (required) — Developer API key (starts with pk_)
- `X-TIMESTAMP` *integer* (required) — Unix timestamp in seconds (must be within ±5 minutes of server time)
- `X-NONCE` *string* (required) — One-time random string (minimum 8 characters, prevents replay attacks)
- `X-SIGNATURE` *string* (required) — HMAC-SHA256 signature of canonical string (hex-encoded)
## Headers
- `Accept` *string* (required) — Content type of response
- `Content-Type` *string* (required) — Content type of request
## Request body
- `encrypted_data` *string* (required)
## Responses
- **201** — Created
- **403** — Not allowed to manage
- **404** — Not found
## Request samples
### cURL
```bash
curl -X POST 'https://v4-api.orangescrum.com/api/v1/partner/work-items/checklist/items/add' \
-H 'Accept: application/json' \
-H 'Content-Type: application/json' \
-H 'X-API-KEY: pk_your_api_key' \
-H 'X-TIMESTAMP: '"$(date +%s)" \
-H 'X-NONCE: '"$(openssl rand -hex 8)" \
-H 'X-SIGNATURE: ' \
-d '{"encrypted_data":""}'
```
### Python
```python
# call() is defined on the Authentication page.
from orangescrum import call
response = call(
"/api/v1/partner/work-items/checklist/items/add",
{},
)
print(response)
```
### JavaScript
```javascript
// call() is defined on the Authentication page.
import { call } from './orangescrum.js';
const response = await call('/api/v1/partner/work-items/checklist/items/add', {});
console.log(response);
```
### PHP
```php
Copies the template group + items onto the work item (independent copy); duplicate-prevented by sourcegroupid.
> For the complete documentation index, see [llms.txt](https://helpdesk.orangescrum.com/llms.txt).
Source: https://helpdesk.orangescrum.com/guide/api/endpoints/checklist/work-items-checklist-groups-add-from-template
---
`POST /api/v1/partner/work-items/checklist/groups/add-from-template`
Copies the template group + items onto the work item (independent copy); duplicate-prevented by source_group_id. Payload: {work_item_type*, work_item_id*, template_id*}.
## Authorizations
- `X-API-KEY` *string* (required) — Developer API key (starts with pk_)
- `X-TIMESTAMP` *integer* (required) — Unix timestamp in seconds (must be within ±5 minutes of server time)
- `X-NONCE` *string* (required) — One-time random string (minimum 8 characters, prevents replay attacks)
- `X-SIGNATURE` *string* (required) — HMAC-SHA256 signature of canonical string (hex-encoded)
## Headers
- `Accept` *string* (required) — Content type of response
- `Content-Type` *string* (required) — Content type of request
## Request body
- `encrypted_data` *string* (required)
## Responses
- **201** — Created
- **400** — Group already on this work item
- **403** — Not allowed to manage
- **404** — Template not found
## Request samples
### cURL
```bash
curl -X POST 'https://v4-api.orangescrum.com/api/v1/partner/work-items/checklist/groups/add-from-template' \
-H 'Accept: application/json' \
-H 'Content-Type: application/json' \
-H 'X-API-KEY: pk_your_api_key' \
-H 'X-TIMESTAMP: '"$(date +%s)" \
-H 'X-NONCE: '"$(openssl rand -hex 8)" \
-H 'X-SIGNATURE: ' \
-d '{"encrypted_data":""}'
```
### Python
```python
# call() is defined on the Authentication page.
from orangescrum import call
response = call(
"/api/v1/partner/work-items/checklist/groups/add-from-template",
{},
)
print(response)
```
### JavaScript
```javascript
// call() is defined on the Authentication page.
import { call } from './orangescrum.js';
const response = await call('/api/v1/partner/work-items/checklist/groups/add-from-template', {});
console.log(response);
```
### PHP
```php
Rejects a duplicate (same sourcegroupid) with 400.
> For the complete documentation index, see [llms.txt](https://helpdesk.orangescrum.com/llms.txt).
Source: https://helpdesk.orangescrum.com/guide/api/endpoints/checklist/work-items-checklist-groups-add
---
`POST /api/v1/partner/work-items/checklist/groups/add`
Rejects a duplicate (same source_group_id) with 400. Payload: {work_item_type*, work_item_id*, source_group_id*}.
## Authorizations
- `X-API-KEY` *string* (required) — Developer API key (starts with pk_)
- `X-TIMESTAMP` *integer* (required) — Unix timestamp in seconds (must be within ±5 minutes of server time)
- `X-NONCE` *string* (required) — One-time random string (minimum 8 characters, prevents replay attacks)
- `X-SIGNATURE` *string* (required) — HMAC-SHA256 signature of canonical string (hex-encoded)
## Headers
- `Accept` *string* (required) — Content type of response
- `Content-Type` *string* (required) — Content type of request
## Request body
- `encrypted_data` *string* (required)
## Responses
- **201** — Created
- **400** — Group already on this work item
- **403** — Not allowed to manage
- **404** — Group not found
## Request samples
### cURL
```bash
curl -X POST 'https://v4-api.orangescrum.com/api/v1/partner/work-items/checklist/groups/add' \
-H 'Accept: application/json' \
-H 'Content-Type: application/json' \
-H 'X-API-KEY: pk_your_api_key' \
-H 'X-TIMESTAMP: '"$(date +%s)" \
-H 'X-NONCE: '"$(openssl rand -hex 8)" \
-H 'X-SIGNATURE: ' \
-d '{"encrypted_data":""}'
```
### Python
```python
# call() is defined on the Authentication page.
from orangescrum import call
response = call(
"/api/v1/partner/work-items/checklist/groups/add",
{},
)
print(response)
```
### JavaScript
```javascript
// call() is defined on the Authentication page.
import { call } from './orangescrum.js';
const response = await call('/api/v1/partner/work-items/checklist/groups/add', {});
console.log(response);
```
### PHP
```php
Toggles or sets completion, stamping completedby/at.
> For the complete documentation index, see [llms.txt](https://helpdesk.orangescrum.com/llms.txt).
Source: https://helpdesk.orangescrum.com/guide/api/endpoints/checklist/work-items-checklist-items-complete
---
`POST /api/v1/partner/work-items/checklist/items/complete`
Toggles or sets completion, stamping completed_by/at. Payload: {item_id*, is_completed?:boolean (omit to toggle)}.
## Authorizations
- `X-API-KEY` *string* (required) — Developer API key (starts with pk_)
- `X-TIMESTAMP` *integer* (required) — Unix timestamp in seconds (must be within ±5 minutes of server time)
- `X-NONCE` *string* (required) — One-time random string (minimum 8 characters, prevents replay attacks)
- `X-SIGNATURE` *string* (required) — HMAC-SHA256 signature of canonical string (hex-encoded)
## Headers
- `Accept` *string* (required) — Content type of response
- `Content-Type` *string* (required) — Content type of request
## Request body
- `encrypted_data` *string* (required)
## Responses
- **200** — Success
- **403** — Not allowed to manage
- **404** — Item not found
## Request samples
### cURL
```bash
curl -X POST 'https://v4-api.orangescrum.com/api/v1/partner/work-items/checklist/items/complete' \
-H 'Accept: application/json' \
-H 'Content-Type: application/json' \
-H 'X-API-KEY: pk_your_api_key' \
-H 'X-TIMESTAMP: '"$(date +%s)" \
-H 'X-NONCE: '"$(openssl rand -hex 8)" \
-H 'X-SIGNATURE: ' \
-d '{"encrypted_data":""}'
```
### Python
```python
# call() is defined on the Authentication page.
from orangescrum import call
response = call(
"/api/v1/partner/work-items/checklist/items/complete",
{},
)
print(response)
```
### JavaScript
```javascript
// call() is defined on the Authentication page.
import { call } from './orangescrum.js';
const response = await call('/api/v1/partner/work-items/checklist/items/complete', {});
console.log(response);
```
### PHP
```php
A template owns exactly one company group.
> For the complete documentation index, see [llms.txt](https://helpdesk.orangescrum.com/llms.txt).
Source: https://helpdesk.orangescrum.com/guide/api/endpoints/checklist/checklists-templates-create
---
`POST /api/v1/partner/checklists/templates/create`
A template owns exactly one company group. Payload: {checklist_group_id*, name*, auto_attach?, is_active?, items?:[{label}]}.
## Authorizations
- `X-API-KEY` *string* (required) — Developer API key (starts with pk_)
- `X-TIMESTAMP` *integer* (required) — Unix timestamp in seconds (must be within ±5 minutes of server time)
- `X-NONCE` *string* (required) — One-time random string (minimum 8 characters, prevents replay attacks)
- `X-SIGNATURE` *string* (required) — HMAC-SHA256 signature of canonical string (hex-encoded)
## Headers
- `Accept` *string* (required) — Content type of response
- `Content-Type` *string* (required) — Content type of request
## Request body
- `encrypted_data` *string* (required)
## Responses
- **201** — Created
- **400** — Validation error
- **404** — Group not found
## Request samples
### cURL
```bash
curl -X POST 'https://v4-api.orangescrum.com/api/v1/partner/checklists/templates/create' \
-H 'Accept: application/json' \
-H 'Content-Type: application/json' \
-H 'X-API-KEY: pk_your_api_key' \
-H 'X-TIMESTAMP: '"$(date +%s)" \
-H 'X-NONCE: '"$(openssl rand -hex 8)" \
-H 'X-SIGNATURE: ' \
-d '{"encrypted_data":""}'
```
### Python
```python
# call() is defined on the Authentication page.
from orangescrum import call
response = call(
"/api/v1/partner/checklists/templates/create",
{},
)
print(response)
```
### JavaScript
```javascript
// call() is defined on the Authentication page.
import { call } from './orangescrum.js';
const response = await call('/api/v1/partner/checklists/templates/create', {});
console.log(response);
```
### PHP
```php
Creates a custom catalogue group (type/issystem forced server-side).
> For the complete documentation index, see [llms.txt](https://helpdesk.orangescrum.com/llms.txt).
Source: https://helpdesk.orangescrum.com/guide/api/endpoints/checklist/checklists-groups-create
---
`POST /api/v1/partner/checklists/groups/create`
Creates a custom catalogue group (type/is_system forced server-side). Payload: {name*, color?, is_active?}.
## Authorizations
- `X-API-KEY` *string* (required) — Developer API key (starts with pk_)
- `X-TIMESTAMP` *integer* (required) — Unix timestamp in seconds (must be within ±5 minutes of server time)
- `X-NONCE` *string* (required) — One-time random string (minimum 8 characters, prevents replay attacks)
- `X-SIGNATURE` *string* (required) — HMAC-SHA256 signature of canonical string (hex-encoded)
## Headers
- `Accept` *string* (required) — Content type of response
- `Content-Type` *string* (required) — Content type of request
## Request body
- `encrypted_data` *string* (required)
## Responses
- **201** — Created
- **400** — Validation error (e.g. duplicate name)
- **401** — Unauthorized
## Request samples
### cURL
```bash
curl -X POST 'https://v4-api.orangescrum.com/api/v1/partner/checklists/groups/create' \
-H 'Accept: application/json' \
-H 'Content-Type: application/json' \
-H 'X-API-KEY: pk_your_api_key' \
-H 'X-TIMESTAMP: '"$(date +%s)" \
-H 'X-NONCE: '"$(openssl rand -hex 8)" \
-H 'X-SIGNATURE: ' \
-d '{"encrypted_data":""}'
```
### Python
```python
# call() is defined on the Authentication page.
from orangescrum import call
response = call(
"/api/v1/partner/checklists/groups/create",
{},
)
print(response)
```
### JavaScript
```javascript
// call() is defined on the Authentication page.
import { call } from './orangescrum.js';
const response = await call('/api/v1/partner/checklists/groups/create', {});
console.log(response);
```
### PHP
```php
Gated on allowcustomgroups (403 when disabled).
> For the complete documentation index, see [llms.txt](https://helpdesk.orangescrum.com/llms.txt).
Source: https://helpdesk.orangescrum.com/guide/api/endpoints/checklist/work-items-checklist-groups-create-custom
---
`POST /api/v1/partner/work-items/checklist/groups/create-custom`
Gated on allow_custom_groups (403 when disabled). Payload: {work_item_type*, work_item_id*, name*}.
## Authorizations
- `X-API-KEY` *string* (required) — Developer API key (starts with pk_)
- `X-TIMESTAMP` *integer* (required) — Unix timestamp in seconds (must be within ±5 minutes of server time)
- `X-NONCE` *string* (required) — One-time random string (minimum 8 characters, prevents replay attacks)
- `X-SIGNATURE` *string* (required) — HMAC-SHA256 signature of canonical string (hex-encoded)
## Headers
- `Accept` *string* (required) — Content type of response
- `Content-Type` *string* (required) — Content type of request
## Request body
- `encrypted_data` *string* (required)
## Responses
- **201** — Created
- **403** — Custom groups disabled / not allowed
- **404** — Work item not found
## Request samples
### cURL
```bash
curl -X POST 'https://v4-api.orangescrum.com/api/v1/partner/work-items/checklist/groups/create-custom' \
-H 'Accept: application/json' \
-H 'Content-Type: application/json' \
-H 'X-API-KEY: pk_your_api_key' \
-H 'X-TIMESTAMP: '"$(date +%s)" \
-H 'X-NONCE: '"$(openssl rand -hex 8)" \
-H 'X-SIGNATURE: ' \
-d '{"encrypted_data":""}'
```
### Python
```python
# call() is defined on the Authentication page.
from orangescrum import call
response = call(
"/api/v1/partner/work-items/checklist/groups/create-custom",
{},
)
print(response)
```
### JavaScript
```javascript
// call() is defined on the Authentication page.
import { call } from './orangescrum.js';
const response = await call('/api/v1/partner/work-items/checklist/groups/create-custom', {});
console.log(response);
```
### PHP
```php
Deletes a custom group and its templates/associations.
> For the complete documentation index, see [llms.txt](https://helpdesk.orangescrum.com/llms.txt).
Source: https://helpdesk.orangescrum.com/guide/api/endpoints/checklist/checklists-groups-delete
---
`POST /api/v1/partner/checklists/groups/delete`
Deletes a custom group and its templates/associations. System groups cannot be deleted (403). Payload: {group_id*}.
## Authorizations
- `X-API-KEY` *string* (required) — Developer API key (starts with pk_)
- `X-TIMESTAMP` *integer* (required) — Unix timestamp in seconds (must be within ±5 minutes of server time)
- `X-NONCE` *string* (required) — One-time random string (minimum 8 characters, prevents replay attacks)
- `X-SIGNATURE` *string* (required) — HMAC-SHA256 signature of canonical string (hex-encoded)
## Headers
- `Accept` *string* (required) — Content type of response
- `Content-Type` *string* (required) — Content type of request
## Request body
- `encrypted_data` *string* (required)
## Responses
- **200** — Success
- **403** — System group delete blocked
- **404** — Group not found
## Request samples
### cURL
```bash
curl -X POST 'https://v4-api.orangescrum.com/api/v1/partner/checklists/groups/delete' \
-H 'Accept: application/json' \
-H 'Content-Type: application/json' \
-H 'X-API-KEY: pk_your_api_key' \
-H 'X-TIMESTAMP: '"$(date +%s)" \
-H 'X-NONCE: '"$(openssl rand -hex 8)" \
-H 'X-SIGNATURE: ' \
-d '{"encrypted_data":""}'
```
### Python
```python
# call() is defined on the Authentication page.
from orangescrum import call
response = call(
"/api/v1/partner/checklists/groups/delete",
{},
)
print(response)
```
### JavaScript
```javascript
// call() is defined on the Authentication page.
import { call } from './orangescrum.js';
const response = await call('/api/v1/partner/checklists/groups/delete', {});
console.log(response);
```
### PHP
```php
Payload: {itemid}.
> For the complete documentation index, see [llms.txt](https://helpdesk.orangescrum.com/llms.txt).
Source: https://helpdesk.orangescrum.com/guide/api/endpoints/checklist/work-items-checklist-items-delete
---
`POST /api/v1/partner/work-items/checklist/items/delete`
Payload: {item_id*}.
## Authorizations
- `X-API-KEY` *string* (required) — Developer API key (starts with pk_)
- `X-TIMESTAMP` *integer* (required) — Unix timestamp in seconds (must be within ±5 minutes of server time)
- `X-NONCE` *string* (required) — One-time random string (minimum 8 characters, prevents replay attacks)
- `X-SIGNATURE` *string* (required) — HMAC-SHA256 signature of canonical string (hex-encoded)
## Headers
- `Accept` *string* (required) — Content type of response
- `Content-Type` *string* (required) — Content type of request
## Request body
- `encrypted_data` *string* (required)
## Responses
- **200** — Success
- **403** — Not allowed to manage
- **404** — Item not found
## Request samples
### cURL
```bash
curl -X POST 'https://v4-api.orangescrum.com/api/v1/partner/work-items/checklist/items/delete' \
-H 'Accept: application/json' \
-H 'Content-Type: application/json' \
-H 'X-API-KEY: pk_your_api_key' \
-H 'X-TIMESTAMP: '"$(date +%s)" \
-H 'X-NONCE: '"$(openssl rand -hex 8)" \
-H 'X-SIGNATURE: ' \
-d '{"encrypted_data":""}'
```
### Python
```python
# call() is defined on the Authentication page.
from orangescrum import call
response = call(
"/api/v1/partner/work-items/checklist/items/delete",
{},
)
print(response)
```
### JavaScript
```javascript
// call() is defined on the Authentication page.
import { call } from './orangescrum.js';
const response = await call('/api/v1/partner/work-items/checklist/items/delete', {});
console.log(response);
```
### PHP
```php
Payload: {templateid}.
> For the complete documentation index, see [llms.txt](https://helpdesk.orangescrum.com/llms.txt).
Source: https://helpdesk.orangescrum.com/guide/api/endpoints/checklist/checklists-templates-delete
---
`POST /api/v1/partner/checklists/templates/delete`
Payload: {template_id*}.
## Authorizations
- `X-API-KEY` *string* (required) — Developer API key (starts with pk_)
- `X-TIMESTAMP` *integer* (required) — Unix timestamp in seconds (must be within ±5 minutes of server time)
- `X-NONCE` *string* (required) — One-time random string (minimum 8 characters, prevents replay attacks)
- `X-SIGNATURE` *string* (required) — HMAC-SHA256 signature of canonical string (hex-encoded)
## Headers
- `Accept` *string* (required) — Content type of response
- `Content-Type` *string* (required) — Content type of request
## Request body
- `encrypted_data` *string* (required)
## Responses
- **200** — Success
- **404** — Template not found
## Request samples
### cURL
```bash
curl -X POST 'https://v4-api.orangescrum.com/api/v1/partner/checklists/templates/delete' \
-H 'Accept: application/json' \
-H 'Content-Type: application/json' \
-H 'X-API-KEY: pk_your_api_key' \
-H 'X-TIMESTAMP: '"$(date +%s)" \
-H 'X-NONCE: '"$(openssl rand -hex 8)" \
-H 'X-SIGNATURE: ' \
-d '{"encrypted_data":""}'
```
### Python
```python
# call() is defined on the Authentication page.
from orangescrum import call
response = call(
"/api/v1/partner/checklists/templates/delete",
{},
)
print(response)
```
### JavaScript
```javascript
// call() is defined on the Authentication page.
import { call } from './orangescrum.js';
const response = await call('/api/v1/partner/checklists/templates/delete', {});
console.log(response);
```
### PHP
```php
Removes only this work item group instance and its items.
> For the complete documentation index, see [llms.txt](https://helpdesk.orangescrum.com/llms.txt).
Source: https://helpdesk.orangescrum.com/guide/api/endpoints/checklist/work-items-checklist-groups-delete
---
`POST /api/v1/partner/work-items/checklist/groups/delete`
Removes only this work item group instance and its items. Payload: {work_item_group_id*}.
## Authorizations
- `X-API-KEY` *string* (required) — Developer API key (starts with pk_)
- `X-TIMESTAMP` *integer* (required) — Unix timestamp in seconds (must be within ±5 minutes of server time)
- `X-NONCE` *string* (required) — One-time random string (minimum 8 characters, prevents replay attacks)
- `X-SIGNATURE` *string* (required) — HMAC-SHA256 signature of canonical string (hex-encoded)
## Headers
- `Accept` *string* (required) — Content type of response
- `Content-Type` *string* (required) — Content type of request
## Request body
- `encrypted_data` *string* (required)
## Responses
- **200** — Success
- **403** — Not allowed to manage
- **404** — Group not found
## Request samples
### cURL
```bash
curl -X POST 'https://v4-api.orangescrum.com/api/v1/partner/work-items/checklist/groups/delete' \
-H 'Accept: application/json' \
-H 'Content-Type: application/json' \
-H 'X-API-KEY: pk_your_api_key' \
-H 'X-TIMESTAMP: '"$(date +%s)" \
-H 'X-NONCE: '"$(openssl rand -hex 8)" \
-H 'X-SIGNATURE: ' \
-d '{"encrypted_data":""}'
```
### Python
```python
# call() is defined on the Authentication page.
from orangescrum import call
response = call(
"/api/v1/partner/work-items/checklist/groups/delete",
{},
)
print(response)
```
### JavaScript
```javascript
// call() is defined on the Authentication page.
import { call } from './orangescrum.js';
const response = await call('/api/v1/partner/work-items/checklist/groups/delete', {});
console.log(response);
```
### PHP
```php
Lists the company catalogue groups.
> For the complete documentation index, see [llms.txt](https://helpdesk.orangescrum.com/llms.txt).
Source: https://helpdesk.orangescrum.com/guide/api/endpoints/checklist/checklists-groups-list
---
`POST /api/v1/partner/checklists/groups/list`
Lists the company catalogue groups. Payload: optional {active_only:boolean}.
## Authorizations
- `X-API-KEY` *string* (required) — Developer API key (starts with pk_)
- `X-TIMESTAMP` *integer* (required) — Unix timestamp in seconds (must be within ±5 minutes of server time)
- `X-NONCE` *string* (required) — One-time random string (minimum 8 characters, prevents replay attacks)
- `X-SIGNATURE` *string* (required) — HMAC-SHA256 signature of canonical string (hex-encoded)
## Headers
- `Accept` *string* (required) — Content type of response
- `Content-Type` *string* (required) — Content type of request
## Request body
- `encrypted_data` *string* (required)
## Responses
- **200** — Success
- **401** — Unauthorized
## Request samples
### cURL
```bash
curl -X POST 'https://v4-api.orangescrum.com/api/v1/partner/checklists/groups/list' \
-H 'Accept: application/json' \
-H 'Content-Type: application/json' \
-H 'X-API-KEY: pk_your_api_key' \
-H 'X-TIMESTAMP: '"$(date +%s)" \
-H 'X-NONCE: '"$(openssl rand -hex 8)" \
-H 'X-SIGNATURE: ' \
-d '{"encrypted_data":""}'
```
### Python
```python
# call() is defined on the Authentication page.
from orangescrum import call
response = call(
"/api/v1/partner/checklists/groups/list",
{},
)
print(response)
```
### JavaScript
```javascript
// call() is defined on the Authentication page.
import { call } from './orangescrum.js';
const response = await call('/api/v1/partner/checklists/groups/list', {});
console.log(response);
```
### PHP
```php
Lists templates with nested items.
> For the complete documentation index, see [llms.txt](https://helpdesk.orangescrum.com/llms.txt).
Source: https://helpdesk.orangescrum.com/guide/api/endpoints/checklist/checklists-templates-list
---
`POST /api/v1/partner/checklists/templates/list`
Lists templates with nested items.
## Authorizations
- `X-API-KEY` *string* (required) — Developer API key (starts with pk_)
- `X-TIMESTAMP` *integer* (required) — Unix timestamp in seconds (must be within ±5 minutes of server time)
- `X-NONCE` *string* (required) — One-time random string (minimum 8 characters, prevents replay attacks)
- `X-SIGNATURE` *string* (required) — HMAC-SHA256 signature of canonical string (hex-encoded)
## Headers
- `Accept` *string* (required) — Content type of response
- `Content-Type` *string* (required) — Content type of request
## Request body
- `encrypted_data` *string* (required)
## Responses
- **200** — Success
- **401** — Unauthorized
## Request samples
### cURL
```bash
curl -X POST 'https://v4-api.orangescrum.com/api/v1/partner/checklists/templates/list' \
-H 'Accept: application/json' \
-H 'Content-Type: application/json' \
-H 'X-API-KEY: pk_your_api_key' \
-H 'X-TIMESTAMP: '"$(date +%s)" \
-H 'X-NONCE: '"$(openssl rand -hex 8)" \
-H 'X-SIGNATURE: ' \
-d '{"encrypted_data":""}'
```
### Python
```python
# call() is defined on the Authentication page.
from orangescrum import call
response = call(
"/api/v1/partner/checklists/templates/list",
{},
)
print(response)
```
### JavaScript
```javascript
// call() is defined on the Authentication page.
import { call } from './orangescrum.js';
const response = await call('/api/v1/partner/checklists/templates/list', {});
console.log(response);
```
### PHP
```php
Returns groups + nested items + completionstatus.
> For the complete documentation index, see [llms.txt](https://helpdesk.orangescrum.com/llms.txt).
Source: https://helpdesk.orangescrum.com/guide/api/endpoints/checklist/work-items-checklist-detail
---
`POST /api/v1/partner/work-items/checklist/detail`
Returns groups + nested items + completion_status. Payload: {work_item_type*, work_item_id*}.
## Authorizations
- `X-API-KEY` *string* (required) — Developer API key (starts with pk_)
- `X-TIMESTAMP` *integer* (required) — Unix timestamp in seconds (must be within ±5 minutes of server time)
- `X-NONCE` *string* (required) — One-time random string (minimum 8 characters, prevents replay attacks)
- `X-SIGNATURE` *string* (required) — HMAC-SHA256 signature of canonical string (hex-encoded)
## Headers
- `Accept` *string* (required) — Content type of response
- `Content-Type` *string* (required) — Content type of request
## Request body
- `encrypted_data` *string* (required)
## Responses
- **200** — Success
- **404** — Work item not found in this company
## Request samples
### cURL
```bash
curl -X POST 'https://v4-api.orangescrum.com/api/v1/partner/work-items/checklist/detail' \
-H 'Accept: application/json' \
-H 'Content-Type: application/json' \
-H 'X-API-KEY: pk_your_api_key' \
-H 'X-TIMESTAMP: '"$(date +%s)" \
-H 'X-NONCE: '"$(openssl rand -hex 8)" \
-H 'X-SIGNATURE: ' \
-d '{"encrypted_data":""}'
```
### Python
```python
# call() is defined on the Authentication page.
from orangescrum import call
response = call(
"/api/v1/partner/work-items/checklist/detail",
{},
)
print(response)
```
### JavaScript
```javascript
// call() is defined on the Authentication page.
import { call } from './orangescrum.js';
const response = await call('/api/v1/partner/work-items/checklist/detail', {});
console.log(response);
```
### PHP
```php
Returns framework settings (enabled, bypass flags, allowcustomgroups, allowsystemgrouprename) + the required-groups matrix.
> For the complete documentation index, see [llms.txt](https://helpdesk.orangescrum.com/llms.txt).
Source: https://helpdesk.orangescrum.com/guide/api/endpoints/checklist/checklists-config
---
`POST /api/v1/partner/checklists/config`
Returns framework settings (enabled, bypass flags, allow_custom_groups, allow_system_group_rename) + the required-groups matrix. Payload: optional {work_item_type}.
## Authorizations
- `X-API-KEY` *string* (required) — Developer API key (starts with pk_)
- `X-TIMESTAMP` *integer* (required) — Unix timestamp in seconds (must be within ±5 minutes of server time)
- `X-NONCE` *string* (required) — One-time random string (minimum 8 characters, prevents replay attacks)
- `X-SIGNATURE` *string* (required) — HMAC-SHA256 signature of canonical string (hex-encoded)
## Headers
- `Accept` *string* (required) — Content type of response
- `Content-Type` *string* (required) — Content type of request
## Request body
- `encrypted_data` *string* (required) — Base64 AES-encrypted JSON payload
## Responses
- **200** — Success
- **400** — Validation error
- **401** — Unauthorized
## Request samples
### cURL
```bash
curl -X POST 'https://v4-api.orangescrum.com/api/v1/partner/checklists/config' \
-H 'Accept: application/json' \
-H 'Content-Type: application/json' \
-H 'X-API-KEY: pk_your_api_key' \
-H 'X-TIMESTAMP: '"$(date +%s)" \
-H 'X-NONCE: '"$(openssl rand -hex 8)" \
-H 'X-SIGNATURE: ' \
-d '{"encrypted_data":""}'
```
### Python
```python
# call() is defined on the Authentication page.
from orangescrum import call
response = call(
"/api/v1/partner/checklists/config",
{},
)
print(response)
```
### JavaScript
```javascript
// call() is defined on the Authentication page.
import { call } from './orangescrum.js';
const response = await call('/api/v1/partner/checklists/config', {});
console.log(response);
```
### PHP
```php
Writes workitemchecklistgroups.name only; system groups need allowsystemgrouprename (else 403).
> For the complete documentation index, see [llms.txt](https://helpdesk.orangescrum.com/llms.txt).
Source: https://helpdesk.orangescrum.com/guide/api/endpoints/checklist/work-items-checklist-groups-rename
---
`POST /api/v1/partner/work-items/checklist/groups/rename`
Writes work_item_checklist_groups.name only; system groups need allow_system_group_rename (else 403). Payload: {work_item_group_id*, name*}.
## Authorizations
- `X-API-KEY` *string* (required) — Developer API key (starts with pk_)
- `X-TIMESTAMP` *integer* (required) — Unix timestamp in seconds (must be within ±5 minutes of server time)
- `X-NONCE` *string* (required) — One-time random string (minimum 8 characters, prevents replay attacks)
- `X-SIGNATURE` *string* (required) — HMAC-SHA256 signature of canonical string (hex-encoded)
## Headers
- `Accept` *string* (required) — Content type of response
- `Content-Type` *string* (required) — Content type of request
## Request body
- `encrypted_data` *string* (required)
## Responses
- **200** — Success
- **403** — System rename blocked / not allowed
- **404** — Group not found
## Request samples
### cURL
```bash
curl -X POST 'https://v4-api.orangescrum.com/api/v1/partner/work-items/checklist/groups/rename' \
-H 'Accept: application/json' \
-H 'Content-Type: application/json' \
-H 'X-API-KEY: pk_your_api_key' \
-H 'X-TIMESTAMP: '"$(date +%s)" \
-H 'X-NONCE: '"$(openssl rand -hex 8)" \
-H 'X-SIGNATURE: ' \
-d '{"encrypted_data":""}'
```
### Python
```python
# call() is defined on the Authentication page.
from orangescrum import call
response = call(
"/api/v1/partner/work-items/checklist/groups/rename",
{},
)
print(response)
```
### JavaScript
```javascript
// call() is defined on the Authentication page.
import { call } from './orangescrum.js';
const response = await call('/api/v1/partner/work-items/checklist/groups/rename', {});
console.log(response);
```
### PHP
```php
Payload: {workitemtype, workitemid, groupids:[int]}.
> For the complete documentation index, see [llms.txt](https://helpdesk.orangescrum.com/llms.txt).
Source: https://helpdesk.orangescrum.com/guide/api/endpoints/checklist/work-items-checklist-groups-reorder
---
`POST /api/v1/partner/work-items/checklist/groups/reorder`
Payload: {work_item_type*, work_item_id*, group_ids:[int]*}.
## Authorizations
- `X-API-KEY` *string* (required) — Developer API key (starts with pk_)
- `X-TIMESTAMP` *integer* (required) — Unix timestamp in seconds (must be within ±5 minutes of server time)
- `X-NONCE` *string* (required) — One-time random string (minimum 8 characters, prevents replay attacks)
- `X-SIGNATURE` *string* (required) — HMAC-SHA256 signature of canonical string (hex-encoded)
## Headers
- `Accept` *string* (required) — Content type of response
- `Content-Type` *string* (required) — Content type of request
## Request body
- `encrypted_data` *string* (required)
## Responses
- **200** — Success
- **403** — Not allowed to manage
- **404** — Work item not found
## Request samples
### cURL
```bash
curl -X POST 'https://v4-api.orangescrum.com/api/v1/partner/work-items/checklist/groups/reorder' \
-H 'Accept: application/json' \
-H 'Content-Type: application/json' \
-H 'X-API-KEY: pk_your_api_key' \
-H 'X-TIMESTAMP: '"$(date +%s)" \
-H 'X-NONCE: '"$(openssl rand -hex 8)" \
-H 'X-SIGNATURE: ' \
-d '{"encrypted_data":""}'
```
### Python
```python
# call() is defined on the Authentication page.
from orangescrum import call
response = call(
"/api/v1/partner/work-items/checklist/groups/reorder",
{},
)
print(response)
```
### JavaScript
```javascript
// call() is defined on the Authentication page.
import { call } from './orangescrum.js';
const response = await call('/api/v1/partner/work-items/checklist/groups/reorder', {});
console.log(response);
```
### PHP
```php
System groups cannot be renamed (403); only color/isactive change.
> For the complete documentation index, see [llms.txt](https://helpdesk.orangescrum.com/llms.txt).
Source: https://helpdesk.orangescrum.com/guide/api/endpoints/checklist/checklists-groups-update
---
`POST /api/v1/partner/checklists/groups/update`
System groups cannot be renamed (403); only color/is_active change. Payload: {group_id*, name?, color?, is_active?}.
## Authorizations
- `X-API-KEY` *string* (required) — Developer API key (starts with pk_)
- `X-TIMESTAMP` *integer* (required) — Unix timestamp in seconds (must be within ±5 minutes of server time)
- `X-NONCE` *string* (required) — One-time random string (minimum 8 characters, prevents replay attacks)
- `X-SIGNATURE` *string* (required) — HMAC-SHA256 signature of canonical string (hex-encoded)
## Headers
- `Accept` *string* (required) — Content type of response
- `Content-Type` *string* (required) — Content type of request
## Request body
- `encrypted_data` *string* (required)
## Responses
- **200** — Success
- **400** — Validation error
- **403** — System group rename blocked
- **404** — Group not found
## Request samples
### cURL
```bash
curl -X POST 'https://v4-api.orangescrum.com/api/v1/partner/checklists/groups/update' \
-H 'Accept: application/json' \
-H 'Content-Type: application/json' \
-H 'X-API-KEY: pk_your_api_key' \
-H 'X-TIMESTAMP: '"$(date +%s)" \
-H 'X-NONCE: '"$(openssl rand -hex 8)" \
-H 'X-SIGNATURE: ' \
-d '{"encrypted_data":""}'
```
### Python
```python
# call() is defined on the Authentication page.
from orangescrum import call
response = call(
"/api/v1/partner/checklists/groups/update",
{},
)
print(response)
```
### JavaScript
```javascript
// call() is defined on the Authentication page.
import { call } from './orangescrum.js';
const response = await call('/api/v1/partner/checklists/groups/update', {});
console.log(response);
```
### PHP
```php
Label only. Payload: {itemid, label}.
> For the complete documentation index, see [llms.txt](https://helpdesk.orangescrum.com/llms.txt).
Source: https://helpdesk.orangescrum.com/guide/api/endpoints/checklist/work-items-checklist-items-update
---
`POST /api/v1/partner/work-items/checklist/items/update`
Label only. Payload: {item_id*, label*}.
## Authorizations
- `X-API-KEY` *string* (required) — Developer API key (starts with pk_)
- `X-TIMESTAMP` *integer* (required) — Unix timestamp in seconds (must be within ±5 minutes of server time)
- `X-NONCE` *string* (required) — One-time random string (minimum 8 characters, prevents replay attacks)
- `X-SIGNATURE` *string* (required) — HMAC-SHA256 signature of canonical string (hex-encoded)
## Headers
- `Accept` *string* (required) — Content type of response
- `Content-Type` *string* (required) — Content type of request
## Request body
- `encrypted_data` *string* (required)
## Responses
- **200** — Success
- **403** — Not allowed to manage
- **404** — Item not found
## Request samples
### cURL
```bash
curl -X POST 'https://v4-api.orangescrum.com/api/v1/partner/work-items/checklist/items/update' \
-H 'Accept: application/json' \
-H 'Content-Type: application/json' \
-H 'X-API-KEY: pk_your_api_key' \
-H 'X-TIMESTAMP: '"$(date +%s)" \
-H 'X-NONCE: '"$(openssl rand -hex 8)" \
-H 'X-SIGNATURE: ' \
-d '{"encrypted_data":""}'
```
### Python
```python
# call() is defined on the Authentication page.
from orangescrum import call
response = call(
"/api/v1/partner/work-items/checklist/items/update",
{},
)
print(response)
```
### JavaScript
```javascript
// call() is defined on the Authentication page.
import { call } from './orangescrum.js';
const response = await call('/api/v1/partner/work-items/checklist/items/update', {});
console.log(response);
```
### PHP
```php
When items is supplied the item set is replaced.
> For the complete documentation index, see [llms.txt](https://helpdesk.orangescrum.com/llms.txt).
Source: https://helpdesk.orangescrum.com/guide/api/endpoints/checklist/checklists-templates-update
---
`POST /api/v1/partner/checklists/templates/update`
When items is supplied the item set is replaced. Payload: {template_id*, name?, checklist_group_id?, auto_attach?, is_active?, items?:[{label}]}.
## Authorizations
- `X-API-KEY` *string* (required) — Developer API key (starts with pk_)
- `X-TIMESTAMP` *integer* (required) — Unix timestamp in seconds (must be within ±5 minutes of server time)
- `X-NONCE` *string* (required) — One-time random string (minimum 8 characters, prevents replay attacks)
- `X-SIGNATURE` *string* (required) — HMAC-SHA256 signature of canonical string (hex-encoded)
## Headers
- `Accept` *string* (required) — Content type of response
- `Content-Type` *string* (required) — Content type of request
## Request body
- `encrypted_data` *string* (required)
## Responses
- **200** — Success
- **400** — Validation error
- **404** — Template not found
## Request samples
### cURL
```bash
curl -X POST 'https://v4-api.orangescrum.com/api/v1/partner/checklists/templates/update' \
-H 'Accept: application/json' \
-H 'Content-Type: application/json' \
-H 'X-API-KEY: pk_your_api_key' \
-H 'X-TIMESTAMP: '"$(date +%s)" \
-H 'X-NONCE: '"$(openssl rand -hex 8)" \
-H 'X-SIGNATURE: ' \
-d '{"encrypted_data":""}'
```
### Python
```python
# call() is defined on the Authentication page.
from orangescrum import call
response = call(
"/api/v1/partner/checklists/templates/update",
{},
)
print(response)
```
### JavaScript
```javascript
// call() is defined on the Authentication page.
import { call } from './orangescrum.js';
const response = await call('/api/v1/partner/checklists/templates/update', {});
console.log(response);
```
### PHP
```php
Connect Claude, Cursor, GitHub Copilot or the Codex CLI to Orangescrum and let your assistant read and change projects, tasks, timelogs and users.
> For the complete documentation index, see [llms.txt](https://helpdesk.orangescrum.com/llms.txt).
Source: https://helpdesk.orangescrum.com/guide/mcp/introduction
---
The Developer API doubles as a **Model Context Protocol** server. Point any
MCP-compatible client at it and your assistant gains a set of Orangescrum tools —
it can list your projects, open a task, log time or file an update on your
behalf, using the same partner API key you already use for REST.
## Endpoint
```
POST https://v4-api.orangescrum.com/mcp/partner
```
The server speaks **JSON-RPC 2.0**. Authenticate with your partner key in the
`X-API-KEY` header. Every active partner key works as an MCP token — there is no
separate provisioning step.
> **Two protocols, one key**
>
> This is the same credential as the REST API, and it draws on the same
> [rate limits](https://helpdesk.orangescrum.com/guide/api/rate-limits): 120 requests per minute, 5,000 per day.
> Give a busy assistant its own key so it cannot starve your integrations.
## What your assistant gets
- [15 tools](https://helpdesk.orangescrum.com/guide/mcp/tools): CRUD plus search across projects, tasks, timelogs and users.
- [2 prompts](https://helpdesk.orangescrum.com/guide/mcp/prompts): `daily_standup` and `overdue_report`, surfaced as slash commands.
## Supported clients
| Client | Transport | Config file |
| --- | --- | --- |
| Claude Desktop | STDIO bridge via `mcp-remote` | `claude_desktop_config.json` |
| Cursor | Remote HTTP | `~/.cursor/mcp.json` |
| VS Code + GitHub Copilot | Remote HTTP | `.vscode/mcp.json` |
| OpenAI Codex CLI | Remote HTTP | `~/.codex/config.toml` |
Full snippets for each are on the [Client setup](https://helpdesk.orangescrum.com/guide/mcp/clients) page.
> **OAuth clients are not supported yet**
>
> Browser-based MCP clients that require an OAuth handshake — such as custom
> connectors on claude.ai — cannot connect. The server authenticates with
> `X-API-KEY` only, which covers every desktop and CLI client above.
## Is this safe to point at production?
Worth deciding deliberately before you connect it:
- The tools include **writes**. An assistant can create and update real tasks,
projects and timelogs — not just read them.
- The key's **scopes** are the boundary. A read-only key gives you a research
assistant with no ability to change anything; that is the right starting point.
- Every call lands in the **audit trail** with its status code and response time,
so you can see exactly what the assistant did.
> **Tip**
>
> Start with a read-only key against a non-critical workspace, watch the audit
> log for a few days, then widen scope once you trust the workflows.
## Next steps
- [Quickstart](https://helpdesk.orangescrum.com/guide/mcp/quickstart): Verify your key and connect a client in about five minutes.
- [Client setup](https://helpdesk.orangescrum.com/guide/mcp/clients): Config snippets for Claude, Cursor, Copilot and Codex.
# Quickstart
> Verify your key, connect a client, and make your first assistant-driven Orangescrum call.
> For the complete documentation index, see [llms.txt](https://helpdesk.orangescrum.com/llms.txt).
Source: https://helpdesk.orangescrum.com/guide/mcp/quickstart
---
About five minutes, assuming you already have a partner API key.
**Verify the server sees your key**
Run this from the machine that will host your AI client. A successful
response lists all 15 tool names.
```bash
curl -sS -X POST https://v4-api.orangescrum.com/mcp/partner \
-H 'Content-Type: application/json' \
-H 'X-API-KEY: YOUR_KEY' \
-d '{"jsonrpc":"2.0","method":"tools/list","id":1}'
```
A `401` means the key is wrong, missing or expired. Nothing else will work
until this call succeeds, so fix it here rather than in a client config.
**Add the server to your client**
Drop the snippet for your client into its config file. Claude Desktop needs
Node.js installed, because it bridges to the remote server through
`npx mcp-remote`; the others speak remote MCP natively.
See [Client setup](https://helpdesk.orangescrum.com/guide/mcp/clients) for all four, or use the Claude
Desktop one below to get going:
```json
{
"mcpServers": {
"orangescrum": {
"command": "npx",
"args": [
"-y",
"mcp-remote@latest",
"https://v4-api.orangescrum.com/mcp/partner",
"--header",
"X-API-KEY:YOUR_KEY"
]
}
}
}
```
**Restart the assistant**
MCP configs are read at startup. Fully quit and relaunch — reloading the
window is not enough for most clients.
**Confirm the tools appeared**
Ask the assistant what Orangescrum tools it has. It should list tools for
projects, tasks, timelogs and users. If it says it has none, jump to
[Troubleshooting](https://helpdesk.orangescrum.com/guide/mcp/troubleshooting).
**Try a real request**
Start with a read so you can see the shape of the data before anything
writes:
> List my Orangescrum projects and tell me which ones have tasks due this week.
Then try a write once you are comfortable:
> Create a task in Website Redesign called "Audit meta descriptions", assign
> it to me, and set the due date to next Friday.
## Useful first prompts
- **Morning triage**: "What's overdue across my projects, grouped by assignee?"
- **Standup notes**: "Run the daily_standup prompt for the Website Redesign project."
- **Time reconstruction**: "Log 2 hours against OS-431 for yesterday with the note 'schema migration'."
- **Sprint sanity check**: "Which tasks in this sprint have no assignee or no estimate?"
> **Check writes before you trust them**
>
> Assistants can misread which project or task you meant, especially when names
> are similar. For the first few sessions, confirm each write in Orangescrum
> before moving on — and keep the key read-only until you have.
## Where next
- [Tools reference](https://helpdesk.orangescrum.com/guide/mcp/tools): What each of the 15 tools does and what it needs.
- [Troubleshooting](https://helpdesk.orangescrum.com/guide/mcp/troubleshooting): Tools not showing up, 401s, and Node.js issues.
# Client setup
> Configuration snippets for Claude Desktop, Cursor, VS Code with GitHub Copilot, and the OpenAI Codex CLI.
> For the complete documentation index, see [llms.txt](https://helpdesk.orangescrum.com/llms.txt).
Source: https://helpdesk.orangescrum.com/guide/mcp/clients
---
Drop the snippet for your client into the listed config file, restart the
assistant, and the Orangescrum tools appear automatically. Replace
`YOUR_KEY` with the partner API key issued to you from the admin portal.
> **These files hold a live credential**
>
> The key sits in plain text in every config below. Do not commit
> `.vscode/mcp.json` to a shared repository, and treat the file as you would a
> `.env`.
## Claude Desktop
**File:** `claude_desktop_config.json`
- Windows — `%APPDATA%\Claude\`
- macOS — `~/Library/Application Support/Claude/`
Claude Desktop speaks STDIO, not remote HTTP, so it spawns `npx mcp-remote` as a
bridge. **Node.js must be installed** and on the PATH.
```json
{
"mcpServers": {
"orangescrum": {
"command": "npx",
"args": [
"-y",
"mcp-remote@latest",
"https://v4-api.orangescrum.com/mcp/partner",
"--header",
"X-API-KEY:YOUR_KEY"
]
}
}
}
```
> **Note**
>
> Note the header format: `X-API-KEY:YOUR_KEY` with **no space** after the colon.
> A space makes `mcp-remote` treat it as two arguments and the server returns
> `401`.
## Cursor
**File:** `~/.cursor/mcp.json`
Cursor speaks remote MCP natively and forwards custom headers as-is, so no
bridge is needed.
```json
{
"mcpServers": {
"orangescrum": {
"url": "https://v4-api.orangescrum.com/mcp/partner",
"headers": {
"X-API-KEY": "YOUR_KEY"
}
}
}
}
```
## VS Code + GitHub Copilot
**File:** `.vscode/mcp.json` in your workspace, or the user-level equivalent.
Copilot Chat picks this up automatically in **agent mode** — the tools will not
appear in ask mode.
```json
{
"servers": {
"orangescrum": {
"type": "http",
"url": "https://v4-api.orangescrum.com/mcp/partner",
"headers": {
"X-API-KEY": "YOUR_KEY"
}
}
}
}
```
> **Tip**
>
> Add `.vscode/mcp.json` to your `.gitignore` before you paste a key into it.
## OpenAI Codex CLI
**File:** `~/.codex/config.toml`
Recent Codex releases support remote HTTP MCP servers with custom headers.
```toml
[mcp_servers.orangescrum]
url = "https://v4-api.orangescrum.com/mcp/partner"
[mcp_servers.orangescrum.headers]
X-API-KEY = "YOUR_KEY"
```
## Any other MCP client
The server is a standard JSON-RPC 2.0 MCP endpoint. Anything that can send a
`POST` with a custom header will work:
| Setting | Value |
| --- | --- |
| Transport | Remote HTTP |
| URL | `https://v4-api.orangescrum.com/mcp/partner` |
| Auth header | `X-API-KEY: YOUR_KEY` |
| Protocol | JSON-RPC 2.0 |
> **OAuth-only clients cannot connect**
>
> Browser-based clients that require an OAuth flow — including custom connectors
> on claude.ai — are not supported. The server authenticates by API key only.
## Verify the connection
Independent of any client, this proves the server accepts your key:
```bash
curl -sS -X POST https://v4-api.orangescrum.com/mcp/partner \
-H 'Content-Type: application/json' \
-H 'X-API-KEY: YOUR_KEY' \
-d '{"jsonrpc":"2.0","method":"tools/list","id":1}'
```
A successful response lists all 15 tool names. If this works but your client
still shows no tools, the problem is in the client config — see
[Troubleshooting](https://helpdesk.orangescrum.com/guide/mcp/troubleshooting).
# Tools
> What the MCP server exposes to your assistant — coverage across projects, tasks, timelogs and users.
> For the complete documentation index, see [llms.txt](https://helpdesk.orangescrum.com/llms.txt).
Source: https://helpdesk.orangescrum.com/guide/mcp/tools
---
The server advertises **15 tools**: create, read, update and search operations
across four domains.
> **Ask the server, not this page**
>
> Tool names are part of the server's contract and can change between
> deployments. The authoritative list for the endpoint you are pointed at always
> comes from `tools/list`:
> ```bash
> curl -sS -X POST https://v4-api.orangescrum.com/mcp/partner \
> -H 'Content-Type: application/json' \
> -H 'X-API-KEY: YOUR_KEY' \
> -d '{"jsonrpc":"2.0","method":"tools/list","id":1}'
> ```
> You can also just ask your assistant: *"what Orangescrum tools do you have?"*
## Coverage
| Domain | Read | Write | Search |
| --- | :---: | :---: | :---: |
| Projects | ✓ | ✓ | ✓ |
| Tasks | ✓ | ✓ | ✓ |
| Timelogs | ✓ | ✓ | ✓ |
| Users | ✓ | — | — |
### Projects
List projects, fetch a single project's detail, create a project, update one,
and search across them. Projects are addressed by UUID.
### Tasks
The same shape as projects — list, detail, create, update, search. Tasks carry
title, description, assignee, priority, status, estimate, start date and due
date.
### Timelogs
List, detail, create, update and search time entries. This is what makes
"log two hours against OS-431 for yesterday" work.
### Users
Read-only: list the workspace directory and fetch a single user. Your assistant
needs this to resolve a name like "Priya" into the numeric id that assignment
fields expect.
> **Users are read-only over MCP**
>
> There is no tool to invite, deactivate or change a user. Those stay in the
> admin UI deliberately — an assistant should not be able to alter who has
> access to your workspace.
## Scopes decide what actually works
The tool list your assistant sees is the server's full catalogue; whether a call
*succeeds* depends on your key's scopes. A read-only key still shows write tools,
but calling one returns `403`.
This is the main safety control:
- **Read-only key**: The assistant can answer questions about your workspace and nothing else. Start here.
- **Read-write key**: The assistant can create and change real records. Use once you trust the workflows.
## What these tools are good at
- **Cross-project questions**: "What's overdue across everything I own?" — tedious by hand, one call for an assistant.
- **Bulk tidying**: "Find sprint tasks with no estimate and list them" — search plus a filter.
- **Capture from context**: Turn a chat thread or a code review into tasks without leaving the editor.
- **Time reconstruction**: "Log yesterday's work from my commits" — reads git, writes timelogs.
## Limits worth knowing
- **No bulk endpoints.** Creating twenty tasks is twenty calls, and each counts
against the [rate limit](https://helpdesk.orangescrum.com/guide/api/rate-limits).
- **No idempotency key.** A retried create makes a second record. If a write
appears to fail, have the assistant search before retrying.
- **Not everything in the REST API is a tool.** The MCP surface covers the four
domains above; test cases, defects and checklists are
[REST endpoints](https://helpdesk.orangescrum.com/guide/api/introduction) only.
- [Prompts](https://helpdesk.orangescrum.com/guide/mcp/prompts): Two ready-made workflows exposed as slash commands.
# Prompts
> Two packaged workflows — daily_standup and overdue_report — that surface as slash commands in supported clients.
> For the complete documentation index, see [llms.txt](https://helpdesk.orangescrum.com/llms.txt).
Source: https://helpdesk.orangescrum.com/guide/mcp/prompts
---
Alongside its tools, the server publishes **2 prompts**. In clients that support
MCP prompts these appear as slash commands; elsewhere you can invoke them by
name.
| Prompt | What it does |
| --- | --- |
| `daily_standup` | Assembles a standup summary — what moved, what is in flight, what is blocked |
| `overdue_report` | Finds work past its due date and groups it so you can act on it |
## Using them
In a client with slash-command support, type `/` and pick the prompt:
```
/daily_standup
```
Otherwise ask for it directly:
> Run the daily_standup prompt for the Website Redesign project.
Both prompts call the same [tools](https://helpdesk.orangescrum.com/guide/mcp/tools) your assistant already has,
so they respect your key's scopes — a read-only key runs both fine, since
neither writes.
## daily_standup
Pulls recent task activity and turns it into the three questions a standup
actually answers: what got done, what is being worked on, what is stuck.
Useful variations once the prompt has run:
- **Narrow it**: "Same thing, but only for the mobile team."
- **Reshape it**: "Rewrite that as bullet points I can paste into Slack."
- **Chase the blockers**: "For each blocked item, who is it waiting on?"
- **Compare**: "How does this compare with yesterday?"
## overdue_report
Finds everything past its due date. The follow-up is usually where the value is:
> Group those by assignee and tell me who has the worst backlog.
> For anything overdue by more than two weeks, draft a comment asking for a new
> estimate.
> **Drafting is not sending**
>
> Ask for drafts, review them, then approve. An assistant that decides on its own
> to comment on thirty tasks will do exactly that.
## Writing your own
Prompts are convenience wrappers, not a limit — anything you can describe, the
assistant can do with the underlying tools. Some that work well:
**Sprint hygiene check**
"List tasks in the current sprint that have no assignee, no estimate, or no
due date. Present as a table."
**Estimate versus actual**
"For tasks closed in the last two weeks, compare estimated hours against
logged time and flag anything more than 50% over."
**Handover note**
"I'm away next week. Summarise my open tasks with current status and what
the next action is for each."
**Backlog grooming**
"Find tasks not updated in 60 days, and suggest which to close."
> **Tip**
>
> Save the ones you repeat as your client's own custom commands or project
> rules — that gets you the same convenience as the built-in prompts without
> waiting for the server to ship one.
# Troubleshooting
> Tools not appearing, 401s, Node.js problems and rate limits — the things that actually go wrong.
> For the complete documentation index, see [llms.txt](https://helpdesk.orangescrum.com/llms.txt).
Source: https://helpdesk.orangescrum.com/guide/mcp/troubleshooting
---
Work top-down: prove the server accepts your key first, then look at the client.
## Step 1 — does the server accept your key?
Run this on the same machine as the client:
```bash
curl -sS -X POST https://v4-api.orangescrum.com/mcp/partner \
-H 'Content-Type: application/json' \
-H 'X-API-KEY: YOUR_KEY' \
-d '{"jsonrpc":"2.0","method":"tools/list","id":1}'
```
| Result | Meaning | Next |
| --- | --- | --- |
| A list of 15 tools | Server and key are fine | The problem is client-side — step 2 |
| `401` | Key wrong, missing, expired or revoked | Check it in the admin portal |
| `429` | Rate limited | Wait for `Retry-After`; see below |
| Connection error | Network or proxy | Check egress to `v4-api.orangescrum.com:443` |
## Step 2 — client problems
**No Orangescrum tools appear at all**
In order of likelihood:
1. **The client was not fully restarted.** MCP configs load at startup.
Quit completely — reloading the window is not enough.
2. **The config file is in the wrong place.** Paths differ per OS; check them
on [Client setup](https://helpdesk.orangescrum.com/guide/mcp/clients).
3. **The JSON is malformed.** A trailing comma silently disables the whole
file in most clients. Paste it into a JSON validator.
4. **Wrong config key.** Claude and Cursor use `mcpServers`; VS Code uses
`servers`. They are not interchangeable.
5. **Copilot is in ask mode.** MCP tools only appear in **agent mode**.
**401 from the client, but curl works**
Almost always the header formatting in the Claude Desktop bridge. It must be
```
"X-API-KEY:YOUR_KEY"
```
as a single argument with **no space** after the colon. With a space,
`mcp-remote` splits it into two arguments and never sends the header.
**Claude Desktop: spawn npx ENOENT**
Node.js is either not installed or not on the PATH that Claude Desktop
inherits. Verify with `node -v` and `npx -v` in a terminal. On macOS, GUI
apps do not read your shell profile — installing Node via the official
installer rather than a version manager avoids this. On Windows, reinstall
Node with "Add to PATH" enabled and reboot.
**Tools appear but every call returns 403**
The key authenticated but its scopes do not cover that operation. A
read-only key shows write tools and rejects them at call time. Ask your
account manager to widen the scope, or use a key that already has it.
**Calls fail after working for a while**
You have hit the rate limit — 120 requests per minute or 5,000 per day,
shared with your REST traffic. An assistant doing bulk work burns through
this quickly, since there are no batch tools. Give it a dedicated key.
**The assistant edits the wrong project or task**
Names that look similar to a human look identical to a fuzzy search. Give it
the UUID when precision matters, and keep the key read-only until you trust
the workflow. The audit trail records everything it did.
**A write appears to have failed — should I retry?**
Search first. There is no idempotency key, so a retried create that actually
succeeded produces a duplicate record.
## Reading the audit trail
Every MCP request is logged with its status code and response time — the same
trail as the REST API. When behaviour is confusing, that log is authoritative
about what the assistant actually called, as opposed to what it says it called.
## Still stuck?
- [Check the REST path](https://helpdesk.orangescrum.com/guide/api/authentication): If REST also fails, the problem is the key, not MCP.
- [Contact support](mailto:support@orangescrum.com): Include the failing tool name, the status code and the approximate time.
# Attendance Module: Import, Export, Quick Actions & FAQs
> Import Attendance (Bulk Upload) Path: HRMS > Attendance > Import Attendance Steps: Upload a file in .xls, .xlsx, or .csv format. Ensure datetime format is YYYY-MM-DD HH:MM:SS. Map file fields with system fields during the upload process. Confirm and process the import. Check for and resolve any…
> For the complete documentation index, see [llms.txt](https://helpdesk.orangescrum.com/llms.txt).
Source: https://helpdesk.orangescrum.com/attendance-module-import-export-quick-actions-faqs-2
---
### Import Attendance (Bulk Upload)

- Path: HRMS > Attendance > Import Attendance
- Steps:
- Upload a file in .xls, .xlsx, or .csv format.
- Ensure datetime format is YYYY-MM-DD HH:MM:SS.
- Map file fields with system fields during the upload process.
- Confirm and process the import.
- Check for and resolve any import errors post-upload.
### Export Attendance
Export attendance data for reporting, audits, or payroll purposes.
Path: HRMS > Attendance > Export
- Downloads data in Excel (.xlsx) format.
- Includes key fields: Employee, Date, Clock In/Out, Status, Location, etc.
### Quick Actions – Attendance Module
ActionHow ToMark AttendanceGo to Mark Attendance, complete form, and click SaveImport AttendanceUpload via Import, map fields, and confirmView SummaryGo to Attendance Summary tabAttendance by MemberNavigate to Employee Profile > AttendanceAttendance by HourView detailed clock-in/out and total hoursAttendance by LocationFilter attendance based on work locationExport AttendanceGo to Attendance > Export to download records
### FAQ – Attendance Module
**Q: Can I mark attendance for multiple employees at once?**
A: Yes, select multiple employees while marking attendance manually.
**Q: What if I forget to mark attendance for a day?**
A: You can backdate and manually edit attendance entries.
**Q: Can employees access their own attendance records?**
A: Yes, under the “My Attendance” tab in their profiles.
**Q: What is the correct date/time format for importing attendance?**
A: Use YYYY-MM-DD HH:MM:SS (e.g., 2025-06-09 09:00:00).
# Project Templates: Setup and Usage Guide
> What is a Project Template? A Project Template is a predefined project structure that can be reused to quickly set up new projects with consistent elements. It typically includes preset tasks, descriptions, timelines, categories, and other relevant settings. Project templates help save time,…
> For the complete documentation index, see [llms.txt](https://helpdesk.orangescrum.com/llms.txt).
Source: https://helpdesk.orangescrum.com/project-templates-setup-and-usage-guide-2
---
### What is a Project Template?

A **Project Template** is a predefined project structure that can be reused to quickly set up new projects with consistent elements. It typically includes preset tasks, descriptions, timelines, categories, and other relevant settings. Project templates help save time, maintain standardization across projects, and reduce the chances of missing critical setup steps.
**Using templates** is especially useful when managing recurring or similar types of projects, such as onboarding processes, marketing campaigns, product development, or construction workflows.
### How to Add a Project Template
**To create a new project template:**
- **Go to:**
- **Work >** Project Templates
- **Click:**Add Template
**Fill in the following fields:**
- **Project Name**:Provide a clear and descriptive name for the template (e.g., “Client Onboarding – Standard”).
- **Project Category**:Choose or create a category to organize your templates (e.g., Marketing, Development, Internal Projects). This helps with sorting and filtering.
- **Project Summary:**Enter a brief overview of what this project template includes or is intended for.
- **Notes:**Add any important setup instructions, guidelines, or reference materials relevant to the template. This can include stakeholder info, task assignment rules, or specific tools to be used.
- **Save the Template:**Once created, this template will be available when adding a new project. You can select it during project creation to auto-fill the structure and details, which can then be customized if needed.
# Importing and Exporting Projects
> The Import Projects feature allows you to bulk upload multiple projects into the system quickly and efficiently. This is especially useful when migrating data from another system or setting up multiple projects at once. Steps to Import Projects: Prepare Your File:Create an Excel (.xls or .xlsx) or…
> For the complete documentation index, see [llms.txt](https://helpdesk.orangescrum.com/llms.txt).
Source: https://helpdesk.orangescrum.com/importing-and-exporting-projects-2
---
### 
The Import Projects feature allows you to bulk upload multiple projects into the system quickly and efficiently. This is especially useful when migrating data from another system or setting up multiple projects at once.
### Steps to Import Projects:
**Prepare Your File:**Create an Excel (.xls or .xlsx) or CSV (.csv) file with the necessary project details such as:
- Project Name
- Category
- Start and End Dates
- Project Owner
- Status, etc.
- Date Format:Ensure all date fields (e.g., start date, end date) are in the Y-m-d format (e.g., 2022-04-21) to avoid errors during import.
### Access the Import Feature
- Navigate to:
- Work > Projects > Import Projects
- Upload the File:Click Upload, select your file, and confirm the upload. The system will process the file and create the projects accordingly.
- Note: Double-check your file for missing or invalid data before uploading to ensure a smooth import.
### Export Projects:
The Export Projects feature enables you to download project data in Excel format.
This helps with:
- Offline analysis and reporting
- Sharing project details with stakeholders
- Maintaining backup records
#### How to Export Projects:
- ### Go to:
- Work > Projects
- Click:Export (typically located at the top-right or within the options menu)
- Download File:Choose the export format (usually Excel) and download the file to your system.
This functionality ensures your project data is always portable, report-ready, and easy to archive or share when needed.
# Project Table View Overview
> The Project Table View provides a structured, at-a-glance summary of all your active and archived projects. It allows users to quickly review key project details, monitor progress, and perform actions like edit or delete. Below is a breakdown of the columns in the Project Table View: Column…
> For the complete documentation index, see [llms.txt](https://helpdesk.orangescrum.com/llms.txt).
Source: https://helpdesk.orangescrum.com/project-table-view-overview-2
---

The Project Table View provides a structured, at-a-glance summary of all your active and archived projects. It allows users to quickly review key project details, monitor progress, and perform actions like edit or delete.
Below is a breakdown of the columns in the Project Table View:
### Column Description
ColumnDescriptionCodeA unique identifier or reference code for each project. This helps in easy tracking, filtering, and reporting.Project NameThe title of the project. Clicking on the name usually redirects to the detailed project view or dashboard.MembersDisplays the users or team members assigned to the project. This may include project managers, collaborators, or stakeholders.Start DateThe date when the project is scheduled to begin. It helps in planning and timeline tracking.DeadlineThe project’s due date or end date. Projects approaching or exceeding this date may be highlighted for follow-up.ClientThe name of the client or organization for whom the project is being executed. Useful for client-based filtering and reporting.StatusShows the current status of the project (e.g., Active, On Hold, Completed, Archived). Status indicators help in monitoring overall project health.ActionProvides quick access to actions such as Edit, View, Duplicate, or Delete a project. These options help manage the project directly from the table vie
### **Benefits of the Table View:**
- **Quick Overview:** Instantly see the most important project details without opening individual project pages.
- **Efficient Navigation:** Access project-specific actions from a centralized interface.
- **Improved Management:** Easily sort, filter, or search projects using headers like status, client, or deadline.
This layout is designed to streamline project tracking and facilitate efficient project management for teams of any size.
# Billing
> Feature Descriptions Plan Details-Shows the current subscription plan, expiry date, number of employees licensed versus used, and storage usage. Purchase History-Records of all payments made, including package purchased, dates, transaction IDs, amount paid, and payment gateway used. Offline…
> For the complete documentation index, see [llms.txt](https://helpdesk.orangescrum.com/llms.txt).
Source: https://helpdesk.orangescrum.com/billing
---
### Feature Descriptions
**Plan Details**\-Shows the current subscription plan, expiry date, number of employees licensed versus used, and storage usage.
**Purchase History**\-Records of all payments made, including package purchased, dates, transaction IDs, amount paid, and payment gateway used.
**Offline Requests**\-Tracks requests for offline payments or manual package purchases including who made the request, creation date, status, and administrative actions.
***Eample***
### Plan Details
FieldDescriptionCurrent PlanDemo Annual PlanLicence Expires On06-07-2026 (1 year from now)Employees9 / 20 (Used / Allowed)Storage12.34 MB / 0 MB (Used / Allowed)
### Purchase History
PackagePayment DateNext Payment DateTransaction IdAmountPayment GatewayActionExample Package01-01-202501-01-2026TXN123456789$199.00PayPal[View/Delete]
### Offline Requests
PackagePayment ByCreatedStatusActionExample PackageJohn Doe15-05-2025Pending/Approved[View/Edit/Delete]
# Zoom Settings
> Feature Descriptions Account Id, Client Id, Client Secret, Meeting Client Id, Meeting Client Secret, Secret Token Credentials required to authenticate and integrate your system with Zoom APIs securely. Open in Zoom Client App? Toggle to decide whether meetings launch directly in the Zoom…
> For the complete documentation index, see [llms.txt](https://helpdesk.orangescrum.com/llms.txt).
Source: https://helpdesk.orangescrum.com/zoom-settings
---
### Feature Descriptions
Account Id, Client Id, Client Secret, Meeting Client Id, Meeting Client Secret, Secret Token
Credentials required to authenticate and integrate your system with Zoom APIs securely.
**Open in Zoom Client App?**
Toggle to decide whether meetings launch directly in the Zoom desktop/mobile client or in a web browser.
**Email Notification Settings**
Configure how and when email notifications related to Zoom meetings are sent to users.
**Webhook URL**
URL endpoint to receive real-time updates from Zoom about meeting events and status changes.
**Slack Notification Settings**
Setup Slack integration to post meeting notifications and updates within Slack channels.
***Example***
Enable seamless video conferencing with:
### Zoom Credentials Configuration
SettingValue / Input FieldAccount Id *[Input field]Client Id *[Input field]Client Secret *[Input field]Meeting Client Id *[Input field]Meeting Client Secret *[Input field]Secret Token *[Input field]
### Client App Launch Options
SettingOptionOpen in Zoom Client App?Yes / No toggle
### Notification Settings
Notification TypeSetting/OptionEmail Notification Settings[Configure Email Notifications]Webhook URL[Input field]Slack Notification Settings[Configure Slack Notifications]
# Performance Settings
> Feature Descriptions Goal Types– Defines the scope of performance goals — whether for an individual, a department, or the entire company. Each type can have distinct visibility and management rights. Key Metrics– These are measurable values used to track progress toward goals, such as percentage…
> For the complete documentation index, see [llms.txt](https://helpdesk.orangescrum.com/llms.txt).
Source: https://helpdesk.orangescrum.com/performance-settings
---
### Feature Descriptions
**Goal Types**– Defines the scope of performance goals — whether for an individual, a department, or the entire company. Each type can have distinct visibility and management rights.
**Key Metrics**– These are measurable values used to track progress toward goals, such as percentage completion, revenue targets, or units sold.
**Notification Preferences**\-Configure whether owners of goals or objectives receive alerts about new or updated items to stay informed.
**1:1 Meeting Roles and Visibility**– Specify which roles can view or manage one-on-one meetings, ensuring privacy and proper access control.
**Meeting Permissions**– Determine which user roles are authorized to create/manage meetings and who can view meeting details, keeping meetings aligned with organizational policies.
***Example***
Track progress and align teams with strategic goals
### Goal Types Access Control
Goal TypeCan Be Viewed ByCan Be Managed ByActionIndividualOwnerOwnerEditDepartmentOwnerOwnerEditCompanyOwnerOwnerEdit
### Key Metrics Management
TypeActionPercentageEditRevenueEditUnitsEdit
### Notification Settings
When enabled, owners will receive notifications when an objective is created.
SettingOptions/DescriptionWho can create or manage meetingsChoose roles: Employee, Admin, Manager, etc.Who can view meetingsChoose roles: Employee, Admin, Manager, etc.
# Custom Link Settings
> Custom Link Settings – Feature Link Title-This is the name or label of the custom link. It should clearly describe the purpose or destination of the link so users know what to expect before clicking. URL-The web address that the link points to. It must be a valid URL starting with http:// or…
> For the complete documentation index, see [llms.txt](https://helpdesk.orangescrum.com/llms.txt).
Source: https://helpdesk.orangescrum.com/custom-link-settings-2
---
### Custom Link Settings – Feature
**Link Title**\-This is the name or label of the custom link. It should clearly describe the purpose or destination of the link so users know what to expect before clicking.
**URL**\-The web address that the link points to. It must be a valid URL starting with http:// or https://. This is where users will be directed when they click the link.
**Can Be Viewed By**\-This setting controls which user groups, teams, or departments can see the link in their interface. For example, you might restrict visibility to only HR or Sales teams. This helps tailor access based on roles or organisational units.
**Status**\-Indicates whether the custom link is active or inactive. If Enabled, users in the selected groups can see and access the link. If Disabled, the link is hidden or inactive for all users regardless of group settings.
**Action**\-Options to Edit or Delete the custom link entry. This lets admins modify the link details or remove it from the system as needed.
Link Title URL Can Be Viewed By Status Action
Example Link https://… HR, Sales, Teams, etc. \[Enabled/Disabled\] \[Edit/Delete\]
### Add New Custom LinK
FieldDescriptionLink TitleEnter the name/title of the custom link.URLEnter the full URL (web address) for the link.Can Be Viewed BySelect one or more teams/departments like HR, Sales, Teams, etc. who can see this link.StatusToggle to Enable or Disable the visibility/access of this link.
# Google Calendar Settings
> Access Control Grant notification access to Google Calendar events for different user roles: Admin, Employee, and Client. Feature Admin Access Employee Access Client Access Enable/Disable Lead ✓ ✓ [Enable/Disable toggle] Leave ✓ ✓ [Enable/Disable toggle] Invoices ✓ [Enable/Disable toggle] Contracts…
> For the complete documentation index, see [llms.txt](https://helpdesk.orangescrum.com/llms.txt).
Source: https://helpdesk.orangescrum.com/google-calendar-settings-2
---
### Access Control
Grant notification access to Google Calendar events for different user roles: Admin, Employee, and Client.
FeatureAdmin AccessEmployee AccessClient AccessEnable/DisableLead✓✓[Enable/Disable toggle]Leave✓✓[Enable/Disable toggle]Invoices✓[Enable/Disable toggle]Contracts✓[Enable/Disable toggle]Task✓✓[Enable/Disable toggle]Event✓✓✓[Enable/Disable toggle]Holiday✓✓[Enable/Disable toggle]
### Feature Description
**Lead**\-Sync lead-related activities and reminders with Google Calendar for timely follow-ups.
**Leave**\-Sync approved leave dates and requests to Google Calendar for visibility.
**Invoices**\-Schedule invoice due dates and payment reminders on Google Calendar.
**Contracts**\-Track contract start, expiry, and renewal dates through calendar notifications.
**Task**\-Display task deadlines and reminders synced with Google Calendar.
**Event**\-Manage company events, meetings, and deadlines with calendar integration and alerts.
**Holiday**\-Sync company holidays to Google Calendar to aid scheduling and planning.
**Google Calendar Sync**\-Master switch to enable or disable syncing of all calendar-related notifications and events with Google Calendar.
# Module Settings
> Feature Description Projects-Manage and track projects, timelines, team assignments, and milestones. Essential for collaboration and delivery. Tickets-Handle support requests or internal issues through a structured ticketing system. Useful for service desks and client support. Invoices-Create,…
> For the complete documentation index, see [llms.txt](https://helpdesk.orangescrum.com/llms.txt).
Source: https://helpdesk.orangescrum.com/module-settings-work
---
### Feature Description
**Projects**\-Manage and track projects, timelines, team assignments, and milestones. Essential for collaboration and delivery.
**Tickets-**Handle support requests or internal issues through a structured ticketing system. Useful for service desks and client support.
**Invoices**\-Create, send, and manage invoices for clients. Tracks payment status and due dates.
**Estimates-**Generate and share cost estimates or quotes with clients before invoicing. Helps set project expectations.
**Events**\-Schedule meetings, deadlines, or company-wide events. Can sync with calendars and send reminders.
**Messages-**Internal communication system for sending direct or group messages within the platform.
**Tasks**\-Assign and track tasks tied to projects or departments. Includes due dates, status, and priorities.
**Time Logs**\-Log hours spent on tasks/projects for time tracking, payroll, or billing purposes.
**Contracts**\-Store, manage, and track client or vendor contracts including signing status and expiration dates.
**Notices**\-Broadcast announcements or important updates to teams or departments. Replaces email blasts for internal use.
**Payments**\-Record and track payments made by clients, including linking to invoices or orders.
**Orders**\-Manage product or service orders, track fulfillment, and maintain order history.
**Knowledge Base-**Centralized library of help articles, SOPs, FAQs, and documentation for internal or client use.
**Clients**\-Access to client profiles, contact details, history, and associated projects or invoices.
**Employees-**Manage employee records, profiles, roles, departments, and onboarding information.
**Attendance**\-Track clock-ins, clock-outs, and working hours of employees. May include leave or break logging.
**Expenses**\-Submit and track business expenses, approvals, and reimbursements. Useful for budgeting.
**Leaves-**Submit, approve, and manage employee leave requests (vacation, sick days, etc.).
**Leads-**Manage potential clients or sales opportunities, track stages, and assign to agents.
**Holidays**\-Maintain a calendar of company holidays for scheduling and HR purposes
**Products**\-Manage product listings, SKUs, inventory, pricing, and categorization.
**Reports**\-Generate analytics and reports across modules (finance, HR, sales, etc.) for insights and decision-making.
**Bank Account-**Manage company bank details and view transactions linked to payroll, invoices, or expenses.
**Payroll-**Calculate salaries, generate payslips, and manage salary payments and records.
**Purchase**\-Track company purchases, vendor orders, and related documentation. Useful for procurement.
**Assets-**Manage inventory of company-owned assets like laptops, phones, and furniture.
**Recruit-**Handle recruitment processes including job postings, applicant tracking, and hiring workflows.
### Access Control
Grant access to specific modules for different user roles: Admin, Employee, and Client.
***Example***
FeatureAdmin AccessEmployee AccessClient AccessEnable/DisableProjects✓✓✓[Enable/Disable toggle]Tickets✓✓✓[Enable/Disable toggle]Invoices✓✓[Enable/Disable toggle]Estimates✓✓[Enable/Disable toggle]Events✓✓✓[Enable/Disable toggle]Messages✓✓✓[Enable/Disable toggle]Tasks✓✓[Enable/Disable toggle]Time Logs✓✓[Enable/Disable toggle]Contracts✓✓[Enable/Disable toggle]Notices✓✓✓[Enable/Disable toggle]Payments✓[Enable/Disable toggle]Orders✓[Enable/Disable toggle]Knowledge Base✓✓✓[Enable/Disable toggle]Clients✓[Enable/Disable toggle]Employees✓[Enable/Disable toggle]Attendance✓✓[Enable/Disable toggle]Expenses✓✓[Enable/Disable toggle]Leaves✓✓[Enable/Disable toggle]Leads✓✓[Enable/Disable toggle]Holidays✓✓[Enable/Disable toggle]Products✓✓[Enable/Disable toggle]Reports✓✓[Enable/Disable toggle]Bank Account✓[Enable/Disable toggle]Payroll✓[Enable/Disable toggle]Purchase✓[Enable/Disable toggle]Assets✓[Enable/Disable toggle]
# Theme Settings
> General App Name Enter the name of your application Select Branding Style Choose a predefined or custom branding style Upload Assets: Dark Mode Logo Light Mode Logo Favicon Image Note: Theme color settings will not apply when Dark Mode is active Admin Panel Theme Primary Color-Select the primary…
> For the complete documentation index, see [llms.txt](https://helpdesk.orangescrum.com/llms.txt).
Source: https://helpdesk.orangescrum.com/theme-settings-work
---
### General
**App Name**
- Enter the name of your application
- Select Branding Style
- Choose a predefined or custom branding style
**Upload Assets:**
- Dark Mode Logo
- Light Mode Logo
- Favicon Image
Note: Theme color settings will not apply when Dark Mode is active
**Admin Panel Theme**
- **Primary Color**\-Select the primary brand color for the Admin Panel
- **Sidebar Theme**\-Choose sidebar style or color palette
**Employee Panel Theme**
- **Primary Color**\-Define the main color for the Employee Panel interface
- **Sidebar Theme-**Select styling for the Employee Panel sidebar
**Client Panel Theme**
- **Primary Color**\-Set the key color for the Client Panel design
- **Sidebar Theme**\-Pick a sidebar appearance for the Client Panel
# Security Settings
> Security Settings Increase Your Account’s Security Enable Two-Factor Authentication (2FA) to add an extra layer of protection to your account. Setup Options: Using Email: A login code will be sent to your email address: admin@example.com. Using Google Authenticator: Use the Google Authenticator app…
> For the complete documentation index, see [llms.txt](https://helpdesk.orangescrum.com/llms.txt).
Source: https://helpdesk.orangescrum.com/security-settings-2
---
### Security Settings
Increase Your Account’s Security
Enable **Two-Factor Authentication** (2FA) to add an extra layer of protection to your account.
Setup Options:
**Using Email:**
A login code will be sent to your email address: admin@example.com.
Using Google Authenticator:
Use the Google Authenticator app to generate verification codes — even when your phone is offline.(Available for Android and iPhone)
#### Lead Source\\What is a Lead Source?
A Lead Source identifies where your leads come from, allowing you to track and evaluate the performance of different channels.
***Example***
**Lead Source List**
NameActionSales PipelineDefaultCRM PipelineDefaultPipeline SaleDefaultTraderDefault
**Deal Agent**
NameCategoryStatusAction[Agent Name][Category][Active/Inactive]Edit / Delete
Category NameAction[Category 1]Edit / Delete[Category 2]Edit / Delete
**Round Robin Method**
**What is Round Robin?**
Round Robin is a lead or task assignment strategy that ensures fair and equal distribution among team members.
### Key Features:
**Equal Distribution:** Tasks are split evenly across agents.
**Sequential Assignment:** New leads are assigned one-by-one in order.
**Fair Rotation:** Prevents overload by cycling through agents.
Example:
If you have three agents — Agent A, Agent B, and Agent C — assignments follow this pattern:
1st Lead → Agent A
2nd Lead → Agent B
3rd Lead → Agent C
4th Lead → Agent A
(and so on…)
This method ensures balanced workloads and efficient task management.
# Time Log Settings
> What is Time Log Settings? Time Log Settings allow you to manage how time tracking functions within the CRM. These settings ensure accurate time entries, improve time management, and enforce organisational policies around work hours and approvals. Available Settings Setting Description Stop timer…
> For the complete documentation index, see [llms.txt](https://helpdesk.orangescrum.com/llms.txt).
Source: https://helpdesk.orangescrum.com/time-log-settings-2
---
### What is Time Log Settings?
Time Log Settings allow you to manage how time tracking functions within the CRM. These settings ensure accurate time entries, improve time management, and enforce organisational policies around work hours and approvals.
### Available Settings
SettingDescriptionStop timer automatically after shift end timeAutomatically ends active time trackers once the assigned shift ends.Time log will require approvalEnables an approval workflow for submitted time logs before they are finalised.Send time tracker remindersSends notifications to remind employees to start or stop their time trackers.Send Daily Time log ReportAutomatically sends a daily summary report of time logs.
### Quick Actions – Time Log Settings
ActionHow ToEnable Shift-Based Timer StopToggle the setting to stop timers when shifts end.Activate Approval WorkflowEnable “Time log will require approval” in settings.Set RemindersTurn on “Send time tracker reminders” to reduce missed logs.Daily Report ConfigurationActivate “Send Daily Time log Report” to receive email reports daily.
### FAQ – Time Log Settings
**Q: Will timers stop if an employee forgets to turn them off?**
A: Yes, if “Stop timer automatically after shift end time” is enabled, the system stops the timer.
**Q: Who approves the time logs?**
A: Time logs are sent to the assigned manager or admin for review when approval is enabled.
**Q: Can reminders be customised?**
A: Reminders are automated; customisation options may vary by role and notification settings.
**Q: Where are the daily time log reports sent?**
A: Reports are emailed to designated team leads or admins based on notification settings.
# Time Log Report
> What is the Time Log Report? The Time Log Report provides a detailed, task-level view of all time entries logged by employees. It includes specific data such as task code, task name, employee, start and end times, total hours worked, and earnings. This report is essential for tracking productivity,…
> For the complete documentation index, see [llms.txt](https://helpdesk.orangescrum.com/llms.txt).
Source: https://helpdesk.orangescrum.com/time-log-report-2
---
### What is the Time Log Report?
The Time Log Report provides a detailed, task-level view of all time entries logged by employees. It includes specific data such as task code, task name, employee, start and end times, total hours worked, and earnings. This report is essential for tracking productivity, reviewing time allocation across tasks, and ensuring transparency in project time management.
### What is the Time Log Consolidated Report?
The Time Log Consolidated Report aggregates time logs by employee, showing the total number of tasks, total hours worked, and total earnings for a selected date range. This report is designed for high-level summaries, making it ideal for payroll processing, management reviews, and overall labour cost control.
### Table View – Time Log Report
CodeTaskEmployeeStart TimeEnd TimeTotal HoursEarningsTSK-101Backend FixJohn Williams9:00 AM1:00 PM4₹2,000TSK-102API IntegrationJohn Williams2:00 PM6:00 PM4₹2,000TSK-103UI TestingBeaulah Hansen10:00 AM1:00 PM3₹1,500TSK-104Database OptimizationJohn Williams9:00 AM1:00 PM4₹2,000TSK-105DocumentationBeaulah Hansen2:00 PM5:00 PM3₹1,500TSK-106Review & QAJohn Williams10:00 AM12:00 PM2₹1,000TSK-107Module TestingBeaulah Hansen9:00 AM1:00 PM4₹2,000
### **Table View – Time Log Consolidated Report**
EmployeeTotal TasksTotal HoursTotal EarningsJohn Williams414₹7,000Beaulah Hansen310₹5,000
### Export Option
Both the Time Log Report and the Consolidated Report can be exported as Microsoft Excel files for:
Payroll processing
HR or audit documentation
Management reviews
### Quick Actions – Time Log Reports
ActionHow ToView Detailed Time LogsGo to Reports > Time Log Report to browse entries task-wise.View Consolidated LogsGo to Reports > Time Log Consolidated Report for employee summaries.Export Time LogsClick Export to download either report as an Excel file.Filter by Date or EmployeeUse filters to view logs for a specific range or staff member.
### FAQ – Time Log Reports
**Q: Can I view logs for specific employees?**
A: Yes, use the employee filter to refine the results.
**Q: What does the “Earnings” column represent?**
A: It reflects the calculated pay based on the hours worked multiplied by the employee’s hourly rate.
**Q: Can I edit logged time?**
A: Only users with sufficient permissions (Admin or Manager roles) can edit time logs.
**Q: Is the export limited to the current page view?**
A: No, the entire filtered report is exported by default, regardless of the number of pages.
# Task Report
> What is Task Report? The Task Report displays all task-related information across departments, including the associated project, assignee, client, deadline, and status. Access Path Go to Reports > Task Report Table View – Task Report Code Task Project Client Due Date Assigned To Status TSK001…
> For the complete documentation index, see [llms.txt](https://helpdesk.orangescrum.com/llms.txt).
Source: https://helpdesk.orangescrum.com/task-report-2
---
### What is Task Report?
The Task Report displays all task-related information across departments, including the associated project, assignee, client, deadline, and status.
Access Path
Go to Reports > Task Report
### Table View – Task Report
CodeTaskProjectClientDue DateAssigned ToStatusTSK001Website RedesignAlpha ProjectXYZ Corporation21-05-2025John WilliamsIn ProgressTSK002API IntegrationBeta SaaS ToolAcme Inc.23-05-2025Marcia WaelchiCompleted
**Export Options:**The Task Report can be exported to Microsoft Excel by default for internal reviews or sharing with clients.
### Quick Actions – Reports Module
ActionHow ToView Task ReportGo to Reports > Task Report and filter by project, assignee, or status.Export Task ReportUse the export option to download the report in Excel format.View Time LogsNavigate to Reports > Time Log Report.Track AttendanceGo to Reports > Attendance Report to view daily logs.Financial OverviewUse Finance, Expense, and Income vs Expense Reports.
### FAQ – Reports Module
**Q: Can I export any report?**
A: Yes, all reports support export to Excel by default.
**Q: Can I filter reports by department or date?**
A: Yes, most reports offer advanced filters for accurate segmentation.
**Q: Is the report data updated in real time?**
A: Yes, data is refreshed dynamically from live modules.
# Zoom Meetings
> Zoom Meetings The Zoom Meetings module provides an intuitive and efficient interface for managing and tracking your Zoom meetings. It offers both high-level overviews and detailed controls to streamline meeting workflows within your projects and teams. Key Features Meeting Duration Displays the…
> For the complete documentation index, see [llms.txt](https://helpdesk.orangescrum.com/llms.txt).
Source: https://helpdesk.orangescrum.com/zoom-meetings
---
### Zoom Meetings
The Zoom Meetings module provides an intuitive and efficient interface for managing and tracking your Zoom meetings. It offers both high-level overviews and detailed controls to streamline meeting workflows within your projects and teams.
### Key Features
**Meeting Duration**
Displays the total length of each Zoom meeting, offering insights into how much time was spent in discussions.
**Start Date to End Date**
Clearly outlines the full time frame of each meeting, making it easy to track scheduling and session length.
**Status Tracking**
Shows the current status of each meeting—whether it is scheduled, ongoing, or completed—allowing for better follow-up and planning.
**Search and Filter Tools**
Start **Typing** to Search
A smart search bar helps you instantly locate specific meetings based on titles, dates, or keywords.
**Advanced Filters**
Customize your meeting view using multiple filters, such as:
**Project** – See meetings linked to specific projects.
**Client** – Sort meetings by associated clients.
**Employee** – View meetings attended or hosted by particular team members.
**Category** – Organize meetings by type or category for clarity.
**Meeting Details Displayed**
Each listed Zoom meeting includes:
**Meeting ID** – A unique identifier for easy reference.
**Meeting Title** – A clear, descriptive name for quick recognition.
**Meeting Host** – The person who created or is hosting the meeting.
**Start On / End On** – Scheduled times for the meeting’s start and end.
**Status** – Real-time status to indicate if a meeting is pending, live, or completed.
**Action Options** – Buttons to edit, reschedule, or take other relevant actions.
**Additional Functionalities**
**Add Meeting –** Easily create and schedule new Zoom meetings from within the platform.
**Export** – Download meeting data (e.g., to Excel or PDF) for reporting, tracking, or backup.
**Table View** – Access a structured, tabular layout for quick review and bulk actions.
**Calendar View** – Visualize your meetings on a calendar for improved time and resource planning.
# Performance
> The Performance module provides a structured framework to track, evaluate, and improve both individual and team performance. It combines goal-setting, progress tracking, and continuous feedback into a unified system designed to promote accountability and professional growth. Key Features Dashboard…
> For the complete documentation index, see [llms.txt](https://helpdesk.orangescrum.com/llms.txt).
Source: https://helpdesk.orangescrum.com/performance
---
The Performance module provides a structured framework to track, evaluate, and improve both individual and team performance. It combines goal-setting, progress tracking, and continuous feedback into a unified system designed to promote accountability and professional growth.
### Key Features
**Dashboard**
The Performance Dashboard offers a real-time overview of key performance metrics across the organization.
It includes:
Key insights into ongoing **objectives** and their progress
Visual summaries of **OKR** (Objectives and Key Results) scores
Quick access to recent **1:1 meetings** and feedback
This centralized view enables both managers and employees to stay informed, aligned, and proactive in their performance efforts.
**Objective**
The Objective feature enables users to set and manage measurable goals at various levels—individual, team, or organization-wide. These objectives are:
Aligned with company strategy
Tracked by due dates and progress metrics
Assigned with clear ownership and visibility settings
Well-structured objectives promote clarity, focus, and alignment throughout the company.
**OKR Score**
The OKR Score tracks performance based on the progress made toward predefined Objectives and Key Results. It offers:
Quantifiable scores to assess achievement levels
Continuous updates reflecting real-time progress
Clear indicators of areas that need support or improvement
This feature fosters a culture of accountability and performance transparency.
**1:1 Meetings**
The 1:1 Meetings tool supports structured and recurring conversations between managers and team members. It provides:
Options to schedule both recurring and one-time meetings
A way to document discussion points and agreed follow-ups
Progress tracking for personal development and assigned objectives
These meetings strengthen relationships, ensure alignment, and support employee growth through consistent communication and feedback.
# Project Roadmap
> The Project Roadmap provides a clear overview of all ongoing projects in one organized view. It helps users track progress, manage timelines, and understand team responsibilities at a glance. This section is designed for efficiency and transparency, making it easy to stay aligned and focused.…
> For the complete documentation index, see [llms.txt](https://helpdesk.orangescrum.com/llms.txt).
Source: https://helpdesk.orangescrum.com/project-roadmap
---
### 
The Project Roadmap provides a clear overview of all ongoing projects in one organized view. It helps users track progress, manage timelines, and understand team responsibilities at a glance. This section is designed for efficiency and transparency, making it easy to stay aligned and focused.
#### Fields in the Project Roadmap
- **Code:** A unique project identifier or code used for quick reference and easier tracking, especially when dealing with many projects.
- **Project Name:** The official name or title of the project. It should clearly indicate the scope or objective for easy recognition.
- **Members**:The list of team members assigned to the project. This shows who is actively involved in executing project tasks.
- **Start Date:** The date on which the project work is scheduled to begin. This helps in timeline planning and resource readiness.
- **Deadline:** The project’s targeted completion date. Helps monitor project health and identify upcoming or overdue projects.
- **Client:** The name of the client or organization for whom the project is being executed. Essential for client-specific reporting and relationship tracking.
- **Status:** Displays the current stage of the project—such as Not Started, In Progress, Completed, On Hold, or Cancelled. This provides quick insight into the overall project lifecycle.
- **Action:** Typically includes interactive buttons or options like View, Edit, Delete, or Archive for managing the project directly from the dashboard.
#### Export Functionality
- **By default**, the Project Roadmap in Orangescrum can be exported in Excel (.xlsx) format, allowing users to:
- **Generate** reports for stakeholders or clients
- **Back up** project information externally
- **Analyze** project data offline or with spreadsheet tools
- **Share** structured updates across departments or teams
This export includes all the fields listed above and presents them in a clear, tabular format suitable for both technical and non-technical users.
# How to import multiple projects and tasks into Orangescrum ?
> Learn how to import multiple projects and tasks into Orangescrum easily. Follow this simple guide to streamline your workflow efficiently.
> For the complete documentation index, see [llms.txt](https://helpdesk.orangescrum.com/llms.txt).
Source: https://helpdesk.orangescrum.com/how-to-import-multiple-projects-and-tasks-into-orangescrum
---
To import multiple projects and tasks into Orangescrum, follow the steps below:
1\. Log in to your Orangescrum account and navigate to the quick links in the top navigation bar.
2\. Choose “Import and Export” from the quick links menu. (Refer Image-1)
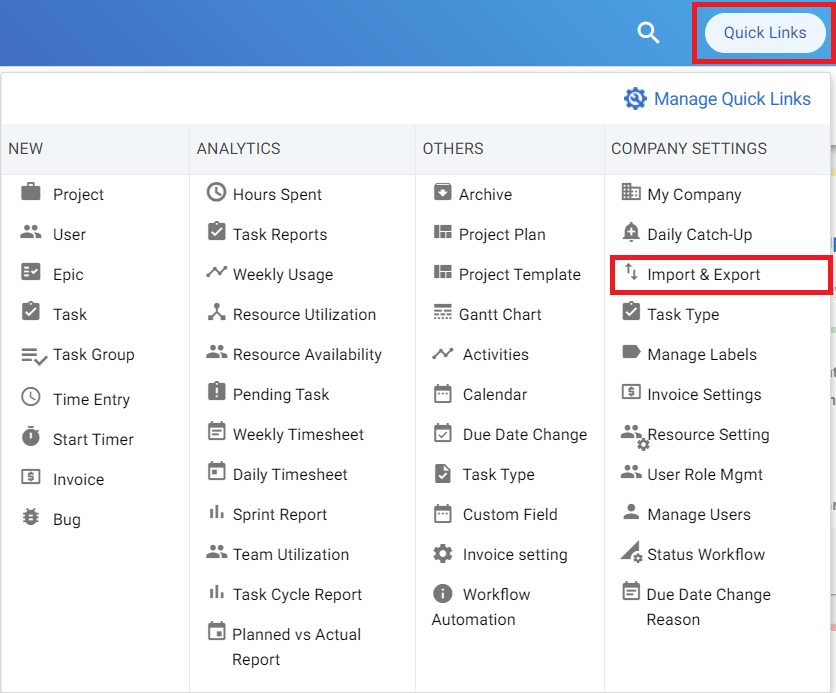
(Image-1)
3\. From the dropdown menu, click on the project and choose “All” from the options. (Refer Image-2)
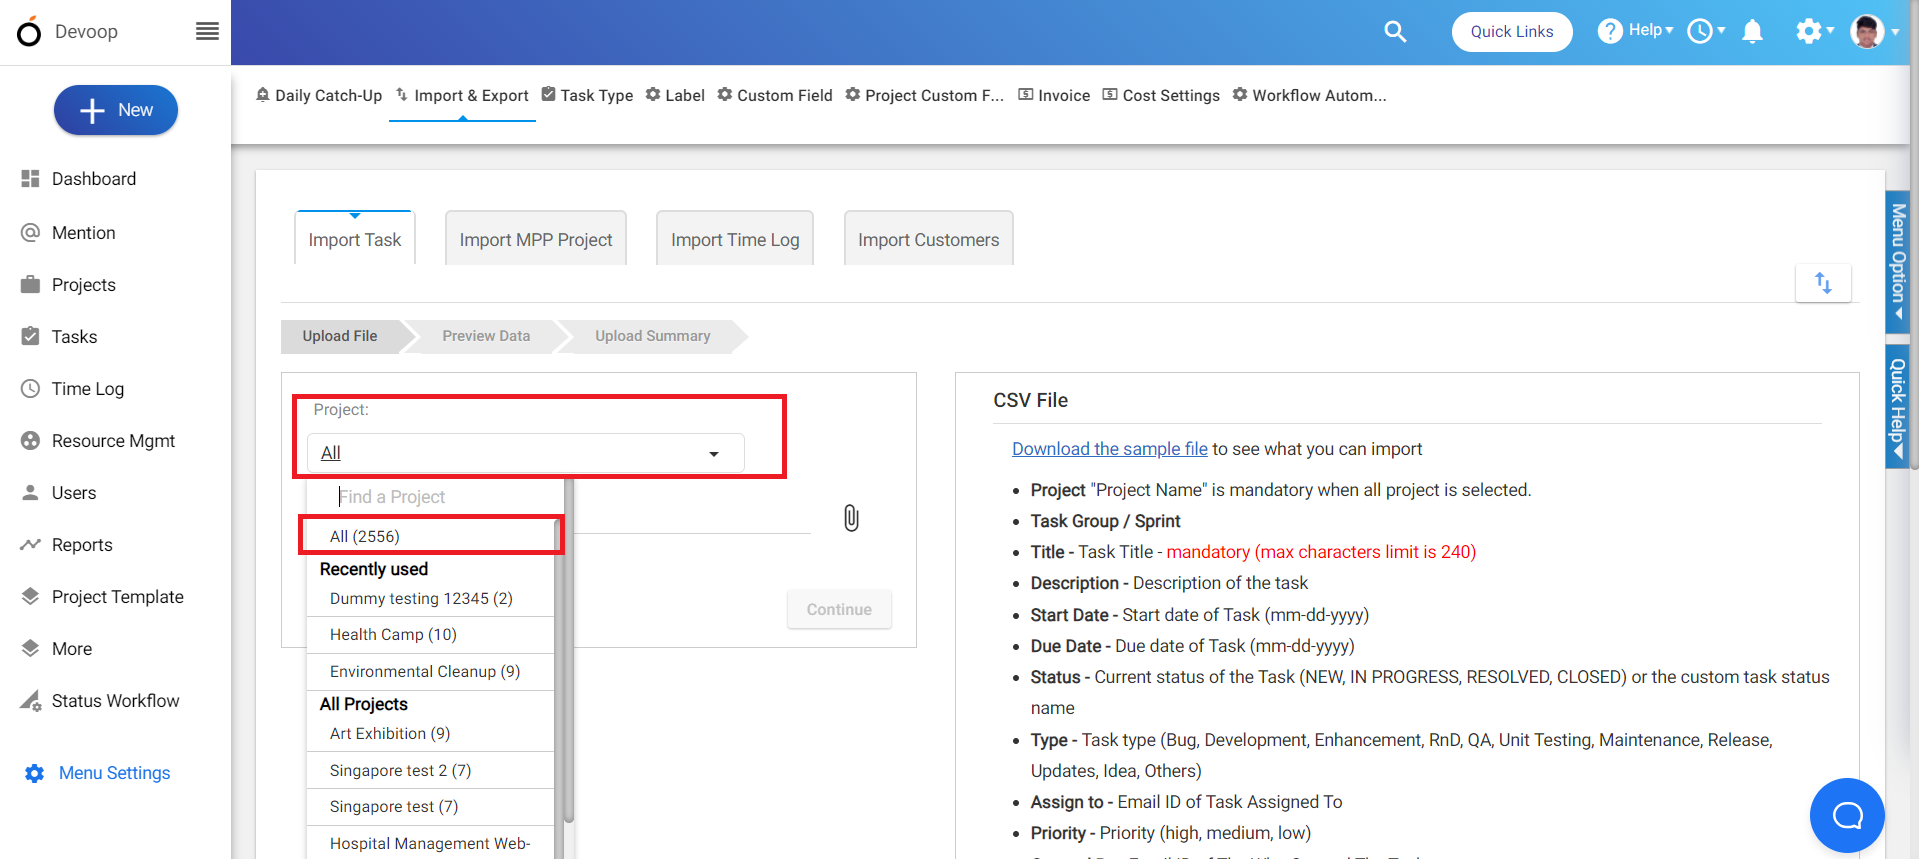
(Image-2)
4\. Upload the CSV file you want to import, then proceed by clicking “Continue.” (Note: Ensure the CSV file adheres to the specified format; otherwise, an error message will be displayed.) (Refer Image-3)
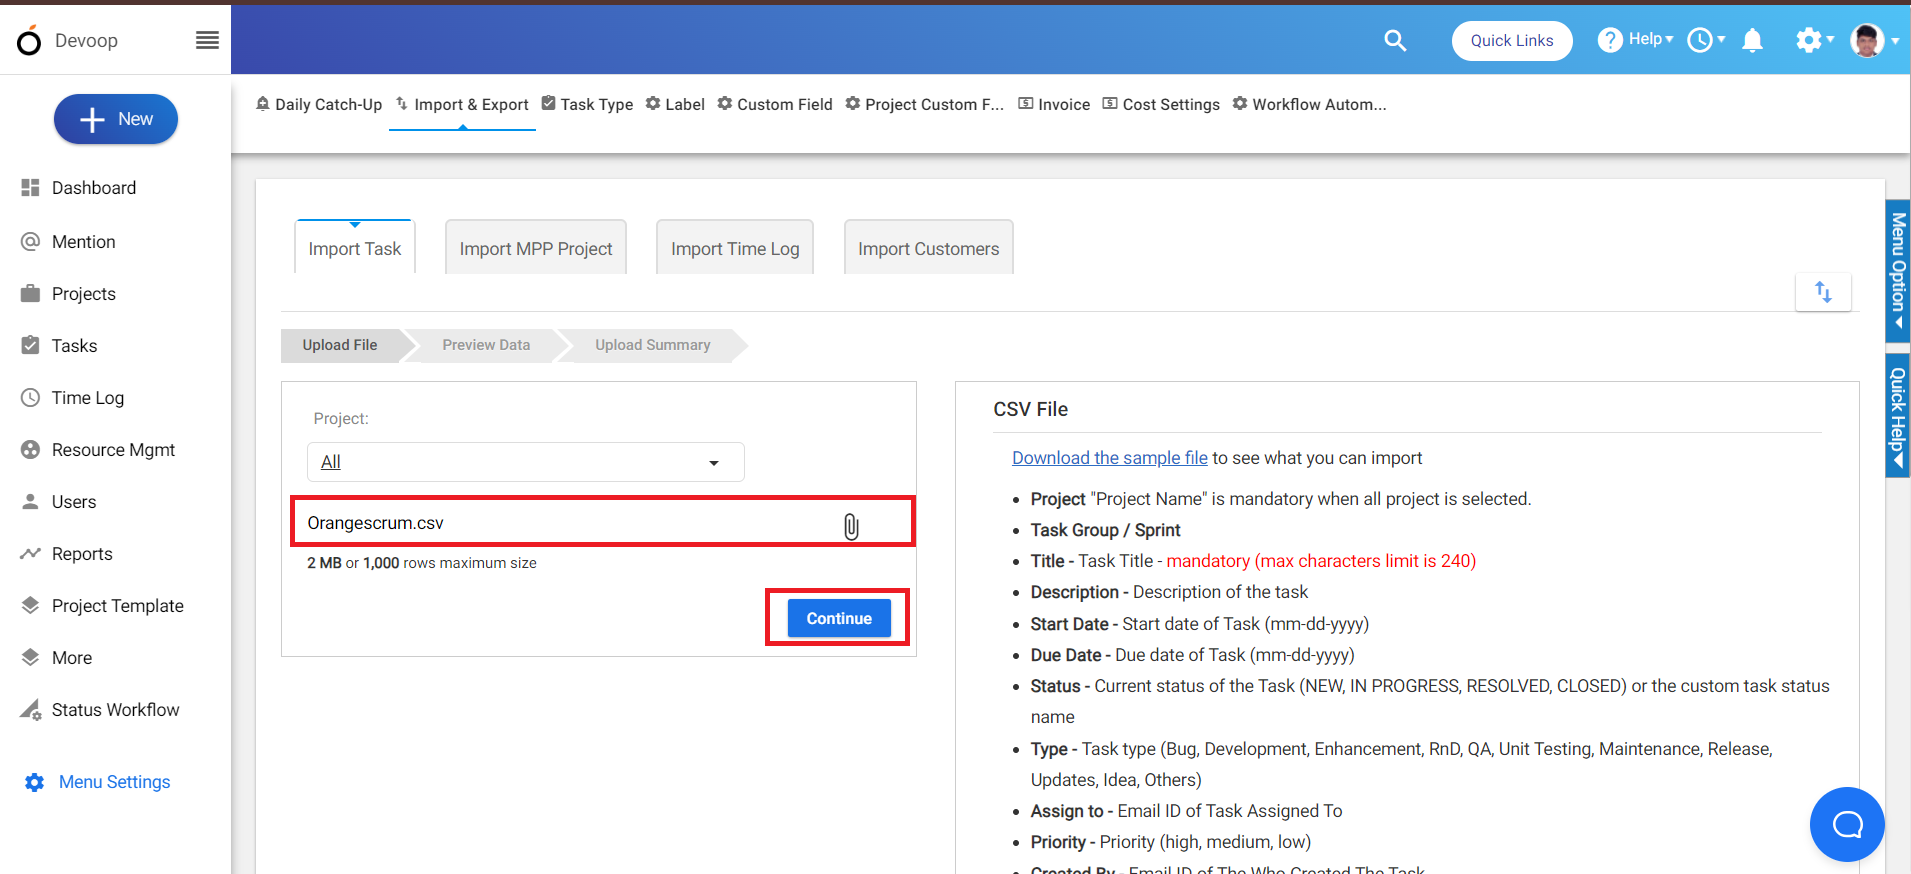
(Image-3)
5\. Review the document in the preview page for accuracy before importing, then click “Confirm & Import.” (Refer Image-4)
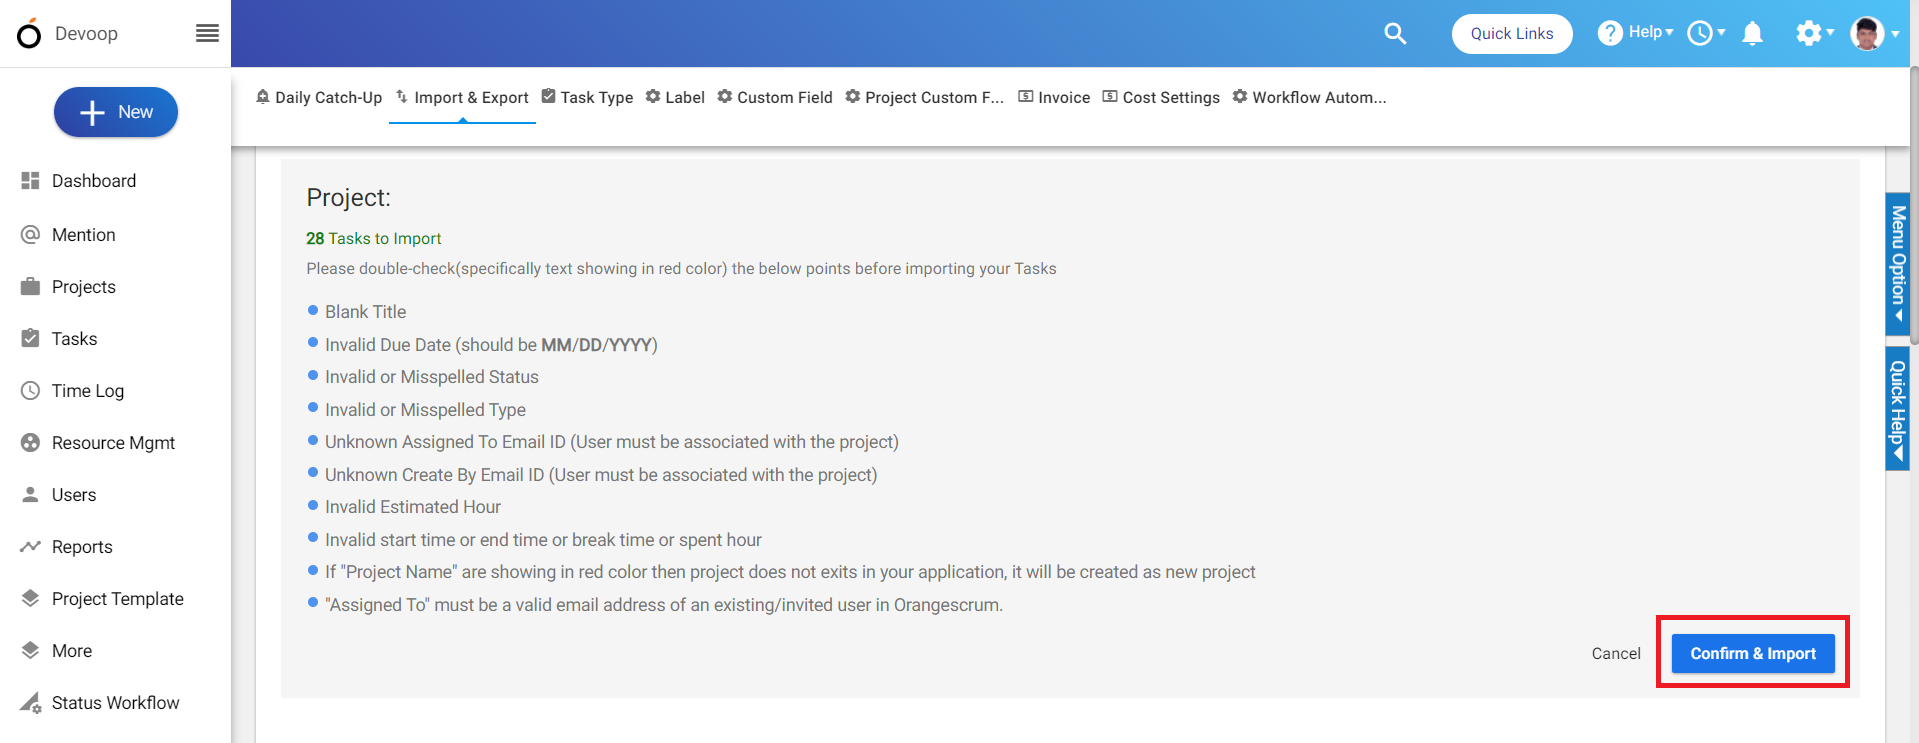
(Image-4)
6\. Upon completion, verify that all projects, along with their respective tasks and subtasks as arranged in the CSV file, have been successfully imported into Orangescrum. (Refer Image-5)
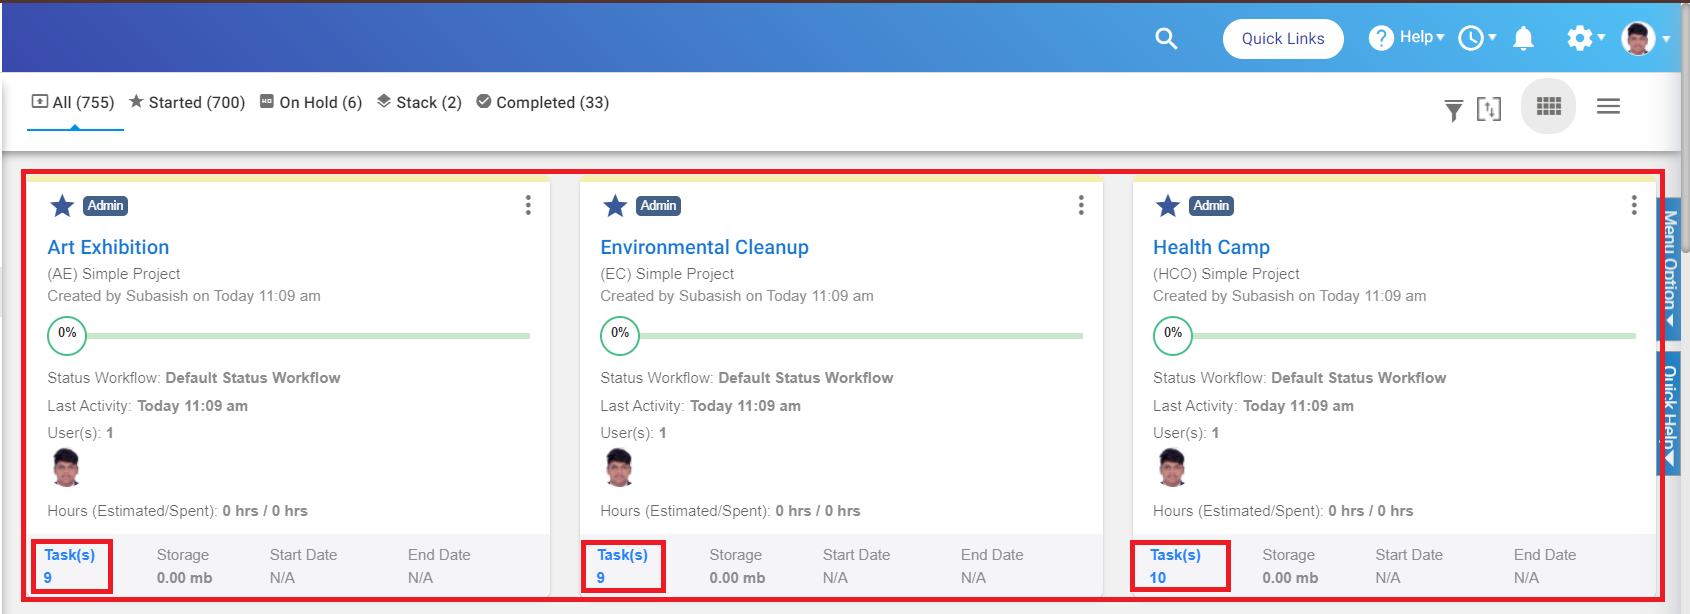
(Image-5)
# Quick guide for cancellation of Orangescrum account
> Follow this quick guide to cancel your Orangescrum account. Simple steps to close your account smoothly and without hassle.
> For the complete documentation index, see [llms.txt](https://helpdesk.orangescrum.com/llms.txt).
Source: https://helpdesk.orangescrum.com/quick-guide-for-cancellation-of-orangescrum-account
---
To cancel your orangescrum account, follow the steps below:
1. Login to your orangescrum account.
2\. On the top right corner click on your profile and select “Account Settings”. (Refer Image-1)
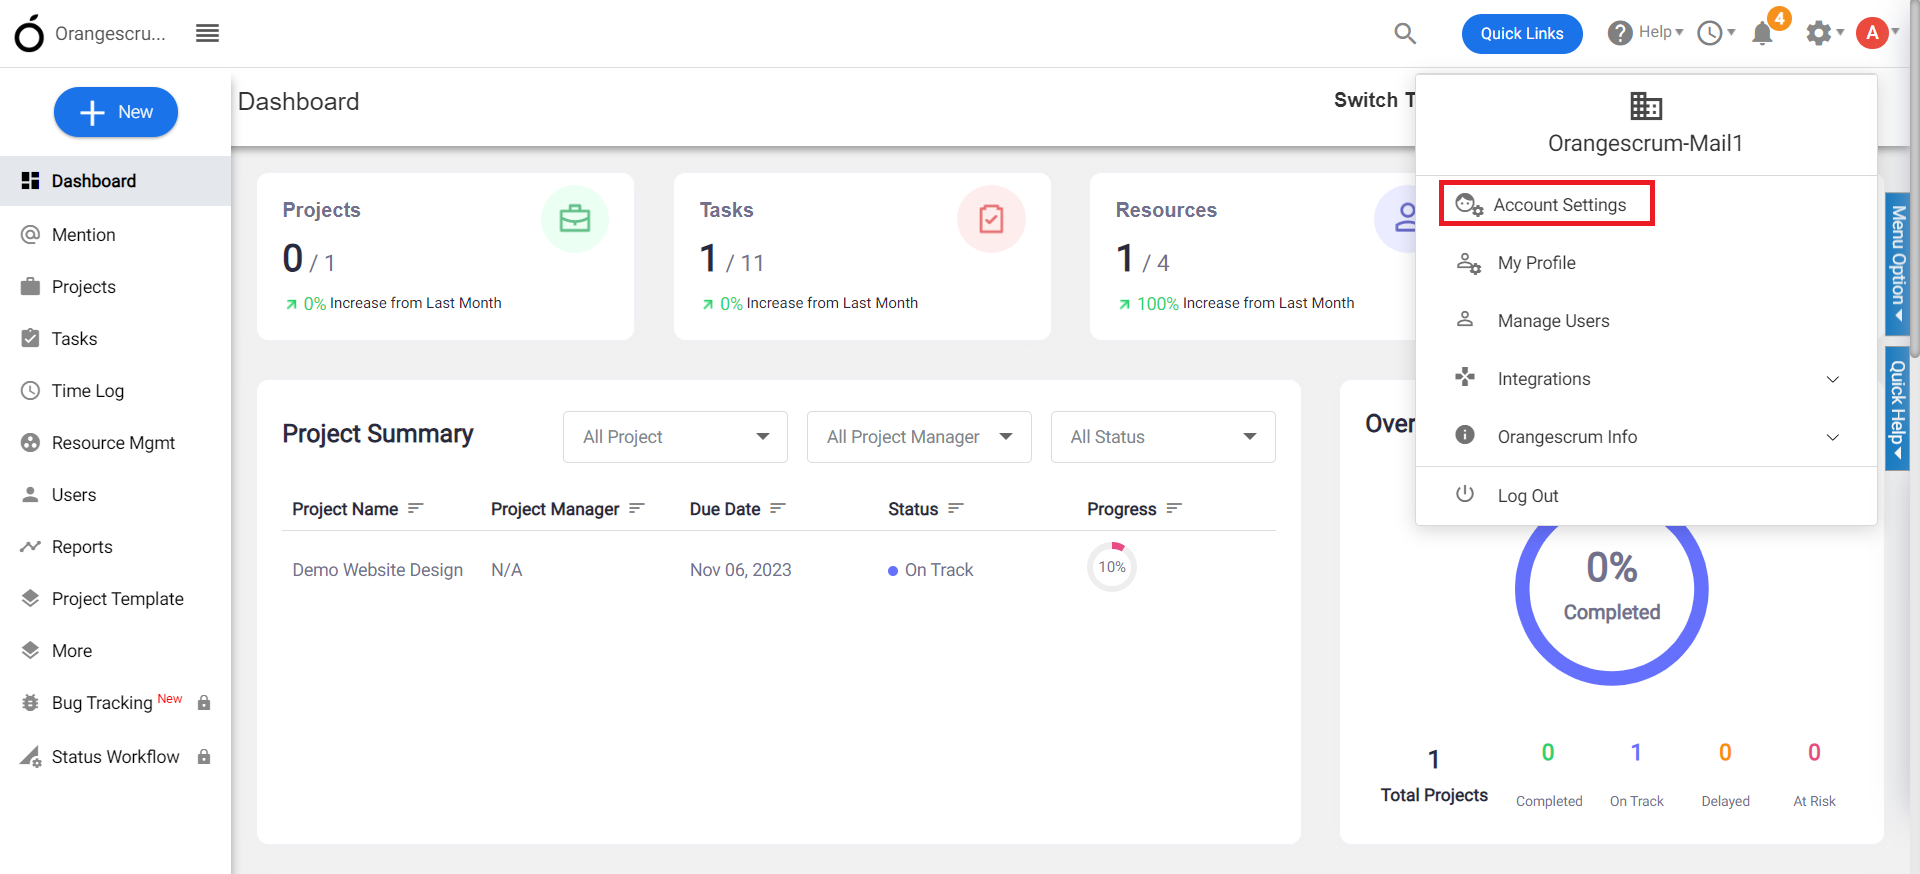
**(Image-1)**
3\. Click on the “Overview” from the left menu.
4\. Select “Manage subscription” from the “Plans and Billing” box. (Refer Image-2)
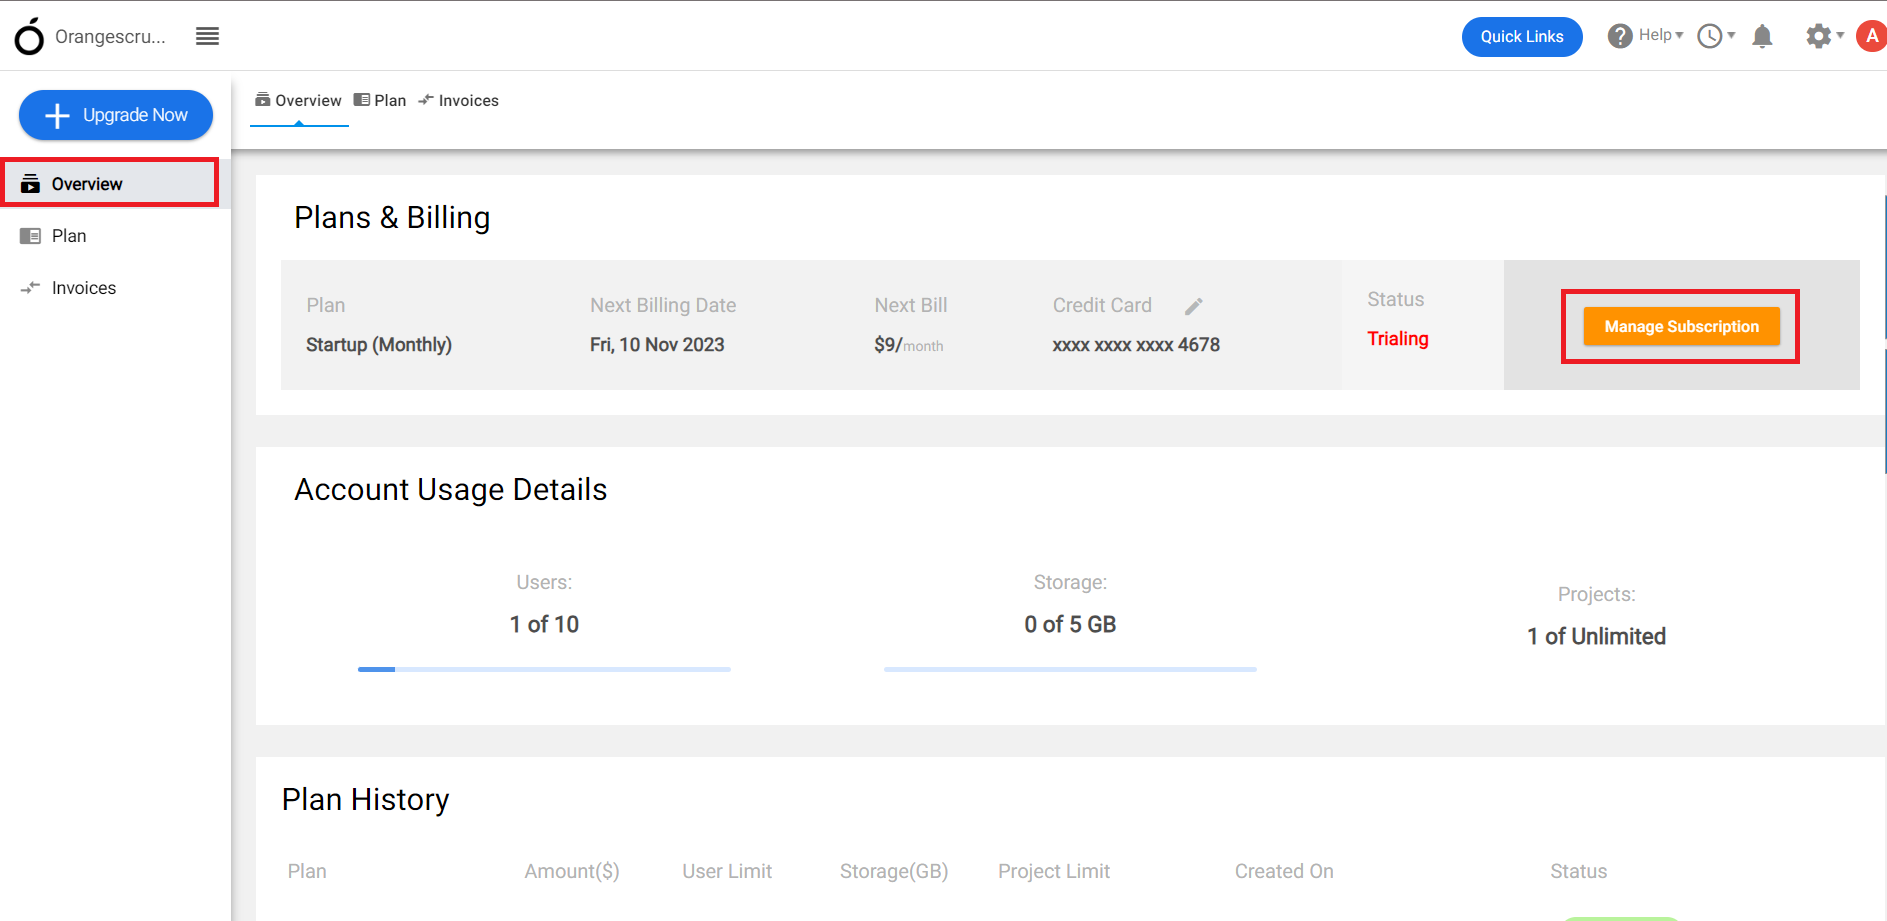
**(Image-2)**
5\. You will be redirected to the payment page.
6\. On the payment page, you can either upgrade or can cancel the plan. (Refer Image-3)
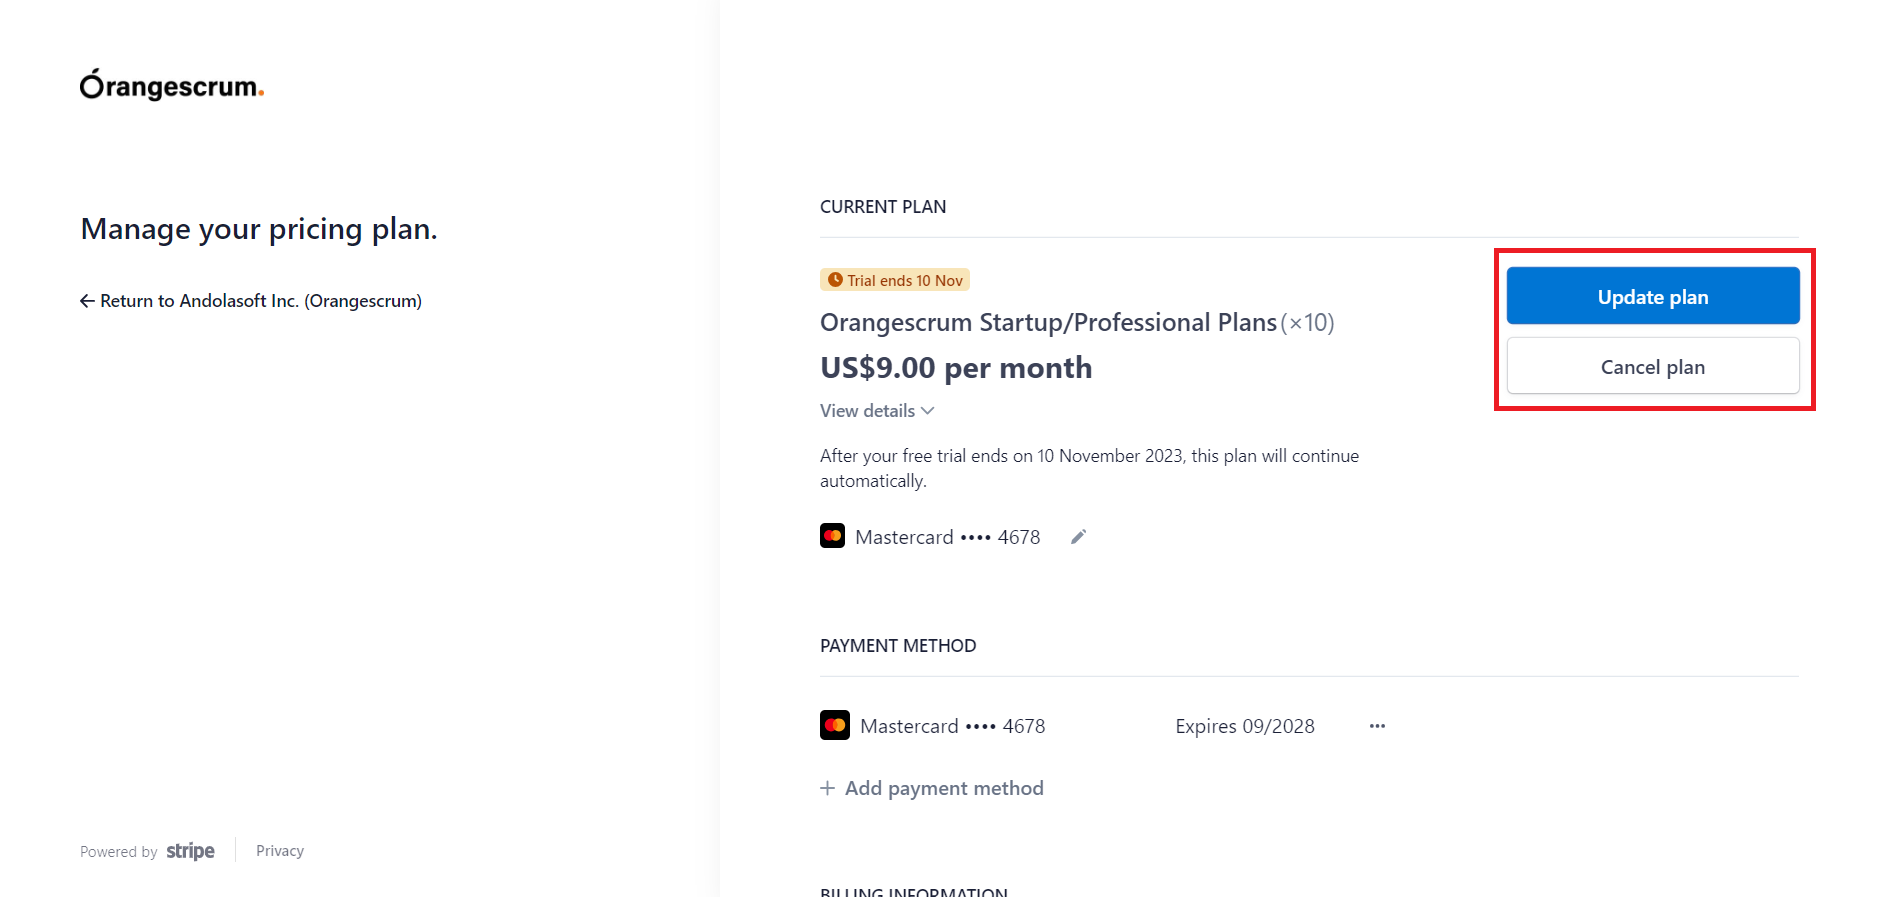
**(Image-3)**
**Please note: You have to cancel the plan before the billing date of upgrade or subscription of your Orangescrum account.**
# How can I track the progress or completion of tasks assigned to resources in Orangescrum?
> Easily track task progress and completion in Orangescrum. Manage resources efficiently and keep your projects on schedule.
> For the complete documentation index, see [llms.txt](https://helpdesk.orangescrum.com/llms.txt).
Source: https://helpdesk.orangescrum.com/how-can-i-track-the-progress-or-completion-of-tasks-assigned-to-resources-in-orangescrum
---
Follow the steps below:
1. Login to your Orangescrum account.
2\. Click on the “task” from the left menu.
3\. Click on the “Task List” from the top navigation bar.
4\. Click on the “filter” and select “Assign to” from the filter.
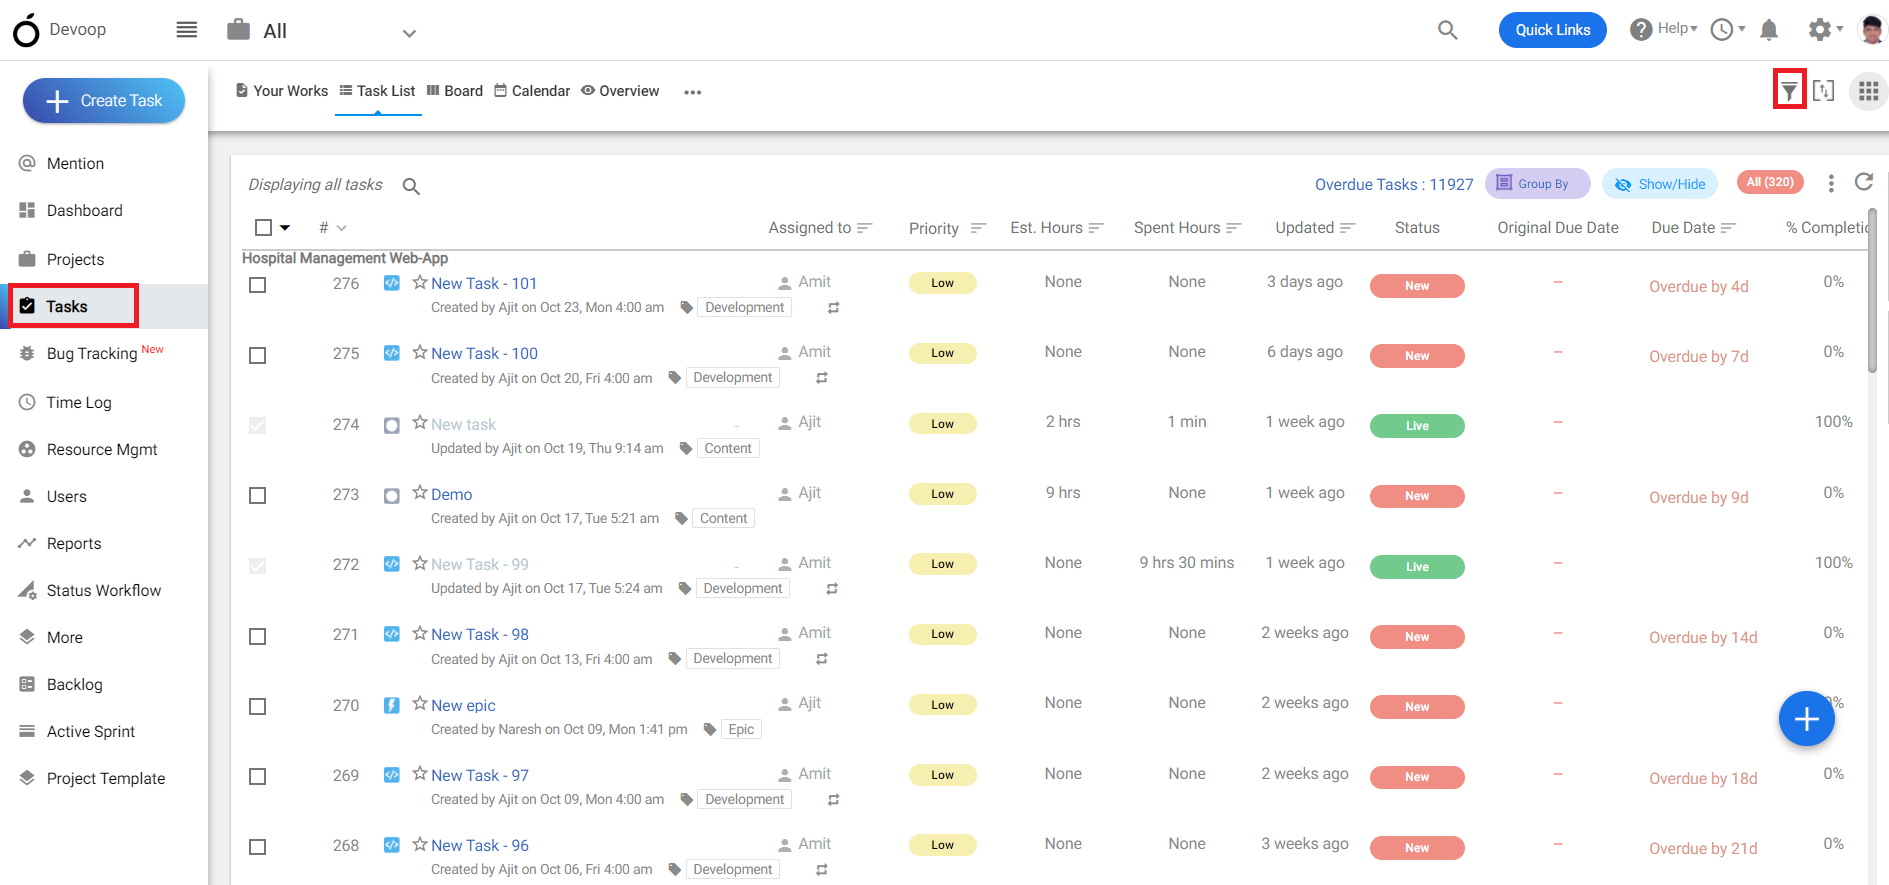
**(Image-1)**
5\. Select a resource to track the progress or completion of a task.
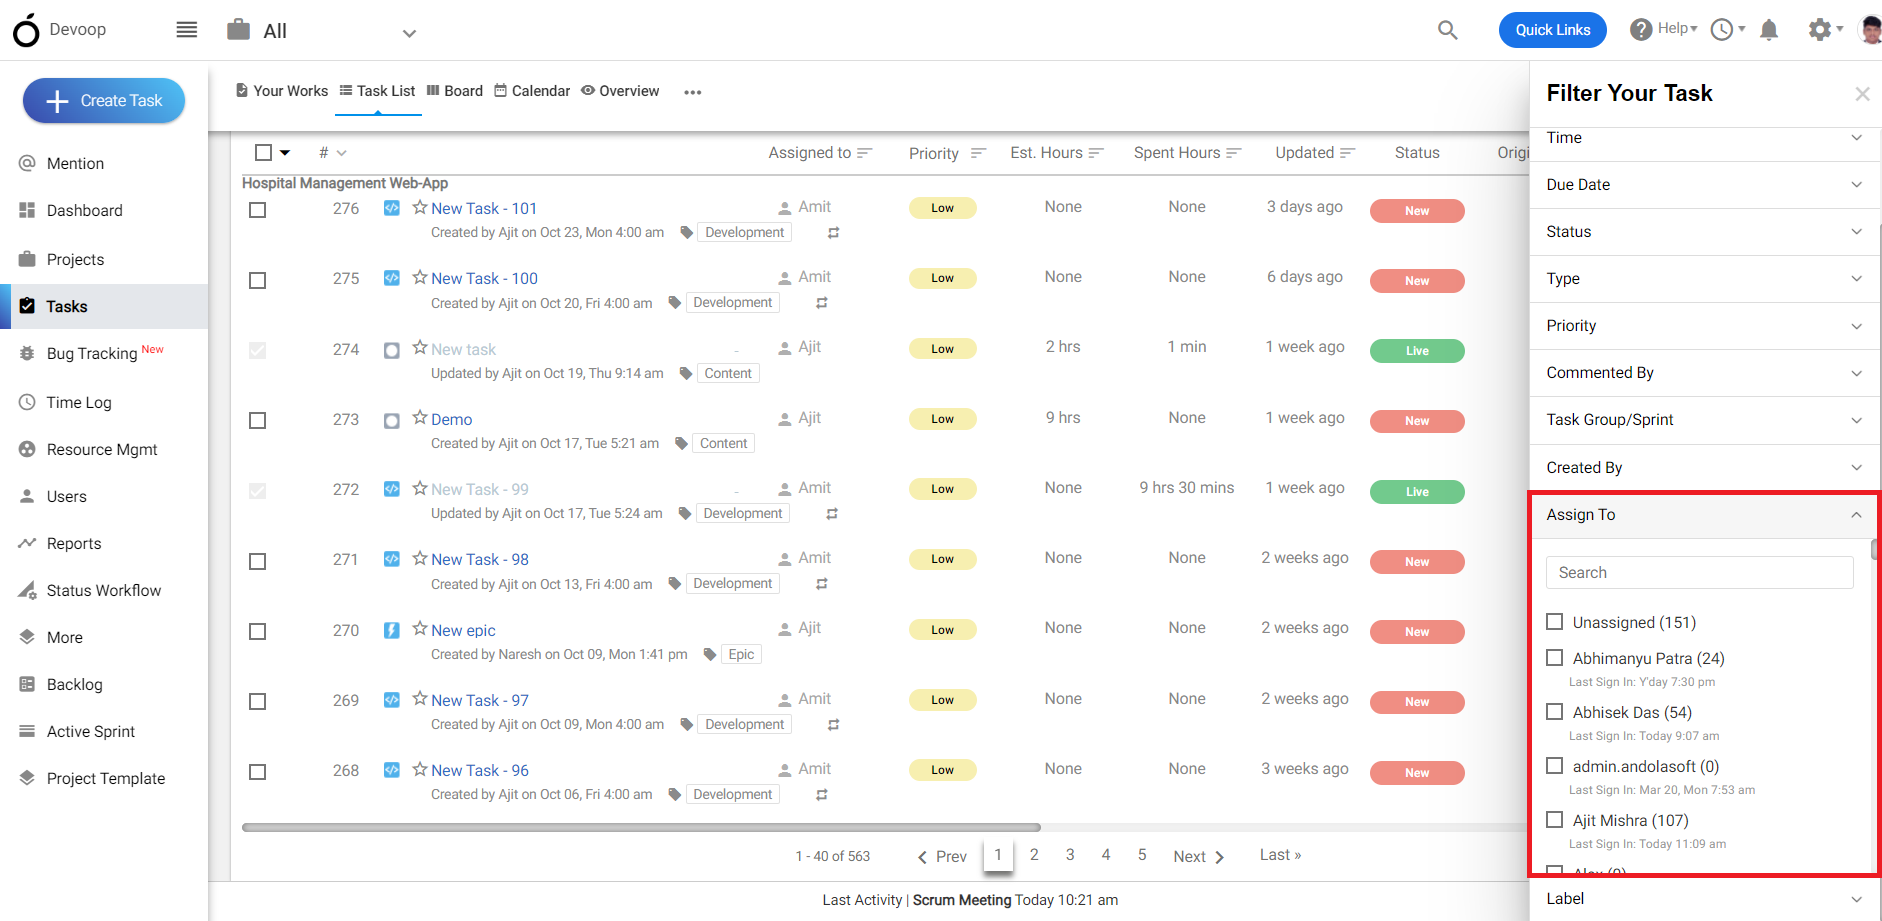
**(Image-2)**
# Is it possible to assign resources to specific tasks or projects in Orangescrum?
> Learn how to assign resources to specific tasks or projects in Orangescrum. Follow this guide for efficient project and resource management.
> For the complete documentation index, see [llms.txt](https://helpdesk.orangescrum.com/llms.txt).
Source: https://helpdesk.orangescrum.com/is-it-possible-to-assign-resources-to-specific-tasks-or-projects-in-orangescrum
---
Follow the steps below:
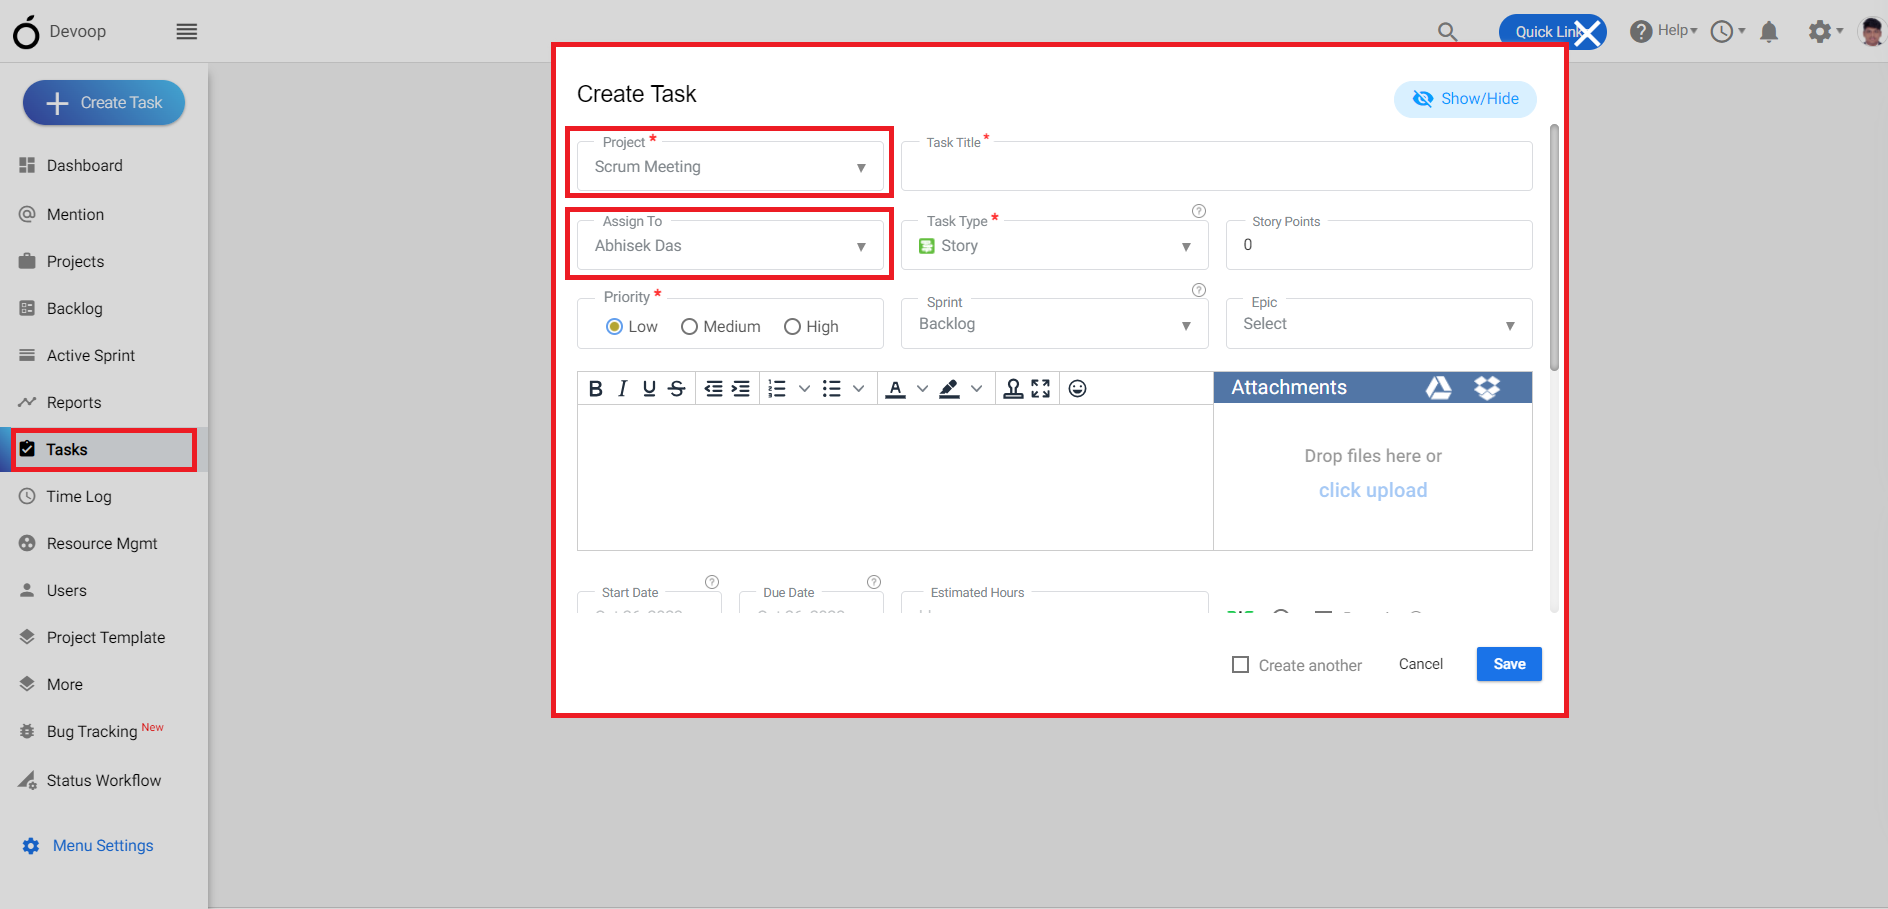
**(Image-1)**
1. Login to your Orangescrum account.
2\. Click on the “Task” from the left menu.
3\. Click on “+” to create a new task.
4\. While creating a task you can select a project and assign a resource to that particular project and task.
# How do I view the availability or workload of resources in Orangescrum?
> Learn how to view resource availability and workload in Orangescrum. Follow this guide to manage team capacity and optimize project planning.
> For the complete documentation index, see [llms.txt](https://helpdesk.orangescrum.com/llms.txt).
Source: https://helpdesk.orangescrum.com/how-do-i-view-the-availability-or-workload-of-resources-in-orangescrum
---
Follow the steps below:
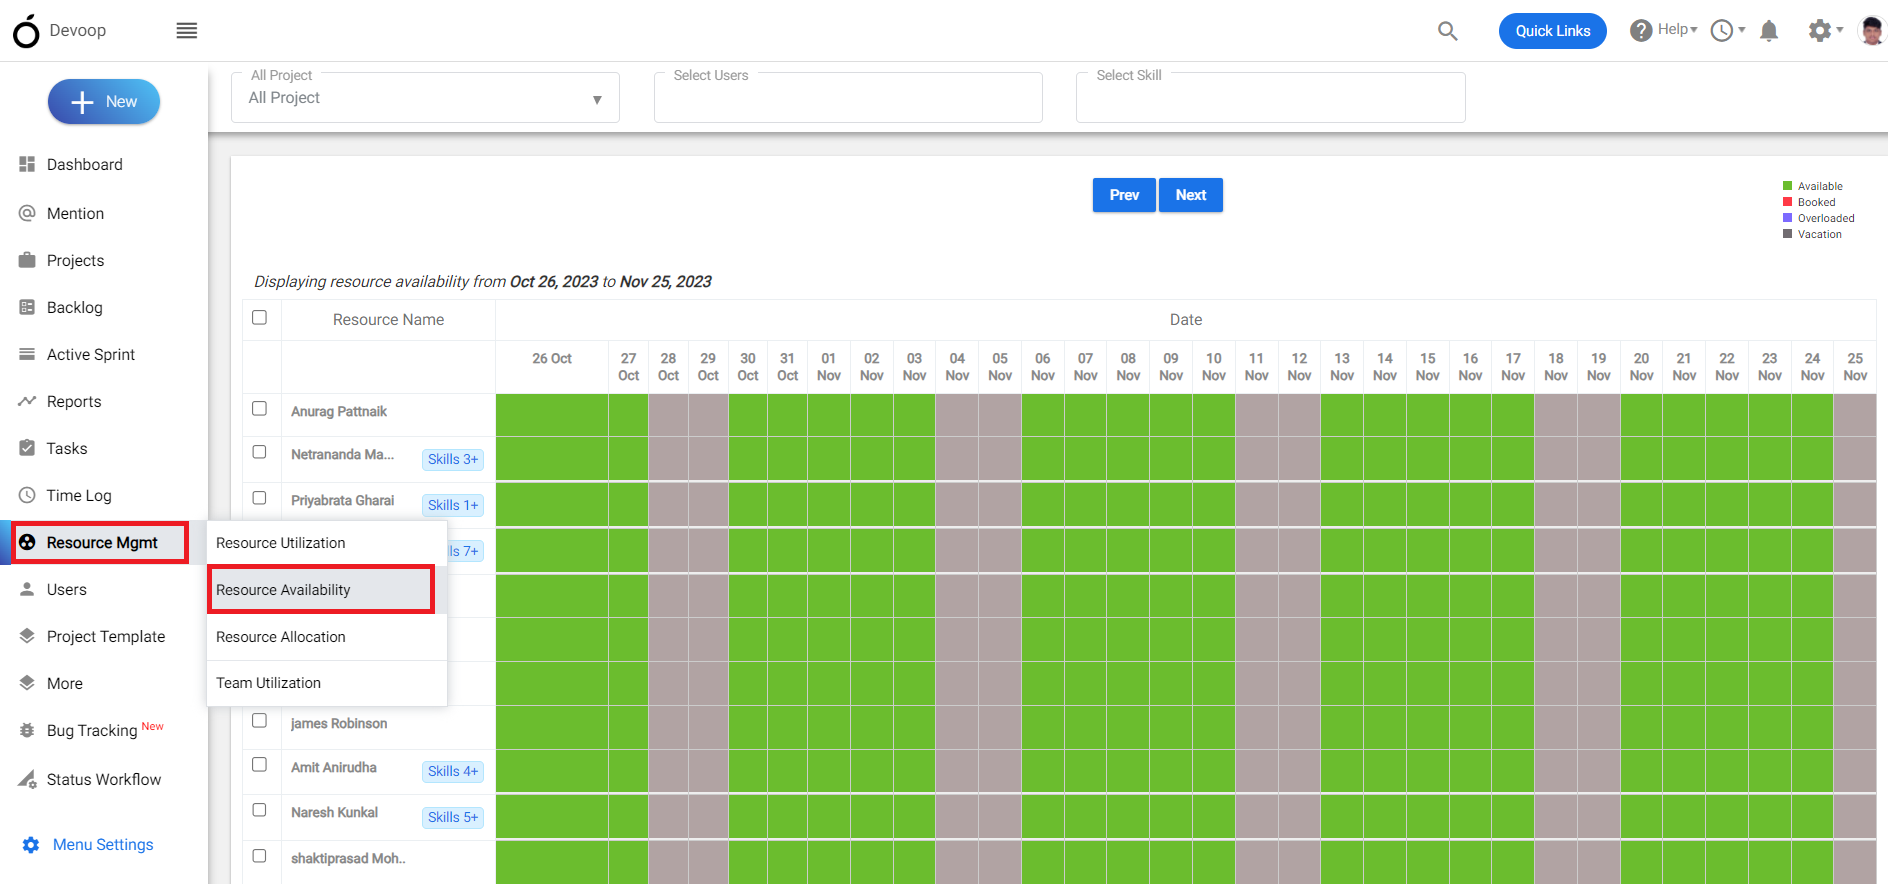
**(Image-1)**
1. Login to your orangescrum account.
2\. Click on the resource allocation from the left menu.
3\. Select resource availability .
4\. In the resource availability you can check for the availability of all the resources.
# What are the available options for exporting bug tracking data from Orangescrum?
> Learn the available options for exporting bug tracking data from Orangescrum. Follow this guide to easily export and manage your bug reports.
> For the complete documentation index, see [llms.txt](https://helpdesk.orangescrum.com/llms.txt).
Source: https://helpdesk.orangescrum.com/what-are-the-available-options-for-exporting-bug-tracking-data-from-orangescrum
---
Follow the steps below:
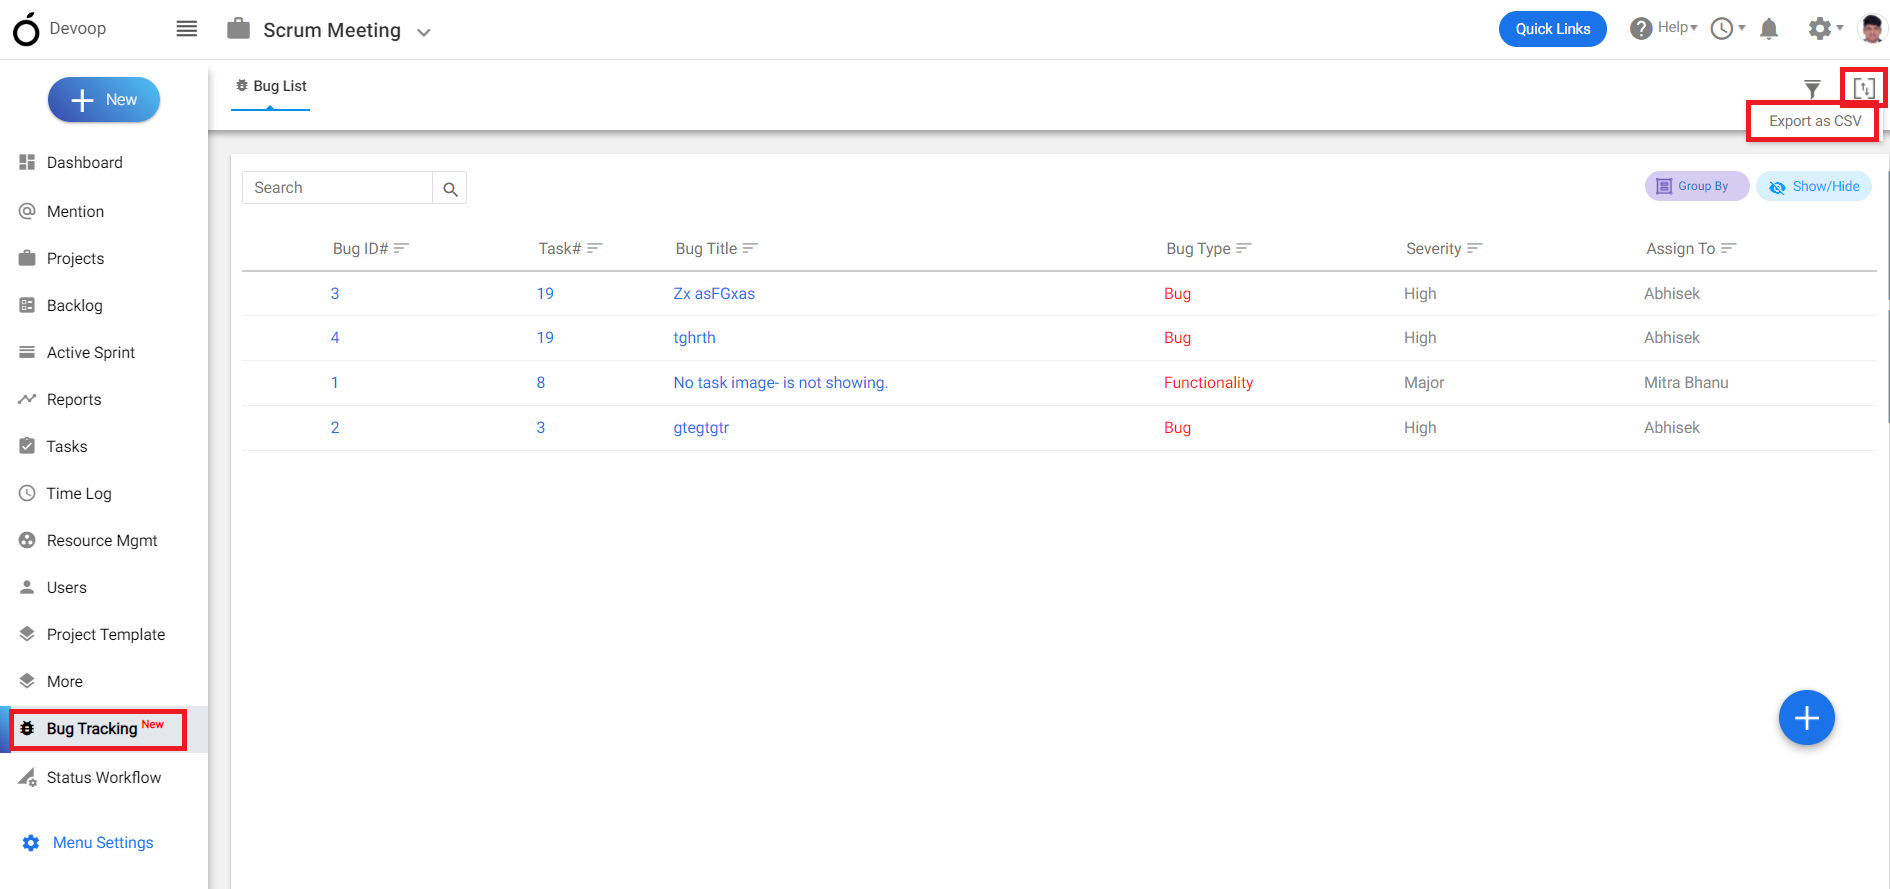
**(Image-1)**
1. Login to your Orangescrum account.
2\. Click on the bug tracking from the left menu.
3\. On the top right corner you can export the bug list in csv format. (Refer Image-1)
# What options are available for filtering or searching bugs in Orangescrum?
> Explore the options for filtering or searching bugs in Orangescrum. Use this guide to efficiently track and manage bugs in your projects.
> For the complete documentation index, see [llms.txt](https://helpdesk.orangescrum.com/llms.txt).
Source: https://helpdesk.orangescrum.com/what-options-are-available-for-filtering-or-searching-bugs-in-orangescrum
---
Follow the steps below:
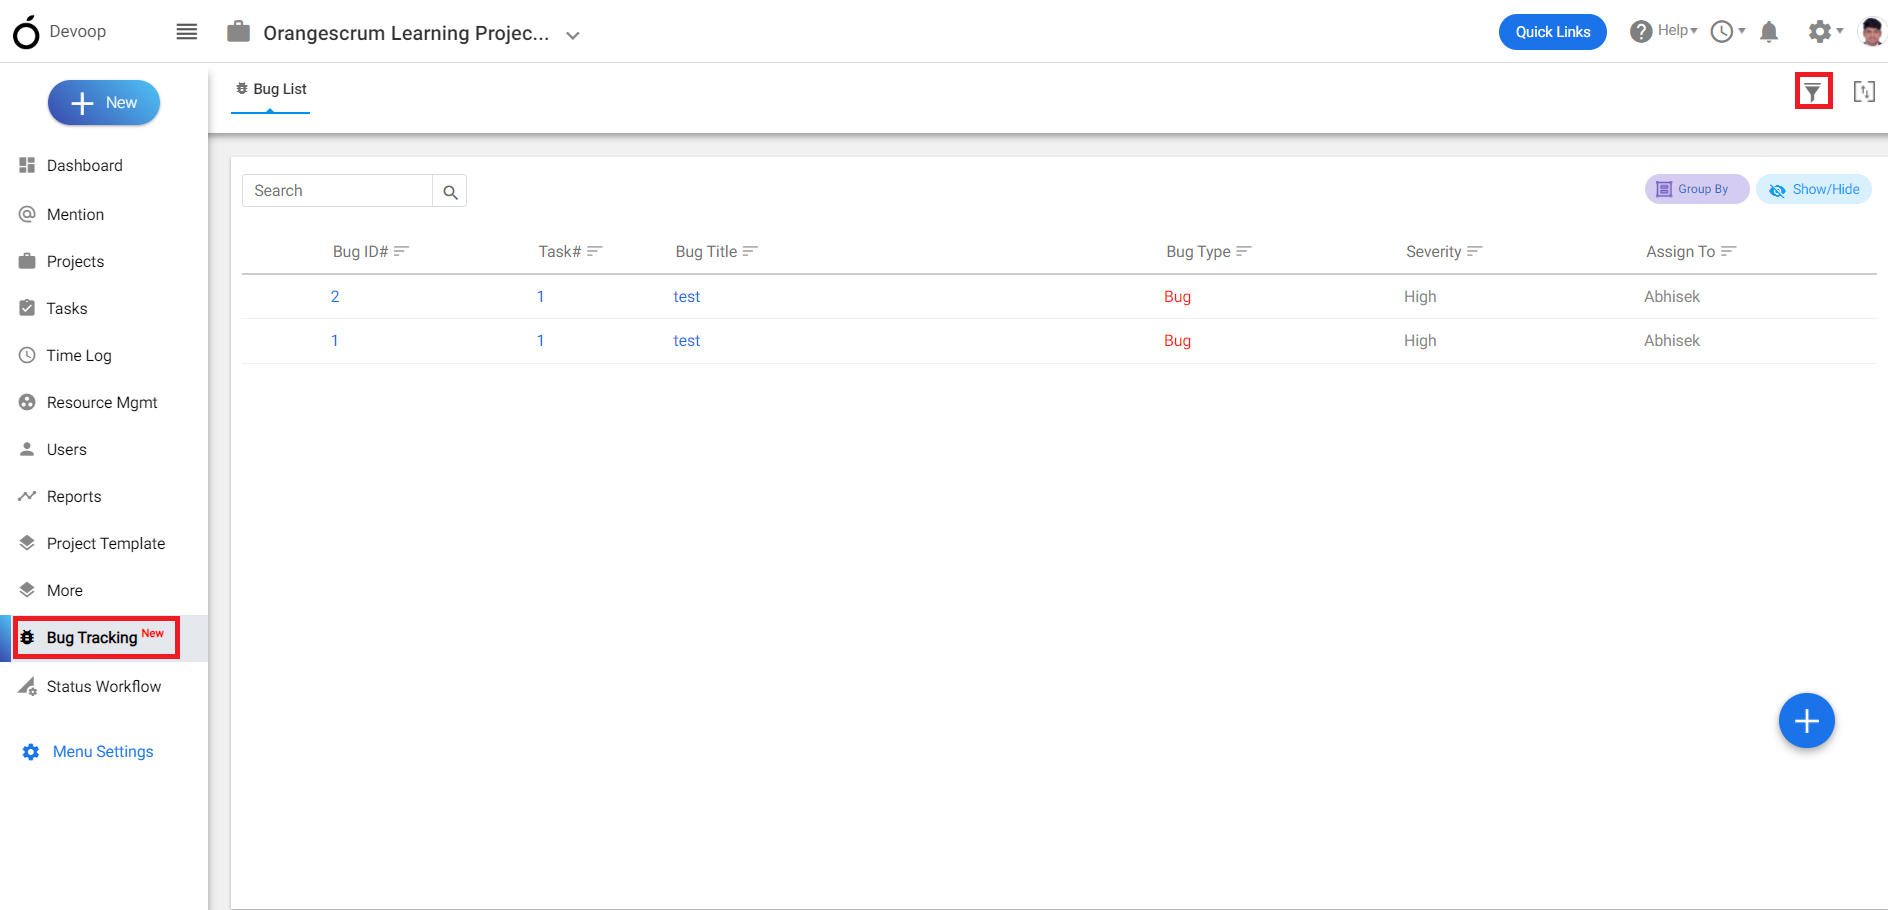
**(Image-1)**
1. Login to Orangescrum and click on the “Bug tracking” from the left menu.
2\. On the top right corner, click on the “filter” option.
3\. On the filter section section you can search for different category and
# Can I add notes or description to bug reports for additional information or updates?
> Learn how to add notes or descriptions to bug reports in Orangescrum for additional information or updates. Keep track of bug details easily.
> For the complete documentation index, see [llms.txt](https://helpdesk.orangescrum.com/llms.txt).
Source: https://helpdesk.orangescrum.com/can-i-add-notes-or-description-to-bug-reports-for-additional-information-or-updates
---
Follow the steps below:
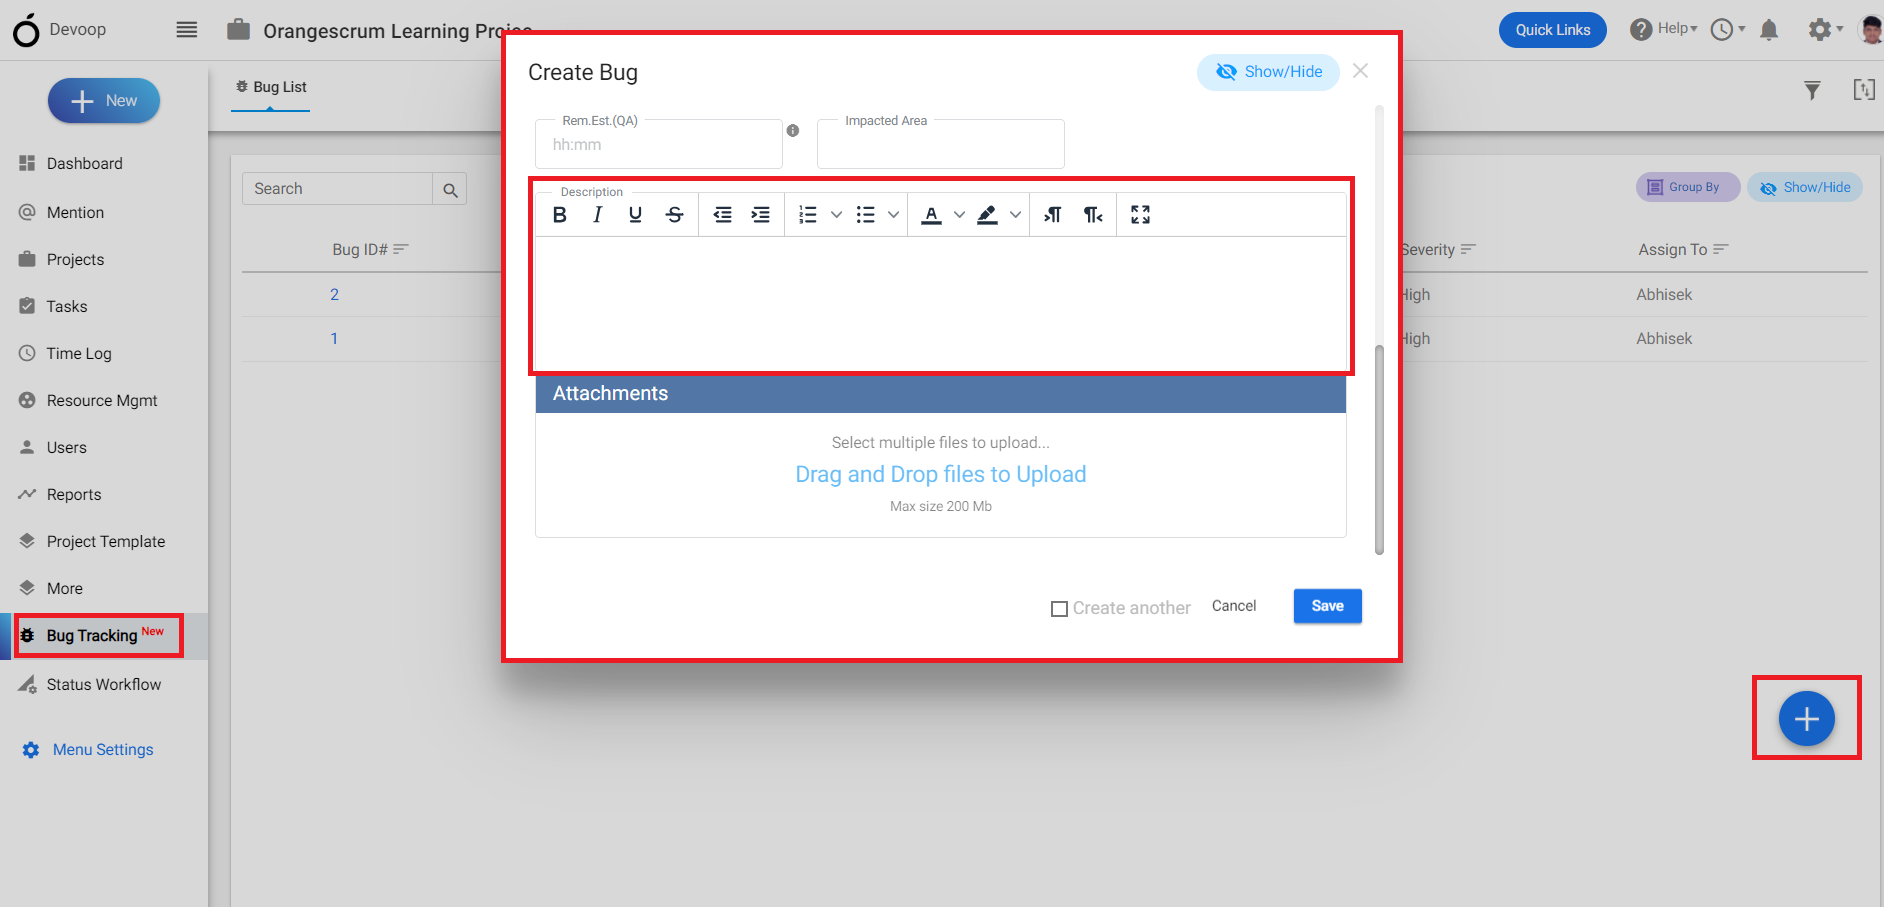
**(Image-1)**
1. Login to Orangescrum and click on the “Bug Tracking” from the left menu.
2\. Click on the “+” to enter a new bug.
3\. Fill the required details on the bug creation form and click on create.
4\. On the bottom of the page you can add notes or descriptions to bugs in orangescrum.
# Is it possible to attach files or screenshots to bug reports in Orangescrum?
> Learn how to attach files or screenshots to bug reports in Orangescrum. Enhance bug tracking by adding relevant details for quick resolution.
> For the complete documentation index, see [llms.txt](https://helpdesk.orangescrum.com/llms.txt).
Source: https://helpdesk.orangescrum.com/is-it-possible-to-attach-files-or-screenshots-to-bug-reports-in-orangescrum
---
Follow the steps below:
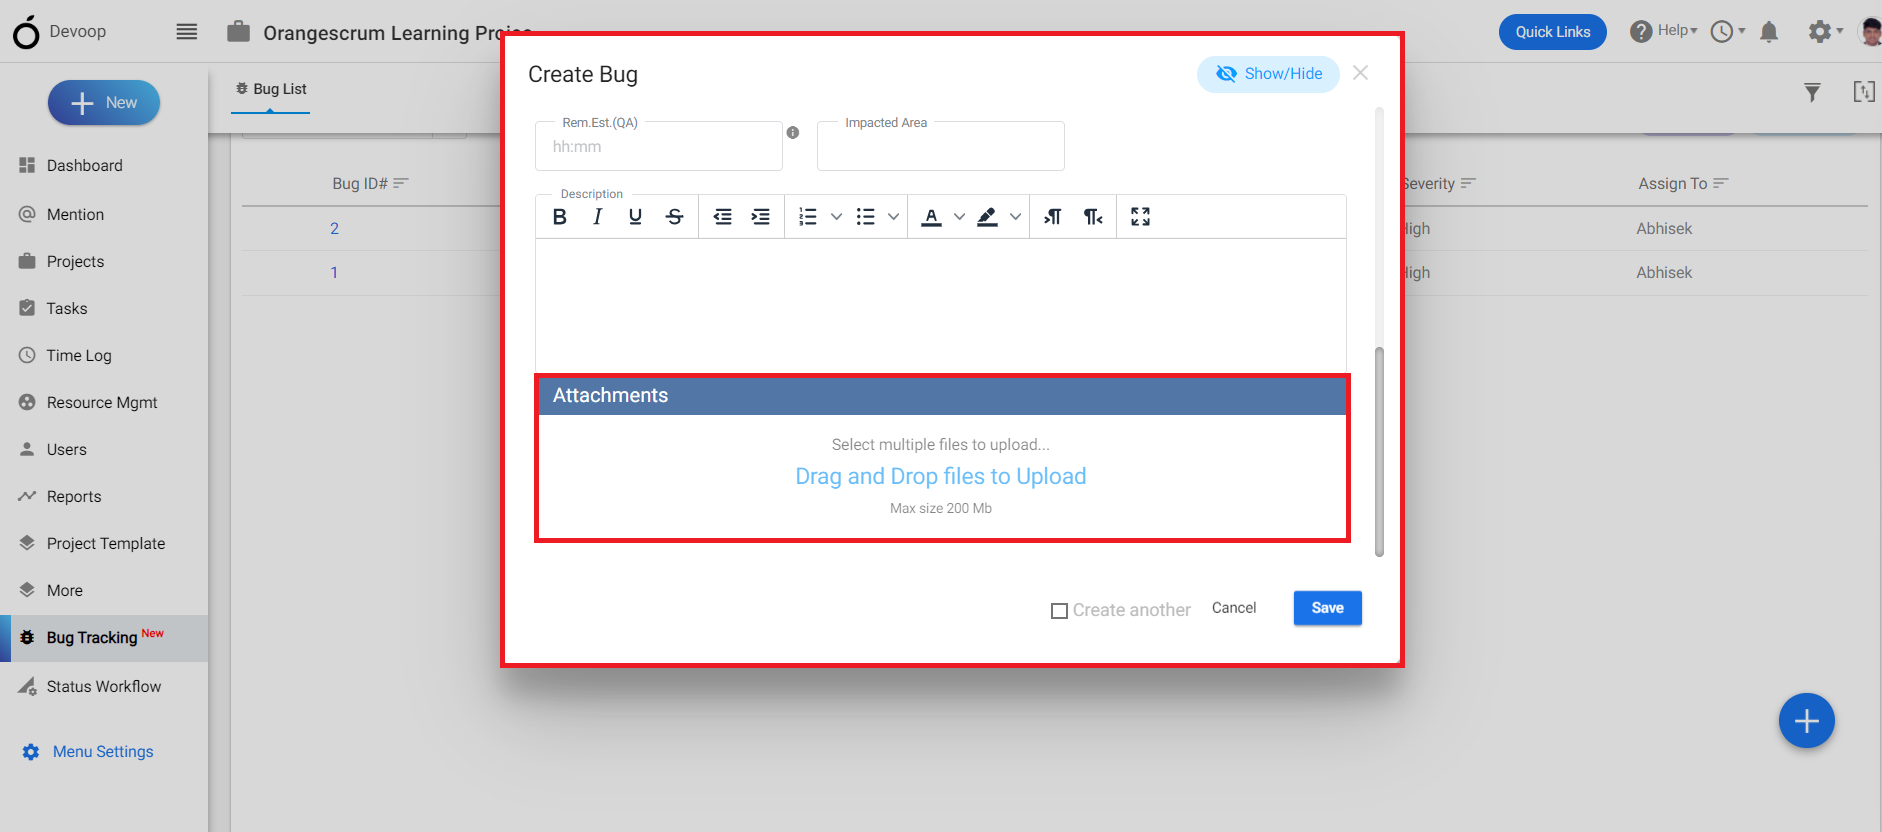
**(Image-1)**
1. Login to Orangescrum and click on the “Bug Tracking” from the left menu.
2\. Click on the “+” to enter a new bug.
3\. Fill the required details on the bug creation form and click on create.
4\. On the bottom of the page you can attach screenshots to bugs in orangescrum.
# How do I categorize or prioritize bugs in Orangescrum?
> Learn how to categorize and prioritize bugs in Orangescrum. Follow this guide to efficiently manage and resolve issues in your projects.
> For the complete documentation index, see [llms.txt](https://helpdesk.orangescrum.com/llms.txt).
Source: https://helpdesk.orangescrum.com/how-do-i-categorize-or-prioritize-bugs-in-orangescrum
---
Follow the steps below:
1. Login to Orangescrum and click on the “Bug Tracking” from the left menu.
2\. Click on the “+” to enter a new bug.
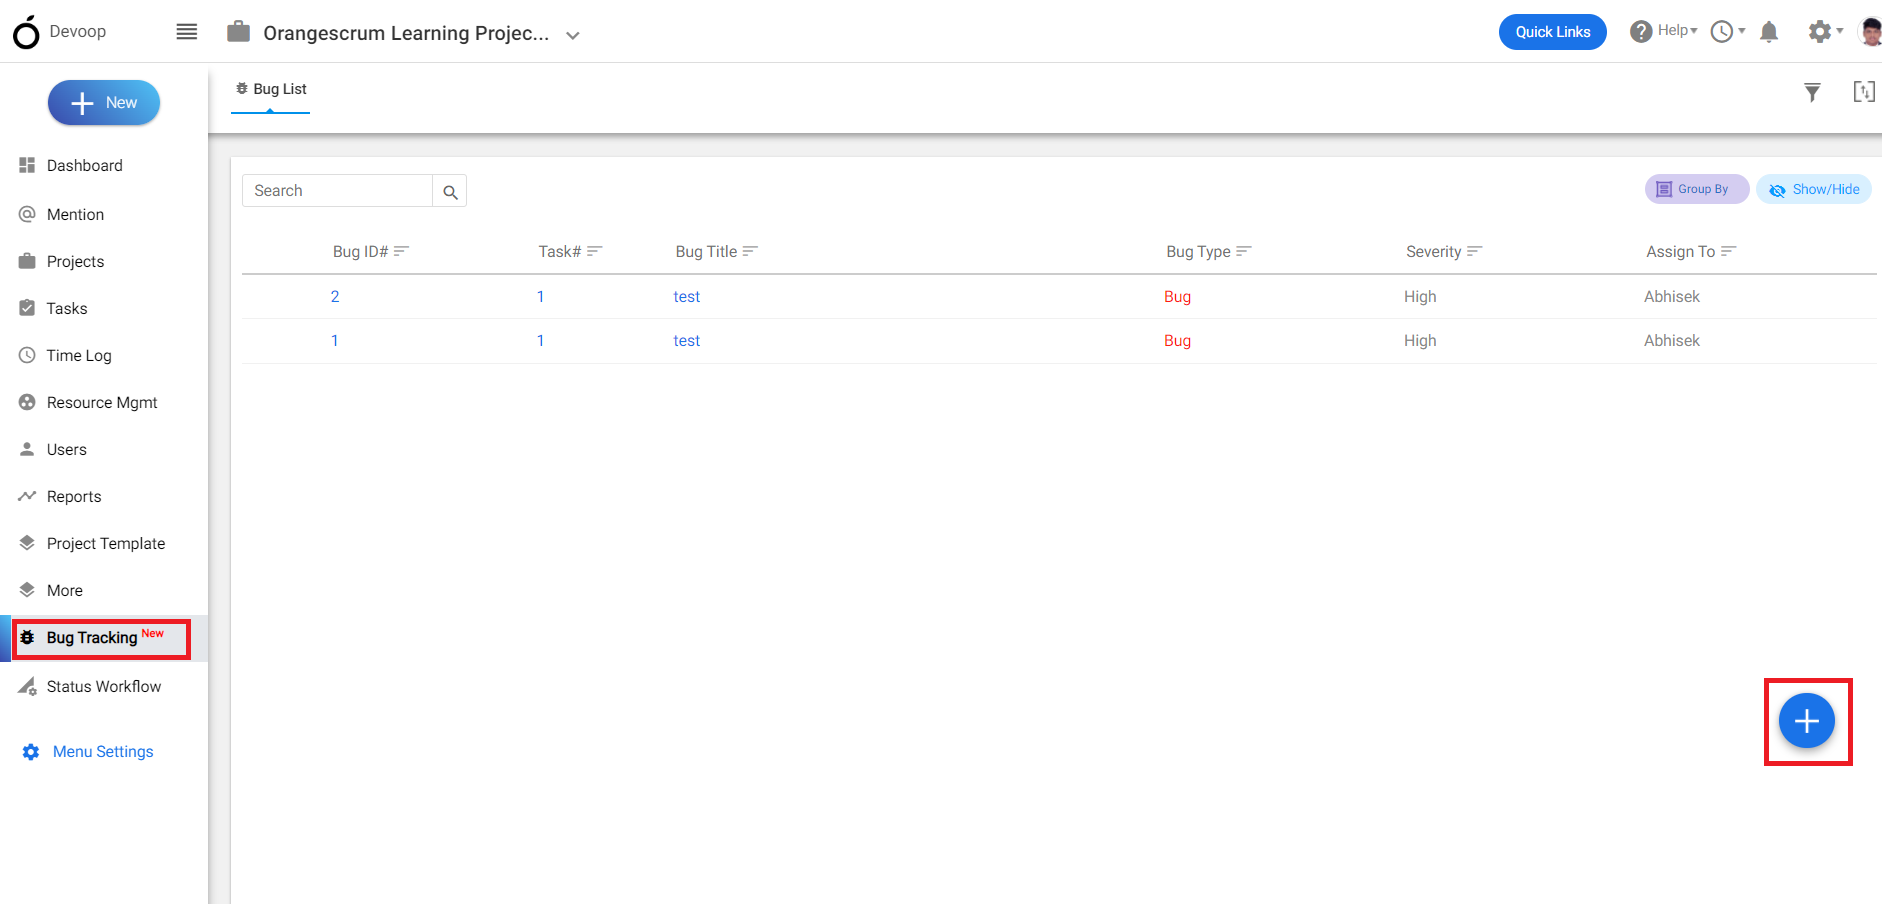
**(Image-1)**
5\. Fill the required details on the bug creation form and click on create.
4\. Select the severity level to categorize bugs in orangescrum.
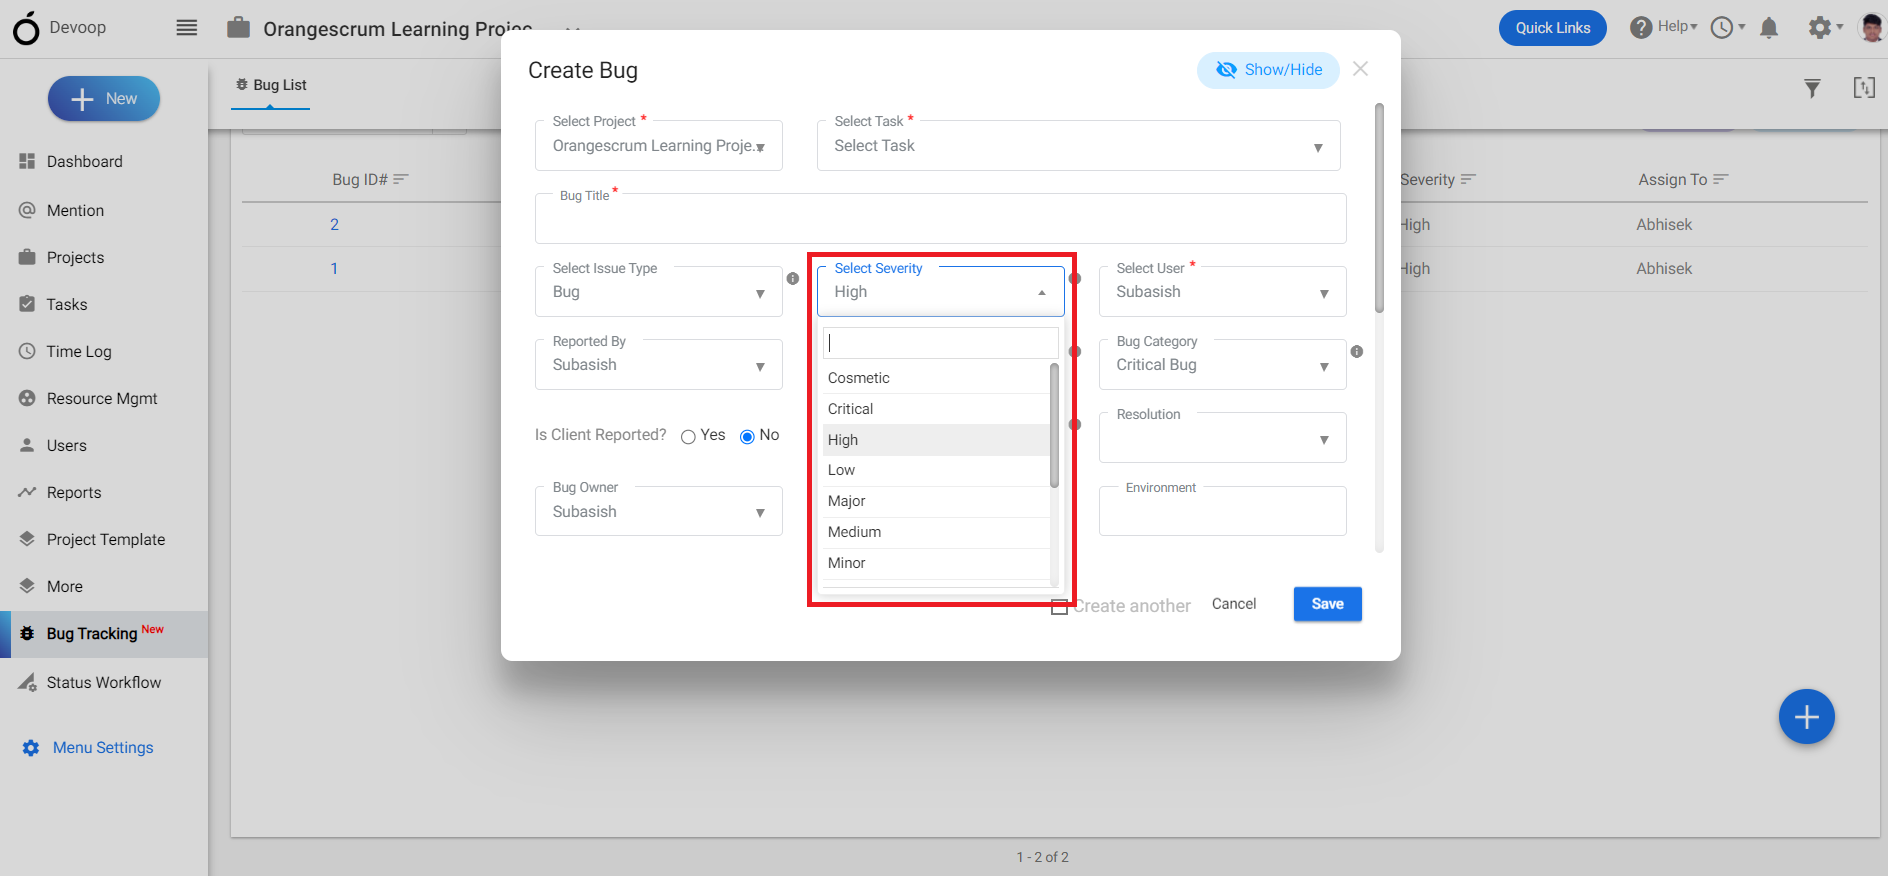
**(Image-2)**
# How do I report a bug in Orangescrum?
> Learn how to report a bug in Orangescrum. Follow this quick guide to submit bug reports and streamline issue resolution for your projects.
> For the complete documentation index, see [llms.txt](https://helpdesk.orangescrum.com/llms.txt).
Source: https://helpdesk.orangescrum.com/how-do-i-report-a-bug-in-orangescrum
---
Follow the steps below:
1. Login to Orangescrum and click on the “Bug Tracking” from the left menu.
2\. Click on the “+” to enter a new bug.
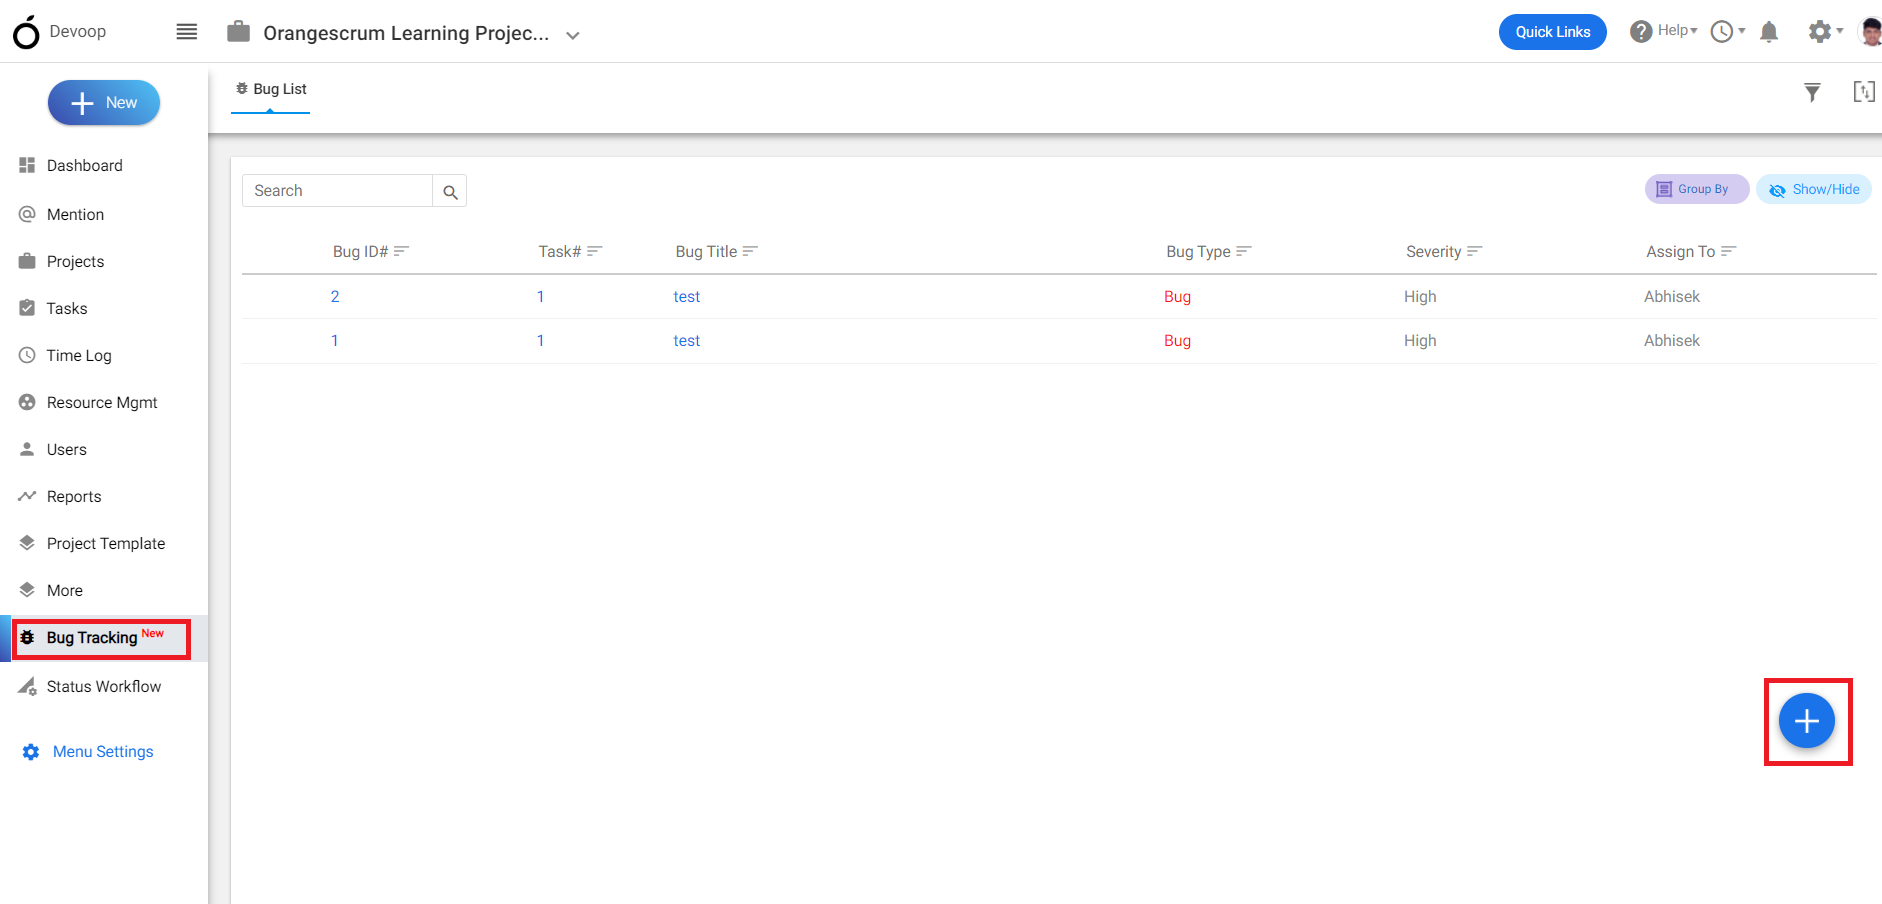
**(Image-1)**
3\. Fill the required details on the bug creation form and click on create.
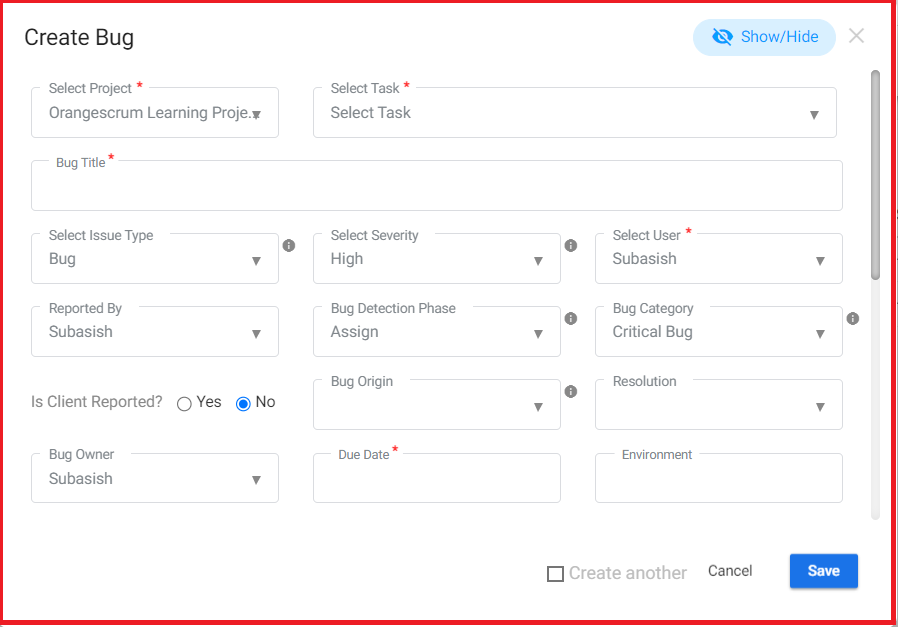
**(Image-2)**
# What are the available options for filtering or searching time log entries in Orangescrum?
> Explore the available options for filtering and searching time log entries in Orangescrum. Enhance your project management efficiency.
> For the complete documentation index, see [llms.txt](https://helpdesk.orangescrum.com/llms.txt).
Source: https://helpdesk.orangescrum.com/what-are-the-available-options-for-filtering-or-searching-time-log-entries-in-orangescrum
---
Follow the steps below:.
1\. Login to Orangescrum and click on the “Time Log” from the left menu.
2\. Click on the “list view” from the top navigation bar.
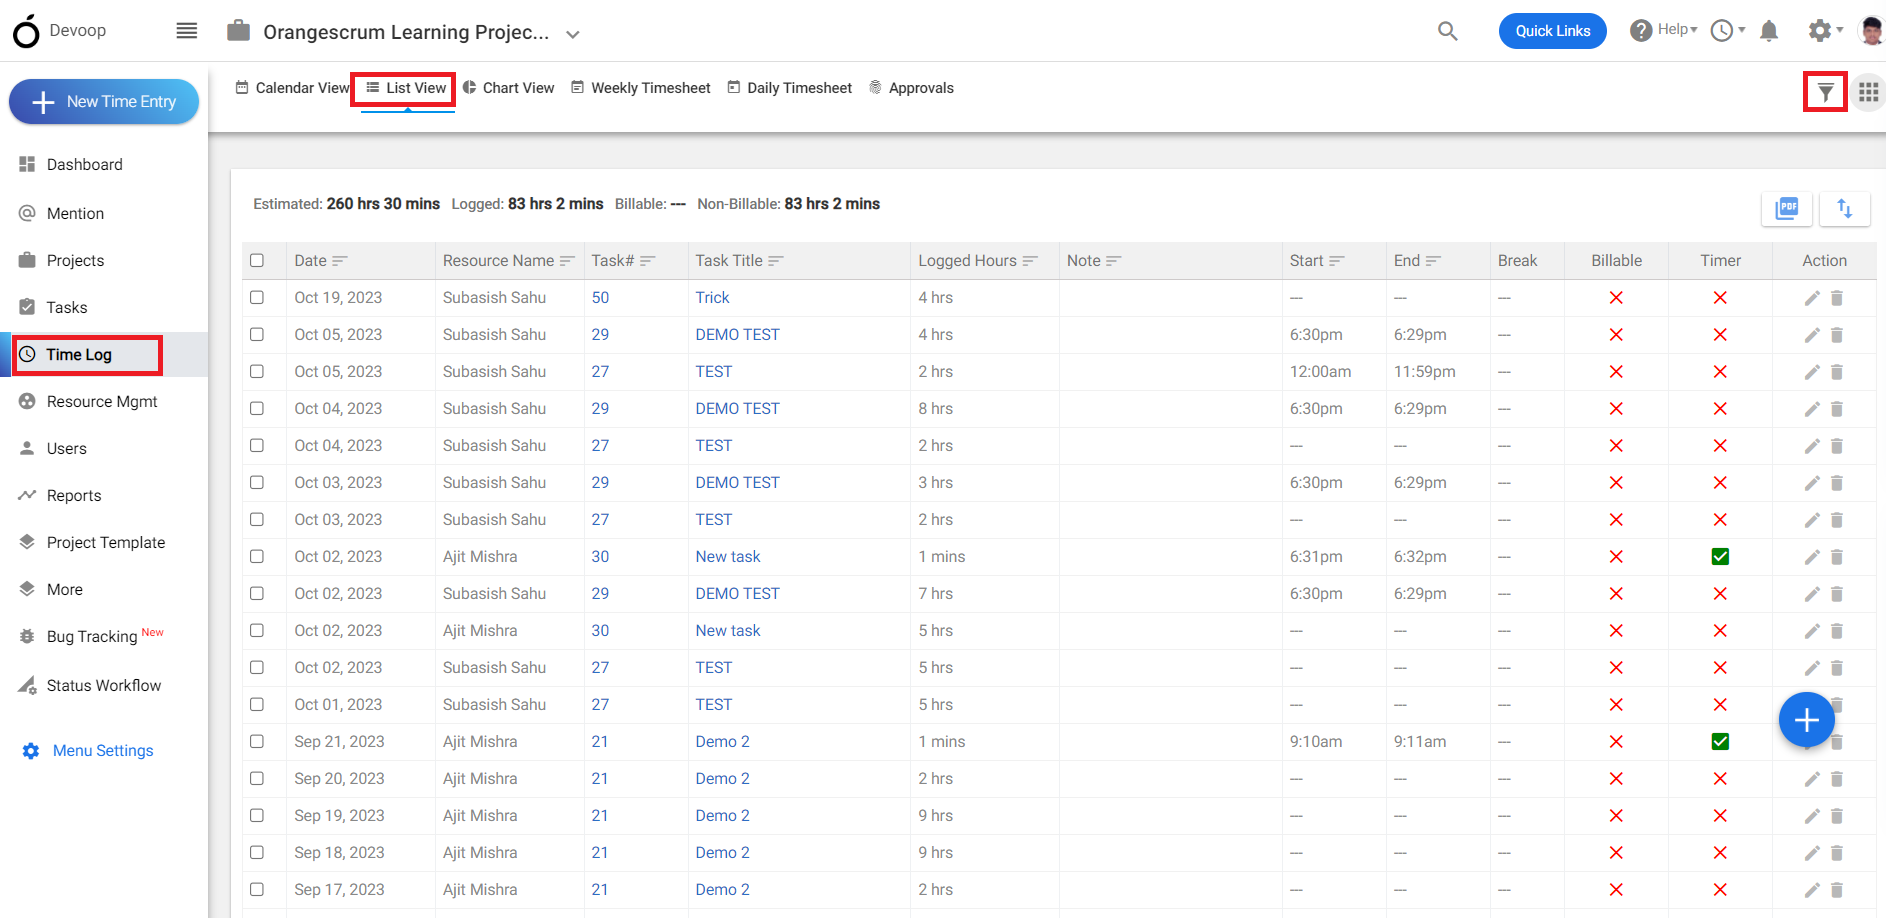
**(Image-1)**
3\. Click on the filter from the top right corner.
4\. You can filter your time log by selecting “Dates” and “Resources”.
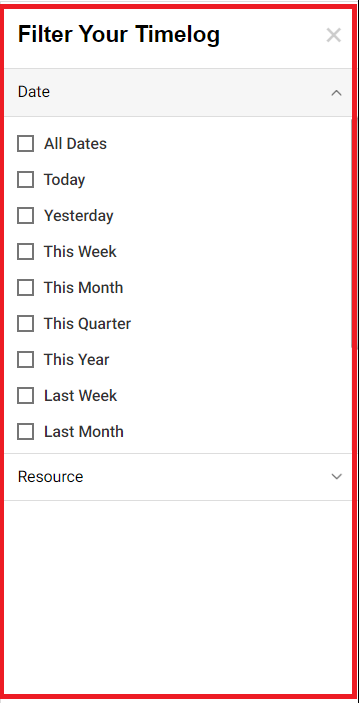
**(Image-2)**
# Can I export time log data from Orangescrum for external analysis or invoicing purposes?
> Learn how to export time log data from Orangescrum for external analysis or invoicing purposes. Follow this guide for easy data export.
> For the complete documentation index, see [llms.txt](https://helpdesk.orangescrum.com/llms.txt).
Source: https://helpdesk.orangescrum.com/can-i-export-time-log-data-from-orangescrum-for-external-analysis-or-invoicing-purposes
---
Follow the steps below:
1. Login to Orangescrum and click on “Time Log” from the left menu.
2\. Click on the “List View” in the time log.
3\. Click on the top right corner to export time logs of all the tasks.
(Refer Image-1)
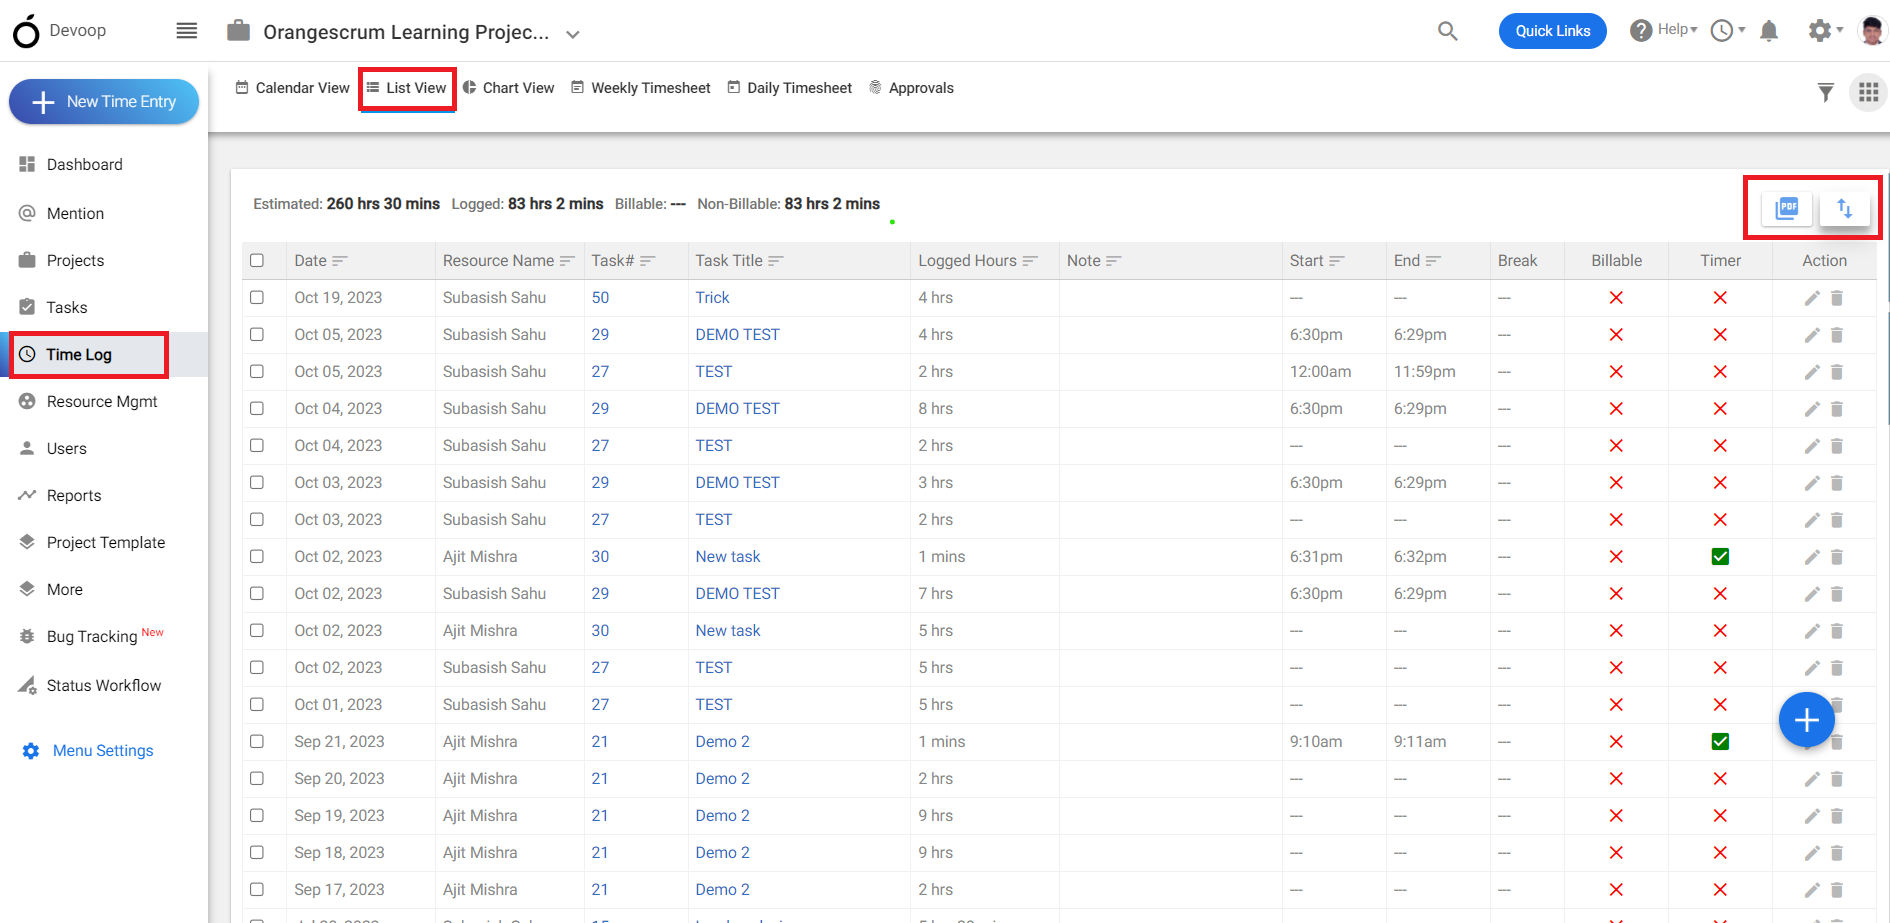
**(Image-1)**
# How do I track billable and non-billable hours in the time log?
> Learn how to track billable and non-billable hours in the Orangescrum time log. Use this guide to manage project hours efficiently.
> For the complete documentation index, see [llms.txt](https://helpdesk.orangescrum.com/llms.txt).
Source: https://helpdesk.orangescrum.com/how-do-i-track-billable-and-non-billable-hours-in-the-time-log
---
Follow the steps below:
1. Login to Orangescrum and click on the “task” from the left menu.
2\. Click on the “+” to create a new task.
3\. Mark as select on billable in the task details page while logging the time.
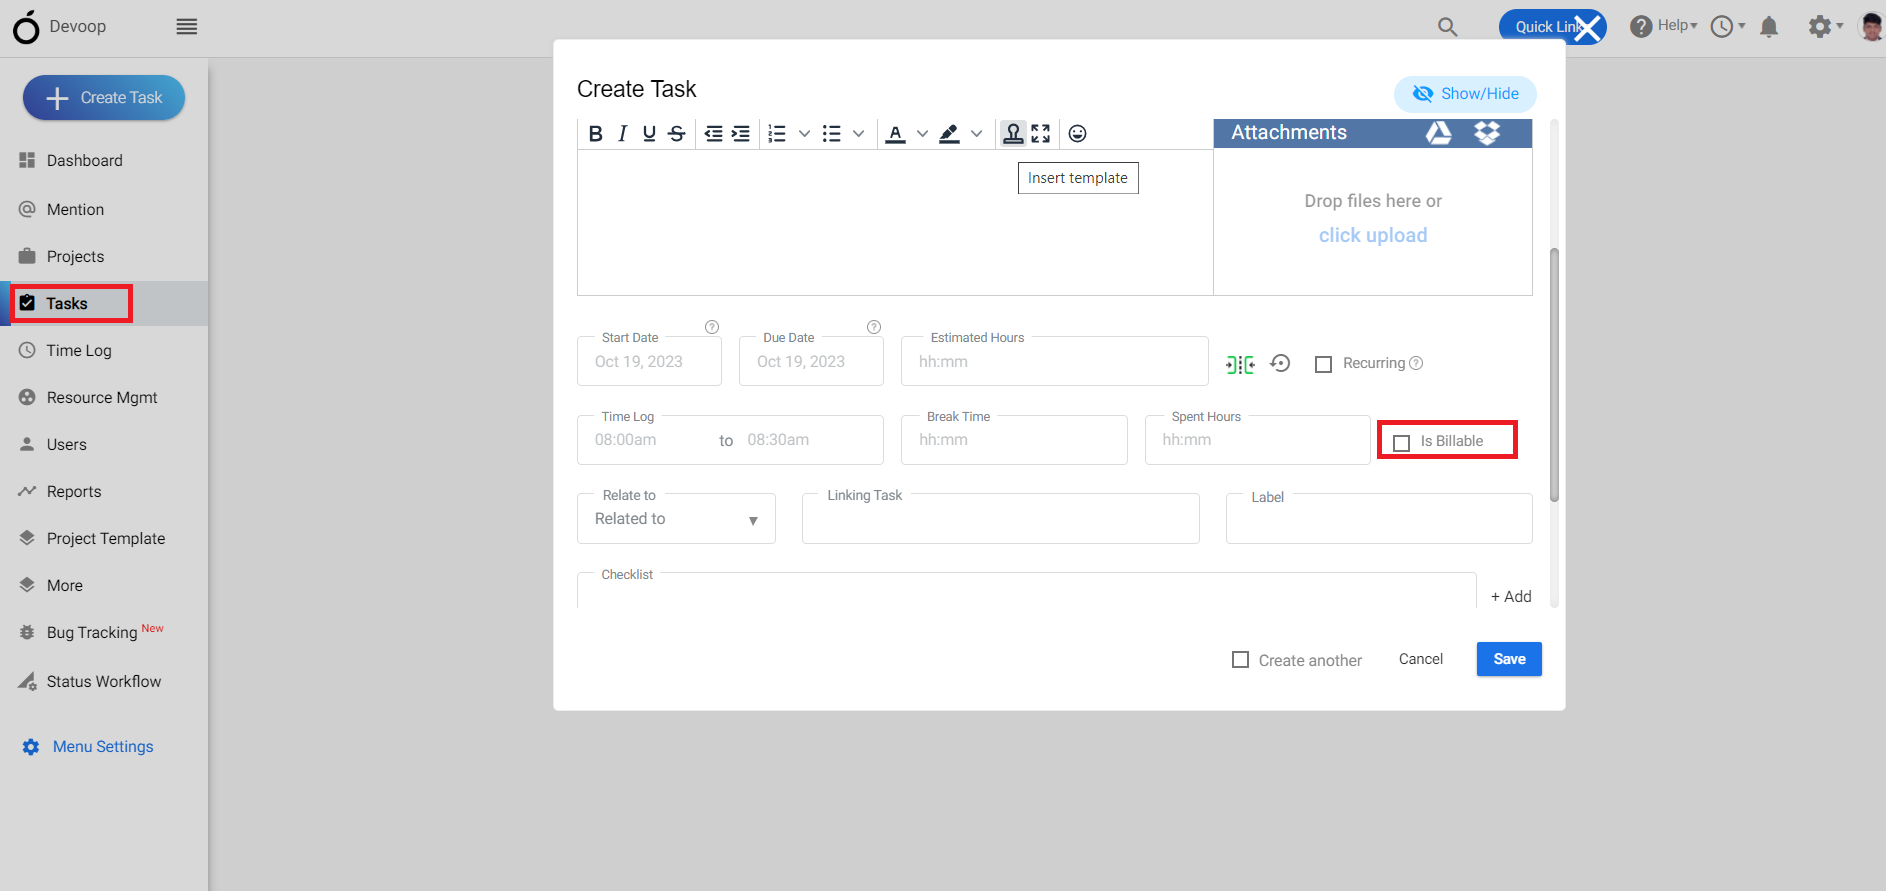
**(Image-1)**
# Can I edit or modify existing time log entries in Orangescrum?
> Learn how to edit or modify existing time log entries in Orangescrum. Follow this guide for easy updates and accurate time tracking.
> For the complete documentation index, see [llms.txt](https://helpdesk.orangescrum.com/llms.txt).
Source: https://helpdesk.orangescrum.com/can-i-edit-or-modify-existing-time-log-entries-in-orangescrum
---
Follow the steps below:
1\. Login to orangescrum and click on “Task” from the left menu.
2\. Click on the task list page and select a task.
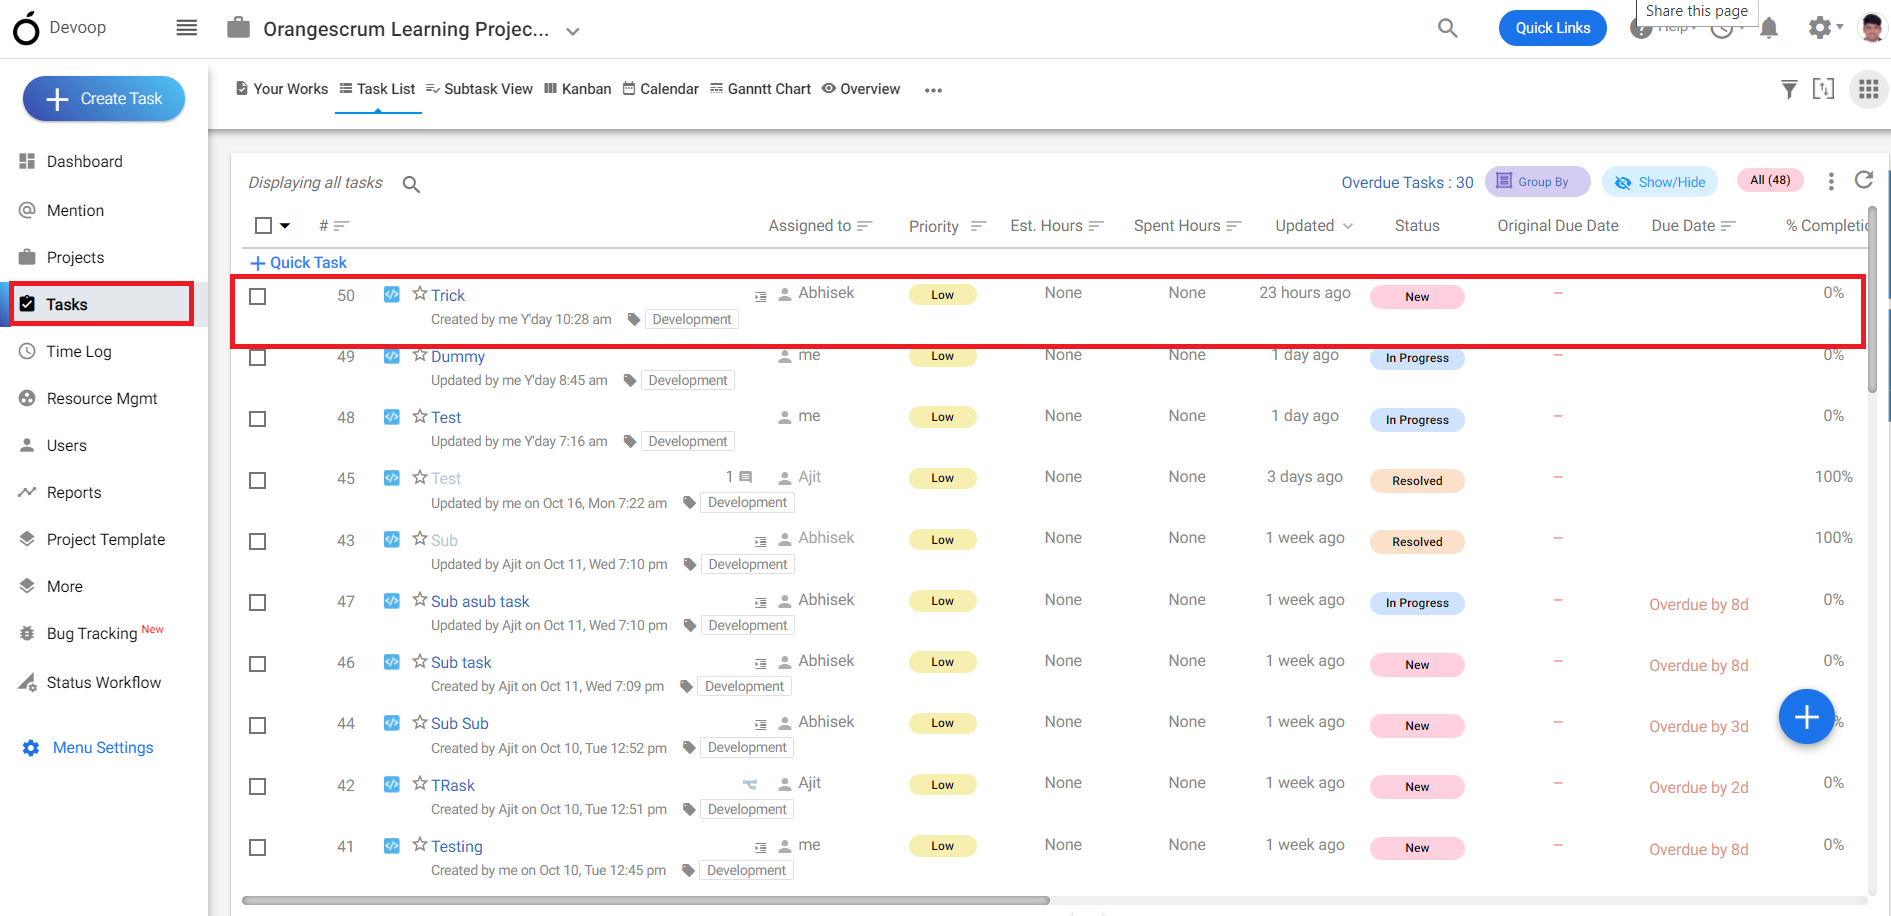
**(Image-1)**
3\. Click on the “time log” and click on “edit” to modify.
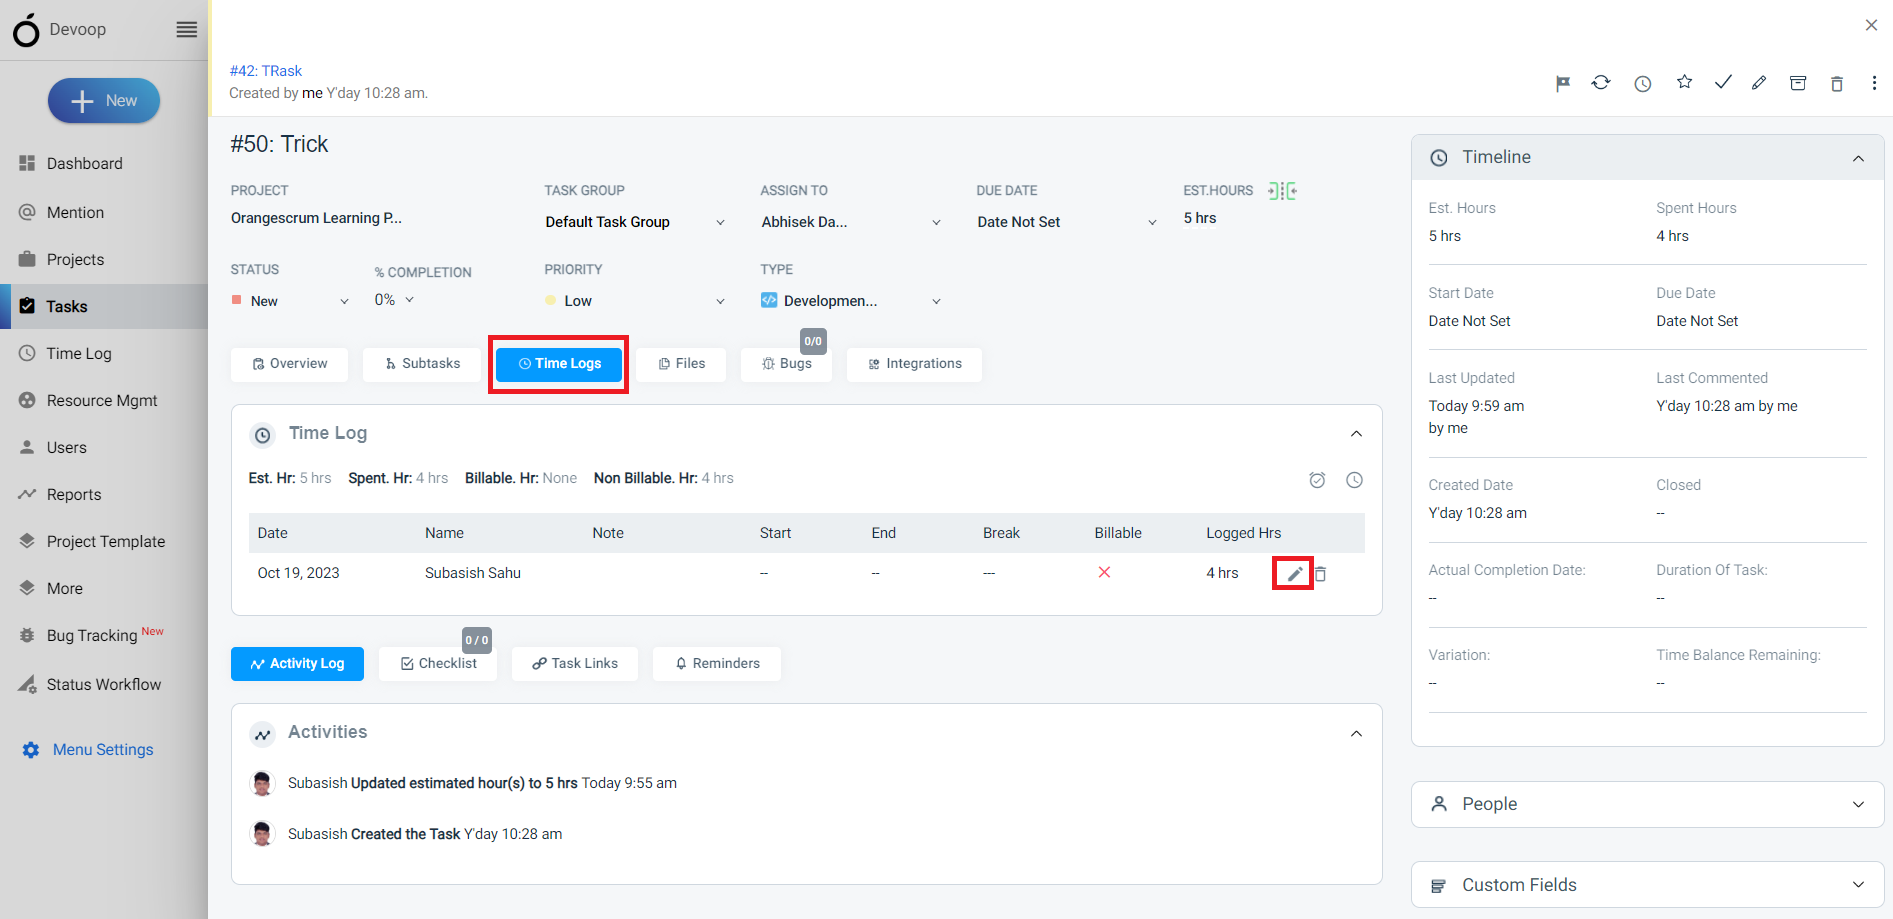
**(Image-2)**
4\. Modify the time log and click on save.
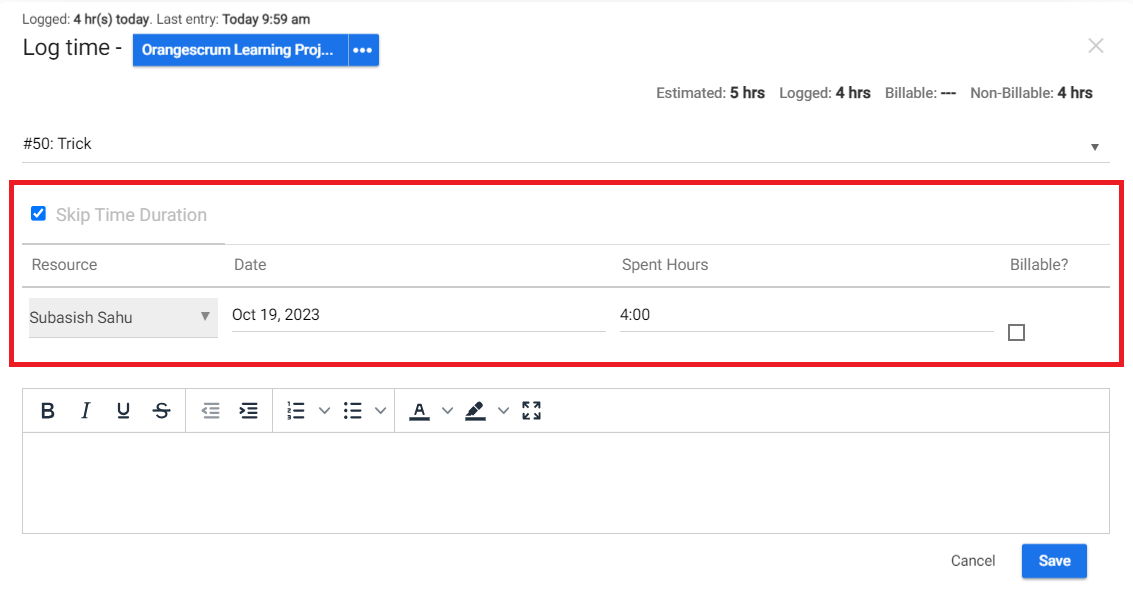
**(Image-3)**
# Is there a way to set hourly rates for time tracking purposes?
> Learn how to set hourly rates for time tracking in Orangescrum. Simplify billing and invoicing with accurate time and rate management.
> For the complete documentation index, see [llms.txt](https://helpdesk.orangescrum.com/llms.txt).
Source: https://helpdesk.orangescrum.com/is-there-a-way-to-set-hourly-rates-for-time-tracking-purposes
---
Follow the steps below:
1. Login to orangescrum and click on the “ Project” from the left menu.
2\. Click on the “+” to create a new project.
3\. Click on the “Default hourly rate” at the bottom of the project creation page.
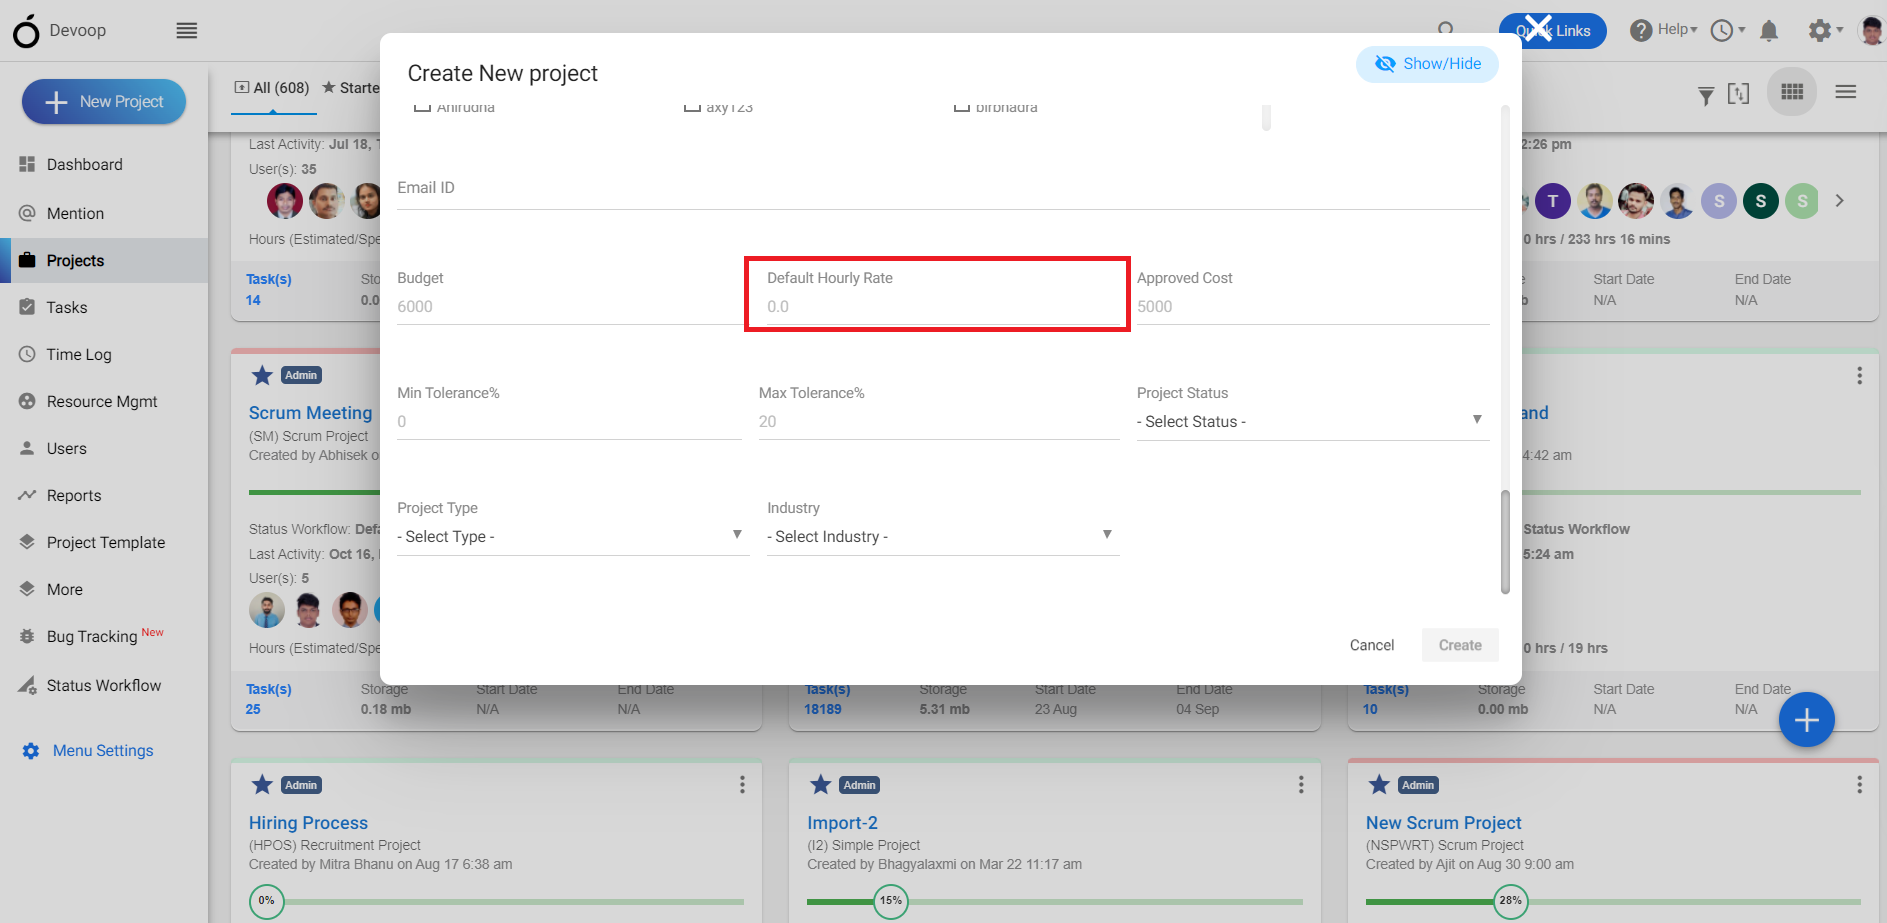
**(Image-1)**
# How do I view or generate time reports based on tracked time in Orangescrum?
> Learn how to view or generate time reports in Orangescrum based on tracked hours. Easily monitor team performance and project progress.
> For the complete documentation index, see [llms.txt](https://helpdesk.orangescrum.com/llms.txt).
Source: https://helpdesk.orangescrum.com/how-do-i-view-or-generate-time-reports-based-on-tracked-time-in-orangescrum
---
Follow the steps below:
1\. Login to Orangescrum and click one the “Report” from the left menu.
2\. Select the resolution time report.
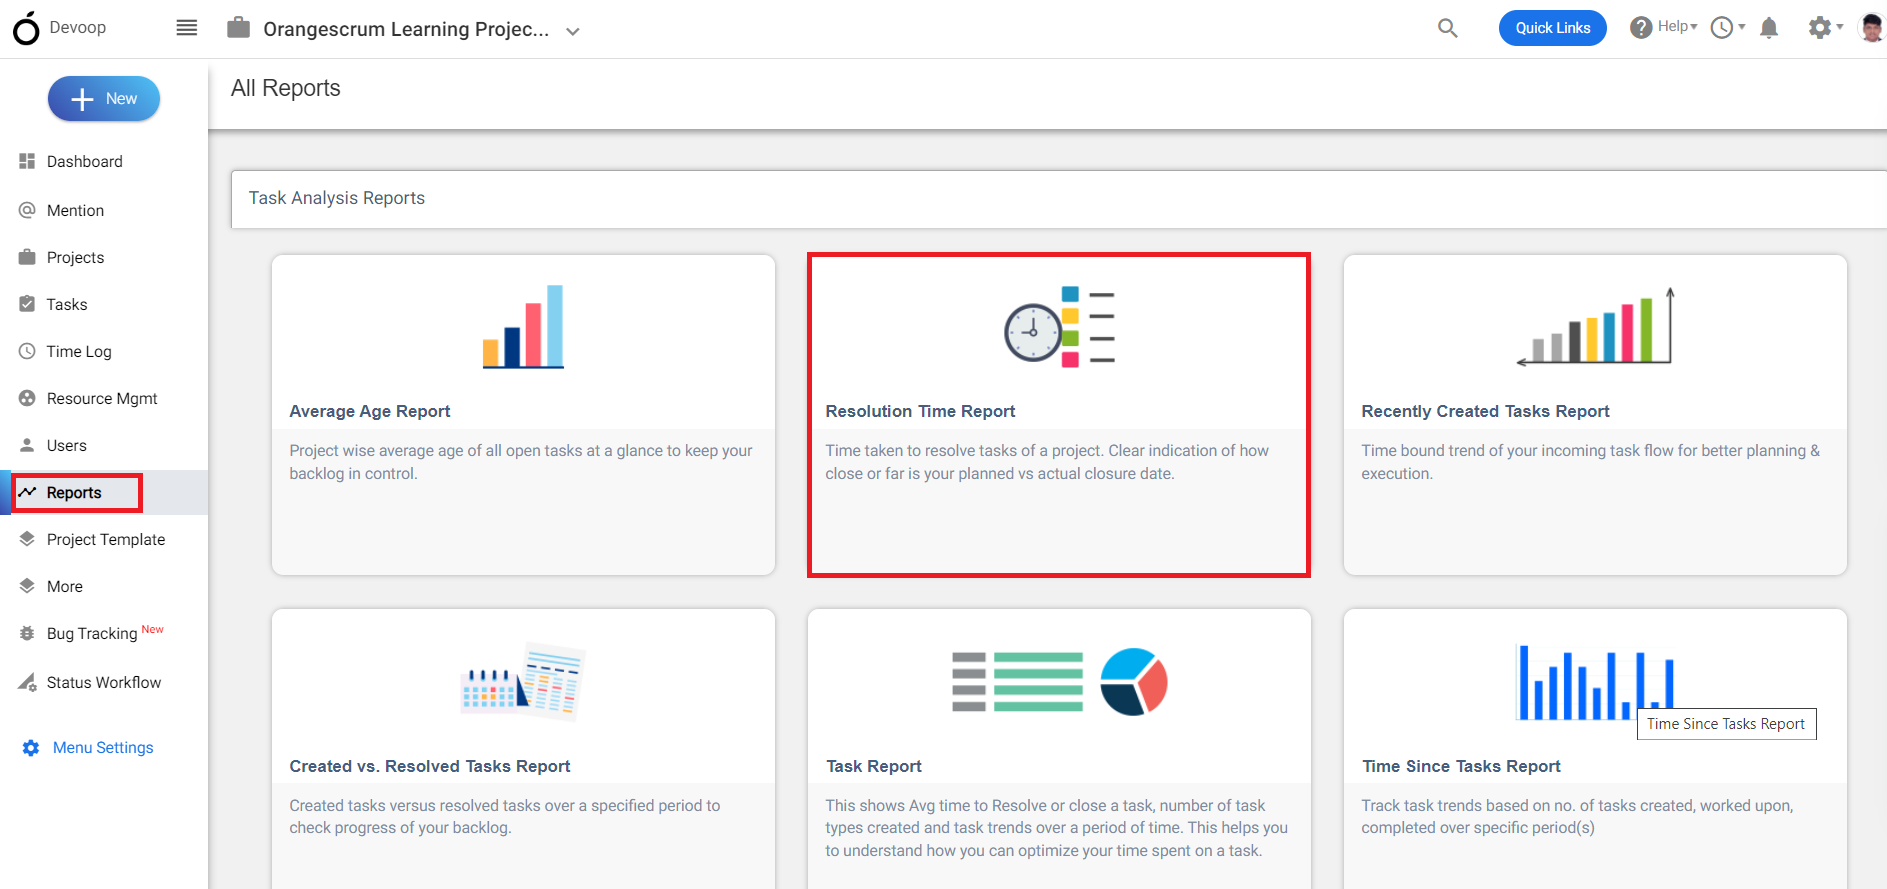
**(Image-1)**
3\. Select a project followed by days and months to generate a time report.
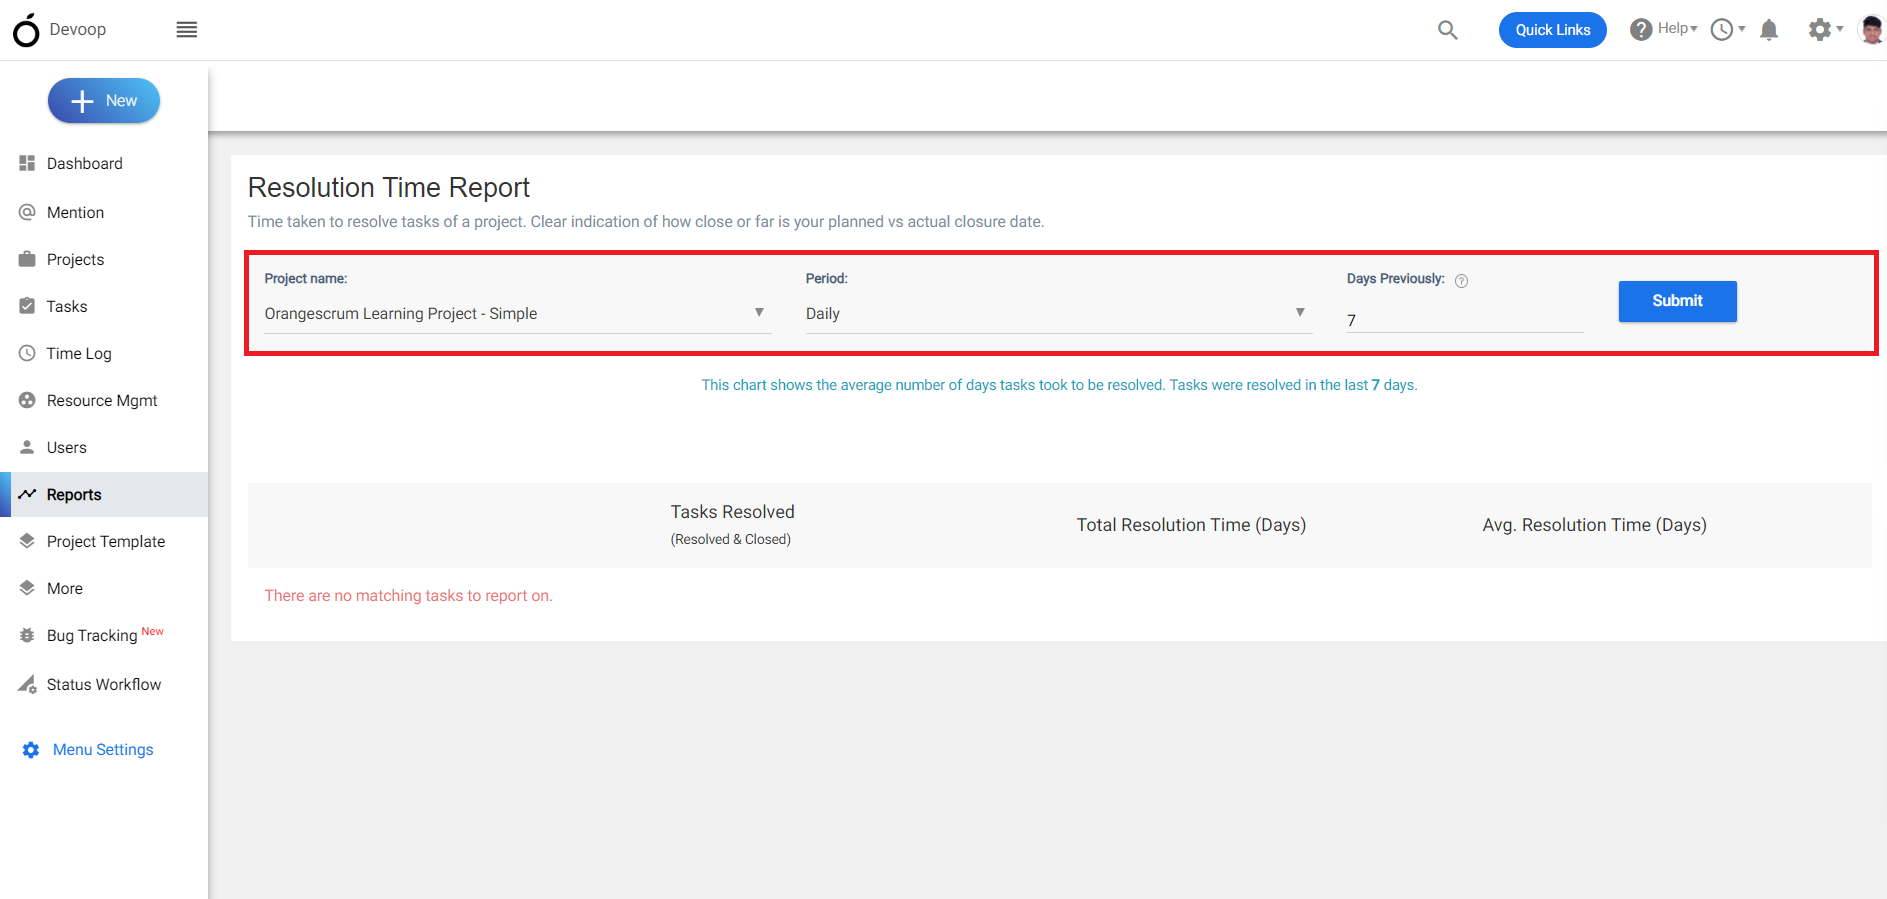
**(Image-2)**
# Is it possible to manually enter time entries in Orangescrum?
> Find out how to manually add time entries in Orangescrum. Easily track time for tasks and projects with custom entries.
> For the complete documentation index, see [llms.txt](https://helpdesk.orangescrum.com/llms.txt).
Source: https://helpdesk.orangescrum.com/is-it-possible-to-manually-enter-time-entries-in-orangescrum
---
Follow the steps below:
1. Login to Orangescrum and click on the task from the left menu.
2\. Click on the task list page and select a task to enter time.
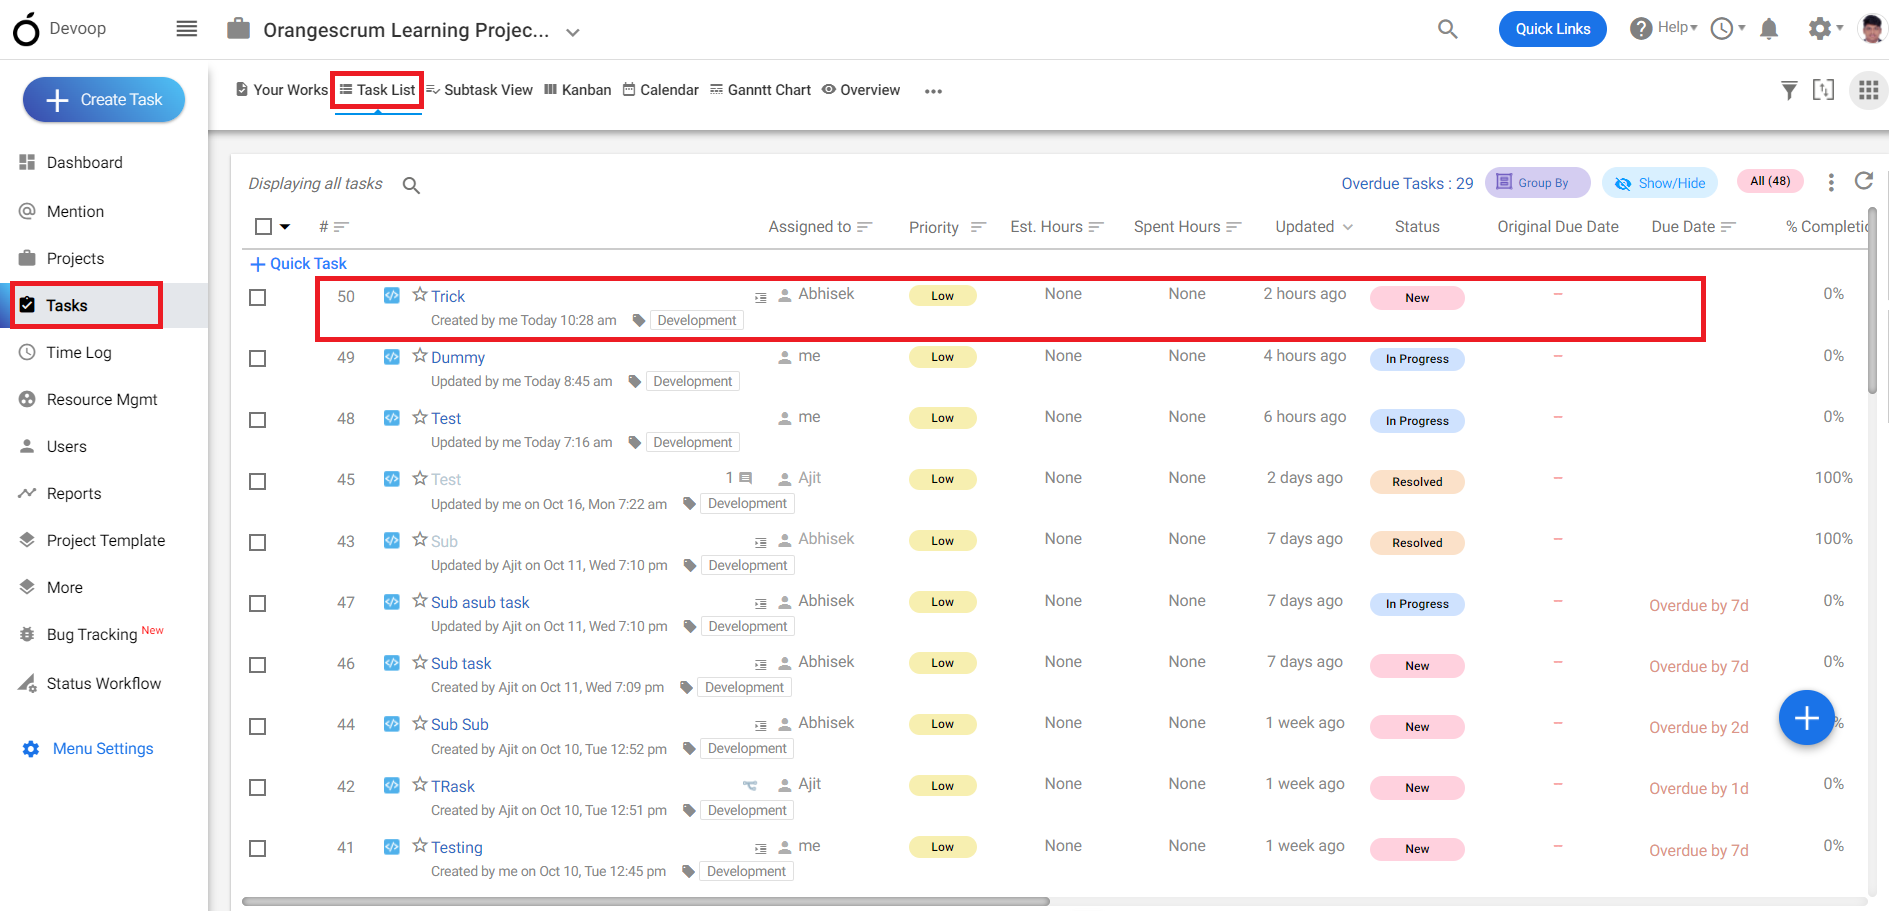
**(Image-1)**
3\. Click on time log in the task details page and select the manual time entry.
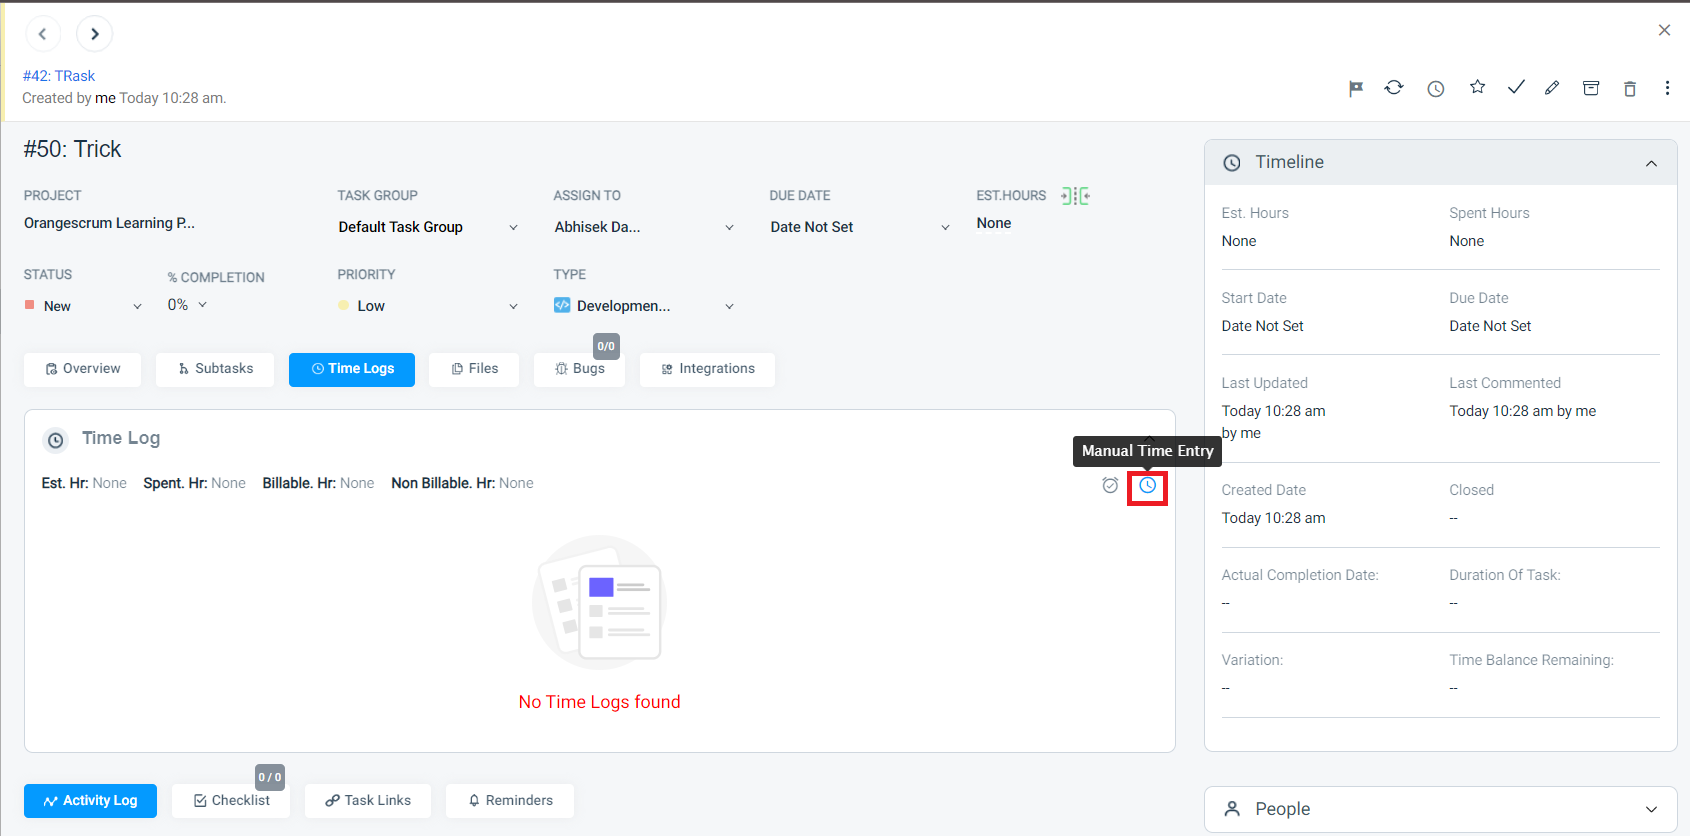
**(Image-2)**
4\. Fill the working hours and break time manually and click on save.
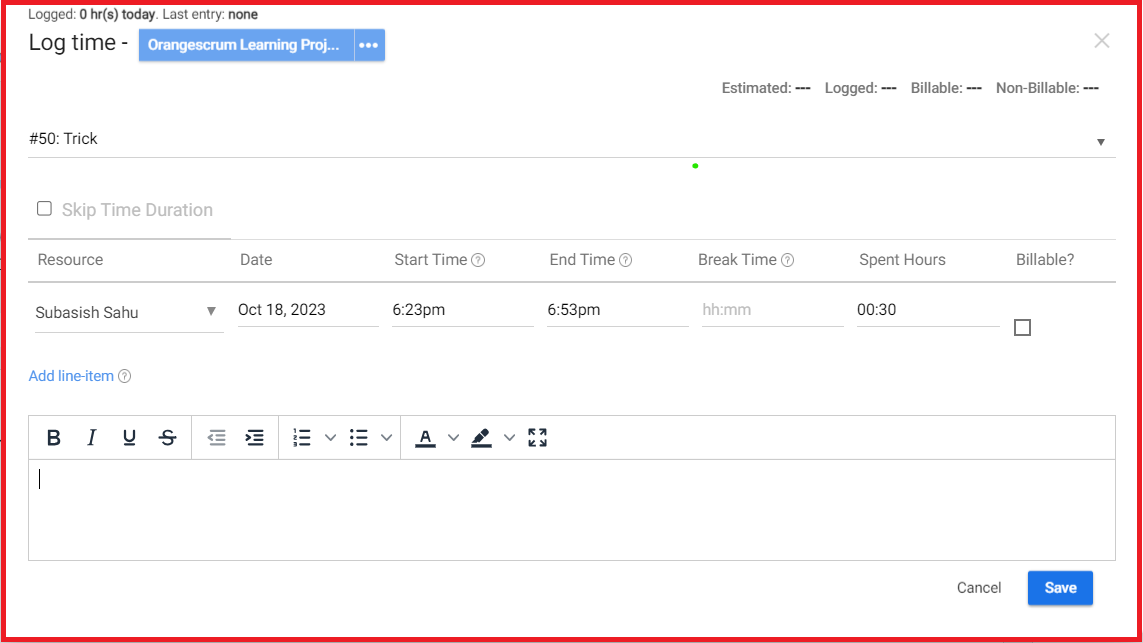
**(Image-3)**
# How do I start and stop the timer for tracking time spent on tasks?
> Track task time with ease in Orangescrum. Learn how to start and stop the timer for accurate task tracking in a few clicks.
> For the complete documentation index, see [llms.txt](https://helpdesk.orangescrum.com/llms.txt).
Source: https://helpdesk.orangescrum.com/how-do-i-start-and-stop-the-timer-for-tracking-time-spent-on-tasks
---
Follow the steps below:
1\. Login to Orangescrum and click on the task from the left menu.
2\. Click on the task list page and select a task to enter time.
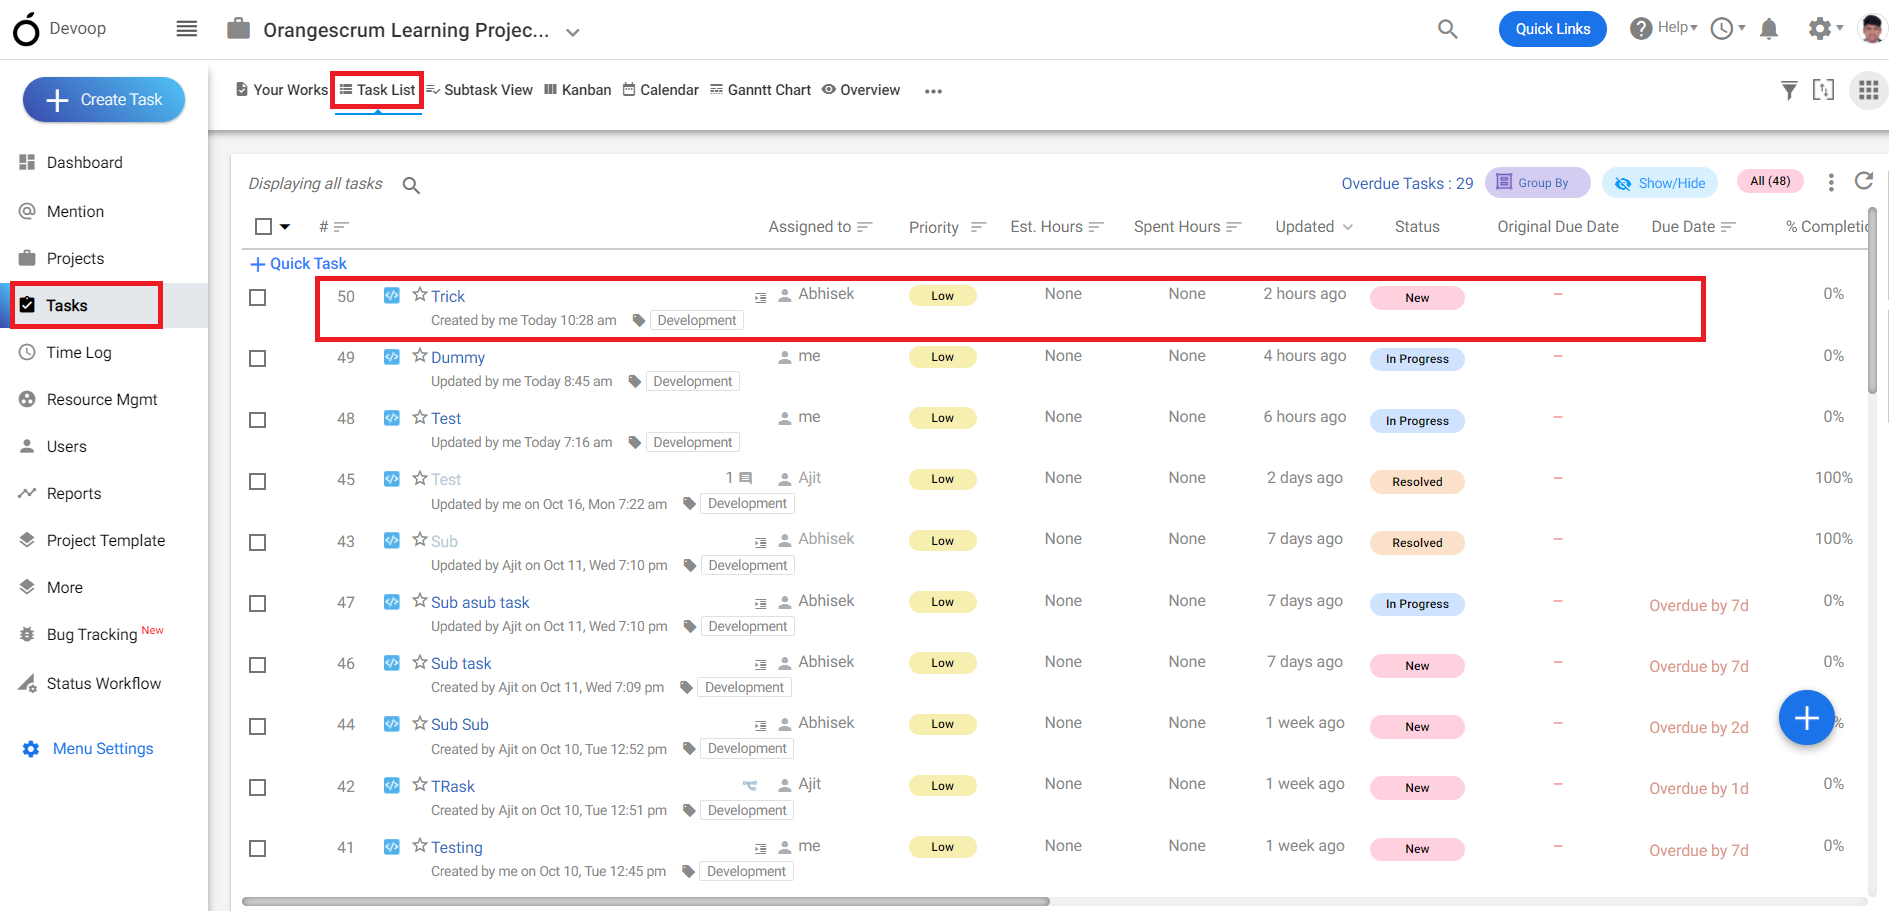
**(Image-1)**
3\. Click on time log in the task details page and start the timer.
4\. After completion of the task you can stop the timer.
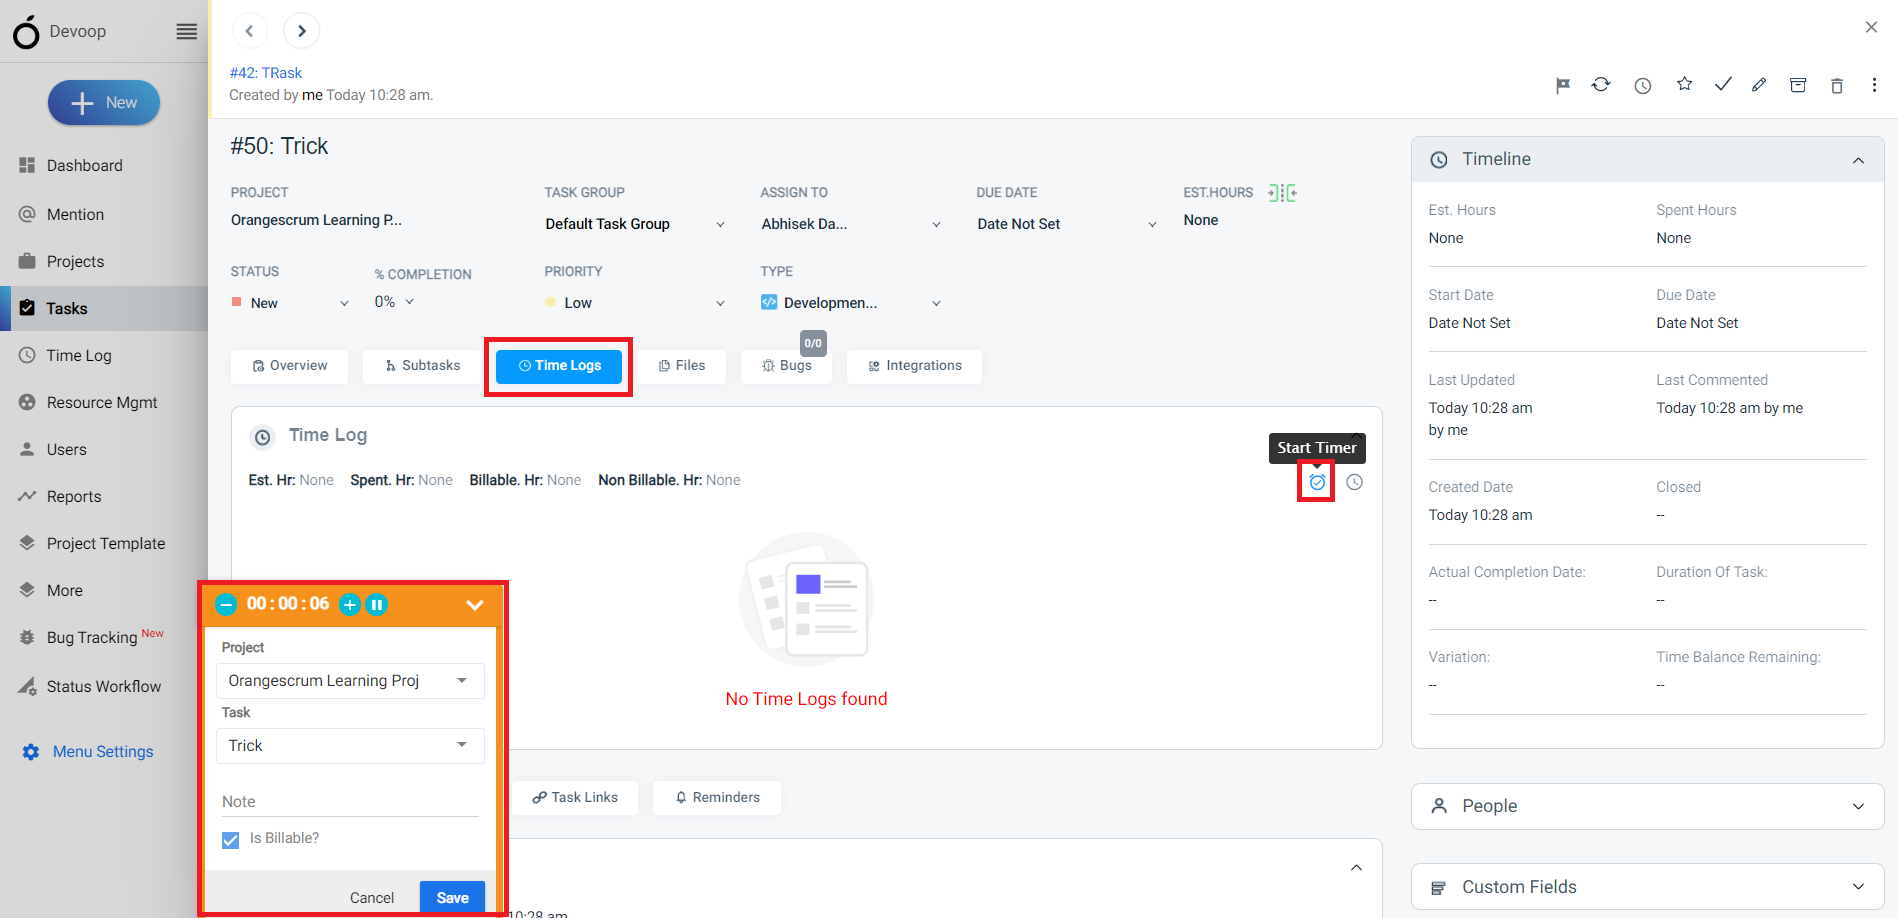
**(Image-2)**
# What options are available for filtering or searching tasks on the Kanban board?
> Find options for filtering and searching tasks on the Kanban board in Orangescrum to enhance your task management efficiency.
> For the complete documentation index, see [llms.txt](https://helpdesk.orangescrum.com/llms.txt).
Source: https://helpdesk.orangescrum.com/what-options-are-available-for-filtering-or-searching-tasks-on-the-kanban-board
---
Follow the steps below:
1\. Login to Orangescrum.
2\. Click on the “Task” from the left menu.
3\. Click on the “Kanban” from the top navigation bar.
4\. Click on the filter from the top right corner.
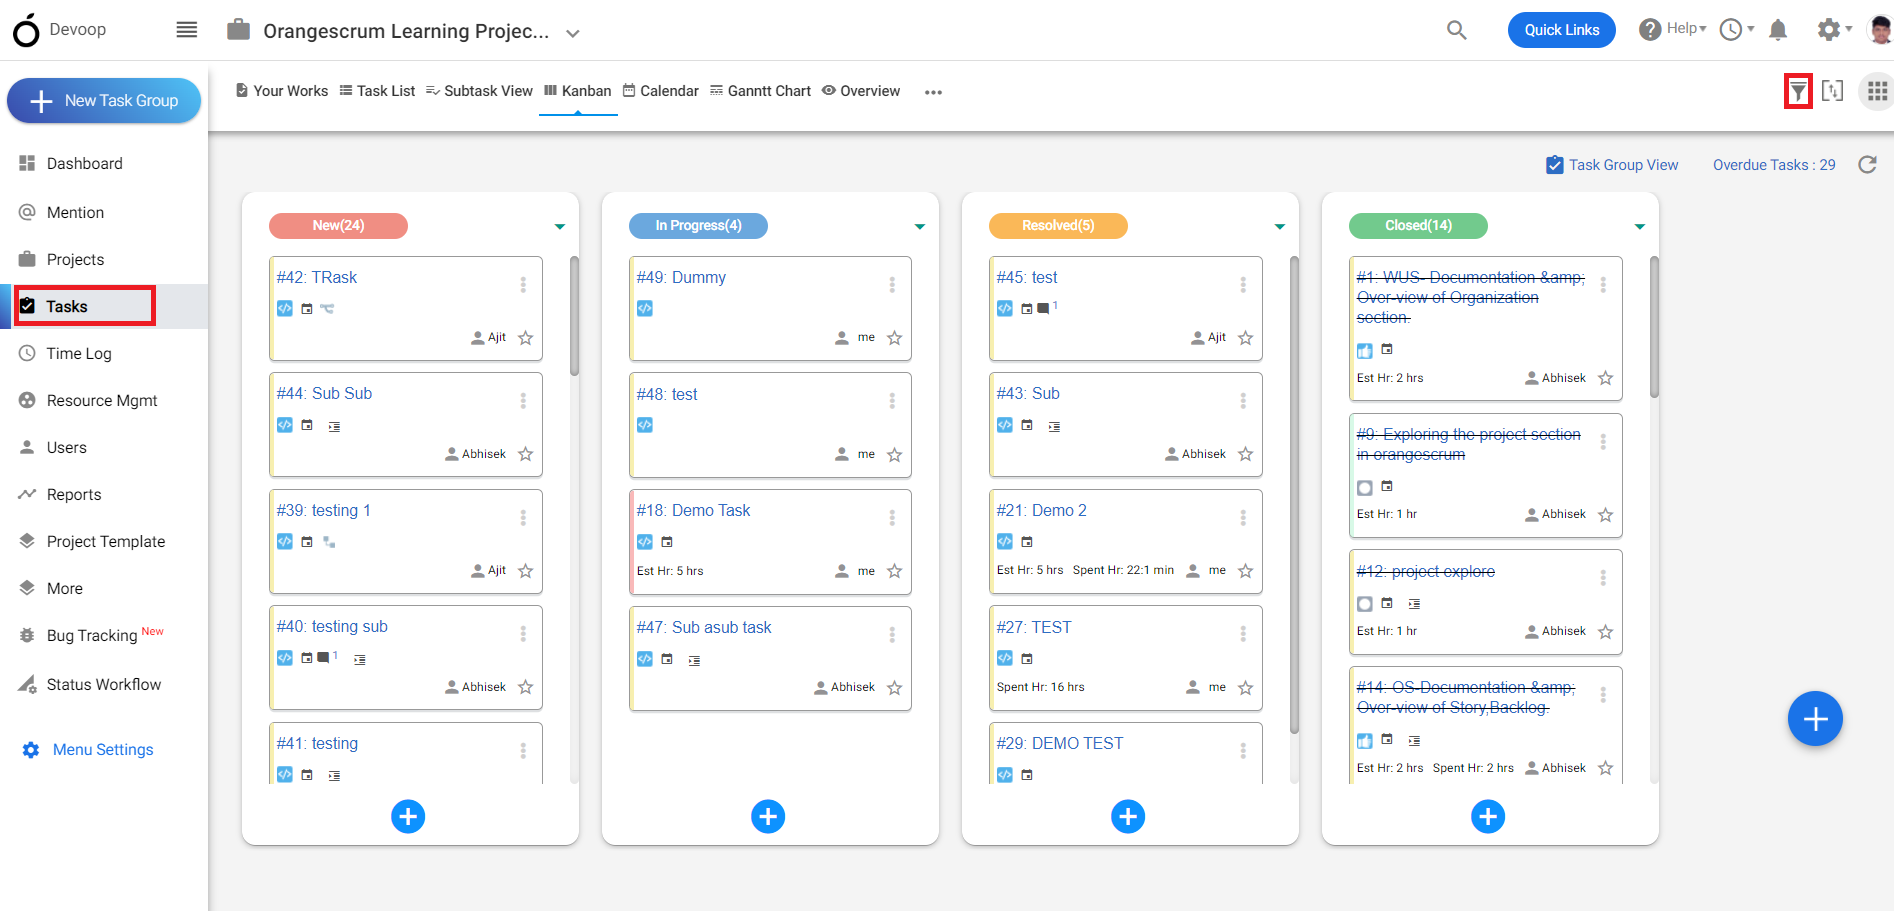
**(Image-1)**
5\. Apply filters based on your requirements and click on save.
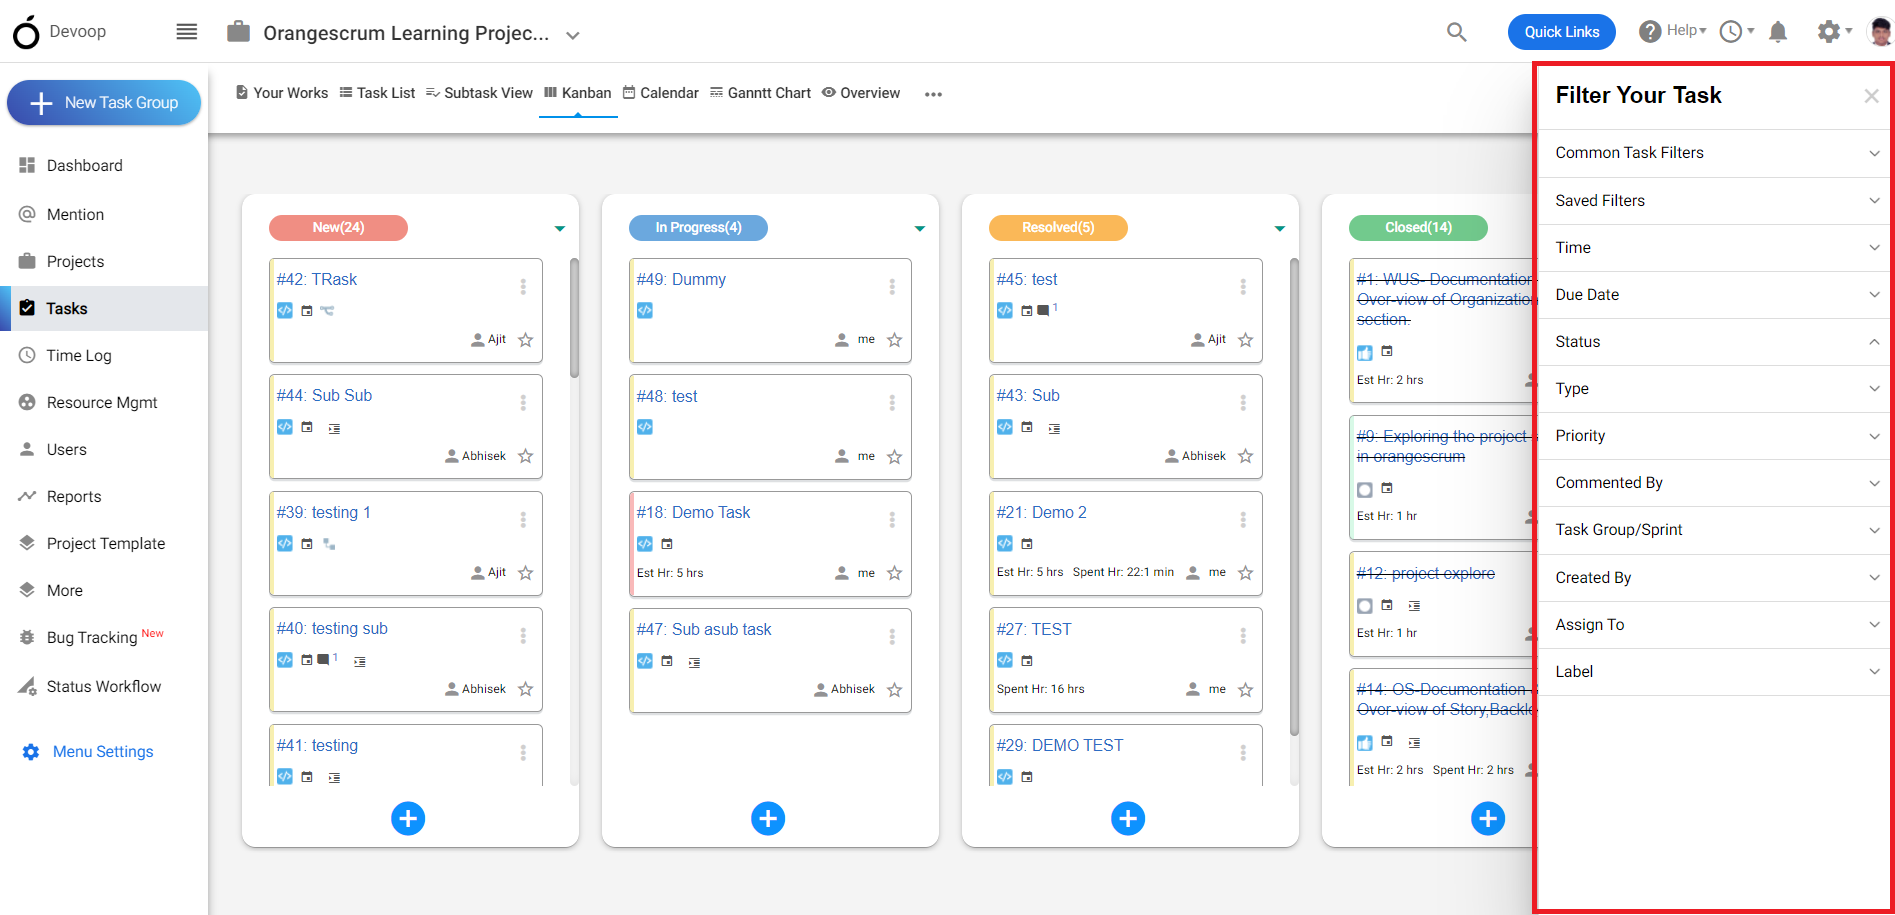
**(Image-2)**
# Is it possible to assign tasks to specific team members directly from the Kanban board?
> Learn if tasks can be assigned to team members directly from the Kanban board in Orangescrum for efficient project management.
> For the complete documentation index, see [llms.txt](https://helpdesk.orangescrum.com/llms.txt).
Source: https://helpdesk.orangescrum.com/is-it-possible-to-assign-tasks-to-specific-team-members-directly-from-the-kanban-board
---
Follow the steps below:
1. Login to Orangescrum.
2\. Click on the “Task” from the left [menu](https://www.orangescrum.com/kanban-board).
3\. Click on the “Kanban” from the top navigation bar.
4\. Click on the “+” to add a new task.
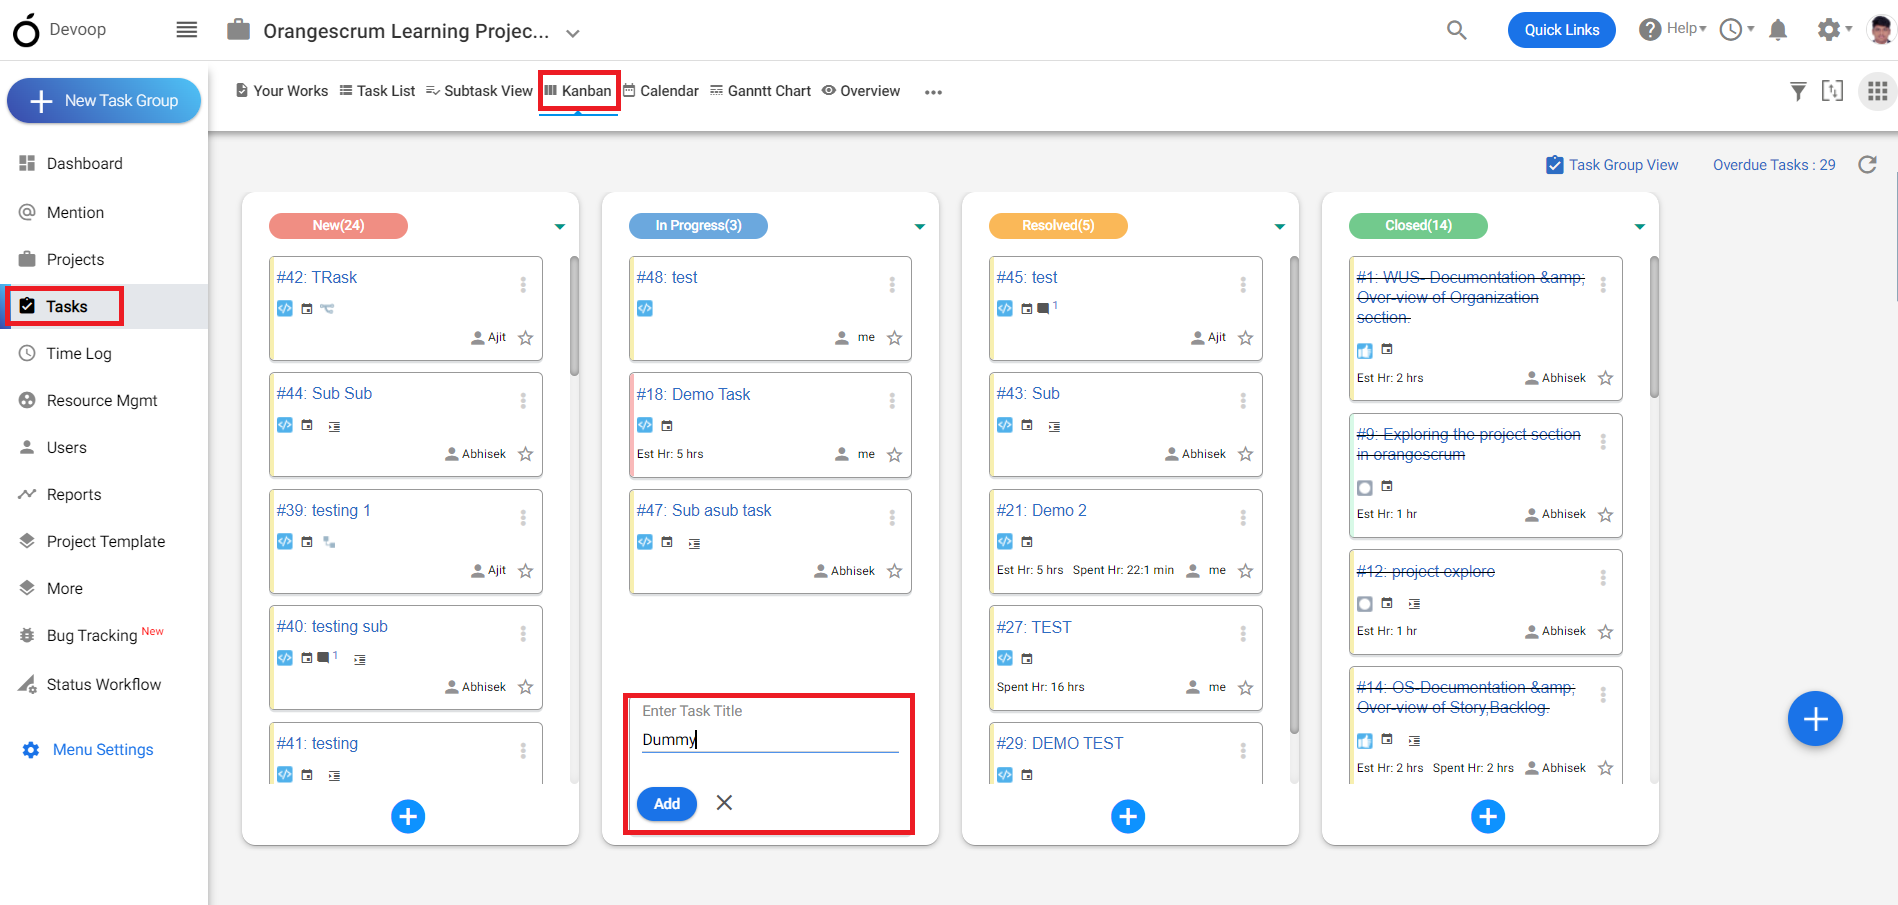
**(Image-1)**
5\. Click on the created task to get into the task details page.
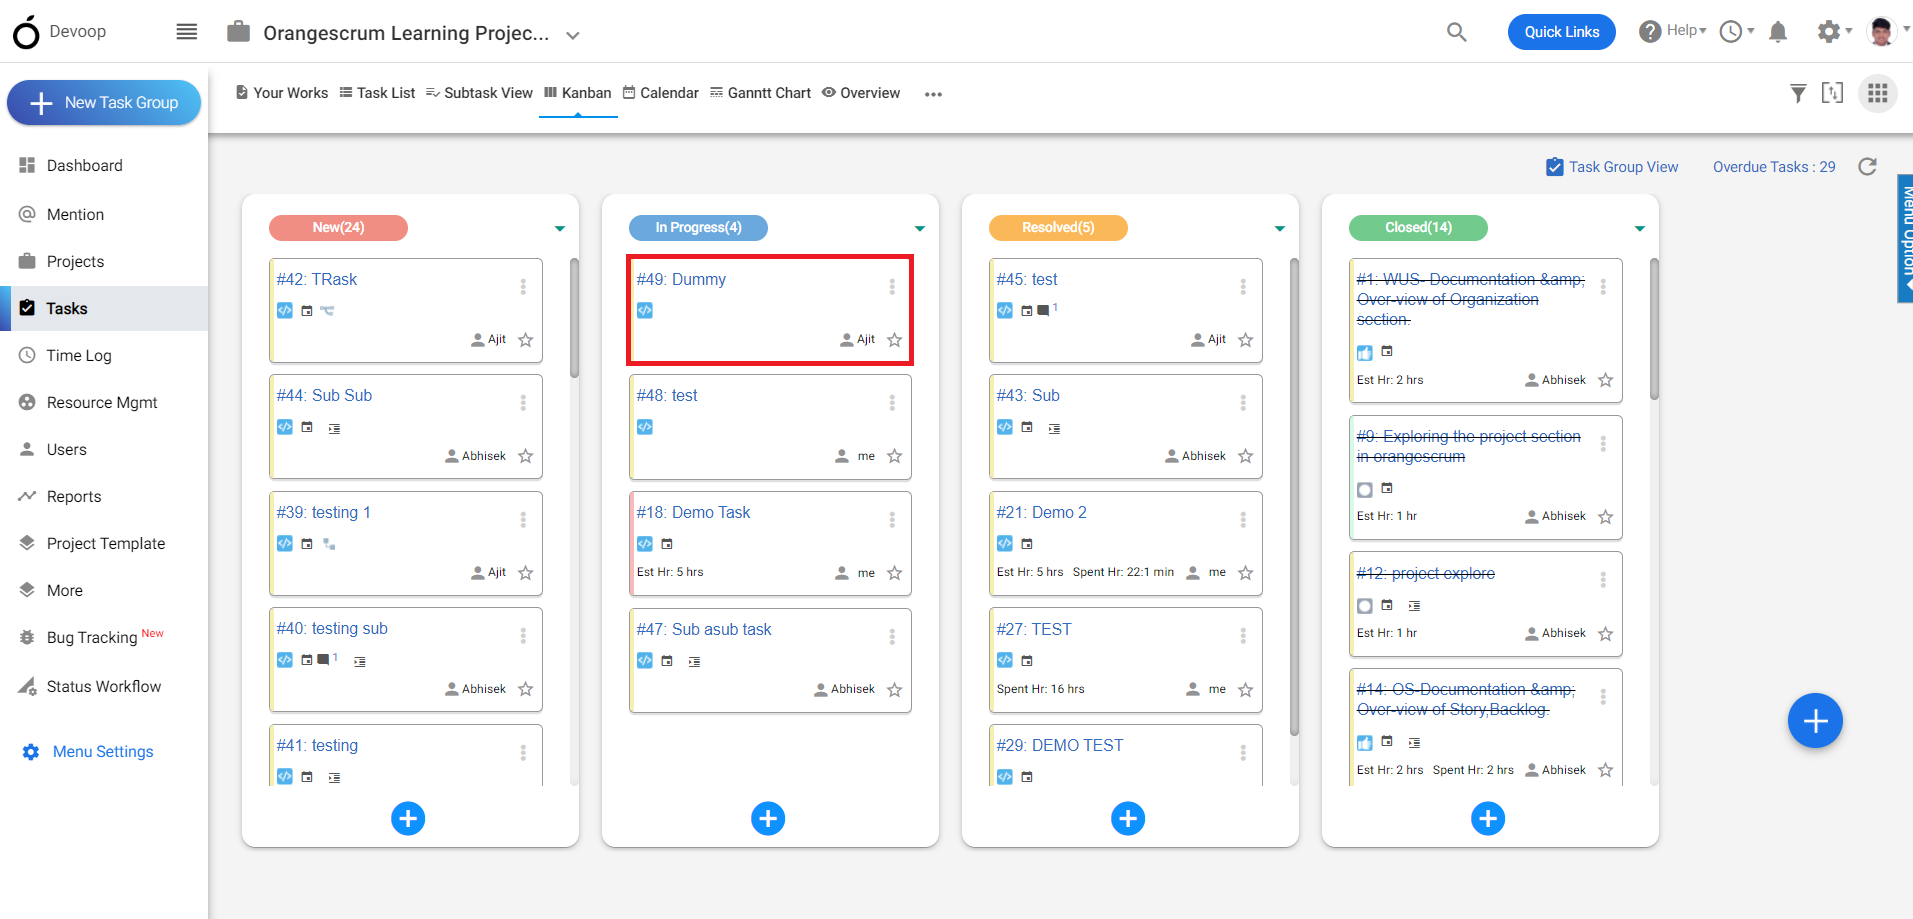
**(Image-2)**
6\. In the task details page you can assign tasks to specific team [members](https://www.andolasoft.com/).
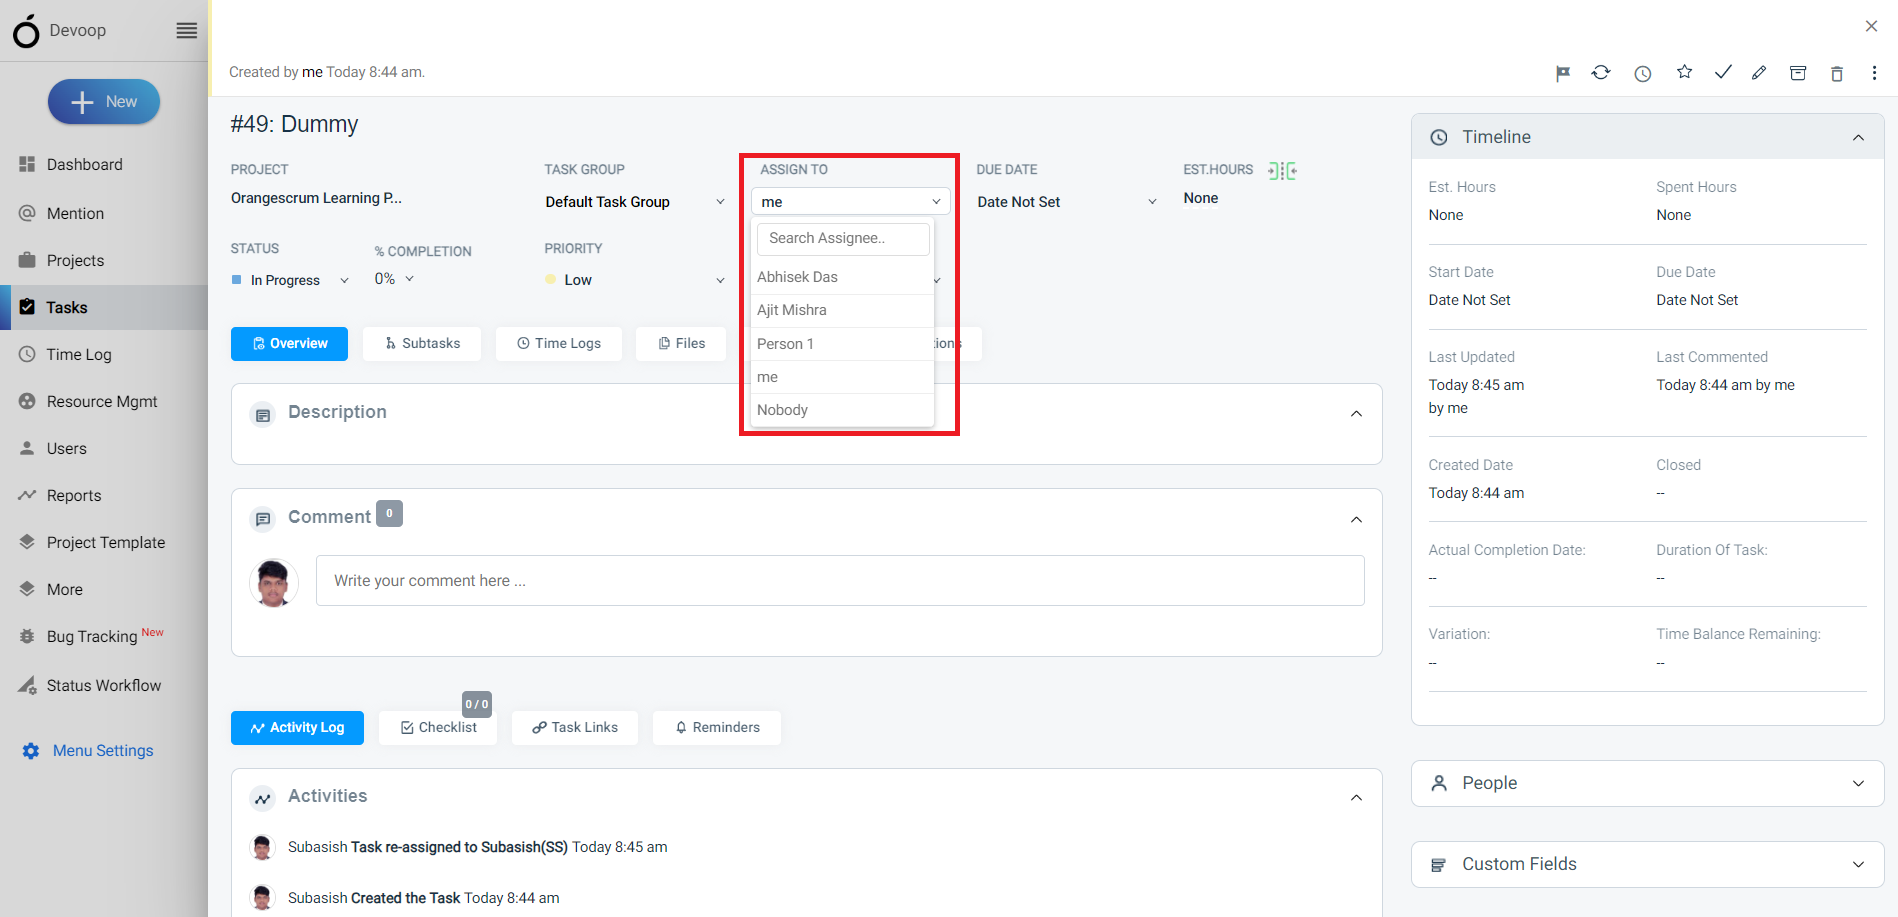
**(Image-3)**
# How do I create and move tasks on the Kanban board in Orangescrum?
> Learn how to create and move tasks on the Kanban board in Orangescrum to streamline your project management process effectively.
> For the complete documentation index, see [llms.txt](https://helpdesk.orangescrum.com/llms.txt).
Source: https://helpdesk.orangescrum.com/how-do-i-create-and-move-tasks-on-the-kanban-board-in-orangescrum
---
Follow the steps below:
1\. Login to Orangescrum.
2\. Click on the “Task” from the left menu.
3\. Click on the “Kanban” from the top navigation bar.
4\. Click on the “+” to add a new task.
5\. You can drag and drop any task and change its status.
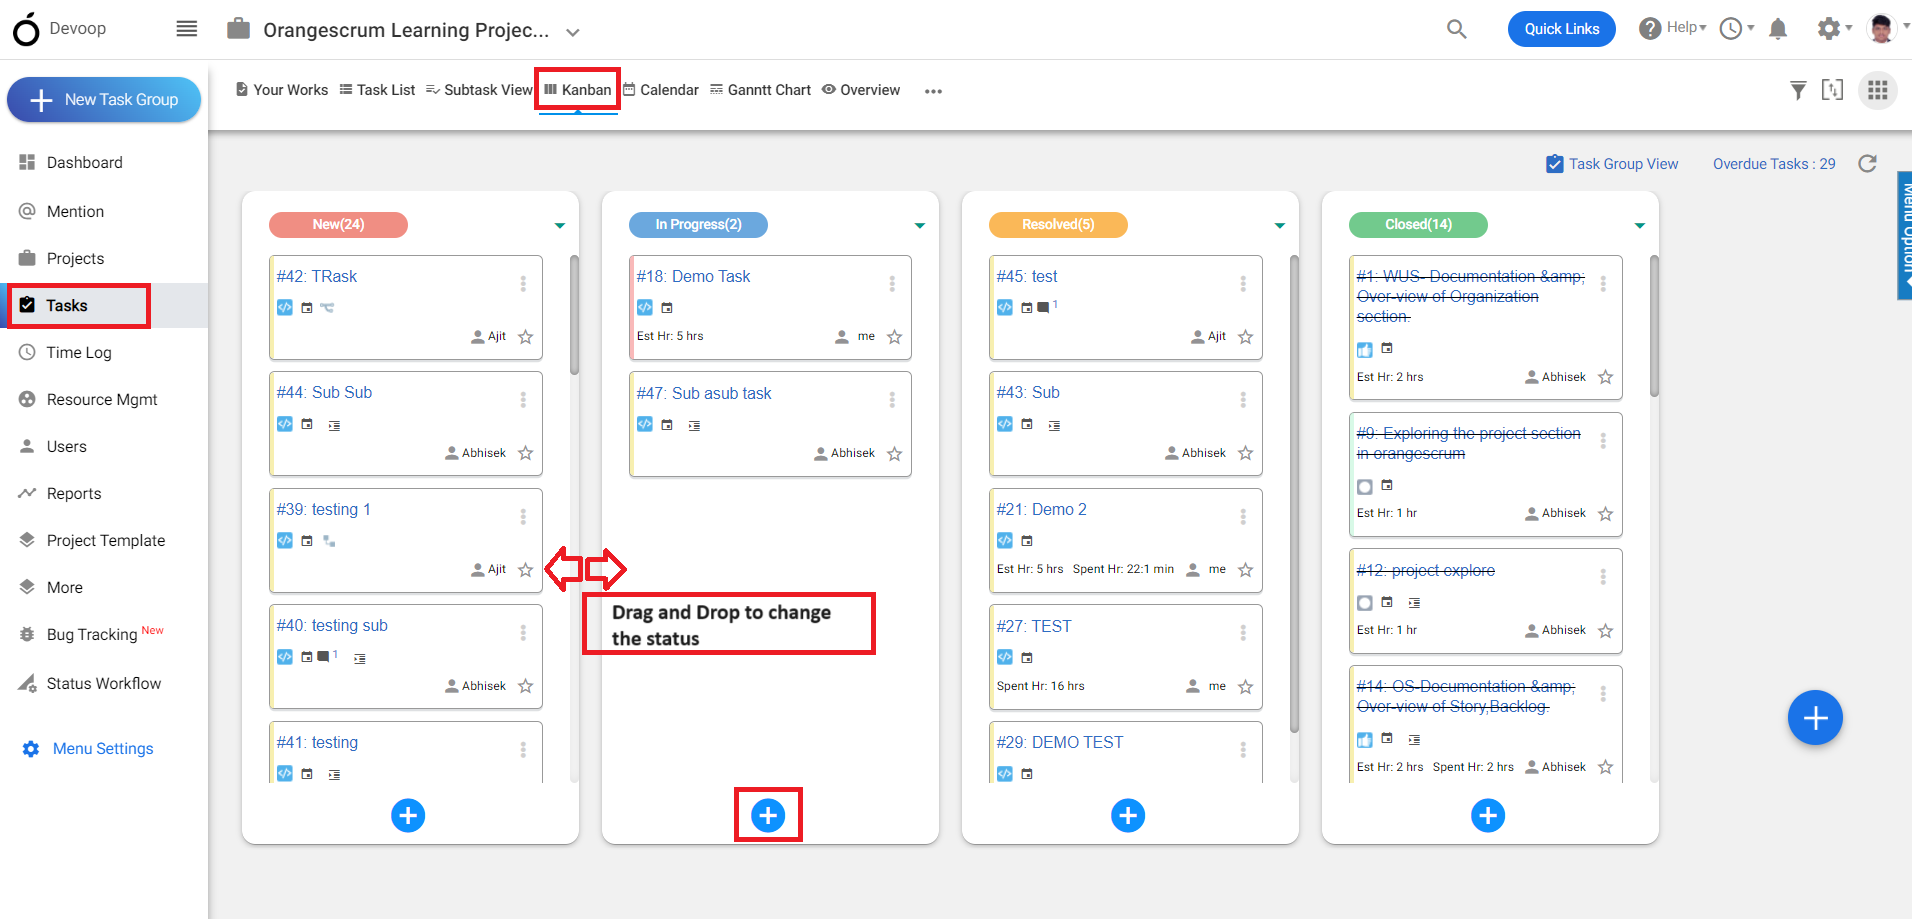
**(Image-1)**
# How do I access the Kanban board in Orangescrum?
> Learn how to create and move tasks on the Kanban board in Orangescrum to enhance your project management efficiency.
> For the complete documentation index, see [llms.txt](https://helpdesk.orangescrum.com/llms.txt).
Source: https://helpdesk.orangescrum.com/how-do-i-access-the-kanban-board-in-orangescrum
---
Follow the steps below:
1. Login to Orangescrum.
2\. Click on the “Task” from the left menu.
3\. Click on the “Kanban” from the top navigation bar. (Refer Image-1)
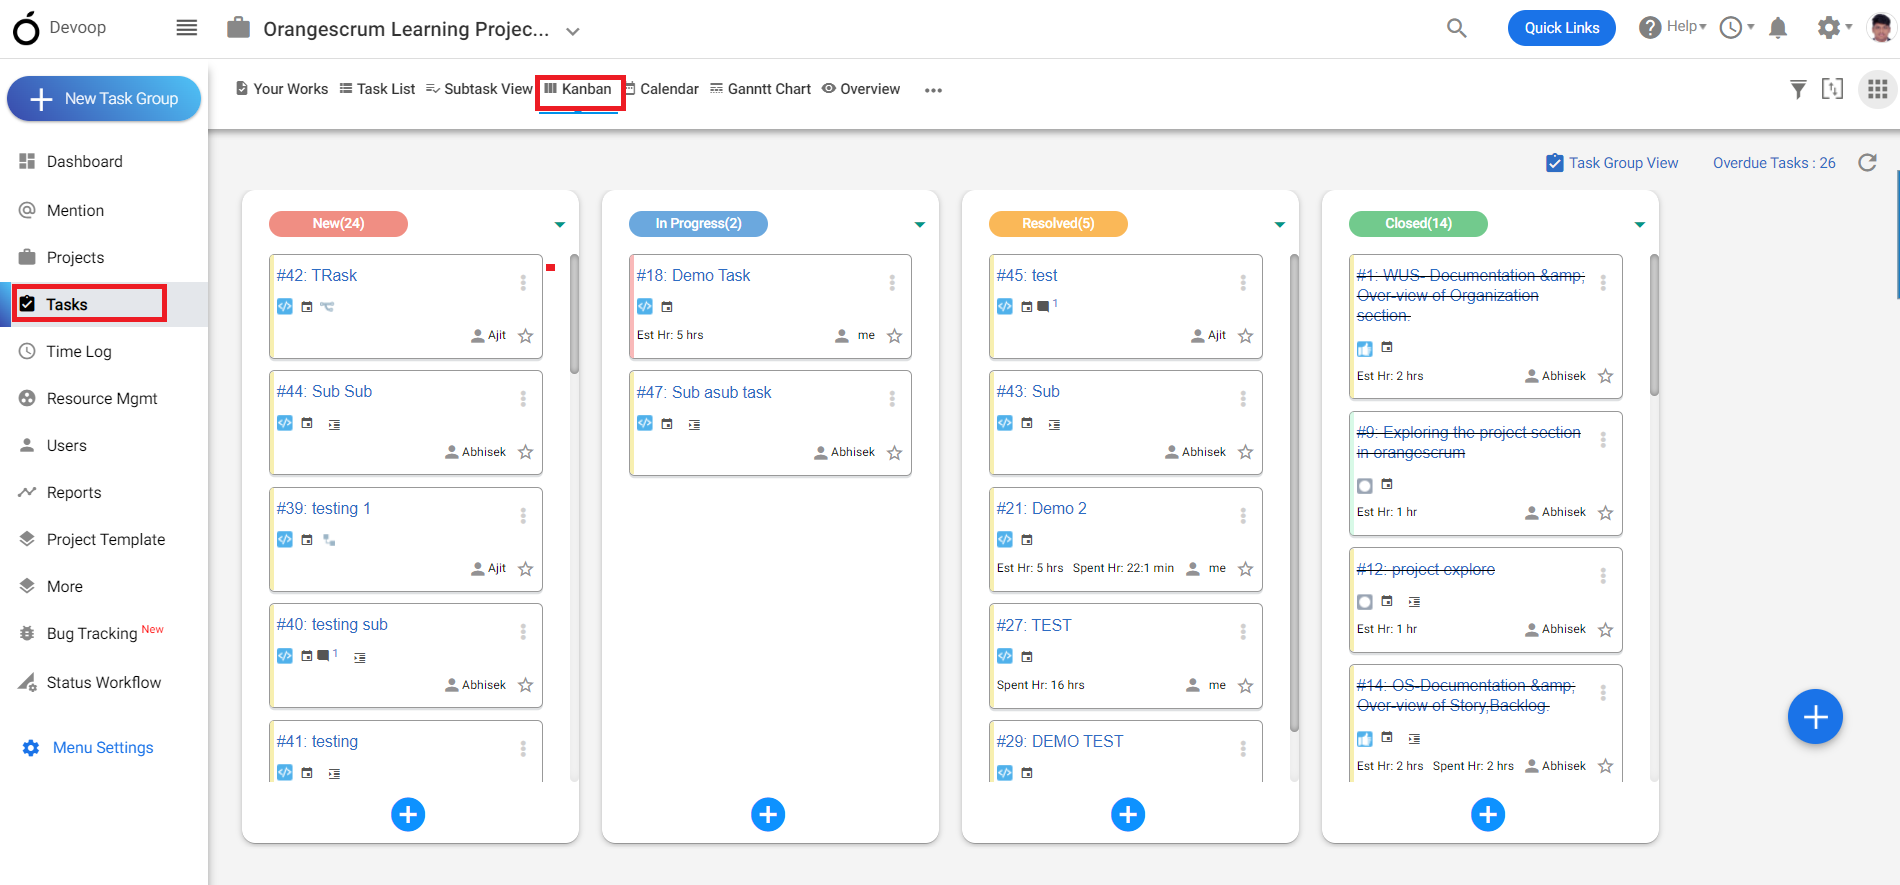
**(Image-1)**
# How do I modify or reassign tasks within a group in Orangescrum?
> Learn how to modify or reassign tasks within a group in Orangescrum for improved project management and team collaboration.
> For the complete documentation index, see [llms.txt](https://helpdesk.orangescrum.com/llms.txt).
Source: https://helpdesk.orangescrum.com/how-do-i-modify-or-reassign-tasks-within-a-group-in-orangescrum
---
Follow the steps below:
1\. Login to orangescrum and click on the “task” from the left menu.
2\. Click on the task group on the top left. (Refer Image-1)
3\. Select a task group.
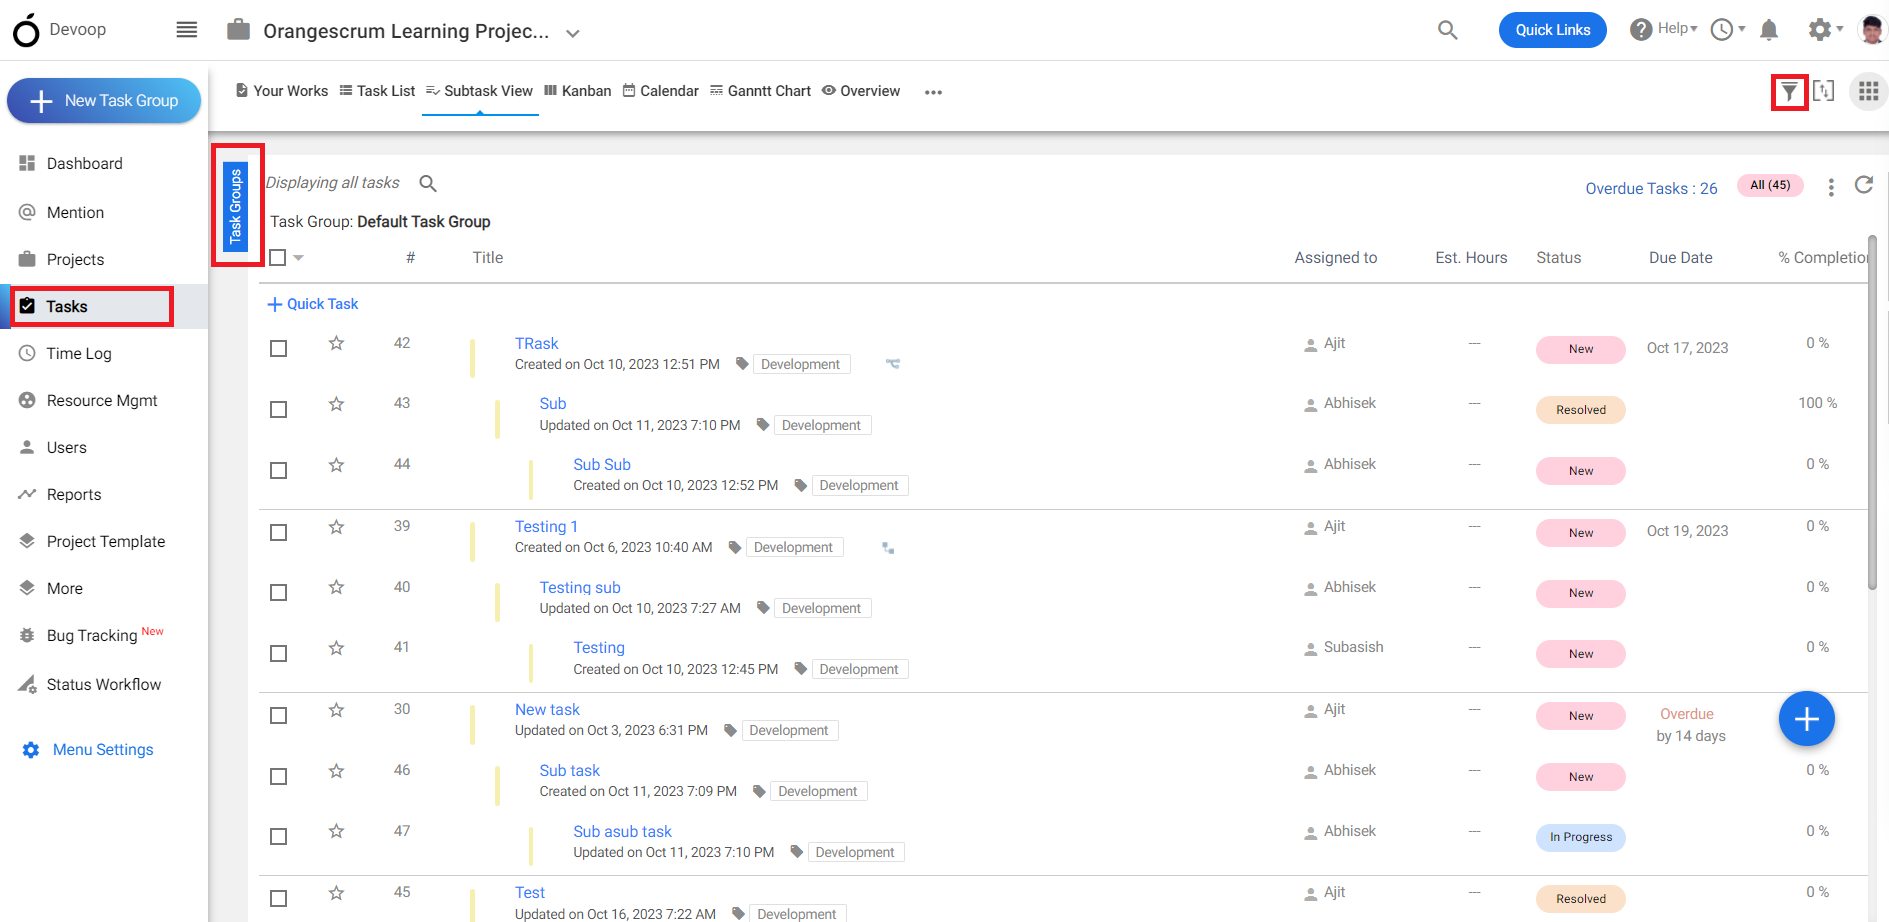
**(Image-1)**
4\. Click on the dropdown in the assign to row to change the resource of the task involved in that project.
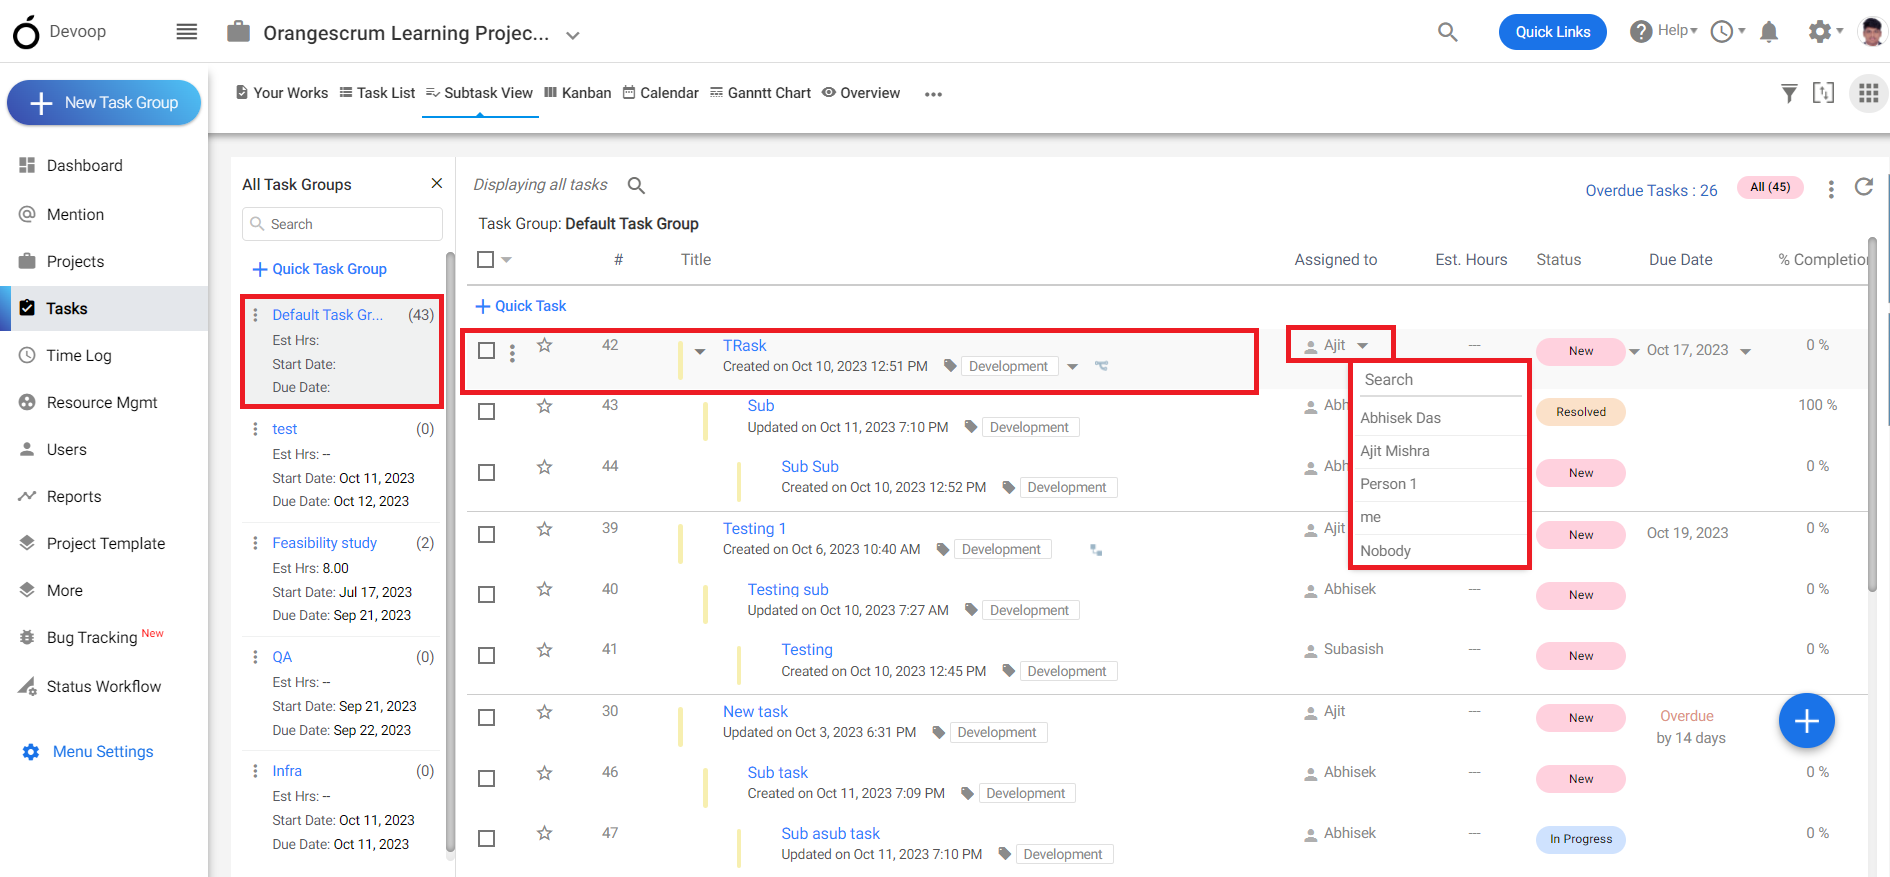
**(Image-2)**
# Is there a way to track the progress or completion rate of tasks within a task group?
> Learn how to track the progress and completion rates of tasks within a task group in Orangescrum for better project management.
> For the complete documentation index, see [llms.txt](https://helpdesk.orangescrum.com/llms.txt).
Source: https://helpdesk.orangescrum.com/is-there-a-way-to-track-the-progress-or-completion-rate-of-tasks-within-a-task-group
---
Follow the steps below:
1. Login to orangescrum and click on the “task” from the left menu.
2\. Click on the task group on the top left. (Refer Image-1)
**(Image-1)**
3\. Select a task group.
4\. Click on the “filter” option from the top right corner.
5\. Select the status as per your requirement to see all the tasks on that particular stage.
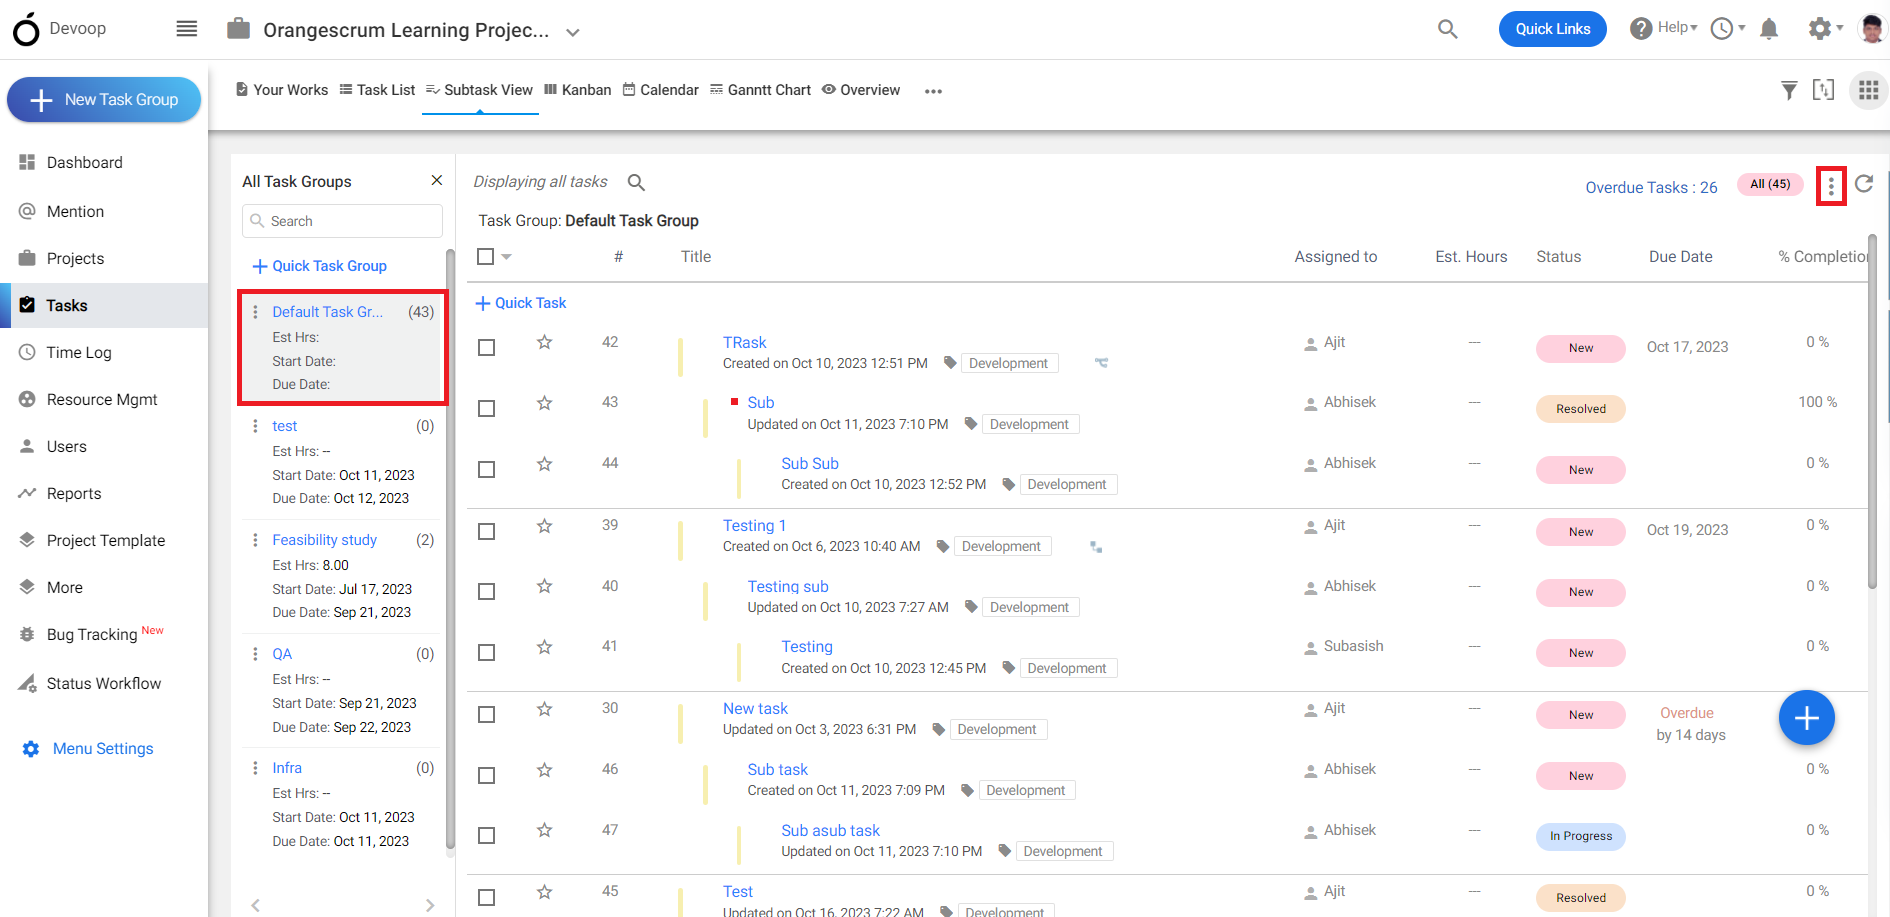
**(Image-2)**
# What options are available for filtering or searching tasks within a specific group?
> Explore the options for filtering or searching tasks within a specific group in Orangescrum to enhance your task management efficiency.
> For the complete documentation index, see [llms.txt](https://helpdesk.orangescrum.com/llms.txt).
Source: https://helpdesk.orangescrum.com/what-options-are-available-for-filtering-or-searching-tasks-within-a-specific-group
---
Follow the steps below:
1. Login to orangescrum and click on the “task” from the left menu.
2\. Click on the task group on the top left. (Refer Image-1)
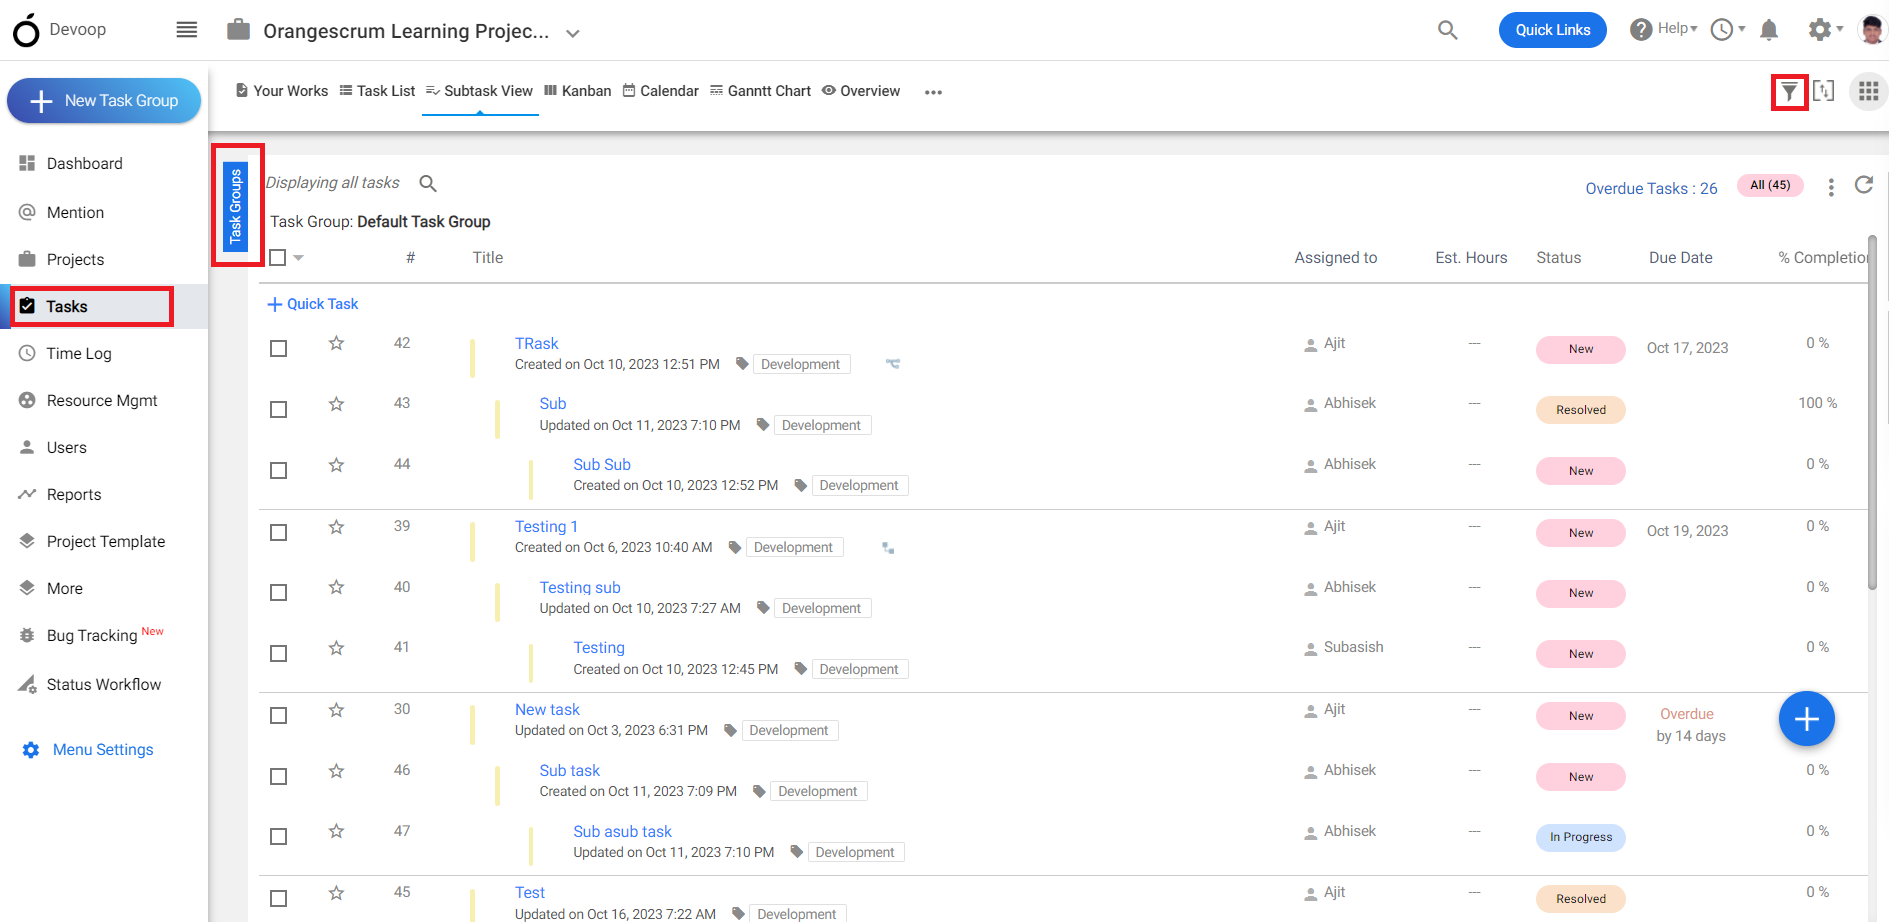
**(Image-1)**
3\. Select a task group.
4\. Click on the “filter” option from the top right corner.
5\. Apply the filters based on your requirement and the filtered task will be shown.
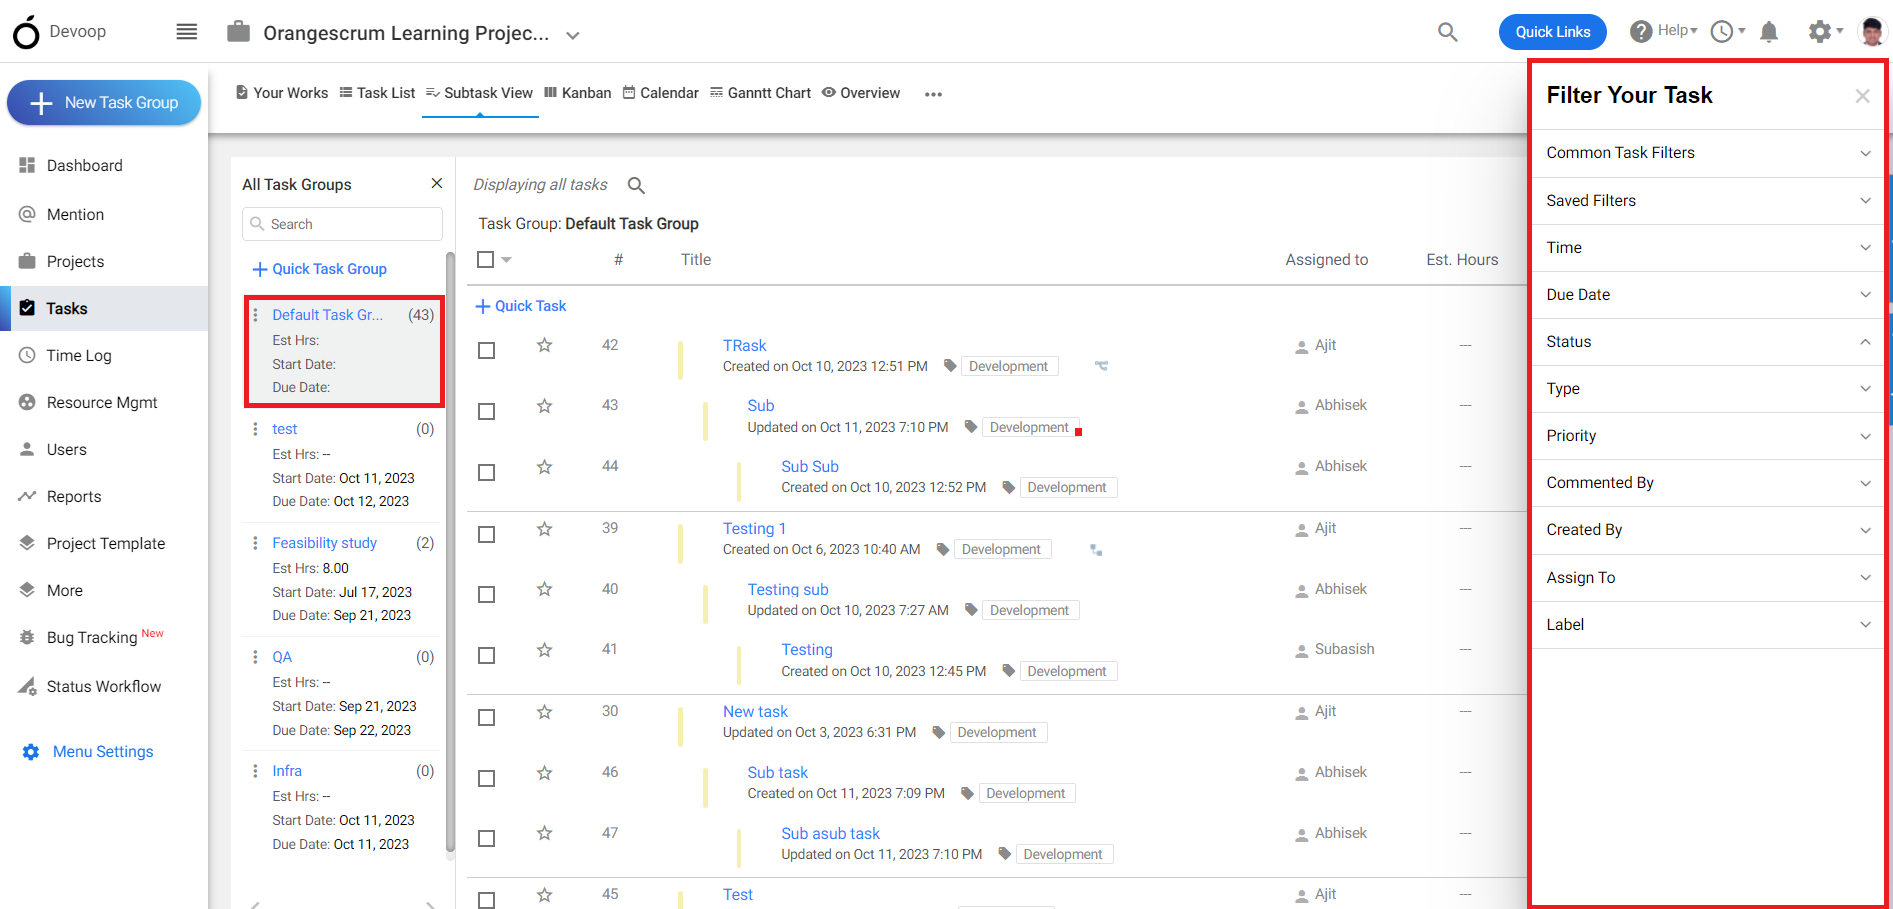
**(Image-2)**
# How do I assign tasks to a particular group or category in Orangescrum?
> Learn how to assign tasks to a specific group or category in Orangescrum to organize your projects more effectively.
> For the complete documentation index, see [llms.txt](https://helpdesk.orangescrum.com/llms.txt).
Source: https://helpdesk.orangescrum.com/how-do-i-assign-tasks-to-a-particular-group-or-category-in-orangescrum
---
Follow the steps below:
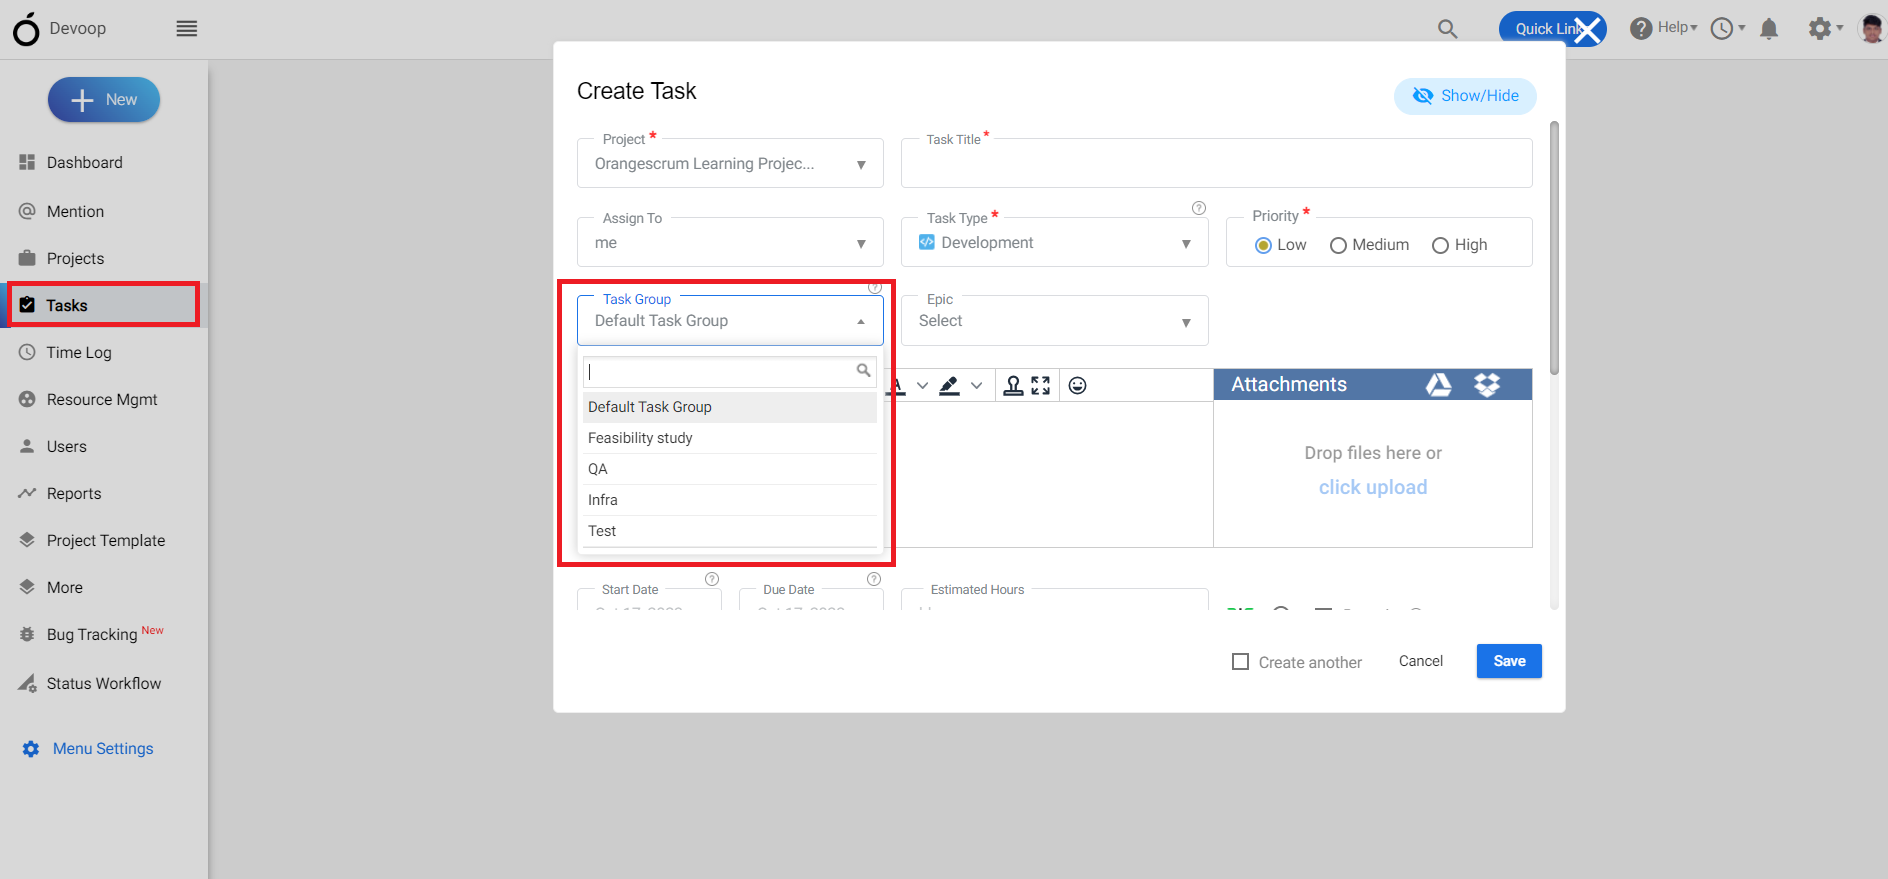
**(Image-1)**
1. Login to orangescrum and click on the “task” from the left menu.
2\. Click on the “+” to create a new task.
3\. While creating a new task you can define the task group on which you want to add a task.(Refer image-1)
# How do I group tasks together in Orangescrum?
> Learn how to group tasks together in Orangescrum for better organization and project management efficiency.
> For the complete documentation index, see [llms.txt](https://helpdesk.orangescrum.com/llms.txt).
Source: https://helpdesk.orangescrum.com/how-do-i-group-tasks-together-in-orangescrum
---
Follow the steps below:
1\. Log in to orangescrum and click on the task from the left menu.
2\. Click on “Create Task Group” and create a task group.
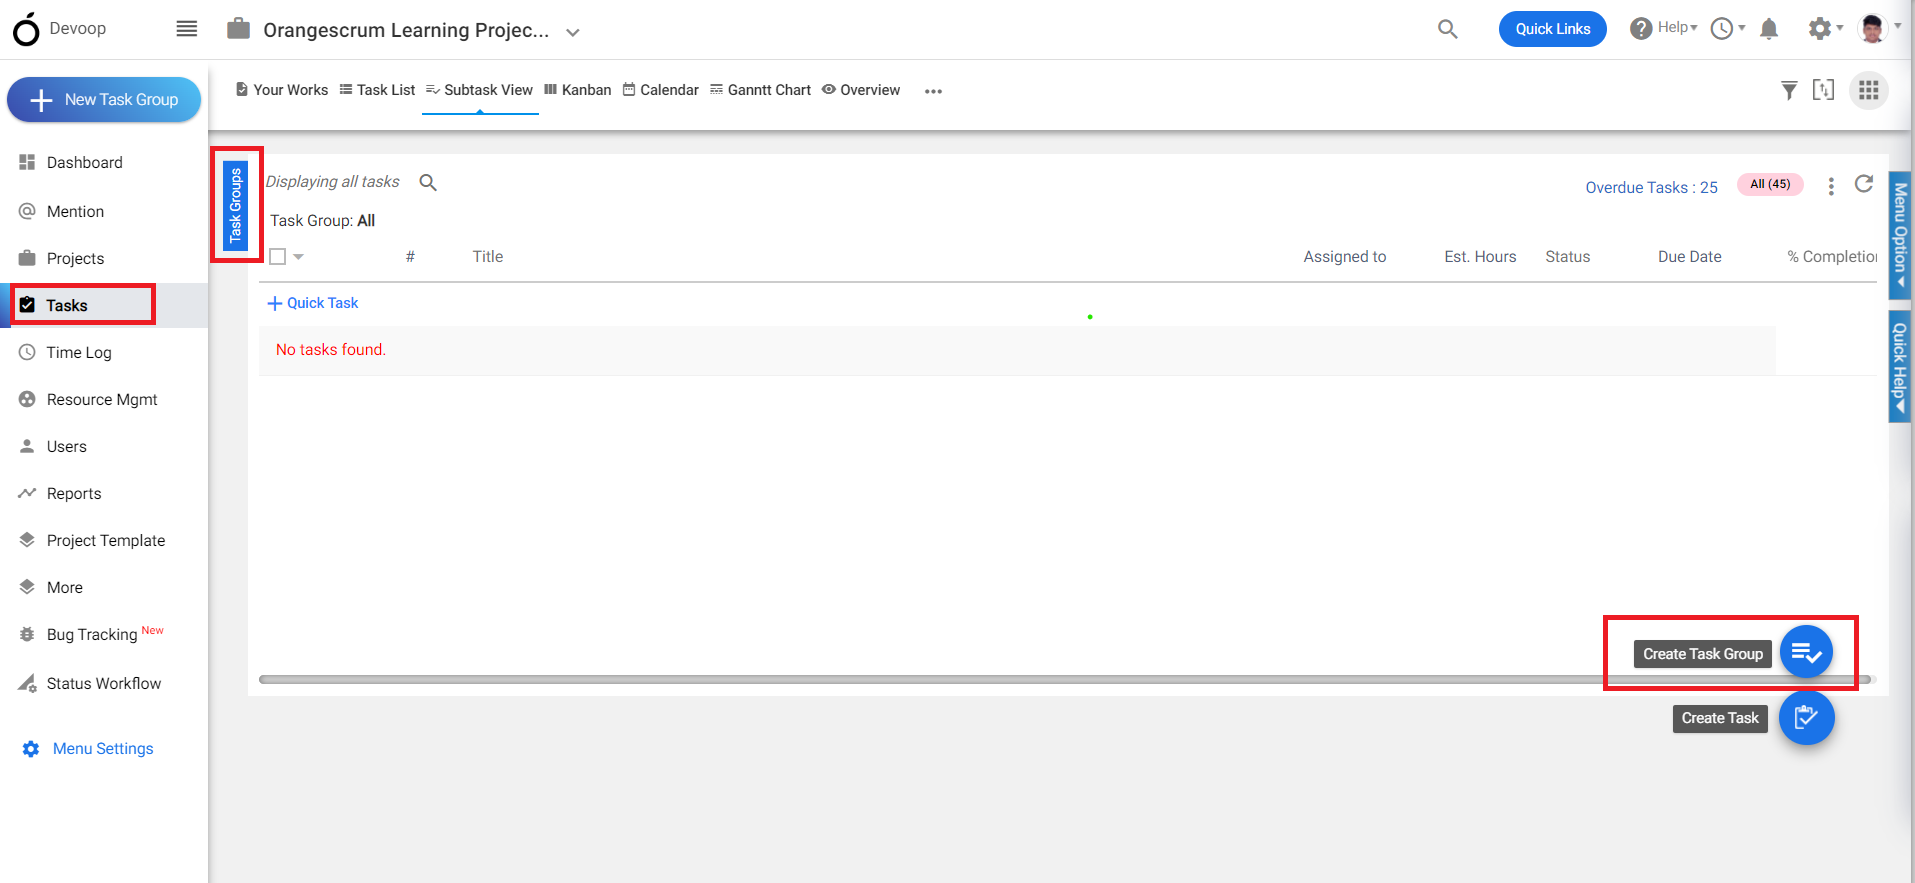
**(Image-1)**
3\. On the left corner all the task groups that have been created will be shown.
4\. Select the task group that you have created and you can add a multiple number of tasks and subtasks under the task group.
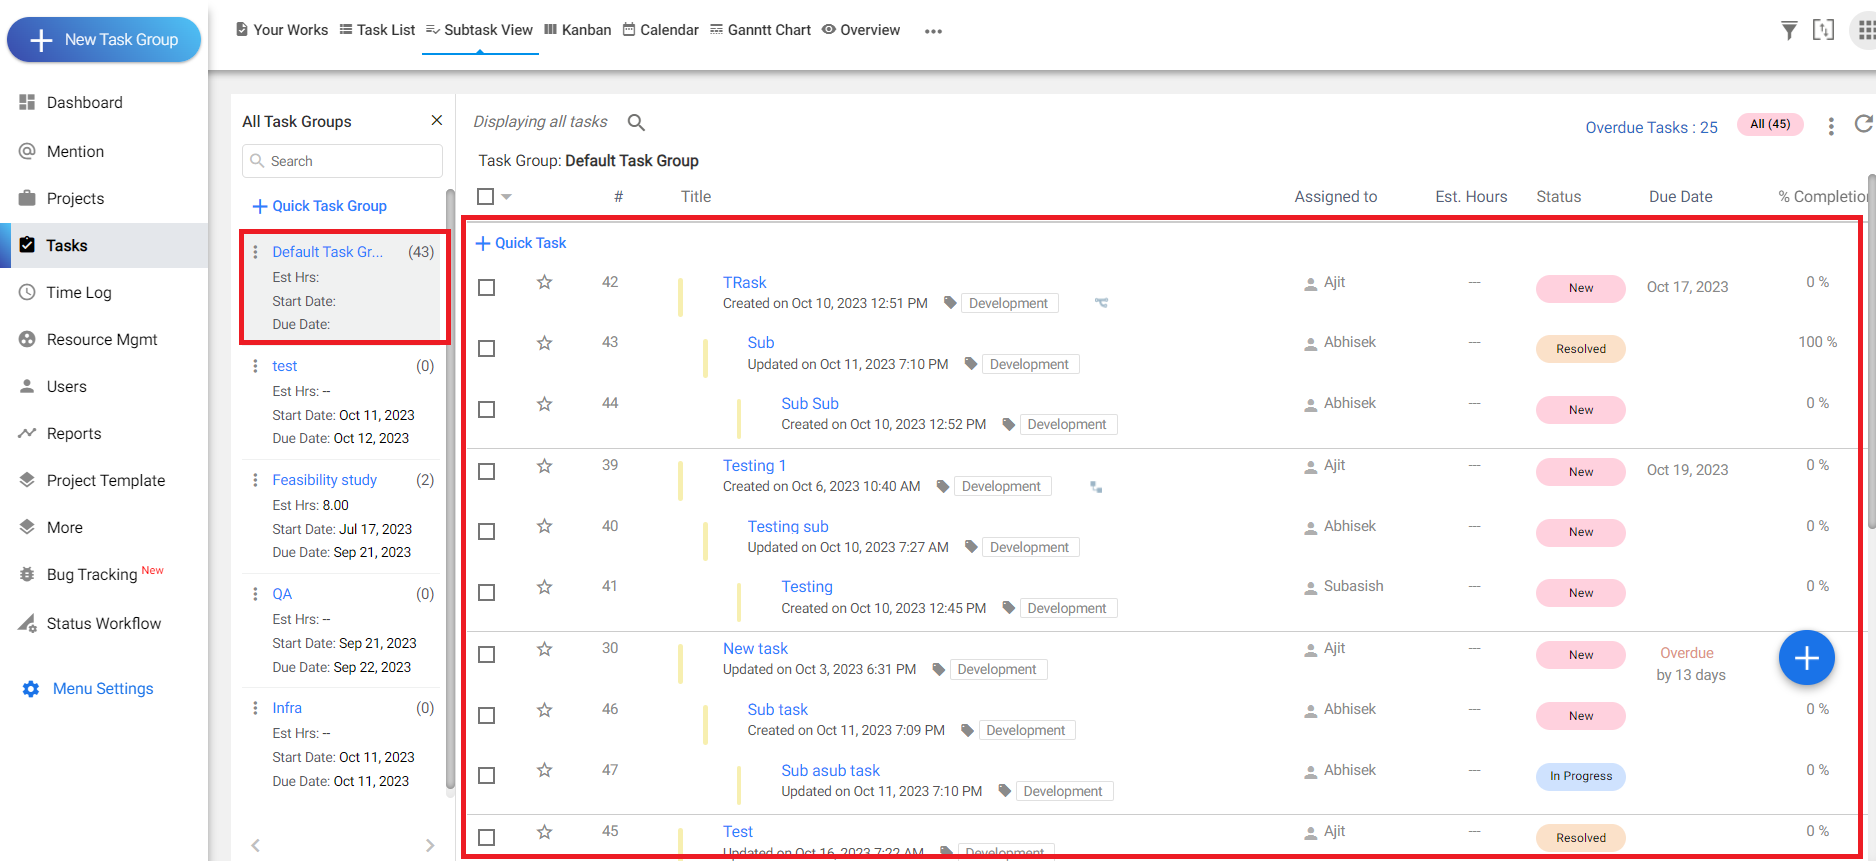
**(Image-2)**
# What options are available for filtering or searching tasks based on their status?
> Find options for filtering or searching tasks by status in Orangescrum to streamline your project management process.
> For the complete documentation index, see [llms.txt](https://helpdesk.orangescrum.com/llms.txt).
Source: https://helpdesk.orangescrum.com/what-options-are-available-for-filtering-or-searching-tasks-based-on-their-status
---
Follow the steps below:
1\. Log in to Orangescrum and click on the “Task” from the left menu.
2\. Click on the “task list”.
3\. Select the filter option from the top Right corner.
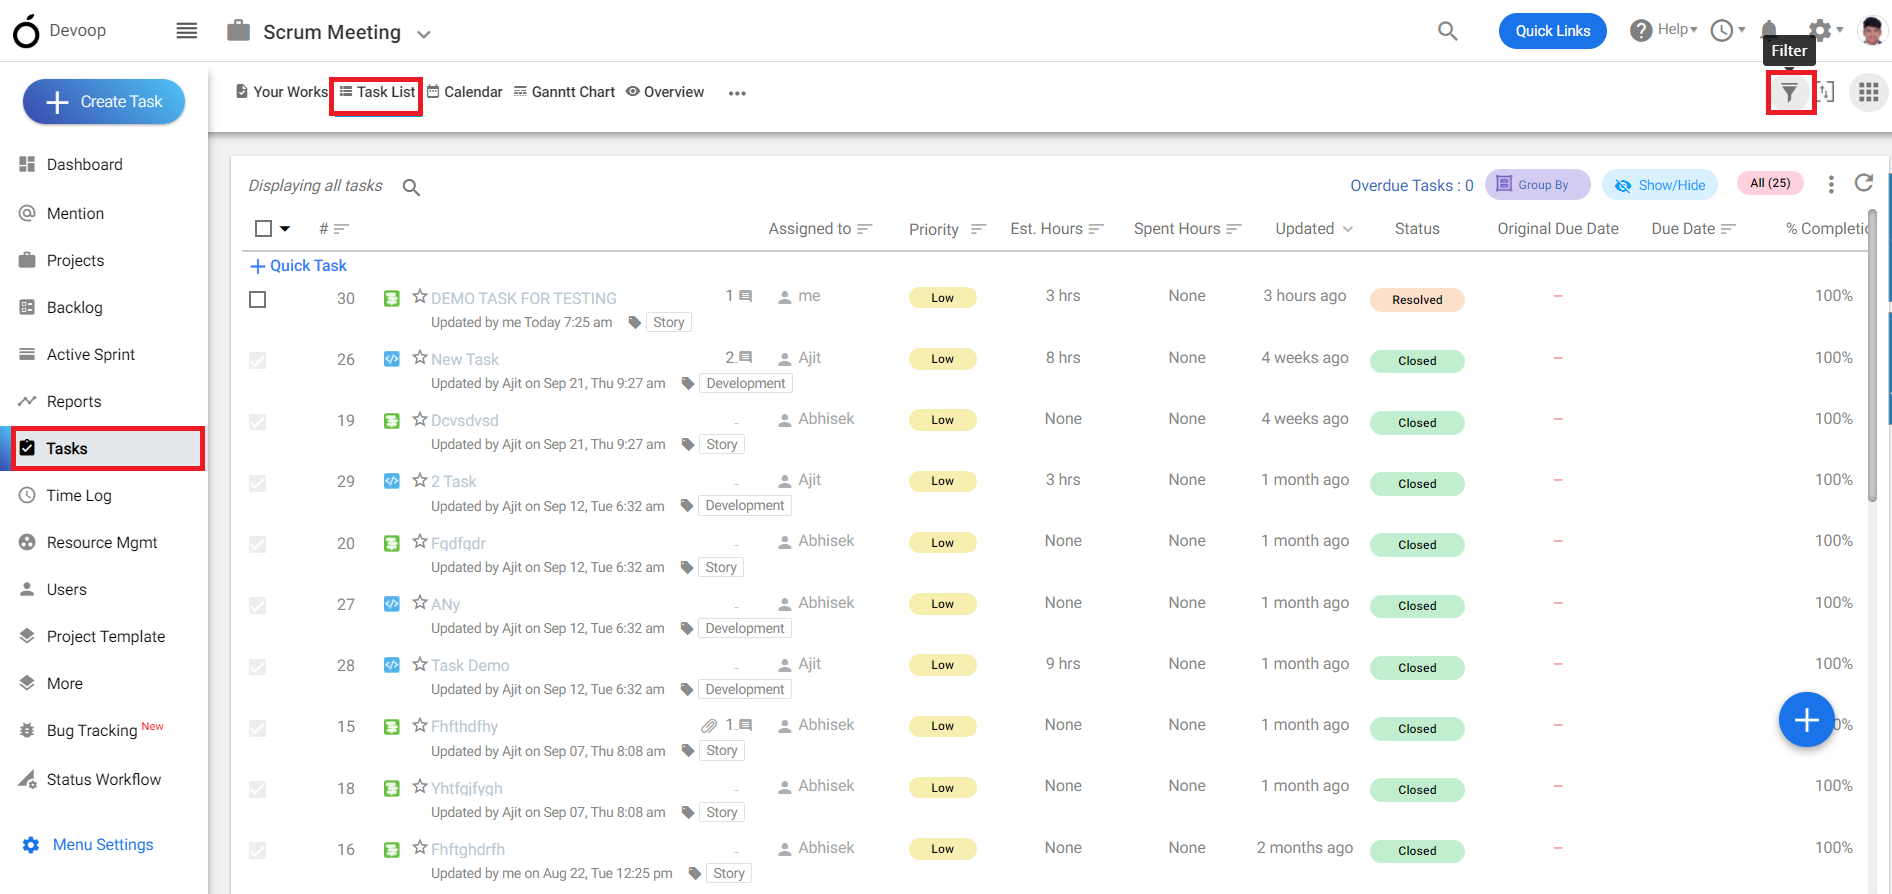
**(Image-1)**
4\. Click on the “status” in the filter and select the stage.
5\. All the tasks on that particular stage will be shown.
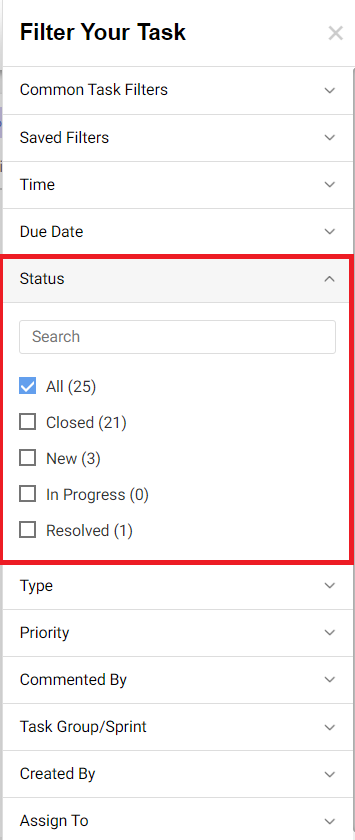
**(Image-2)**
# Is there a way to track the time in each task status?
> Learn how to track the time spent on each task status in Orangescrum for better project management and efficiency.
> For the complete documentation index, see [llms.txt](https://helpdesk.orangescrum.com/llms.txt).
Source: https://helpdesk.orangescrum.com/is-there-a-way-to-track-the-time-in-each-task-status
---
Follow the steps below:
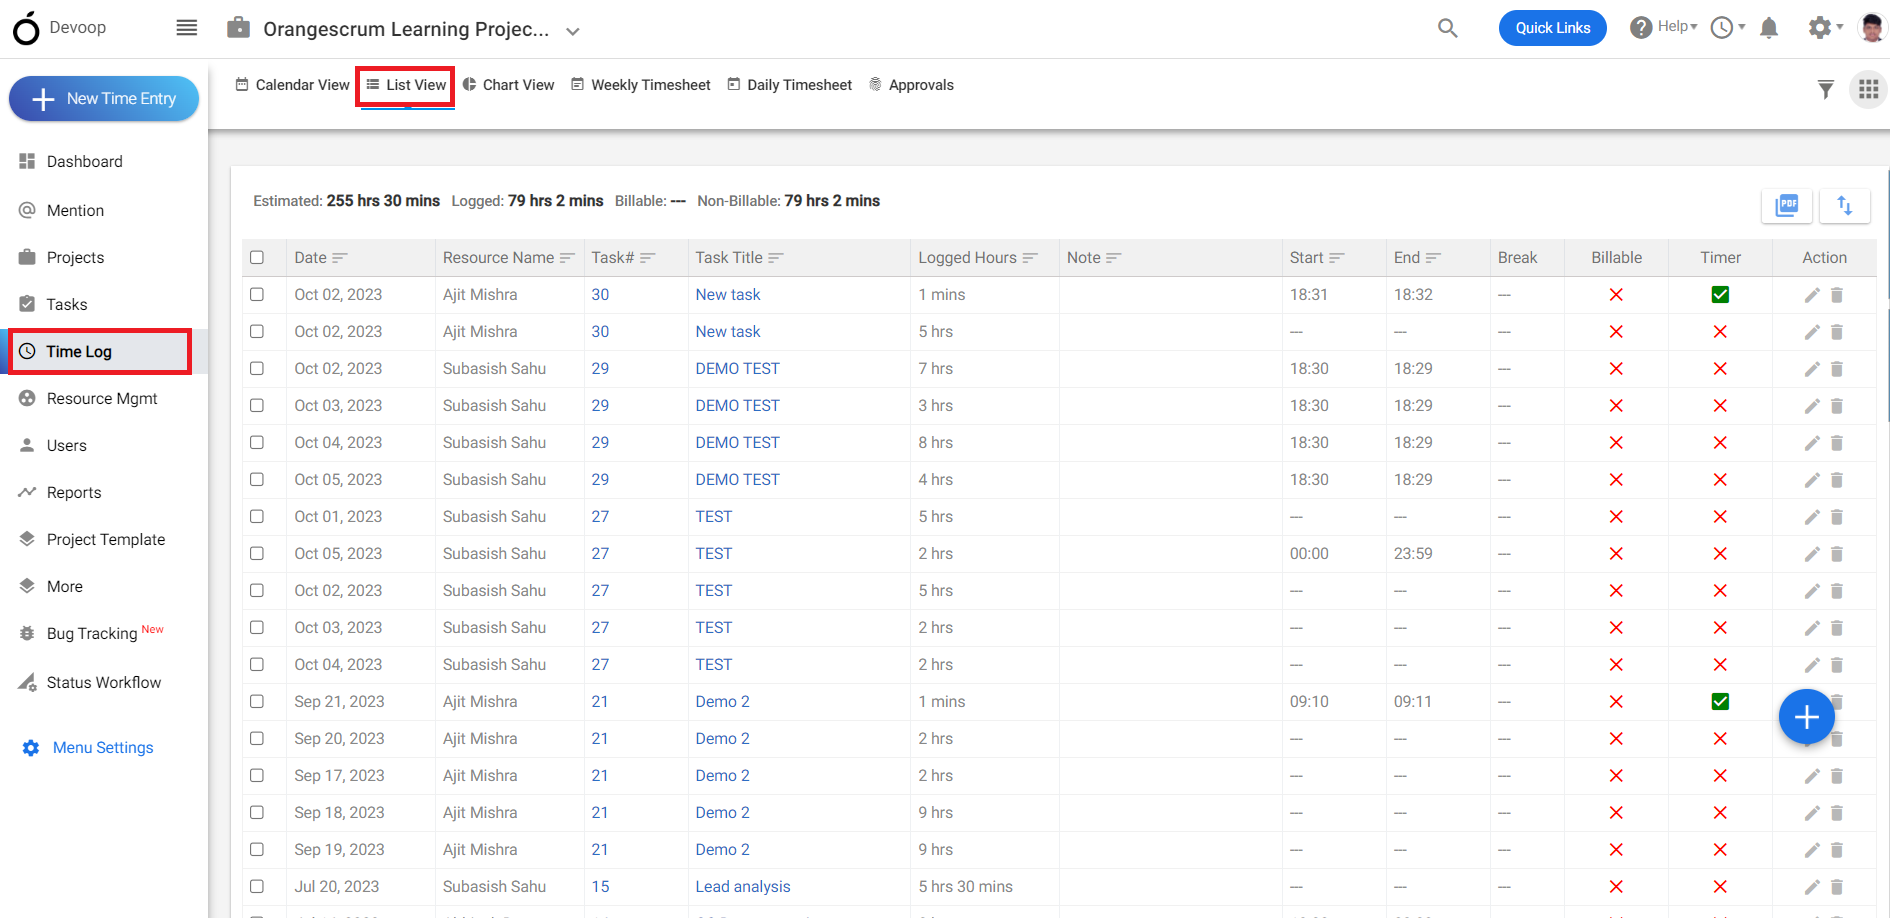
**(Image-1)**
1. Login to Orangescrum and click on the time log from the left menu.
2\. Click on the “List View”.
3\. You can track the time in each task status from the list.
# How do I update the status of a task when it is in progress or completed?
> Learn how to update a task's status to in progress or completed in Orangescrum for efficient project tracking.
> For the complete documentation index, see [llms.txt](https://helpdesk.orangescrum.com/llms.txt).
Source: https://helpdesk.orangescrum.com/how-do-i-update-the-status-of-a-task-when-it-is-in-progress-or-completed
---
The steps for updating the status of a task when it is in progress or completed is mentioned below:
1\. Login to Orangescrum, Click on the task from the left menu.
2\. Click on the task list page and select a task.
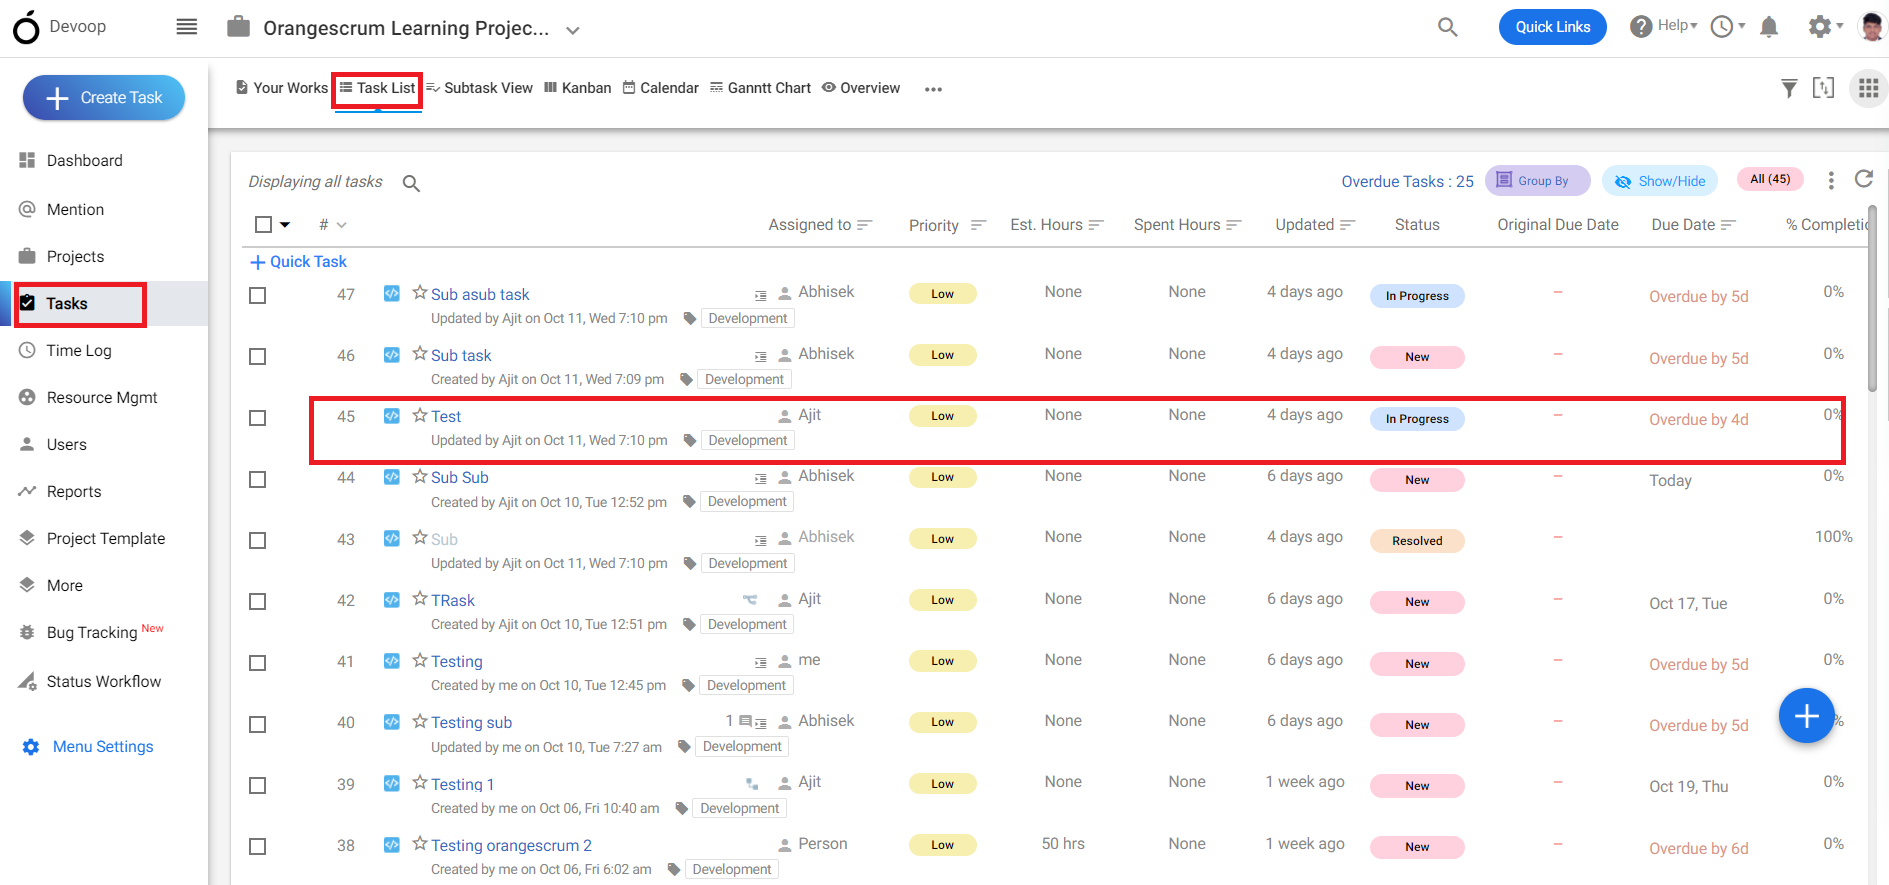
**(Image-1)**
3\. On the task details page you can change the status of the task.
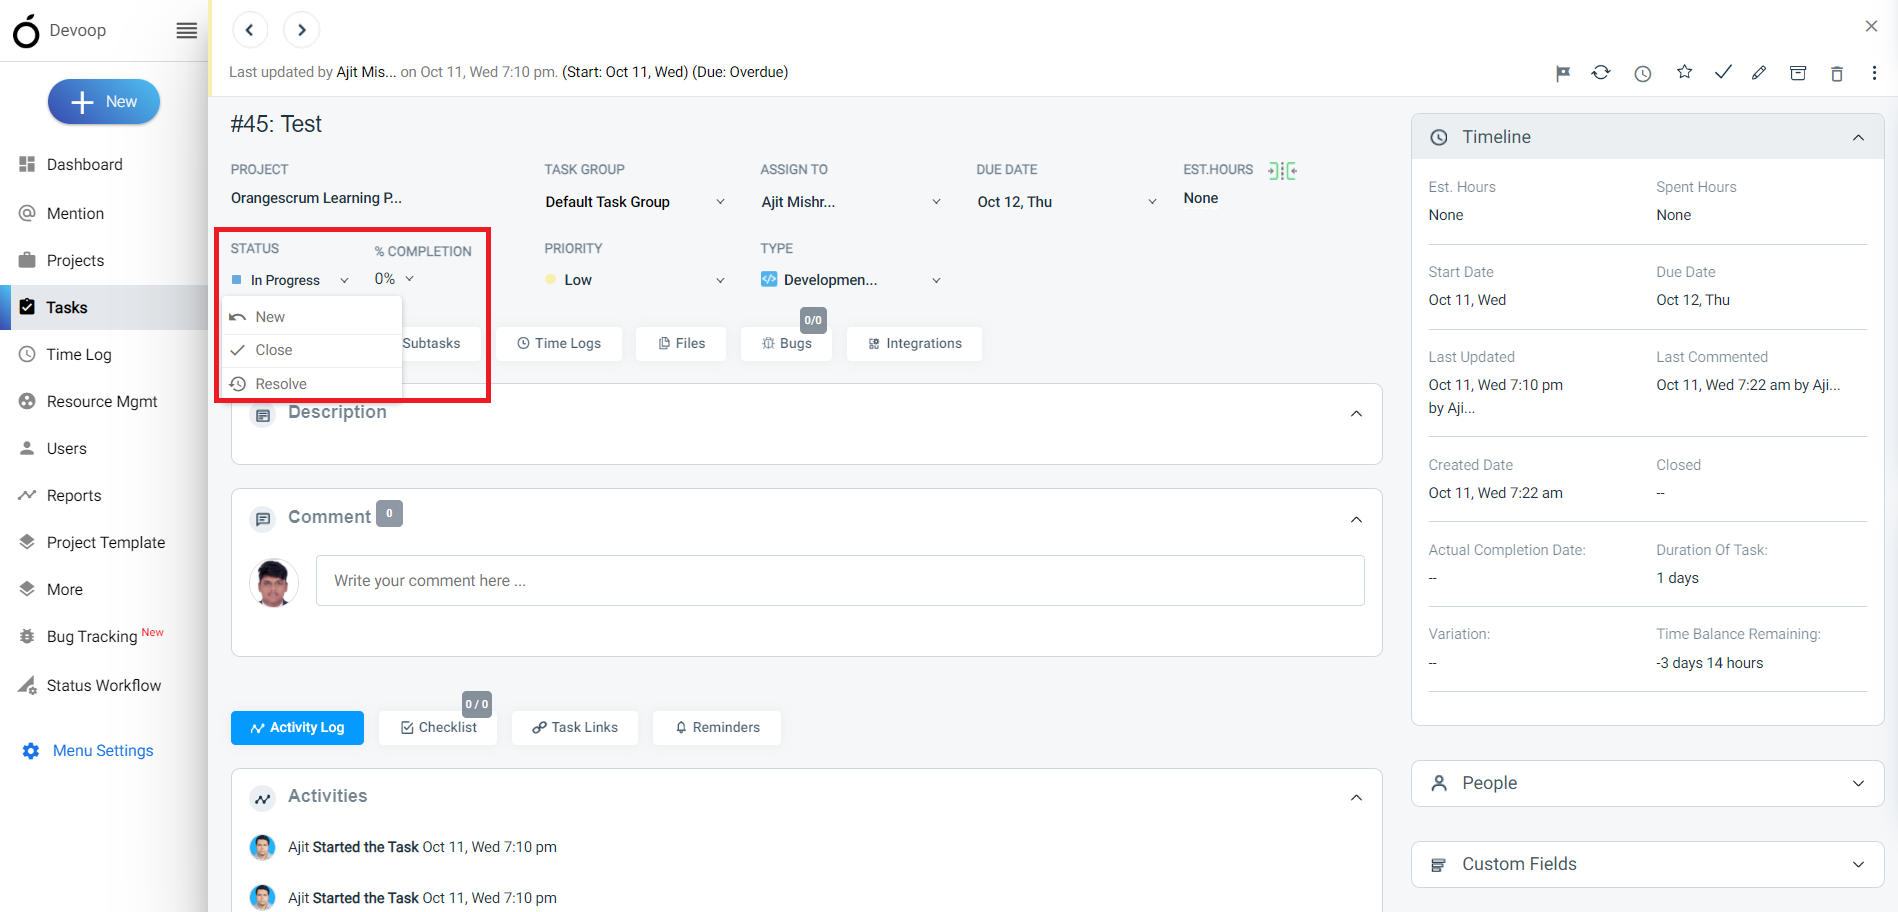
**(Image-2)**
# Can I view a Gantt chart or timeline that shows task dependencies and linked tasks?
> Learn how to view Gantt charts and timelines that showcase task dependencies and linked tasks in Orangescrum. Optimize your project management.
> For the complete documentation index, see [llms.txt](https://helpdesk.orangescrum.com/llms.txt).
Source: https://helpdesk.orangescrum.com/can-i-view-a-gantt-chart-or-timeline-that-shows-task-dependencies-and-linked-tasks
---
Follow the steps below:
1. Login to Orangescrum and click on the task from the left menu.
2\. Click on the “Gantt Chart” from the top navigation bar.
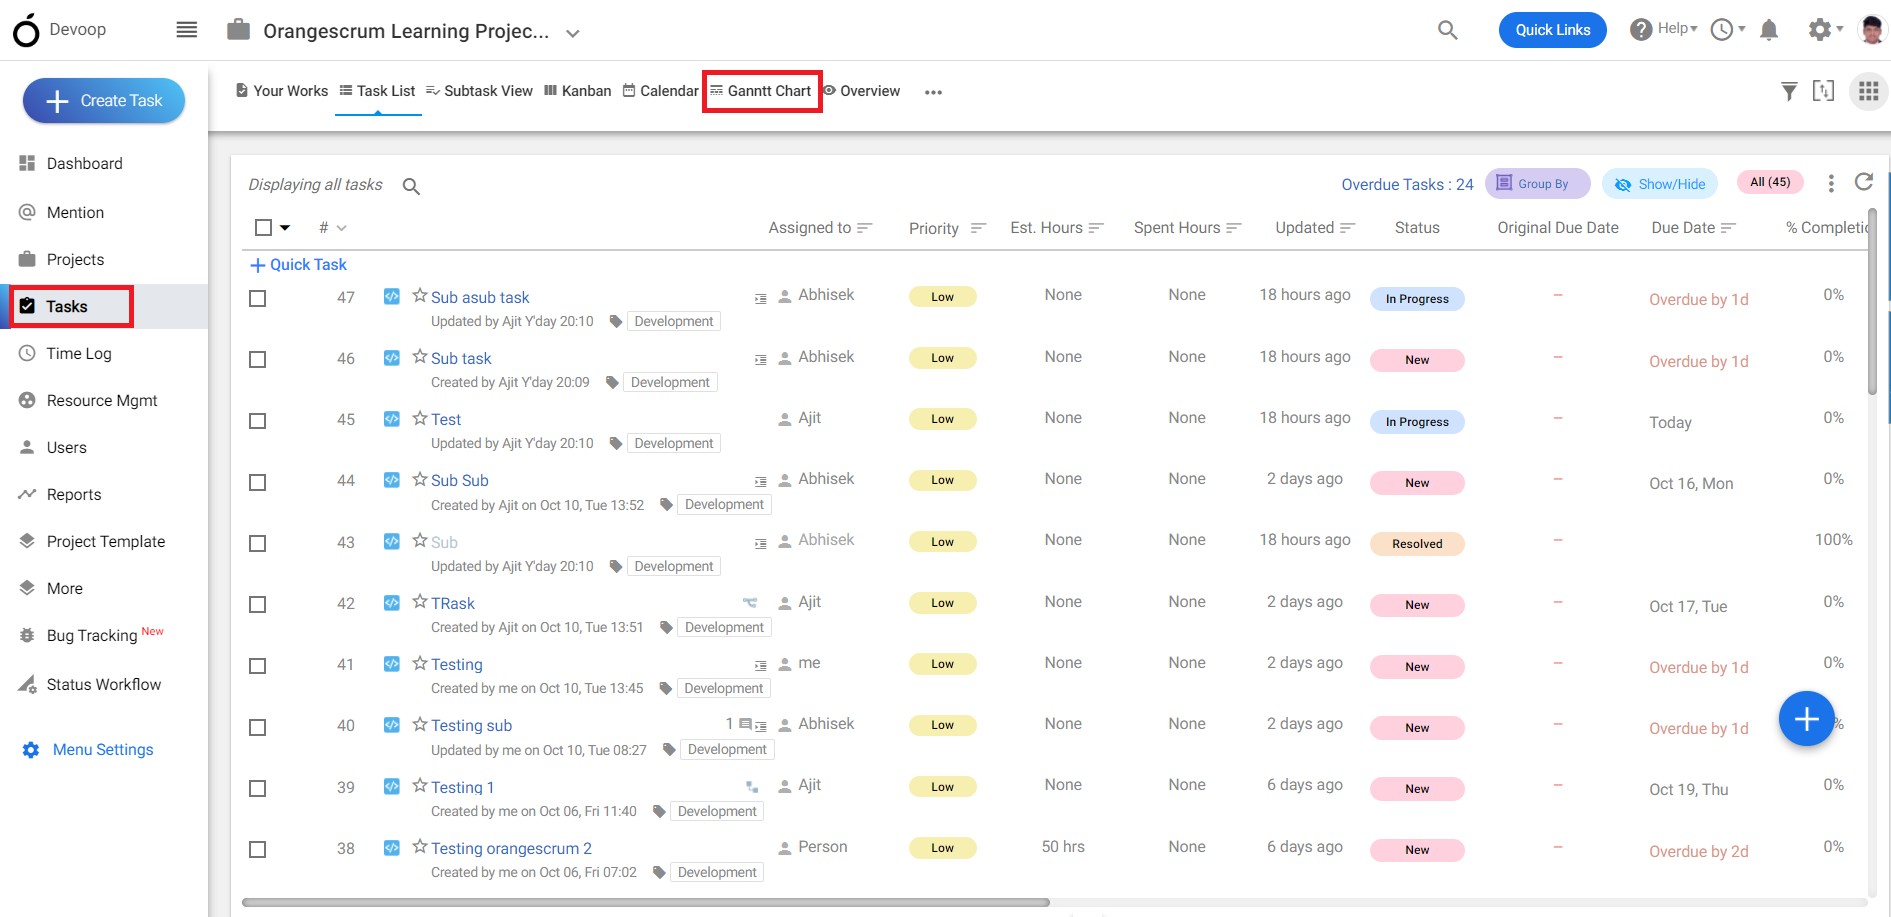
**(Image-1)**
3\. You can see the Gantt Chart along with task dependencies and linked tasks.
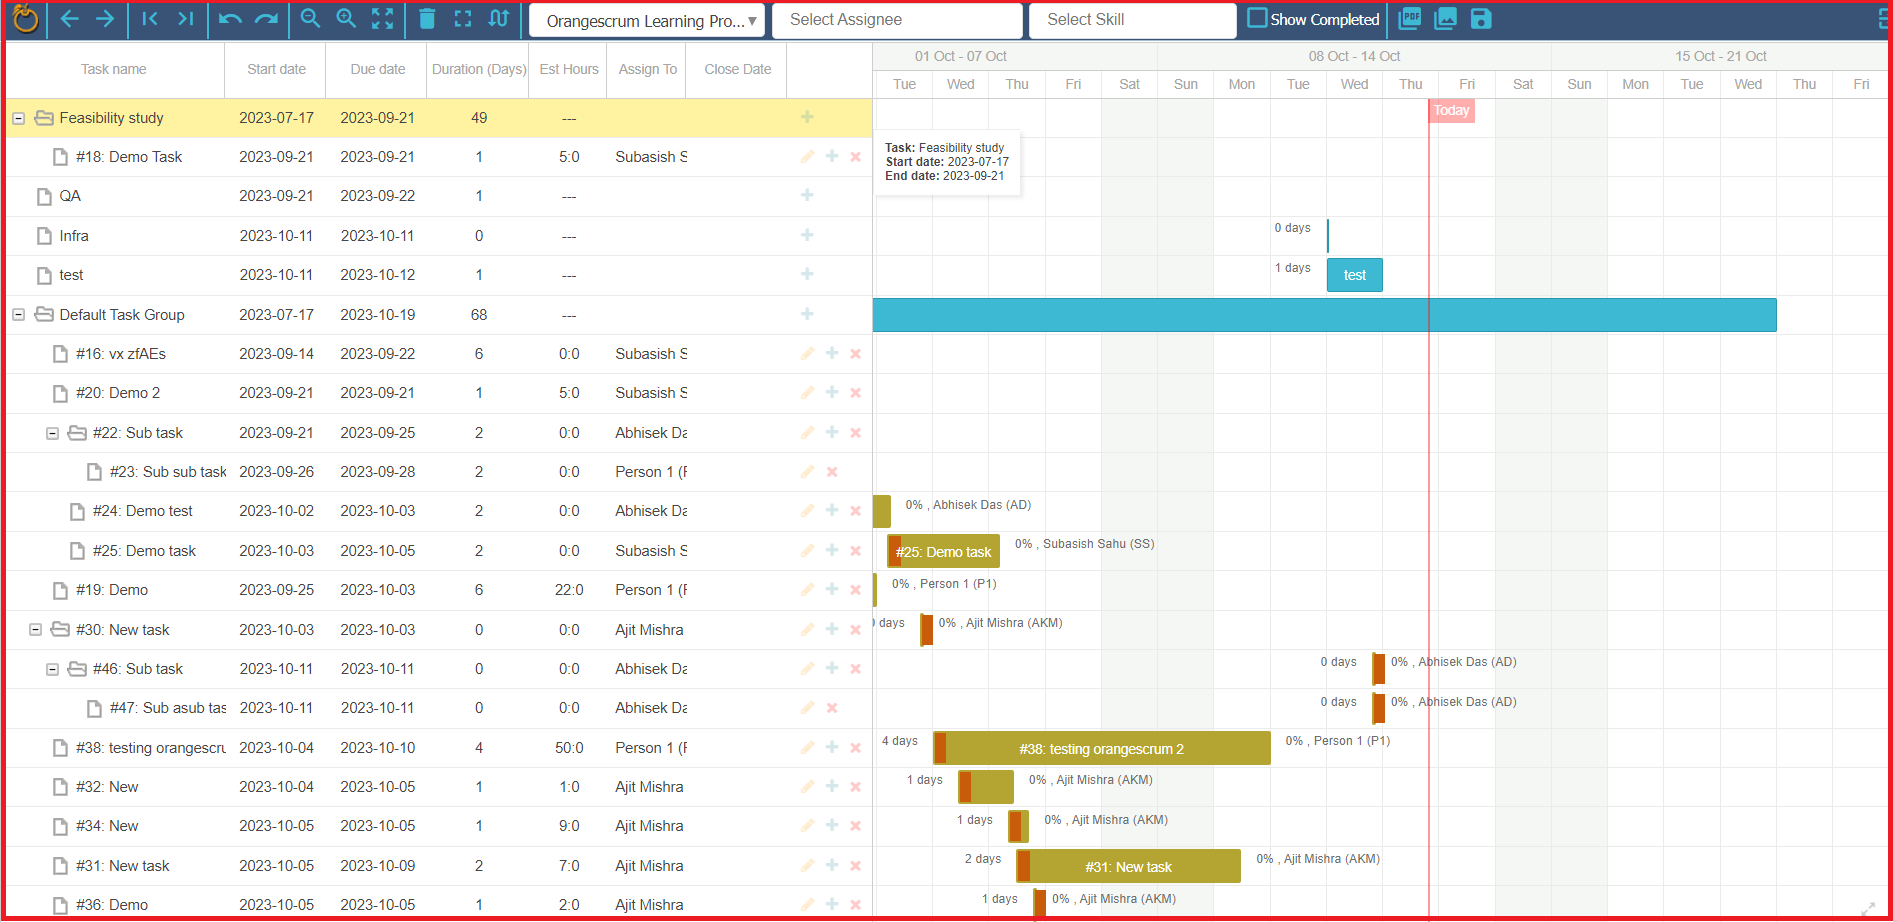
**(Image-2)**
# How do I link tasks together in Orangescrum?
> Learn how to efficiently link tasks in Orangescrum with our step-by-step guide. Streamline your workflow and enhance project management with linked tasks.
> For the complete documentation index, see [llms.txt](https://helpdesk.orangescrum.com/llms.txt).
Source: https://helpdesk.orangescrum.com/how-do-i-link-tasks-together-in-orangescrum
---
Follow the steps below:
1. Login to Orangescrum and click on the task from the left menu.
2\. Click on the “Task List”.
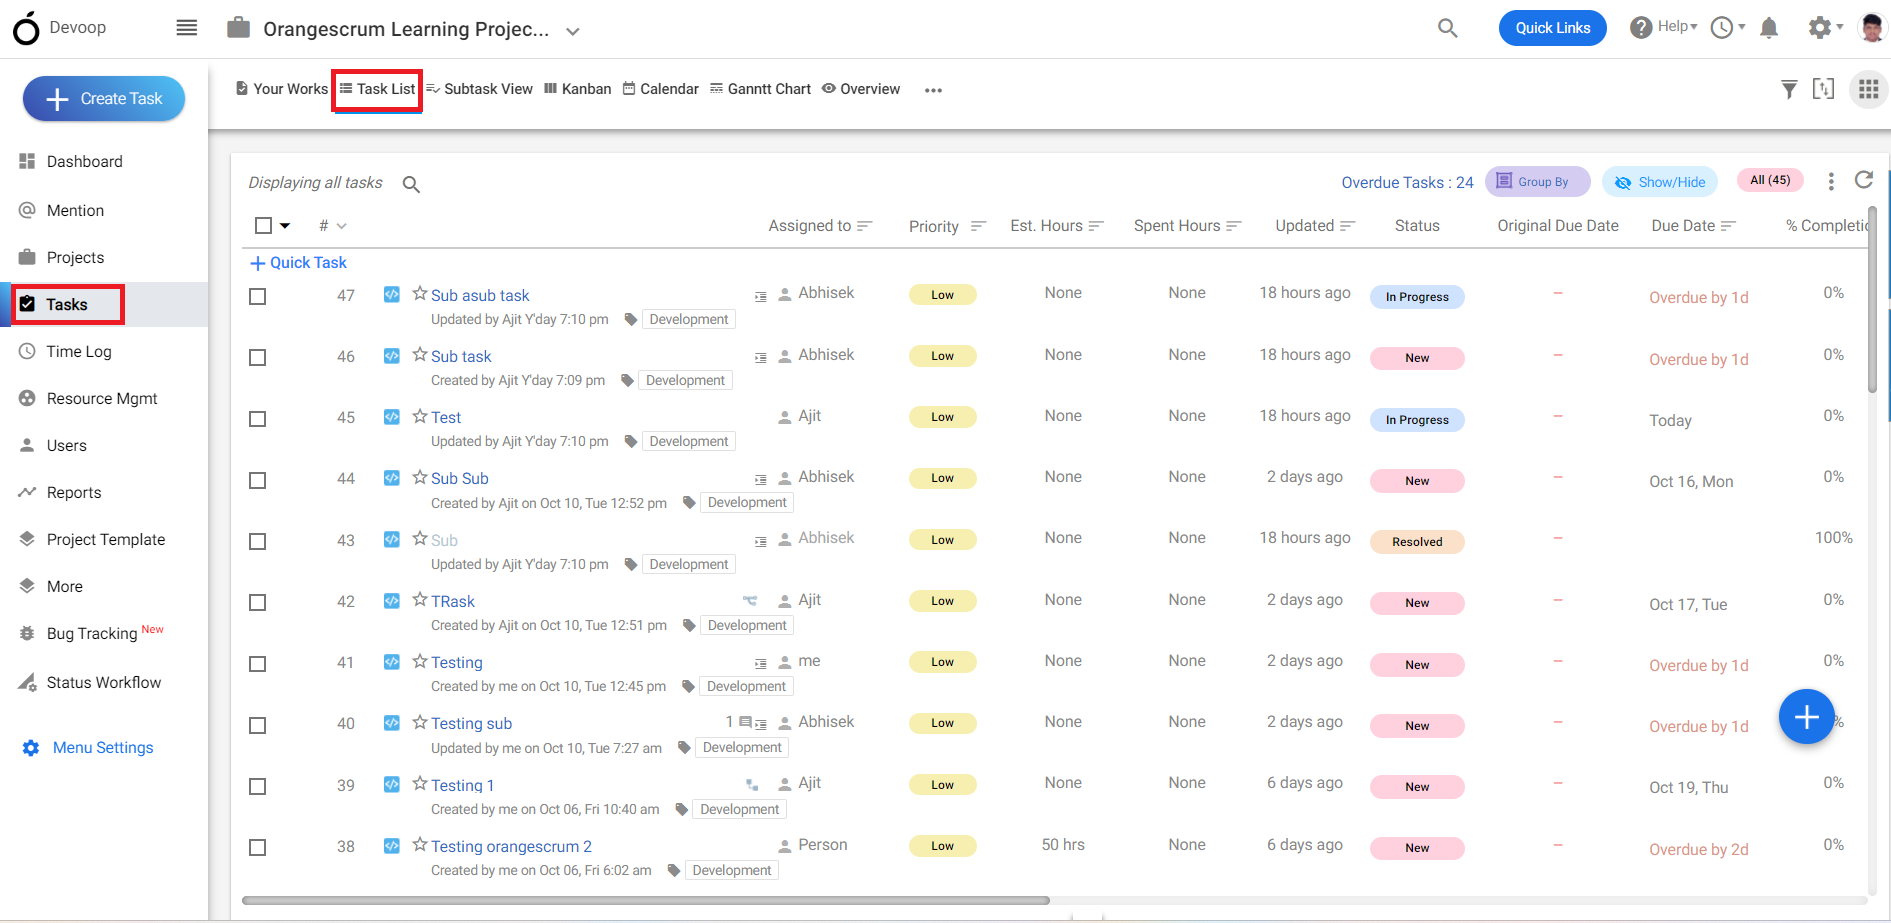
**(Image-1)**
3\. Select a Task from the task list.
4\. In the bottom of the task details page, you can find “task links”.
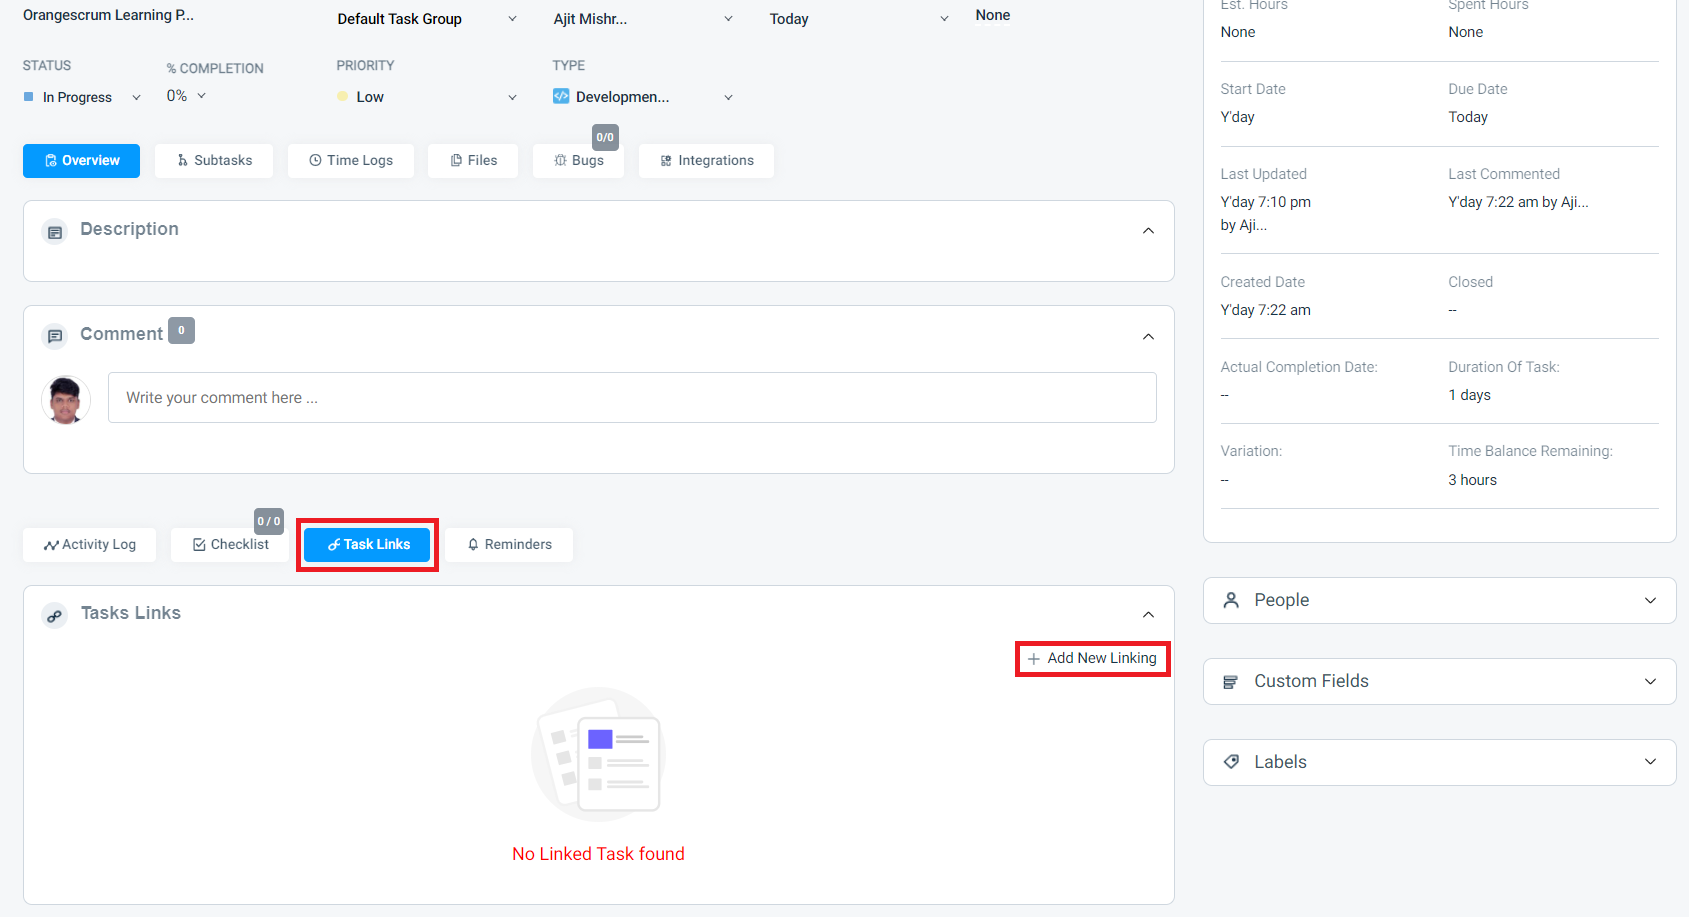
**(Image-2)**
5\. In the task link you can link the task with another task.
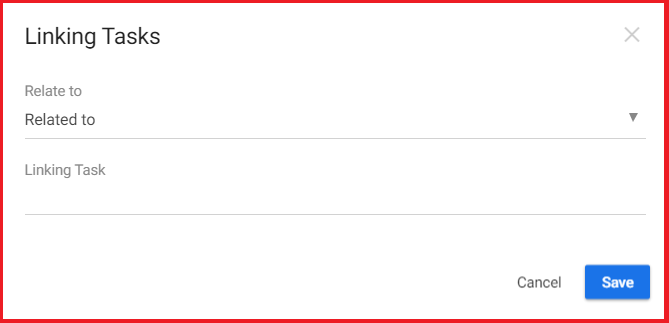
**(Image-3)**
# Can I import or export tasks in Orangescrum?
> Learn how to easily import and export tasks in Orangescrum with our step-by-step guide. Streamline your workflow and manage tasks more efficiently.
> For the complete documentation index, see [llms.txt](https://helpdesk.orangescrum.com/llms.txt).
Source: https://helpdesk.orangescrum.com/can-i-import-or-export-tasks-in-orangescrum
---
Follow the steps below:
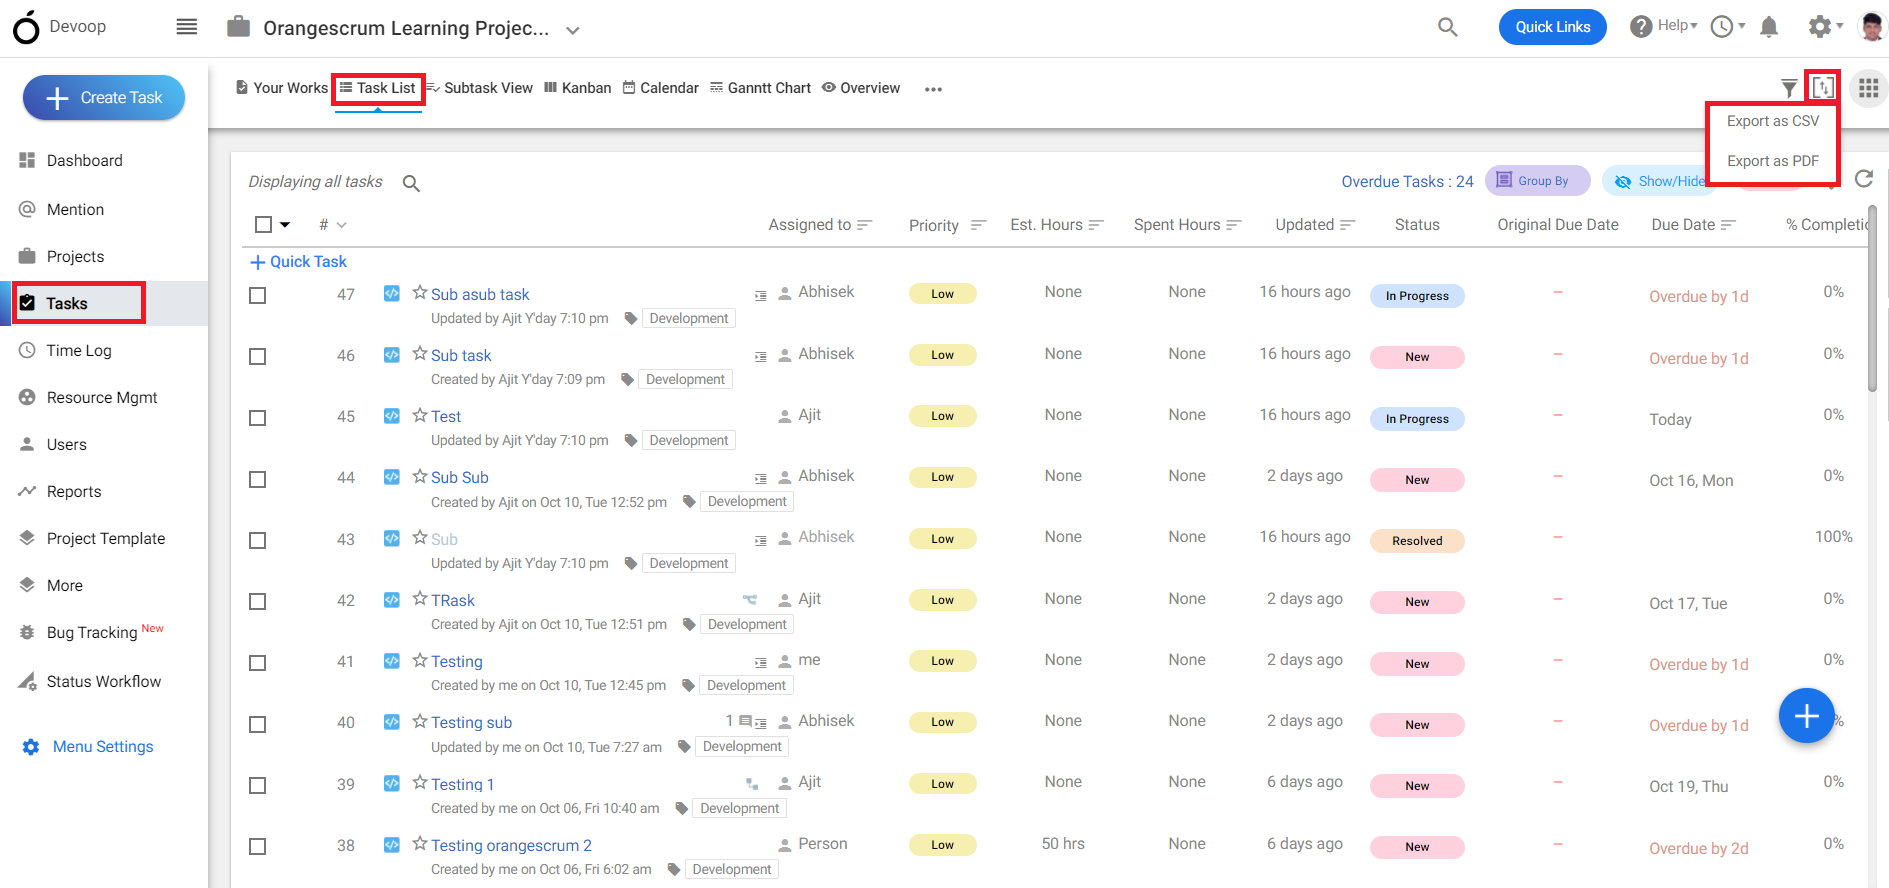
**(Image-1)**
1\. Login to orangescrum and click on the “Task” from the left menu.
2\. Click on the “Task List” .
3\. At the top Right corner you can export all the task details.
4\. You can either export it to csv or in pdf format.
# What are the steps to define custom fields in Orangescrum?
> Learn how to define custom fields in Orangescrum with our comprehensive step-by-step guide. Tailor your project management experience.
> For the complete documentation index, see [llms.txt](https://helpdesk.orangescrum.com/llms.txt).
Source: https://helpdesk.orangescrum.com/what-are-the-steps-to-define-custom-fields-in-orangescrum
---
Follow the steps to create a new custom workflow:
1.Login to orangescrum, click on the “Settings” from the top right corner.
2.Click on the “Project Setting”.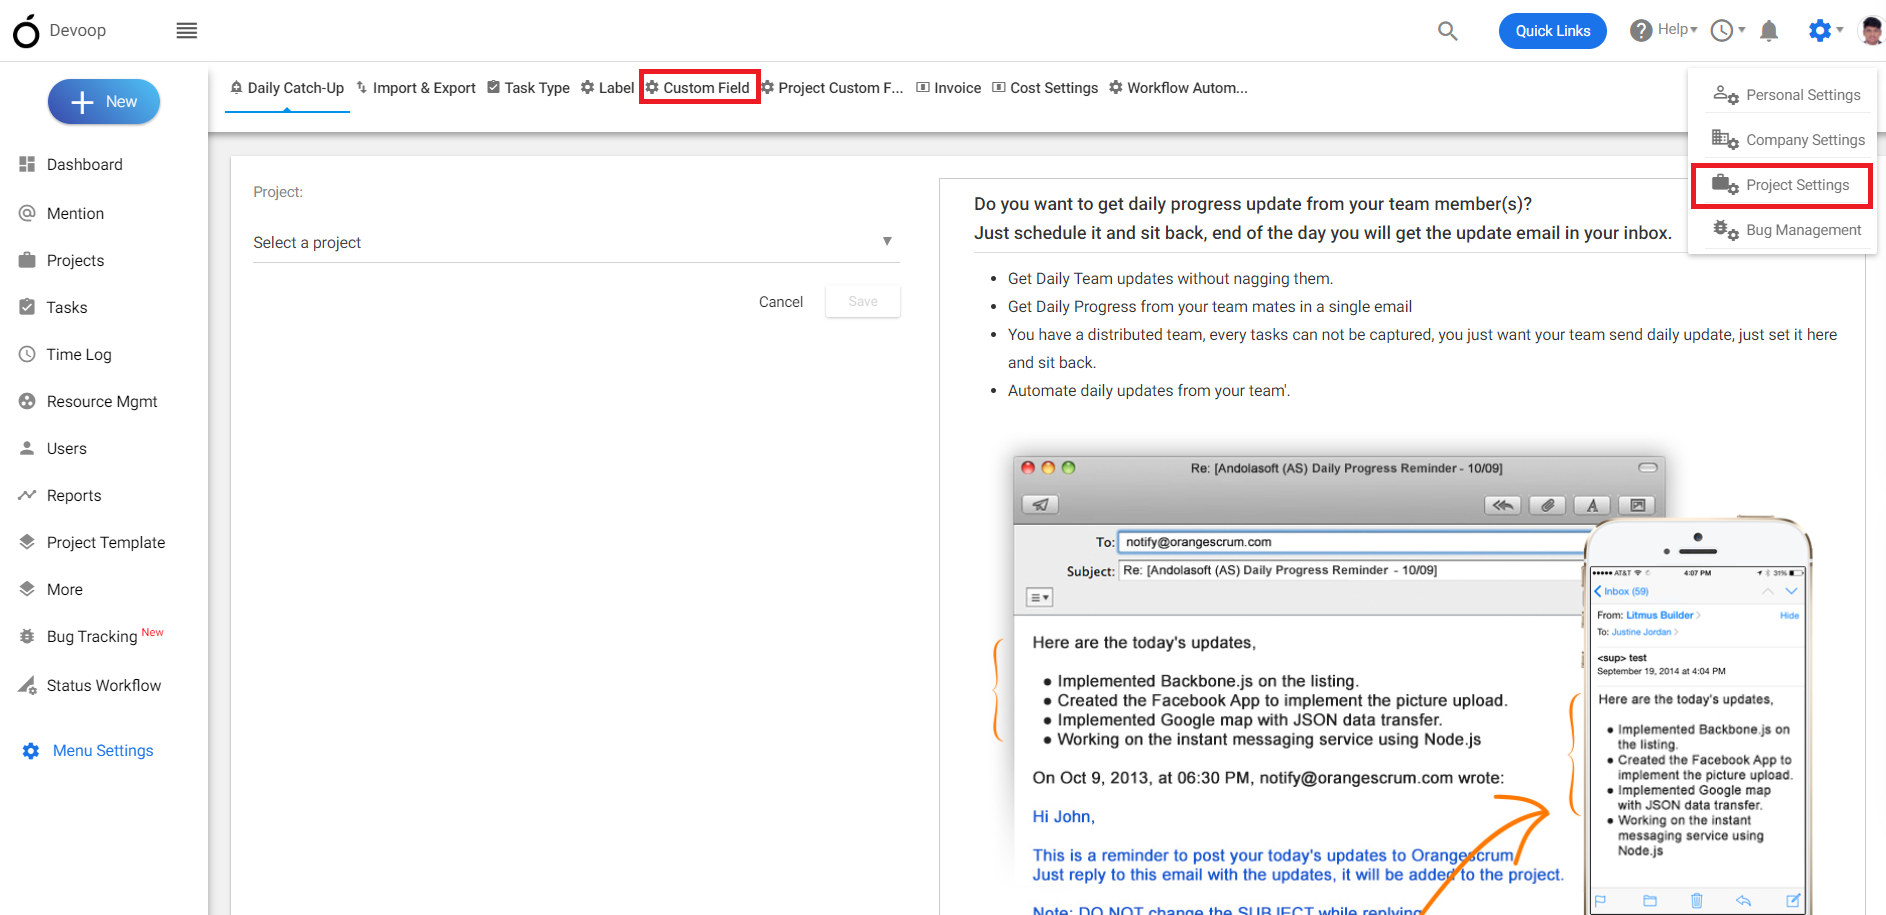
**(Image-1)**
3.On the top navigation bar select the “custom fields”.
4.You can add a new custom field here or can use the existing ones.
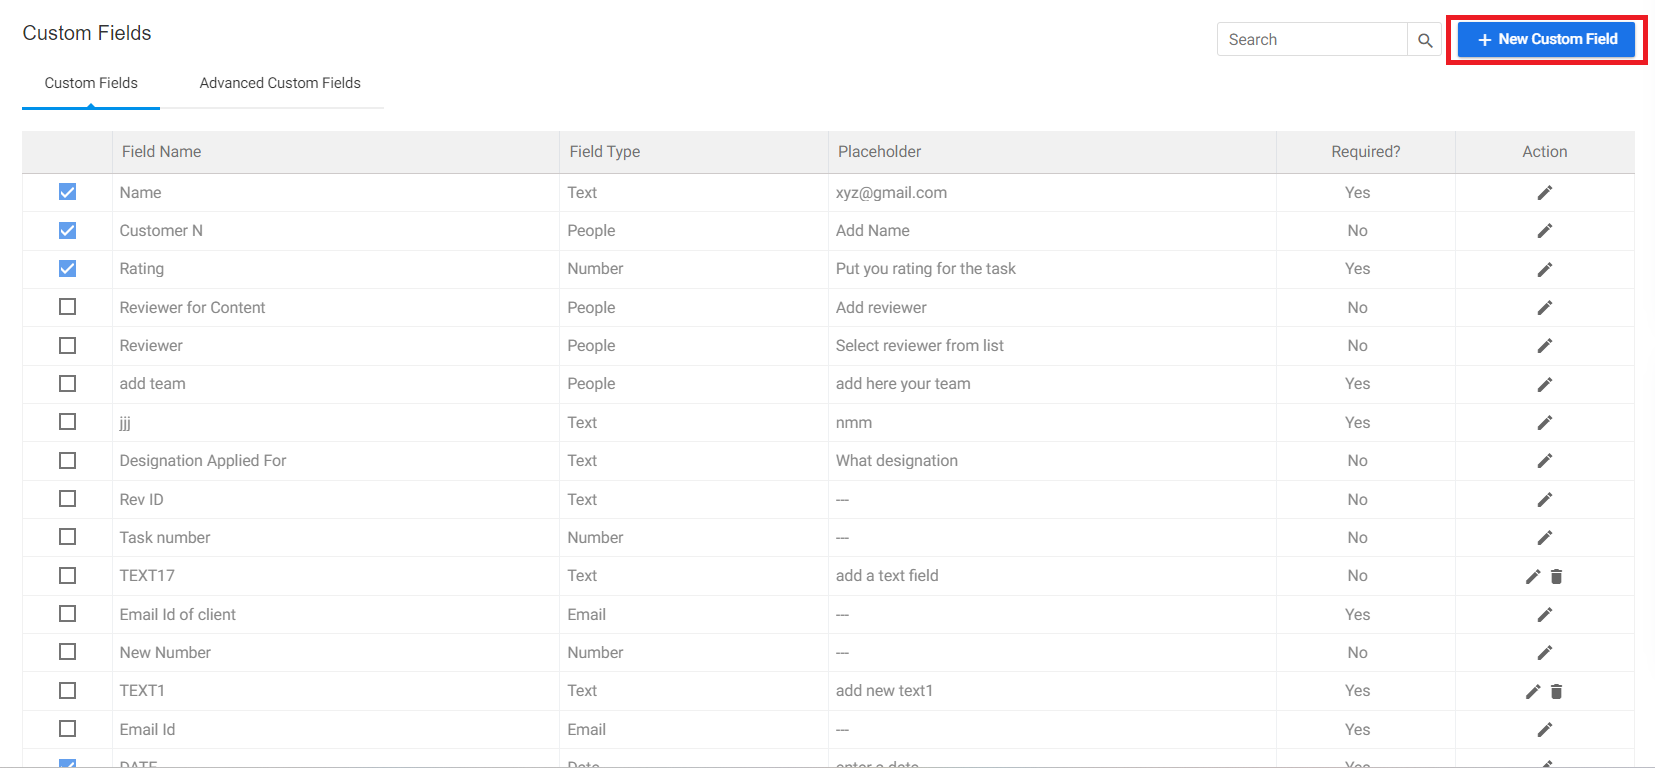
**(Image-2)**
# Can I generate task-related reports or view task analytics in Orangescrum?
> Learn how to generate task-related reports and view analytics in Orangescrum for better project insights and decision-making.
> For the complete documentation index, see [llms.txt](https://helpdesk.orangescrum.com/llms.txt).
Source: https://helpdesk.orangescrum.com/can-i-generate-task-related-reports-or-view-task-analytics-in-orangescrum
---
1. Login to orangescrum and click on the “Report” from the left menu.
2\. Click on the “recently created task report” from the report section.
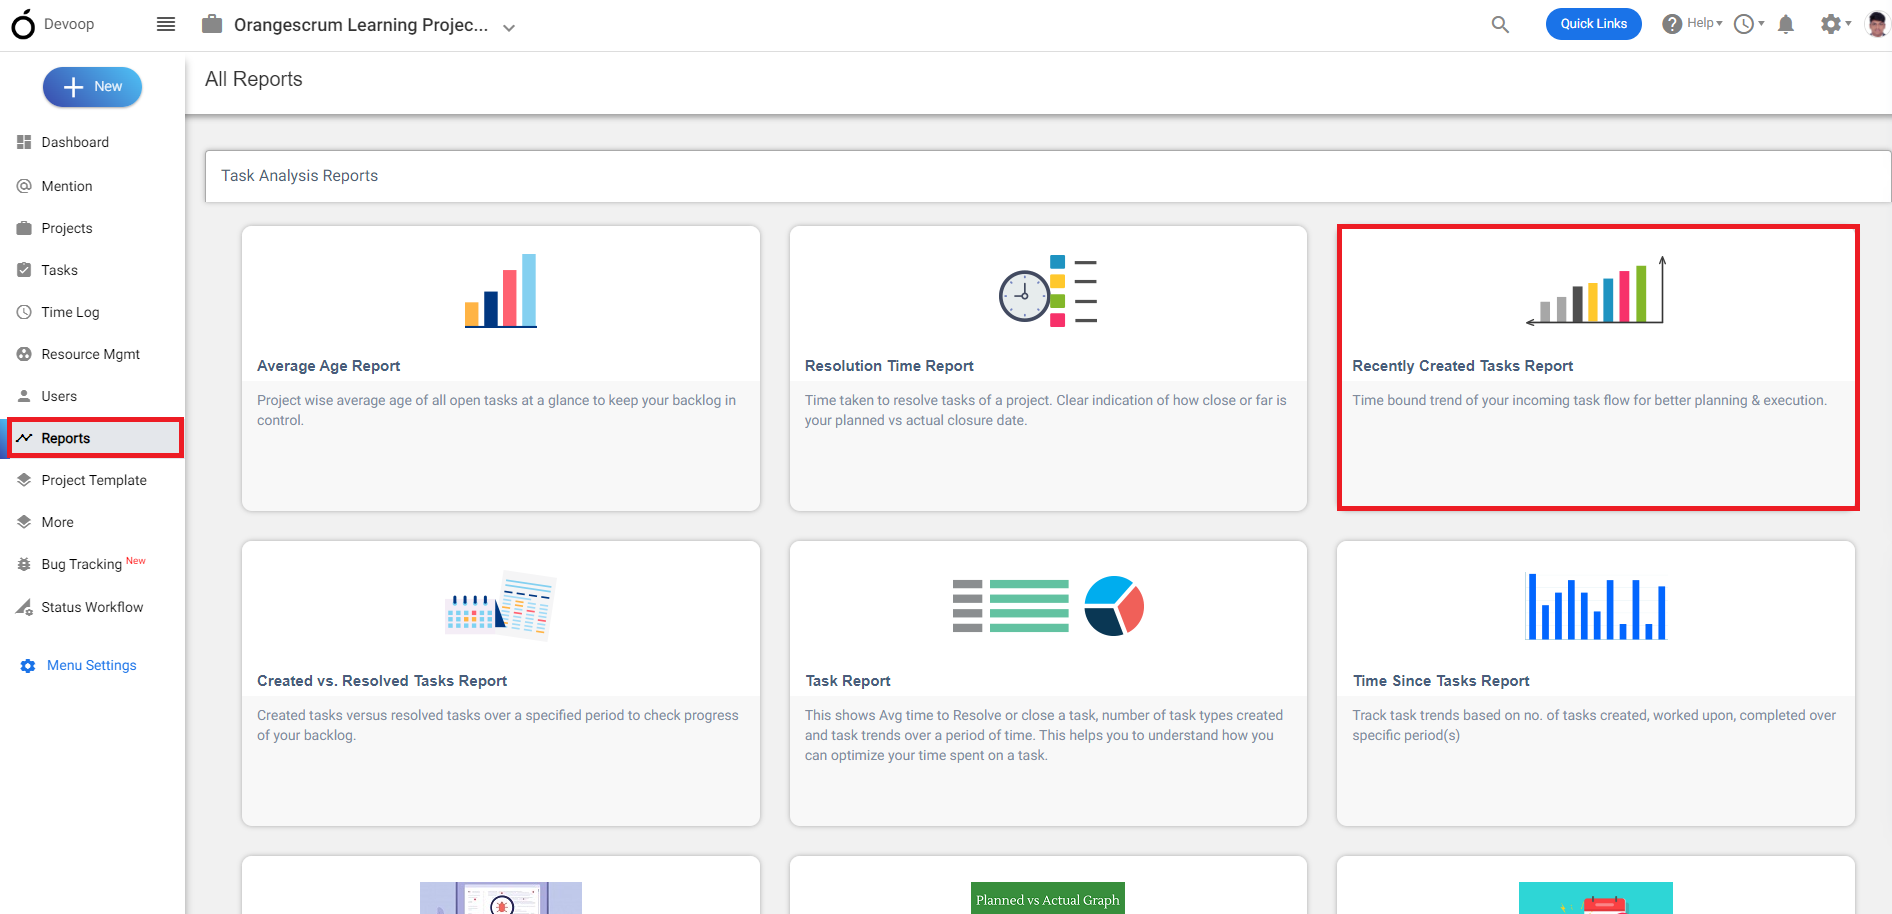
**(Image-1)**
3\. Select the project, period and days previously for the task for which you want to create a report.
4\. The task report will be shown.
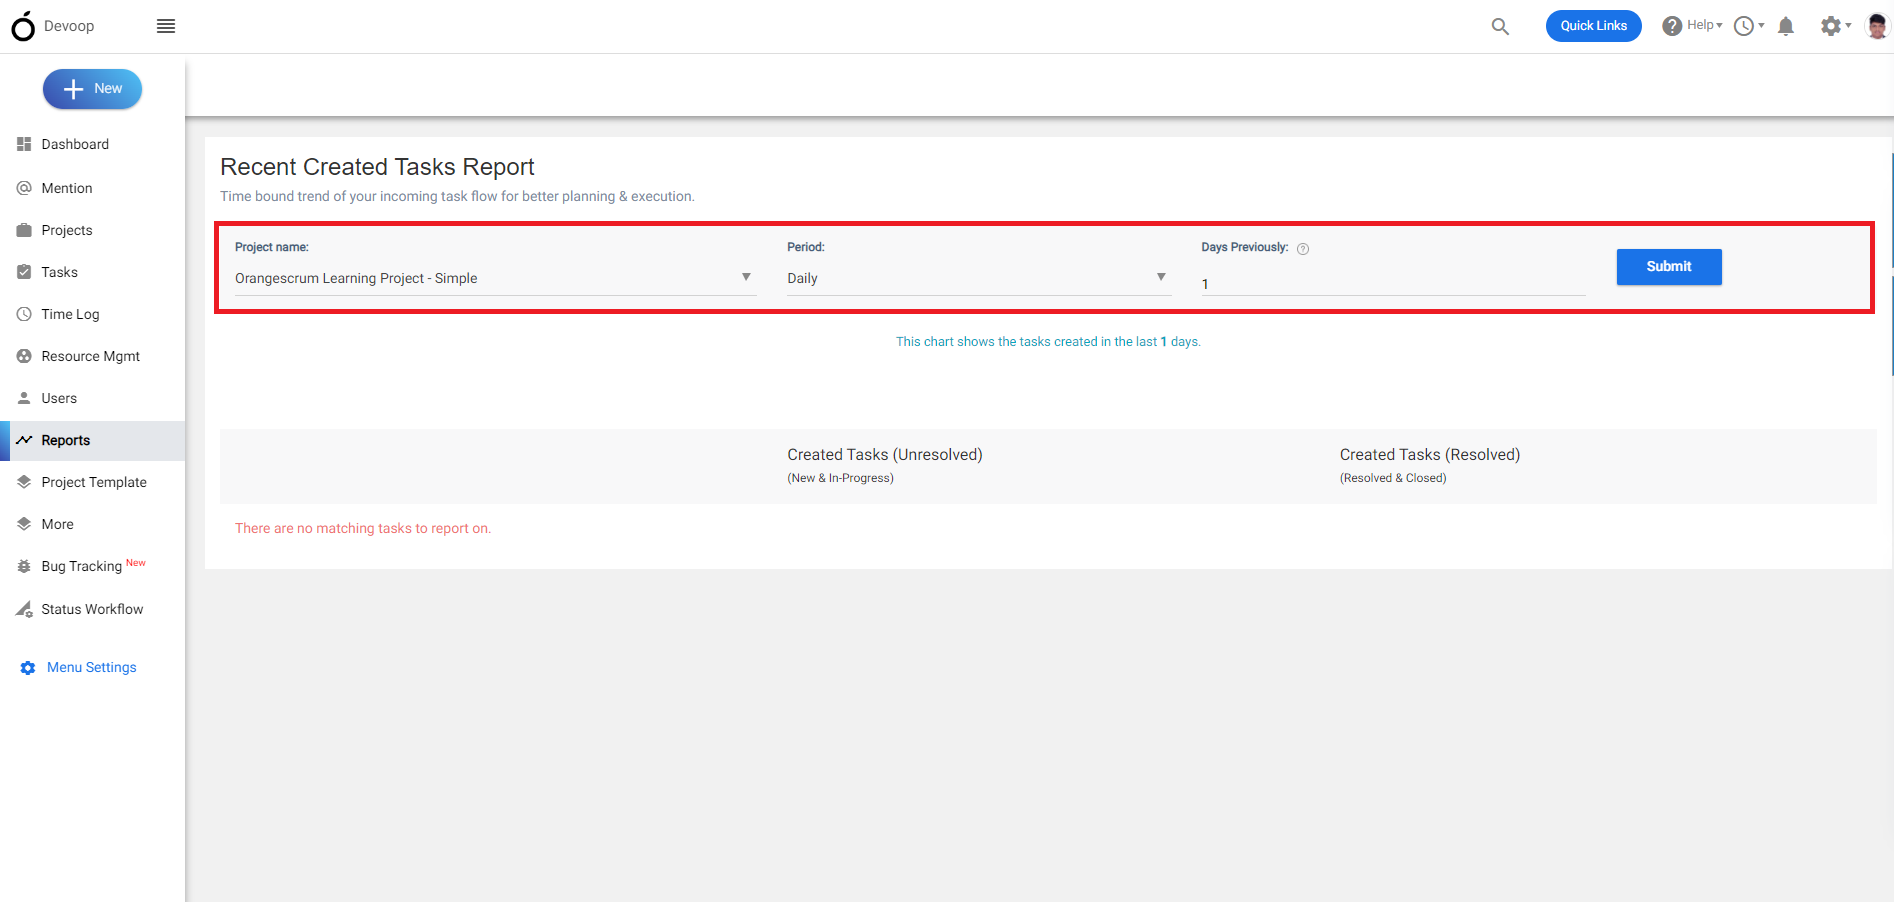
**(Image-2)**
# Can I assign tasks to specific team members?
> Learn how to assign tasks to specific team members in Orangescrum to streamline project management and enhance collaboration.
> For the complete documentation index, see [llms.txt](https://helpdesk.orangescrum.com/llms.txt).
Source: https://helpdesk.orangescrum.com/can-i-assign-tasks-to-specific-team-members
---
Follow the steps below:
1\. Login to orangescrum and click on the project from the left menu.
2\. Select a project, click on the “task” from the left menu.
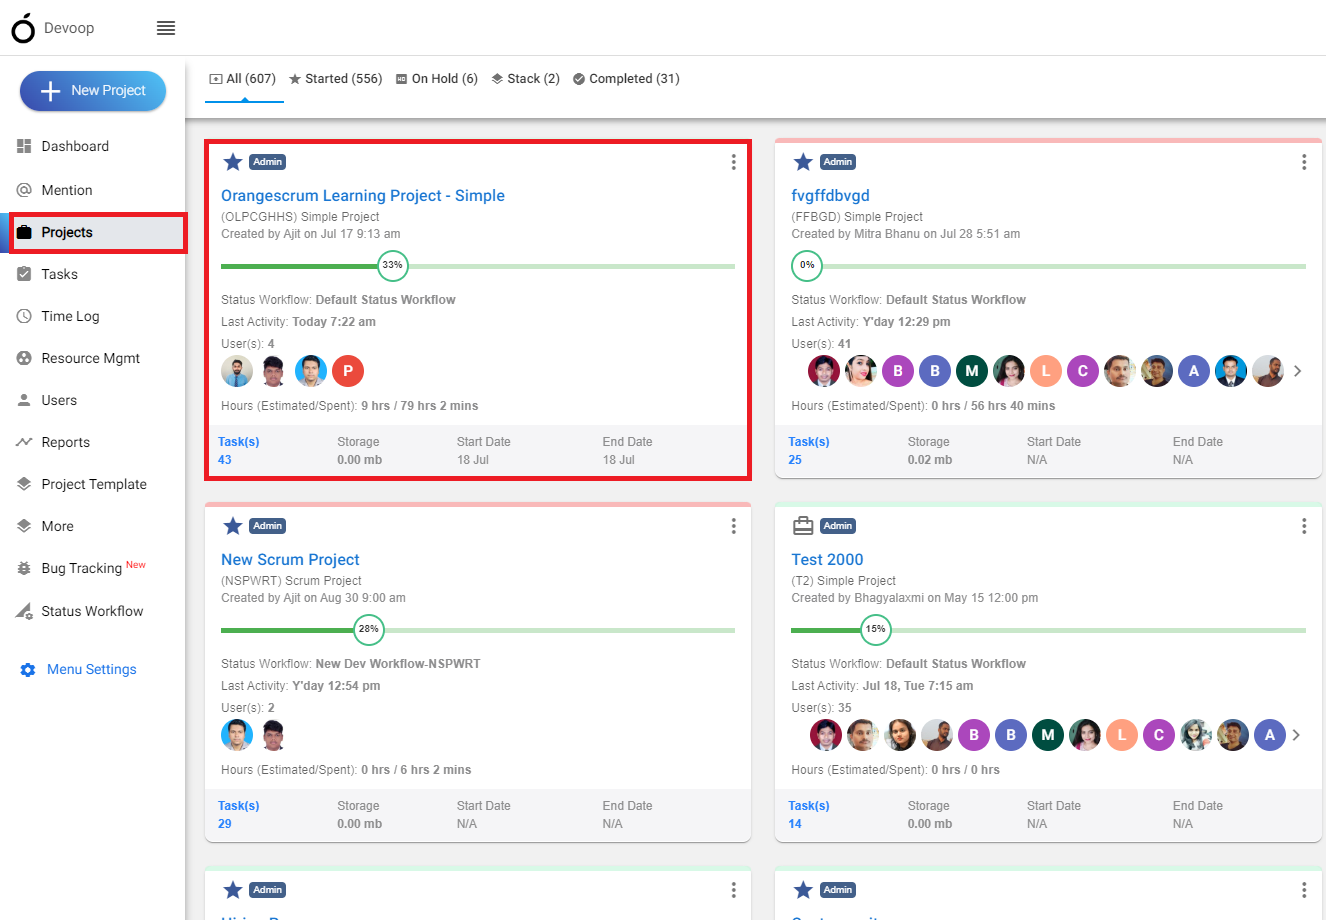
**(Image-1)**
3\. Click on “+” to create a new task.
4\. You can select a member from the drop box and assign the task..
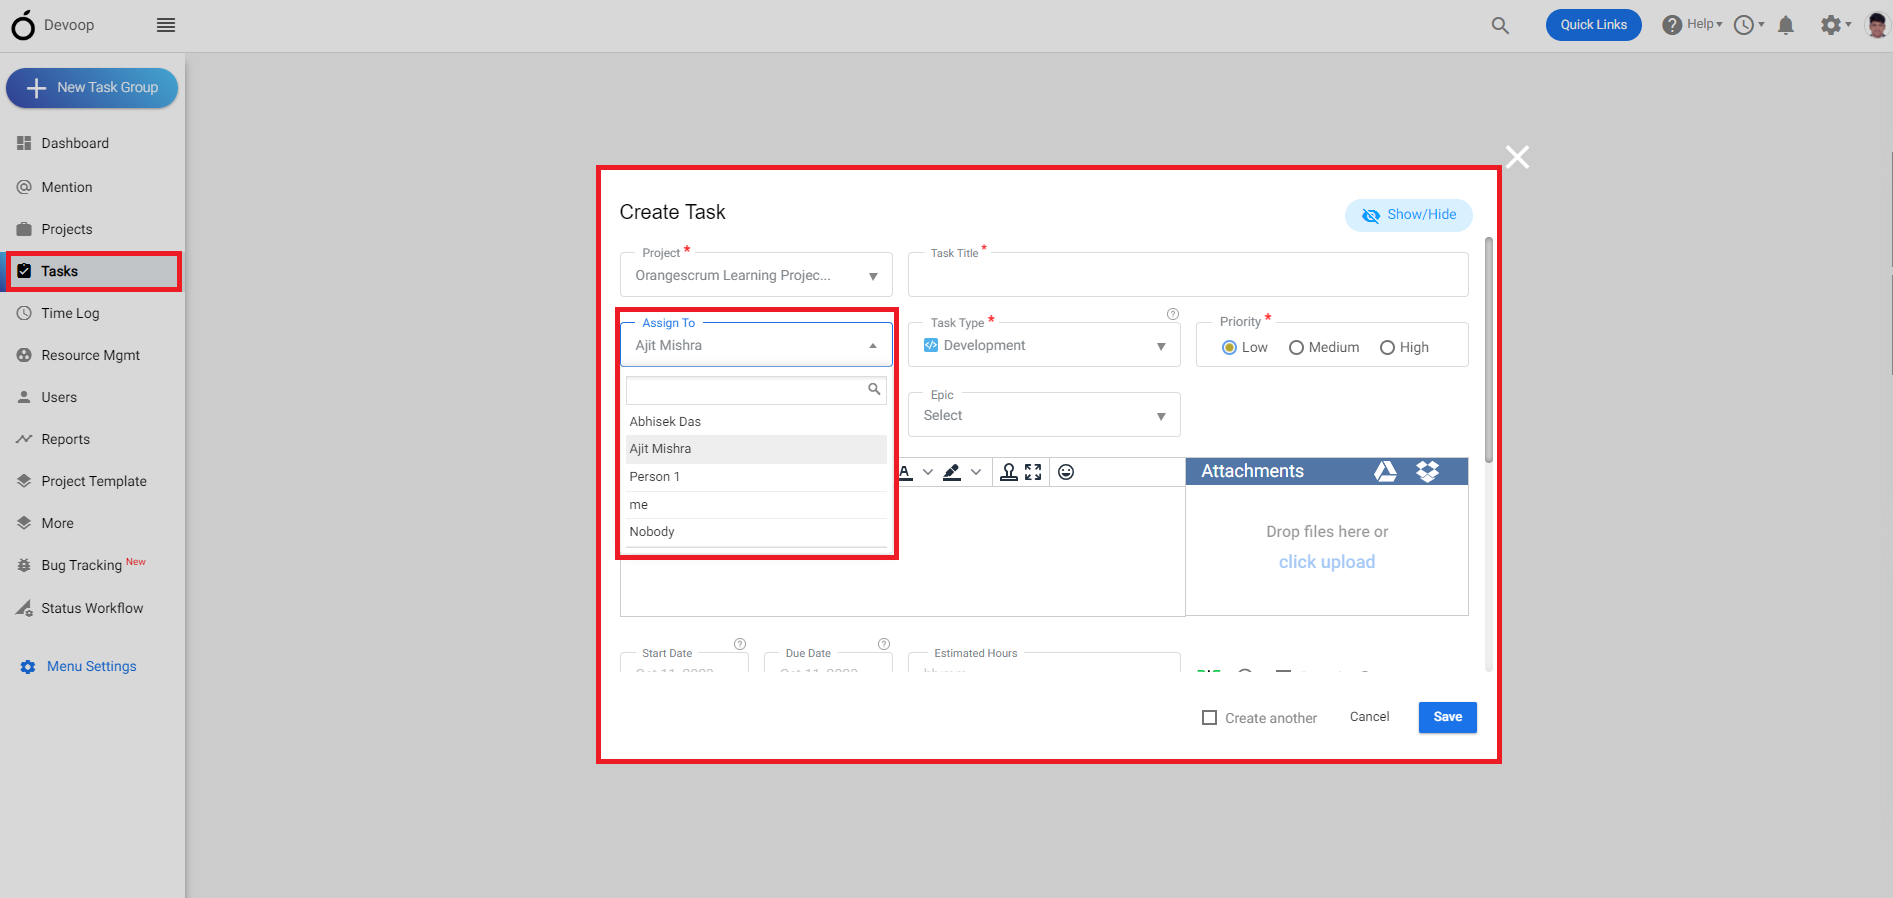
**(Image-2)**
# Can I generate Sprint burndown charts in Orangescrum?
> Learn how to generate Sprint burndown charts in Orangescrum for tracking progress and improving sprint management.
> For the complete documentation index, see [llms.txt](https://helpdesk.orangescrum.com/llms.txt).
Source: https://helpdesk.orangescrum.com/can-i-generate-sprint-burndown-charts-in-orangescrum
---
Follow the steps below:
1.Login to orangescrum.
2.Click on the report from the left menu.
3.Scroll down and click on the sprint burndown report.
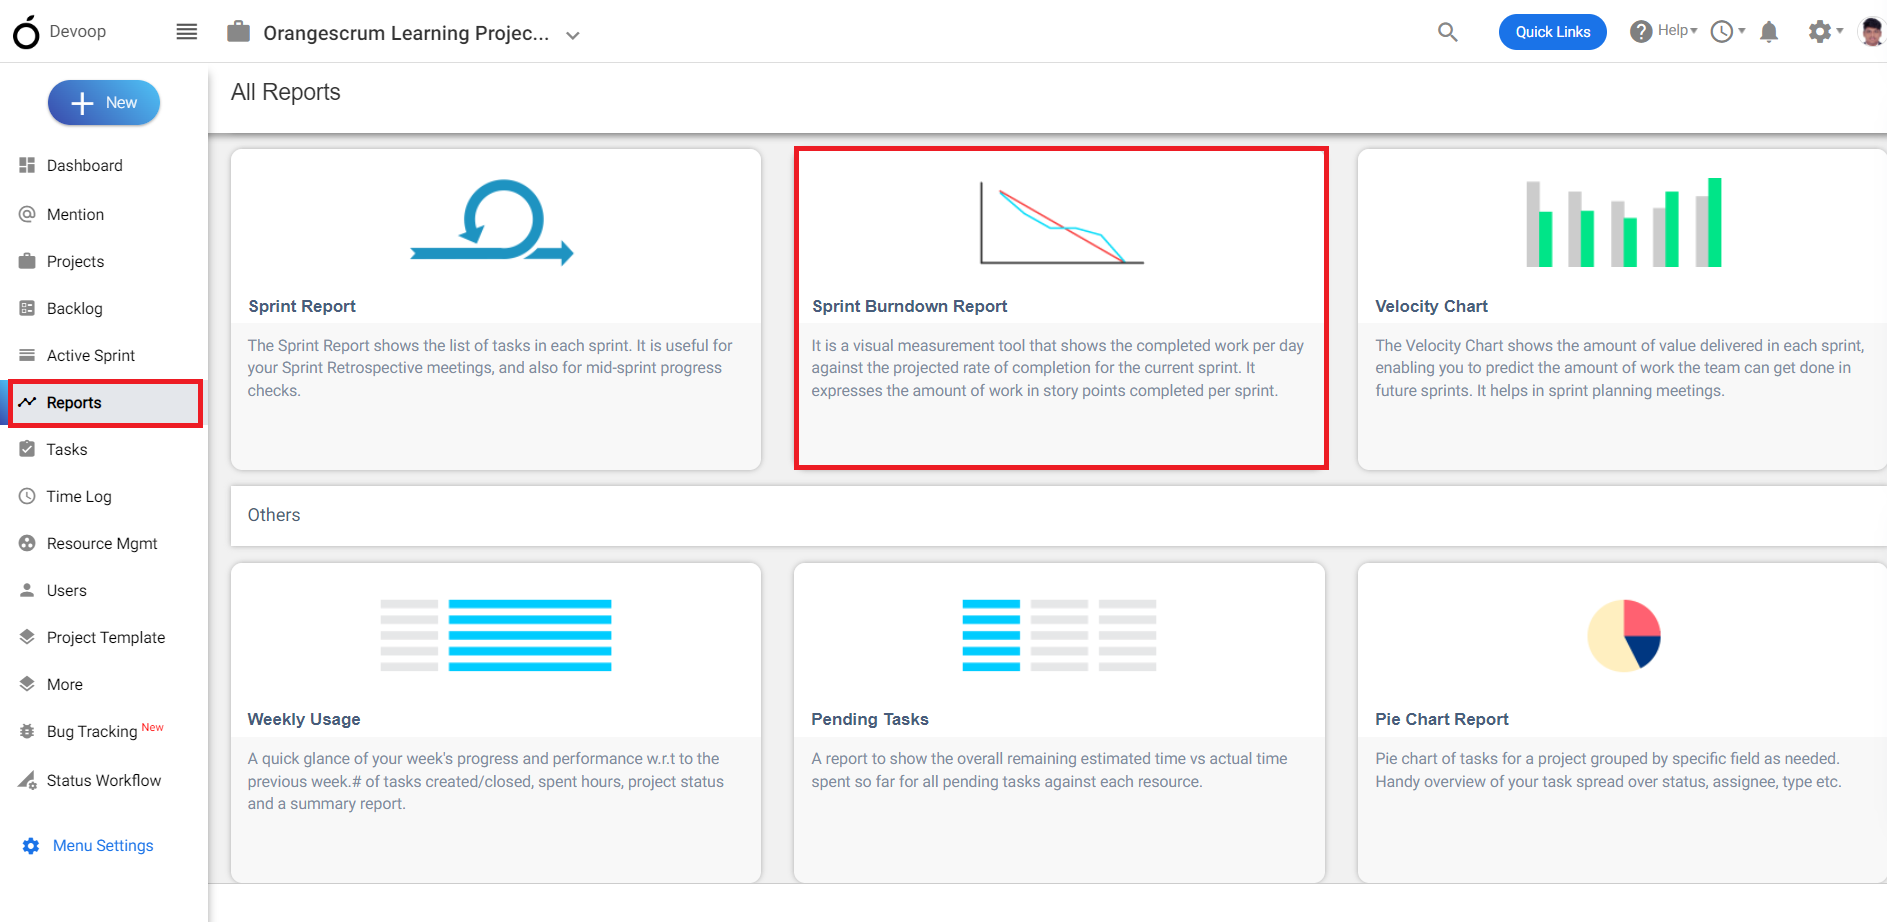
**(Image-1)**
4\. Select a scrum project.
5\. Select a sprint under the project.
6\. The sprint Burndown report will be shown.
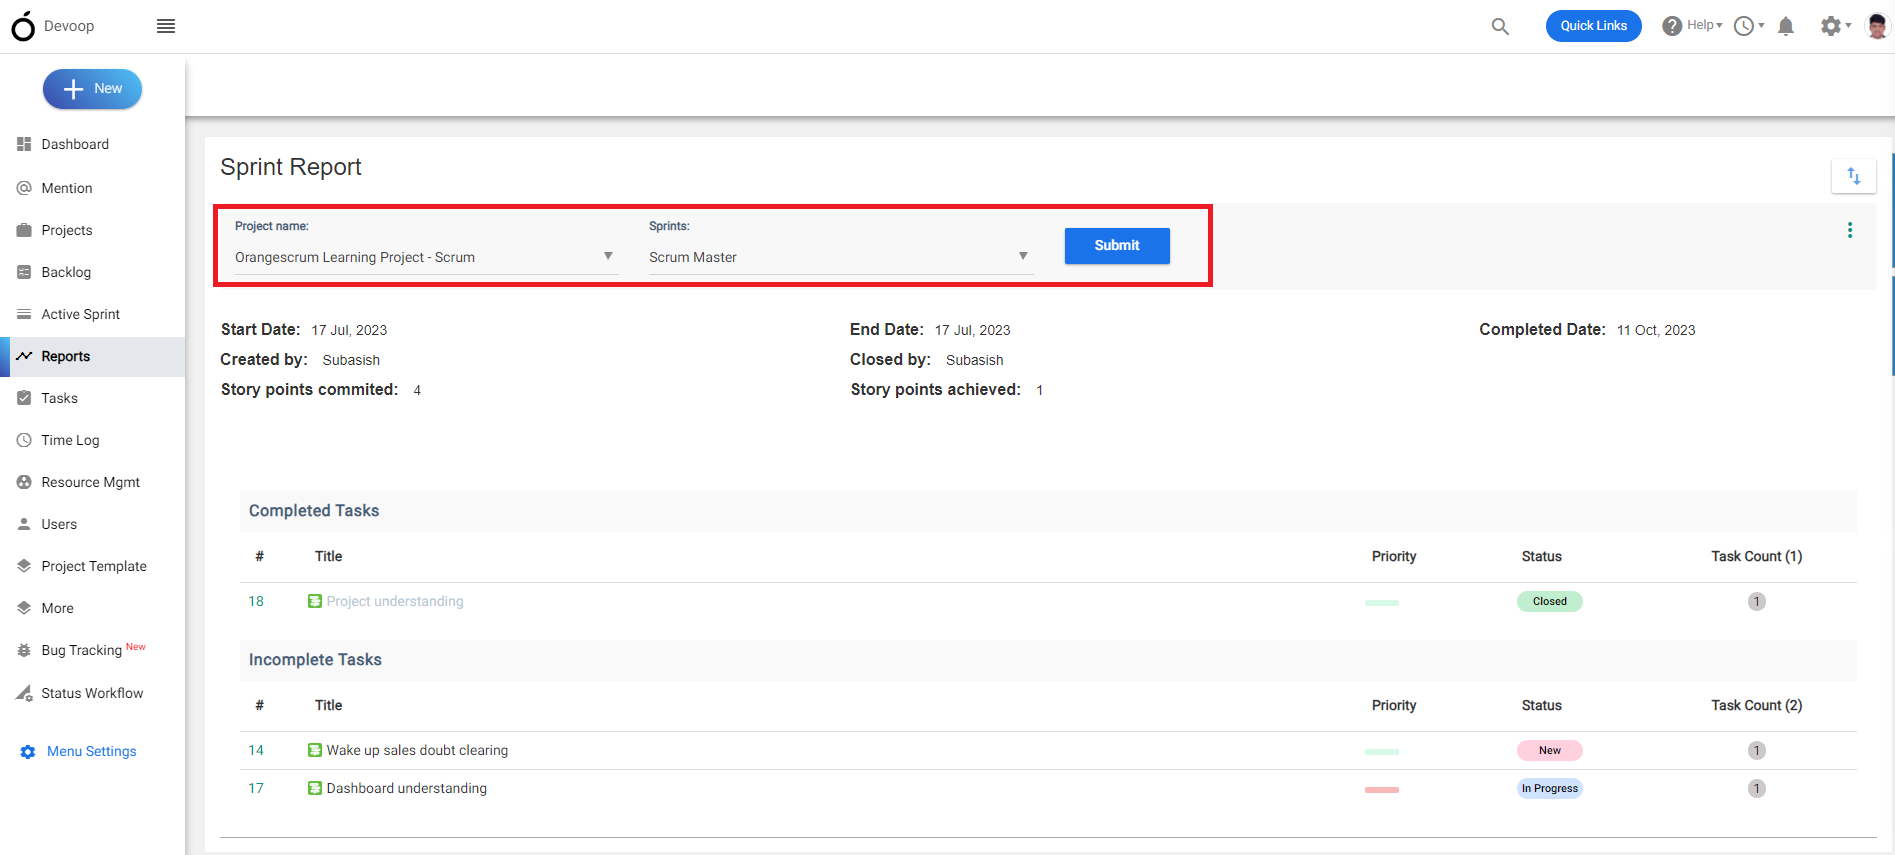
**(Image-2)**
# Is there a way to track velocity in Orangescrum?
> Learn effective methods to track velocity in Orangescrum, enabling better measurement of team performance and improved project planning.
> For the complete documentation index, see [llms.txt](https://helpdesk.orangescrum.com/llms.txt).
Source: https://helpdesk.orangescrum.com/is-there-a-way-to-track-velocity-in-orangescrum
---
Follow the steps below:
1\. Login in to the orangescrum, click on the report from the left menu.
2\. Scroll down in the report section and select the velocity chart.
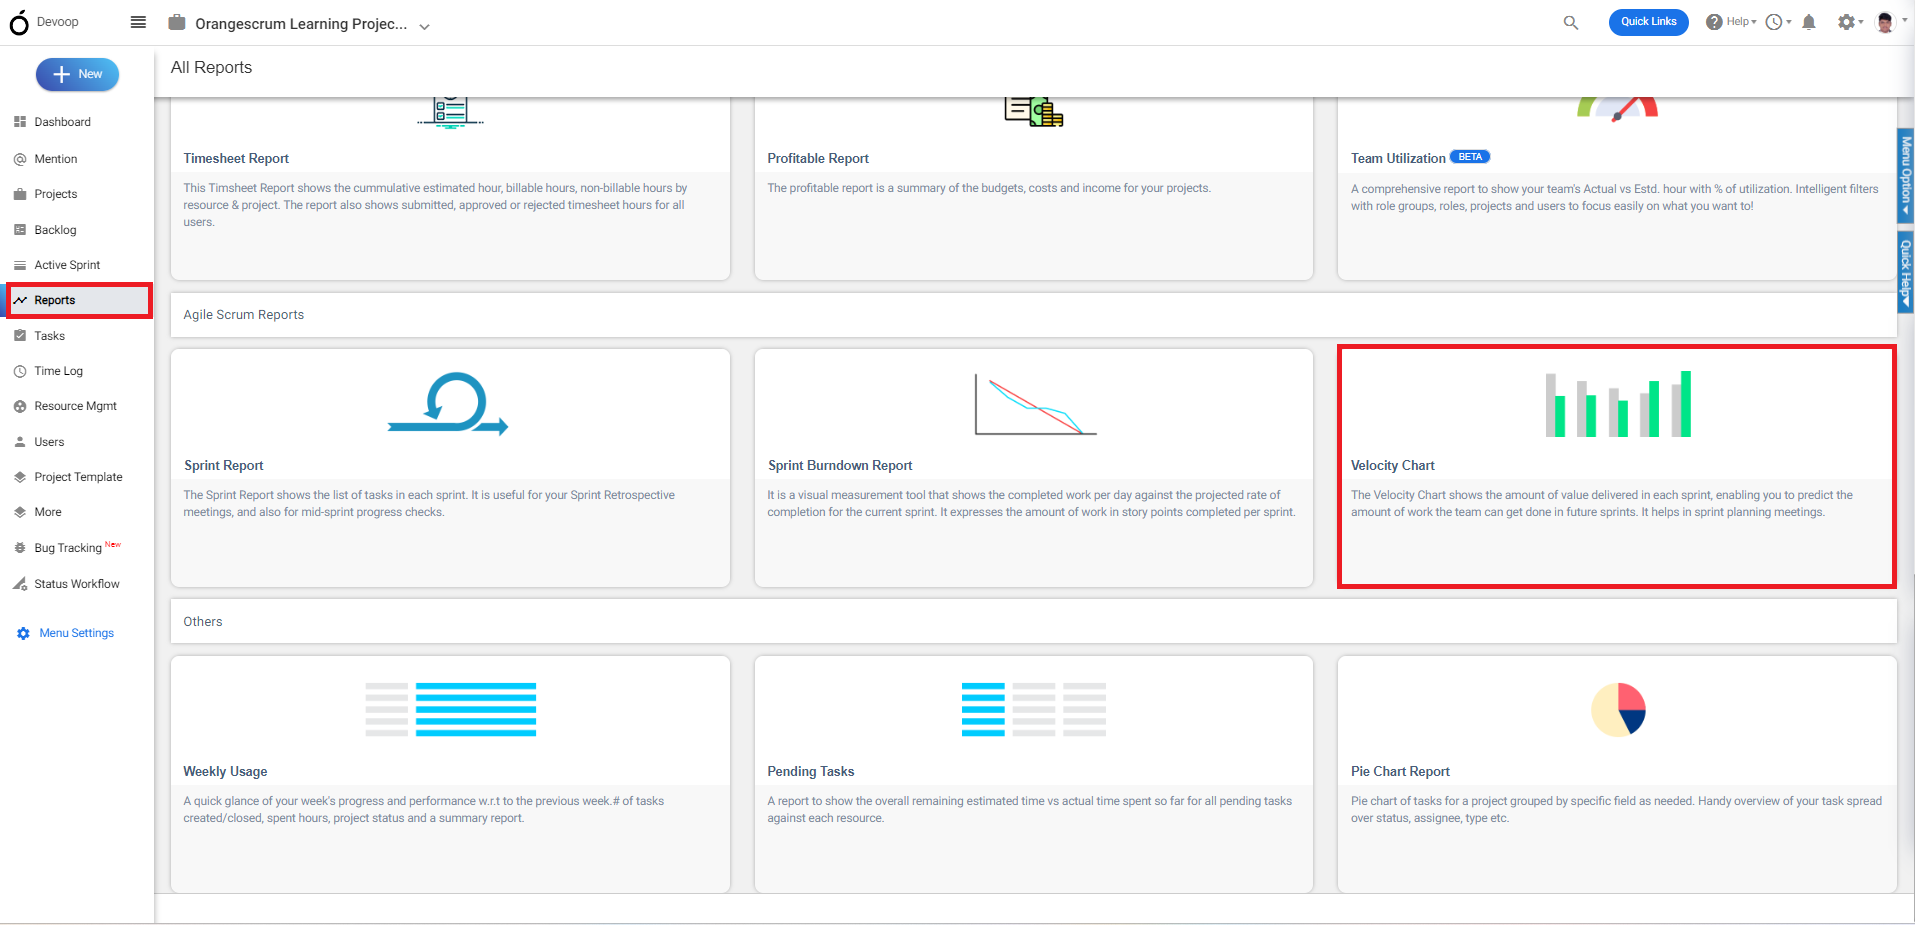
**(Image-1)**
3\. In the velocity chart page, select a project.
4\. The velocity chart of the selected project will be shown.
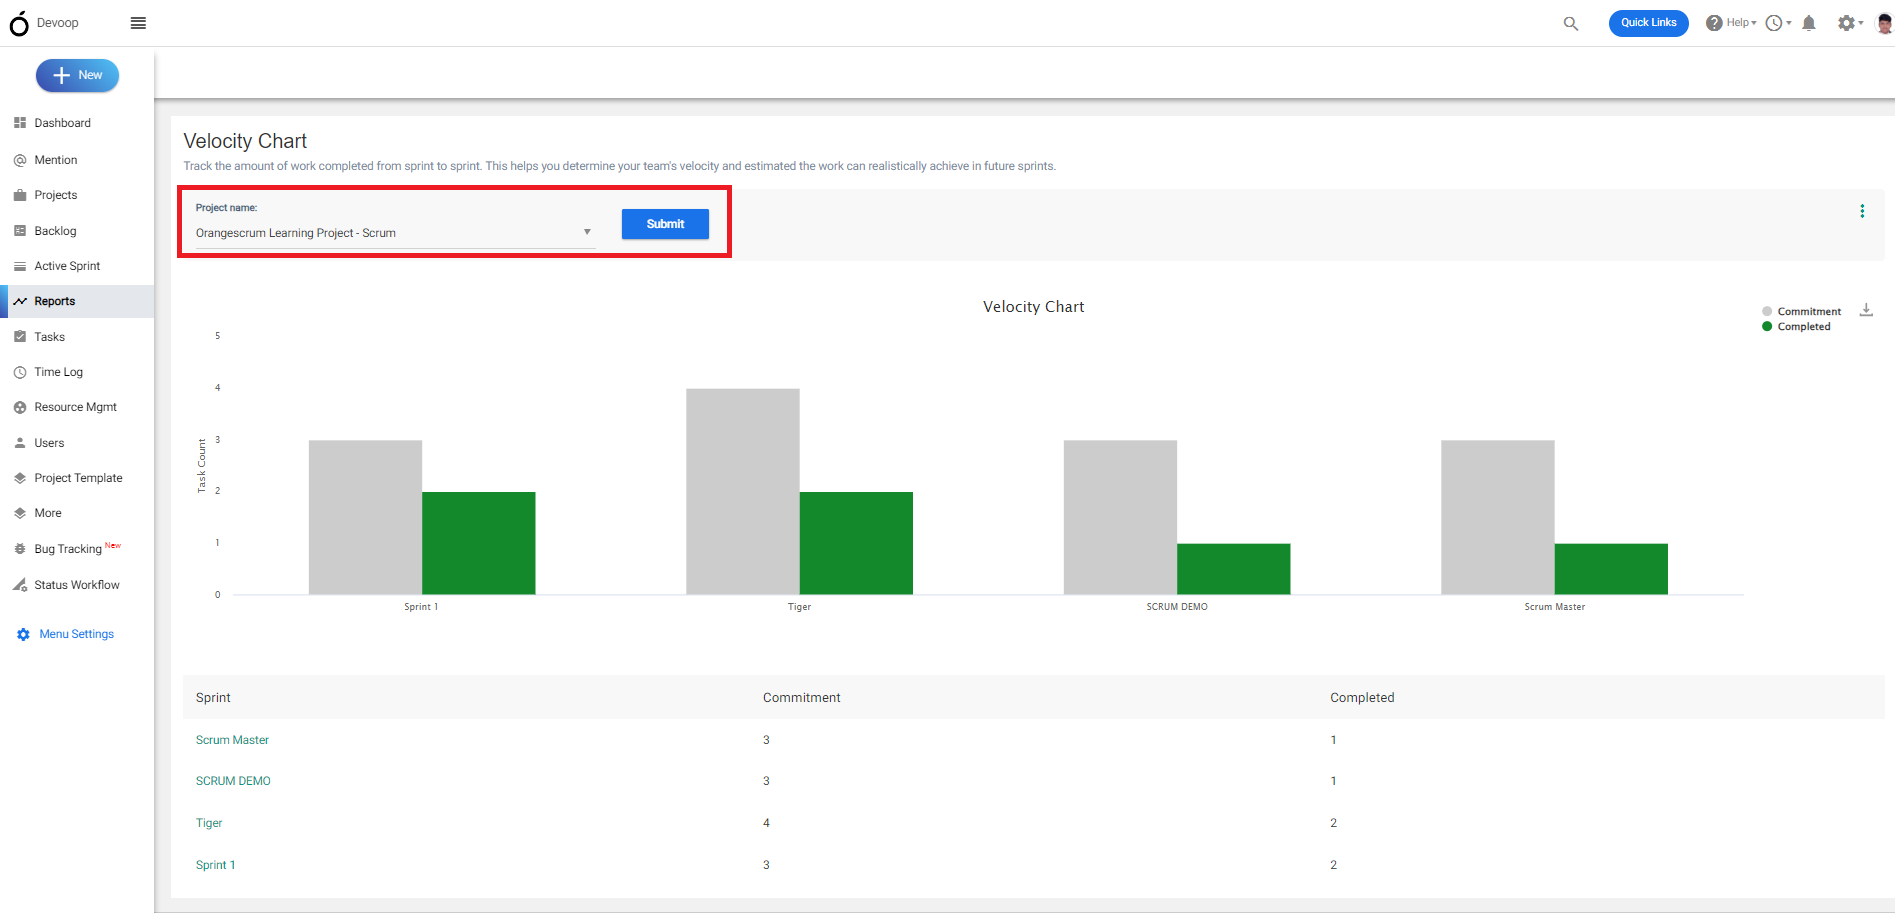
**(Image-2)**
# How do I move tasks or user stories across different stages or columns in the Agile board?
> Learn to move tasks or user stories between stages in the Agile board of Orangescrum for better project management.
> For the complete documentation index, see [llms.txt](https://helpdesk.orangescrum.com/llms.txt).
Source: https://helpdesk.orangescrum.com/how-do-i-move-tasks-or-user-stories-across-different-stages-or-columns-in-the-agile-board
---
Follow the steps below:
1\. Login to Orangescrum and click on “Projects” from the left menu and select a Scrum project.
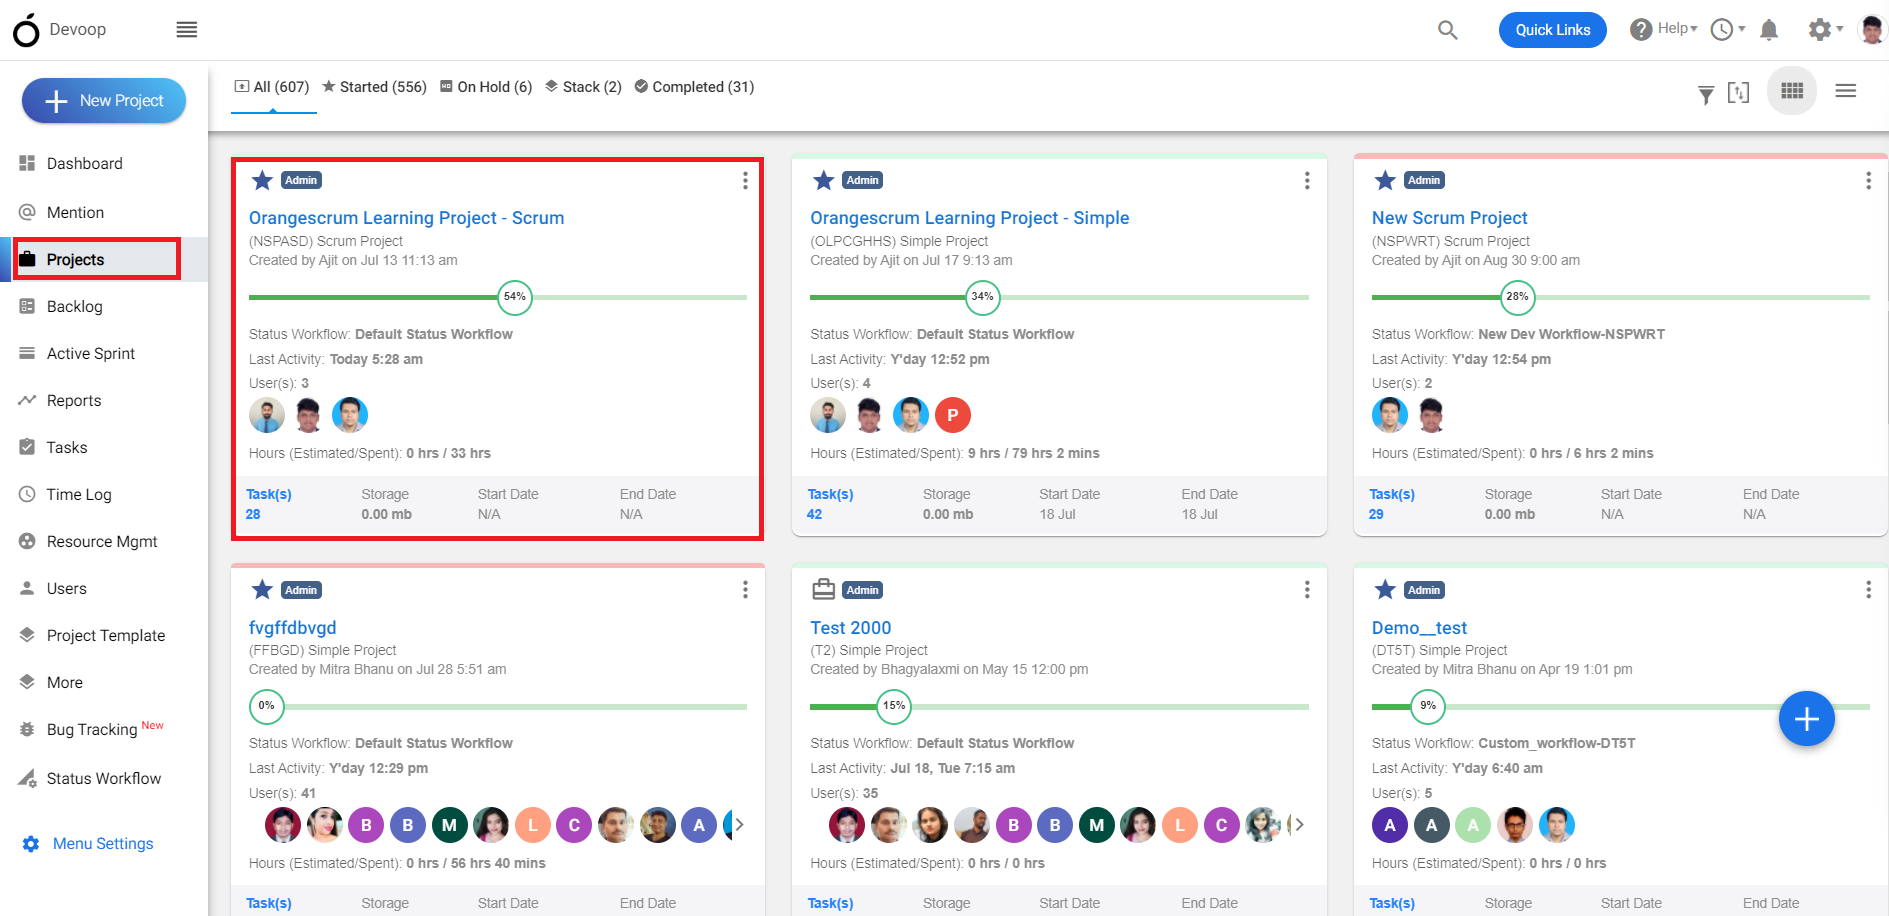
**(Image-1)**
2\. Click on the active sprint from the left menu.
3\. You can drag and drop the tasks from the active sprint across different stages or columns of the agile board.
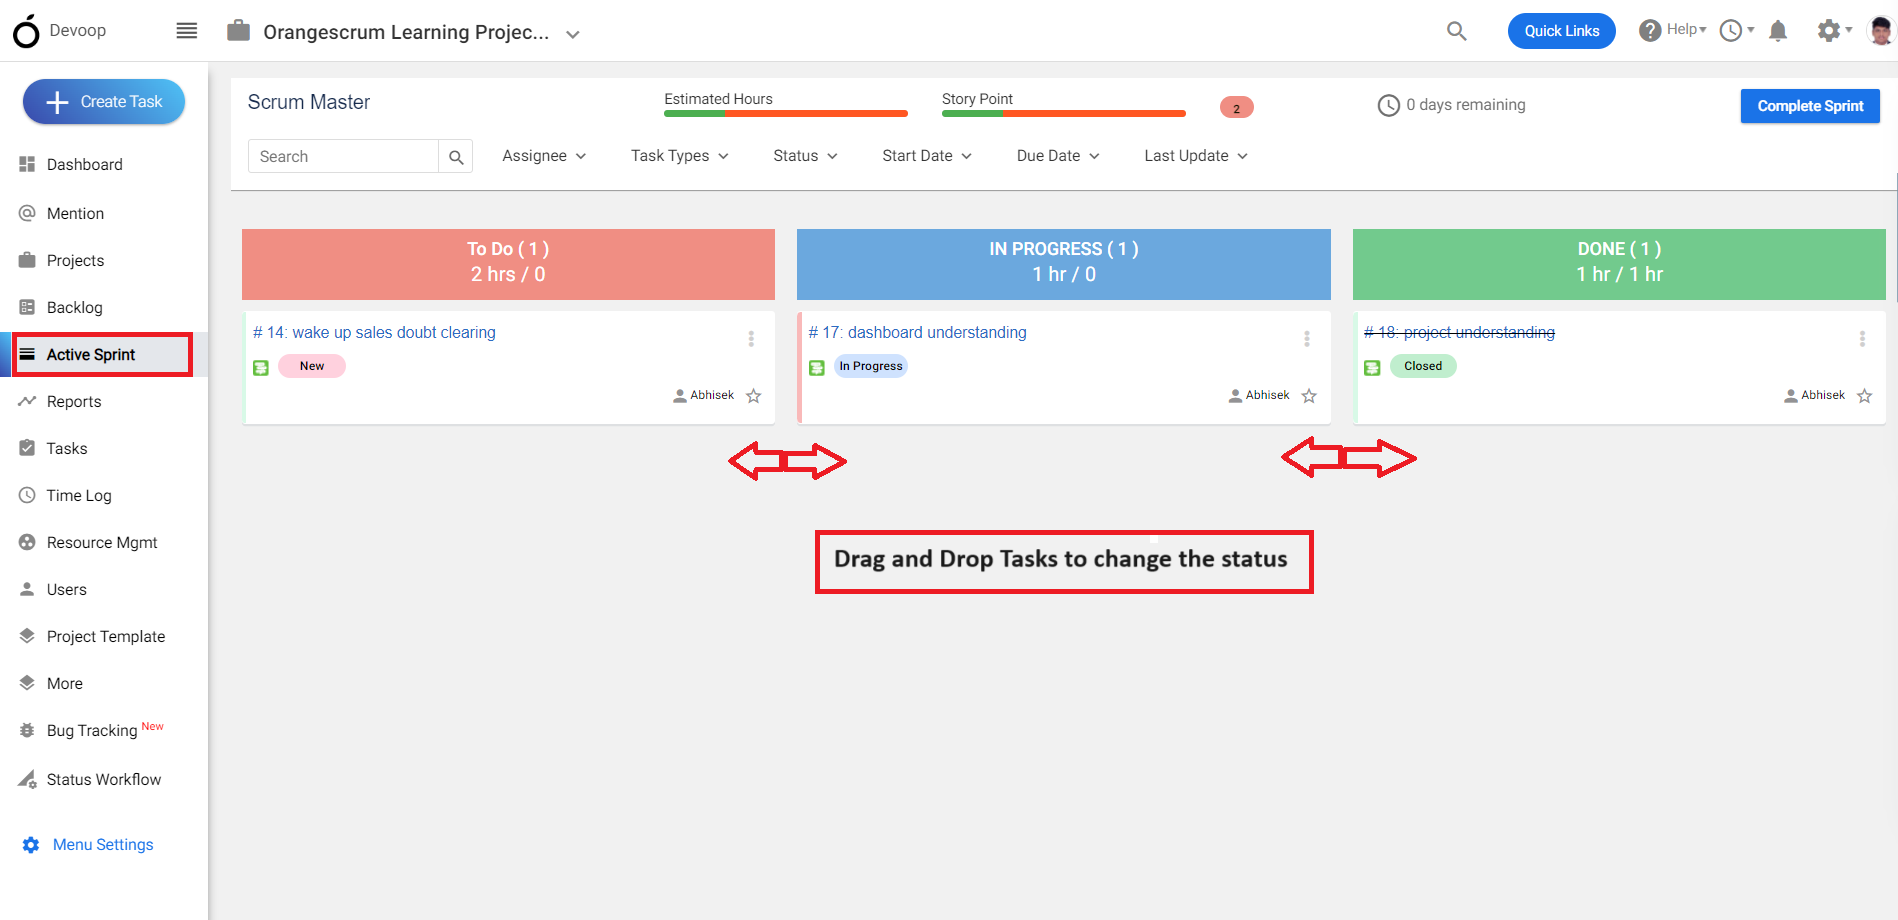
**(Image-2)**
# How do I create and manage sprints in Orangescrum?
> Learn how to create and manage sprints in OrangeScrum for efficient project tracking and team collaboration. Simple step-by-step guide.
> For the complete documentation index, see [llms.txt](https://helpdesk.orangescrum.com/llms.txt).
Source: https://helpdesk.orangescrum.com/how-do-i-create-and-manage-sprints-in-orangescrum
---
1\. Login to Orangescrum, Click on “project” from the left menu and select a scrum project.
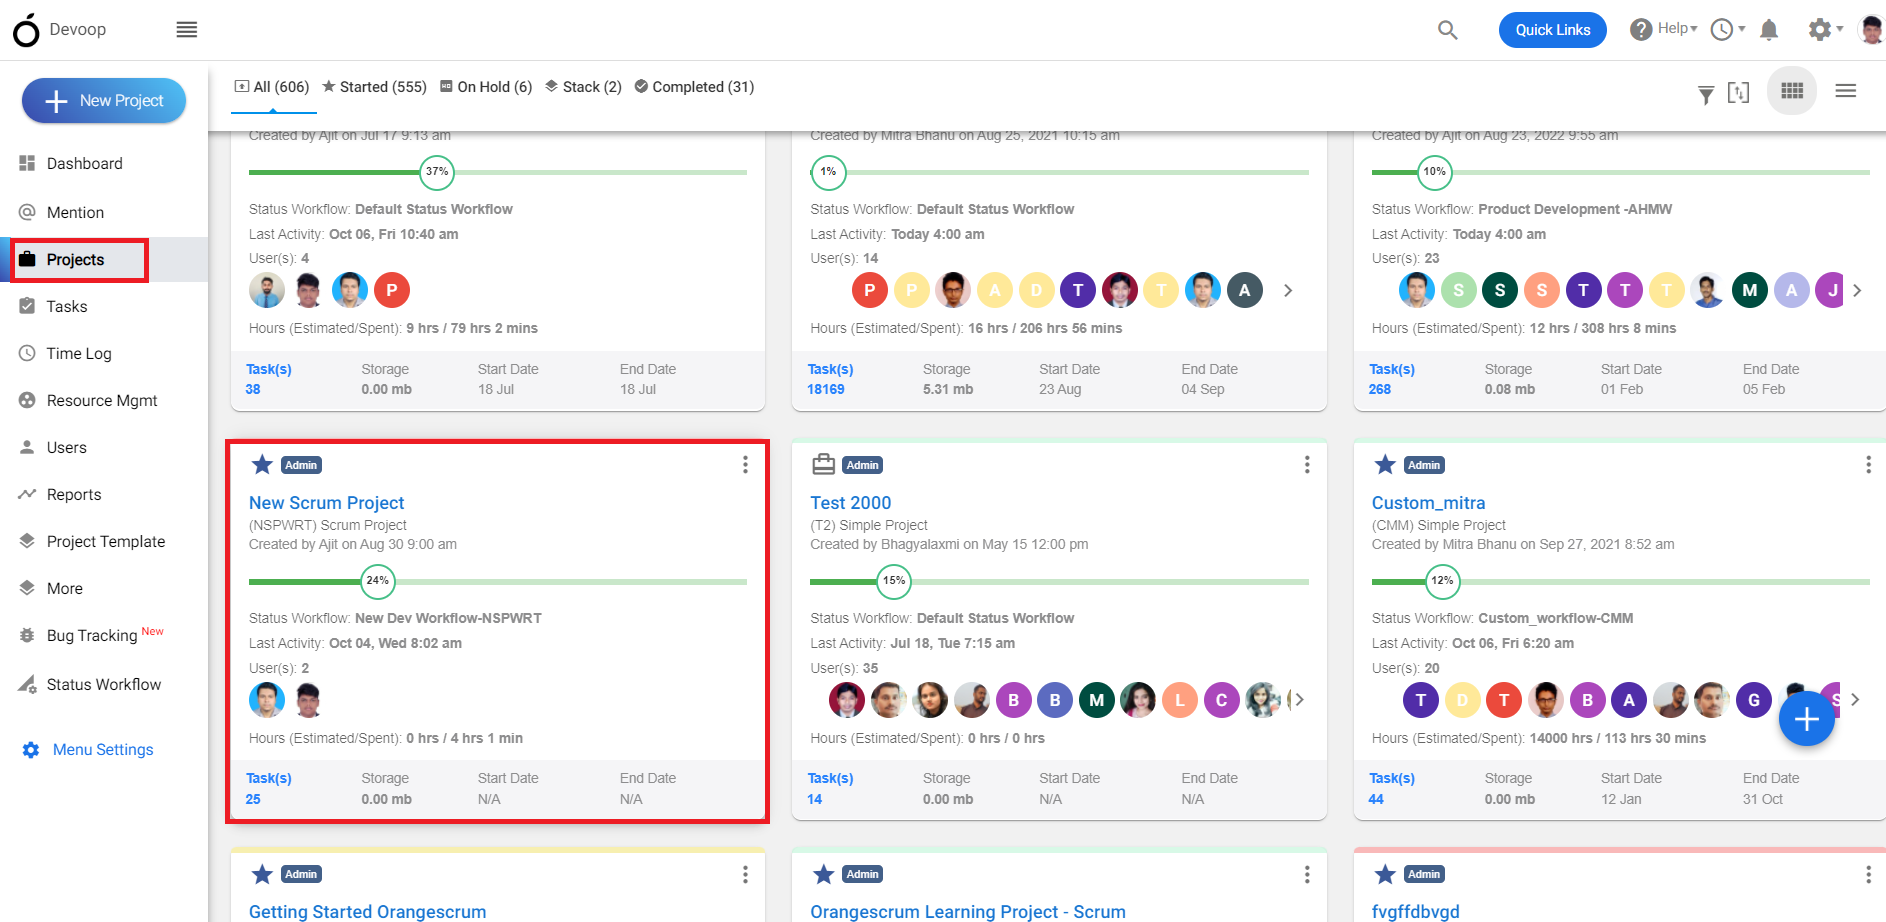
**(Image-1)**
2.Click on “Task” from the left menu and click on “+” to create a new task.
3.While creating a task you can select the “task type” as “story” and then you can define the story point.
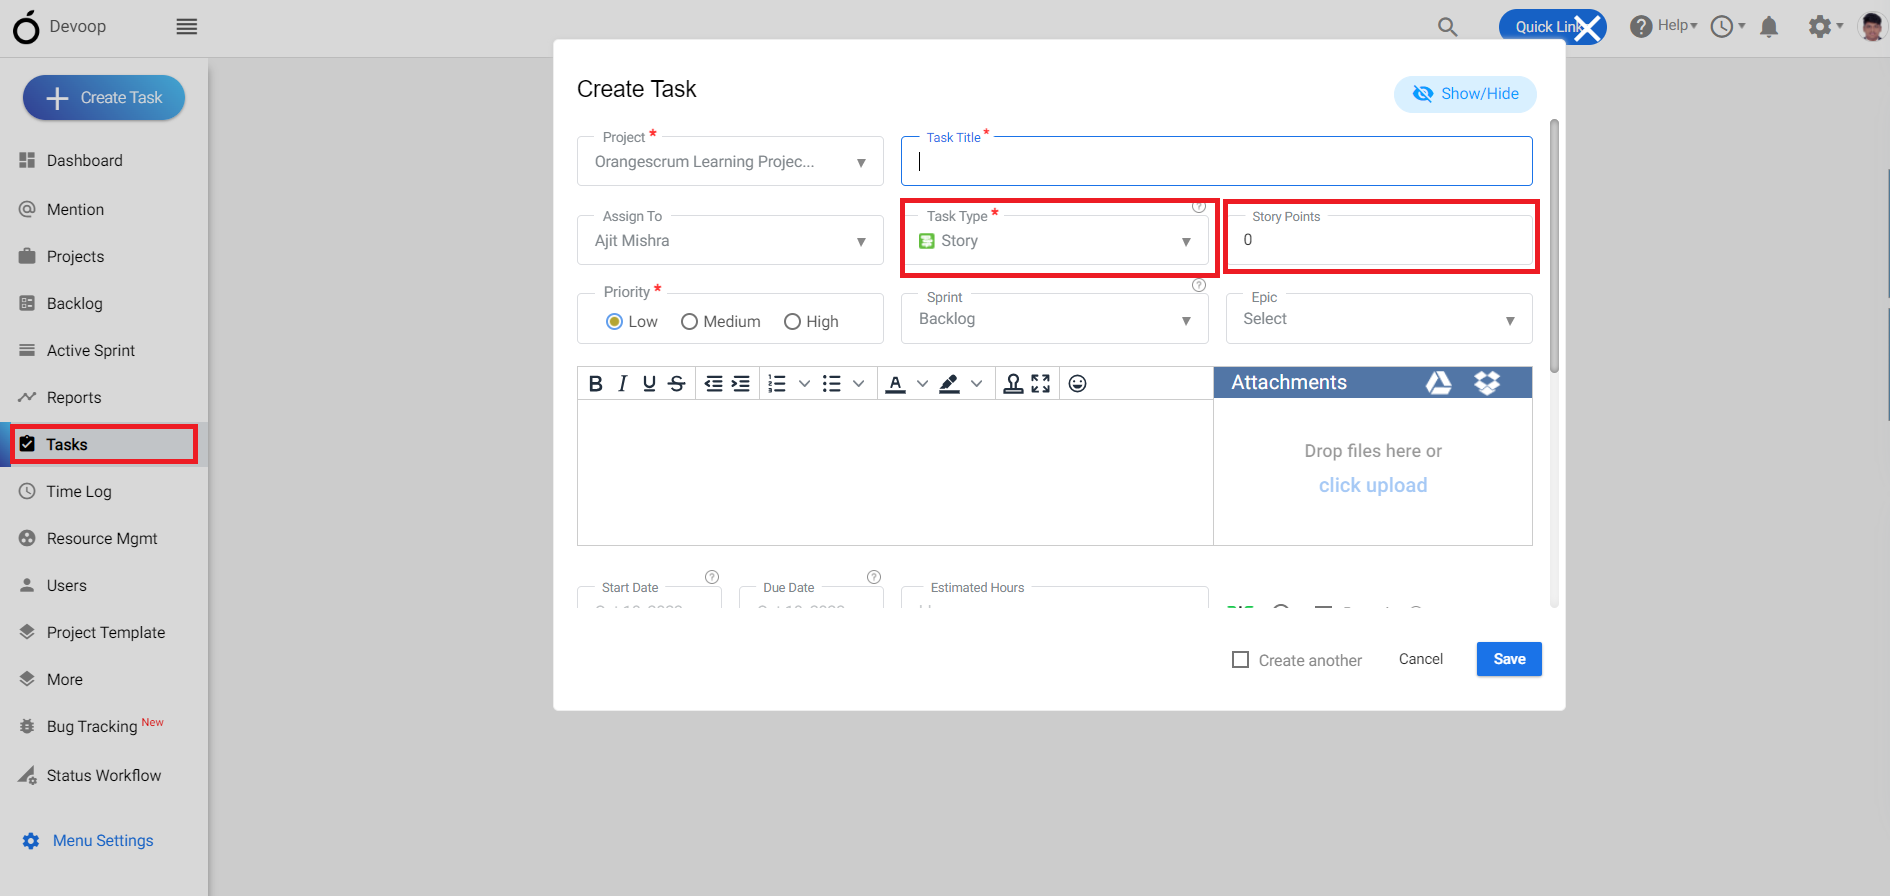
**(Image-2)**
4\. After creating a task click on the “backlog” from the left menu where you can see all the entered tasks will be visible in the backlog section of the scrum project.
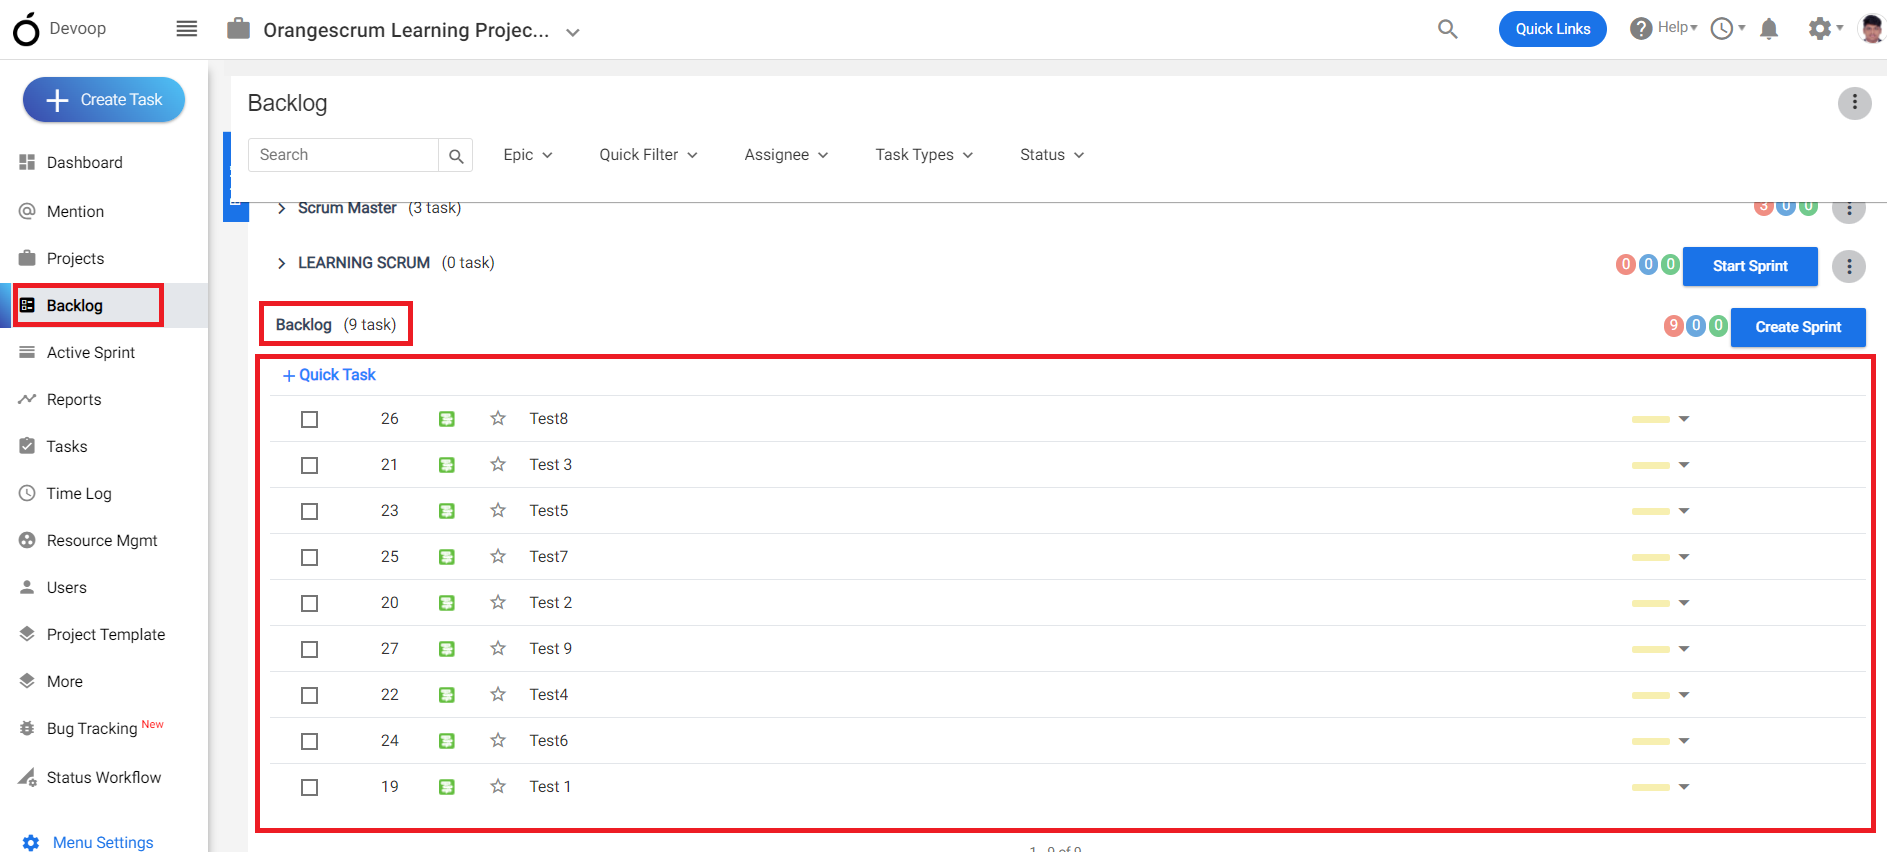
**(Image-3)**
5\. You can create a sprint and add tasks from the back log.
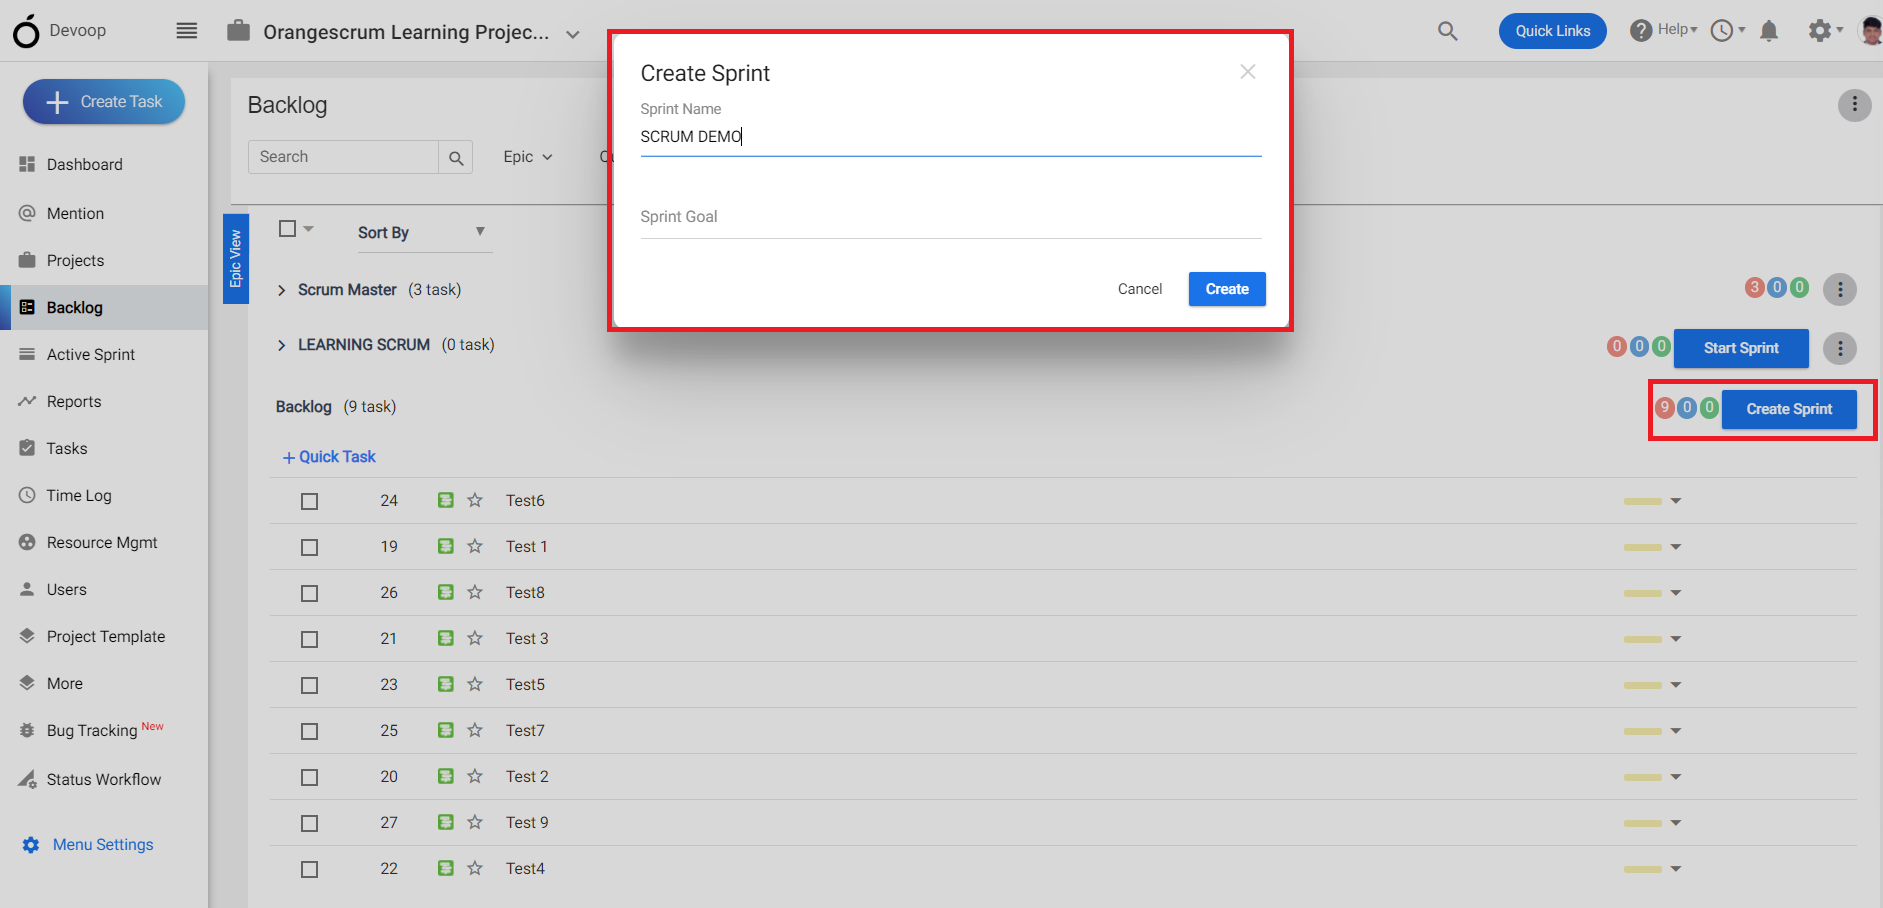
**(Image-4)**
6\. After adding tasks to the sprint, you can start the sprint.
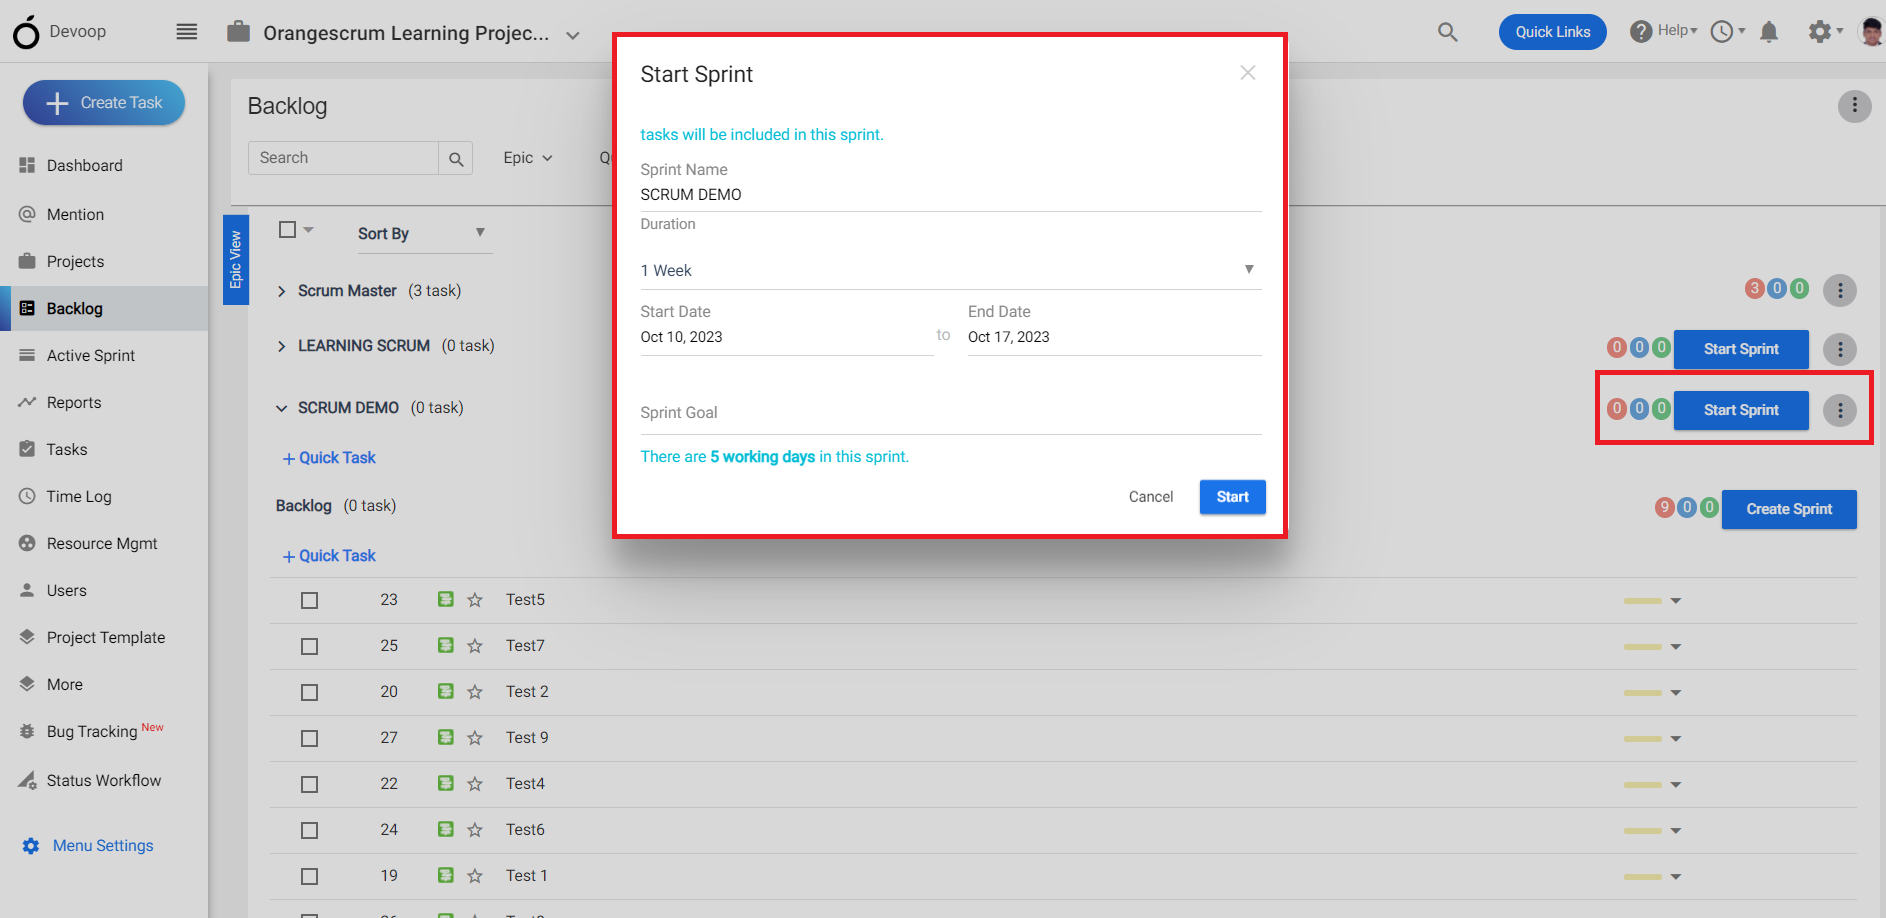
**(Image-5)**
7\. After completion of all the tasks, you can complete the sprint.
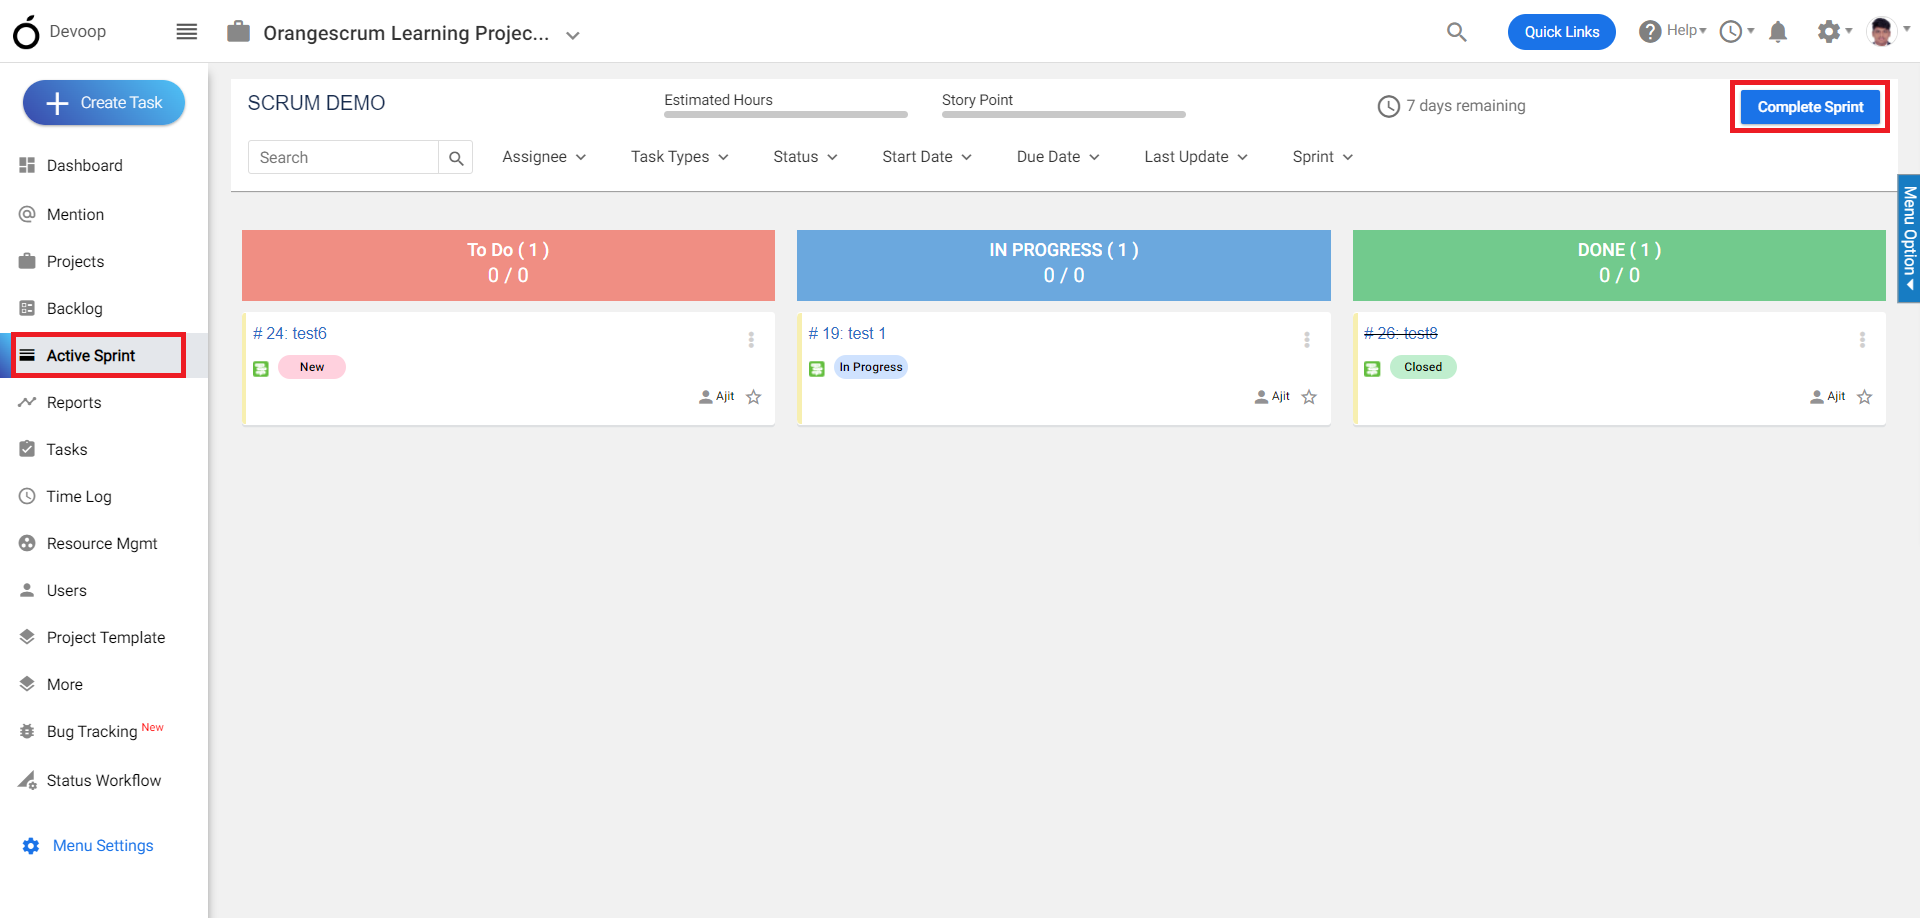
**(Image-6)**
8. After completing the sprint you will redirect to the sprint report page.
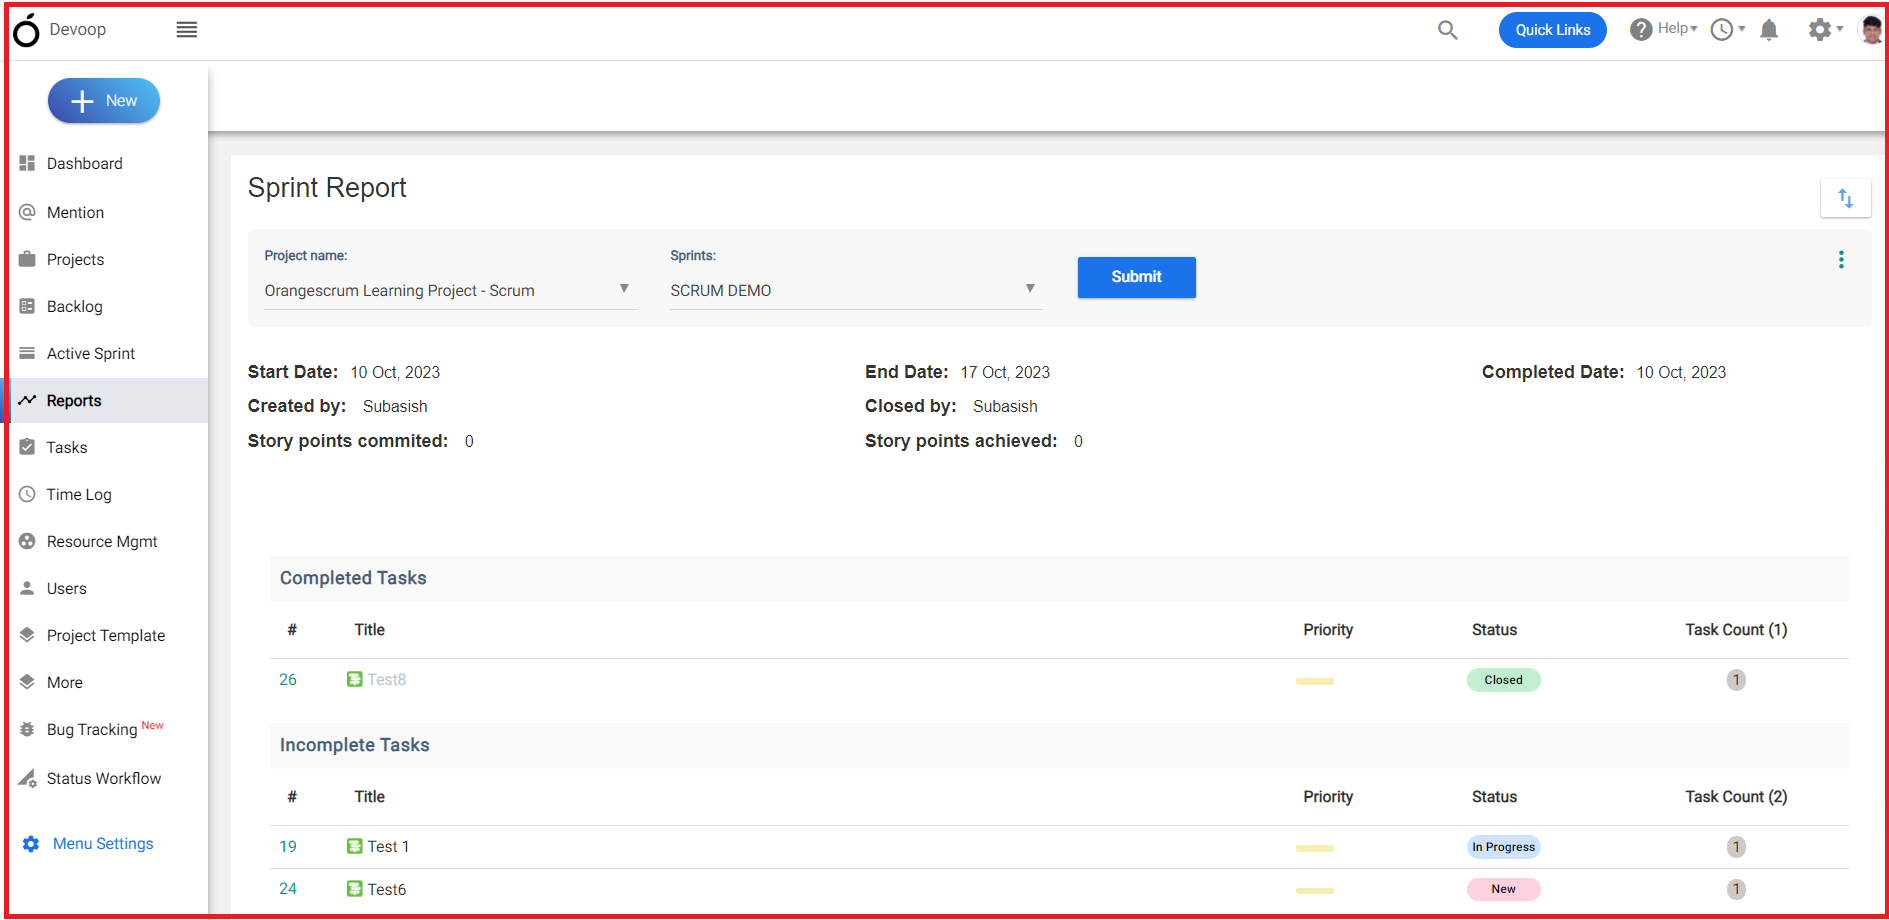**(Image-7)**
# Can I define user stories or product backlog items in Orangescrum?
> Learn how to define user stories and product backlog items in OrangeScrum for effective project management. Get started with ease!
> For the complete documentation index, see [llms.txt](https://helpdesk.orangescrum.com/llms.txt).
Source: https://helpdesk.orangescrum.com/can-i-define-user-stories-or-product-backlog-items-in-orangescrum
---
Orangescrum does have a dedicated features for defining user stories or managing a product backlog.Follow the steps below:
1.Login to Orangescrum, Click on “project” from the left menu and select a scrum project.
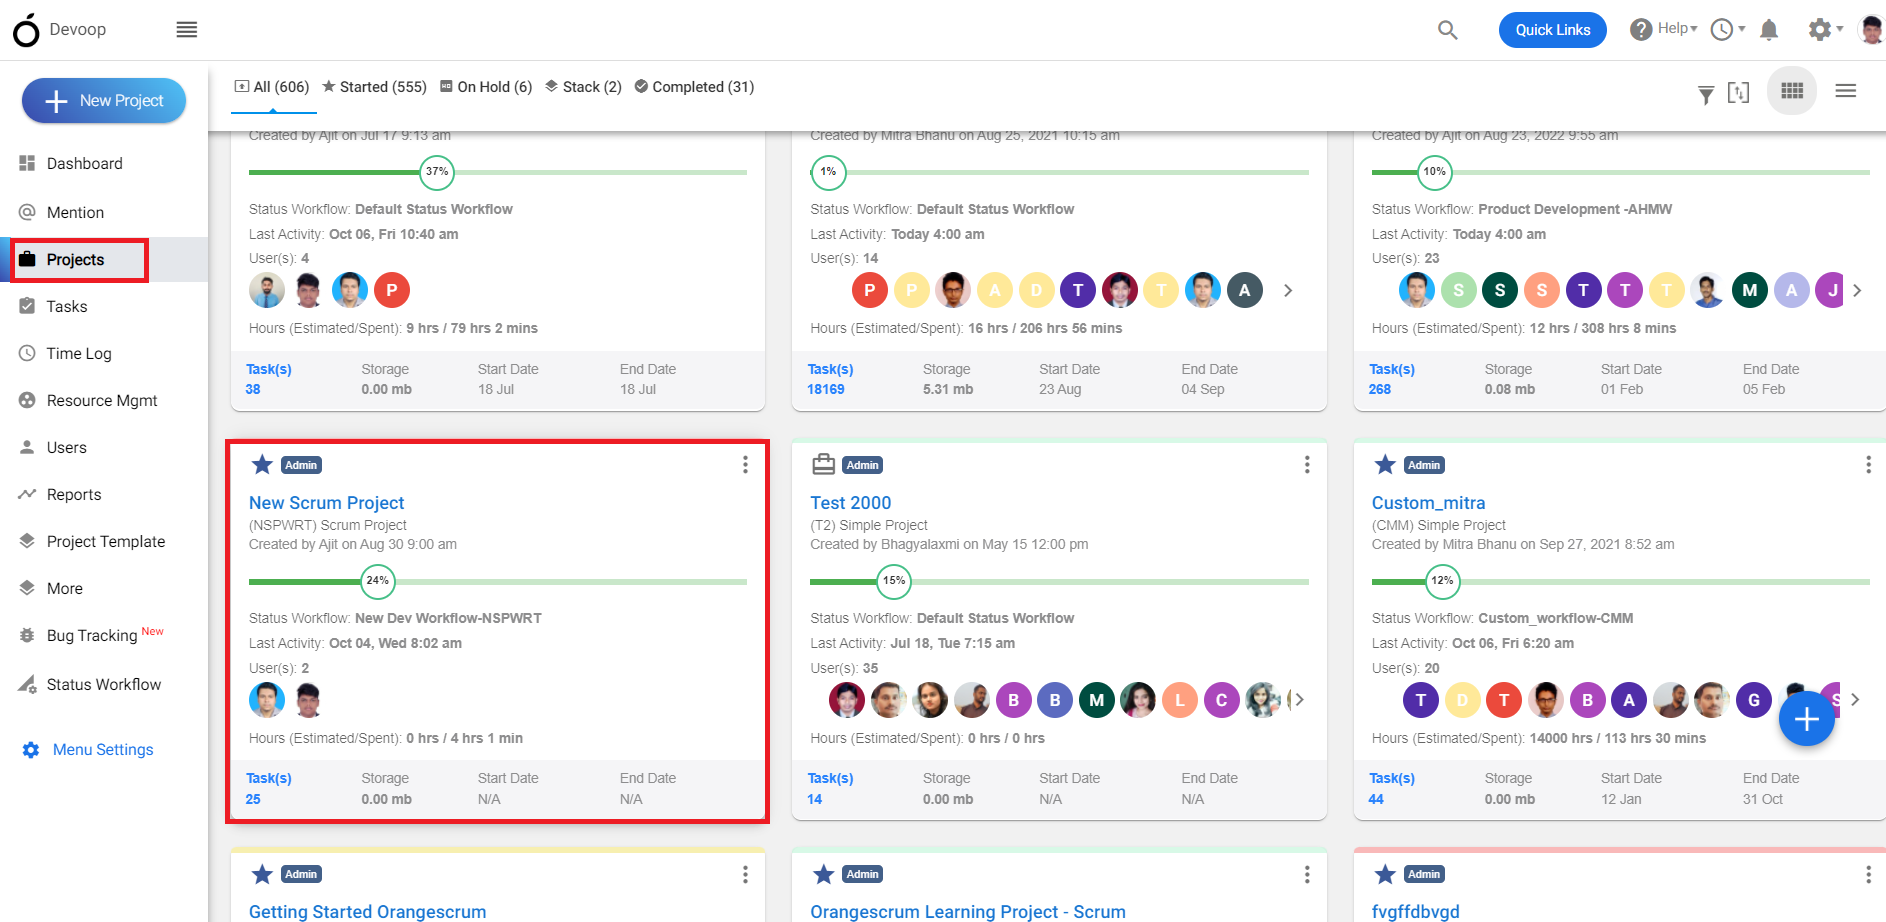
**(Image-1)**
2\. Click on “Task” from the left menu and click on “+” to create a new task.
3.While creating a task you can select the “task type” as “story” and then you can define the story point.
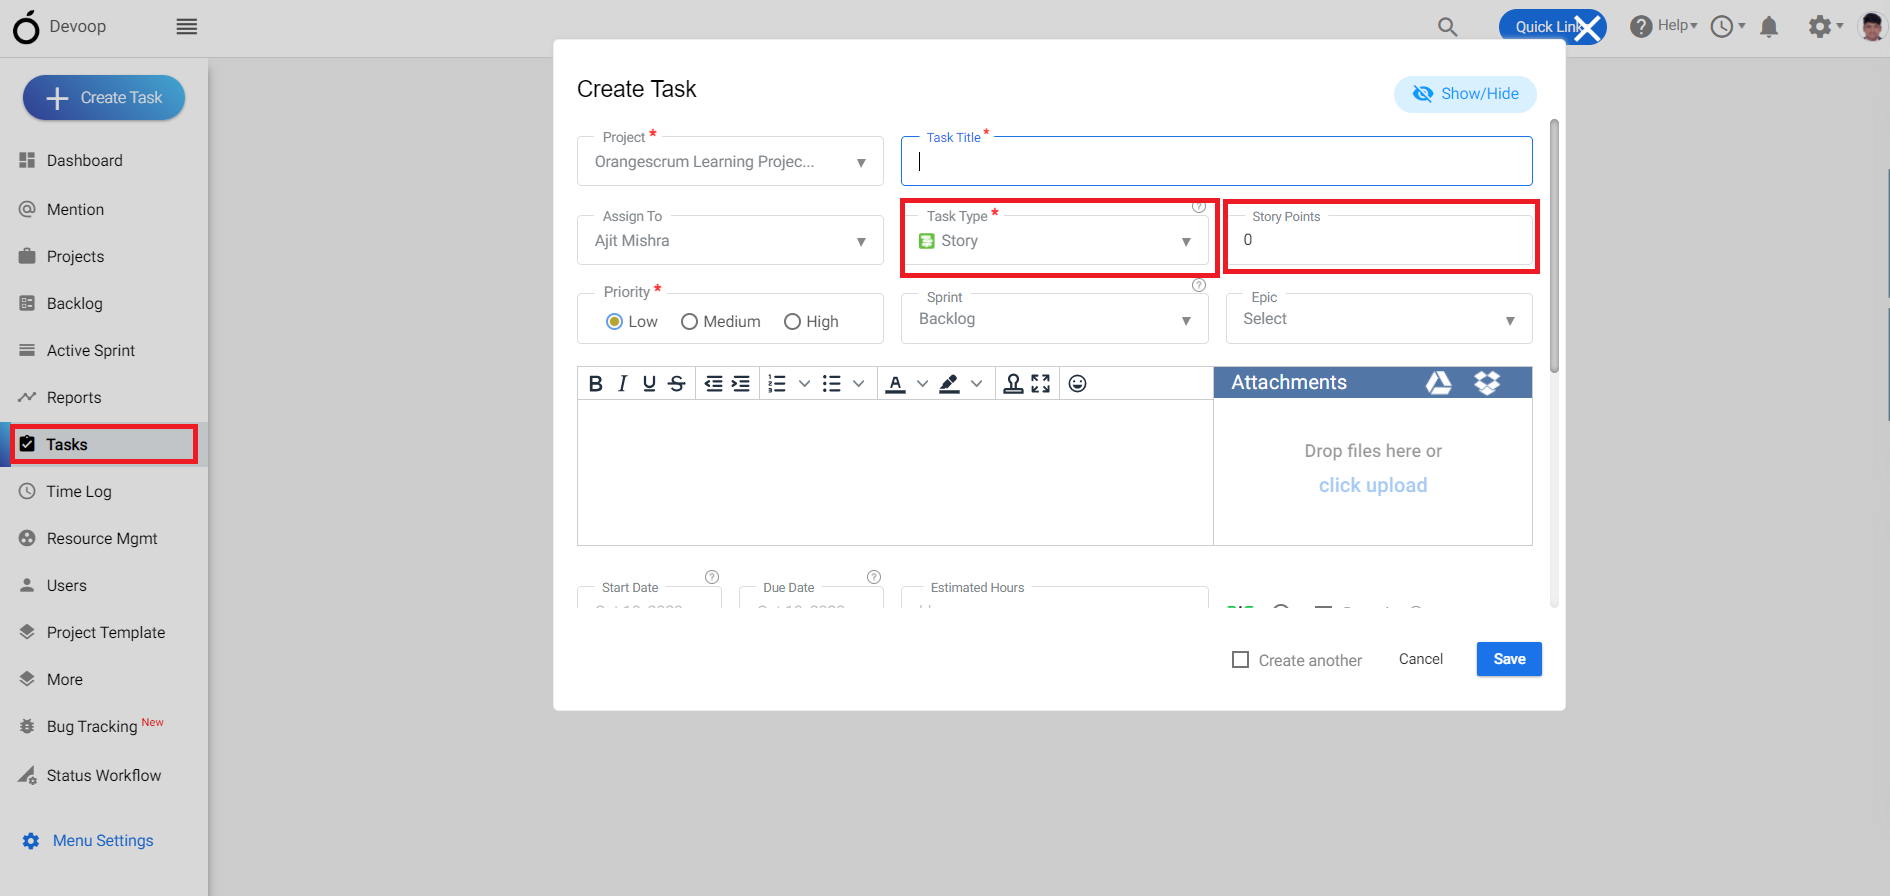
**(Image-2)**
4.After creating a task click on the “backlog” from the left menu where you can see all the entered tasks will be visible in the backlog section of the scrum project.
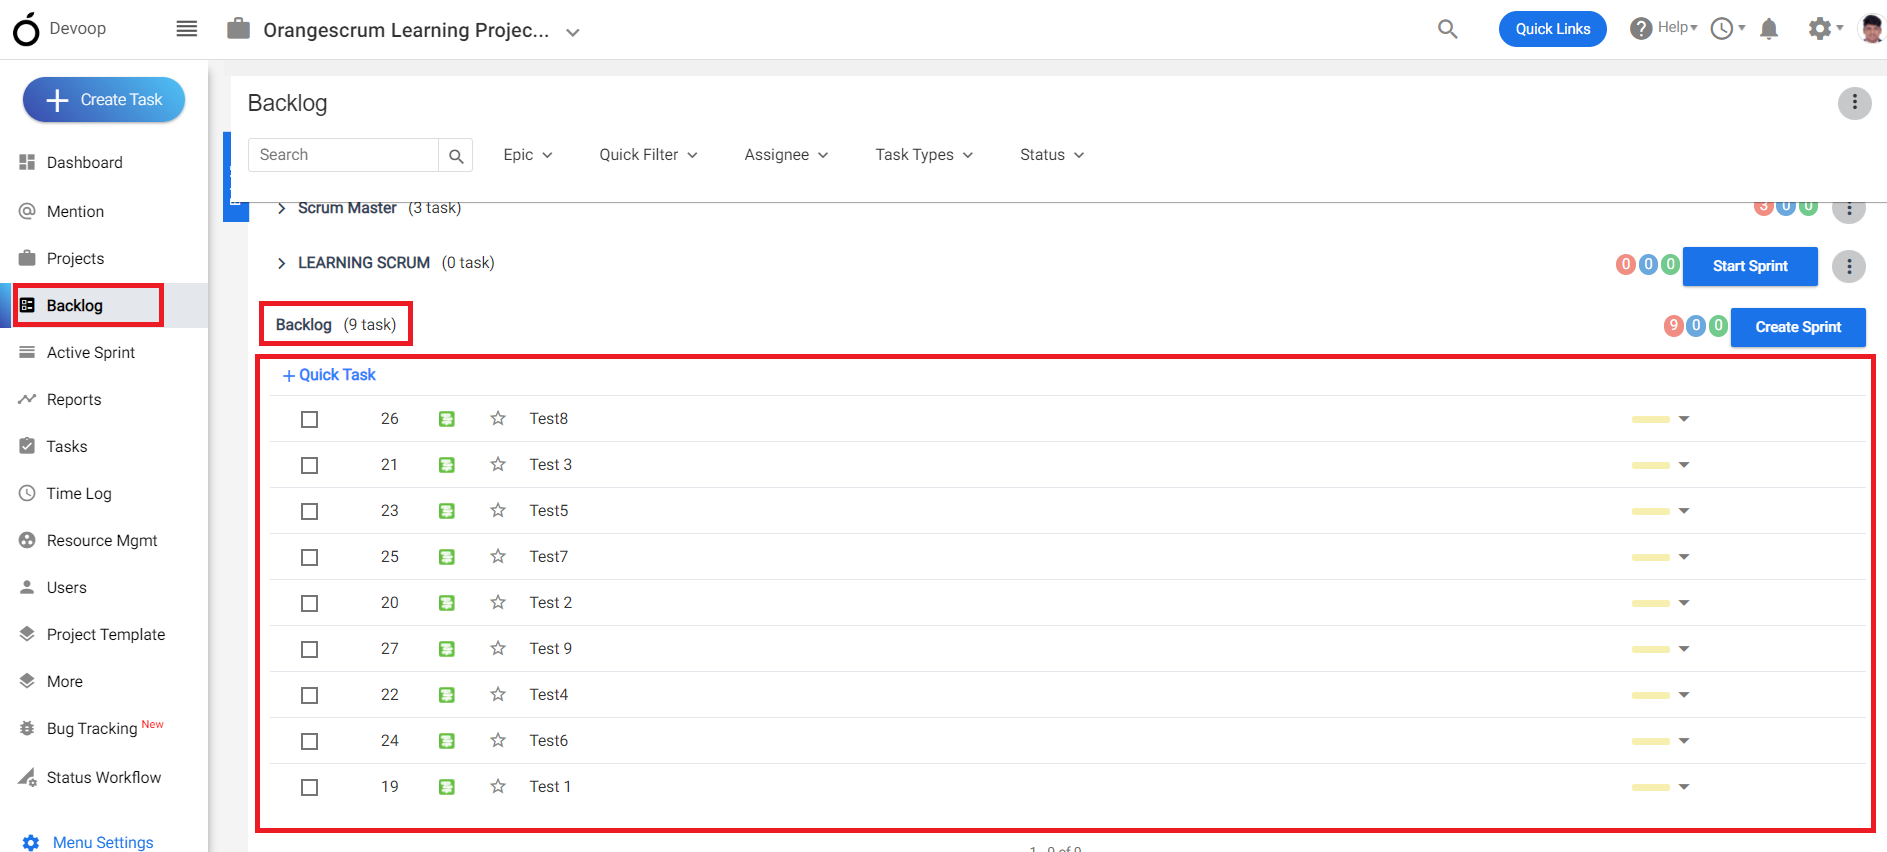
**(Image-3)**
# How do I add team members to the project?
> Learn how to add team members to your Orangescrum project easily. Enhance collaboration and streamline your workflow with our simple steps.
> For the complete documentation index, see [llms.txt](https://helpdesk.orangescrum.com/llms.txt).
Source: https://helpdesk.orangescrum.com/how-do-i-add-team-members-to-the-project
---
1\. Login to orangescrum and click on “project” from the left menu.
2\. Click on the “+” to create a new project.
3\. You can search and add team members to the project in the project creation page.
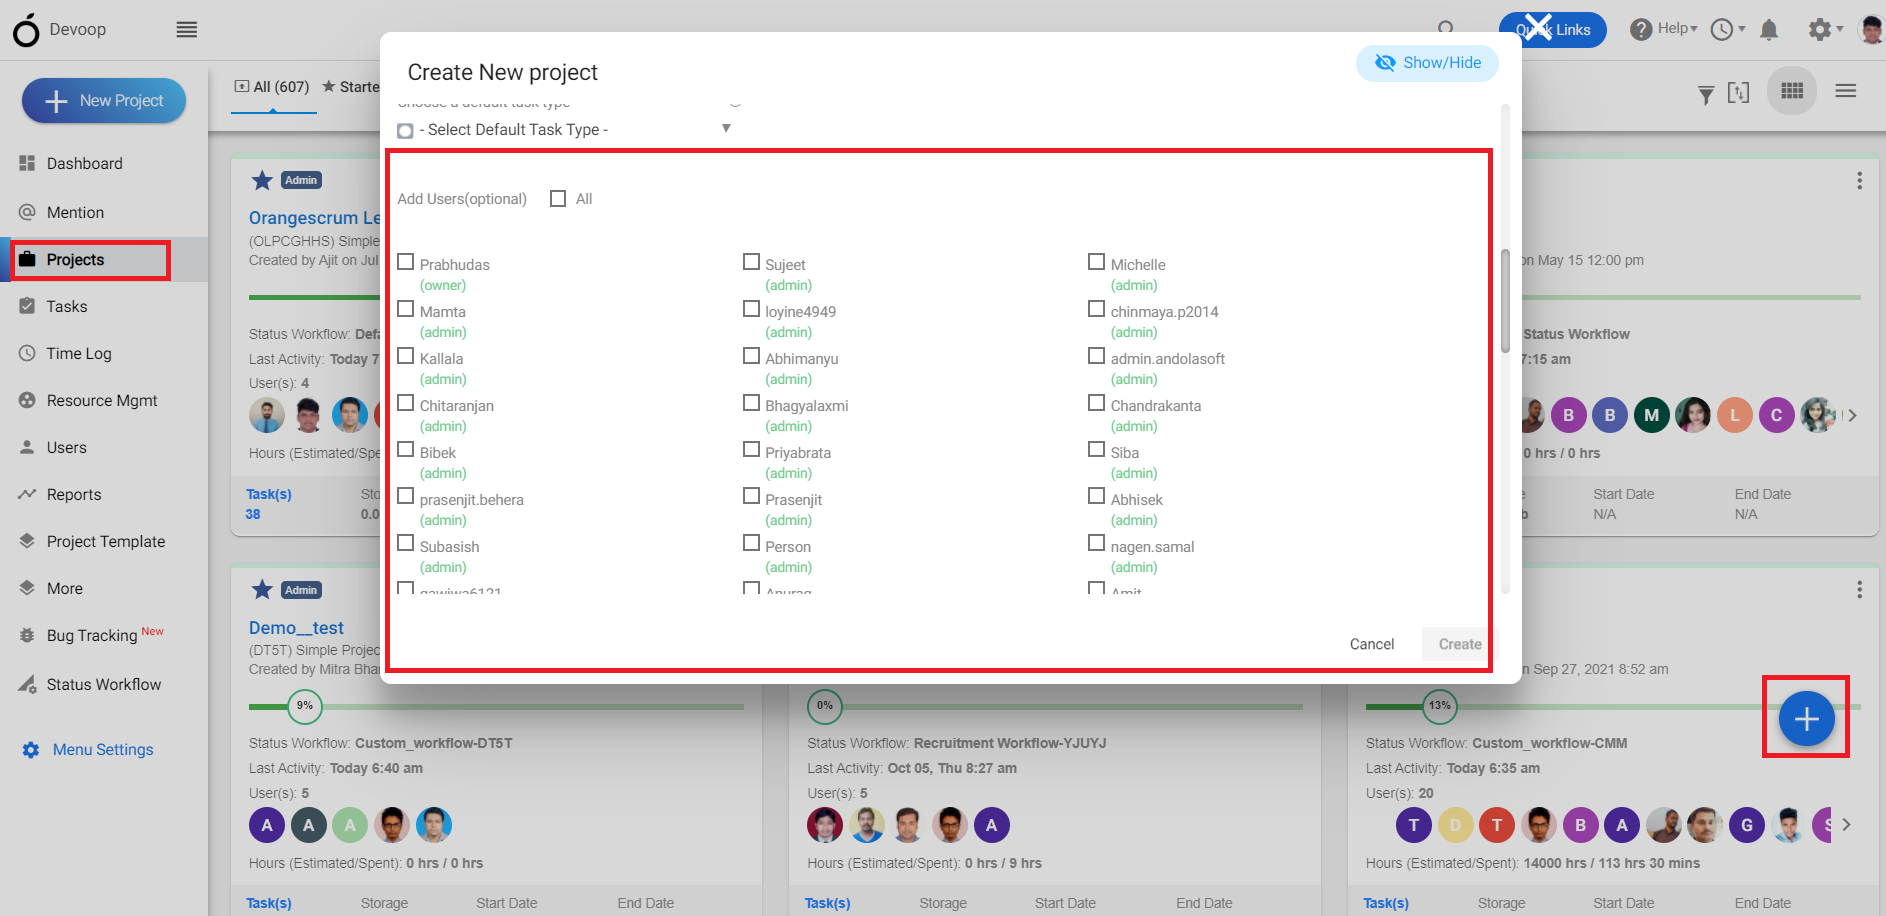
**(Image-1)**
# Is it possible to assign a project manager or project lead?
> Learn how to assign a Project Manager or Project Lead in OrangeScrum Simplify your project management with effective team roles
> For the complete documentation index, see [llms.txt](https://helpdesk.orangescrum.com/llms.txt).
Source: https://helpdesk.orangescrum.com/is-it-possible-to-assign-a-project-manager-or-project-lead
---
Orangescrum allows you to assign project managers or project leads to your projects:
1.Login to orangescrum and click on “project” from the left menu.
2.Click on the “+” to create a new project.
3.You can select a “project manager” in the project creation form.
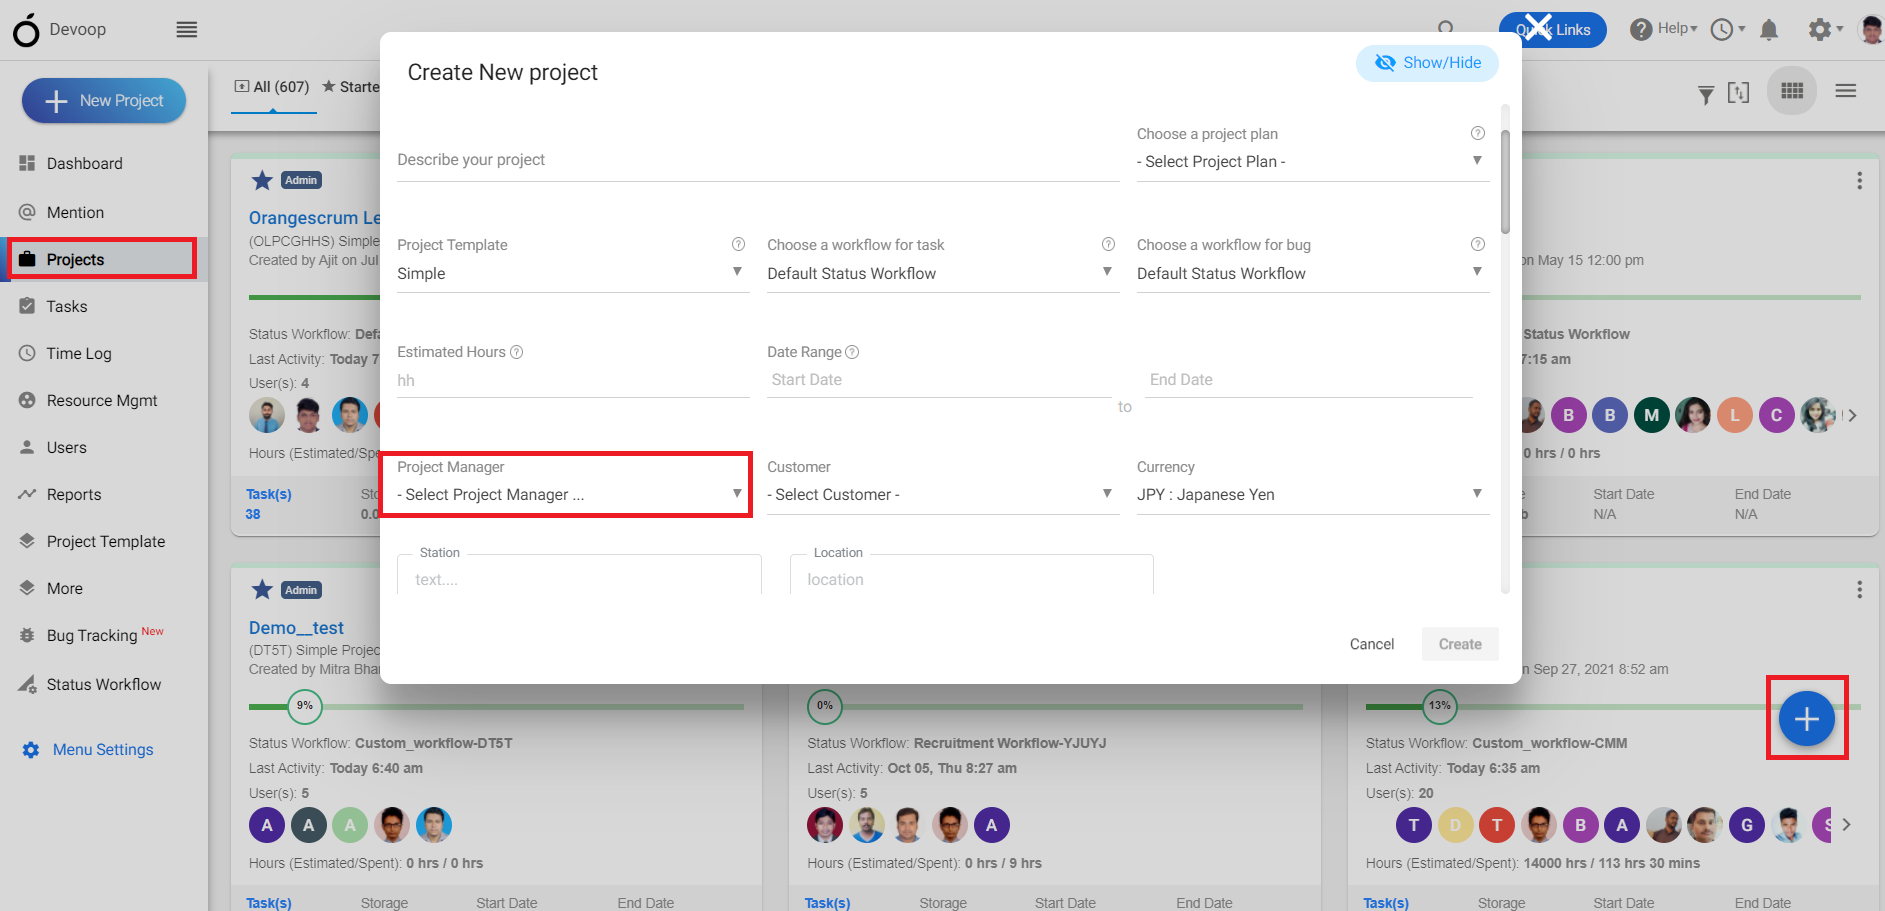
**(Image-1)**
# Can I specify a Task group or milestones in Orangescrum?
> Learn how to specify task group and milestones in OrangeScrum. Streamline project management with clear task organization. Explore now!
> For the complete documentation index, see [llms.txt](https://helpdesk.orangescrum.com/llms.txt).
Source: https://helpdesk.orangescrum.com/can-i-specify-a-task-group-or-milestones-in-orangescrum
---
You can specify project milestones or phases in Orangescrum. Milestones and phases are essential elements in project management that help you track progress and organize your project into manageable segments. Follow the steps below
1\. Login to orangescrum, Click on project from the left menu and select a project and click “on all tasks”.
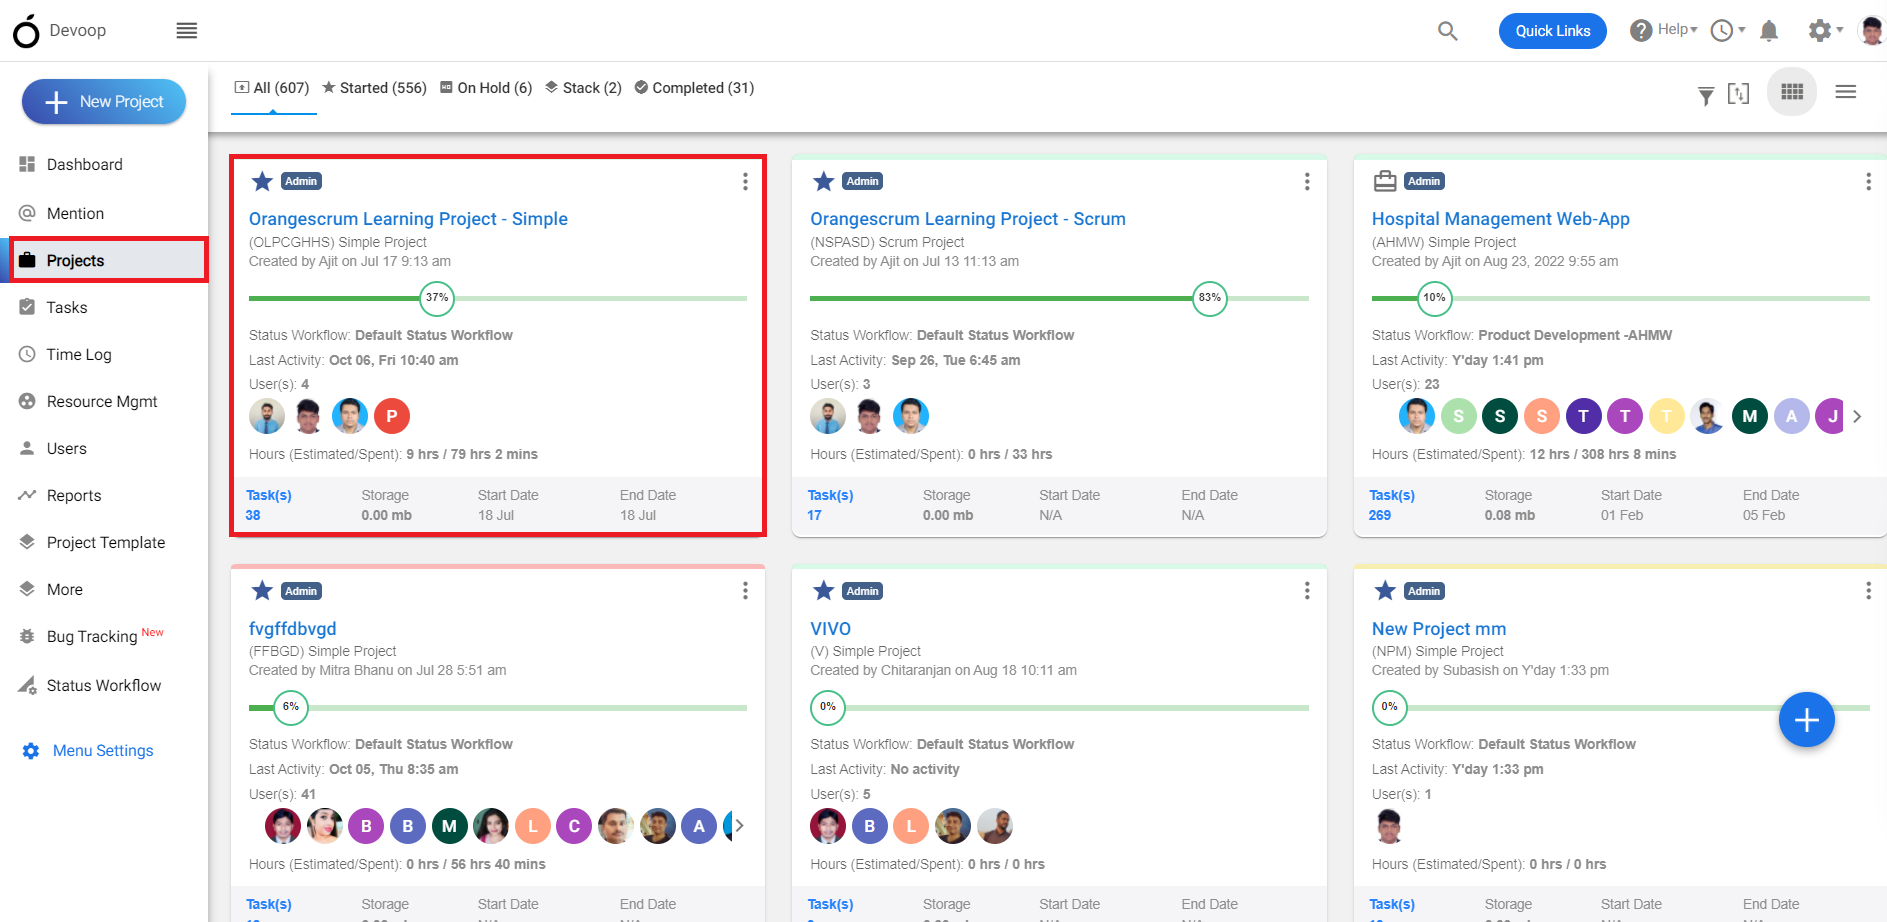
**(Image-1)**
2\. Click on the task and move to the subtask view.
3\. You can create a quick task group or milestone by clicking on the “+”.
4\. On the left corner of the subtask view page you can see all the Task groups or milestones.
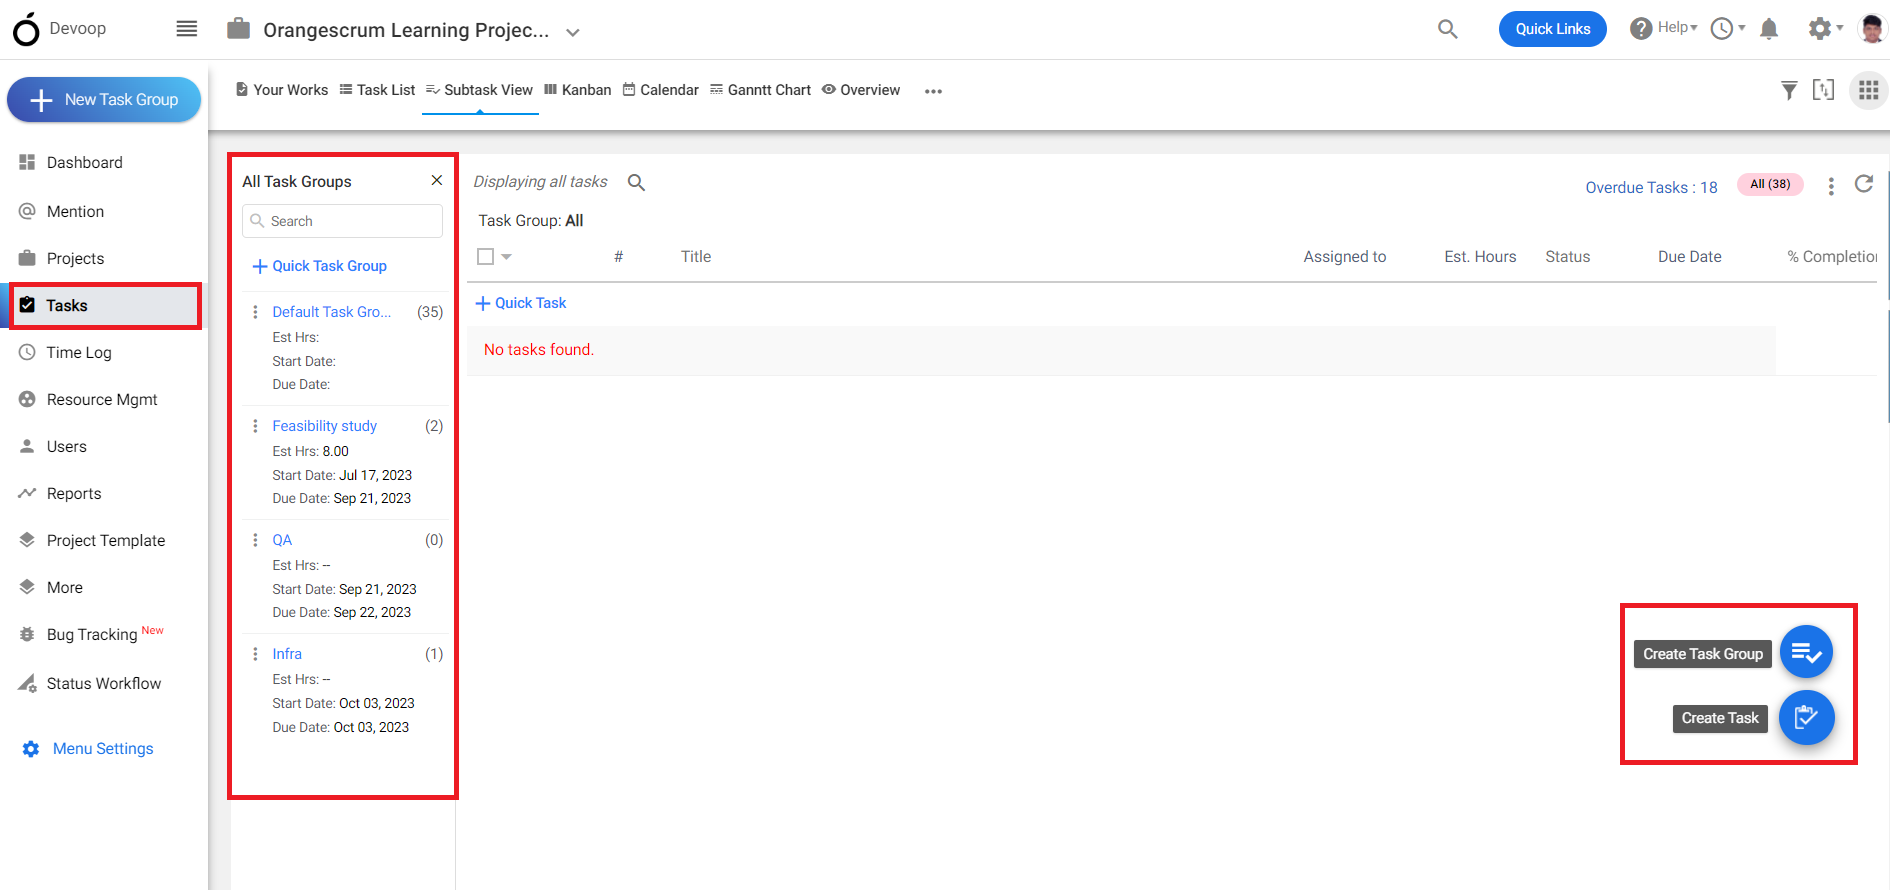
**(Image-2)**
# How can I set project priorities or importance levels in Orangescrum?
> Learn how to set project priorities and importance levels in OrangeScrum to streamline your project management effectively.
> For the complete documentation index, see [llms.txt](https://helpdesk.orangescrum.com/llms.txt).
Source: https://helpdesk.orangescrum.com/how-can-i-set-project-priorities-or-importance-levels-in-orangescrum
---
Follow the steps below to set project priorities or importance levels in orangescrum:
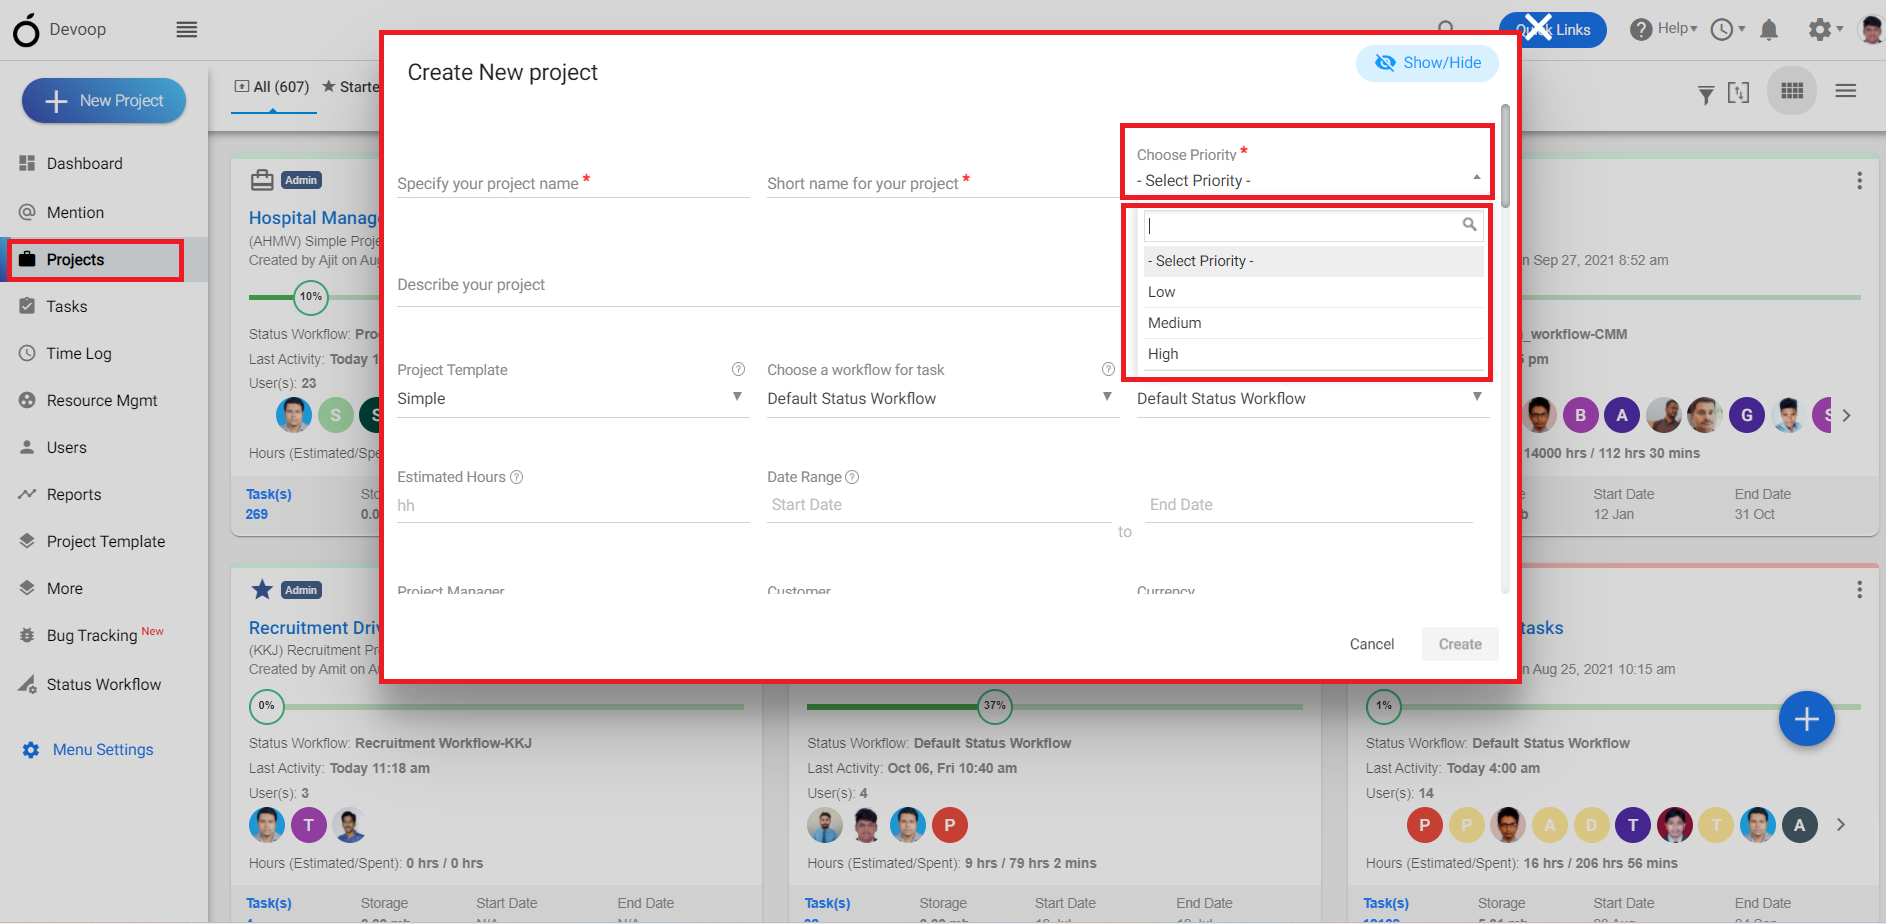
**(Image-1)**
1.Login to orangescrum and click on the project from the left menu.
2.Click on the “+” to create a new project.
3.You can select the priority of the project in the project creation page.
# Is it possible to import existing project data or templates as a project plan into Orangescrum during project creation?
> Learn how to import existing project data or templates into OrangeScrum during project creation for seamless project management
> For the complete documentation index, see [llms.txt](https://helpdesk.orangescrum.com/llms.txt).
Source: https://helpdesk.orangescrum.com/is-it-possible-to-import-existing-project-data-or-templates-as-a-project-plan-into-orangescrum-during-project-creation
---
Yes Orangescrum does have a feature of importing project data along with templates as a project plan. But you have to export all the project data of previously completed projects and save it as a project plan and can further use it while creating a new project.
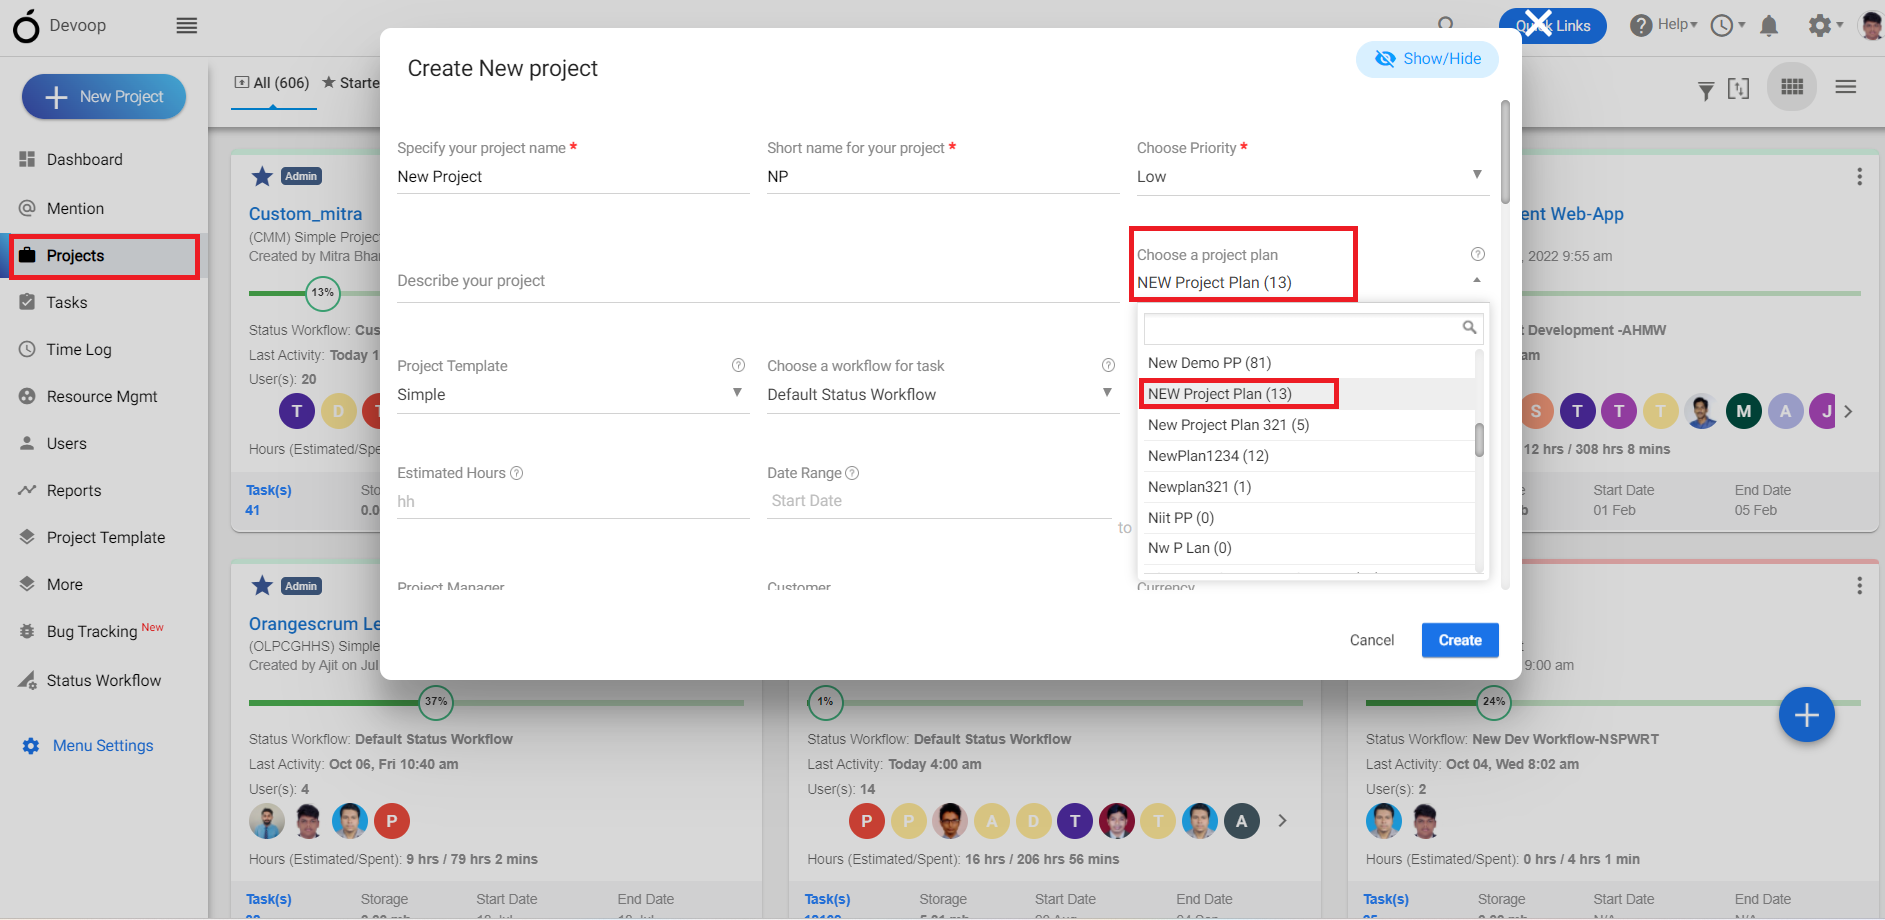
**(Image-1)**
1.Login to orangescrum and click on the project from the left menu.
2.Click on the “+” to create a new project.
3.Select the project plan that you have exported before while creating the project.
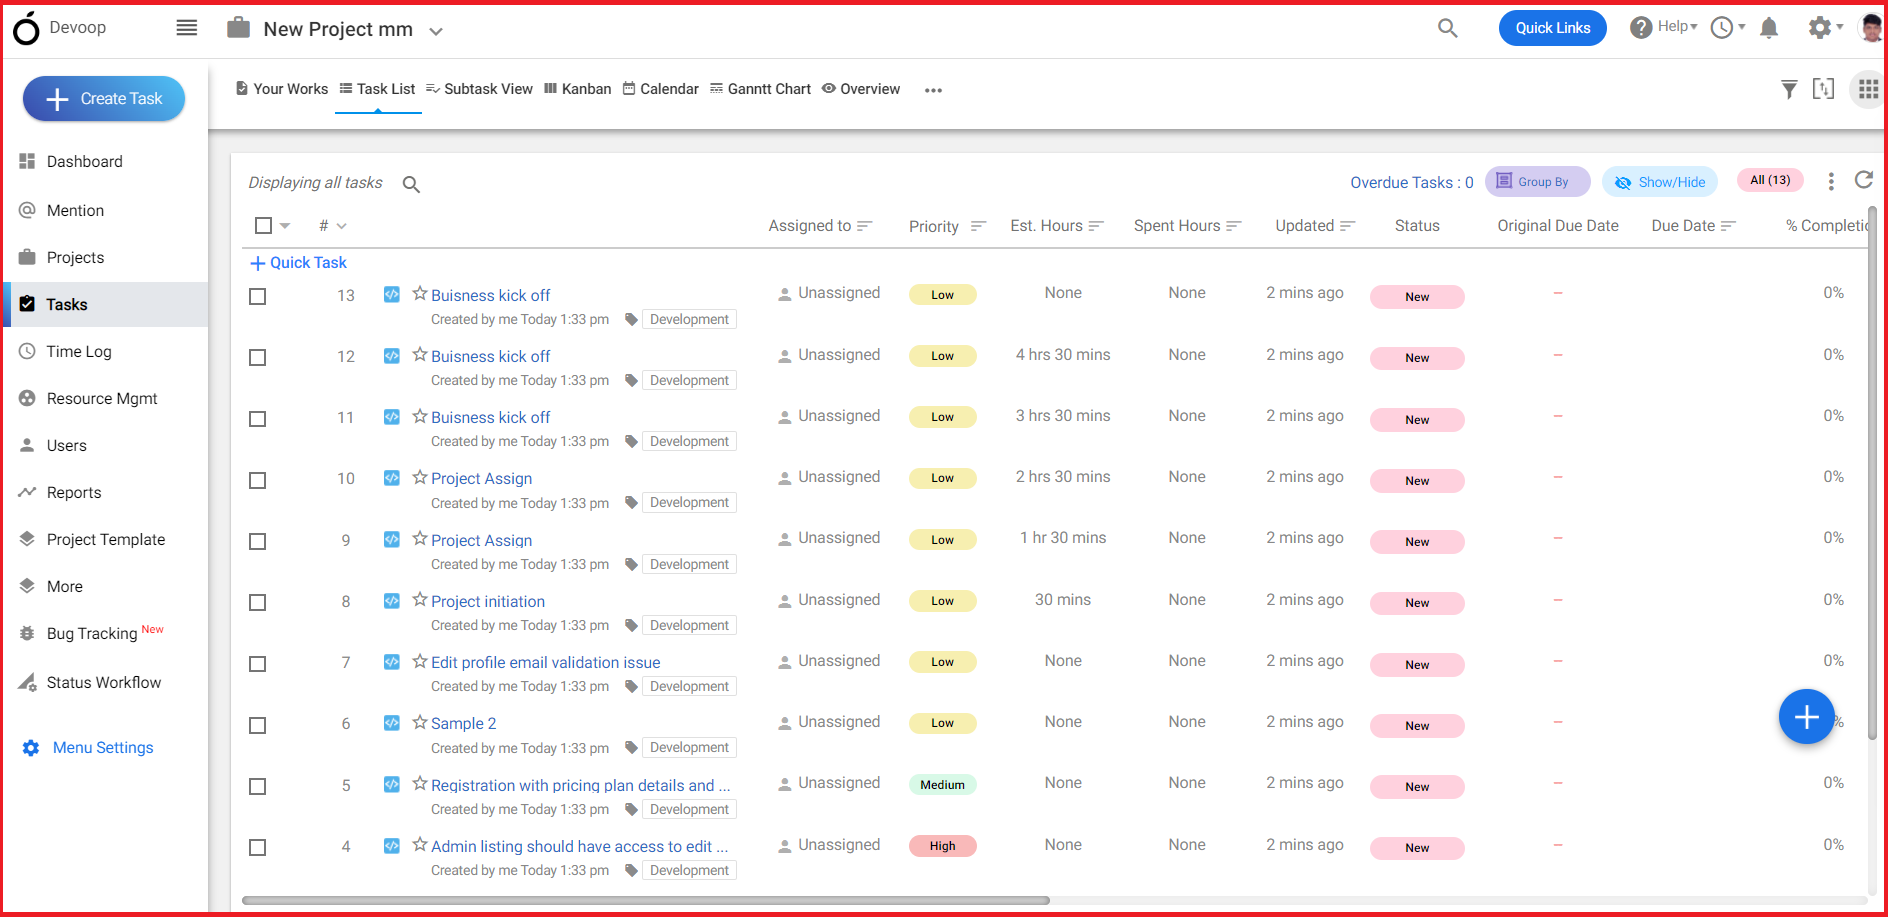
**(Image-2)**
4.Fill all the required information in the project creation page and click on “create”.
5.You can see a new project has been created with all existing project data and template.
# Can I set project budgets or estimate project costs in Orangescrum?
> Learn how to set project budgets and estimate costs in orangescrum for better project management and financial control.
> For the complete documentation index, see [llms.txt](https://helpdesk.orangescrum.com/llms.txt).
Source: https://helpdesk.orangescrum.com/can-i-set-project-budgets-or-estimate-project-costs-in-orangescrum
---
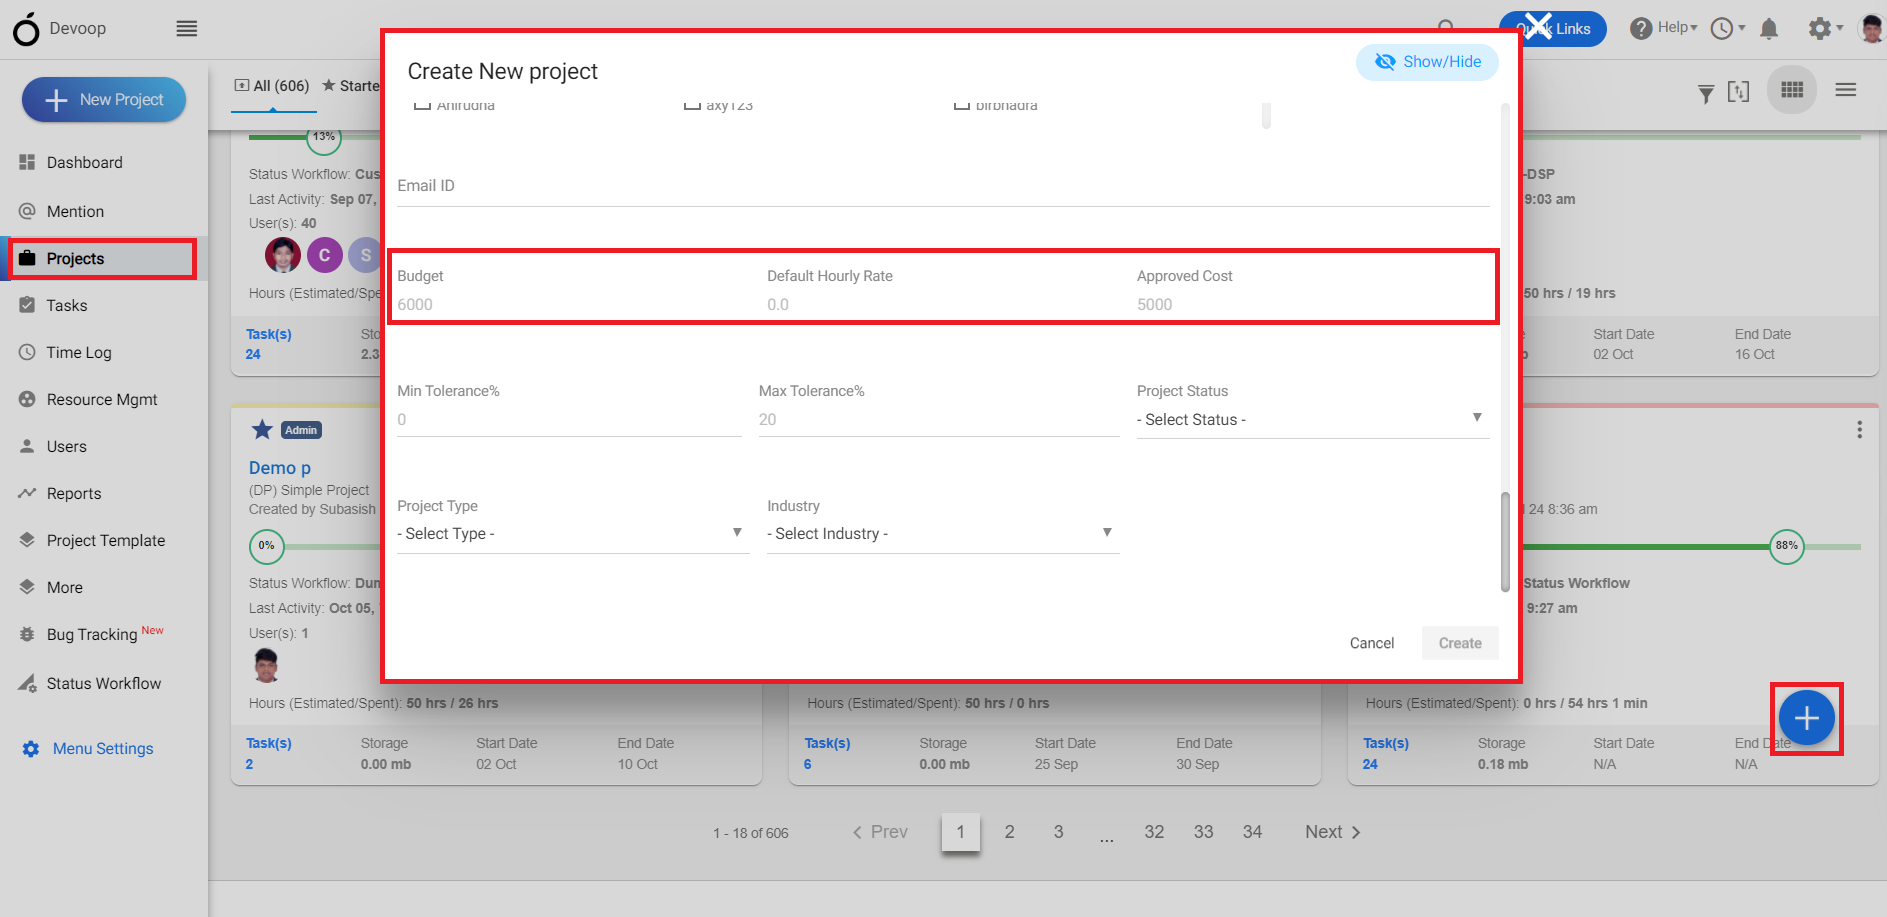
**(Image-1)**
1.Login to orangescrum, click on the project from the left menu.
2.Click on “+” to create a new project.
3.At the bottom of the project creation page you can define the estimated project budget and cost.
# Are there different project templates available in Orangescrum to streamline project creation?
> Learn how different project templates in OrangeScrum can streamline project creation for improved efficiency and organization.
> For the complete documentation index, see [llms.txt](https://helpdesk.orangescrum.com/llms.txt).
Source: https://helpdesk.orangescrum.com/are-there-different-project-templates-available-in-orangescrum-to-streamline-project-creation
---
Orangescrum did offer project templates to help streamline project creation.
1\. Login to orangescrum and click on the “Project Template” from the left menu.
2\. Select a template and create a project using the template.
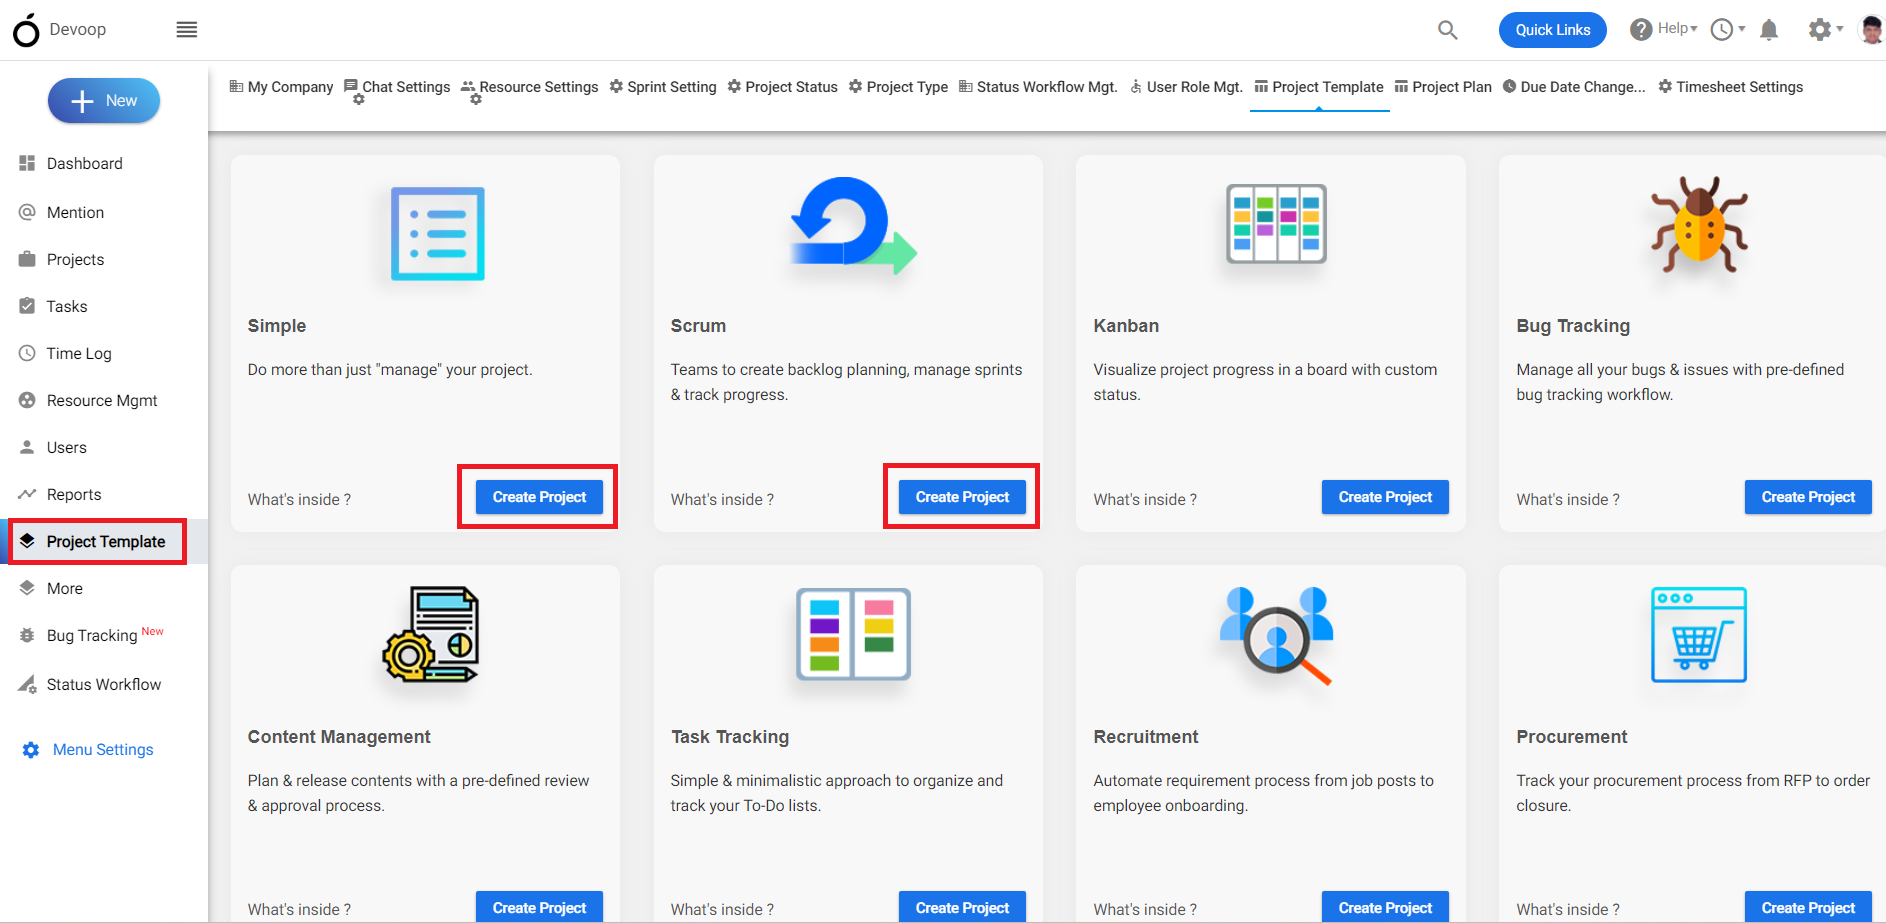
**(Image-1)**
# How to Add Due Dates to Your Orangescrum Projects
> Learn how to easily add due dates to your OrangeScrum projects for better organization and timely task management.
> For the complete documentation index, see [llms.txt](https://helpdesk.orangescrum.com/llms.txt).
Source: https://helpdesk.orangescrum.com/how-to-add-due-dates-to-your-orangescrum-projects
---
1\. Login to orangescrum, click on the project from the left menu.
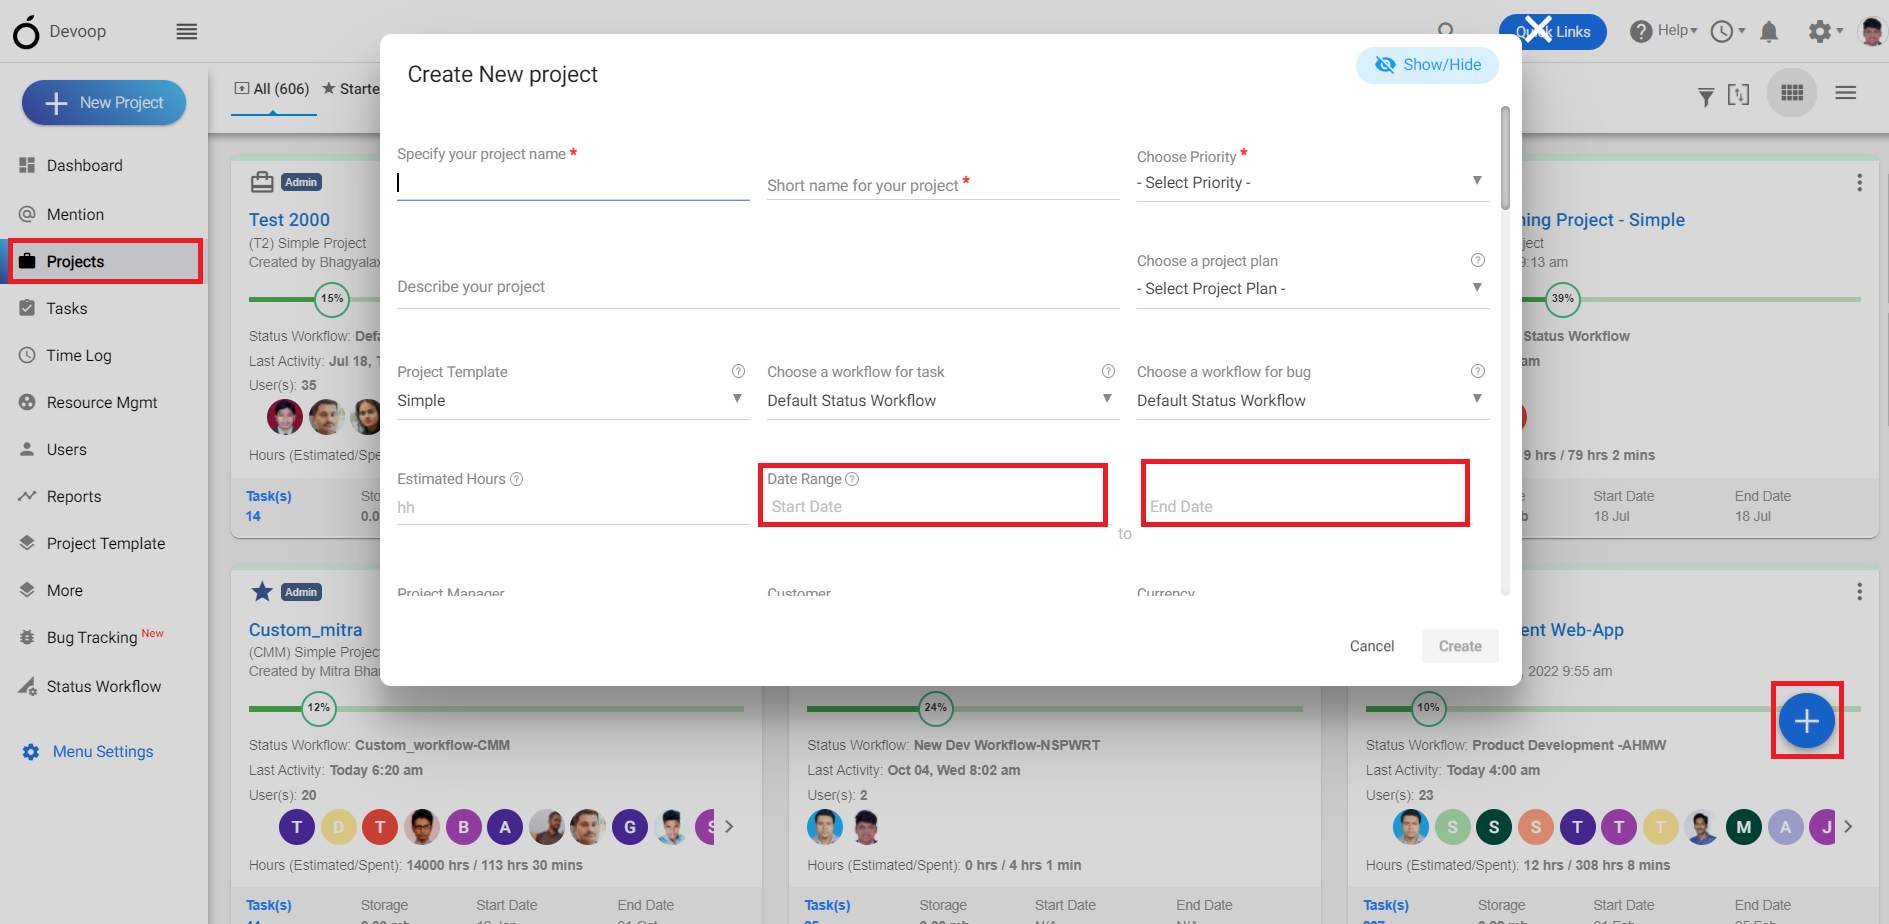
**(Image-1)**
2\. Click on “+” to create a new project or select the 3 dot option from any project and click on edit option to add the due date.
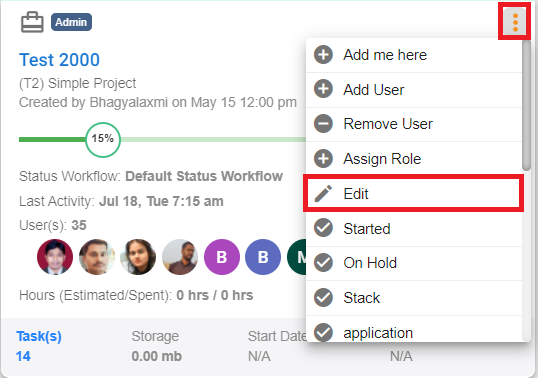
**(Image-2)**
3\. Add the due date in the project details page while creating or editing.
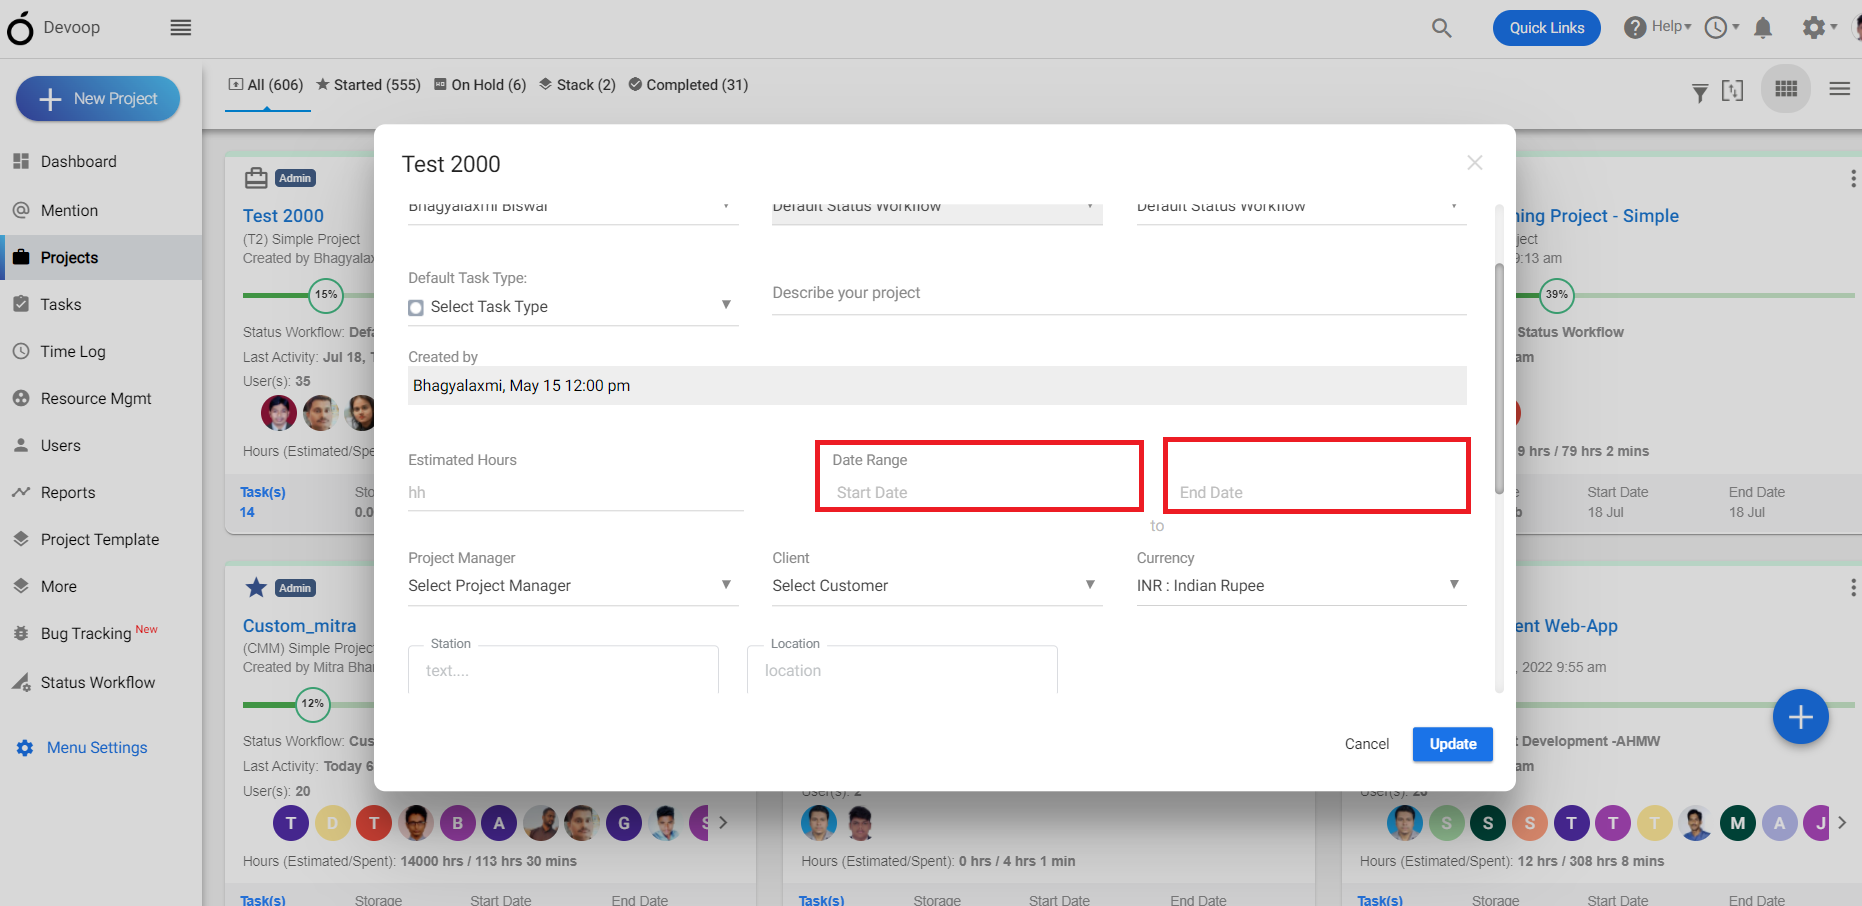
**(Image-3)**
# How can I export project data from Orangescrum?
> Learn how to easily export project data from OrangeScrum with our step-by-step guide for efficient project management.
> For the complete documentation index, see [llms.txt](https://helpdesk.orangescrum.com/llms.txt).
Source: https://helpdesk.orangescrum.com/how-can-i-export-project-data-from-orangescrum
---
Here are some general steps you can follow to export project data from OrangeScrum:
1\. Login to Orangescrum, select a project and click on “All task”.
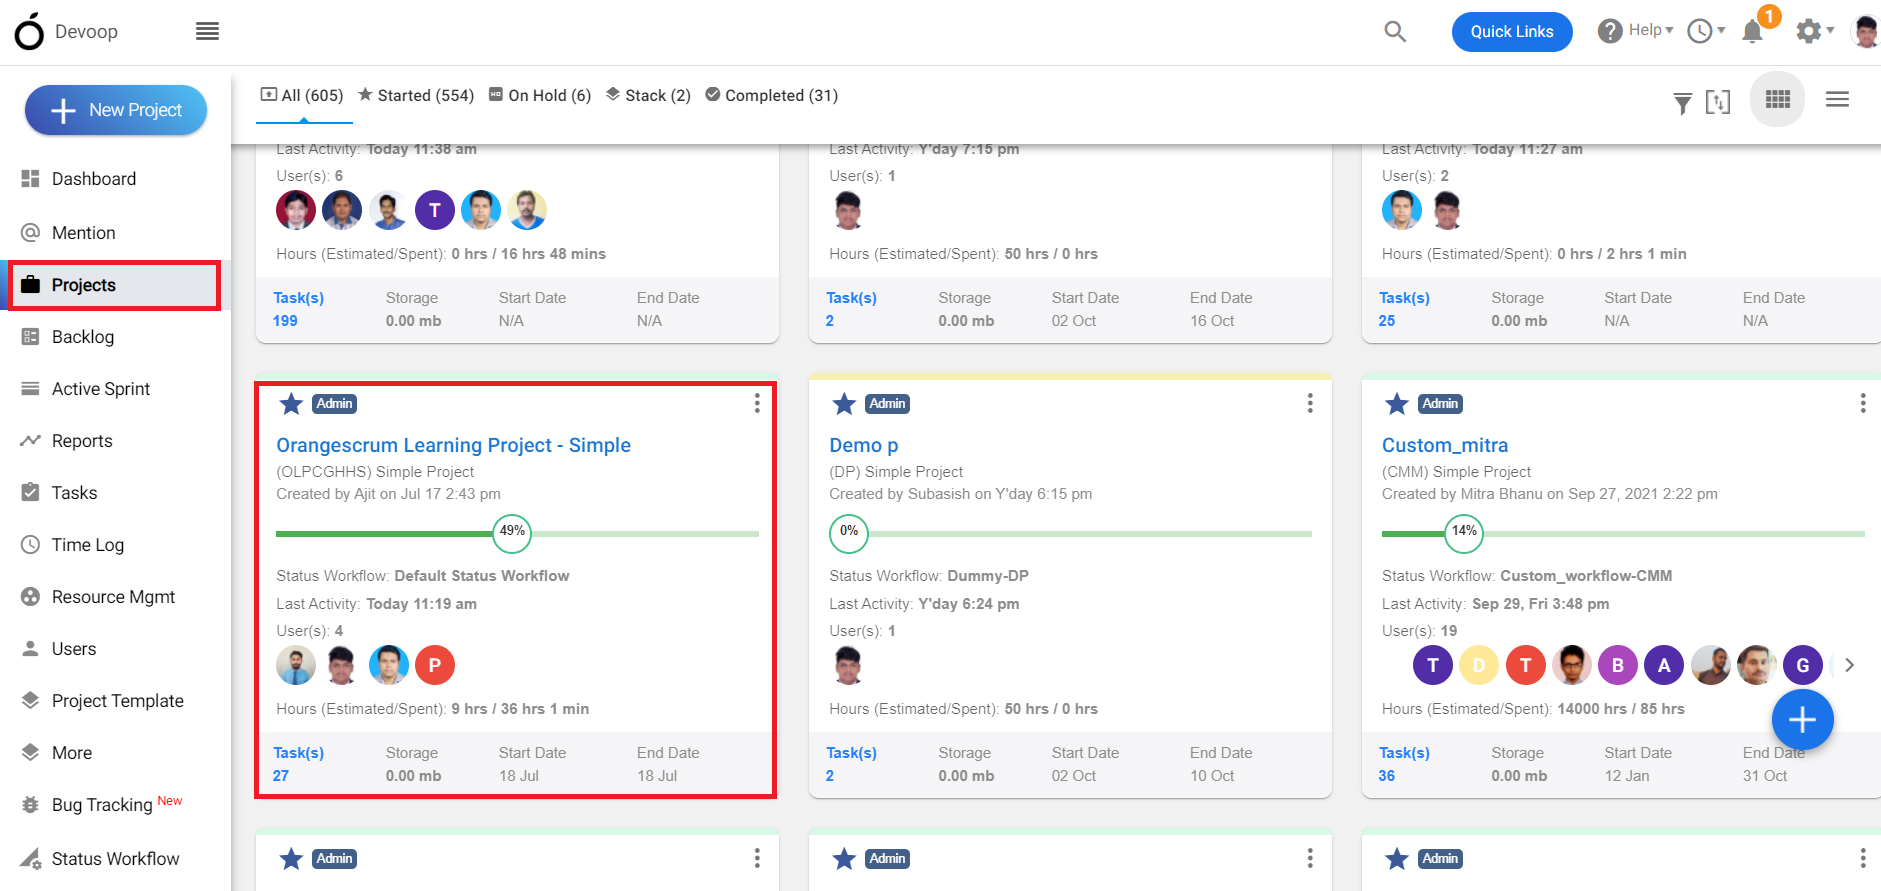
**(Image-1)**
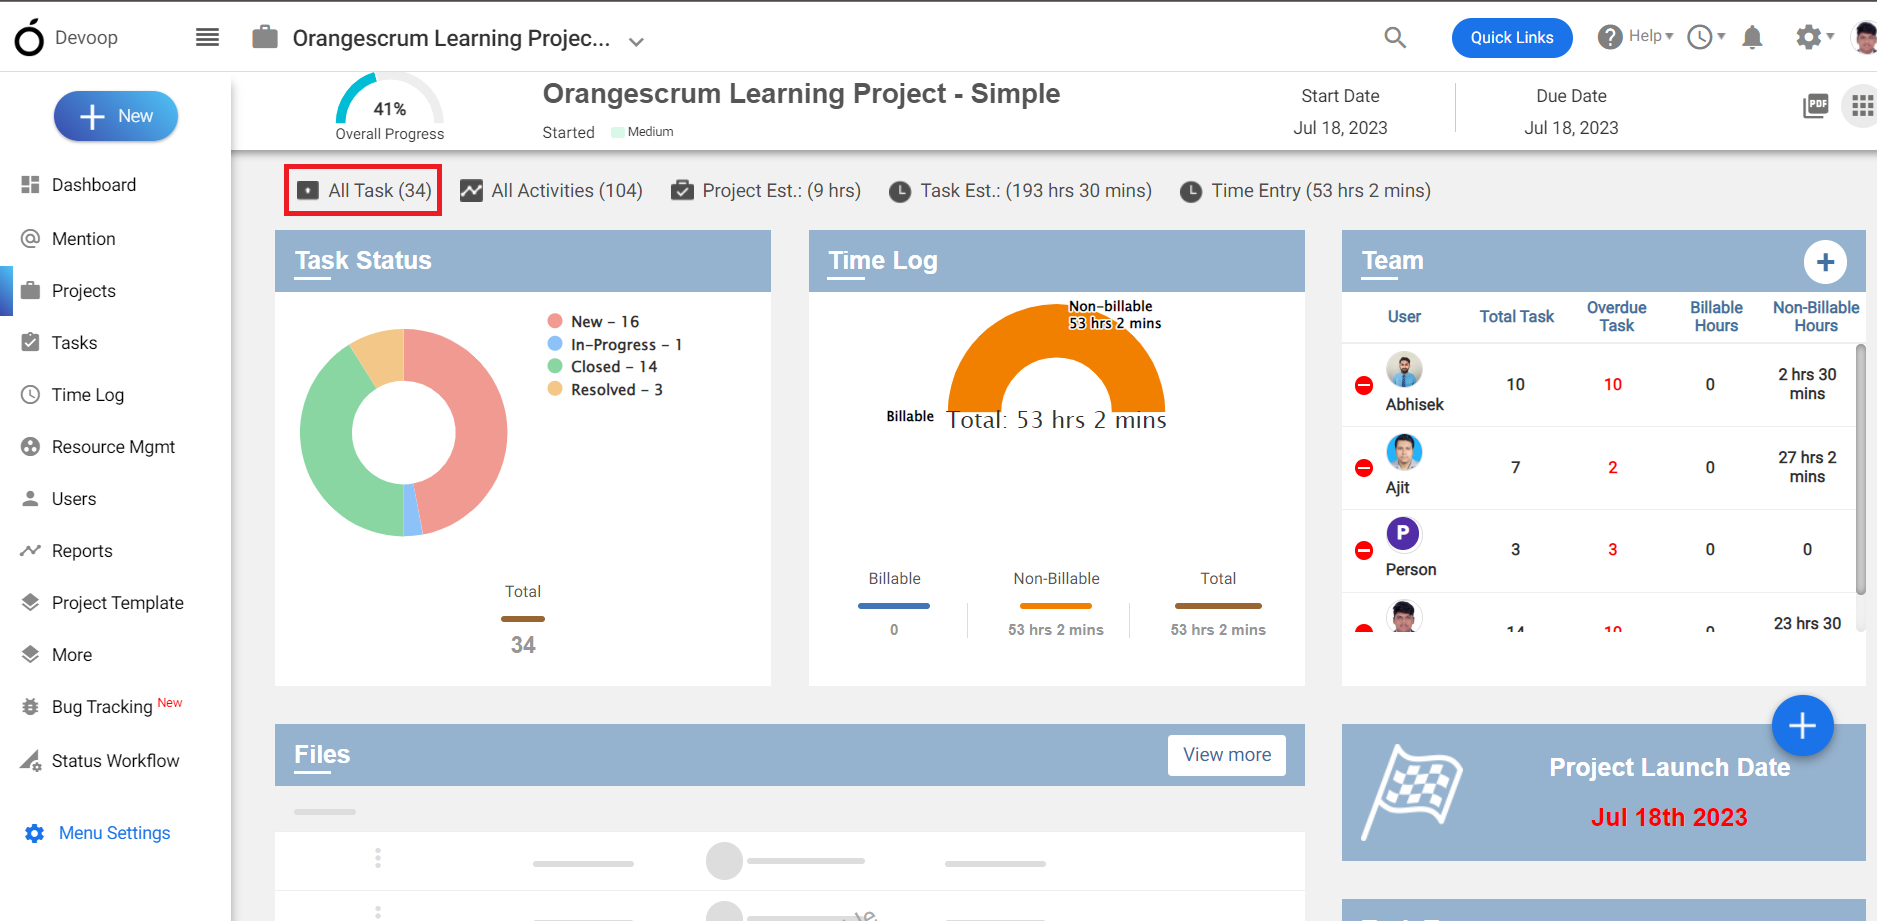
**(Image-2)**
2\. In the “task list” at the top right corner, you can export all the task or project data in csv or pdf format.
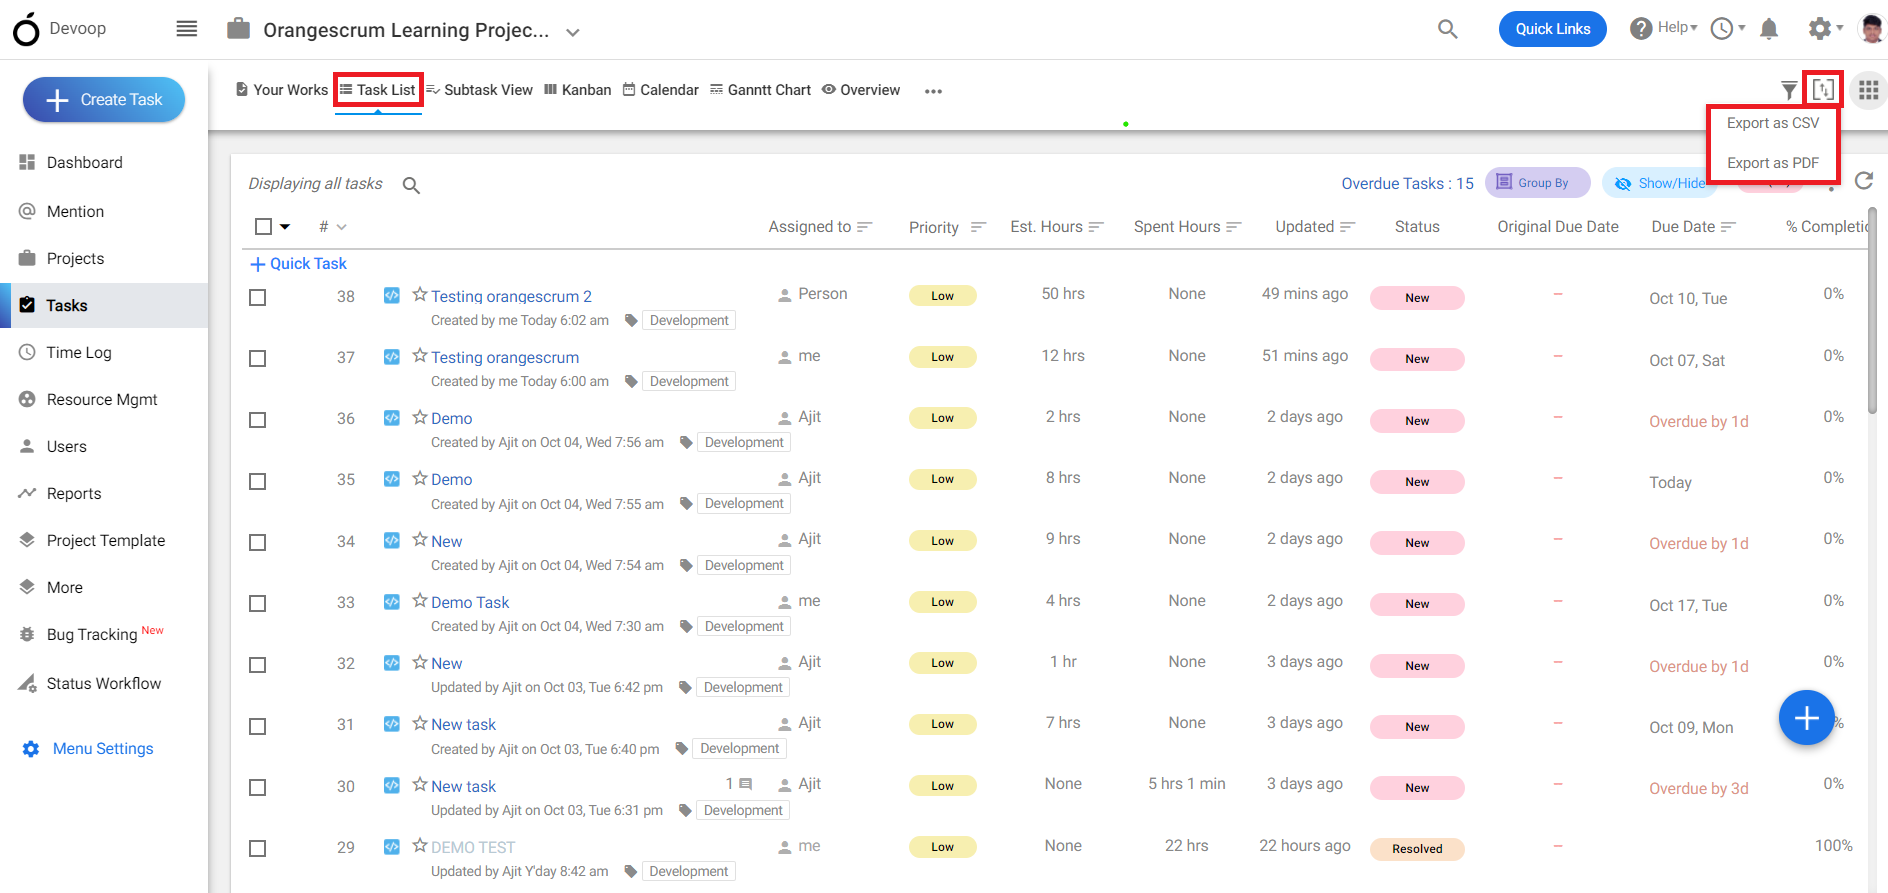
**(Image-3)**
# How to Configure Recurring Tasks in Orangescrum
> Learn how to configure recurring tasks in Orangescrum for streamlined task management. Automate repetitive tasks with ease.
> For the complete documentation index, see [llms.txt](https://helpdesk.orangescrum.com/llms.txt).
Source: https://helpdesk.orangescrum.com/how-to-configure-recurring-tasks-in-orangescrum
---
1.Login to Orangescrum click on “Task” from the left menu.
2.Create a task using the “+” symbol.
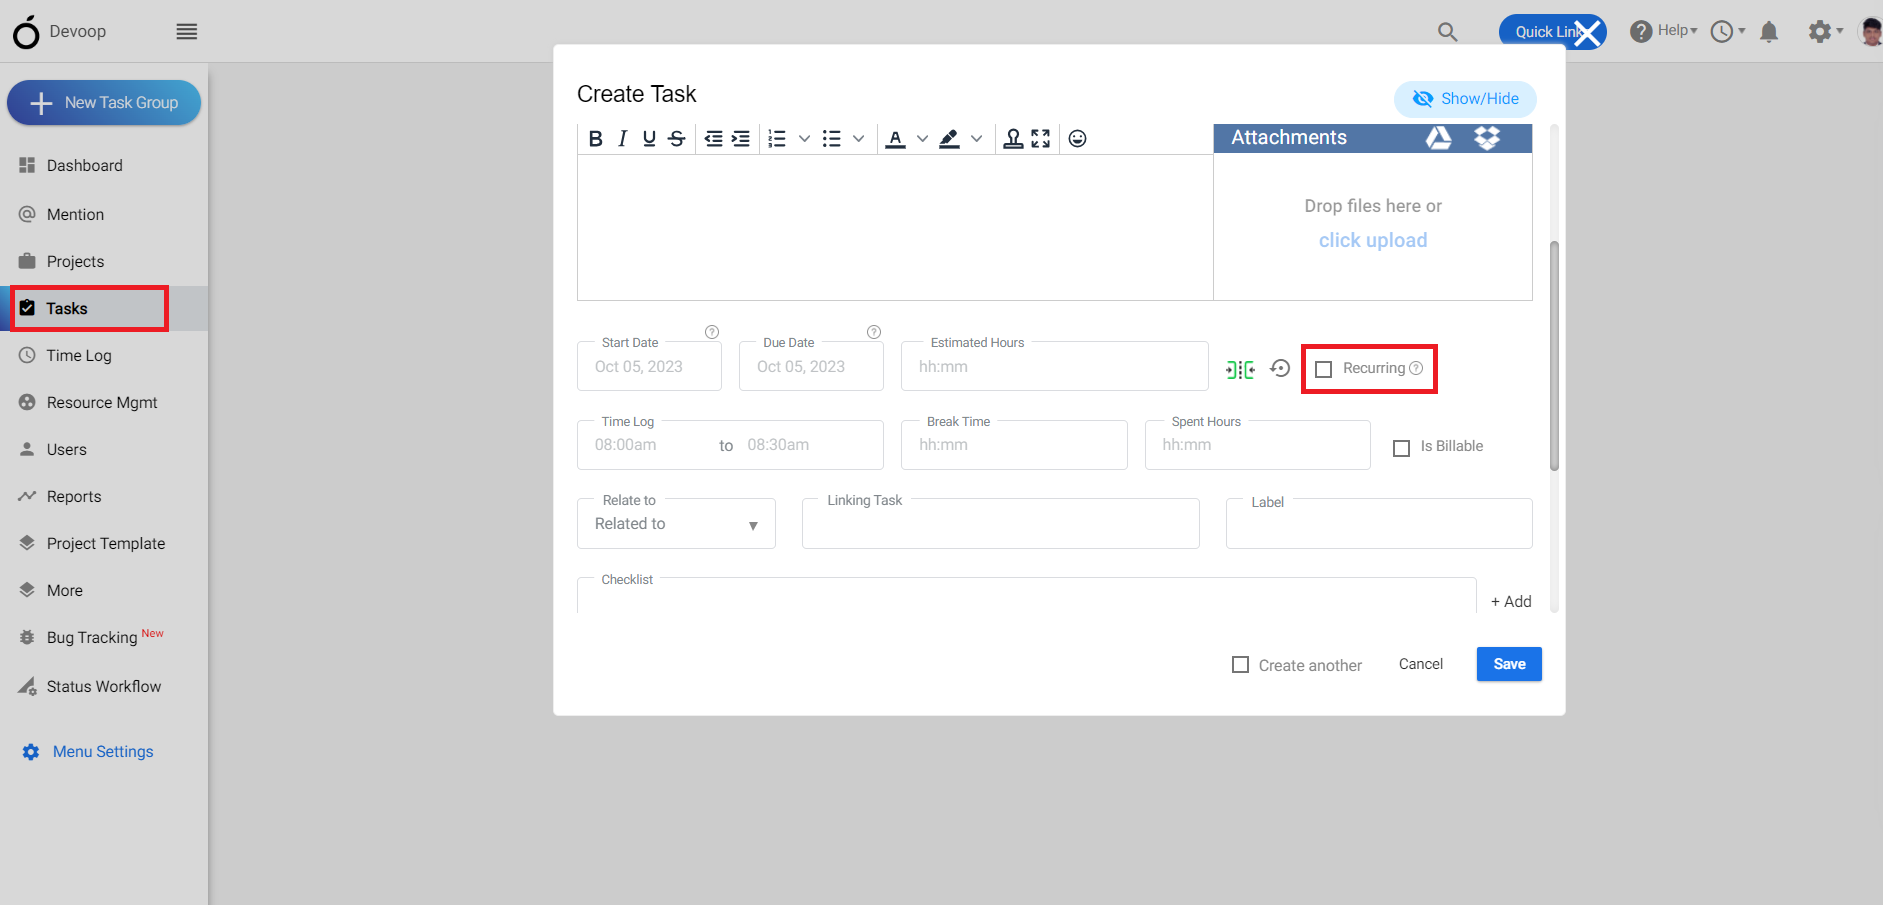
**(Image-1)**
3.While entering the estimated hours you can add “recurring task in the right”.
4\. This is the details page of a recurring task where you can select the dates according to you.
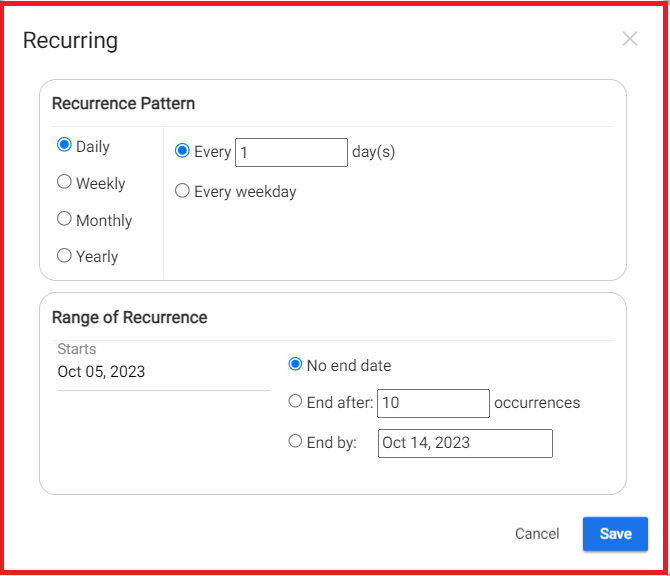
**(Image-2)**
# How do I set up reminders in any task in Orangescrum?
> Learn how to set up reminders for tasks in OrangeScrum and enhance your project management efficiency today!
> For the complete documentation index, see [llms.txt](https://helpdesk.orangescrum.com/llms.txt).
Source: https://helpdesk.orangescrum.com/how-do-i-set-up-reminders-in-any-task-in-orangescrum
---
1\. Login to orangescrum, click on the project and select a project.
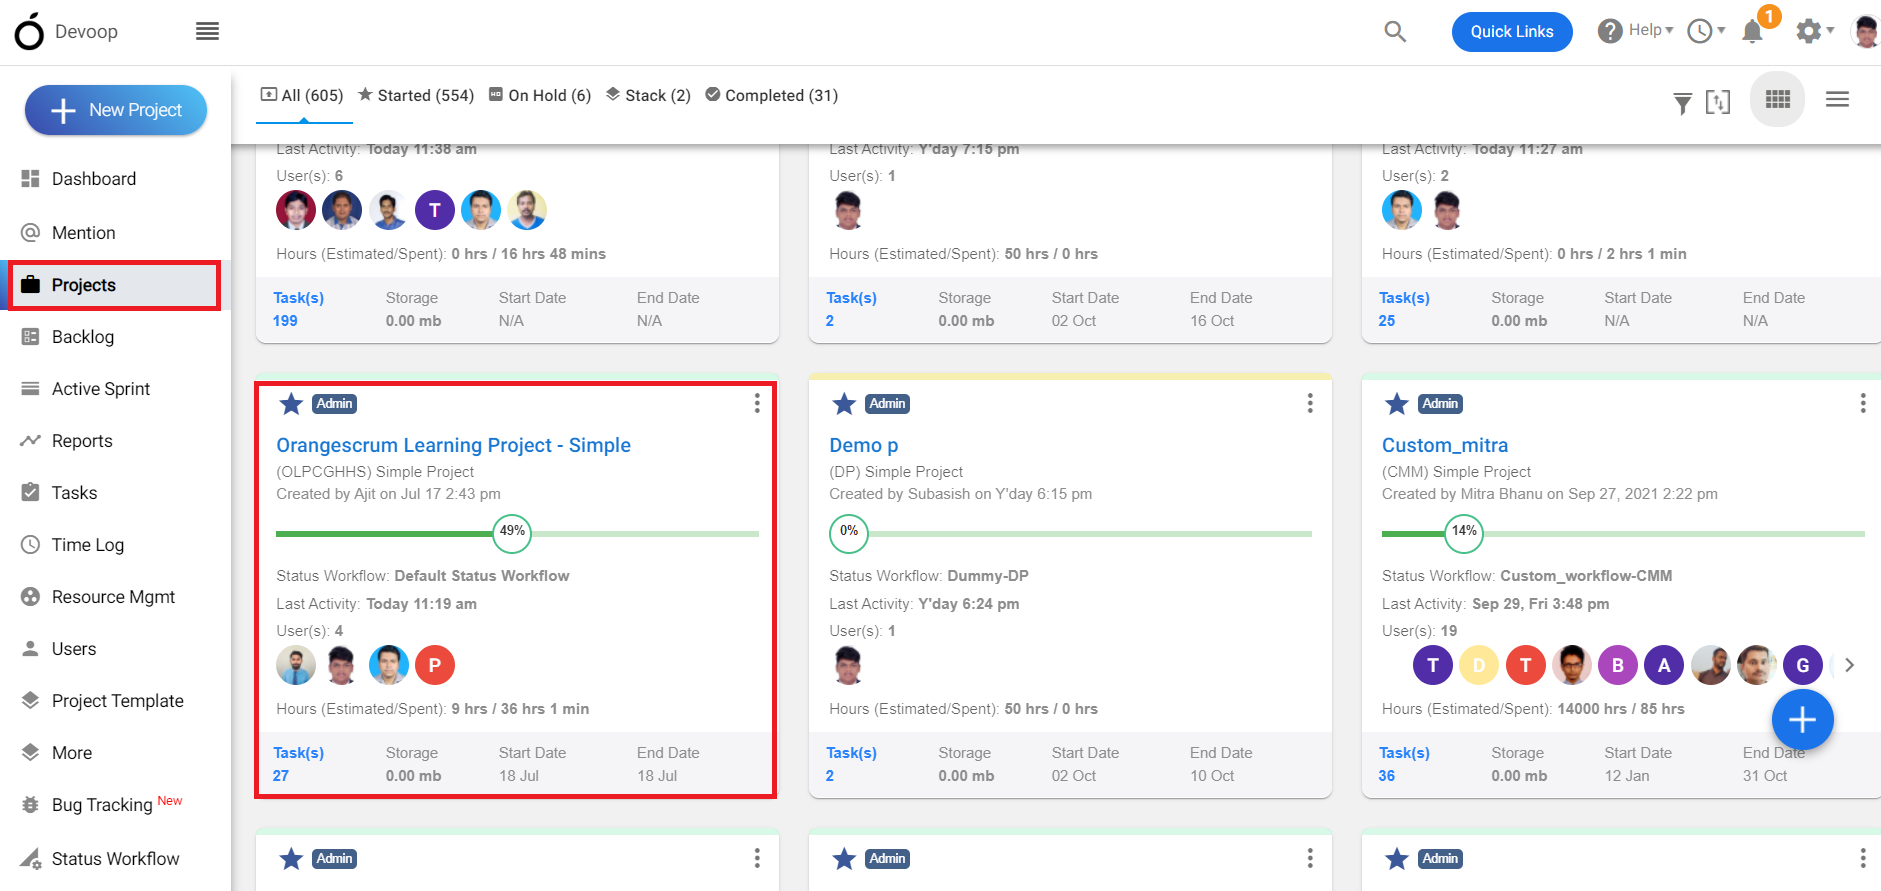
**(Image-1)**
2\. Click on all tasks and go to the task list page.
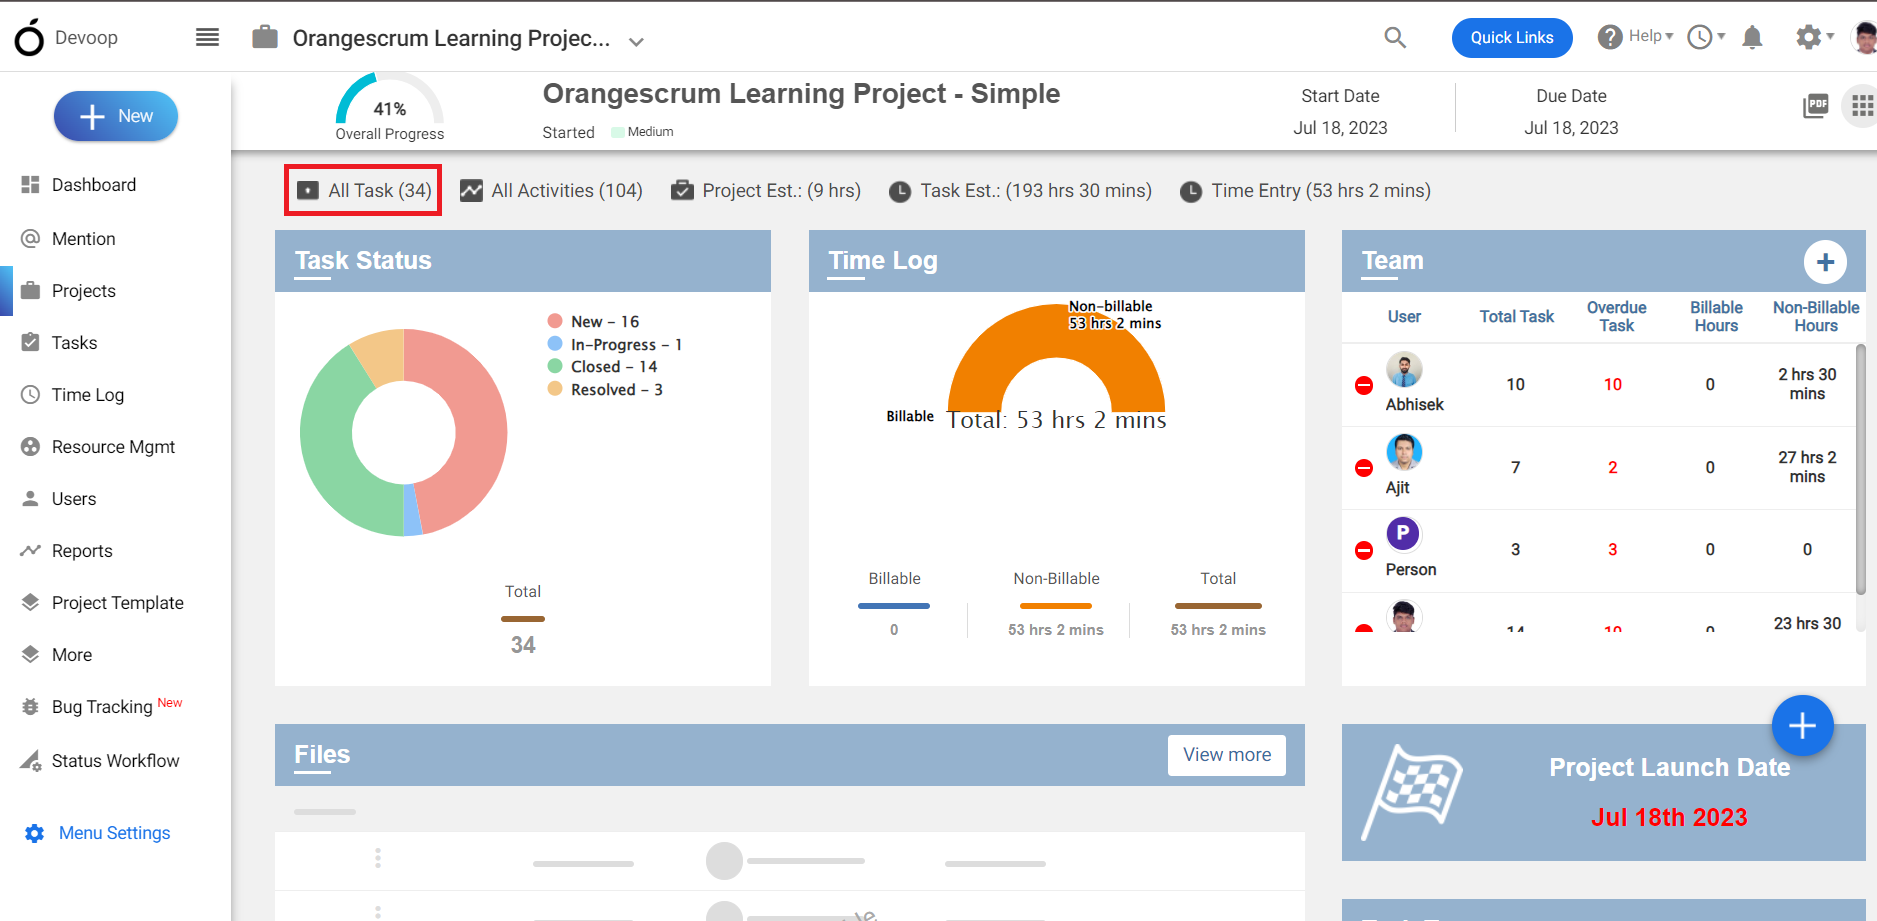
**(Image-2)**
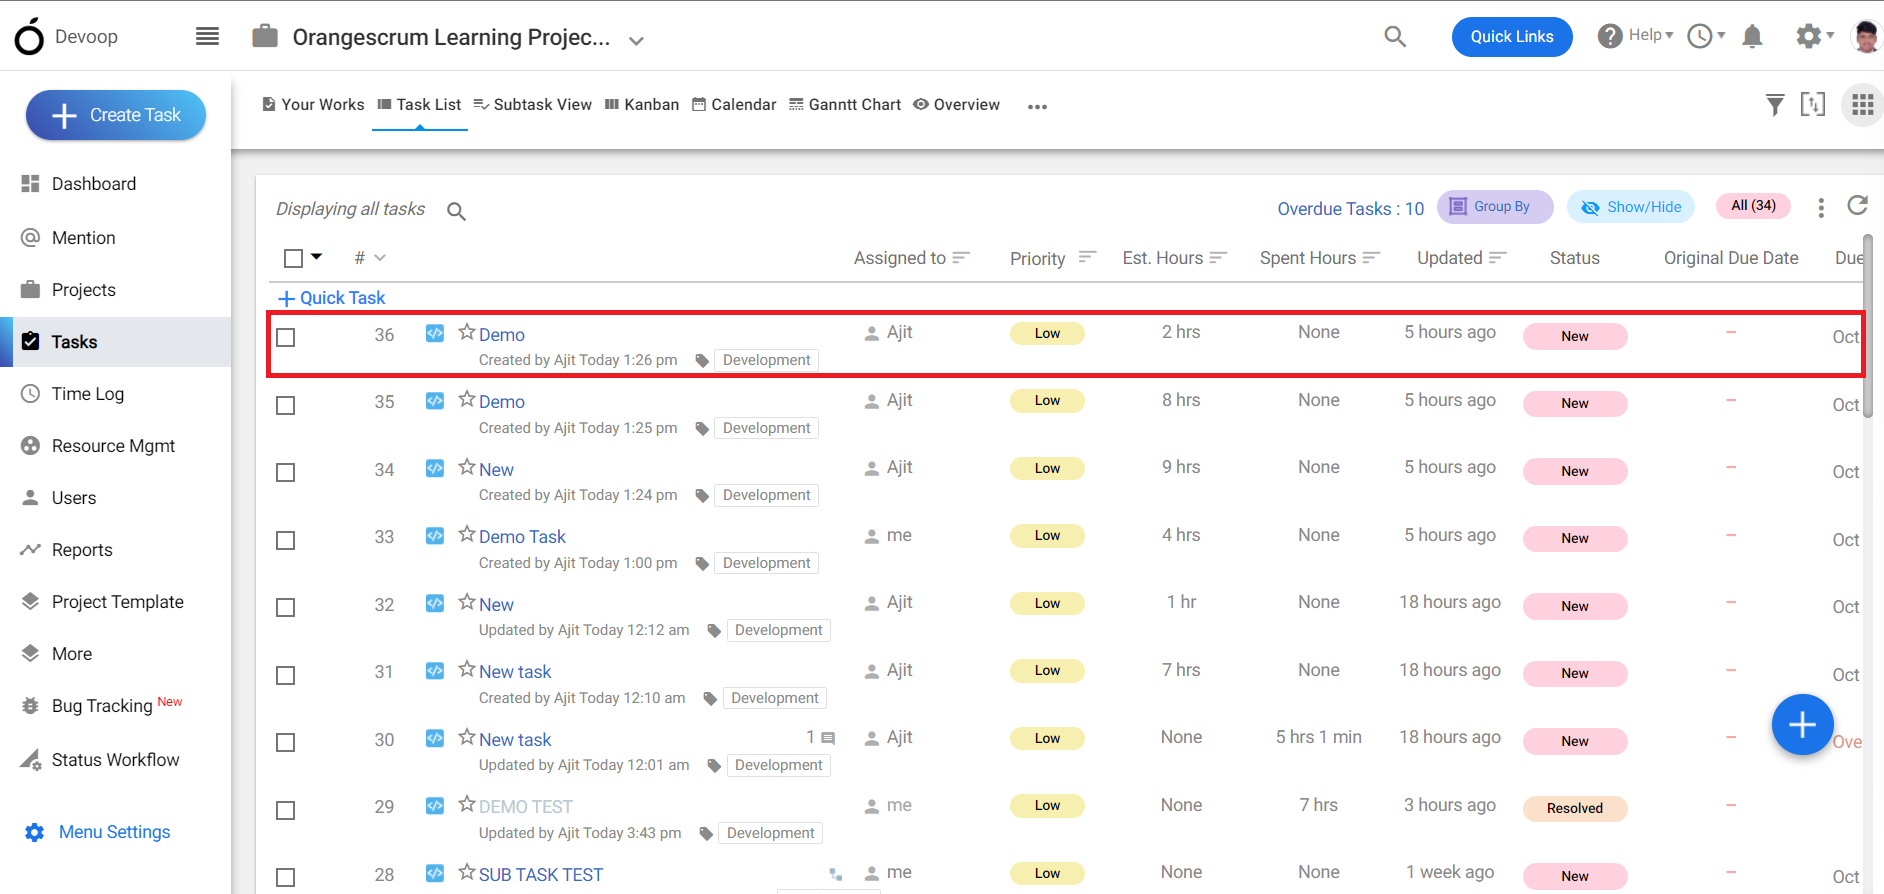
**(Image-3)**
3\. Select a task and get inside the task details page.
4\. On the bottom of the page click on “Remainders” and you can add a reminder here.
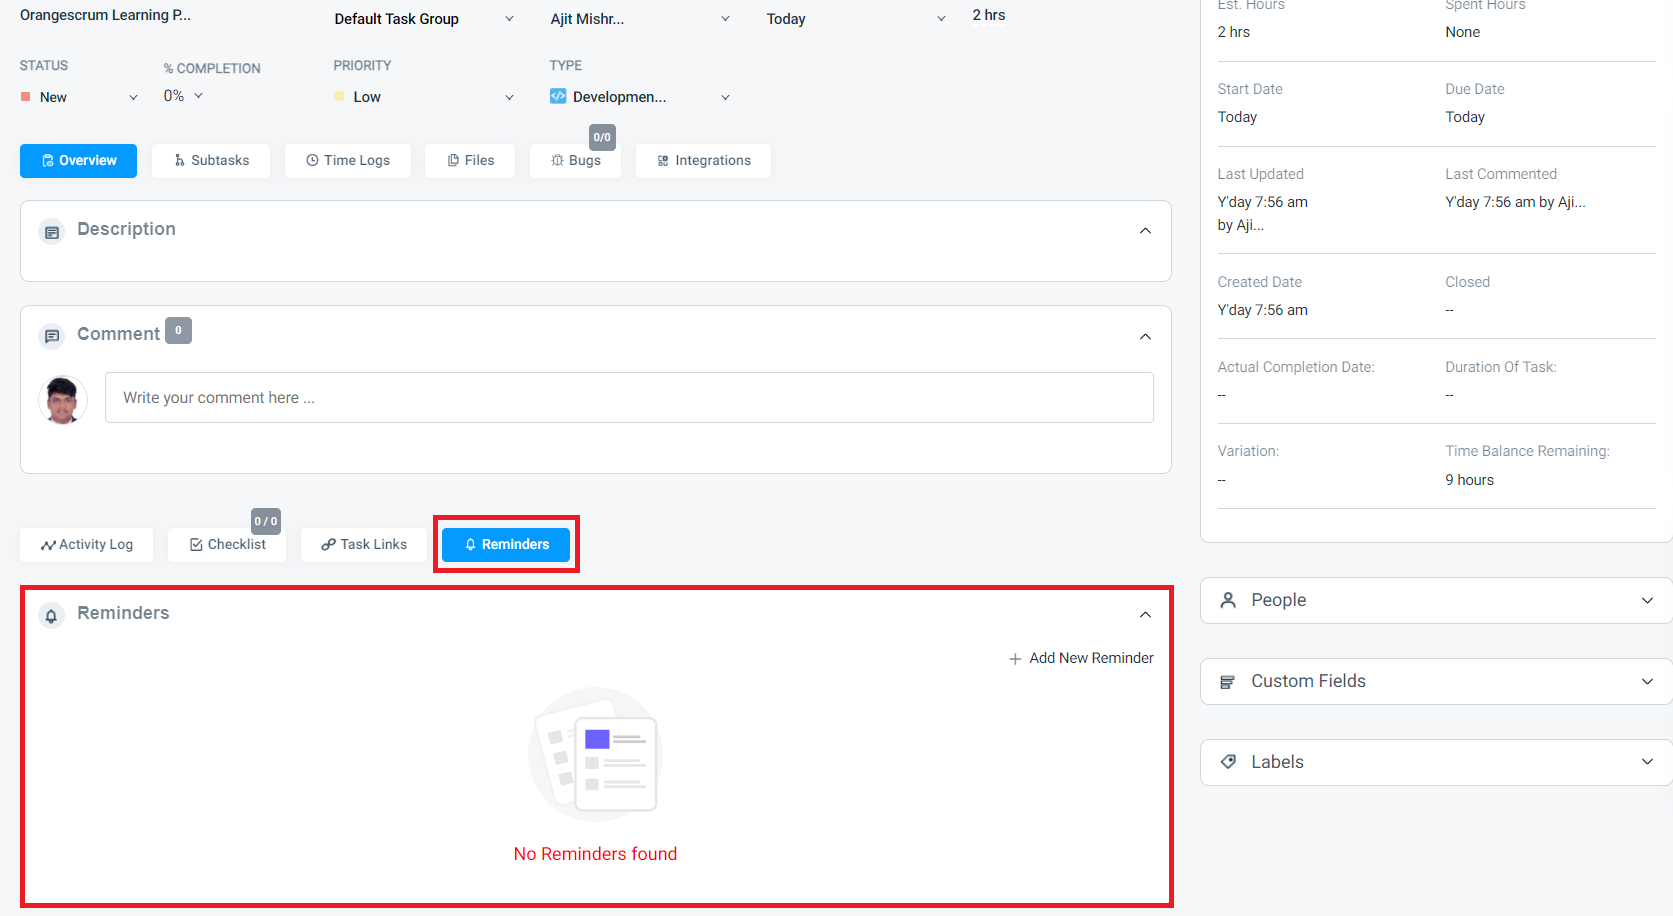
**(Image-4)**
# Integrating Orangescrum with Third-Party Tools
> Learn how to seamlessly integrating orangescrum with third-party tools to enhance your project management and collaboration.
> For the complete documentation index, see [llms.txt](https://helpdesk.orangescrum.com/llms.txt).
Source: https://helpdesk.orangescrum.com/integrating-orangescrum-with-third-party-tools
---
Orangescrum did offer integrations with various third-party tools and services, including Slack and Google Drive. Follow the steps below to get the option:
1\. Login to orangescrum and click on the top right corner as mentioned in (Image-1)
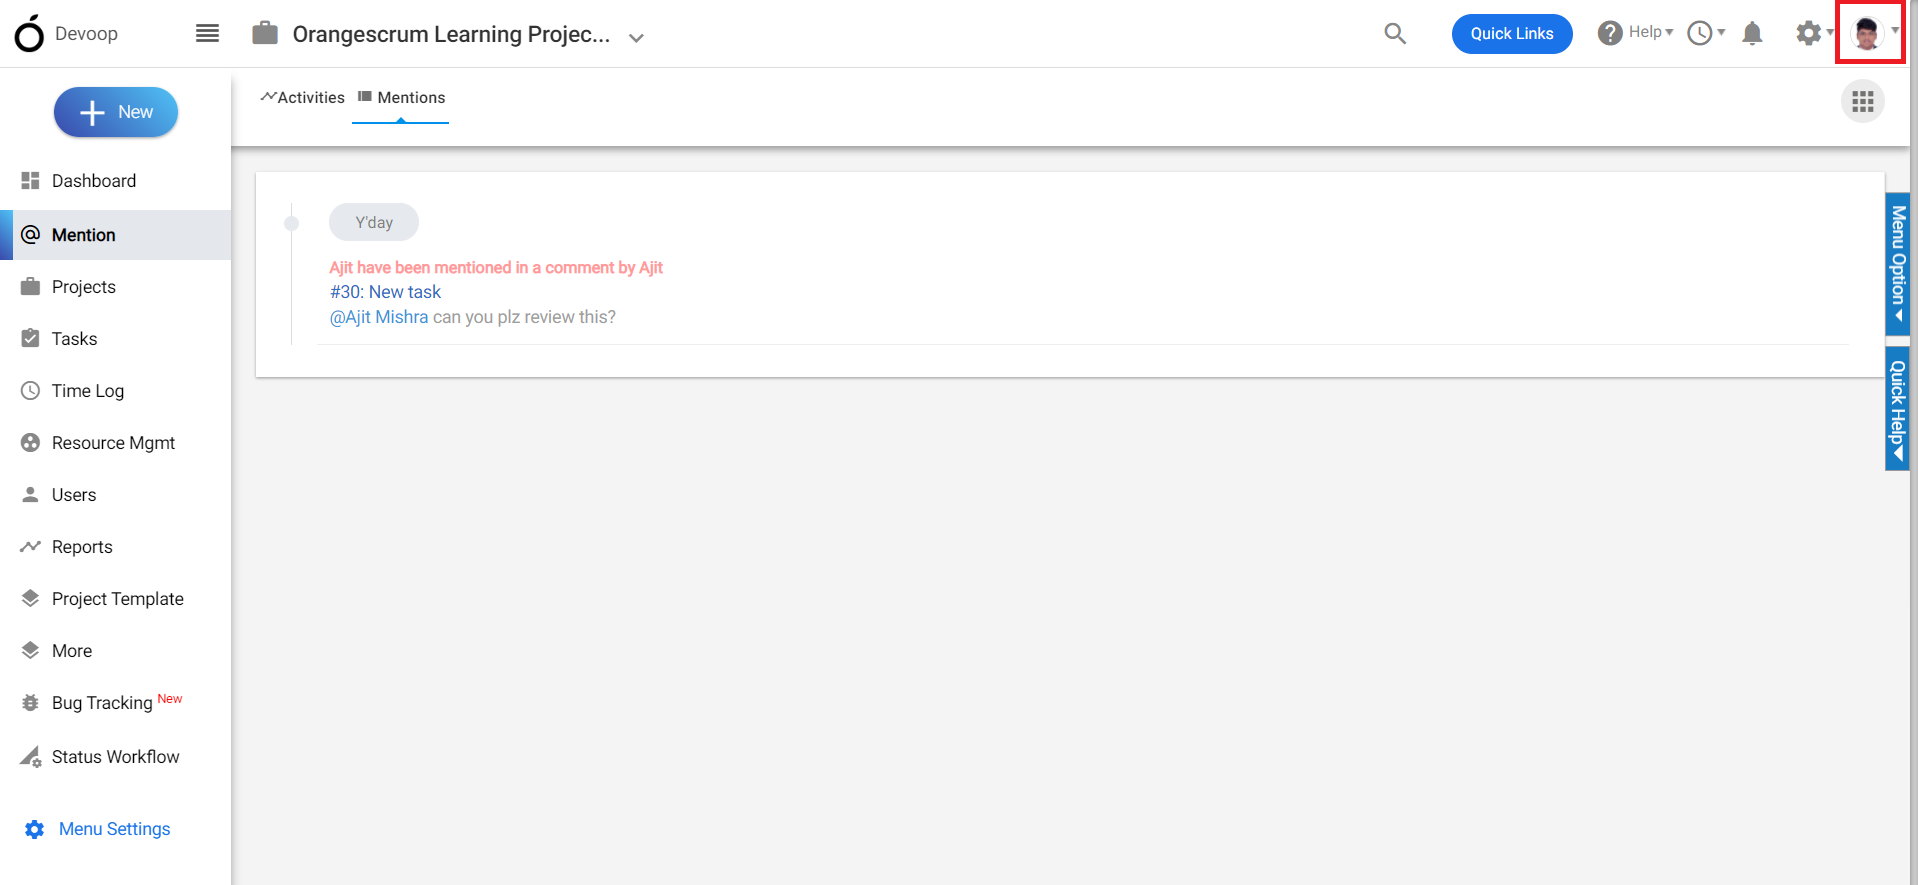
**(Image-1)**
2.Click on the integration option.
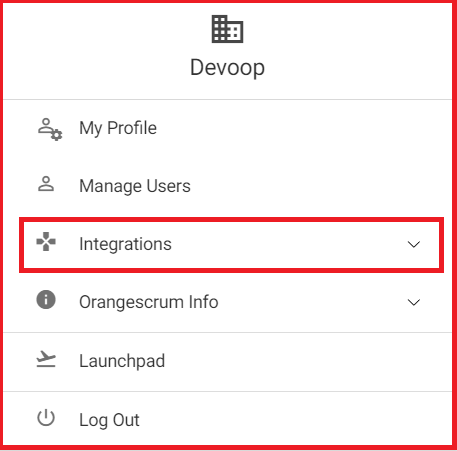**(Image-2)**
3\. You can see the integration option of various tools such as slack, drive, zapier, google calendar etc.
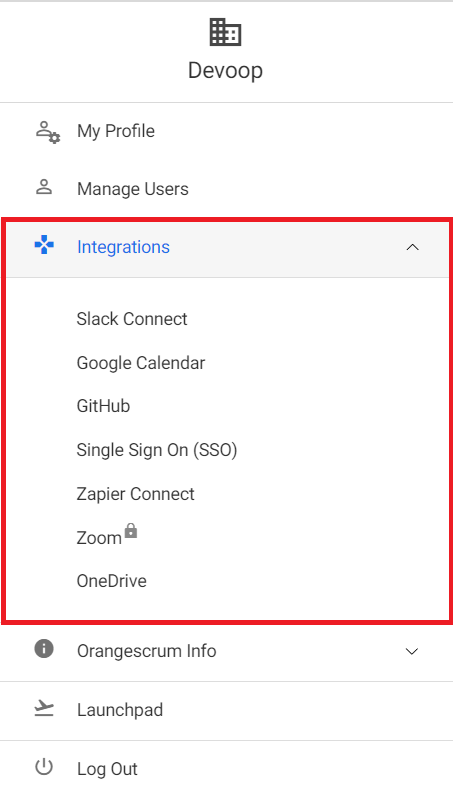
**(Image-3)**
# Can I track time spent on tasks in Orangescrum?
> Find out how to track time spent on tasks in Orangescrum to enhance productivity and manage project timelines effectively.
> For the complete documentation index, see [llms.txt](https://helpdesk.orangescrum.com/llms.txt).
Source: https://helpdesk.orangescrum.com/can-i-track-time-spent-on-tasks-in-orangescrum
---
Time tracking is one of the essential features in project management software, and Orangescrum does offer time tracking capabilities.There are two methods of tracking time of a task in orangescrum.
Follow the steps below to track the time:
1\. Login to Orangescrum and click on the project from the left menu.
2.Select the project from the project list on which you want to track the time
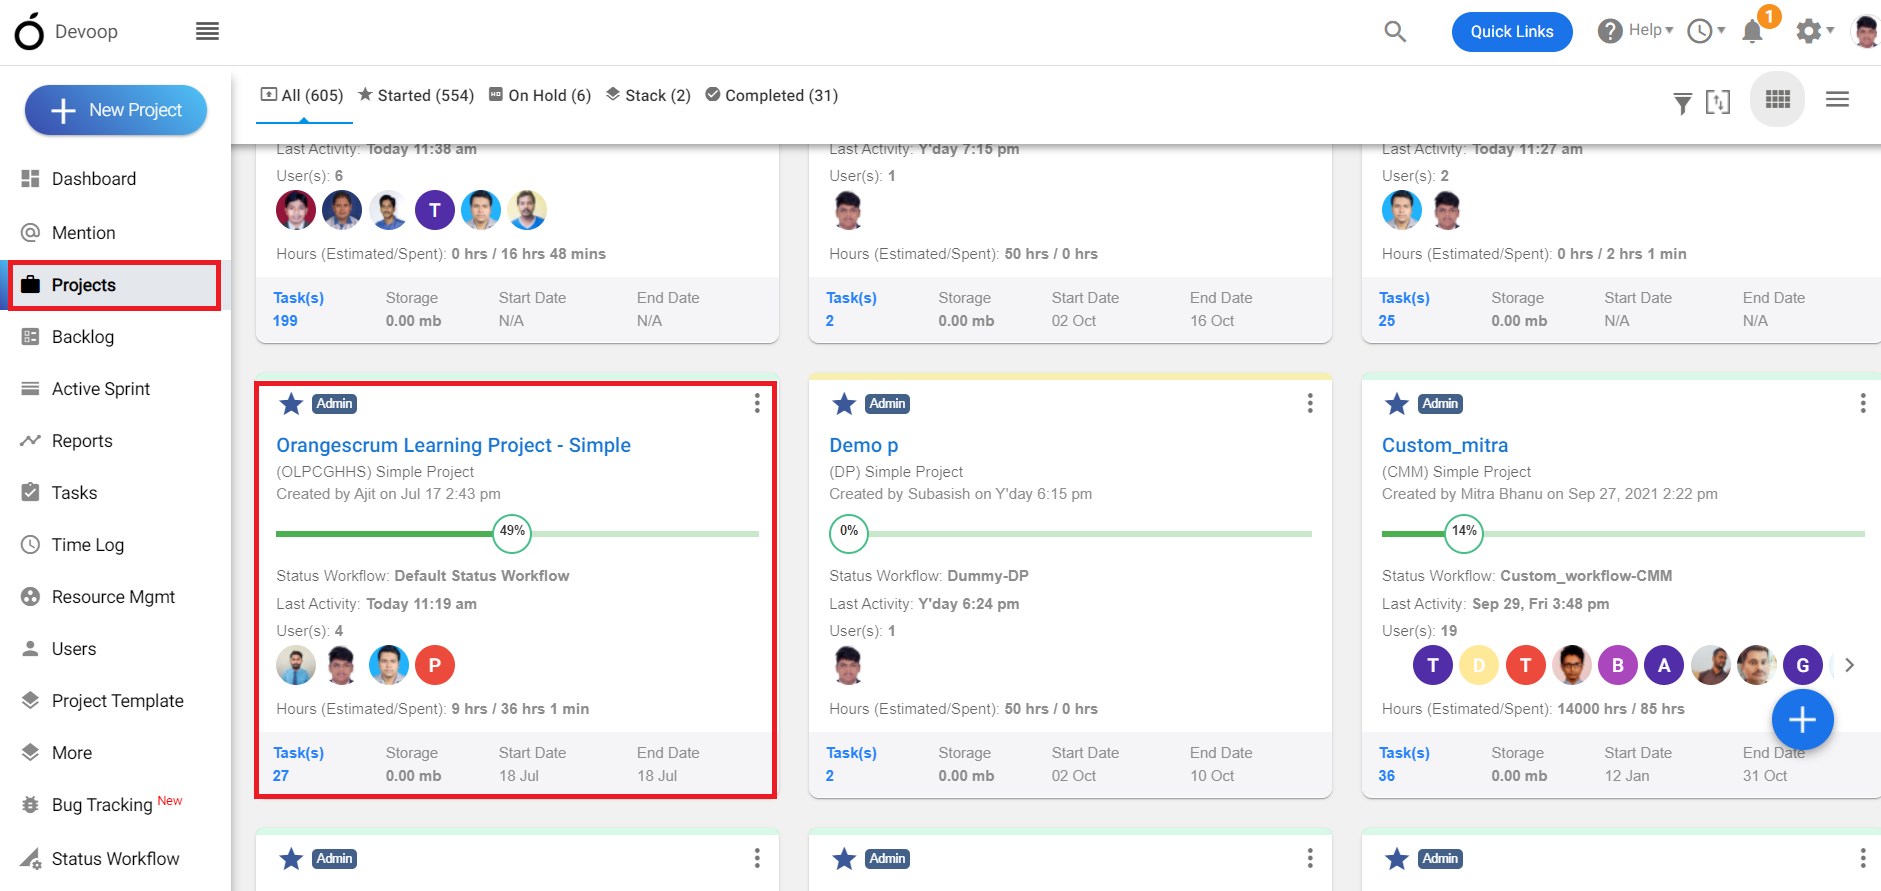
**(Image-1)**
3.Click on the task list page and select the task you want to enter time.
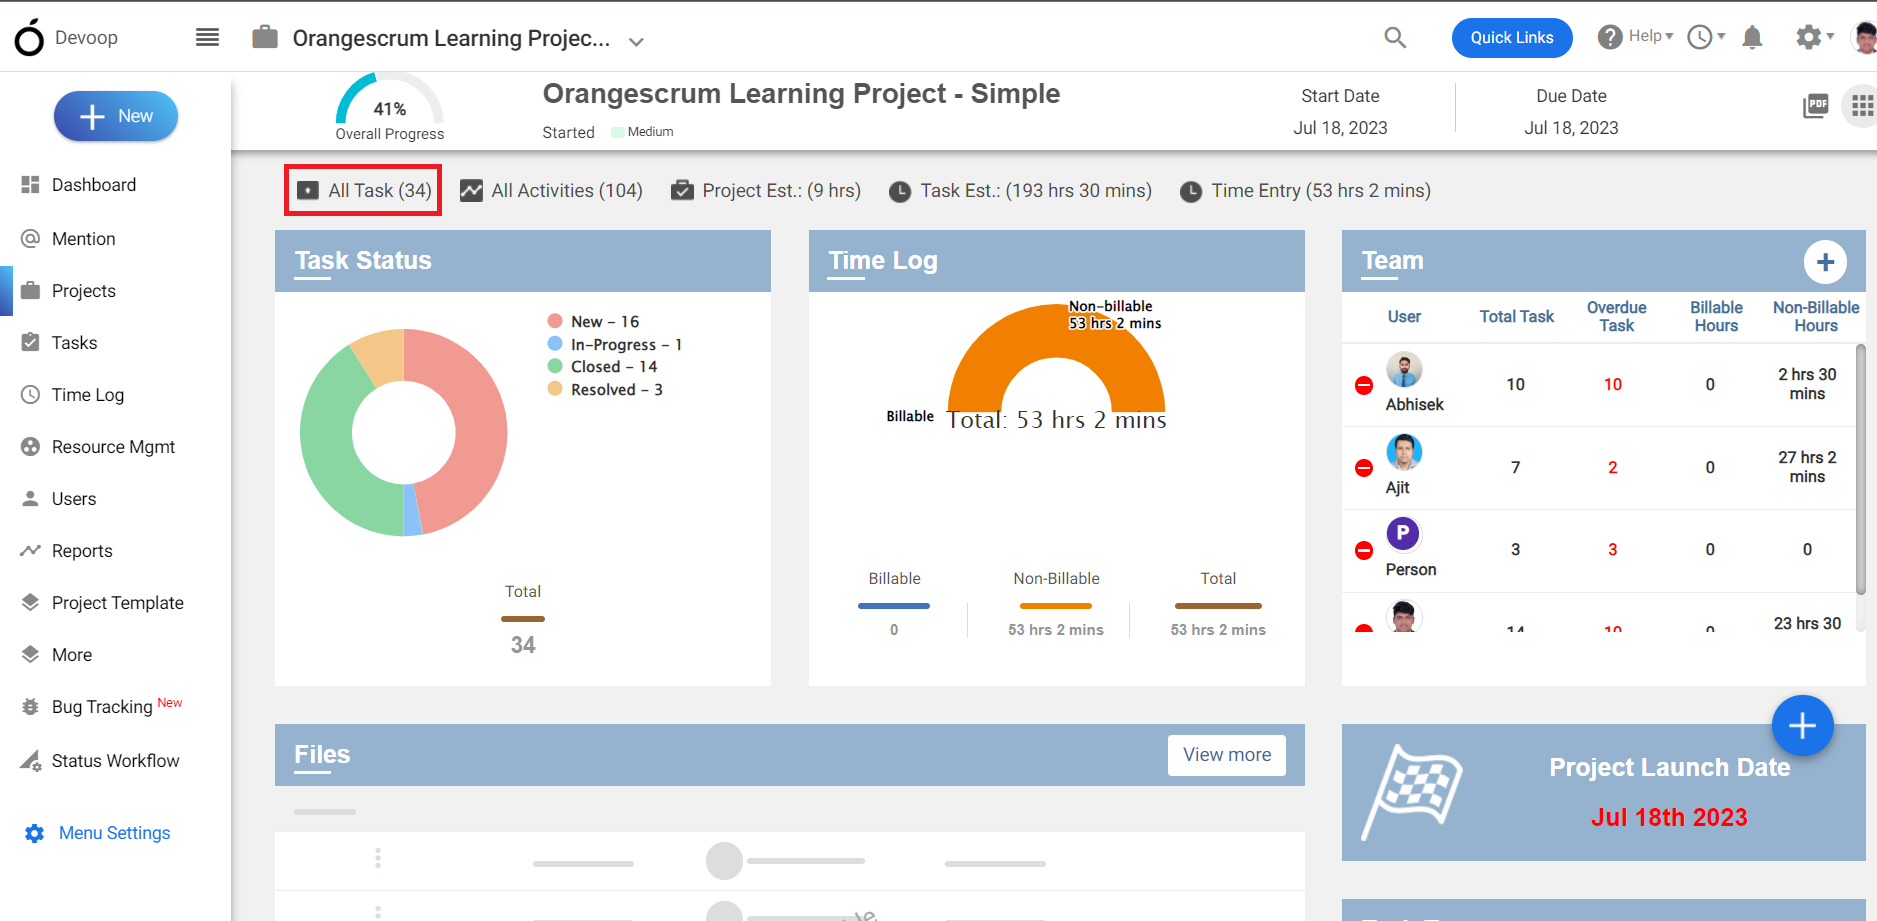
**(Image-2)**
4. There are two ways of entering time i.e. “Manual entry” and “start timer”.
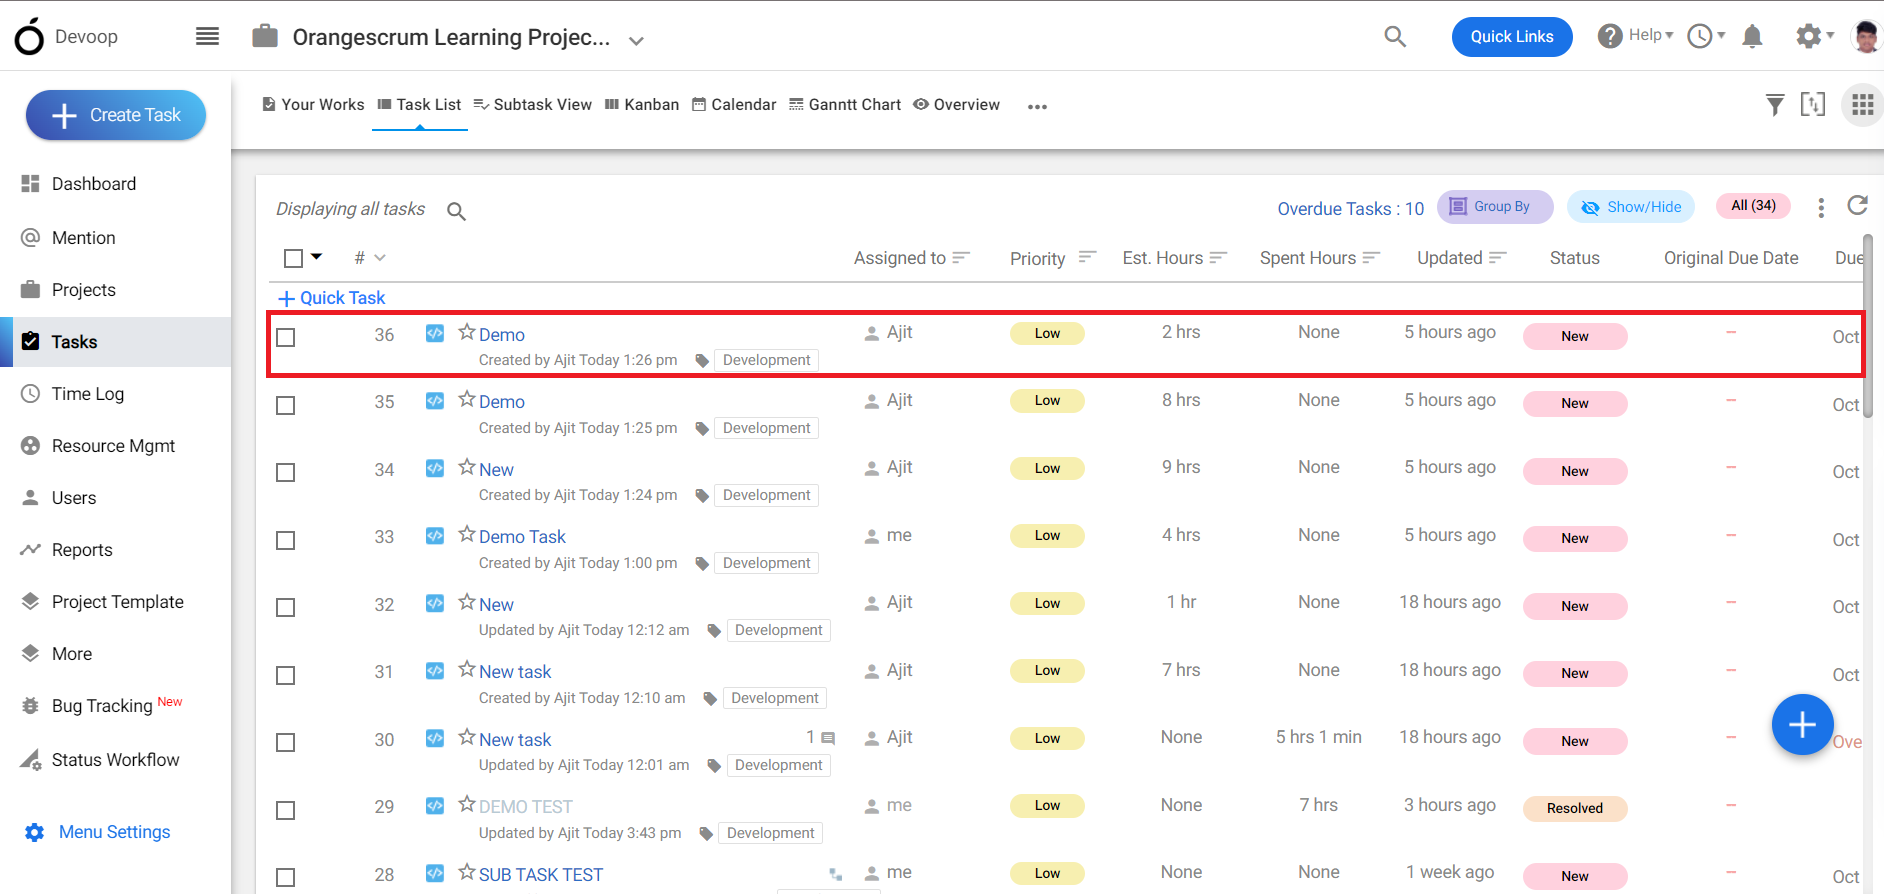
**(Image-3)**
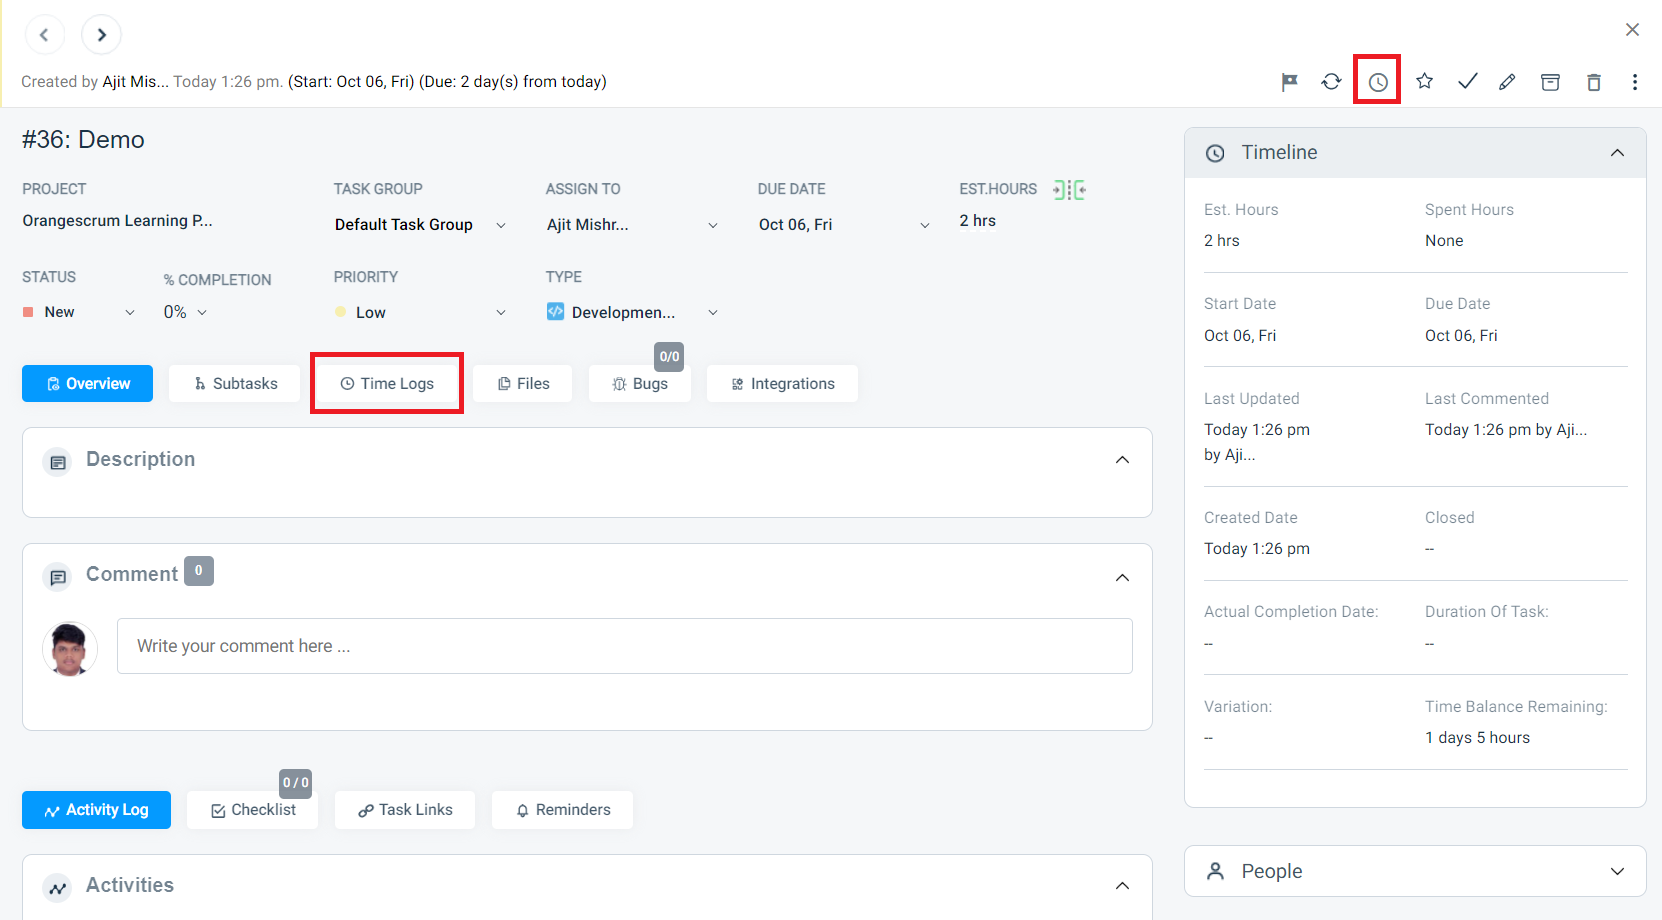
**(Image-4)**
5.In the “start timer” method, you have to start the time during the work and can stop it after completion.
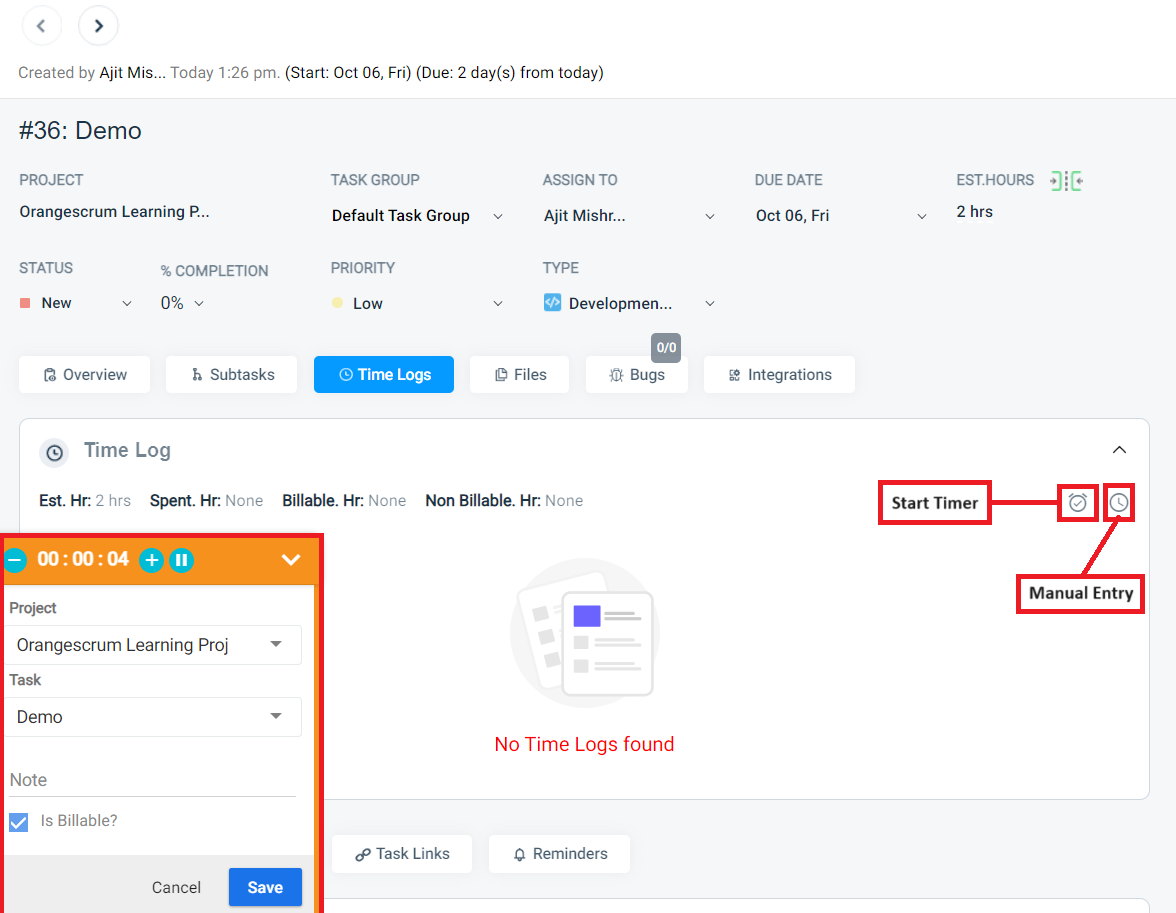
**(Image-5)**
6\. In the “manual entry” method you can manually enter the total time or hours you worked.
7\. You can also skip for the time duration and directly enter the working hours here.
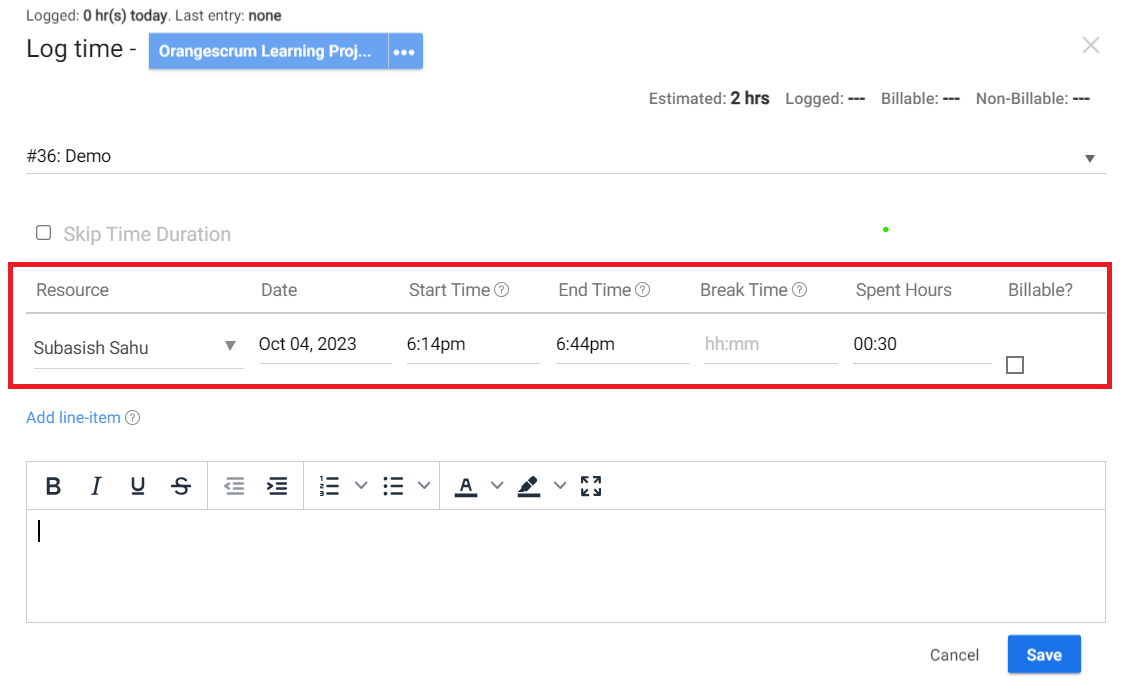**(Image-6)**
# How to use custom status workflow in scrum projects?
> Learn how to implement custom status workflows in your Scrum projects to streamline processes and improve team collaboration in Orangescrum.
> For the complete documentation index, see [llms.txt](https://helpdesk.orangescrum.com/llms.txt).
Source: https://helpdesk.orangescrum.com/how-to-use-custom-status-workflow-in-scrum-projects
---
1. Login to orangescrum.
2. Click on the status workflow from the left menu.
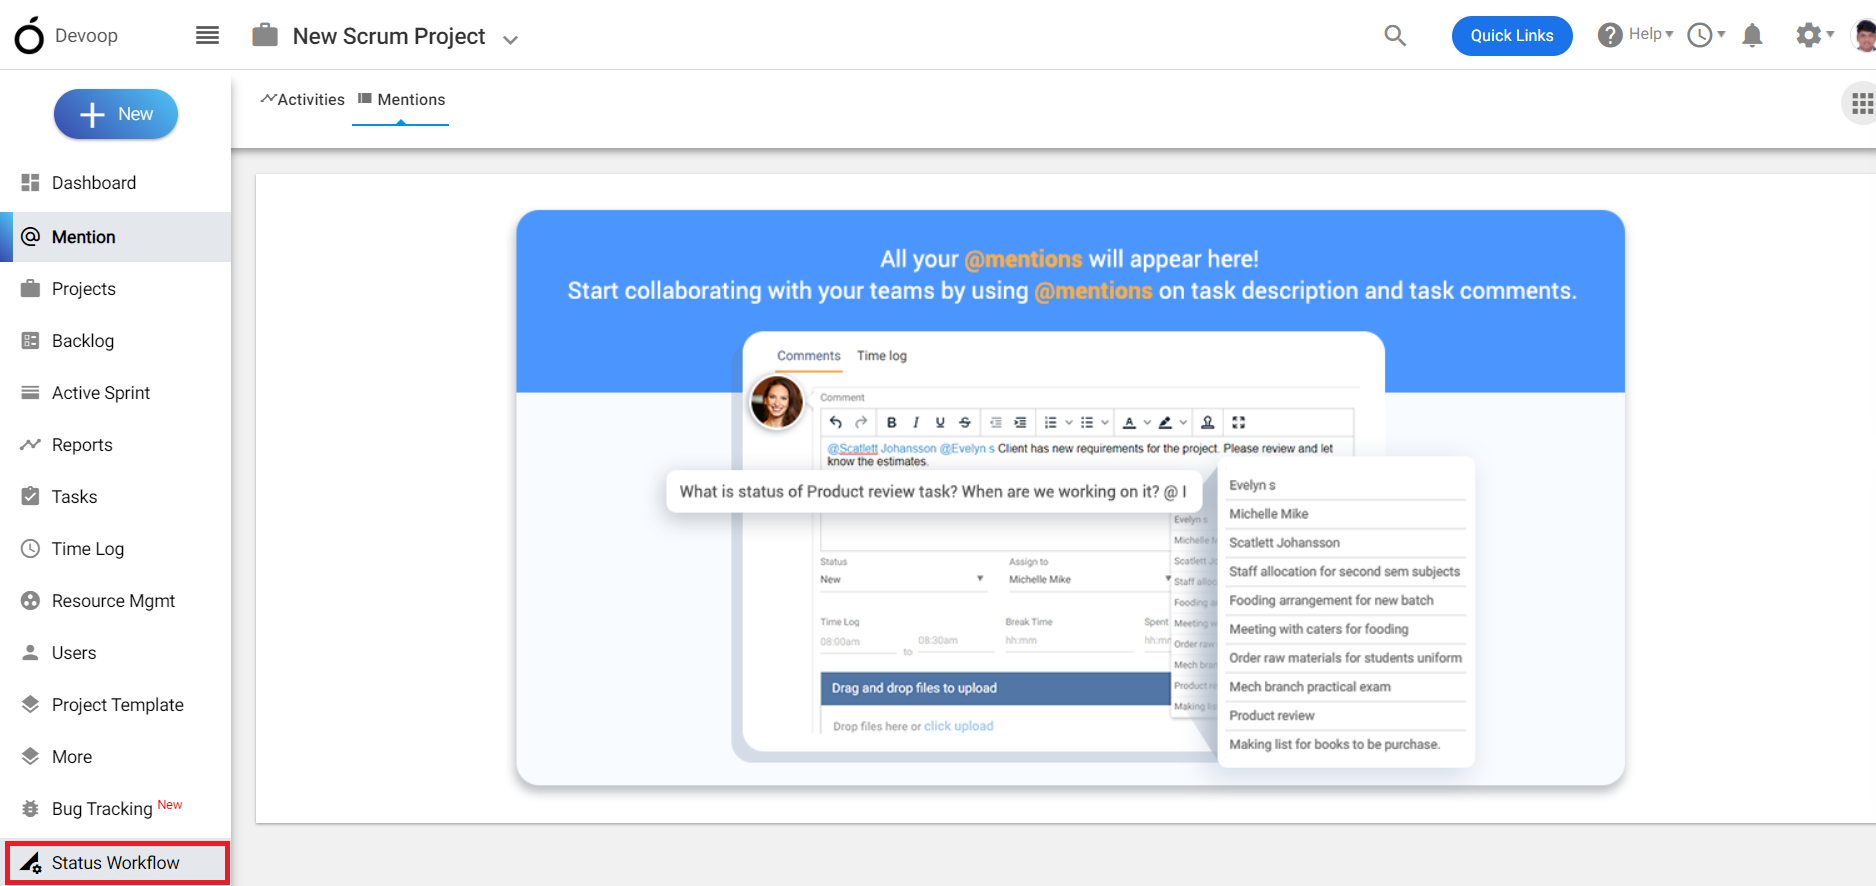
**(Image-1)**
3. You can use the default or existing status workflow or can create a new workflow by clicking on the “create new status workflow”.
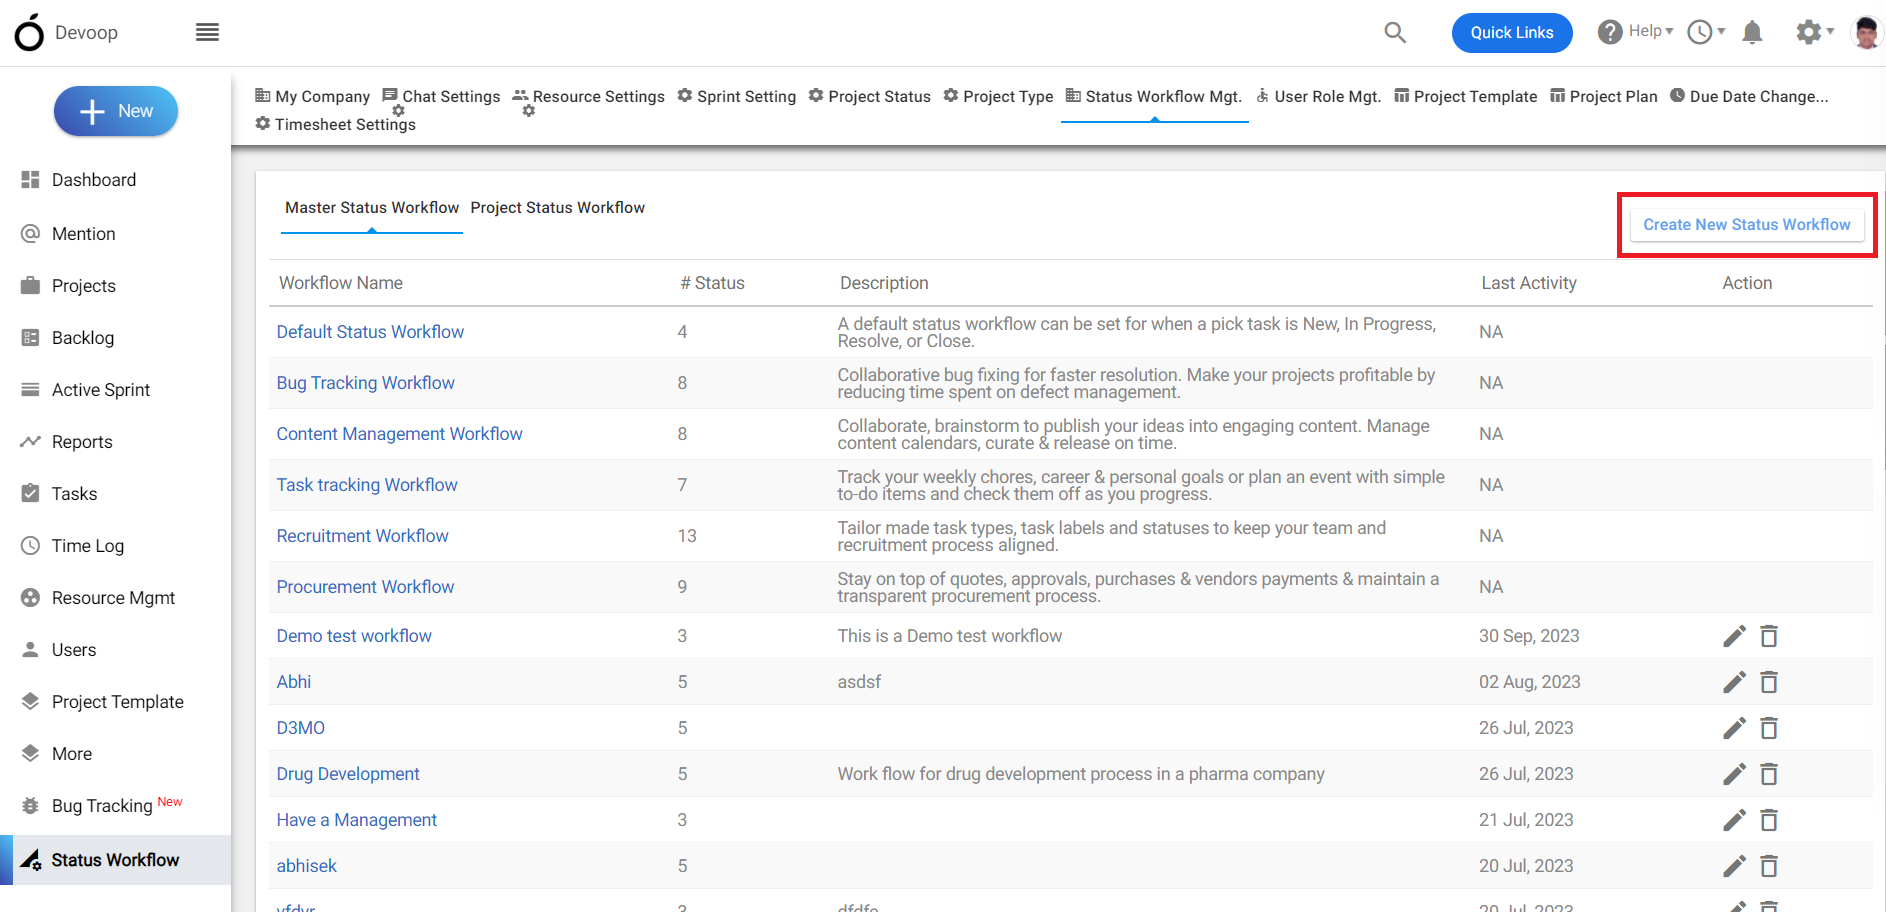
**(Image-2)**
4. Add status “workflow name” and “description” and click on “add” to create a new status workflow.
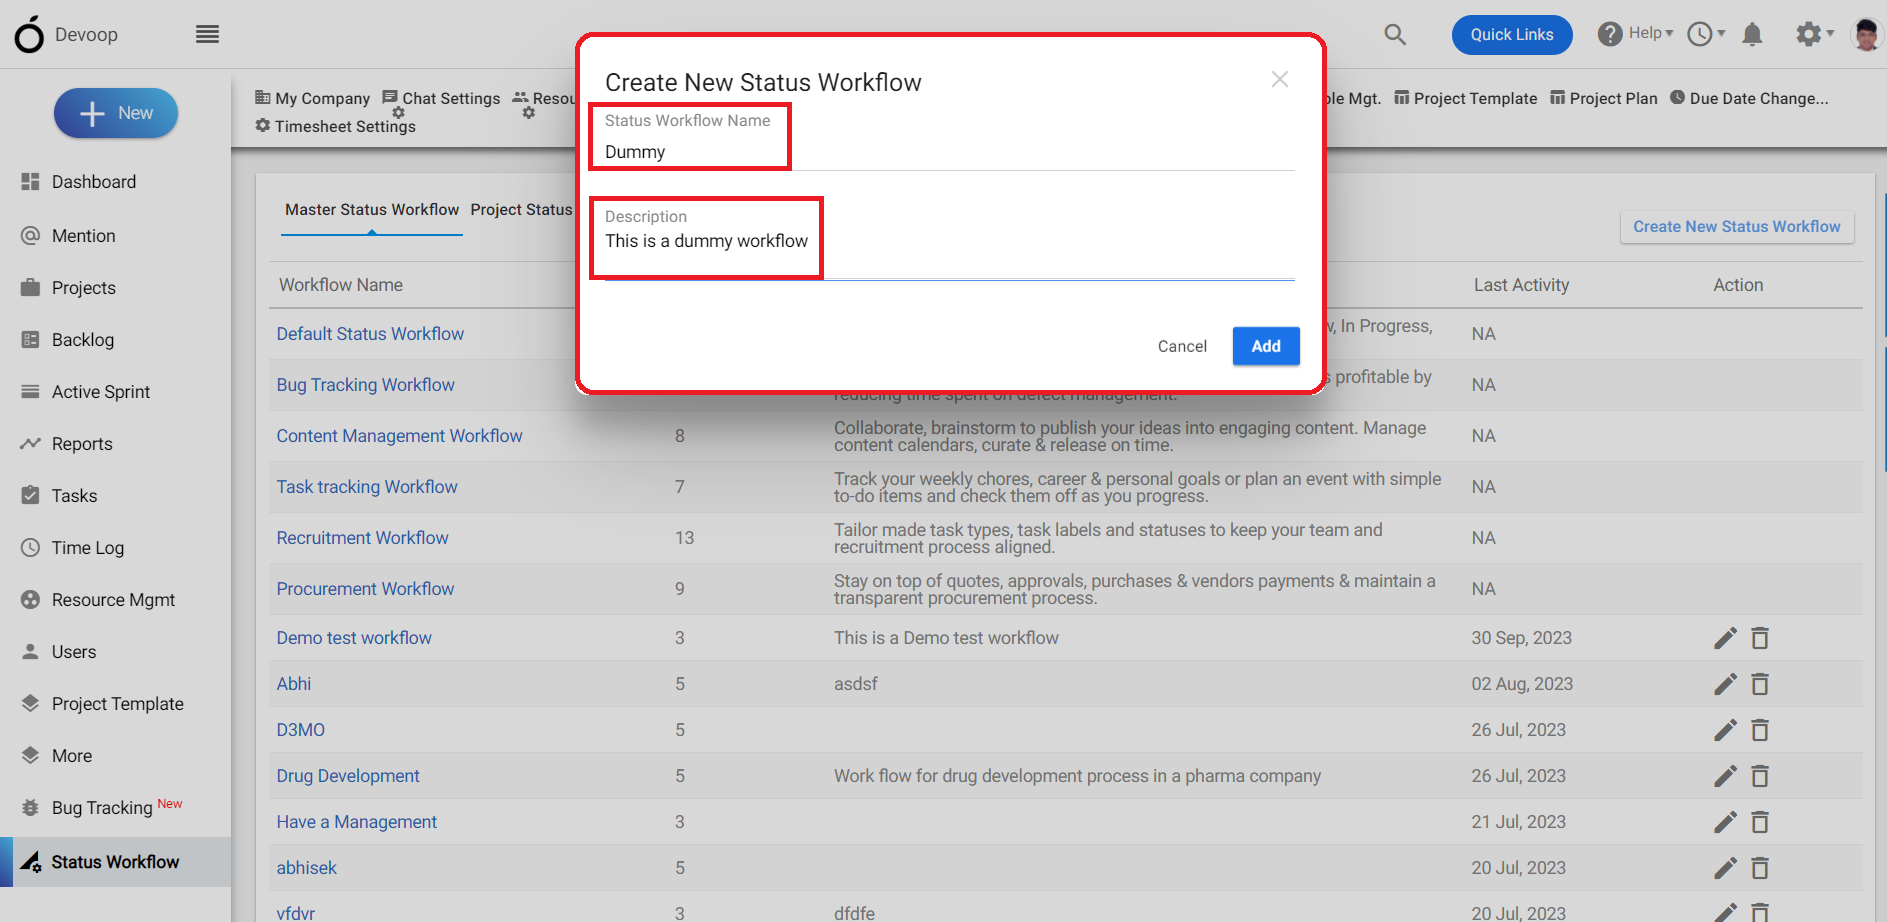
**(Image-3)**
5. You can create different status levels, create new projects using the workflow or can “edit” and “delete” the existing levels.
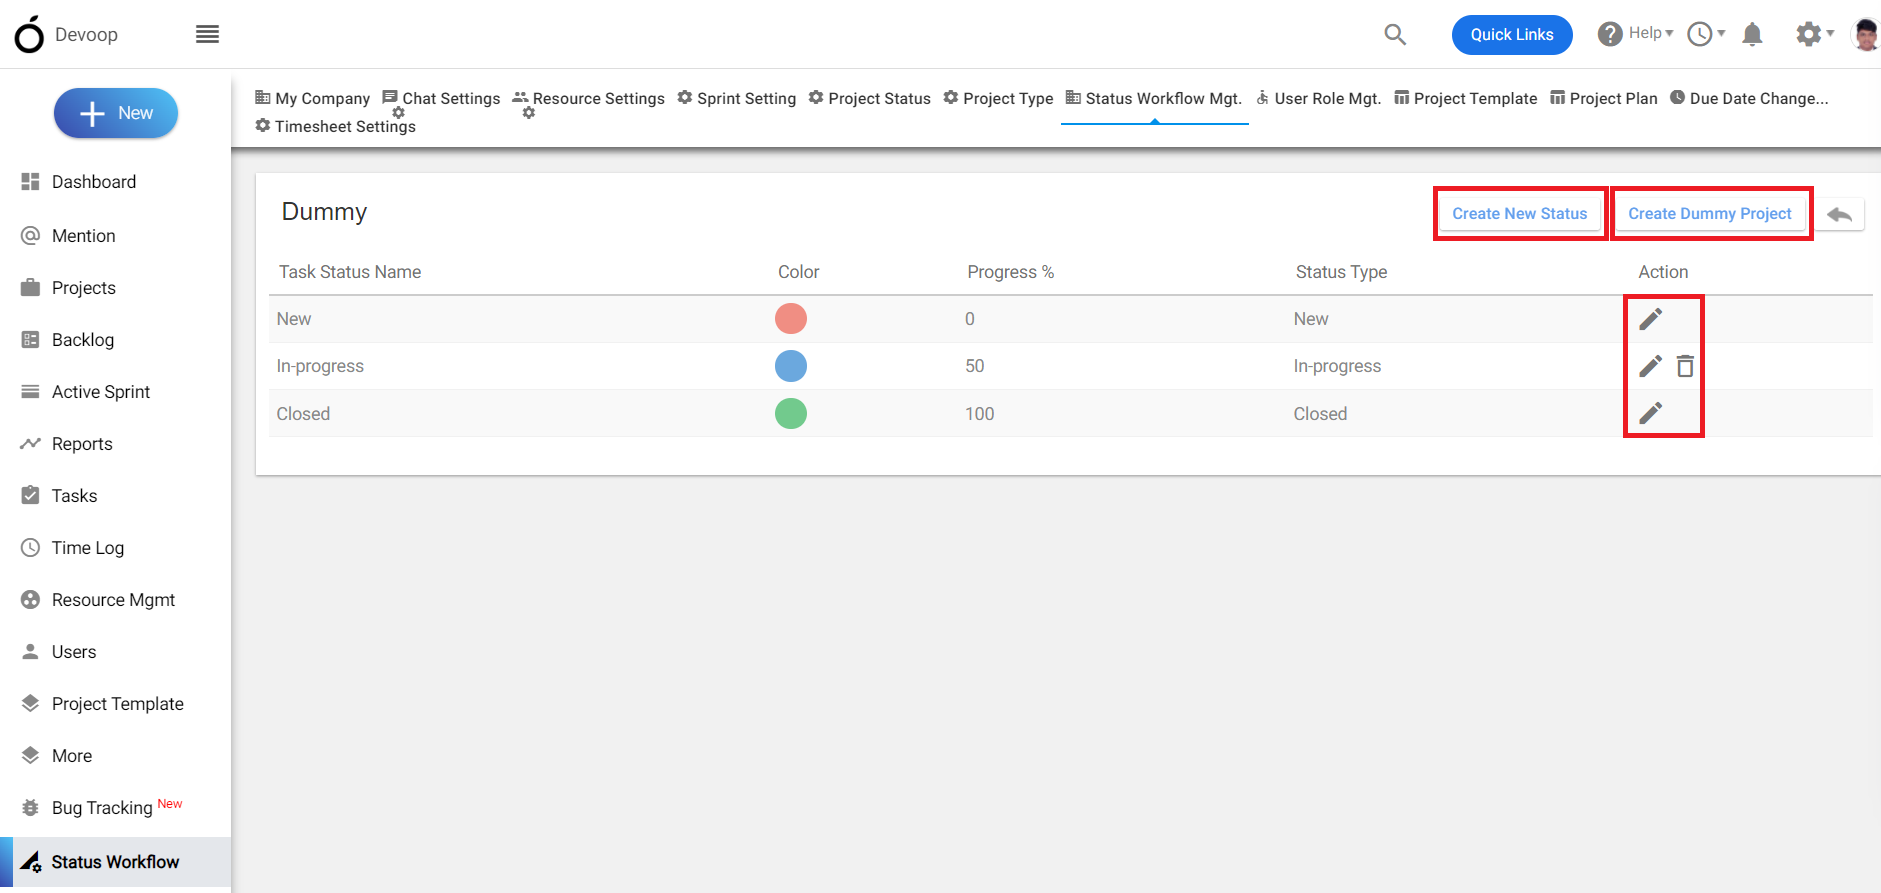
**(Image-4)**
6. You can create different customized levels for the status and define the completion percentage.
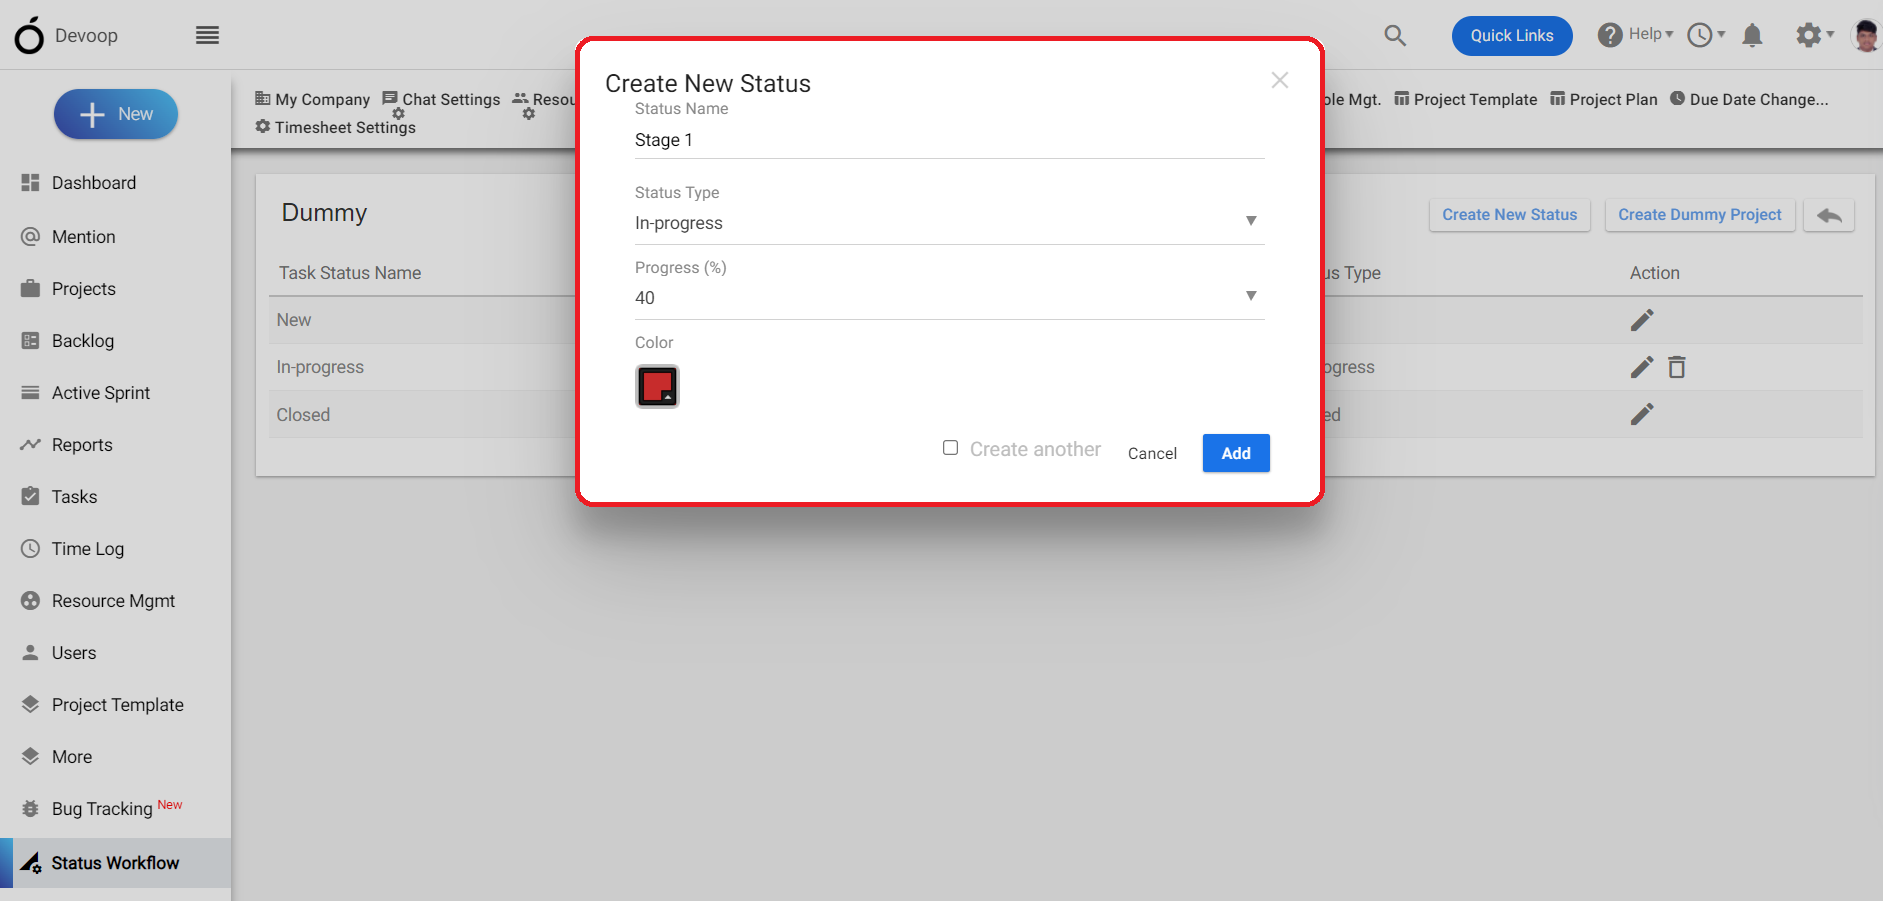
**(Image-5)**
7\. Click on “Project” from the left menu and Create a new project by clicking on the “+”.
8\. Fill the required data with selecting the project template as “Scrum” and Custom Status workflow that
we have created.
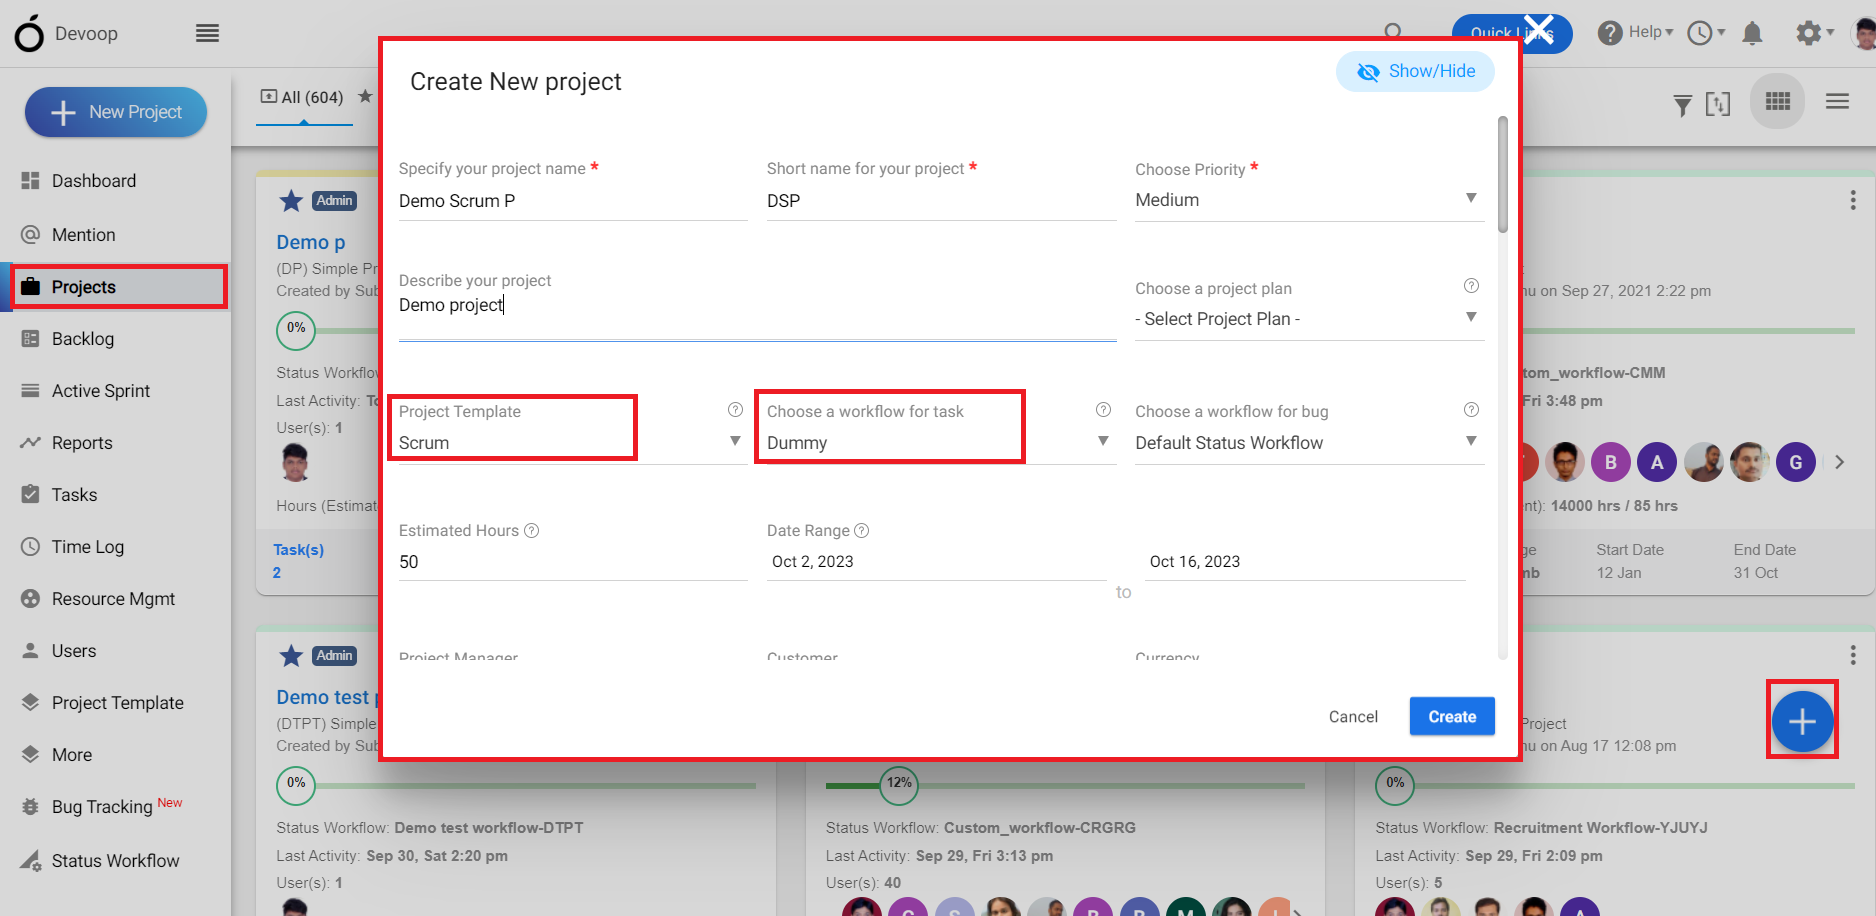
**(Image-6)**
9. The project has been created.
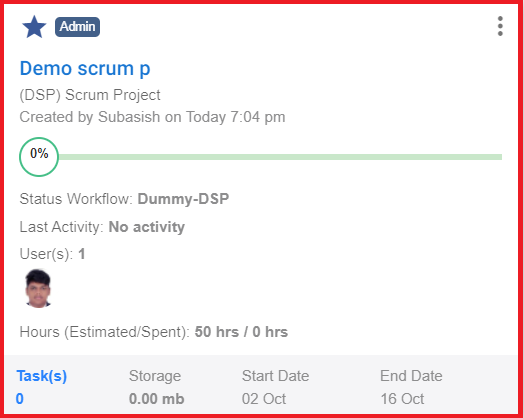
**(Image-7)**
10. This is the “backlog” page of the scrum project where you can add quick task.
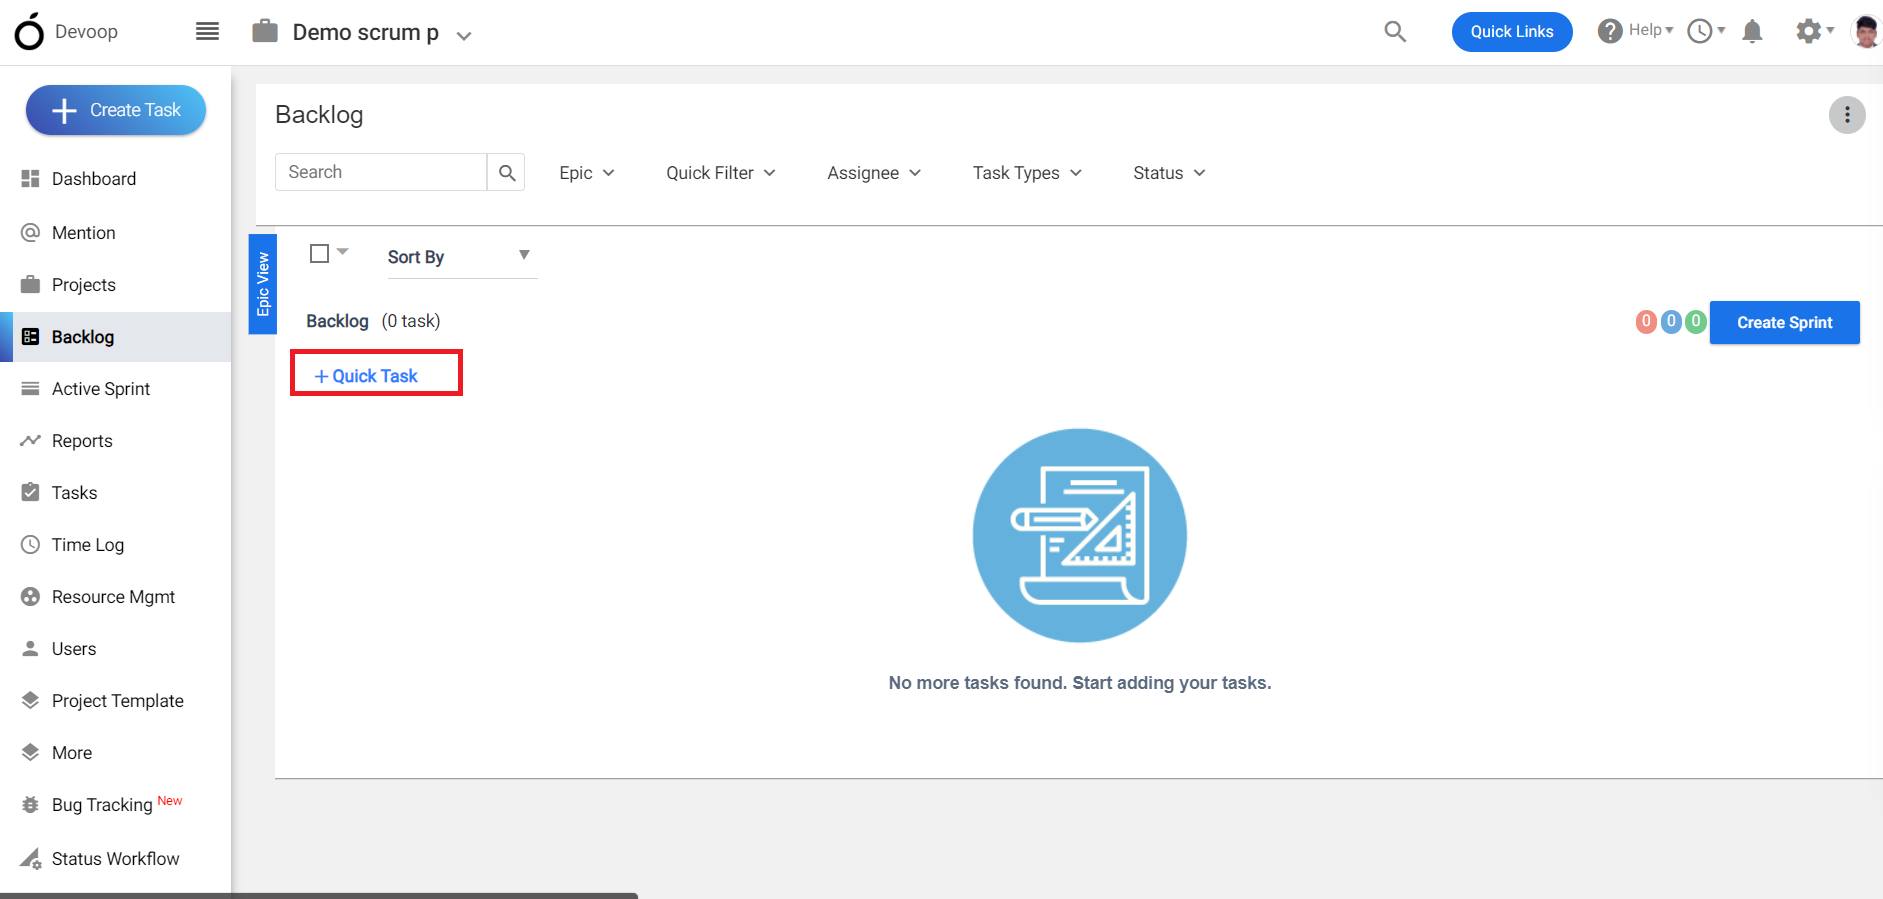
**(Image-8)**
11. Select a task from the back log to see the task details page.
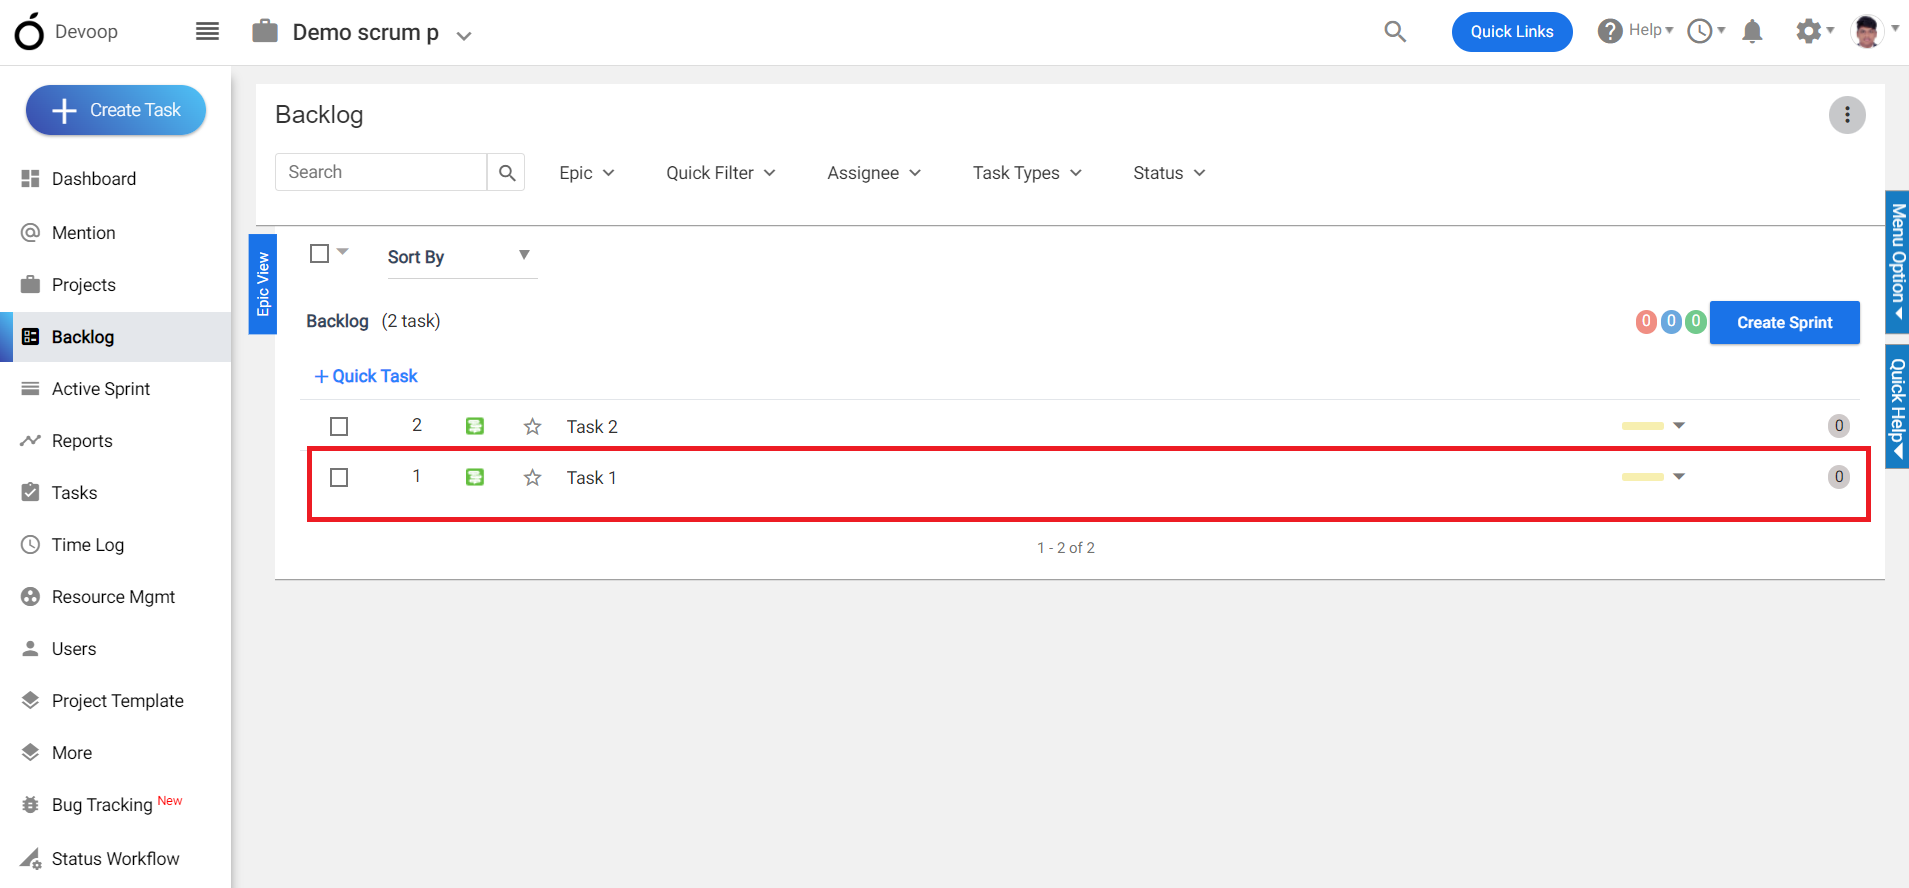
**(Image-9)**
12\. In the task details page click on the “status” and you can see the stages that we have added in the status
workflow.
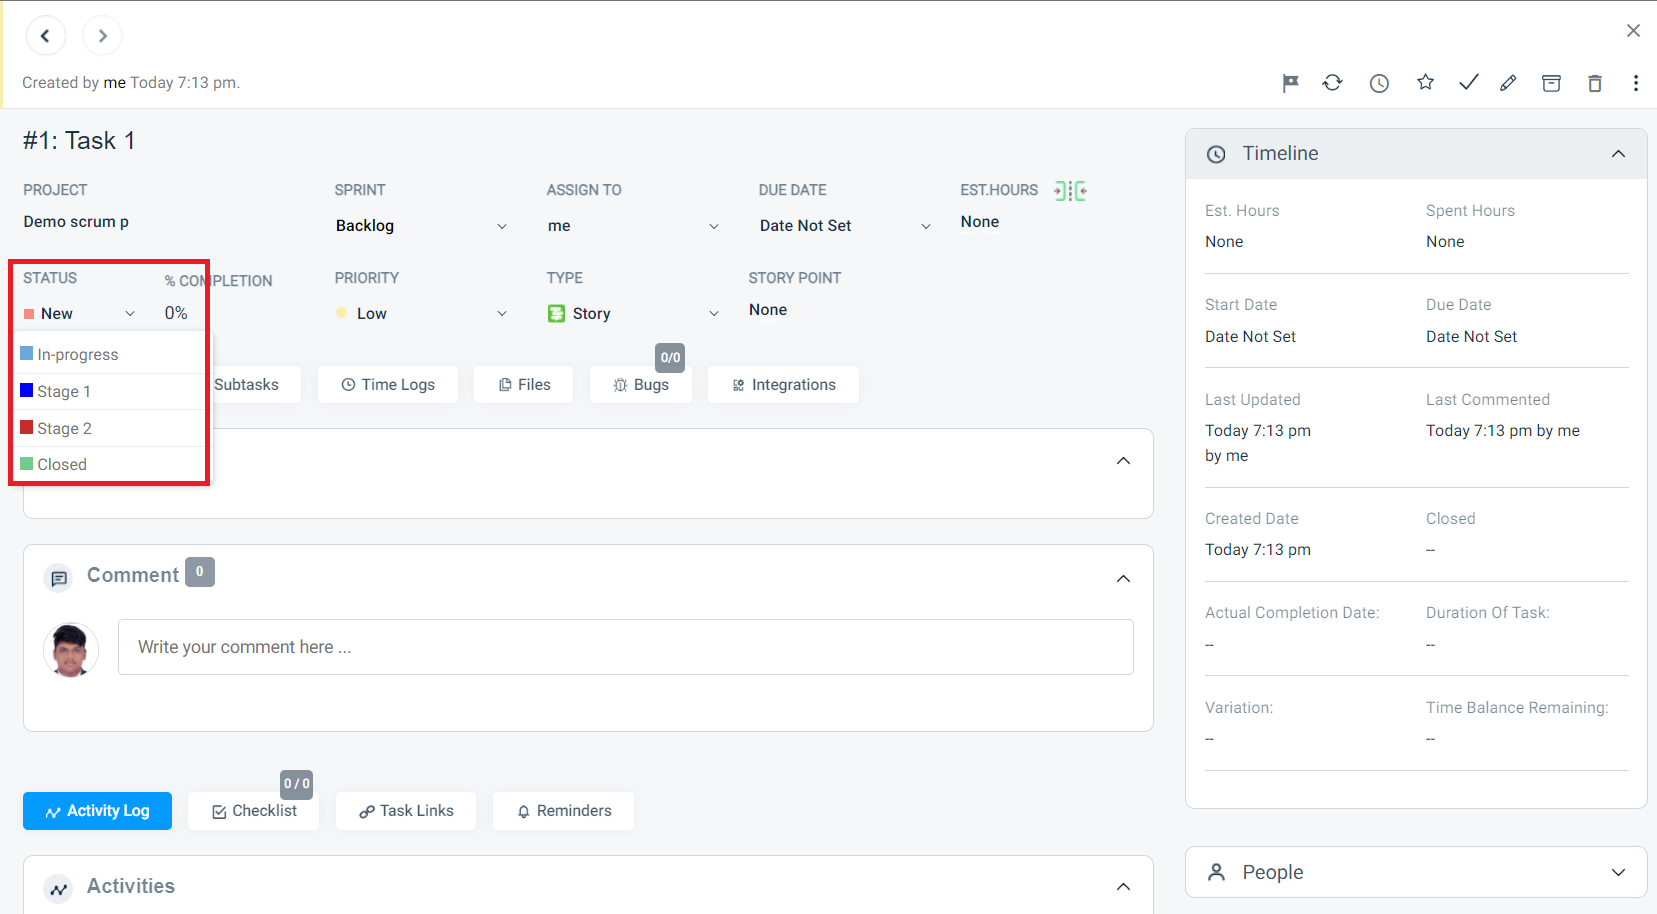
**(Image-10)**
13. After changing the status, the completion percentage also changes.
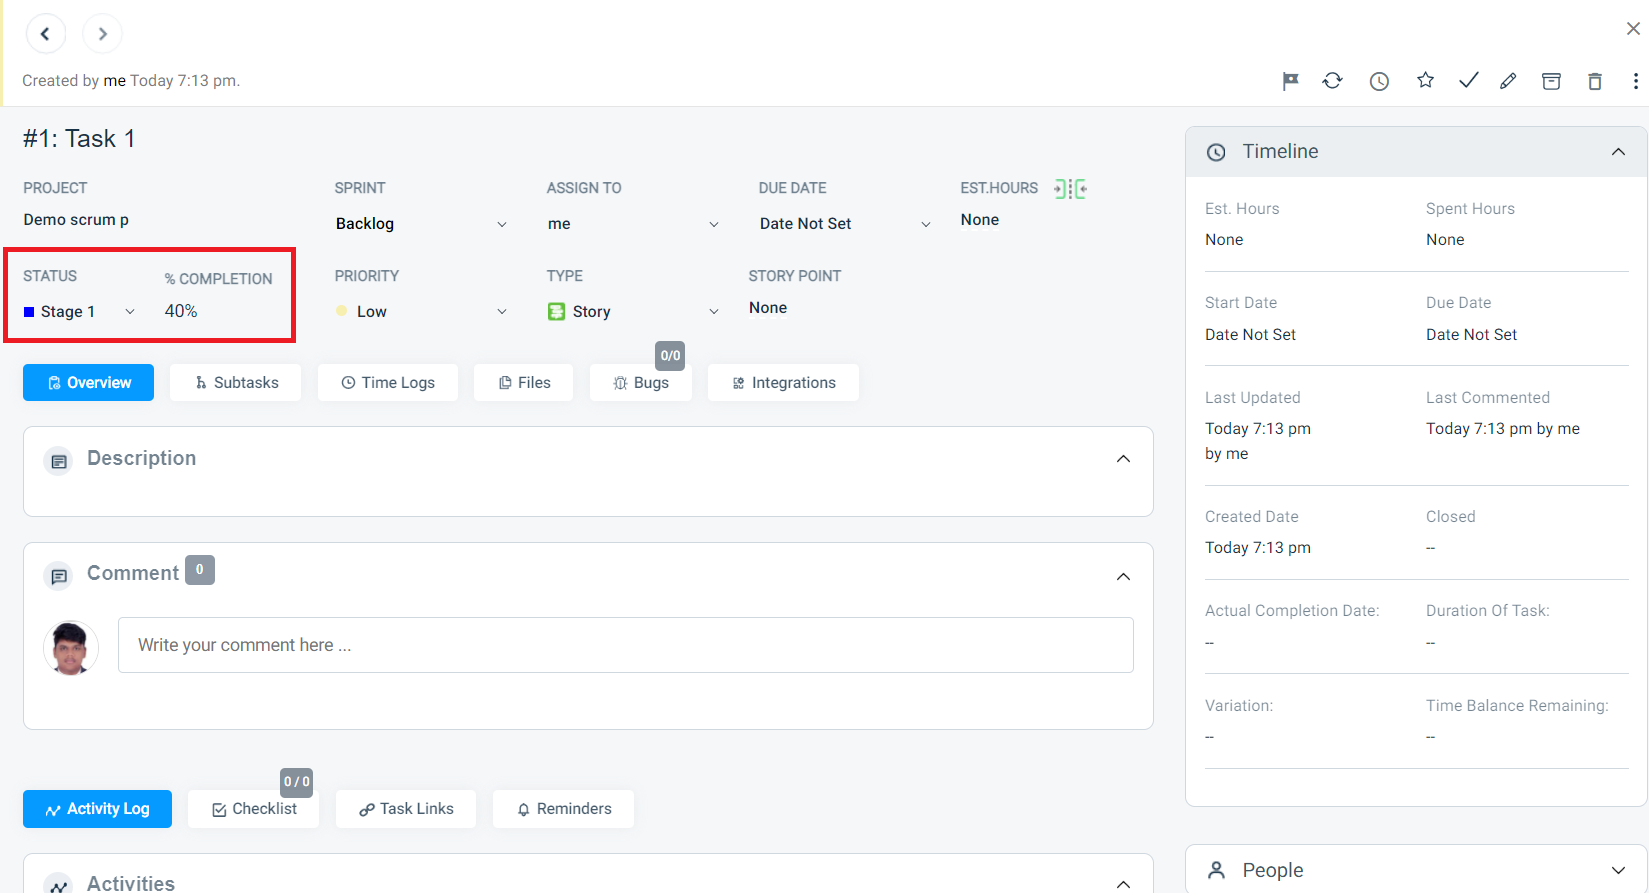
**(Image-11)**
# Is there a way to export bug data for reporting purposes?
> Find out how to export bug data in Orangescrum for effective reporting and analysis to enhance your project management.
> For the complete documentation index, see [llms.txt](https://helpdesk.orangescrum.com/llms.txt).
Source: https://helpdesk.orangescrum.com/is-there-a-way-to-export-bug-data-for-reporting-purposes
---
1\. Login to orangescrum.
2\. Select the project.
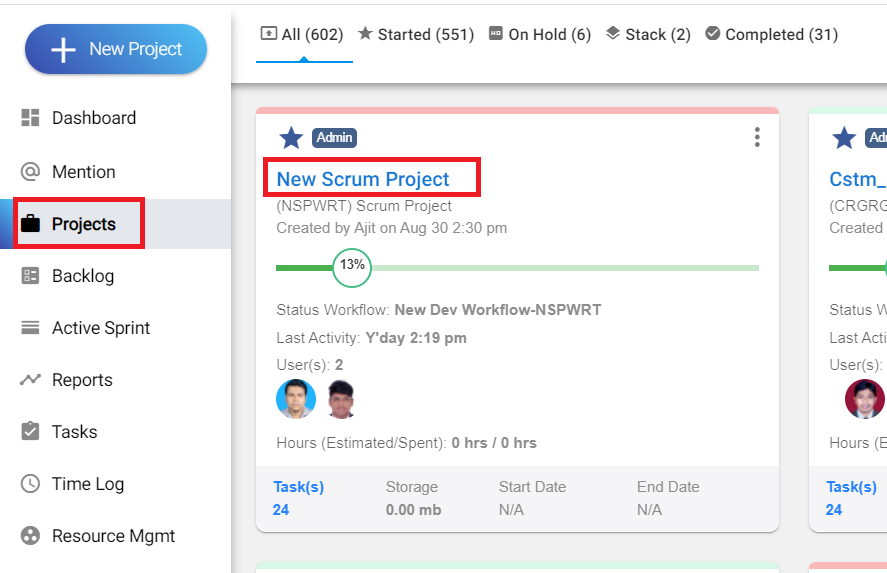
**(Image-1)**
3\. Click on the bug tracking module and click on “bug list”.
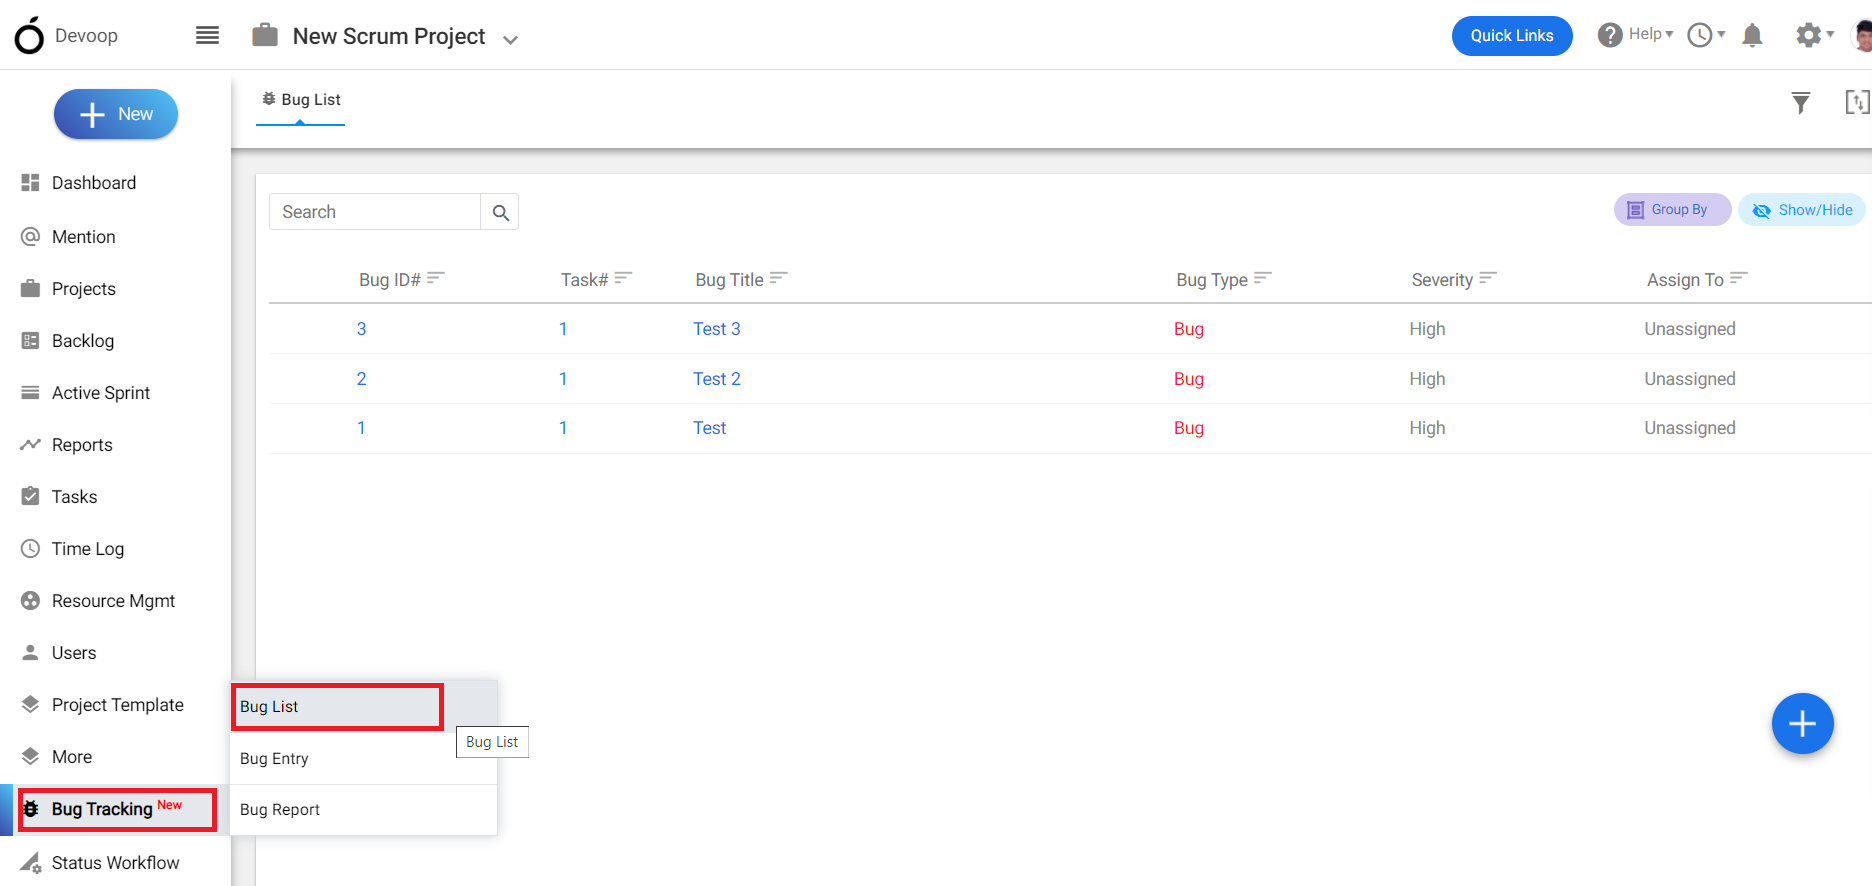
**(Image-2)**
4\. On the top right corner you can export the bug data for reporting purposes.
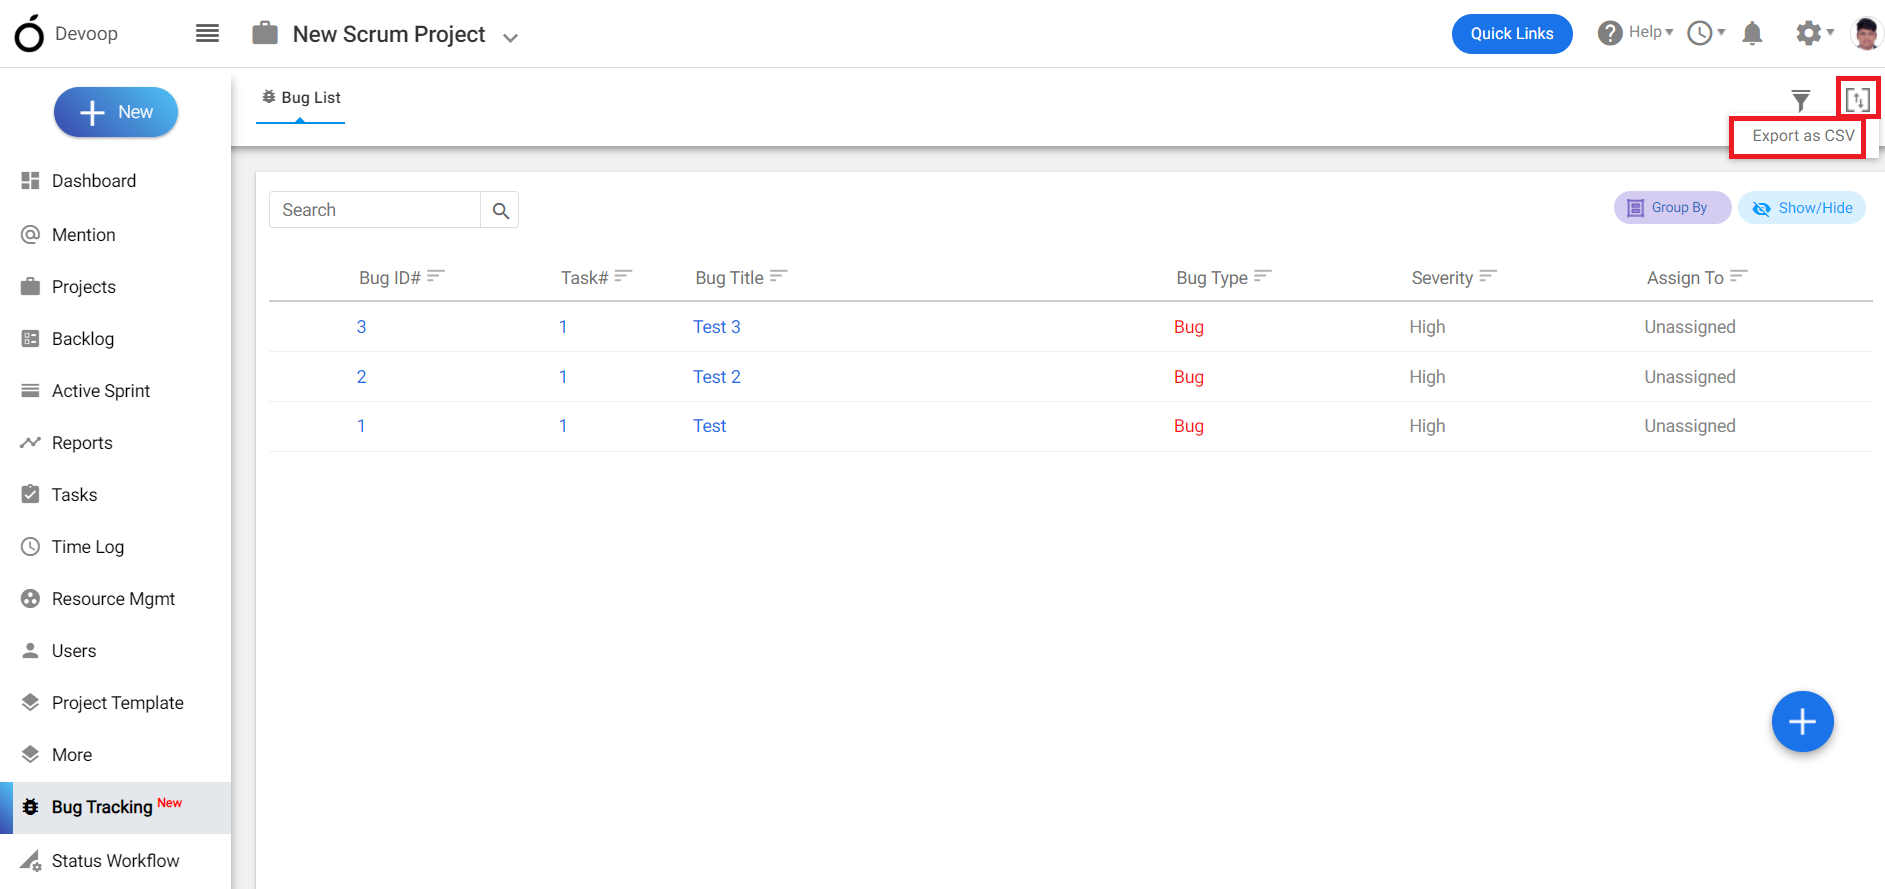
**(Image-3)**
# Is it possible to add notes or description to a bug’s thread?
> Learn how to add notes or descriptions to a bug's thread in Orangescrum for better tracking and communication within your project.
> For the complete documentation index, see [llms.txt](https://helpdesk.orangescrum.com/llms.txt).
Source: https://helpdesk.orangescrum.com/is-it-possible-to-add-notes-or-description-to-a-bugs-thread
---
1\. Login to orangescrum.
2\. Select the project.
**(Image-1)**
3\. Click on the bug tracking module and click on “bug list”.
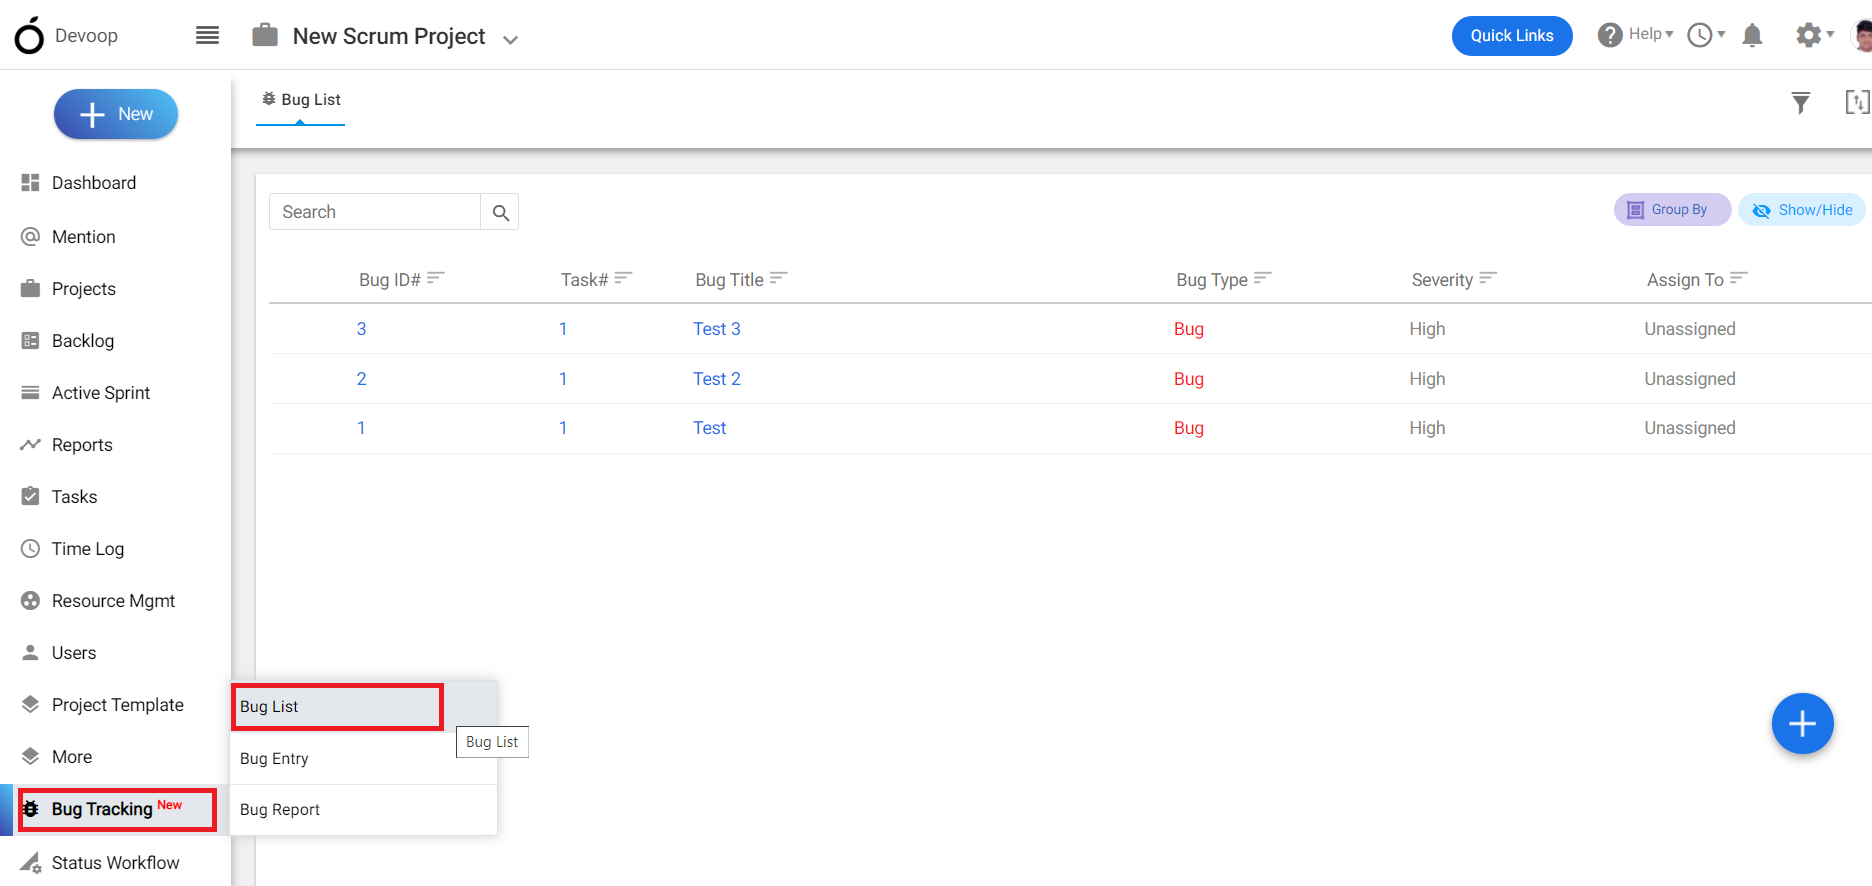
**(Image-2)**
4\. Select the bug from the “bug list” page .
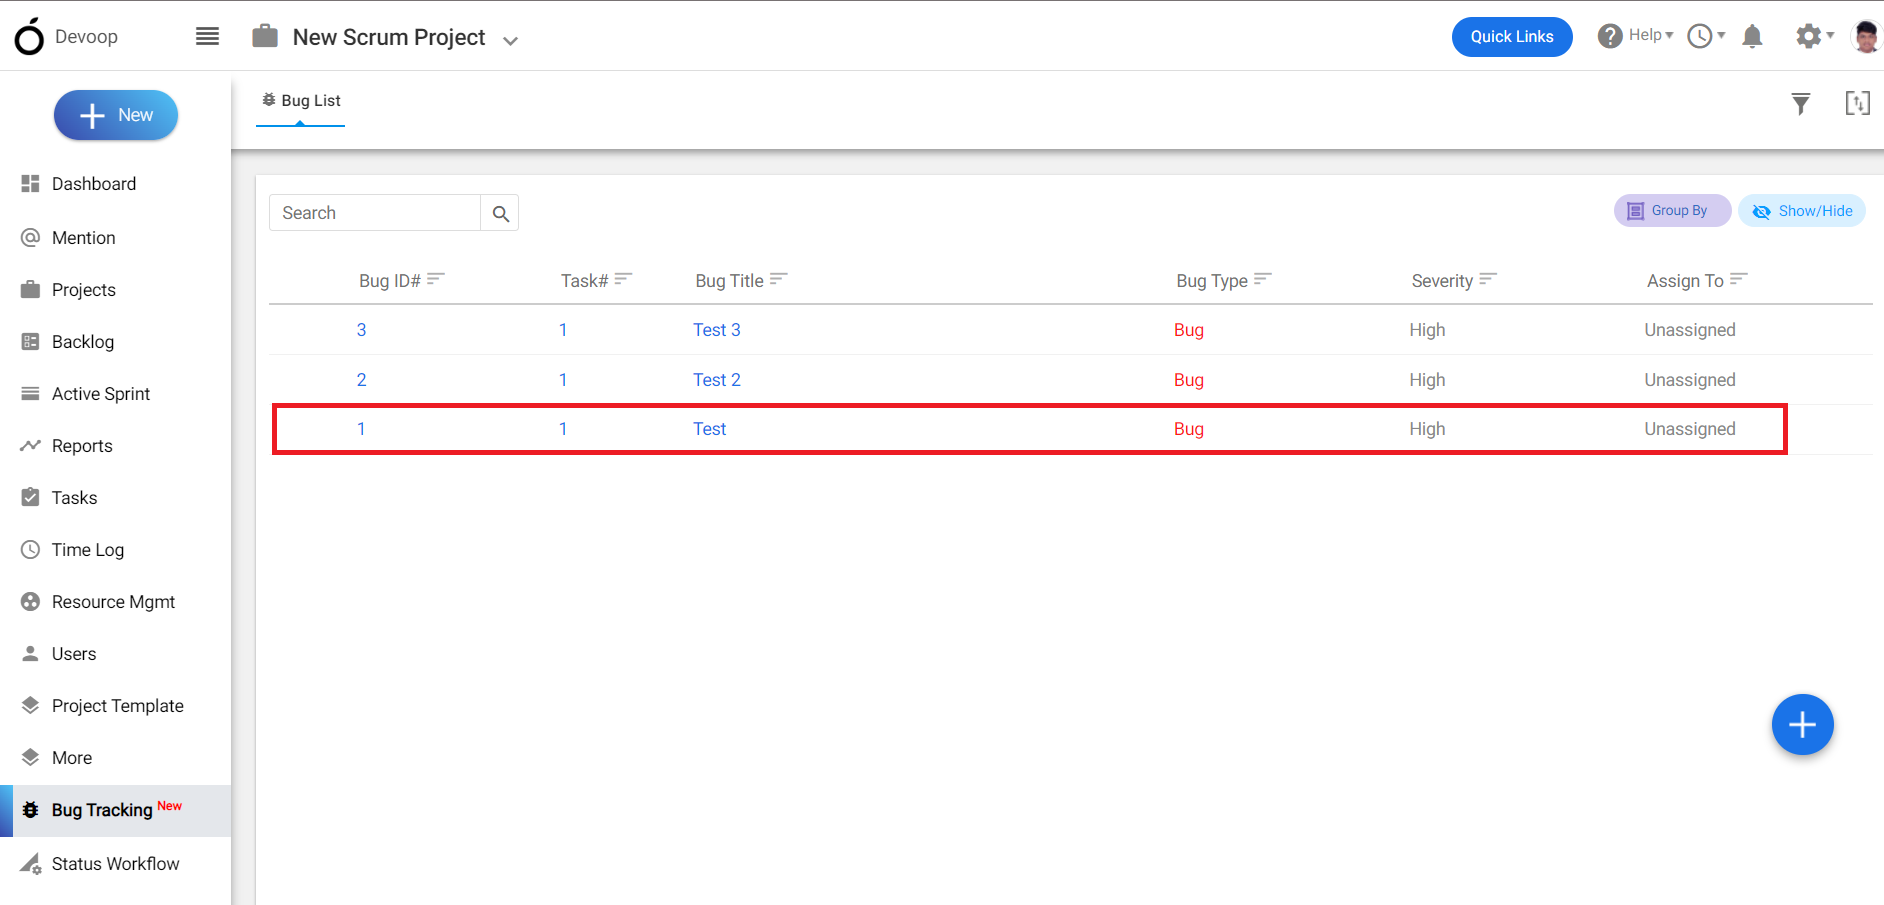
**(Image-3)**
5\. In the bug details page click on edit.
6\. On the bottom of the page you can add “ notes” or “description”
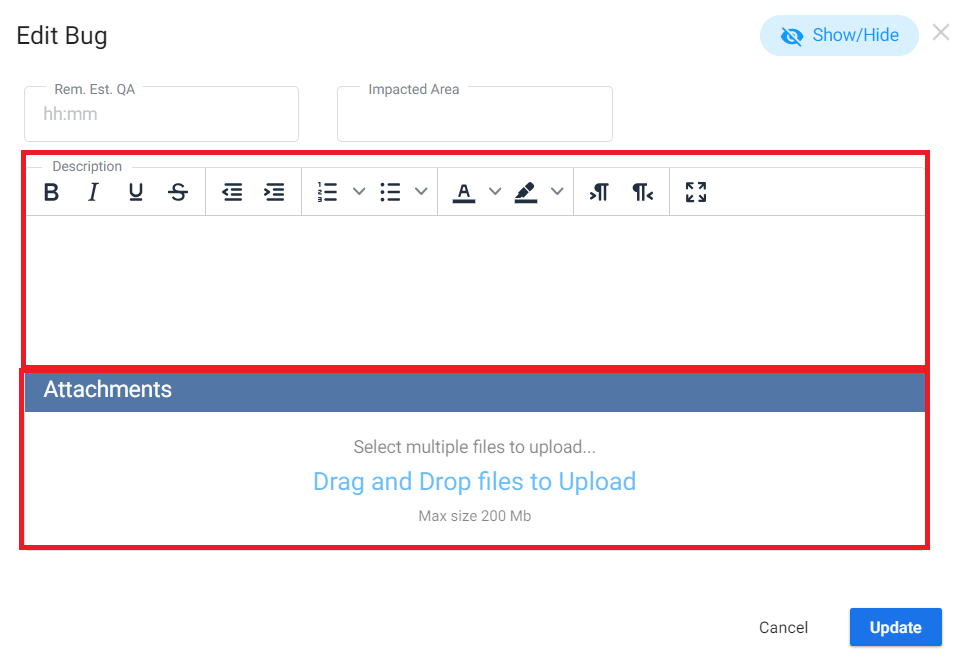
**(Image-4)**
# How do I receive notifications?
> Learn how to set up and manage notifications in Orangescrum to stay updated on project activities and enhance team collaboration.
> For the complete documentation index, see [llms.txt](https://helpdesk.orangescrum.com/llms.txt).
Source: https://helpdesk.orangescrum.com/how-do-i-receive-notifications
---
To receive notifications in Orangescrum, you typically need to set up your notification preferences within the application.
Follow the steps below to enable notification:
1.Login to Orangescrum.
2.Click on “setting” and go to “personal setting”.
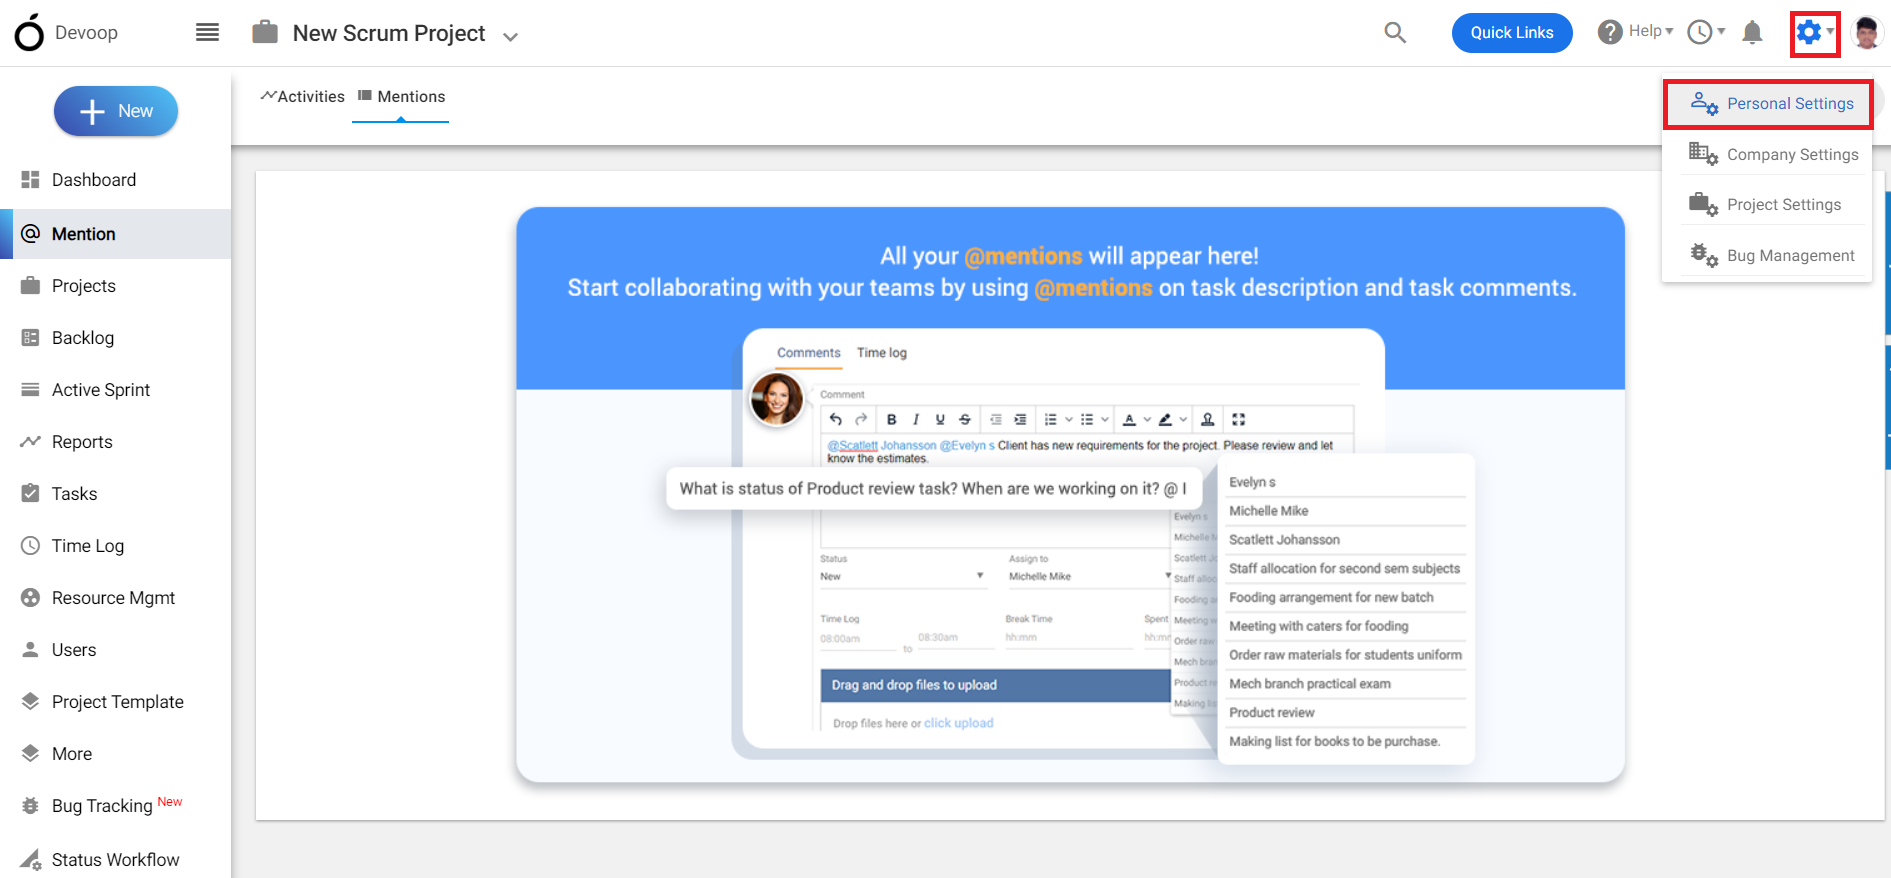
**
(Image-1)**
3.Click on Notification.
4.Mark “yes” to all the options in “send me email notification” and “Show me notification”.
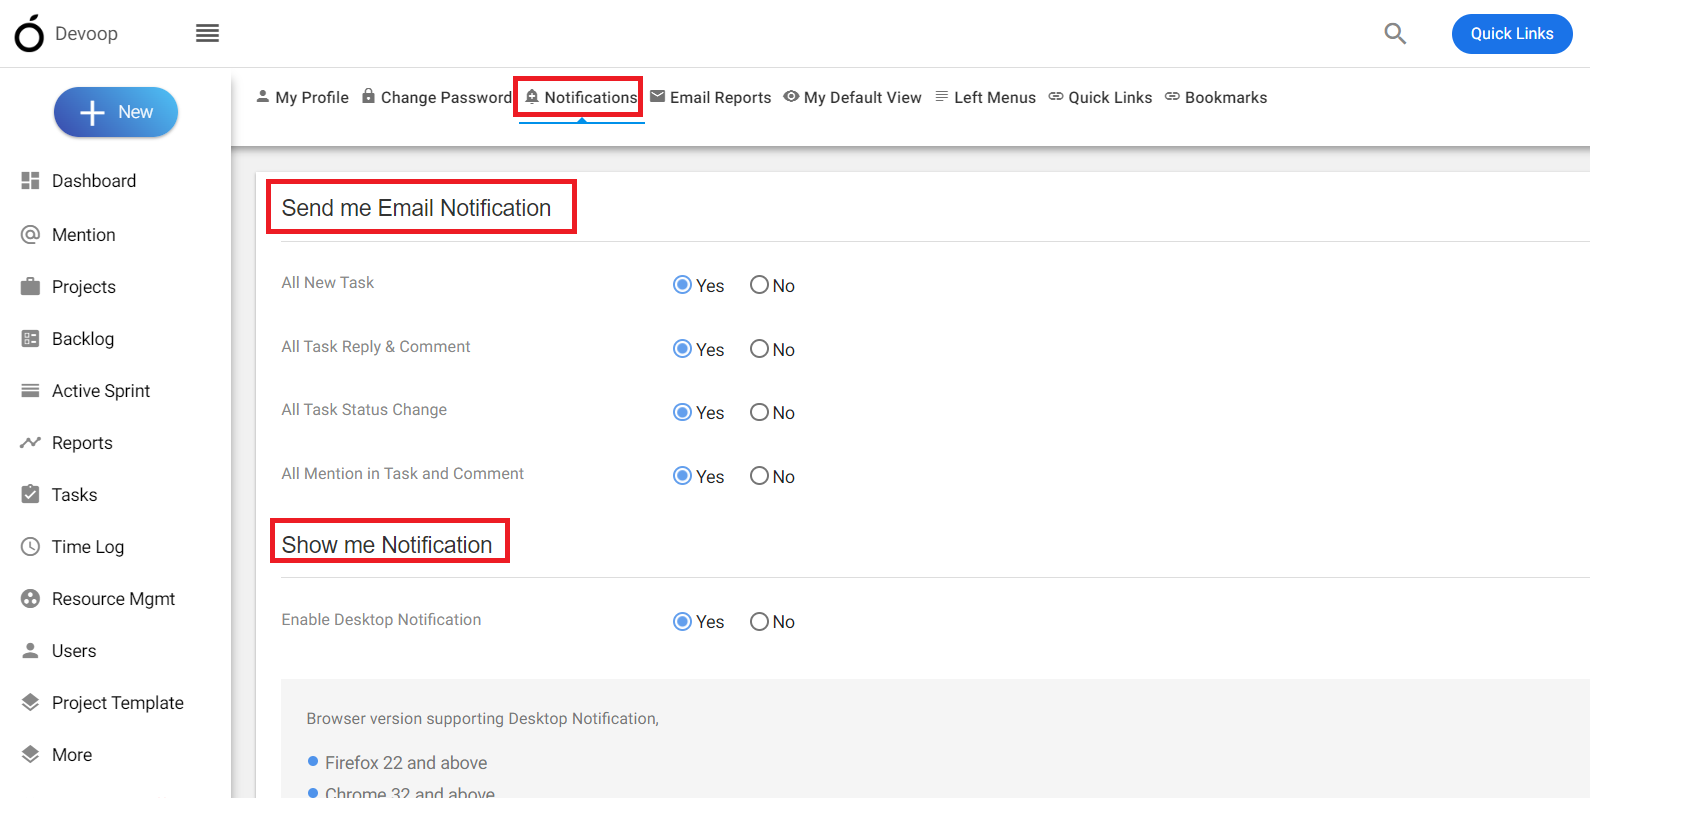
**(Image-2)**
# Can I search for specific bugs or filter them based on criteria?
> Learn to search and filter specific bugs in Orangescrum. Easily manage and track issues with these powerful filtering options.
> For the complete documentation index, see [llms.txt](https://helpdesk.orangescrum.com/llms.txt).
Source: https://helpdesk.orangescrum.com/can-i-search-for-specific-bugs-or-filter-them-based-on-criteria
---
You can search for specific bugs and filter them based on various criteria. Follow the steps below:
1.Log in to orangescrum.
2.Click on the bug tracking, then click on the bug entry.
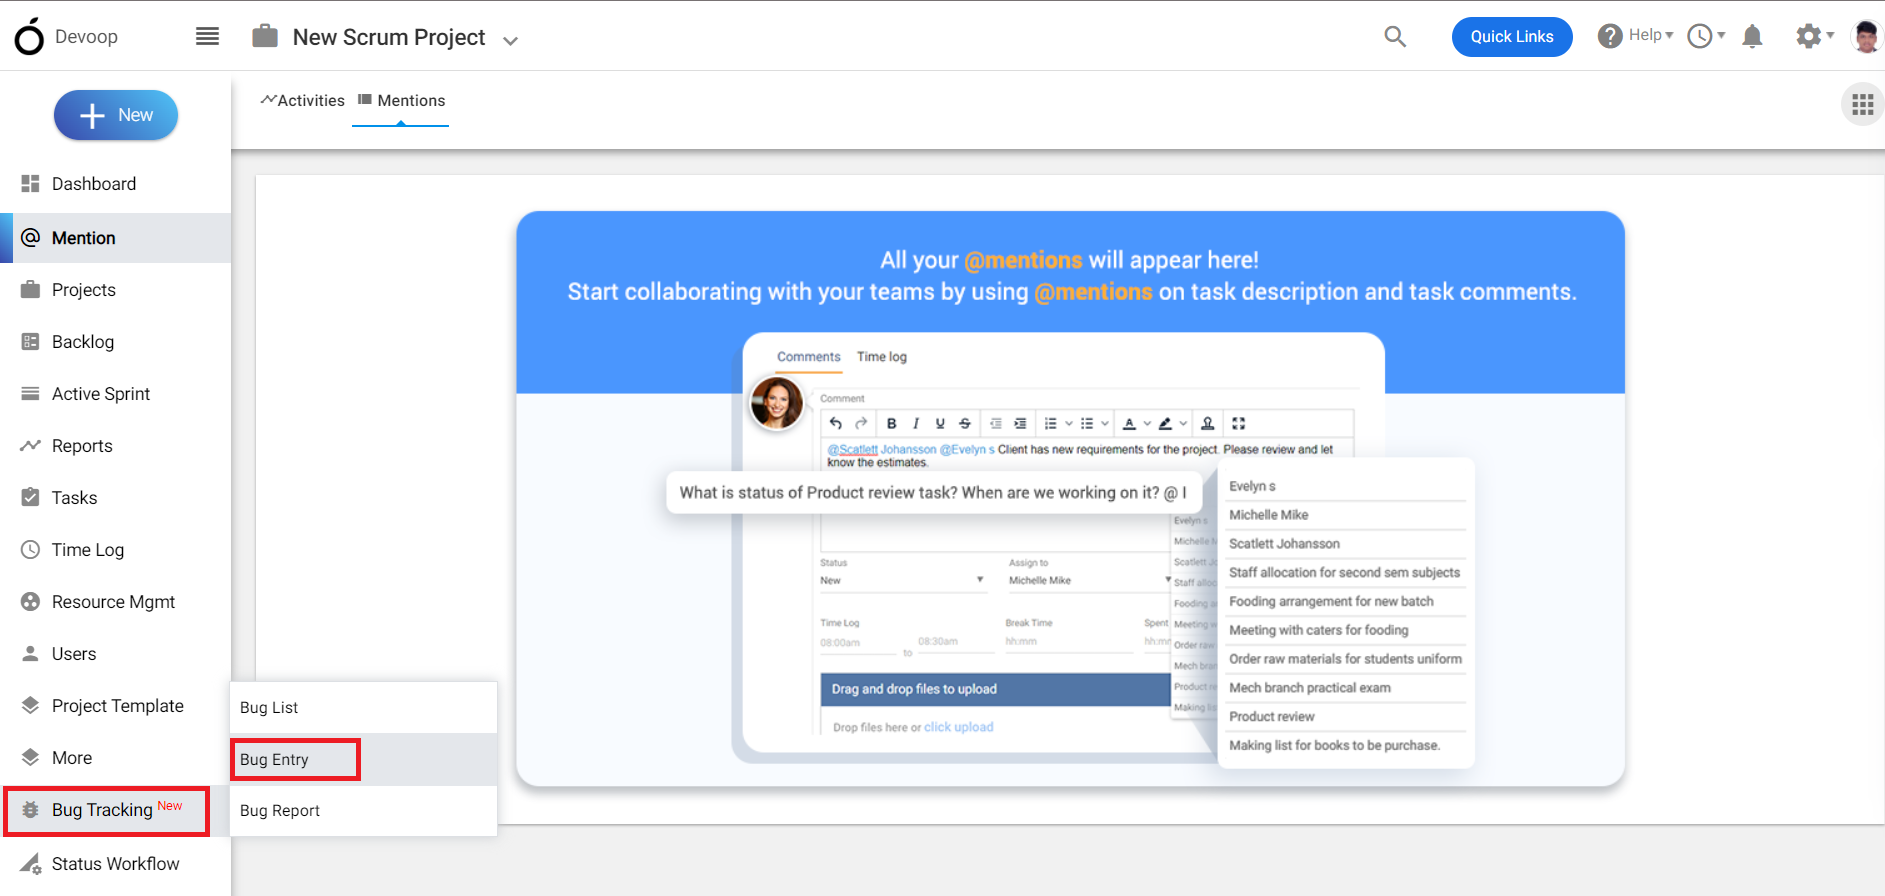
**(Image-1)**
3.Click on the search bar at the top of the bug list page or use the filter option for searching bugs.
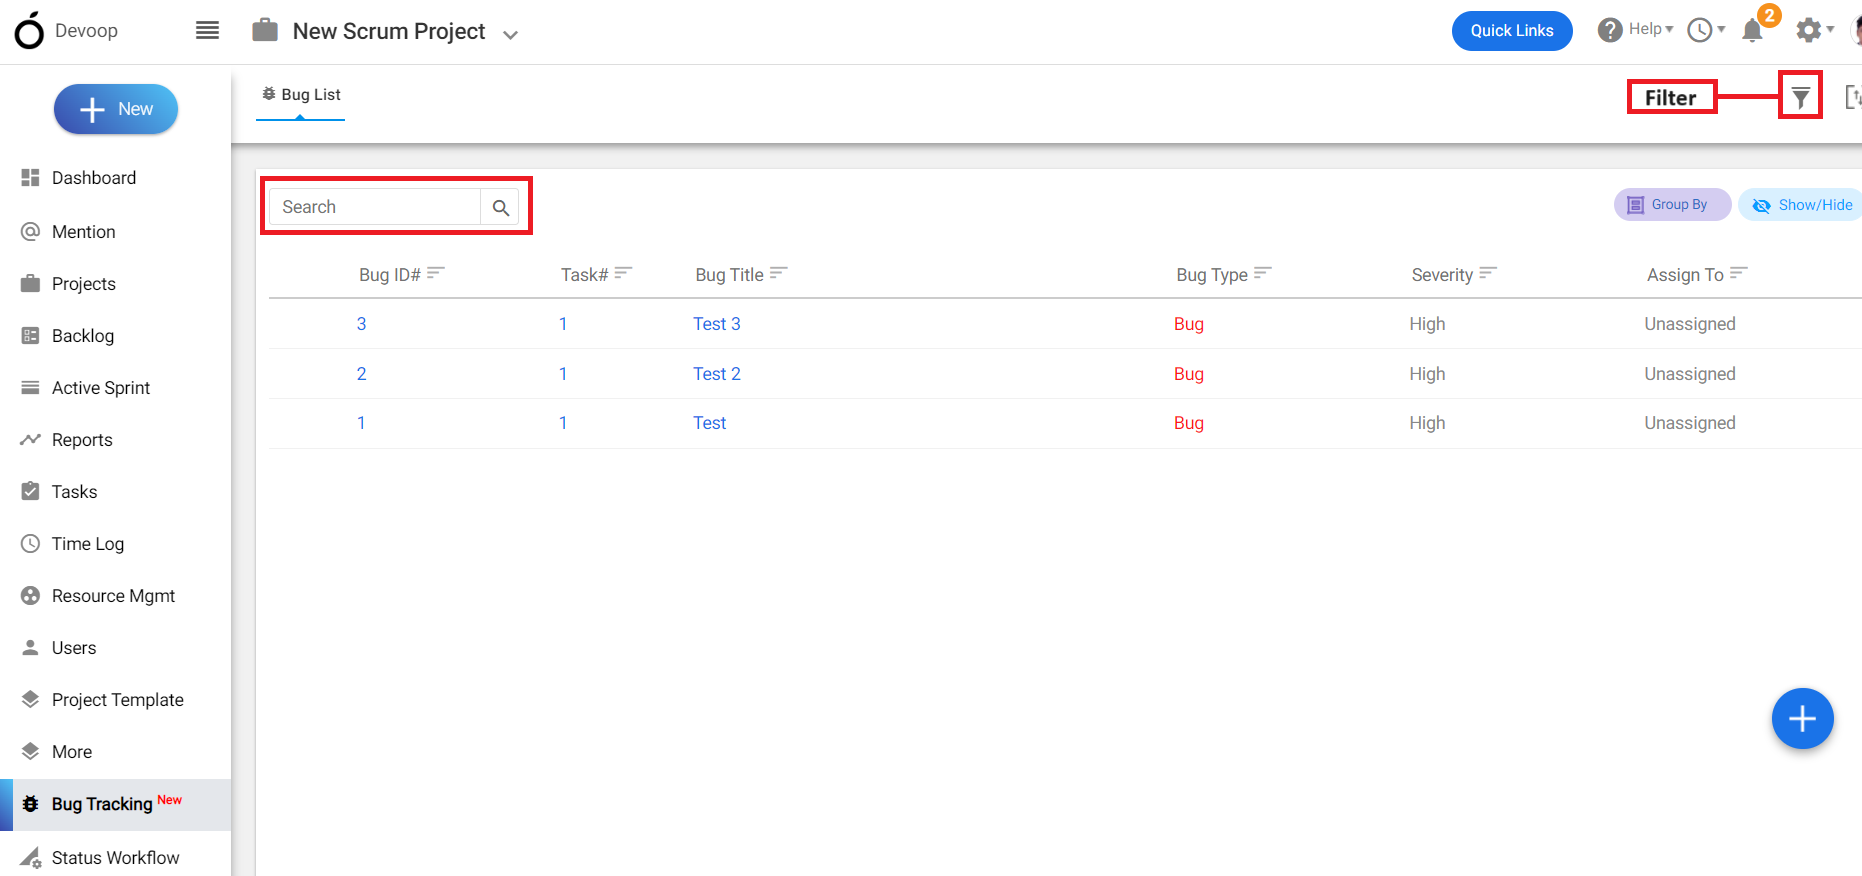
**(Image-2)**
4.You can filter your bug by task type, issue type, severity etc. as shown in the filter section.
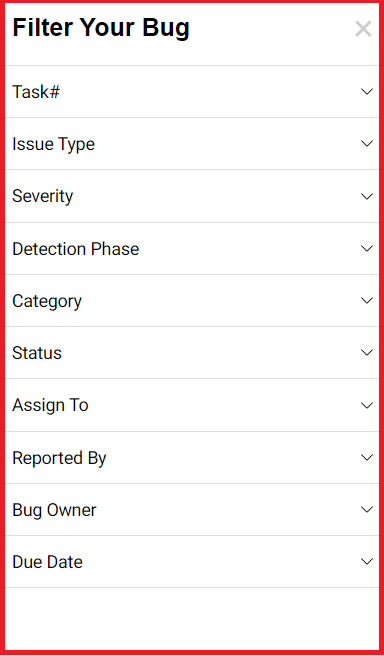
**(Image-3)**
# Can I attach files or screenshots to bugs in Orangescrum?
> Attach files and screenshots to bugs in Orangescrum to improve reporting and streamline issue resolution with these simple steps.
> For the complete documentation index, see [llms.txt](https://helpdesk.orangescrum.com/llms.txt).
Source: https://helpdesk.orangescrum.com/can-i-attach-files-or-screenshots-to-bugs-in-orangescrum
---
Orangescrum has features of integrations that allow you to attach files or screenshots to bug reports.
1\. Log in to Orangescrum.
2.Click on the bug tracking, then click on the bug entry.
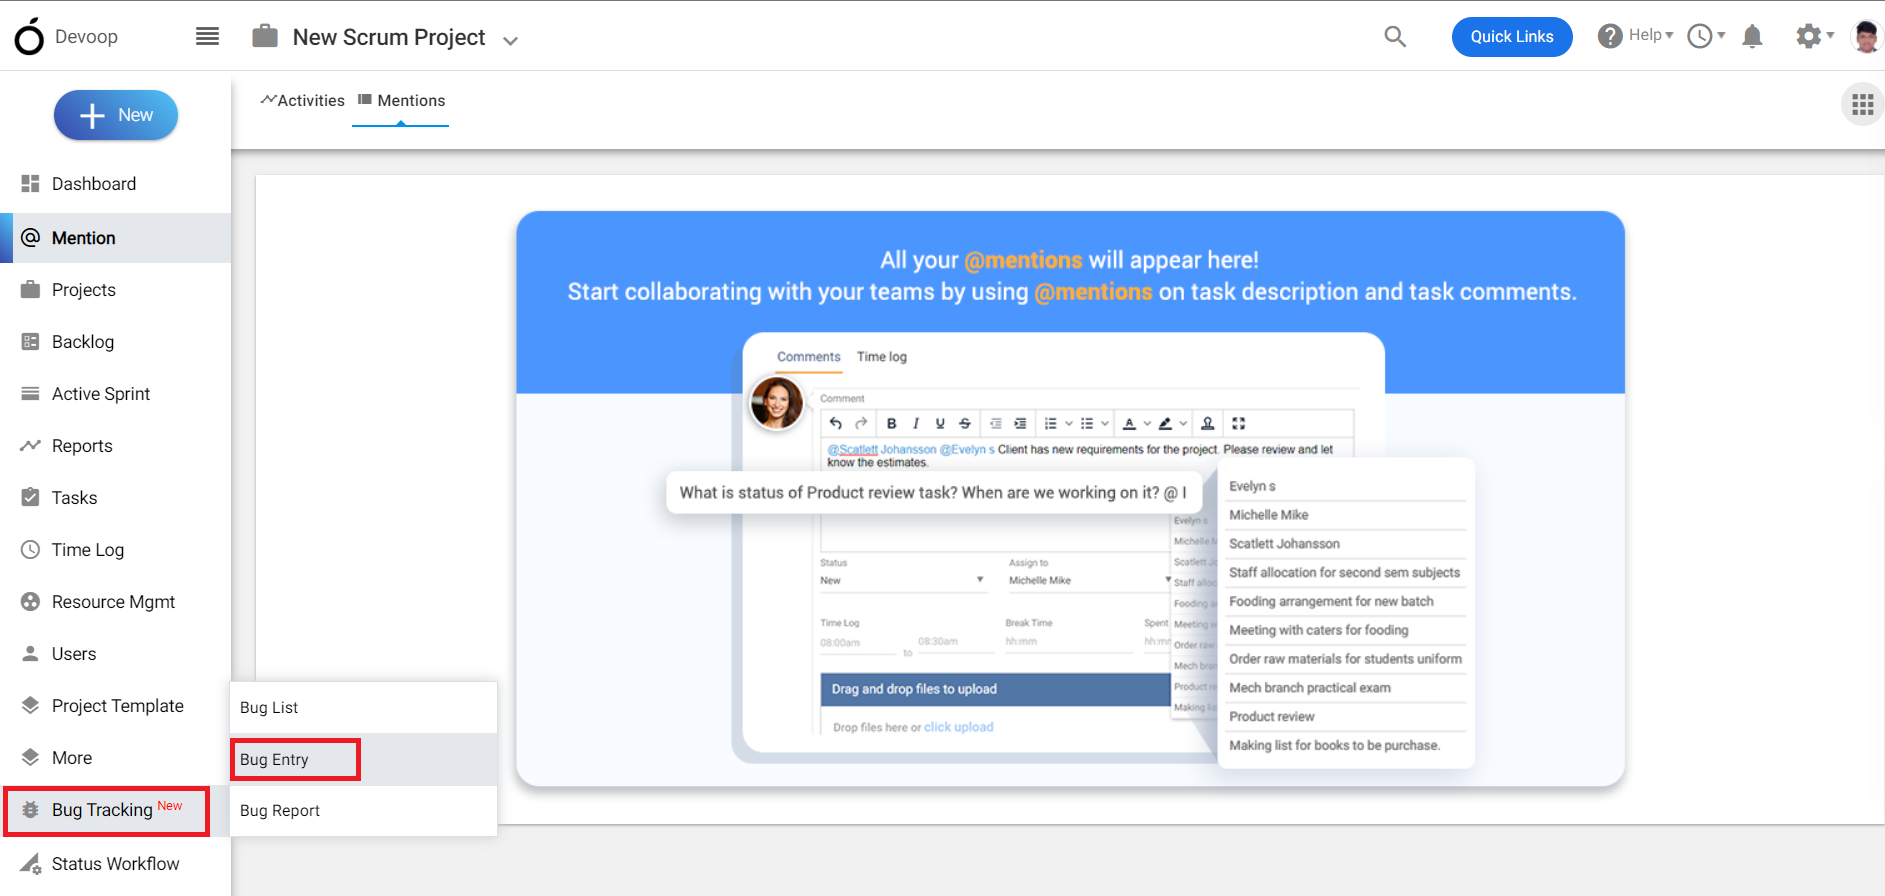
**(Image-1)**
3\. A bug creation page will appear.
4.Fill the required details in the bug creation page.
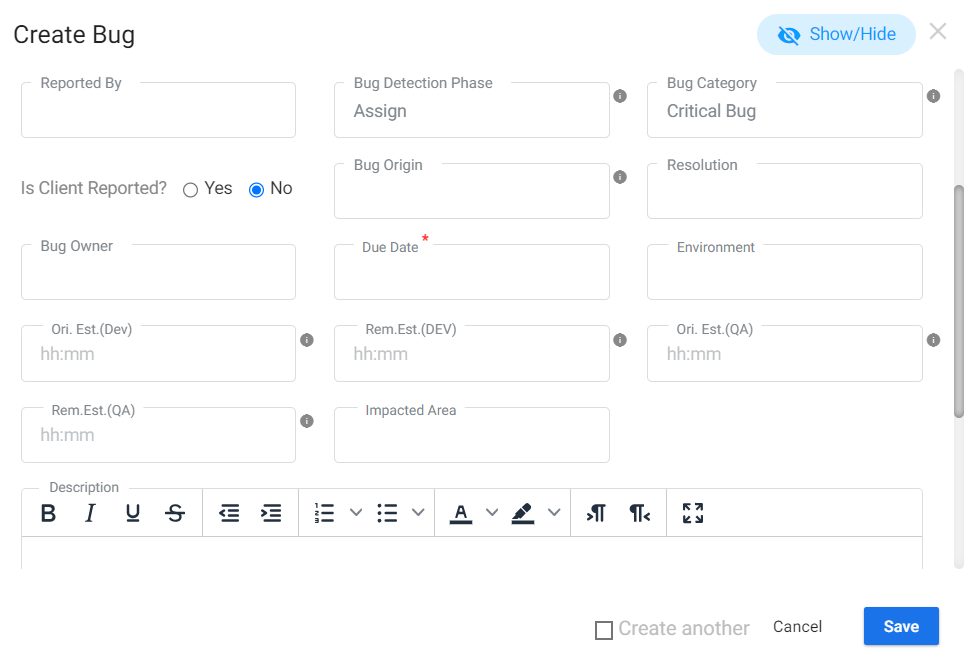**(Image-2)**
5\. On the bottom Of the page, click on attachment and attach any file screenshot or photo.
6.Click on save, a new bug with attached file or picture will be created.
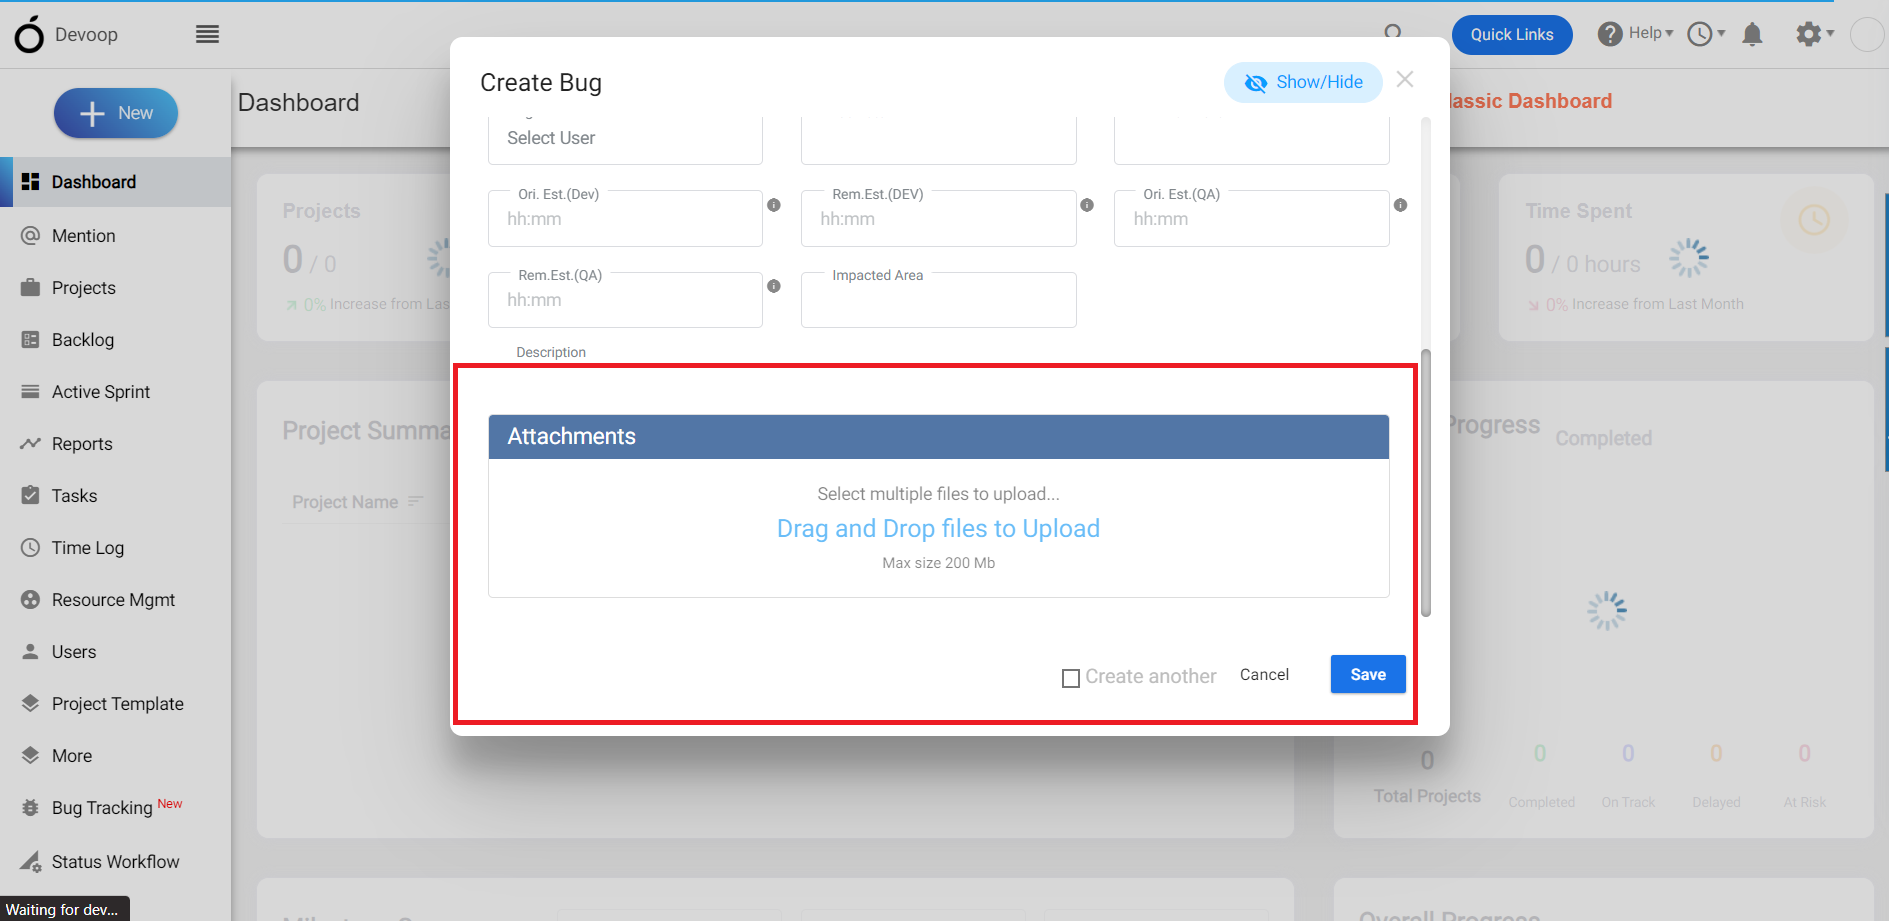
**(Image-3)**
# How do I report a new bug using the Bug Tracking Module?
> Report a new bug using Orangescrum's bug tracking module to streamline reporting and enhance issue management with these simple steps.
> For the complete documentation index, see [llms.txt](https://helpdesk.orangescrum.com/llms.txt).
Source: https://helpdesk.orangescrum.com/how-do-i-report-a-new-bug-using-the-bug-tracking-module
---
Sometimes, end users or customers who are using the software may encounter bugs. At that time they can enter a bug by following the steps below.
1\. Log in to the orangescrum account.
2\. Click on the bug tracking, then click on the bug entry. (Refer Image-1)
**(Image-1)**
3\. A bug creation page will appear.
4\. Fill the required details in the bug creation page.
5\. Select the “Project” under which you want to enter the bug.
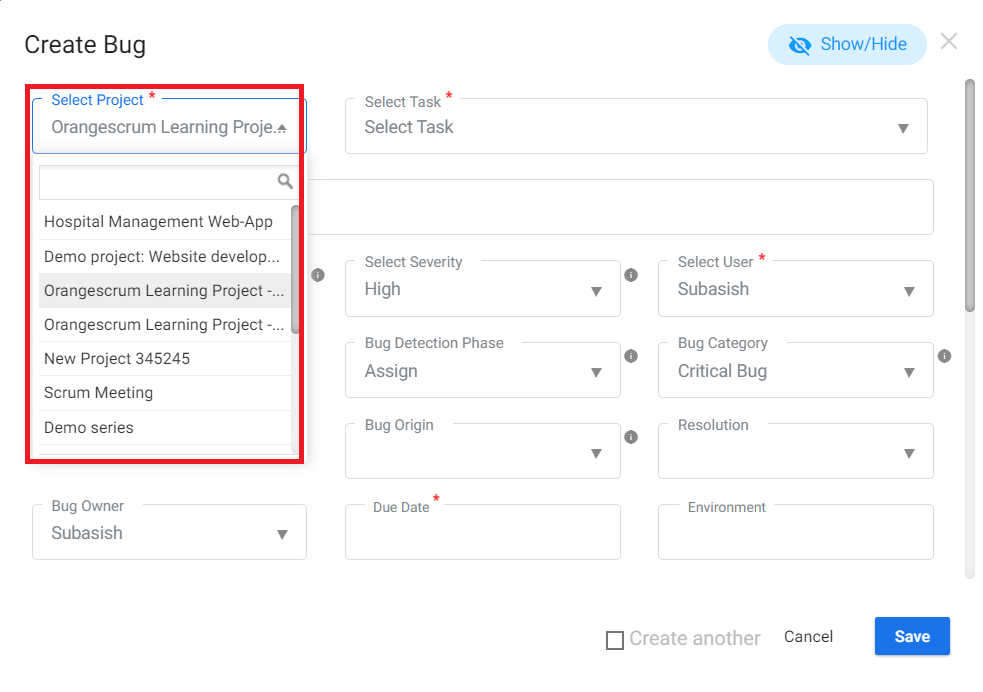
**(Image-2)**
6.Select the “task” under which you want to enter the bug.
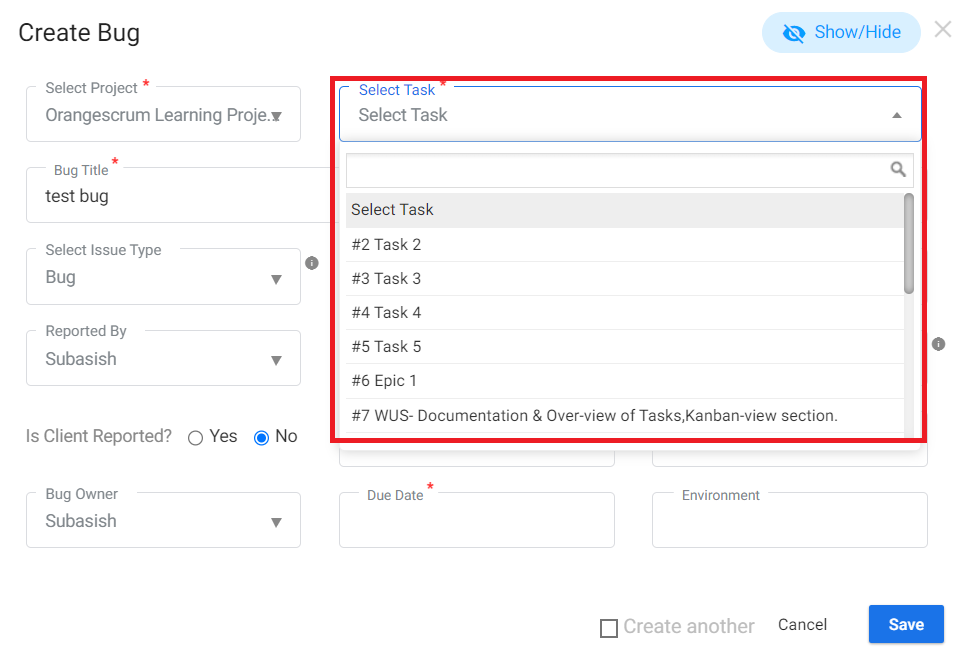**(Image-3)**
7.Select the “severity” of the bug and then select the “User”.
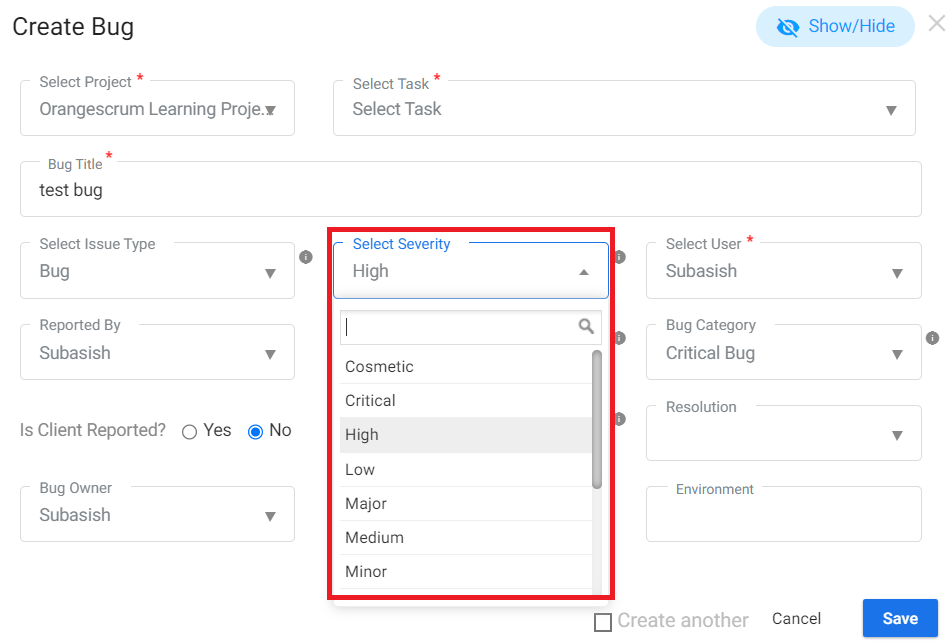**(Image-4)**
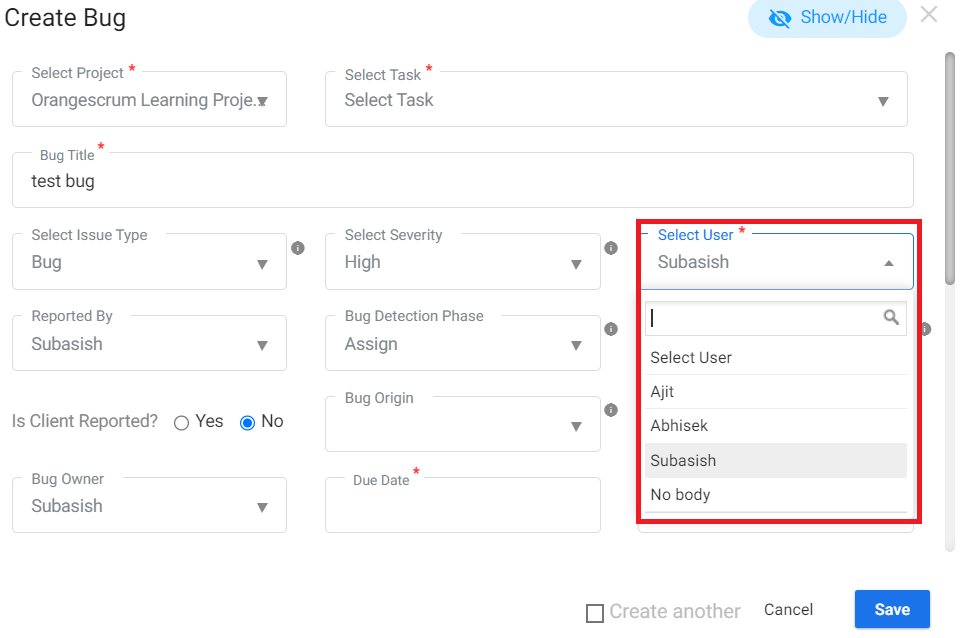**(Image-5)
**
8.Select the Category of the bug, due date and click on save.
9\. A new bug will be created and will be shown in the bug list page.
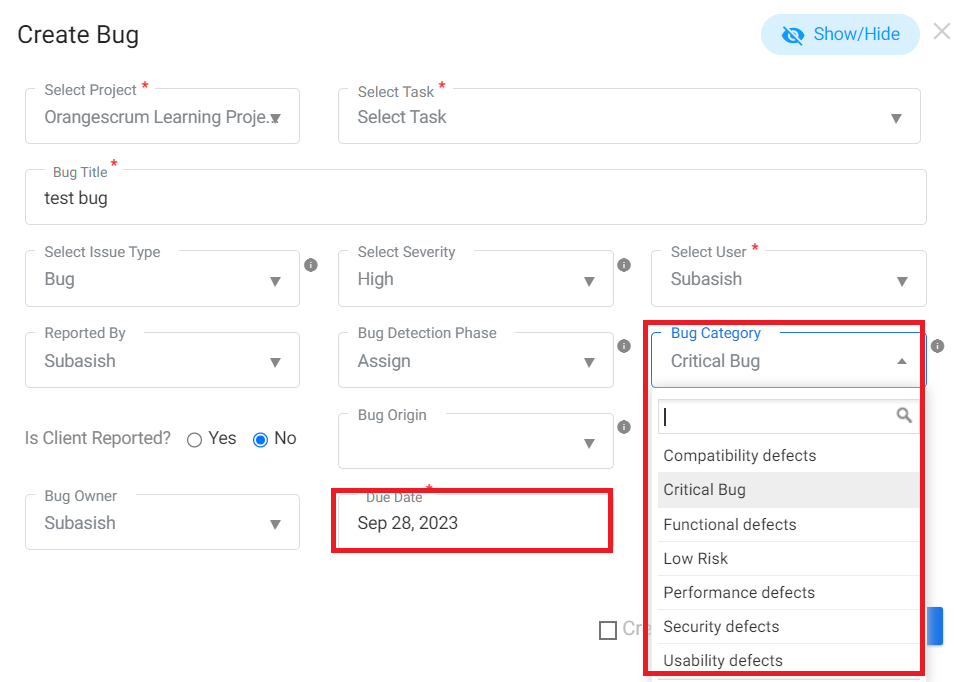**(Image-6)**
# What is the Bug Tracking Module used for?
> Understand the role of the bug tracking module in Orangescrum. Learn how it helps efficiently manage and resolve bugs within your projects.
> For the complete documentation index, see [llms.txt](https://helpdesk.orangescrum.com/llms.txt).
Source: https://helpdesk.orangescrum.com/what-is-the-bug-tracking-module-used-for
---
Bug tracking module is used for tracking and managing bugs. This module allows users to log and track software or application bugs and issues. Team members can create bug reports with details such as bug descriptions, severity levels, and attachments.
1\. Log in to the orangescrum account.
2\. Access your project (Refer image-1).
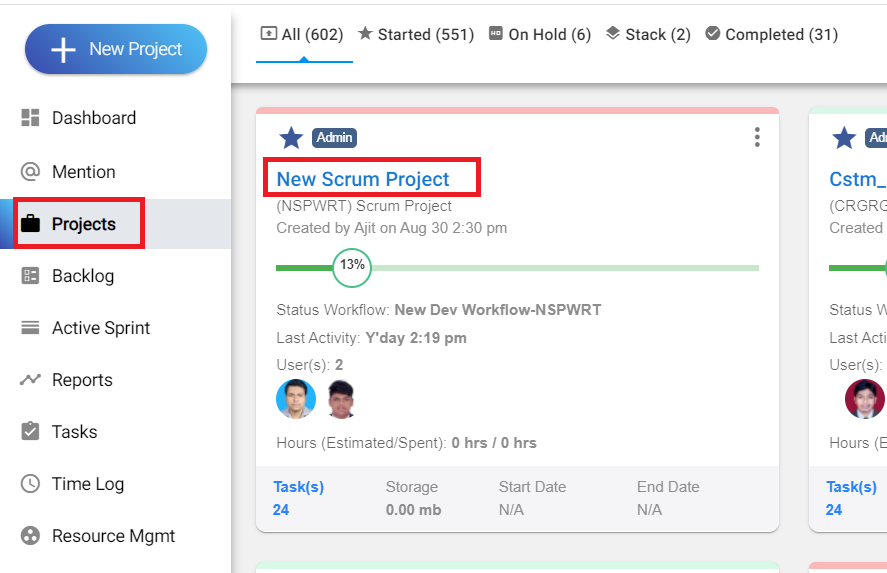
**(Image-1)
**
3\. Navigate to the bug tracking module.
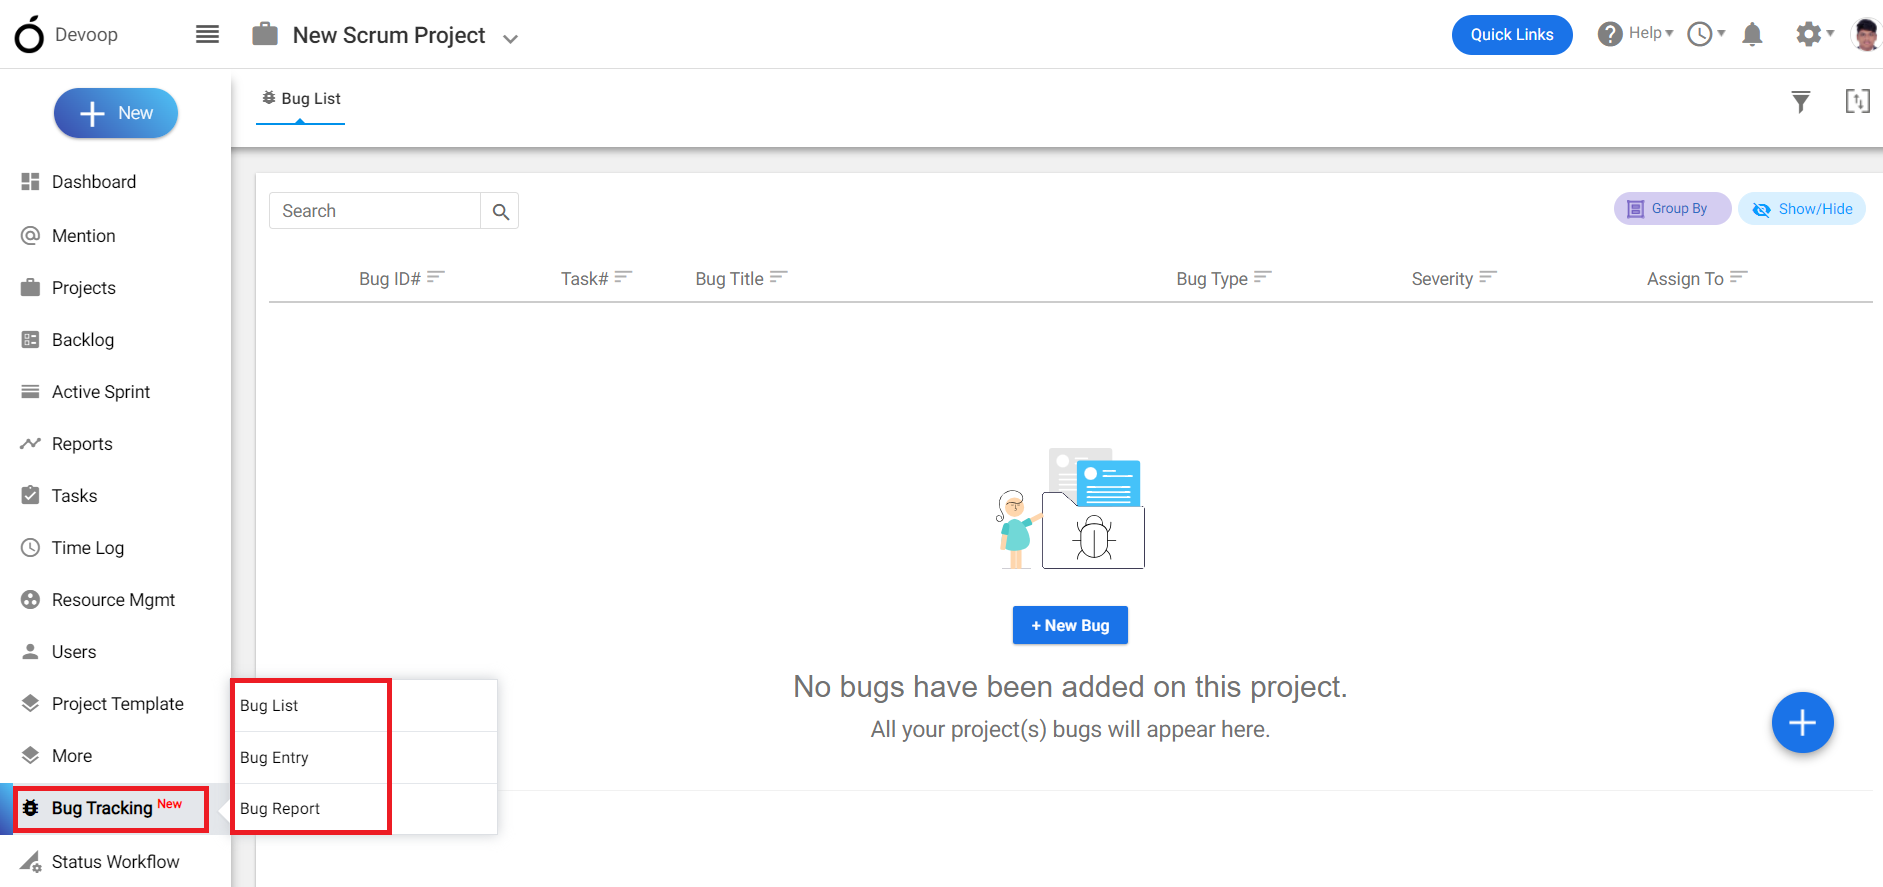
**(Image-2)**
4.You can see all the created bugs in the bug list page.(Refer image-3)
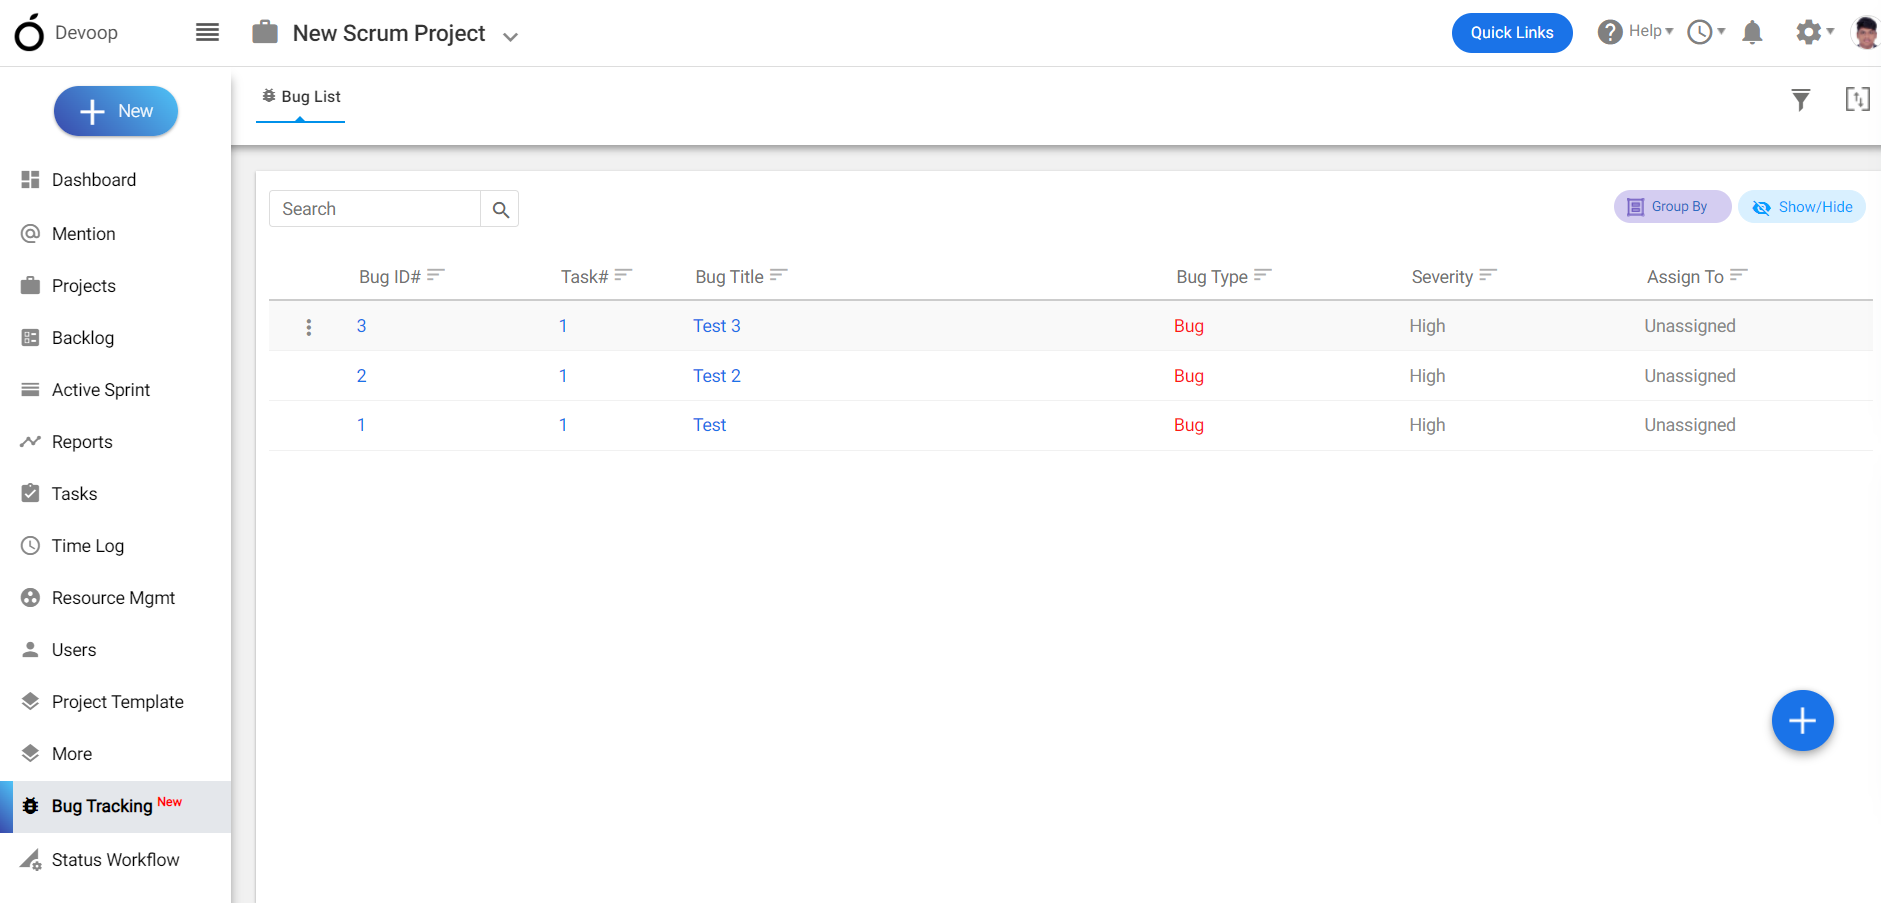
**(Image-3)
**
5\. You can create a bug by clicking on the bug entry option and filling this form.( refer image-4)
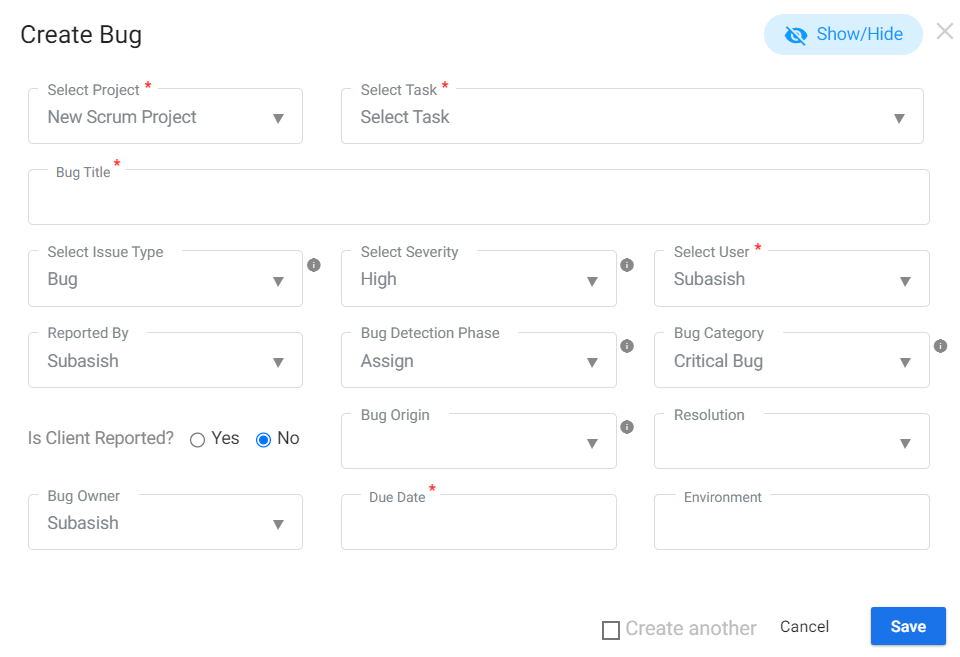
**(Image-4)**
6.You can see the bug report of all the reported bugs in the bug report page. (refer image 5)
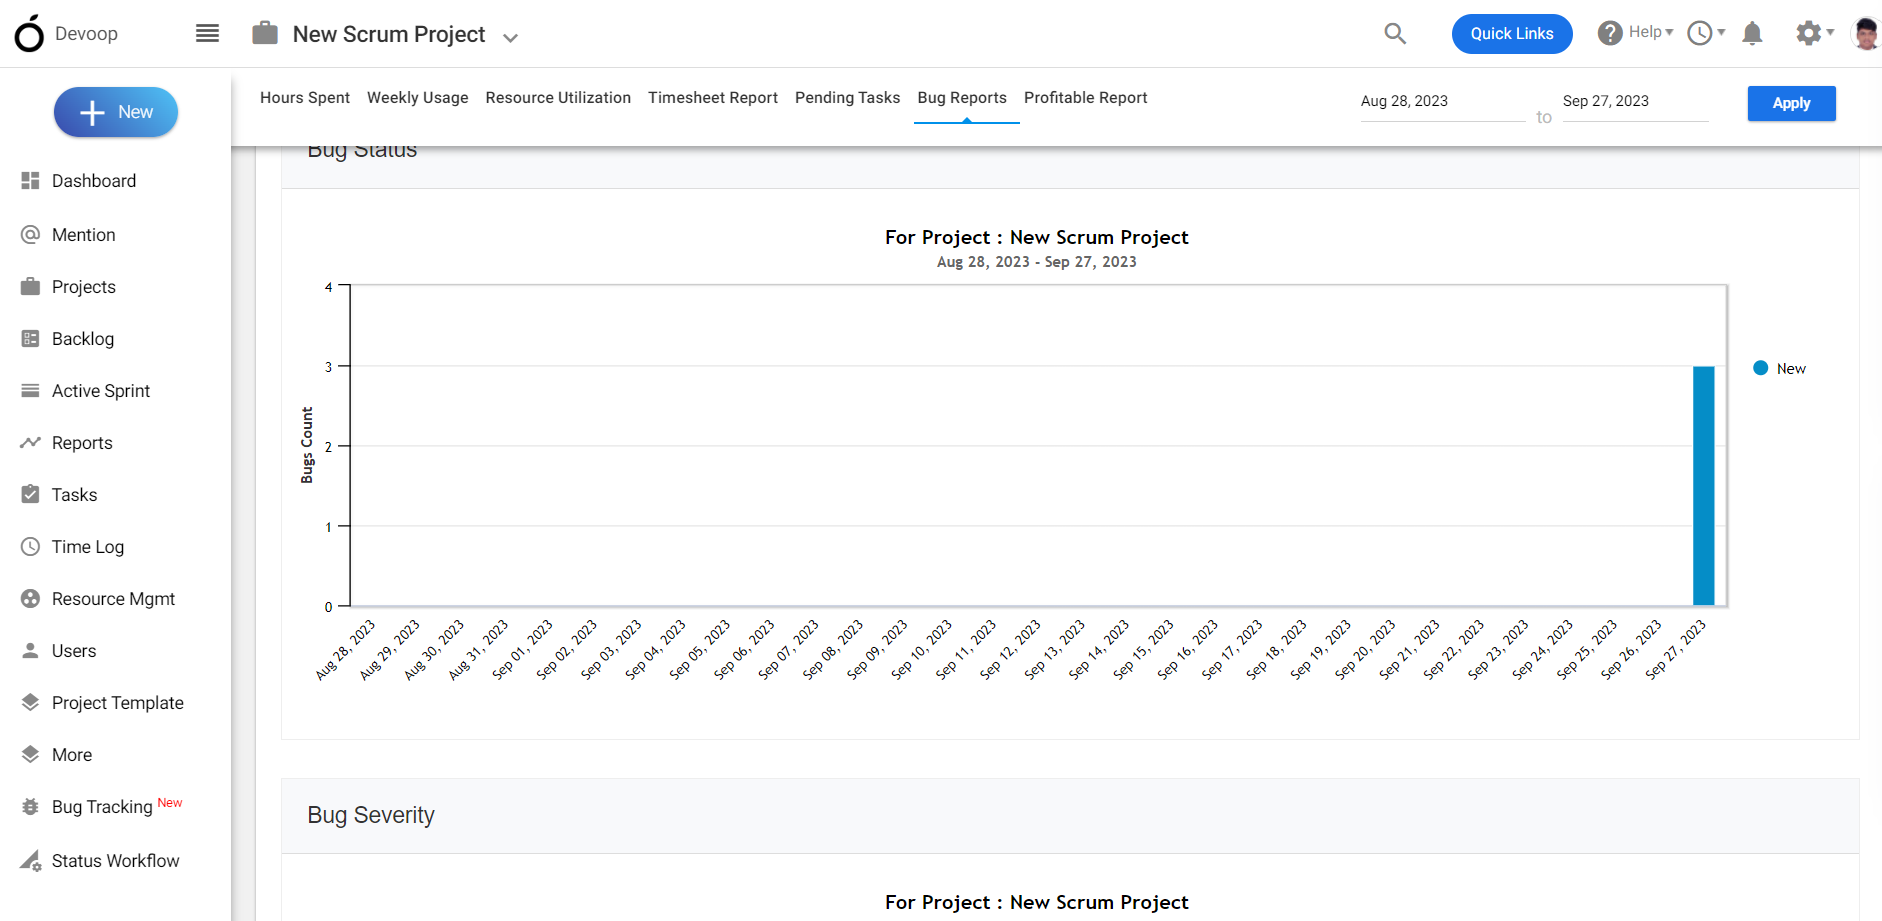
**(Image-5)**
# Orangescrum Quick Guide For Scrum Project
> Explore our quick guide for managing Scrum projects in Orangescrum. Get tips and steps to streamline your Scrum processes effectively.
> For the complete documentation index, see [llms.txt](https://helpdesk.orangescrum.com/llms.txt).
Source: https://helpdesk.orangescrum.com/7orangescrum-quick-guide-for-scrum-project
---
- Scrum is a project management framework that helps teams work together effectively to deliver products of the highest possible value. It is based on the Agile methodology, which emphasizes flexibility, collaboration, and iterative development**.**
- Scrum is an agile development methodology used in the development of Software based on iterative and incremental processes. Scrum is an adaptable, fast, flexible and effective agile framework that is designed to deliver value to the customer throughout the development of the project**.**
- The primary objective of Scrum is to satisfy the customer’s need through an environment of transparency in communication, collective responsibility and continuous.
**Benefits of Scrum:**
1. **Easily scalable**: Scrum processes are iterative and are handled within specific work periods, which makes it easier for the team to focus on definite functionalities for each period.
2. **Compliance of expectations**:**:** The client establishes their expectations indicating the value that each requirement/ history of the project brings, the team estimates them and with this information the Product Owner establishes its priority.
3. **Flexible to changes**: Quick reaction to changes in requirements generated by customer needs or market developments. The methodology is designed to adapt to the changing requirements that complex projects entail.
4. **Time to Market reduction**: The client can start using the most important functionalities of the project before the product is completely ready.
5. **Higher software qualit**y: The working method and the need to obtain a functional version after each iteration, helps to obtain a higher quality software.
6. **Timely Prediction:** **:** Using this methodology, we know the average speed of the team by sprint (story points), with which, consequently, it is possible to estimate when a certain functionality that is still in the backlog will be available.
7. **Reduction of risks:** The fact of carrying out the most valuable functionalities in the first place and of knowing the speed with which the team advances in the project, allows to clear risks effectively in advance.
**Events in Scrum:**
Each of the Scrum events facilitates the adaptation of some of the aspects of the process, the product, progress or relationships.
- **Sprint:** Sprint is the basic unit of work for a Scrum team. This is the main feature that marks the difference between Scrum and other models for agile development.
- **Sprint Planning:** The goal of the Sprint Planning is to define what is going to be done in the Sprint and how it is going to be done. This meeting is held at the beginning of each Sprint and is defined how it will approach the project coming from the Product Backlog stages and deadlines.
- **Daily Scrum:** The objective of the Daily Scrum is to evaluate the progress and trend until the end of the Sprint, synchronizing the activities and creating a plan for the next 24 hours. It is a brief meeting that takes place daily during the Sprint period. Three questions are answered individually: What did I do yesterday? What am I going to do today? What help do I need? The Scrum Master should try to solve problems or obstacles that arise.
- **Sprint Review:** The goal of the sprint review is to show what work has been completed with regards to the product backlog for future deliveries.
- **Sprint Retrospective:** The team reviews the completed goals of the finished sprint, writing down the good and the bad, so as not to repeat the mistakes again. This stage serves to implement improvements from the point of view of the development process. The goal of the sprint retrospective is to identify possible process improvements and generate a plan to implement them in the next Sprint.
**
Steps for creating scrum project:-**
1. First create a project using the Project template as “Scrum”.
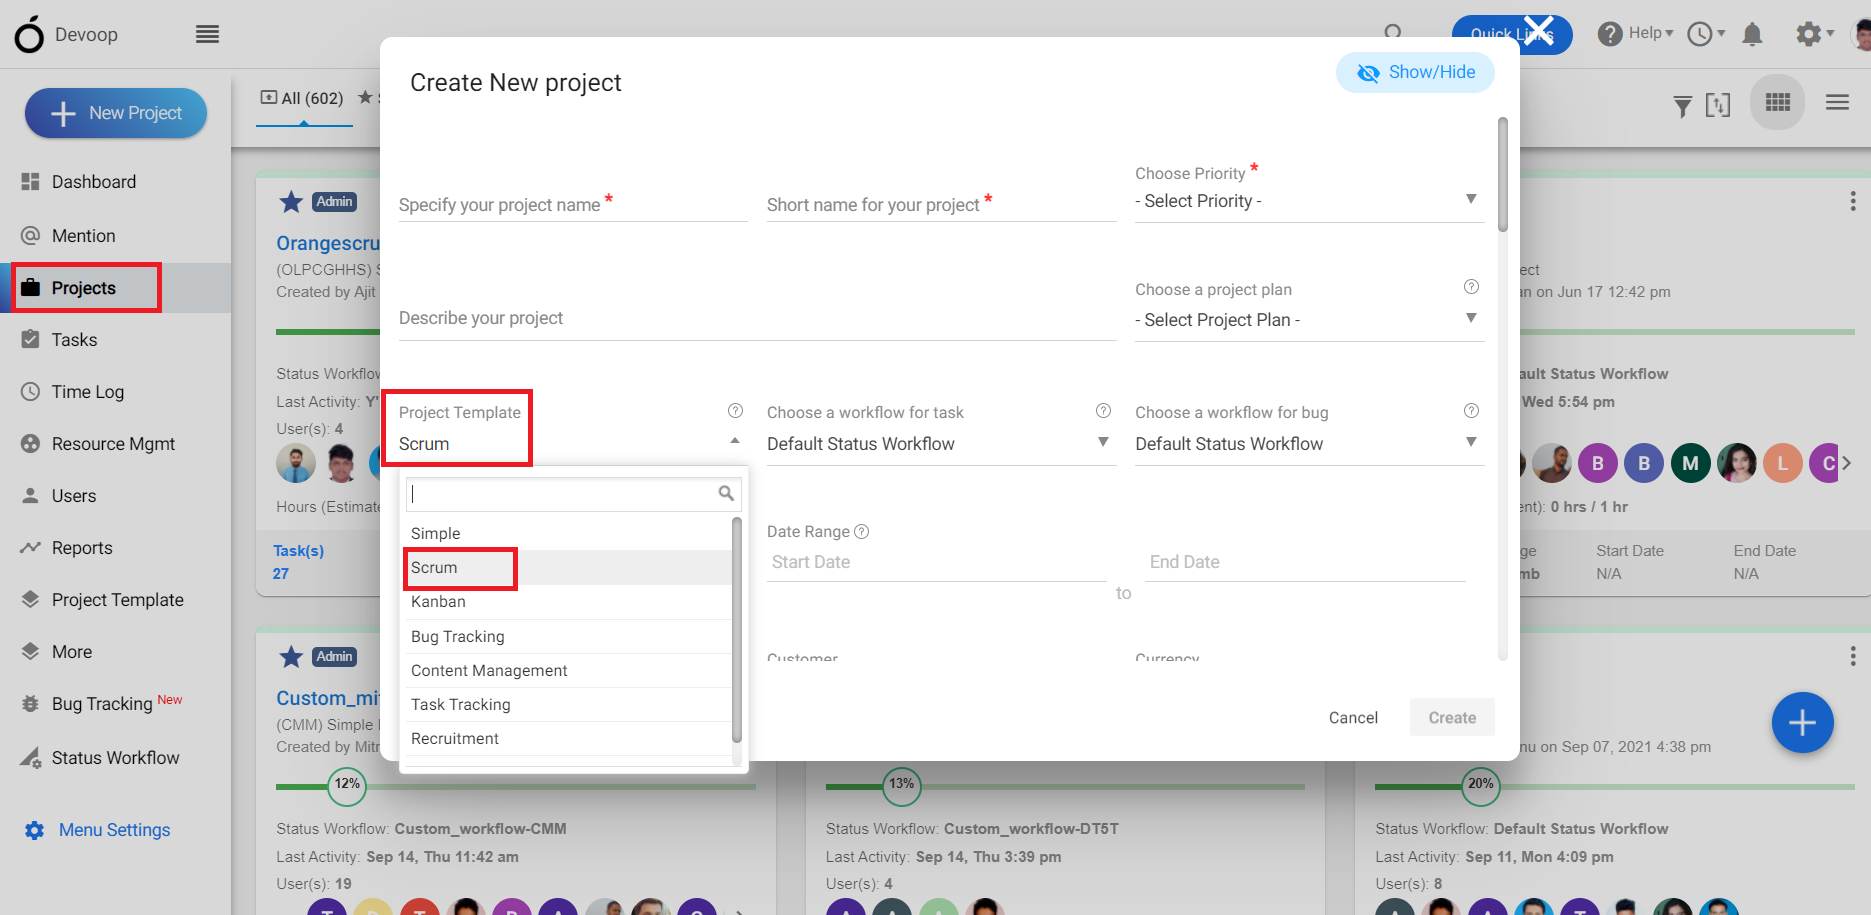**(Image -1)
**
2. To create a scrum project go to “Project Template” then choose the template “Scrum”.
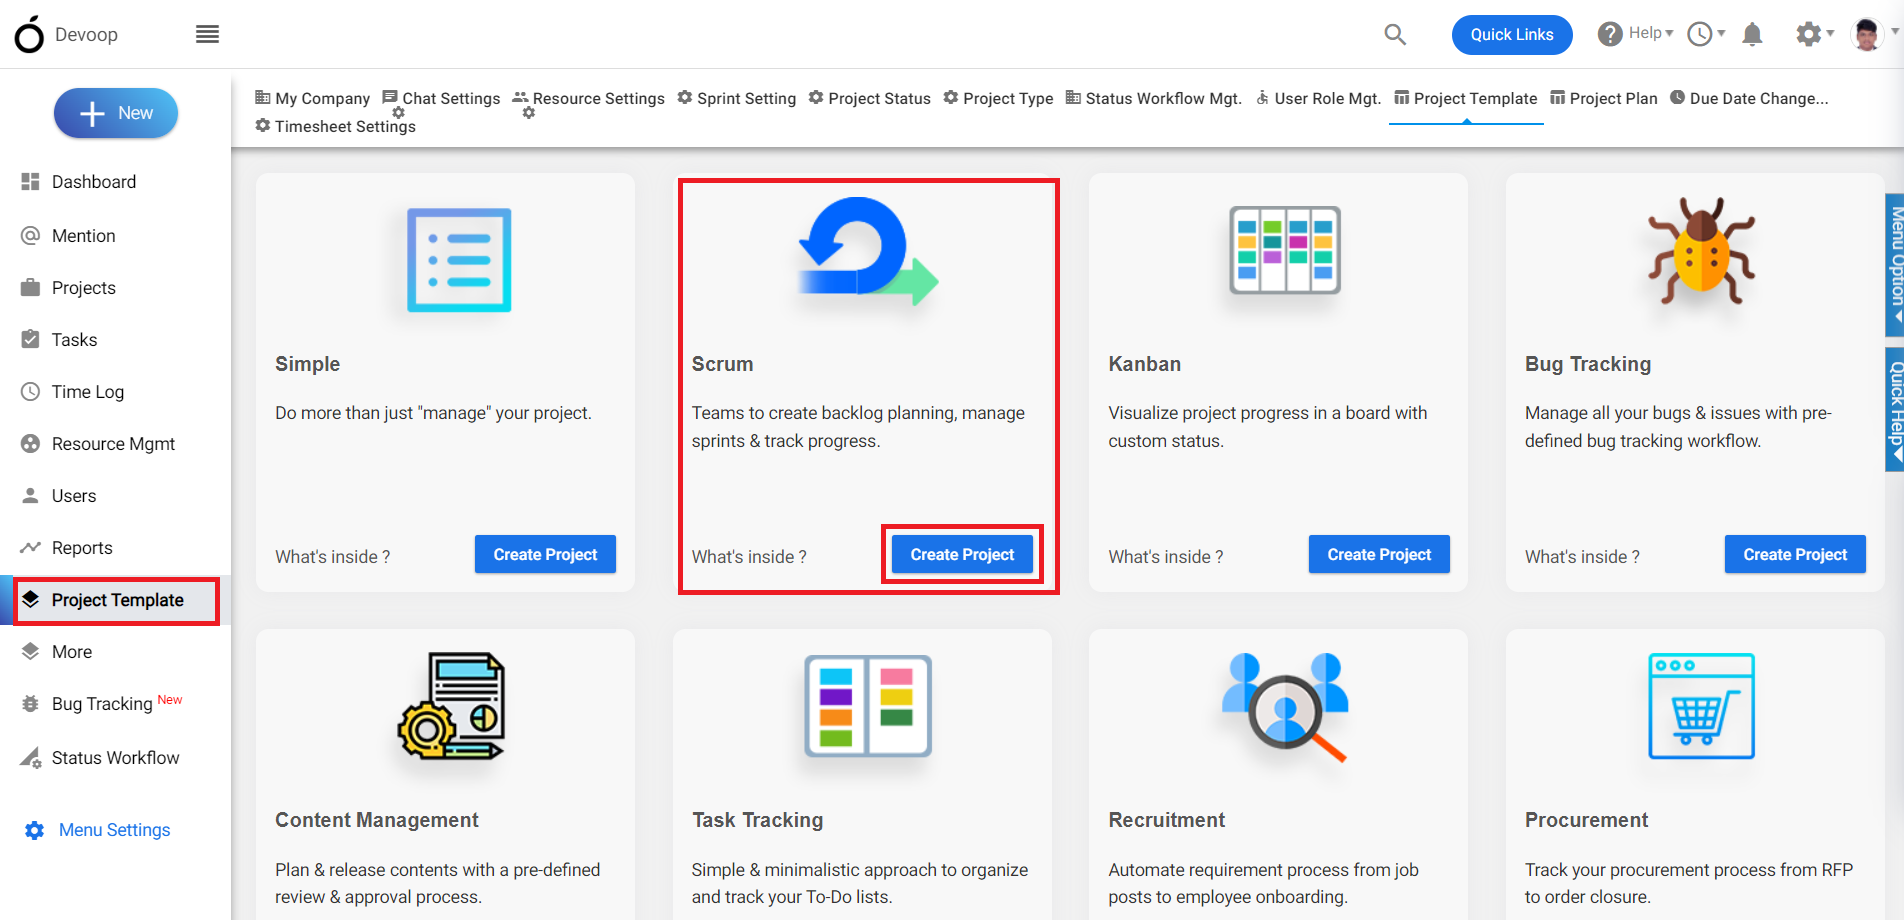 **(Image-2)**
3\. After creating the project, two menus – ‘Backlog’ and ‘Active Sprint’ – will be added to the left menu, as these are essential components of the Scrum methodology.
4\. The ‘Backlog’ menu is where you can manage a prioritized list of work items, called ‘Product Backlog Items’ (PBIs), that need to be completed during the project.
5\. The ‘Active Sprint’ menu is where you can manage the work that has been selected from the product backlog to be completed during the current sprint, as well as track the progress of the sprint.
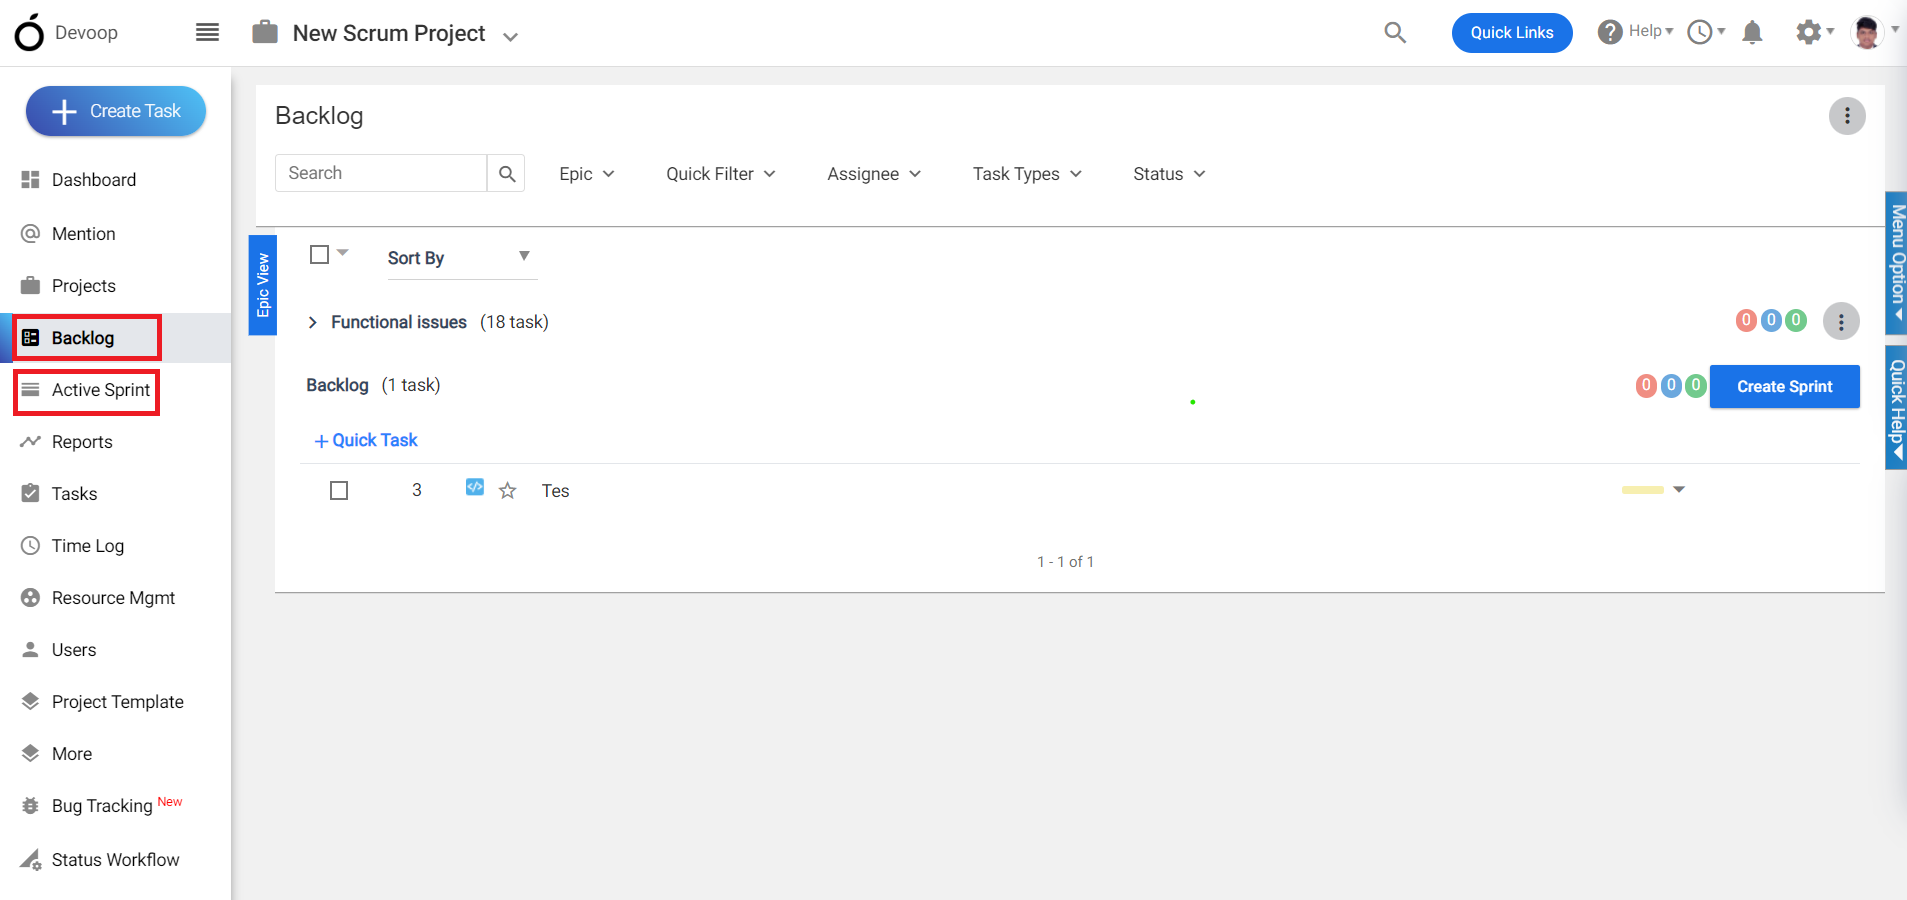**(Image-3)**
6\. After creating a project ,Then go to the task section for creating the task under the “Scrum project”.
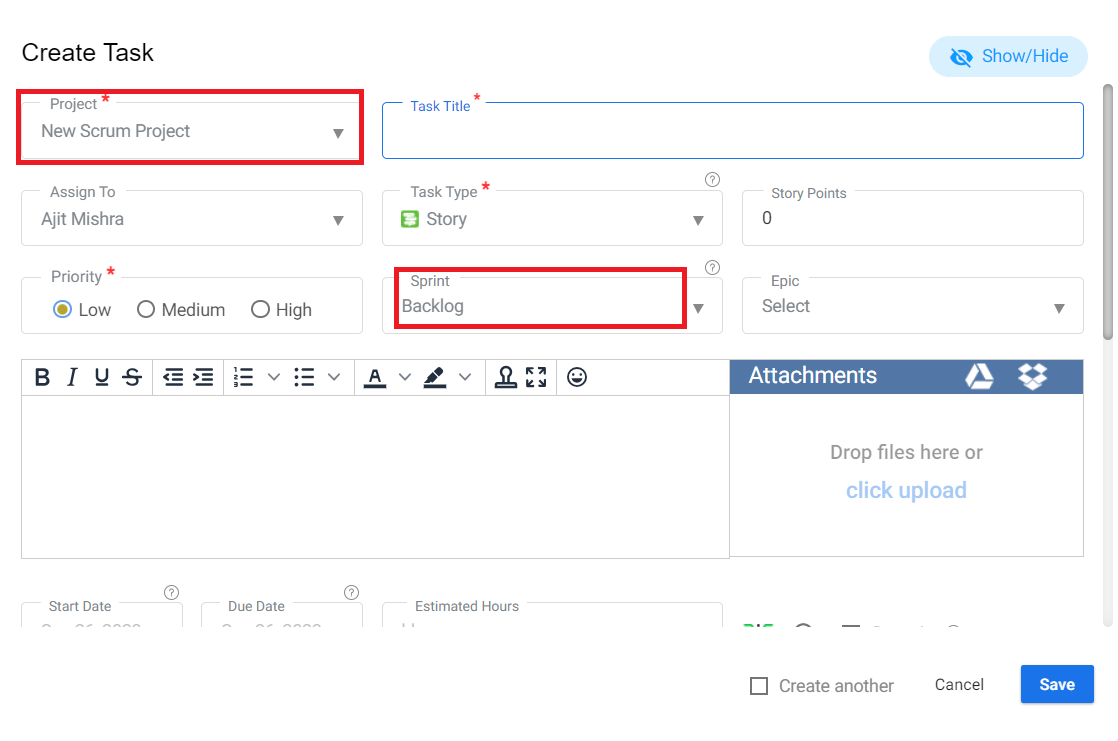
**(Image-4)**
7. In this task pop up the sprint dropdown contains the backlog and the list of sprint names.
8\. Also there is an another option i.e. “Story Point” , A Story Point is the estimation of user stories given by Dev/QA in the form of Fibonacci series(0, 1, 1, 2, 3, 5, 8……).
9\. Story point = 1h or, 1 day (6 to 8 h) → Depends upon the company and priority of work.
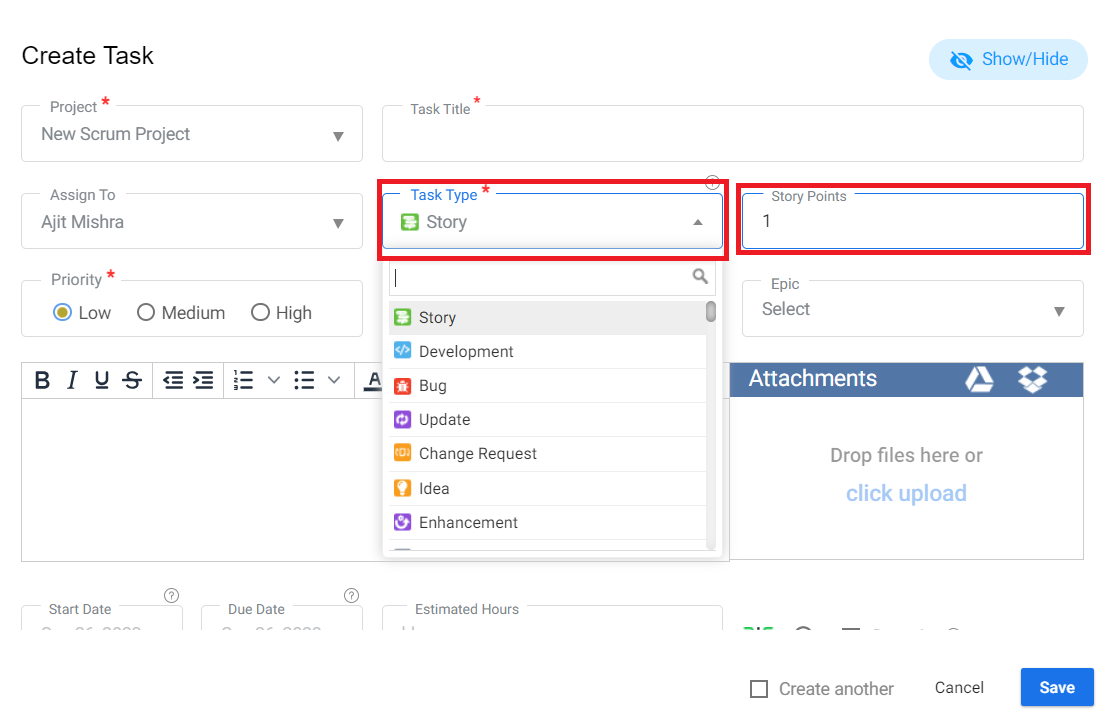
**(Image-5)**
10\. If you select “backlog,” the tasks will be displayed within the backlog. You can also drag and drop tasks from the backlog to the sprint, or from the sprint to the backlog.
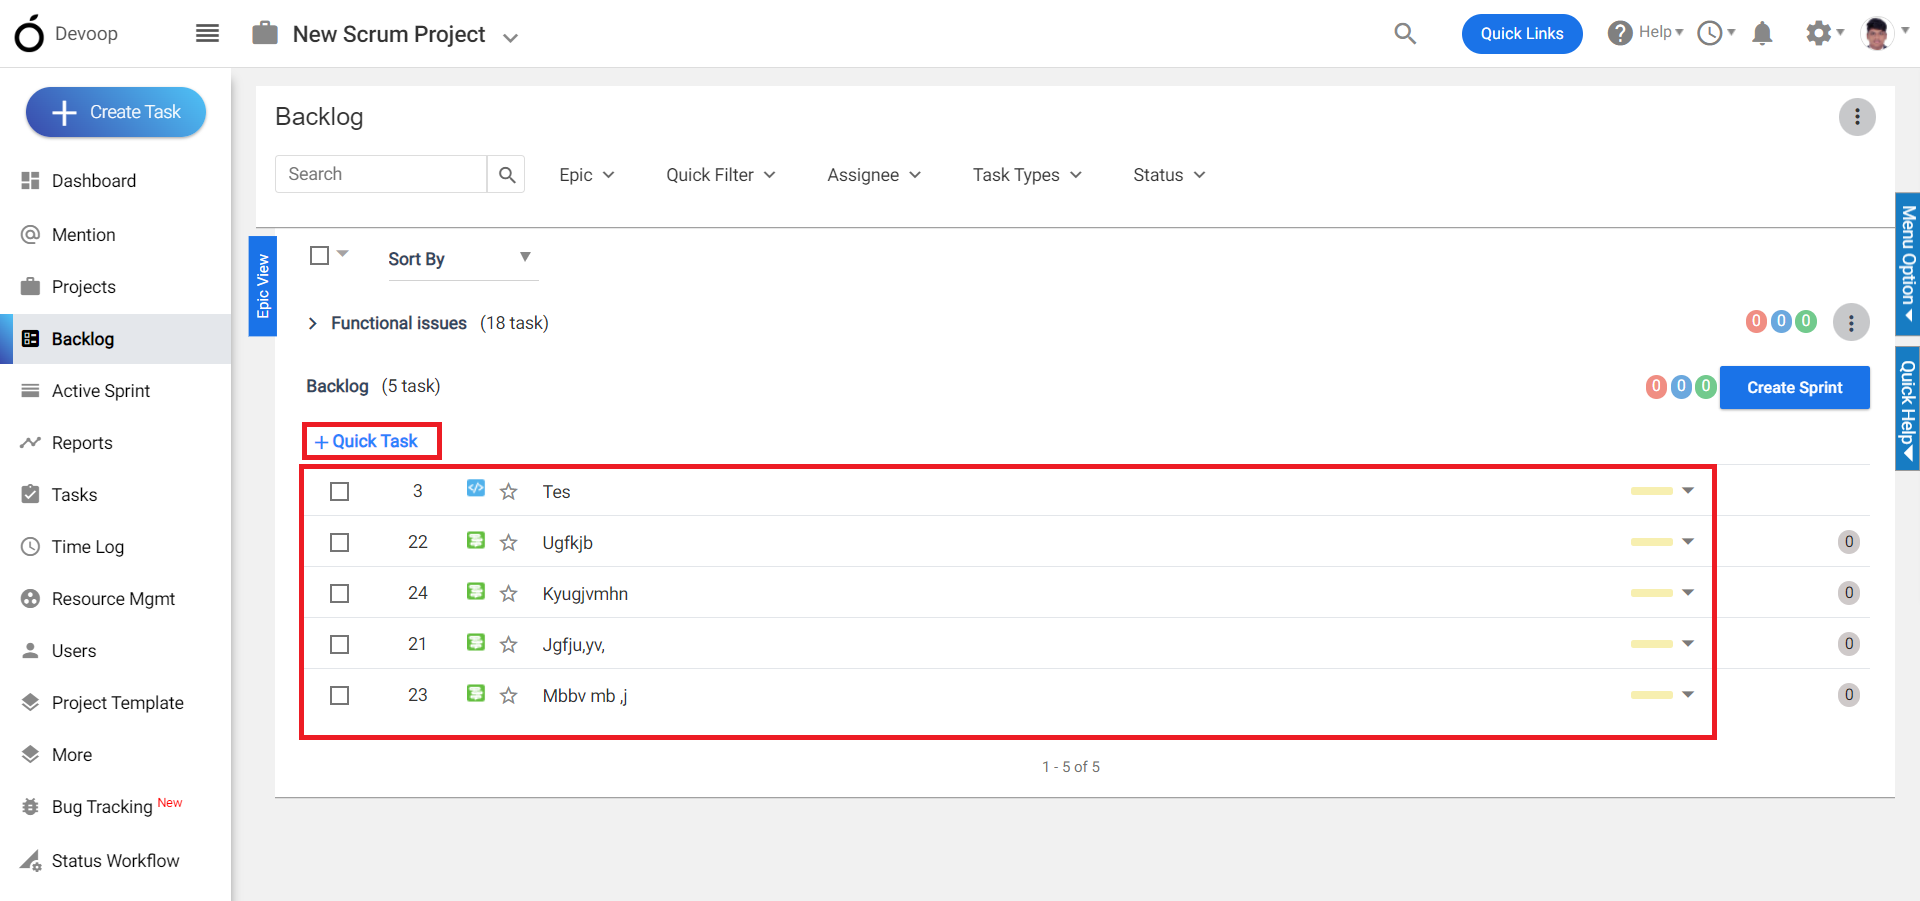
**(Image-6)**
11\. Also you can create tasks under the backlog using the “Quick Task” button.
12\. Click Backlog from Left Menu > Quick Task
13\. Provide required details & click Backlog icon(Refer image 6)

**(Image-7)**
14\. In the Backlog page there is an option for “Sprint Setting” where you can choose the dropdown with three options: “Story Point” , “Original Time Estimate” and “Task Count”.
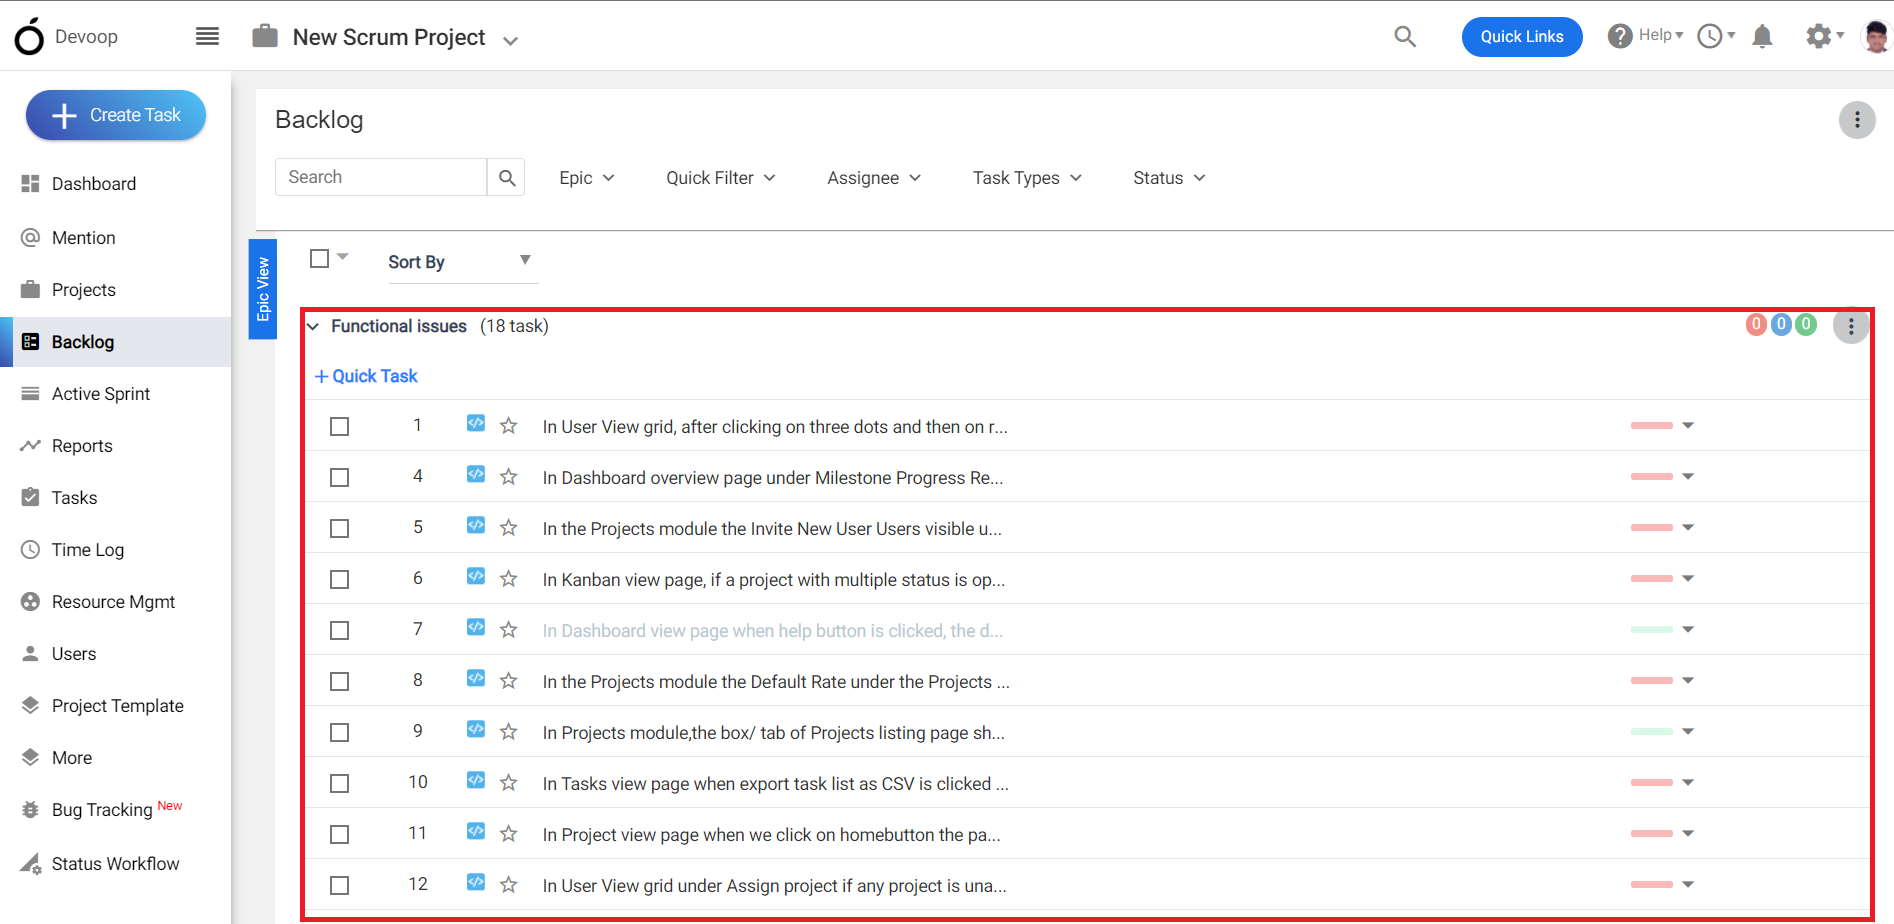
**(Image-8)**
15\. If you want to Start Parallel sprint , then go to Profile section and click on the “Company Setting” under the dropdown select the “Sprint Setting”.
16\. After that see the option “Do you want to run Parallel sprint “ , if you use this option then multiple sprints will run simultaneously.
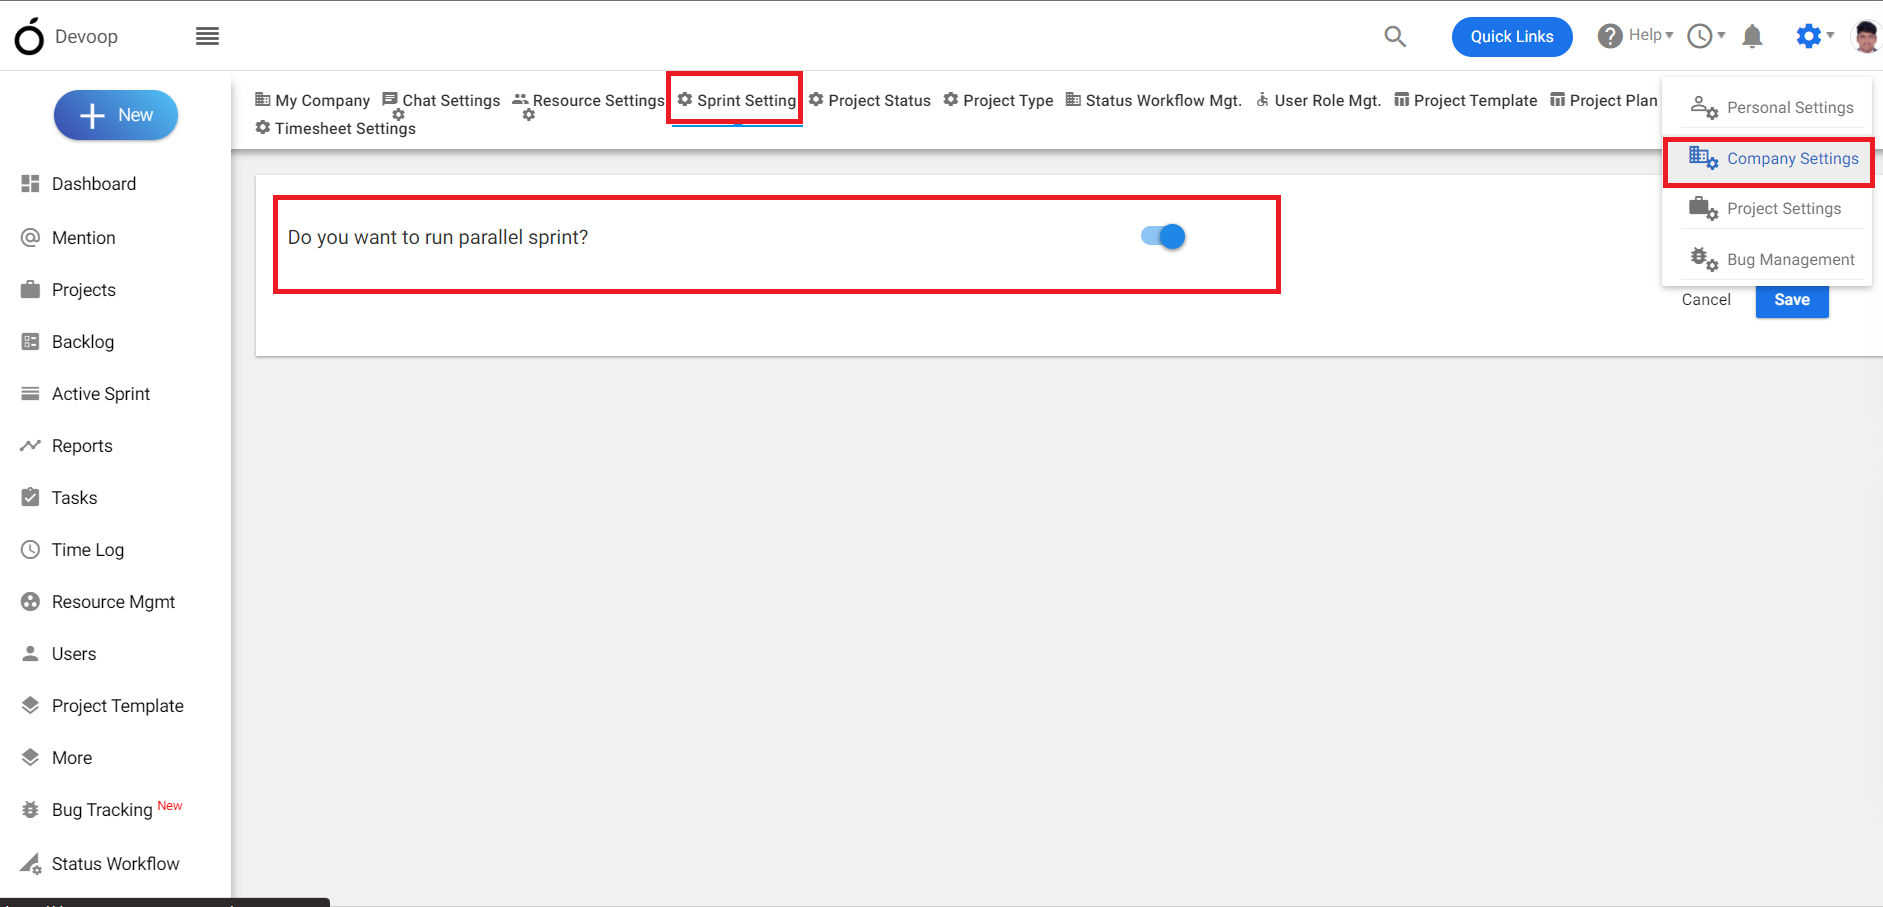**(Image-9)**
**
Active Sprint Dashboard:-**
The Active Sprint Dashboard is used for managing tasks and tracking progress during the current sprint. The dashboard consists of three columns: “To Do”, “In Progress”, and “Closed”.
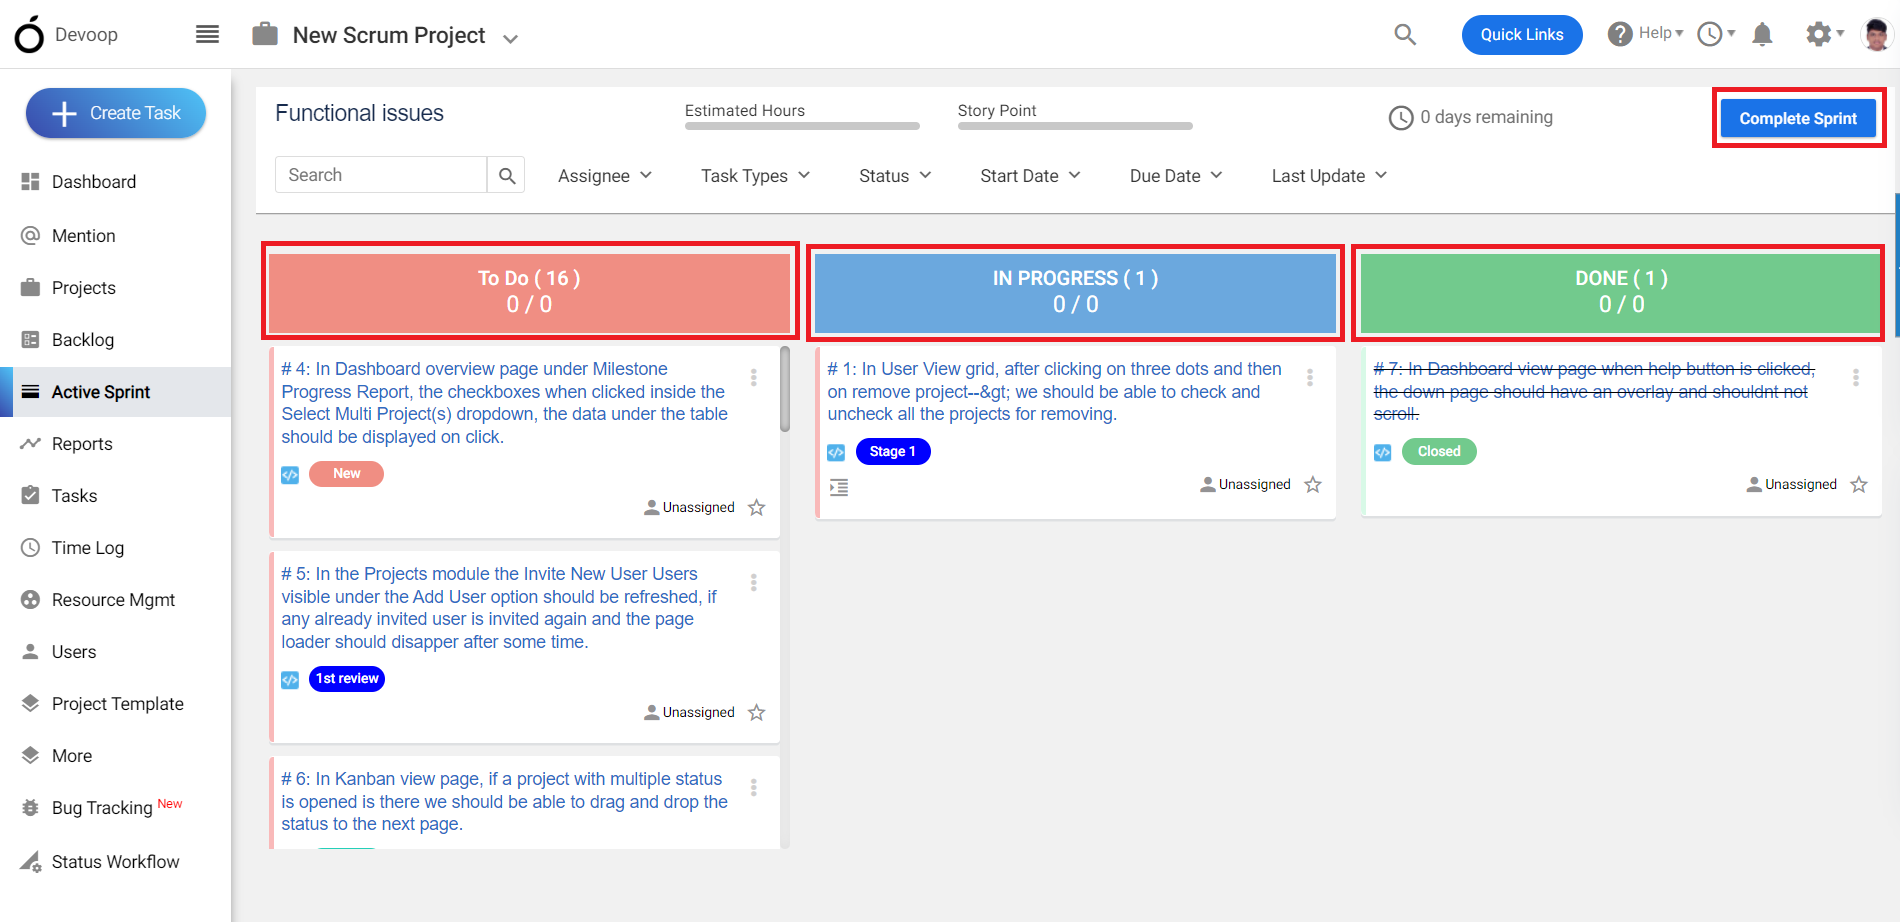
**(Image-10)
**
Each column represents a different stage of the workflow, and tasks are represented by cards that can be moved between columns by dragging and dropping. The three columns are described in more detail below:
**To Do:-**The “To Do” column contains all tasks that have not yet been started. These tasks are typically added to the sprint backlog during sprint planning, and the development team selects tasks from this column to work on during the sprint.
**In Progress:-**The “In Progress” column contains tasks that are currently being worked on by members of the development team. When a team member starts working on a task, they move the corresponding card from the “To Do” column to the “In Progress” column.
**Closed:-**
The “Closed” column contains tasks that have been completed during the sprint. When a team member finishes working on a task, they move the corresponding card from the “In Progress” column to the “Closed” column.
By using the Active Sprint Dashboard, the development team can easily visualize the progress of the sprint, identify any bottlenecks or issues, and adjust their workflow accordingly.
When all the tasks are closed click the button “Complete Sprint”
If there are unfinished tasks and you click the “Complete Sprint” button, a pop-up will appear showing both the completed and pending tasks. Additionally, there will be an option to move the incomplete tasks to either the “Backlog” or the next “Sprint.”
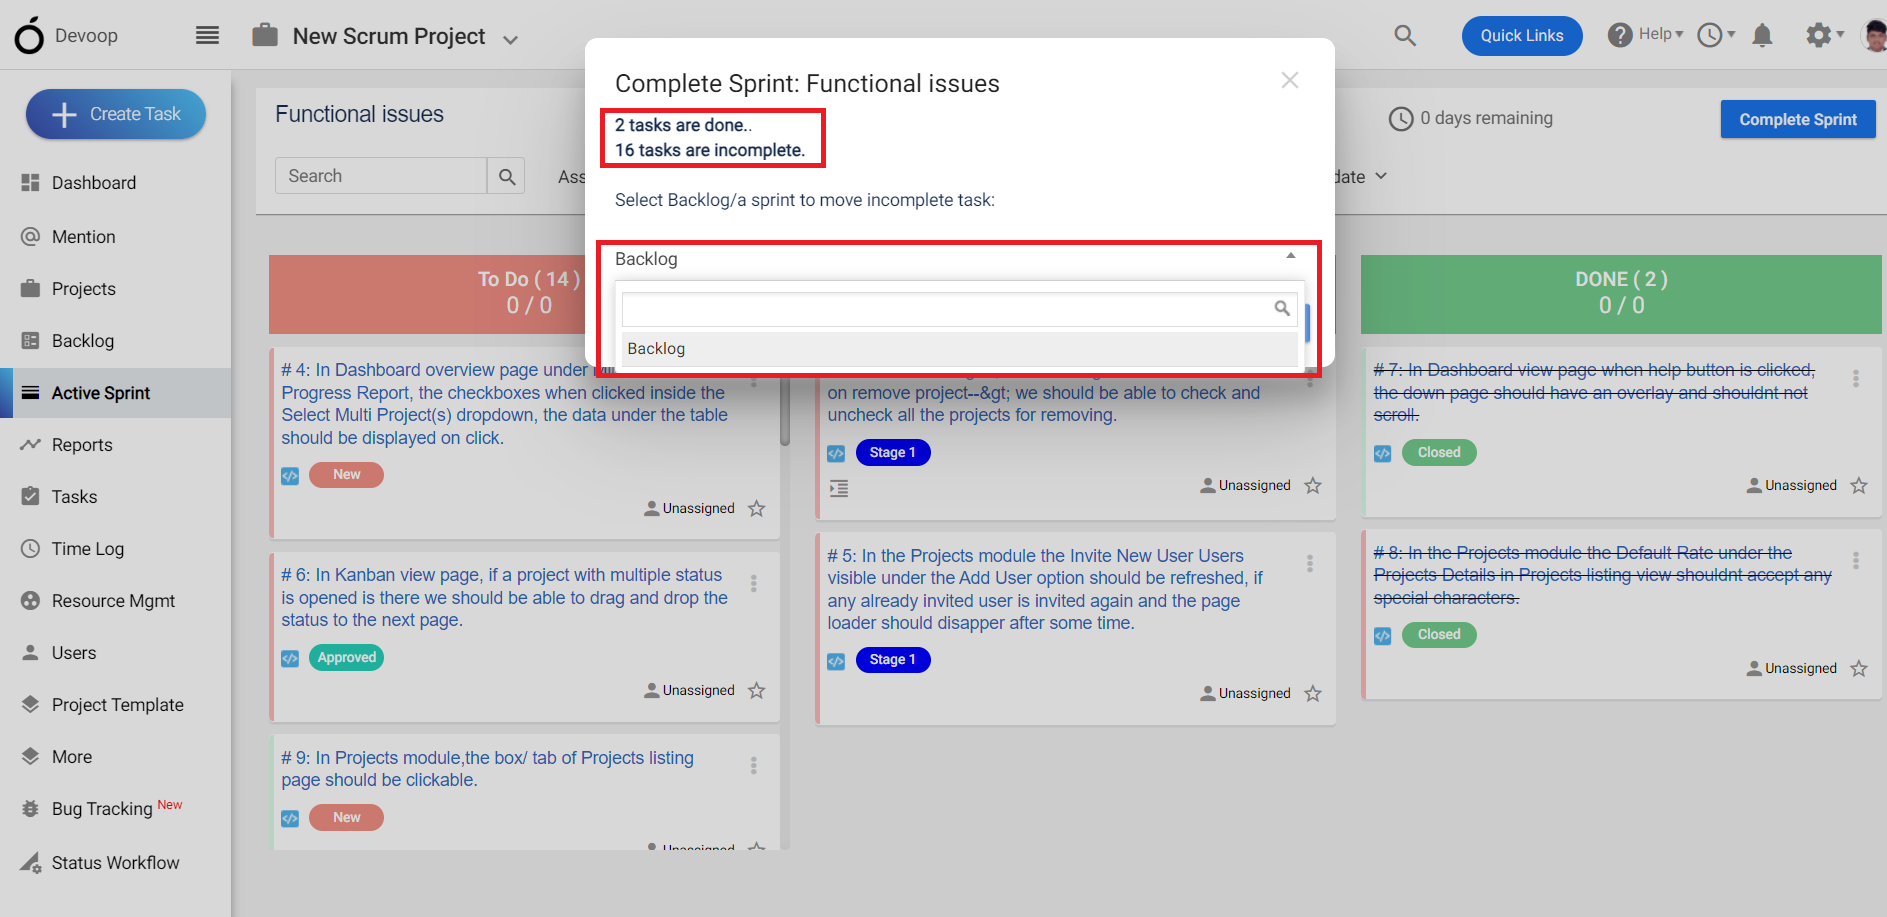
**(Image-11)
**
After that you can go to the Report section under this section choose the “Sprint Report” , Where you can find the details about all the sprints.
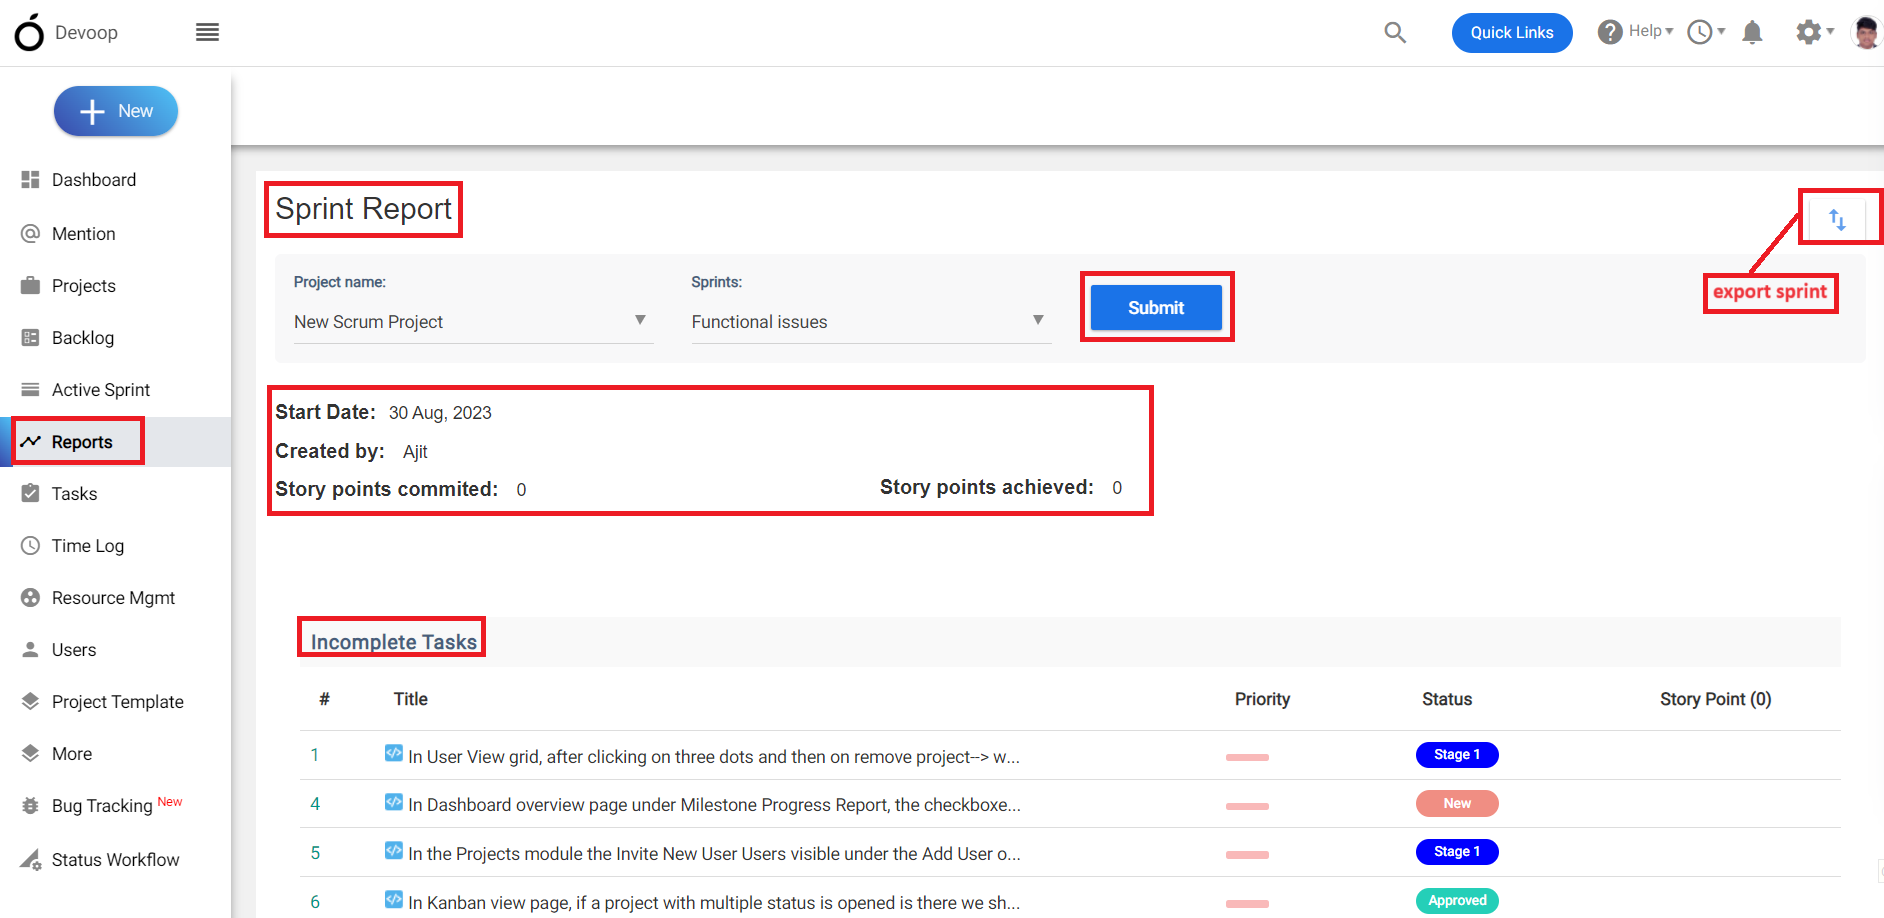
**(Image-12)**
You can also see the story points you have committed to and the amount you have achieved in this sprint.
There is an export option available where you can export the sprint and view details about it.
# Orangescrum Quick Guide For User Role Management
> Check out our quick guide on managing user roles in Orangescrum to efficiently assign and control roles for effective project management.
> For the complete documentation index, see [llms.txt](https://helpdesk.orangescrum.com/llms.txt).
Source: https://helpdesk.orangescrum.com/orangescrum-quick-guide-for-user-role-management
---
User Role Management in Orangescrum refers to the process of assigning different roles and permissions to different users of the project management software. It helps in controlling access to various features and functionalities within the software, based on the user’s role and responsibilities within the organization
It allows project managers to delegate tasks and responsibilities to team members while ensuring that sensitive information is not accessible to unauthorized users. It also helps in maintaining data security and confidentiality, as well as ensuring that project management workflows are streamlined and efficient.
1\. The admin has the permission to ‘Assign Role’ and ‘Remove Project,’ among other actions, which allows them to change the user’s profile.
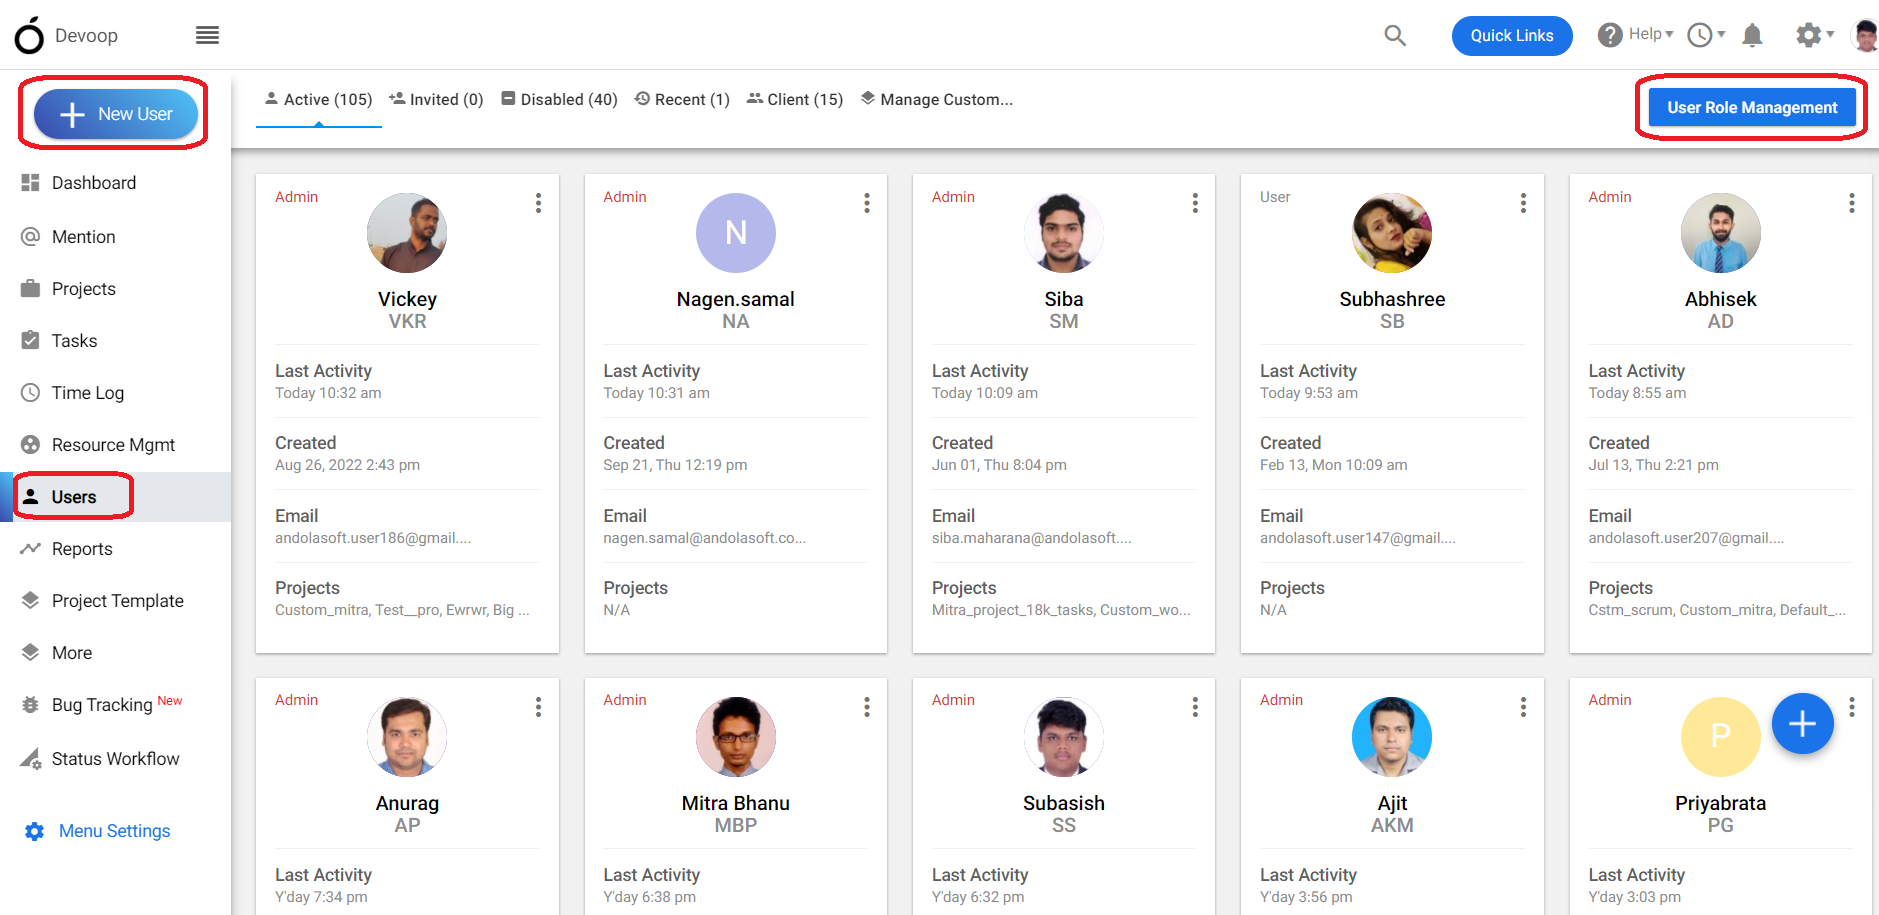
**(Image – 1)**
2\. Orangescrum provides a range of pre-defined user roles, such as Owner, Admin, User, Guest and Client, that can be assigned to users according to their role and level of authority. These are the default roles. Also we can create the custom role for the user.
3\. Ex:- Admin has access to all features and functionalities of the software, whereas a Client may only be able to view project progress and status updates.
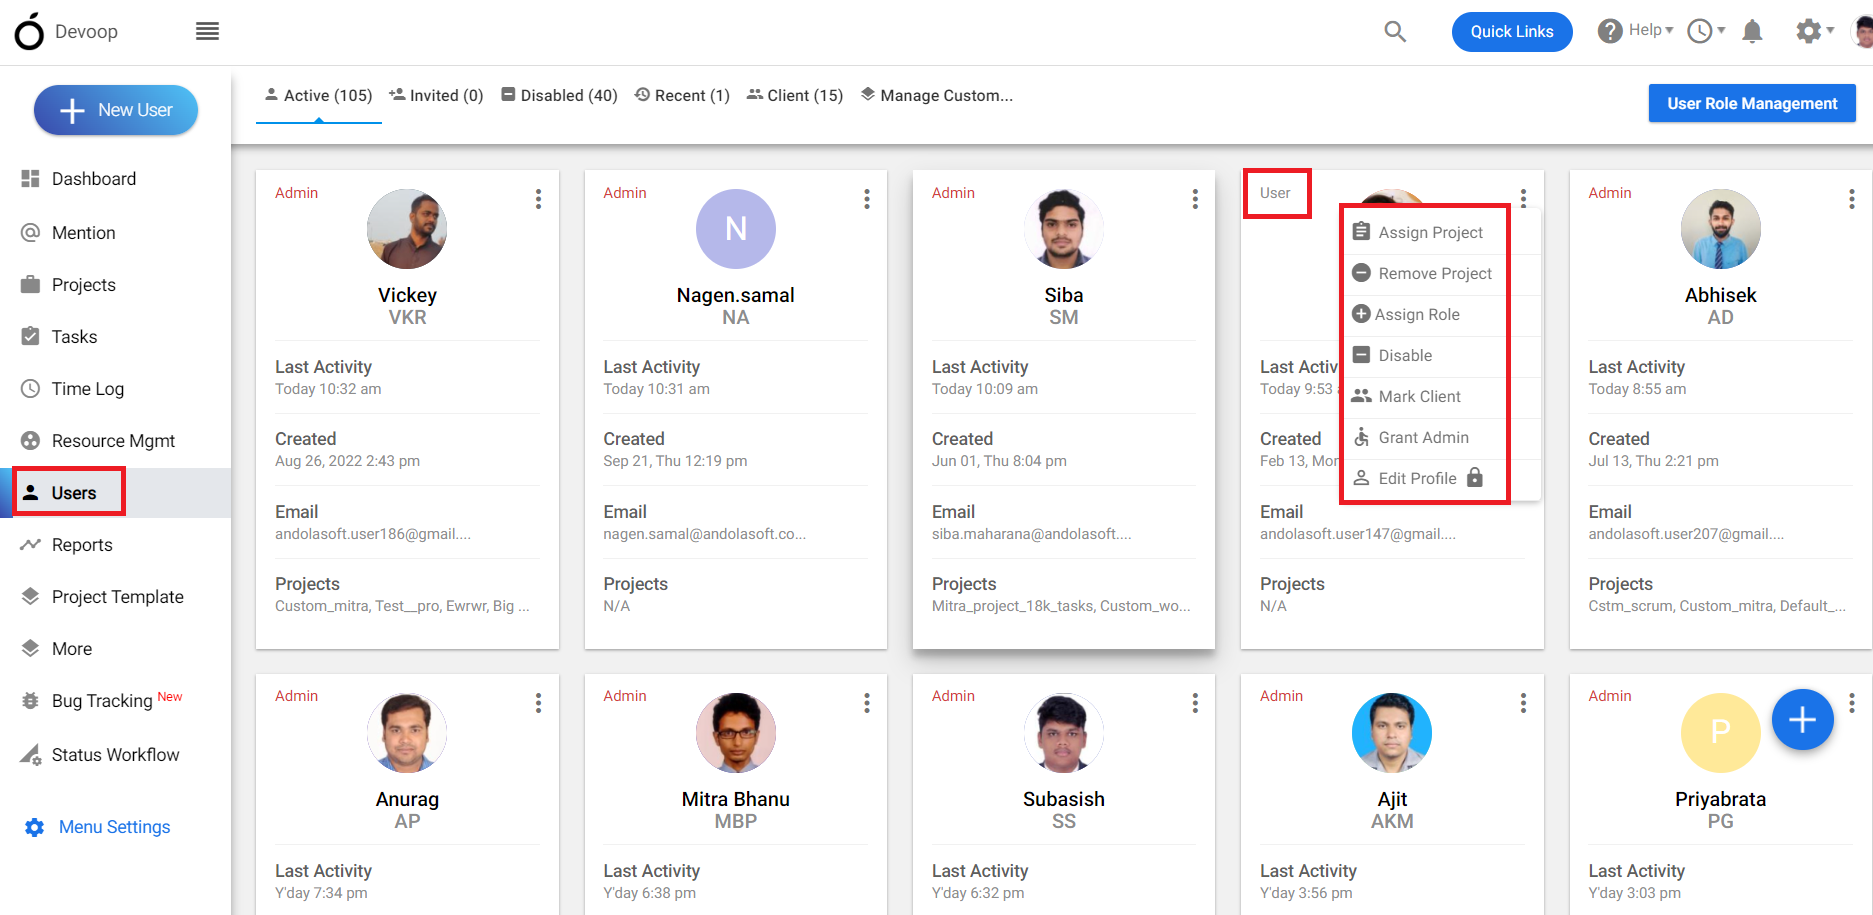
**(Image – 2)**
4\. After that, click on ‘User Role Management,’ where each role has a specific set of permissions that control the actions a user can perform within the software.
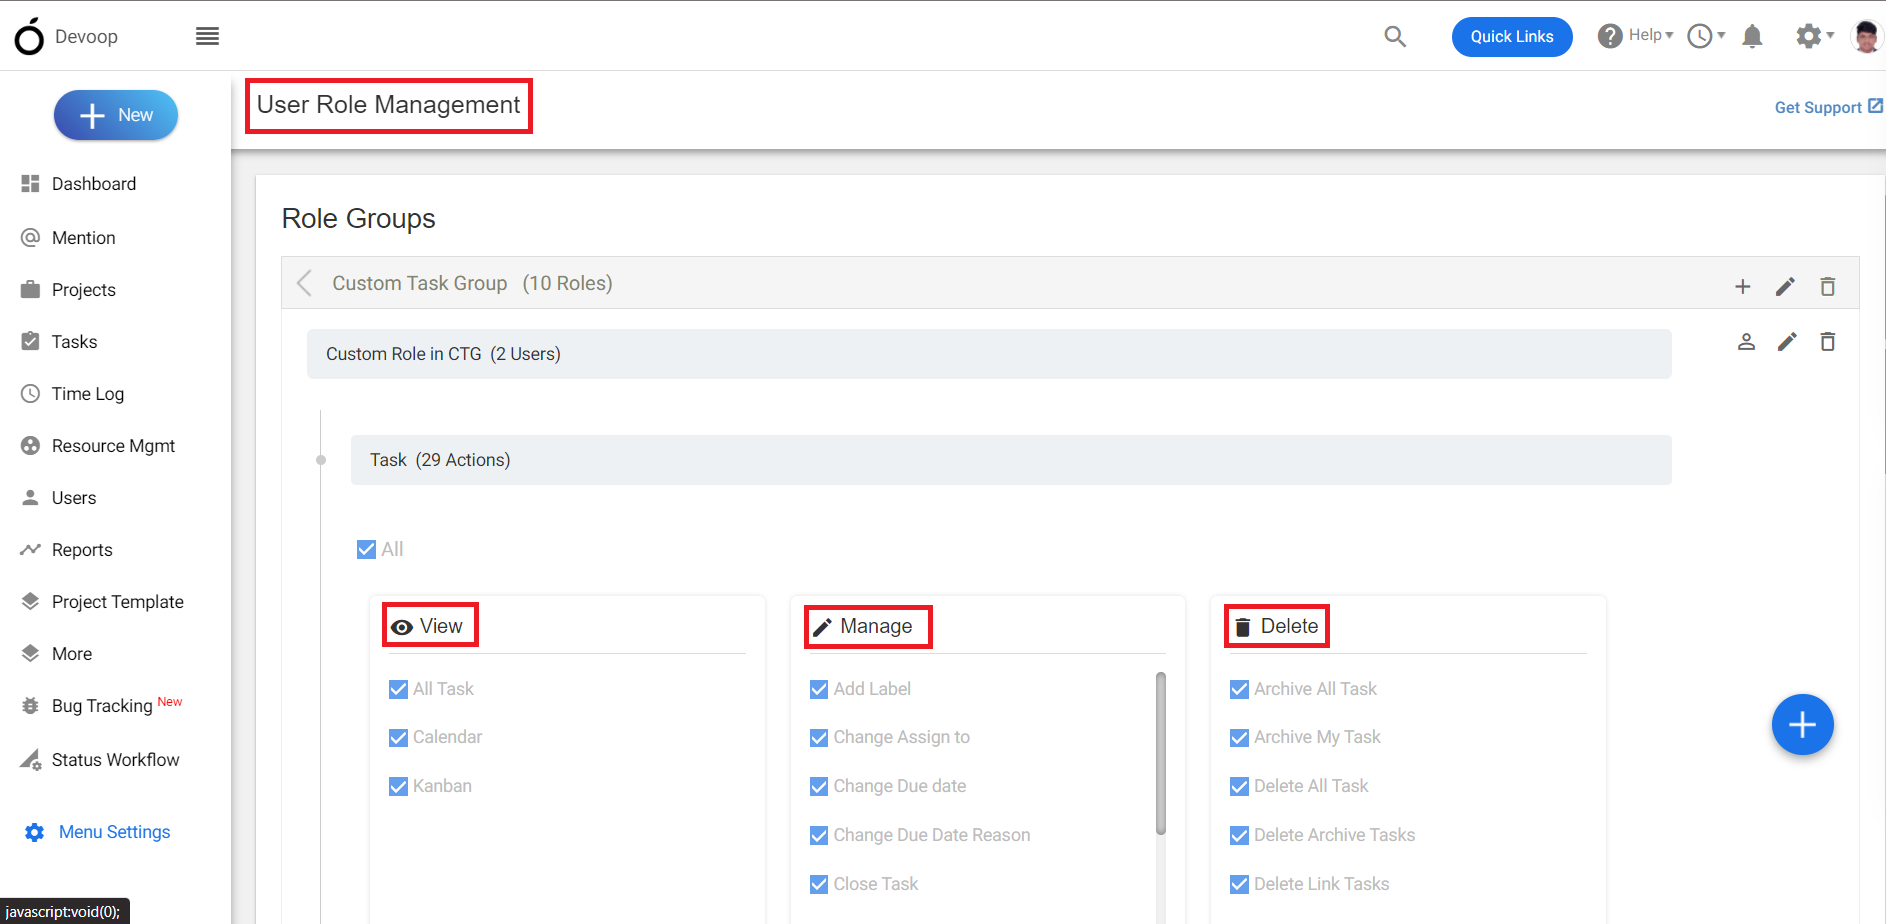
**(Image – 3)**
5\. In ‘User Role Management,’ there are a few options available where you can create roles and role groups for users.
**(Image – 4)**
6\. If you have already created a role or role group, then you have the option to ‘Edit’ or ‘Delete’ the roles, and you can also create a new role by clicking on the appropriate ‘+’ button.
**(Image – 5)**
# How to see the basic details of each task in the task listing page in Orangescrum?
> Learn how to view essential task details on the task listing page in Orangescrum. Enhance project management efficiency with quick insights.
> For the complete documentation index, see [llms.txt](https://helpdesk.orangescrum.com/llms.txt).
Source: https://helpdesk.orangescrum.com/how-to-see-the-basic-details-of-each-task-in-the-task-listing-page-in-orangescrum
---
Basic task details in Orangescrum serve as essential information for effective project management. It is required by the user while creating a task. By filling the required basic details during task creation help the user to track the task later.
Please follow the steps below:
1\. Login to Orangescrum.
2\. Click on the “task” from the left menu. (refer image 1)
Image-1
3\. Click on “task list” at the top navigation bar. (refer image 2)
Image-2
4\. Click on the “show/hide” button. (refer image 2)
5.Select “show/hide all” or select required information to be shown in the task list page.
(refer image 3)
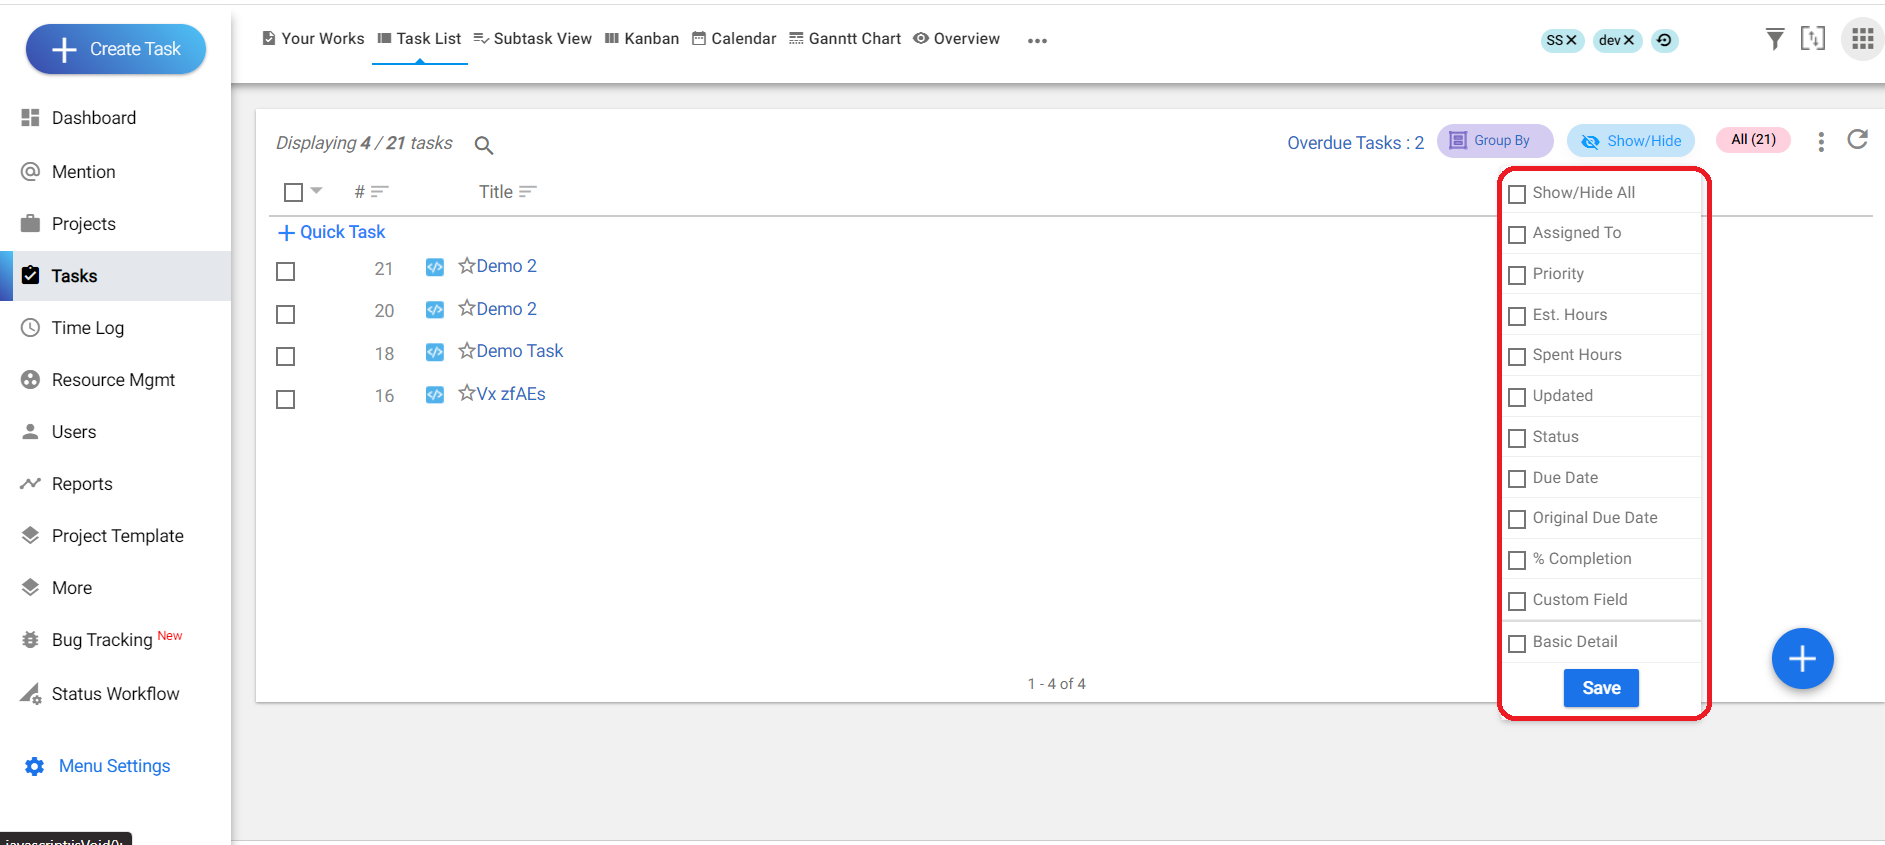
Image-3
6.Click on save. (refer image 4)
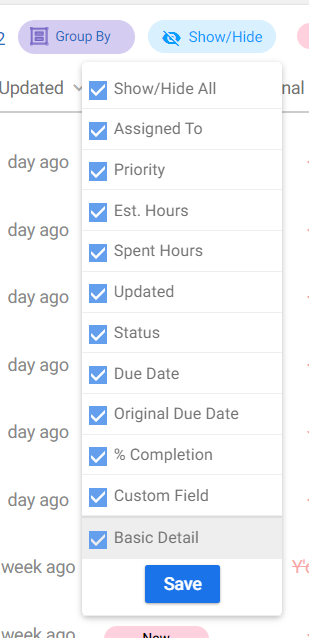
Image-4
7.All the required information will be shown in the task list page. (refer image 5)
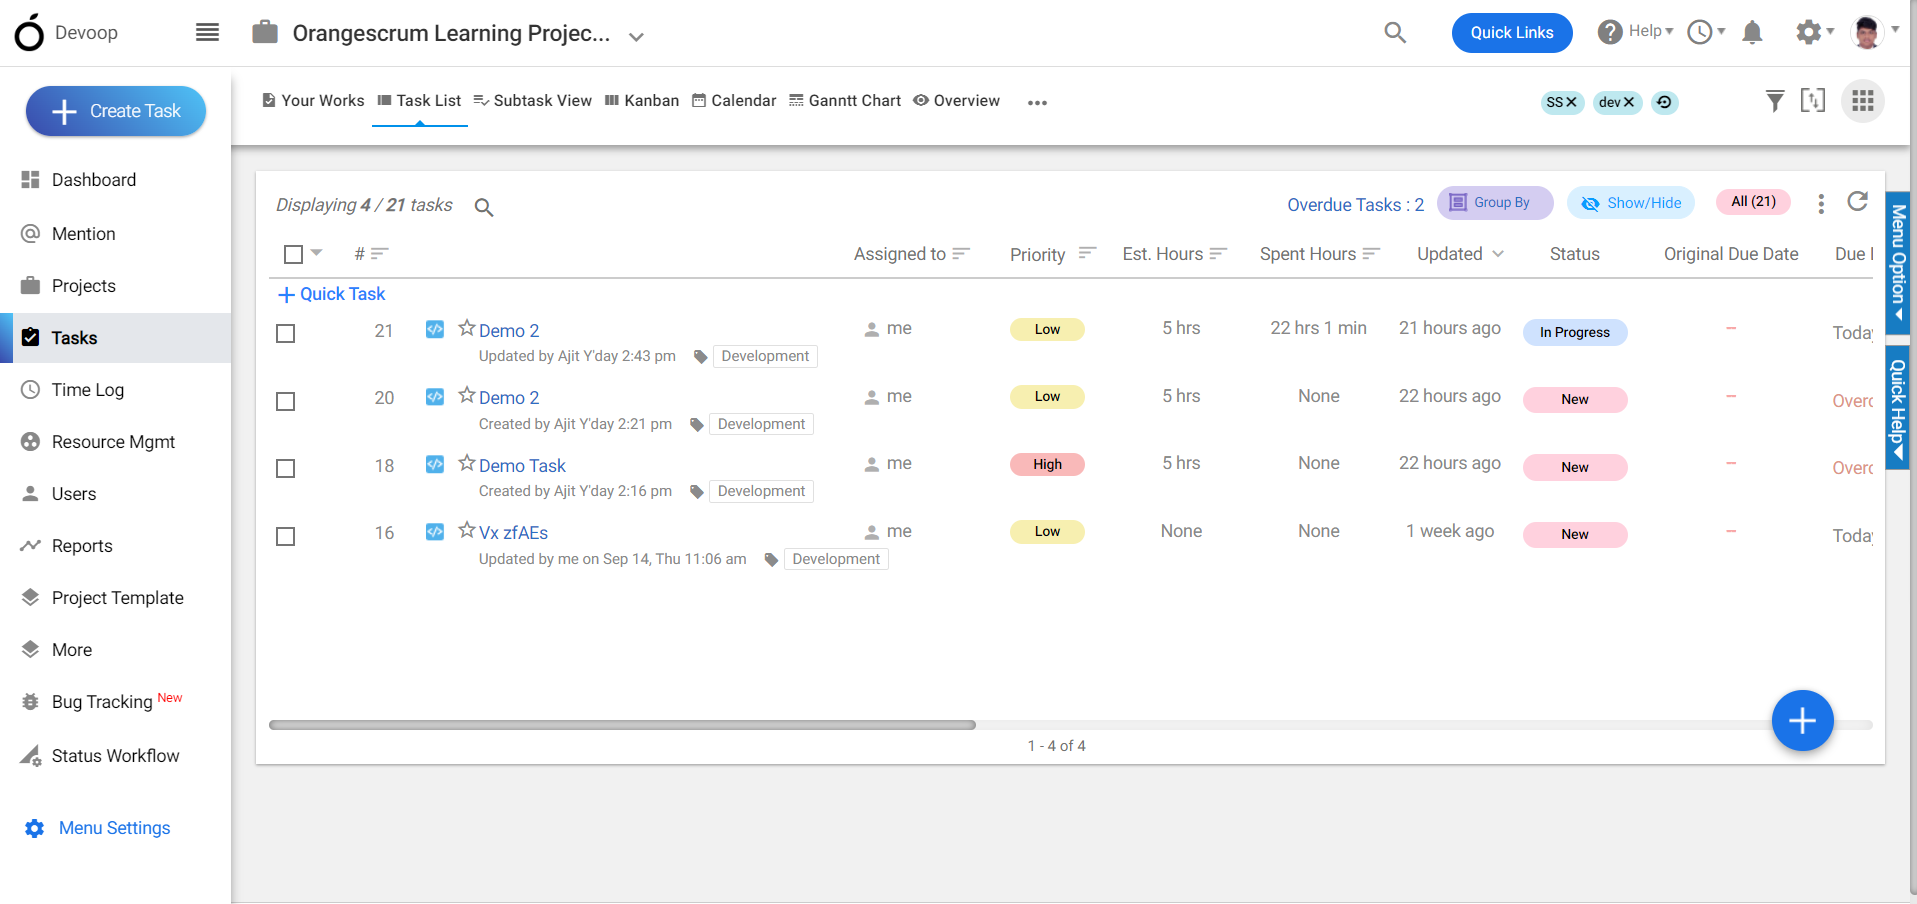
Image-5
# Orangescrum quick guide for upgrade or downgrade plan
> Follow our quick guide to upgrade or downgrade your Orangescrum plan. Easily manage your subscription to fit your project needs and budget.
> For the complete documentation index, see [llms.txt](https://helpdesk.orangescrum.com/llms.txt).
Source: https://helpdesk.orangescrum.com/orangescrum-quick-guide-for-upgrade-or-downgrade-plan
---
To upgrade or downgrade your subscription plan, please follow the below image and instructions:
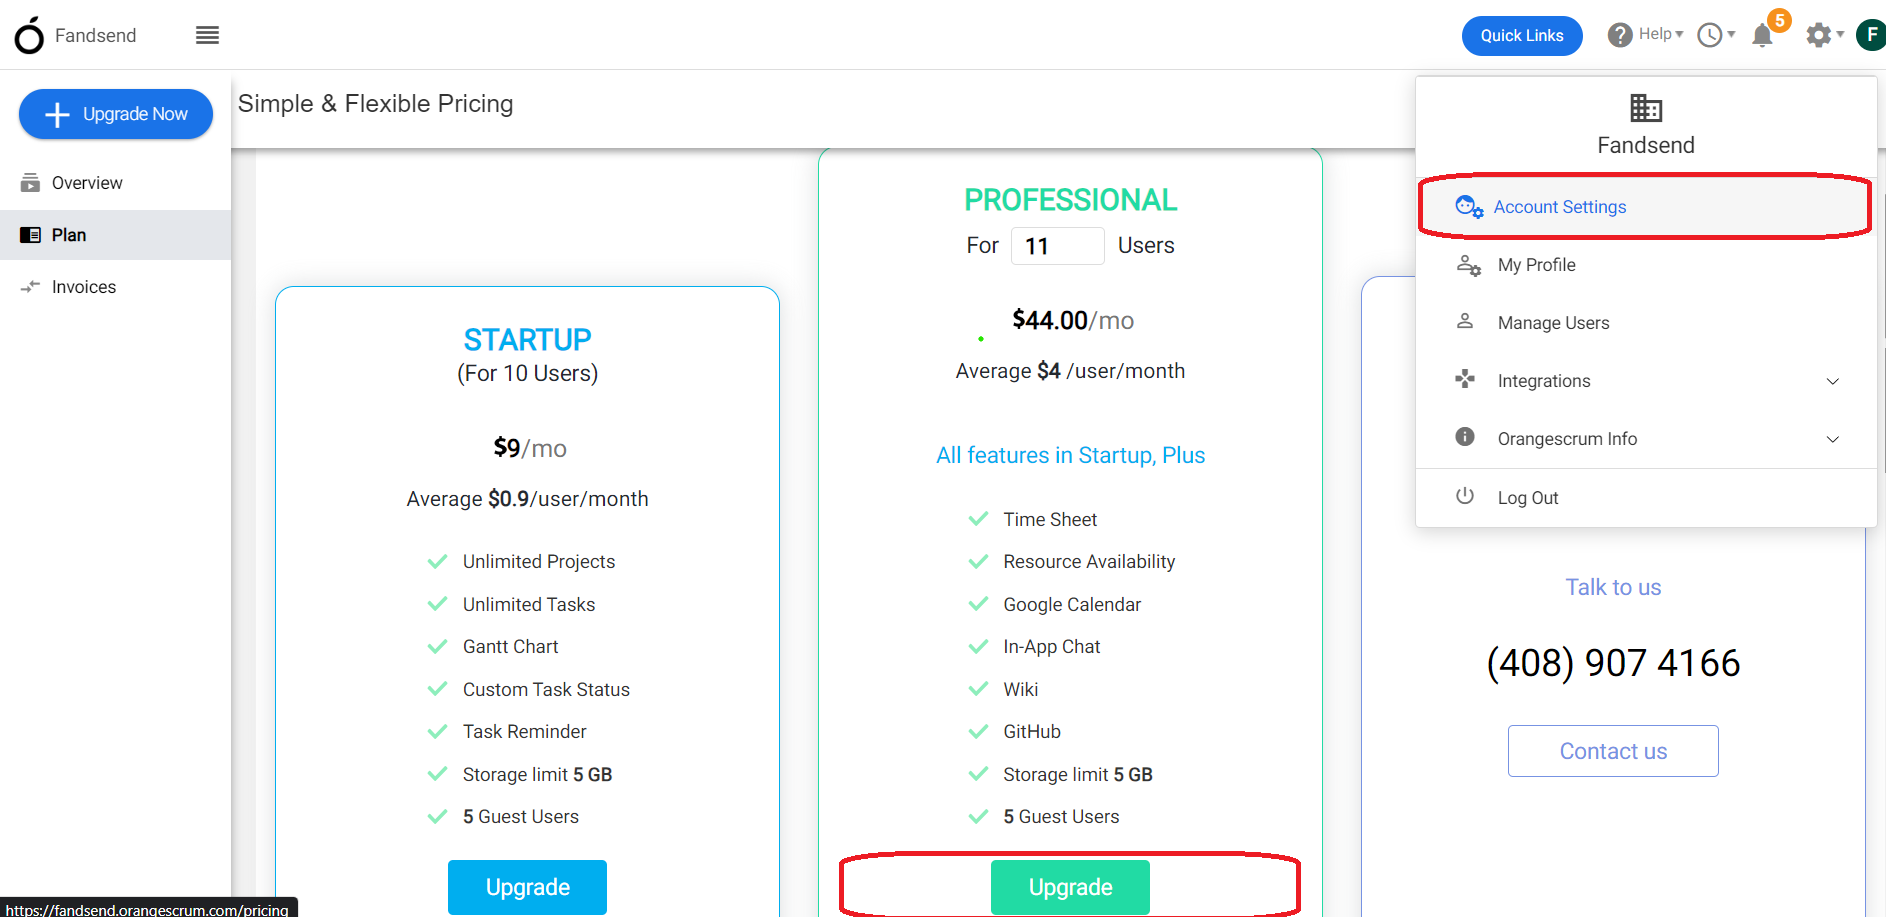
Image-1
1\. Login to Orangescrum.
2\. Go to your profile and select “Account Settings.”
3\. Click on “Subscription.”
4\. Here, you can find the current activated subscription details.
5\. Under the same “Subscription” page you can find the option to “Upgrade” or “Downgrade”, allowing you to upgrade or downgrade your current subscription.(Refer Image 1)
# Orangescrum Quick Guide For Import/Export Project
> Follow this quick guide to effortlessly import and export projects in Orangescrum, enhancing your project management workflow.
> For the complete documentation index, see [llms.txt](https://helpdesk.orangescrum.com/llms.txt).
Source: https://helpdesk.orangescrum.com/orangescrum-quick-guide-for-import-export-project
---
You can import or export entire projects, including all tasks and subtasks, to serve as project plan for similar projects when needed.
To Import/Export the Projects, please follow the below image and instructions:
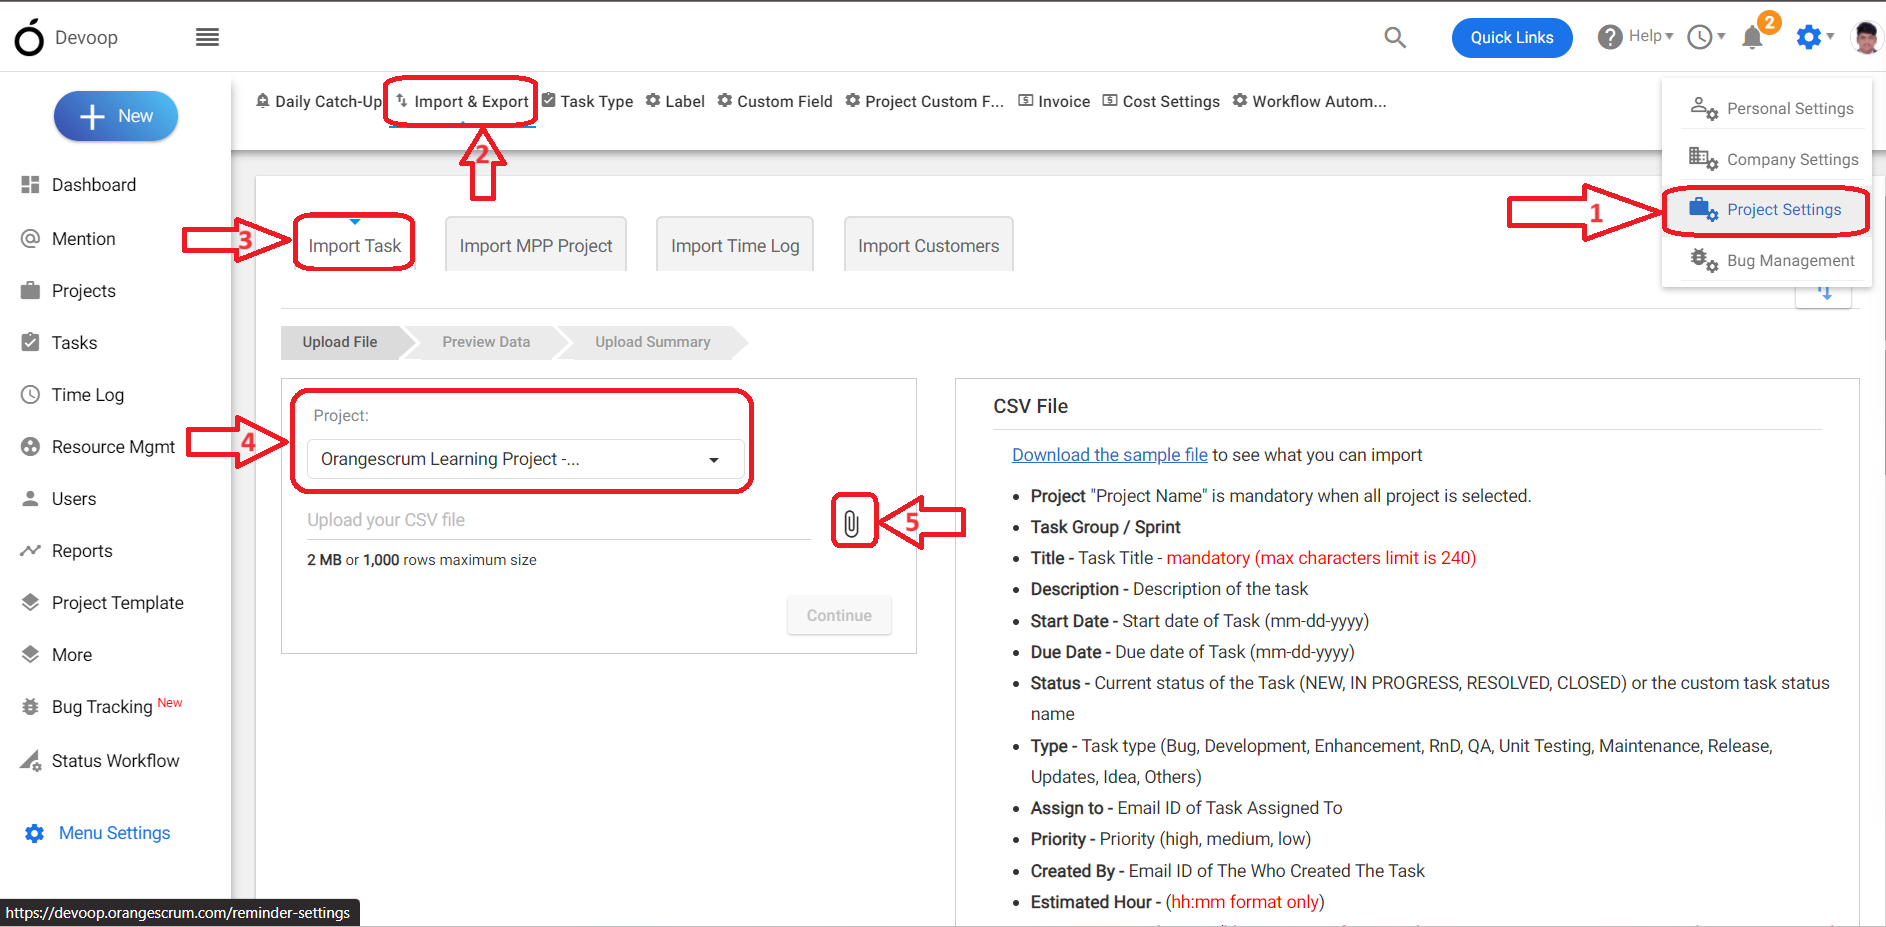
**(Image 1)**
1. Login to Orangescrum.
2. Go to your profile and select “Project Settings.”
3. Click on “Import & Export.”
4. Here, you can find the option Import Task.
5. Under the “Import Task” section, find the “Upload File” option.
6. Click the project drop-down menu and choose “All”.
7. Click the file upload icon and upload the project in the correct format. (Refer Image 1)
# Orangescrum Quick Guide For Simple Project
> Set up and manage simple projects in Orangescrum easily with this quick guide. Streamline your project management process today.
> For the complete documentation index, see [llms.txt](https://helpdesk.orangescrum.com/llms.txt).
Source: https://helpdesk.orangescrum.com/orangescrum-quick-guide-for-simple-project
---
In Orangescrum, a simple project can be managed with a basic set of features, such as task management, scheduling, and progress tracking.
It typically involves a single team working on a clear and well-defined objective, with few interdependencies with other projects or processes.
Examples of simple projects might include a small-scale marketing campaign, a software feature update, or a process improvement initiative. These projects generally have a clear start and end date, a limited number of tasks, and a well-defined set of deliverables.
To create a simple project in Orangescrum, you can follow these steps:
1. Login to Orangescrum account.
2. Click on the “Projects” tab from the left-hand menu.
3. Click on the “+ New Project” button.
4. 4.Enter a name for your project and a brief description.
5. 5.Set the start and end dates for your project, as well as the project status.
6. To create a simple project go to “Project Template” then choose the project “Simple”.
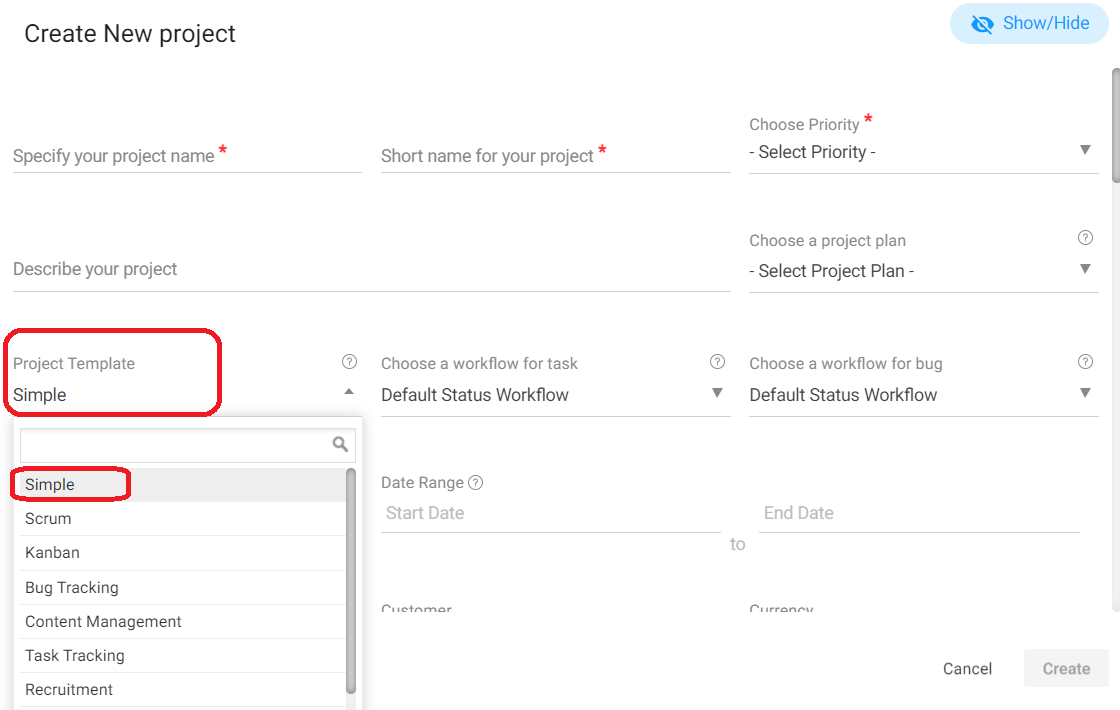
**(Image 1)**
7\. After that you can create the tasks under the simple project.
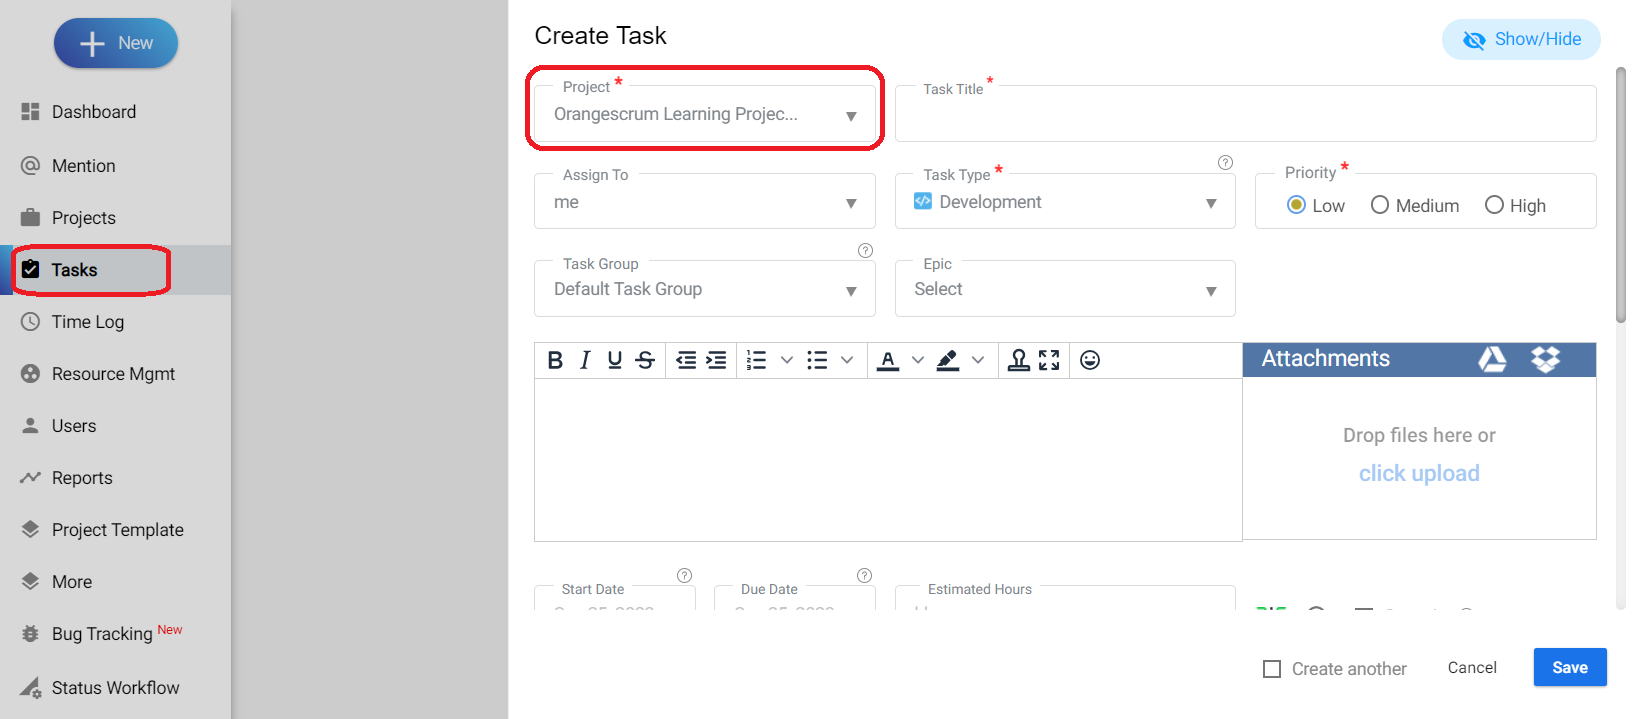
**(Image 2)**
8\. In the case of a ‘Simple’ project, on the tasks page, you can see different types of views such as “Task List”, “Subtask View”, “Kanban”, “Calendar”, and “Overview”.
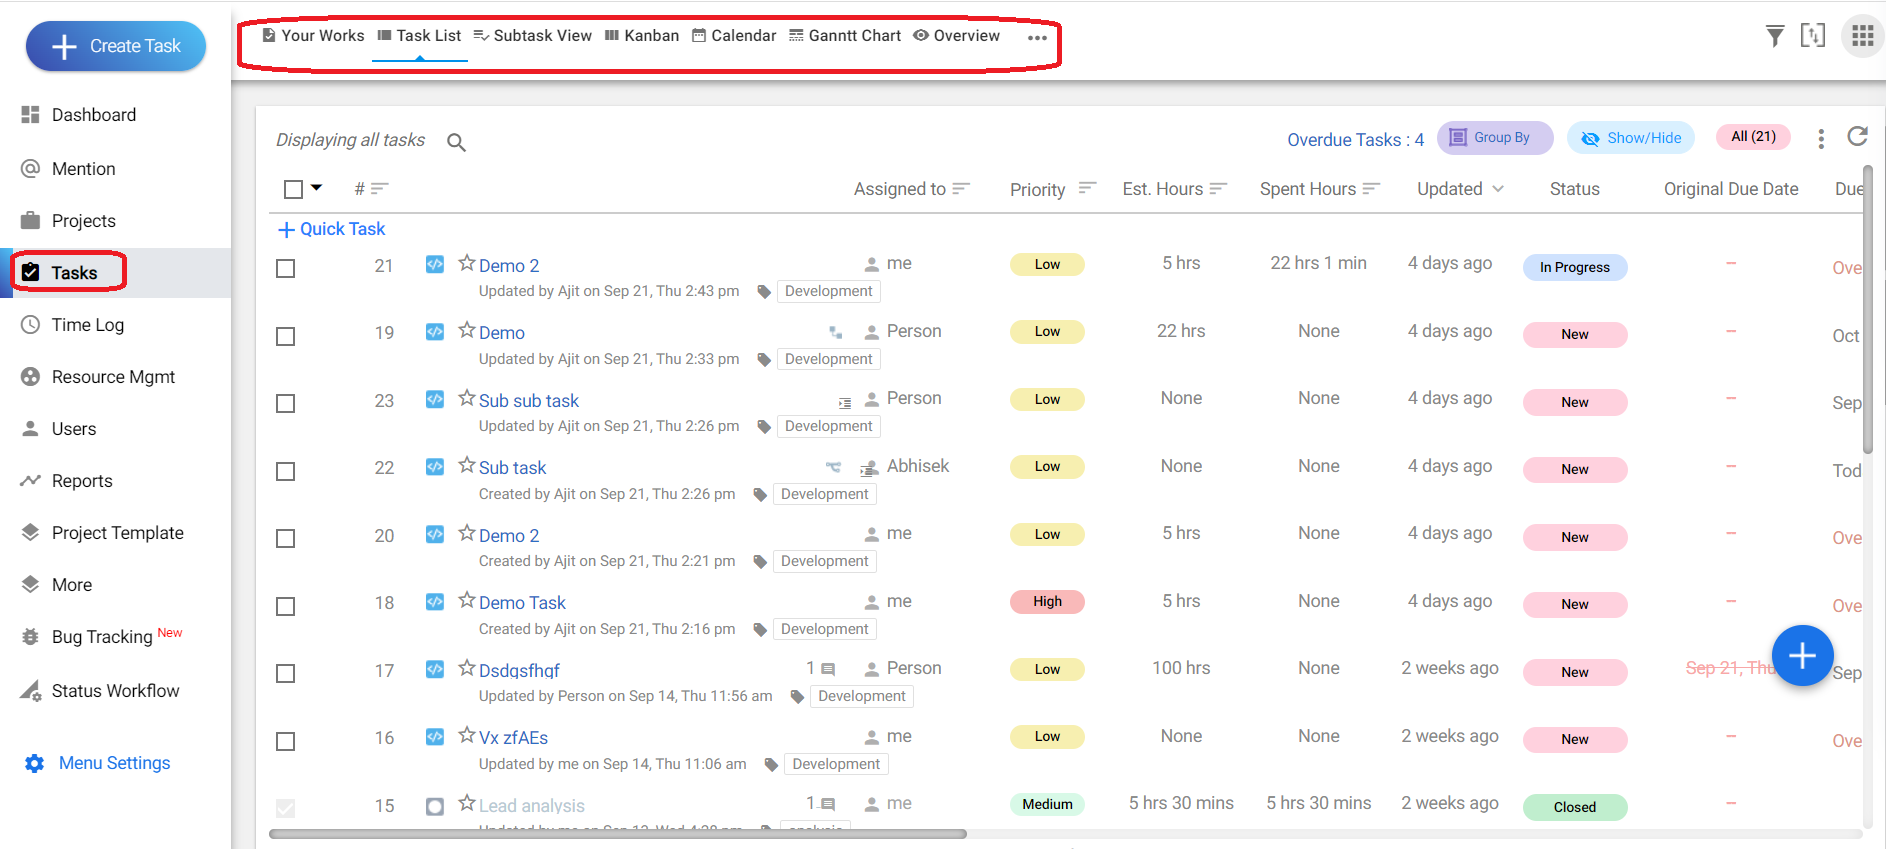
**(Image 3)**
9\. In the case of the ‘Task List’ view, you can find details about all the tasks, such as ‘Subtask’, ‘Sub sub task’, and so on.
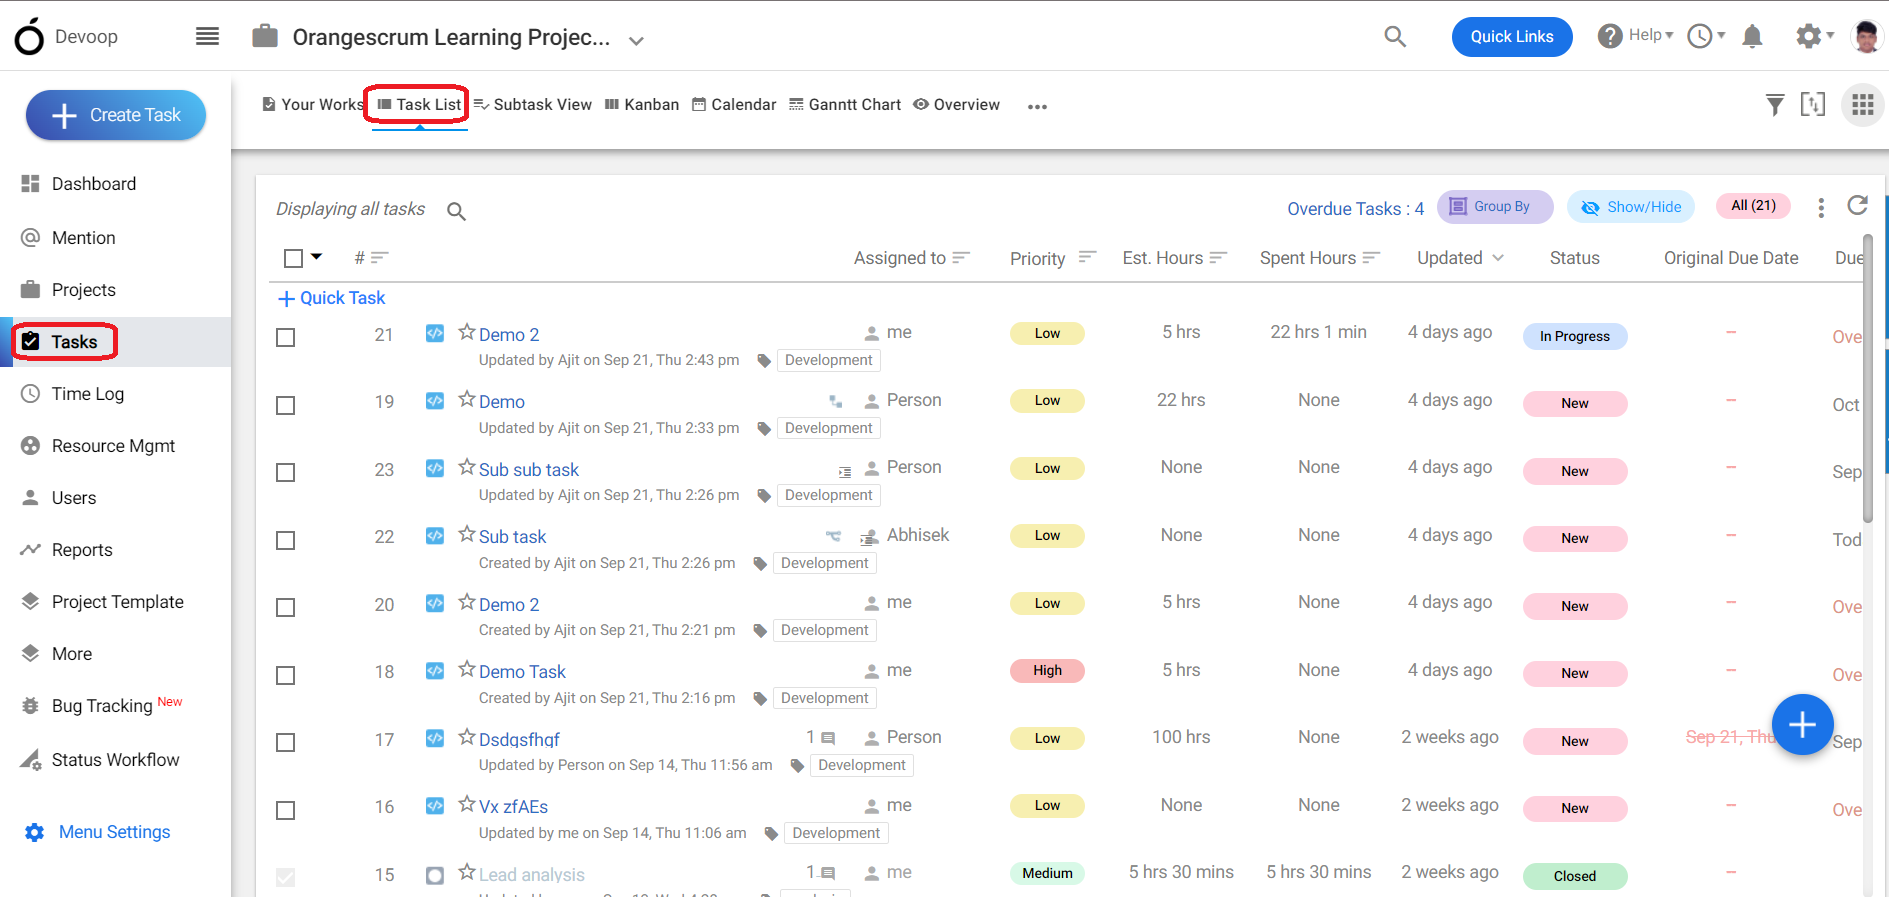**(Image 4)**
10\. If you click on the ‘Subtask View’, you can find details about all the tasks and their respective subtasks.
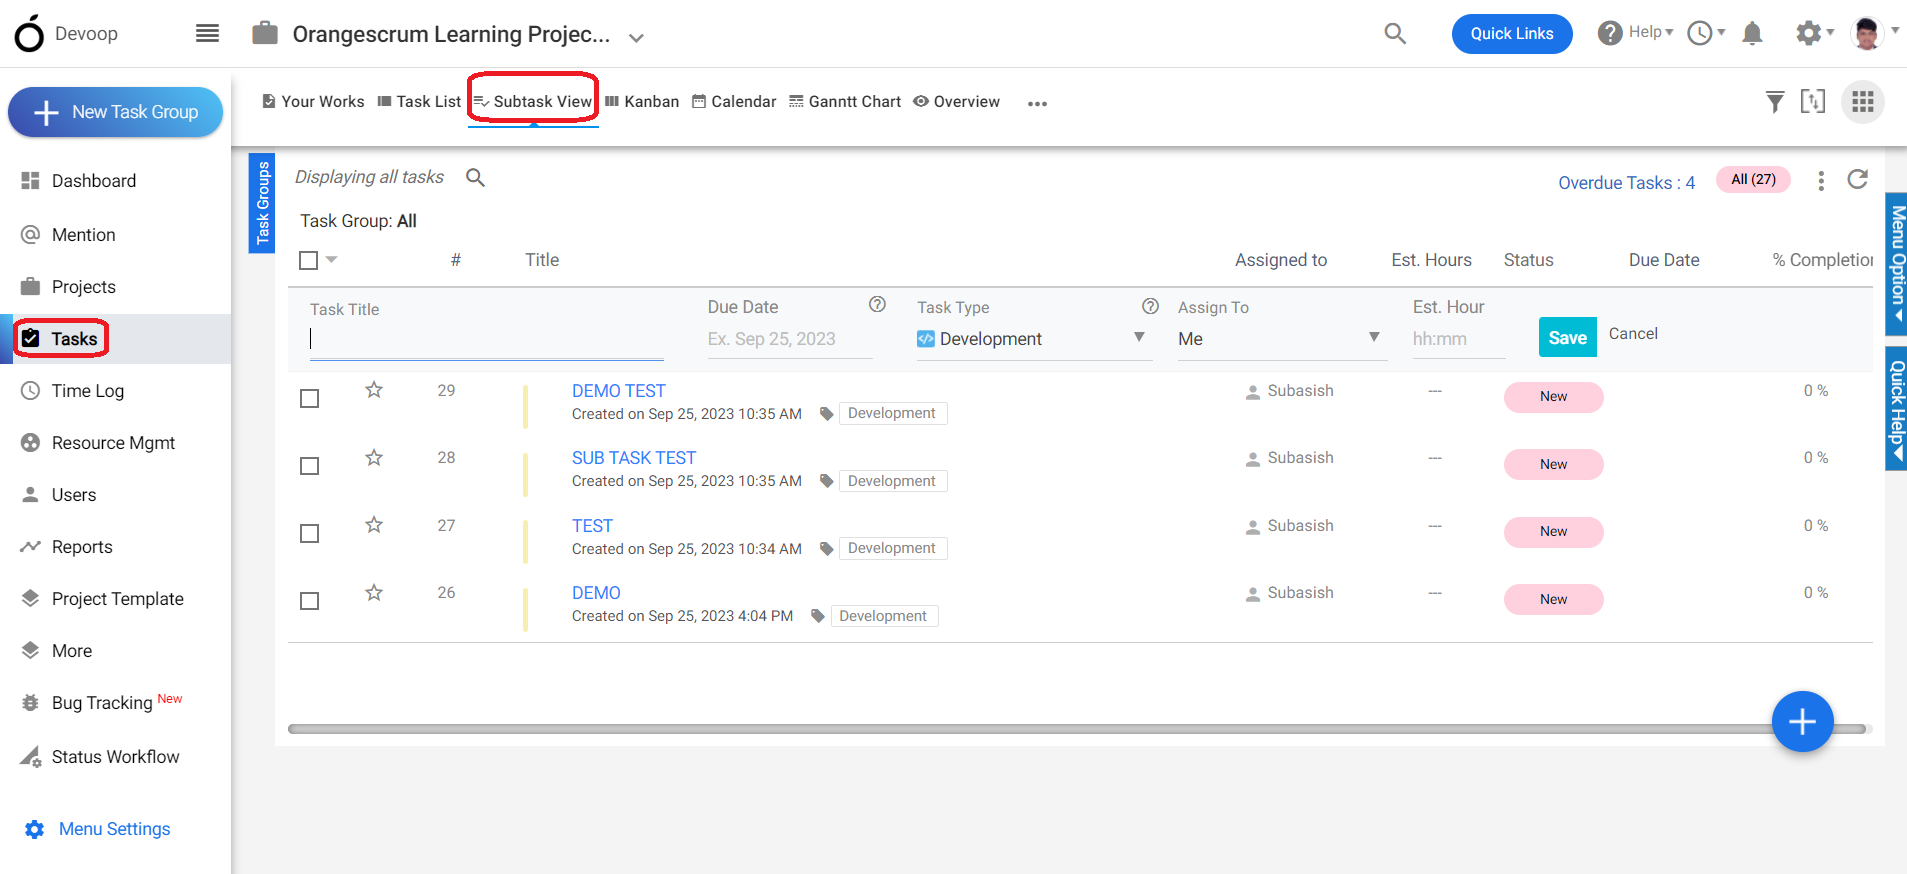
**(Image 5)**
11\. If you choose the ‘Kanban’ view, you can see all the tasks categorized under different statuses, such as ‘New’, ‘In Progress’, ‘Resolved’, and ‘Closed’. You can also drag and drop the tasks to move them under each custom status section.
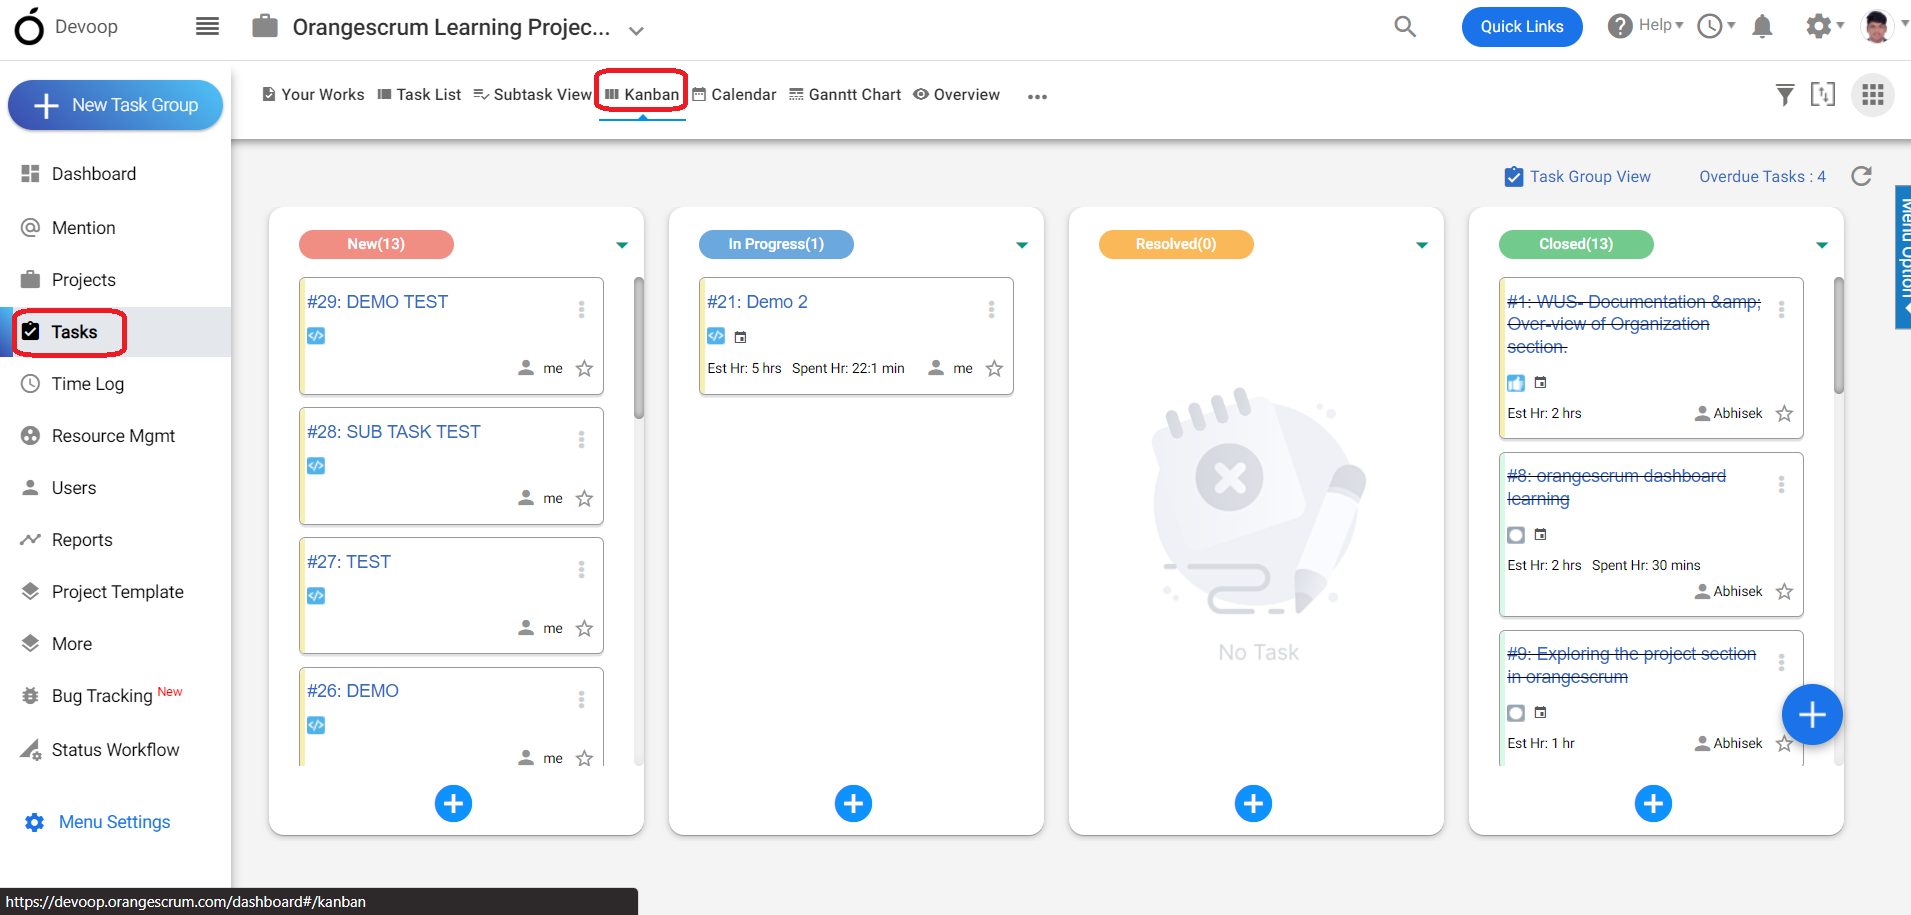**(Image 6)**
12\. If you select the ‘Calendar’ view, you can see each task listed on a specific date, along with its start and end dates, for easy reference.
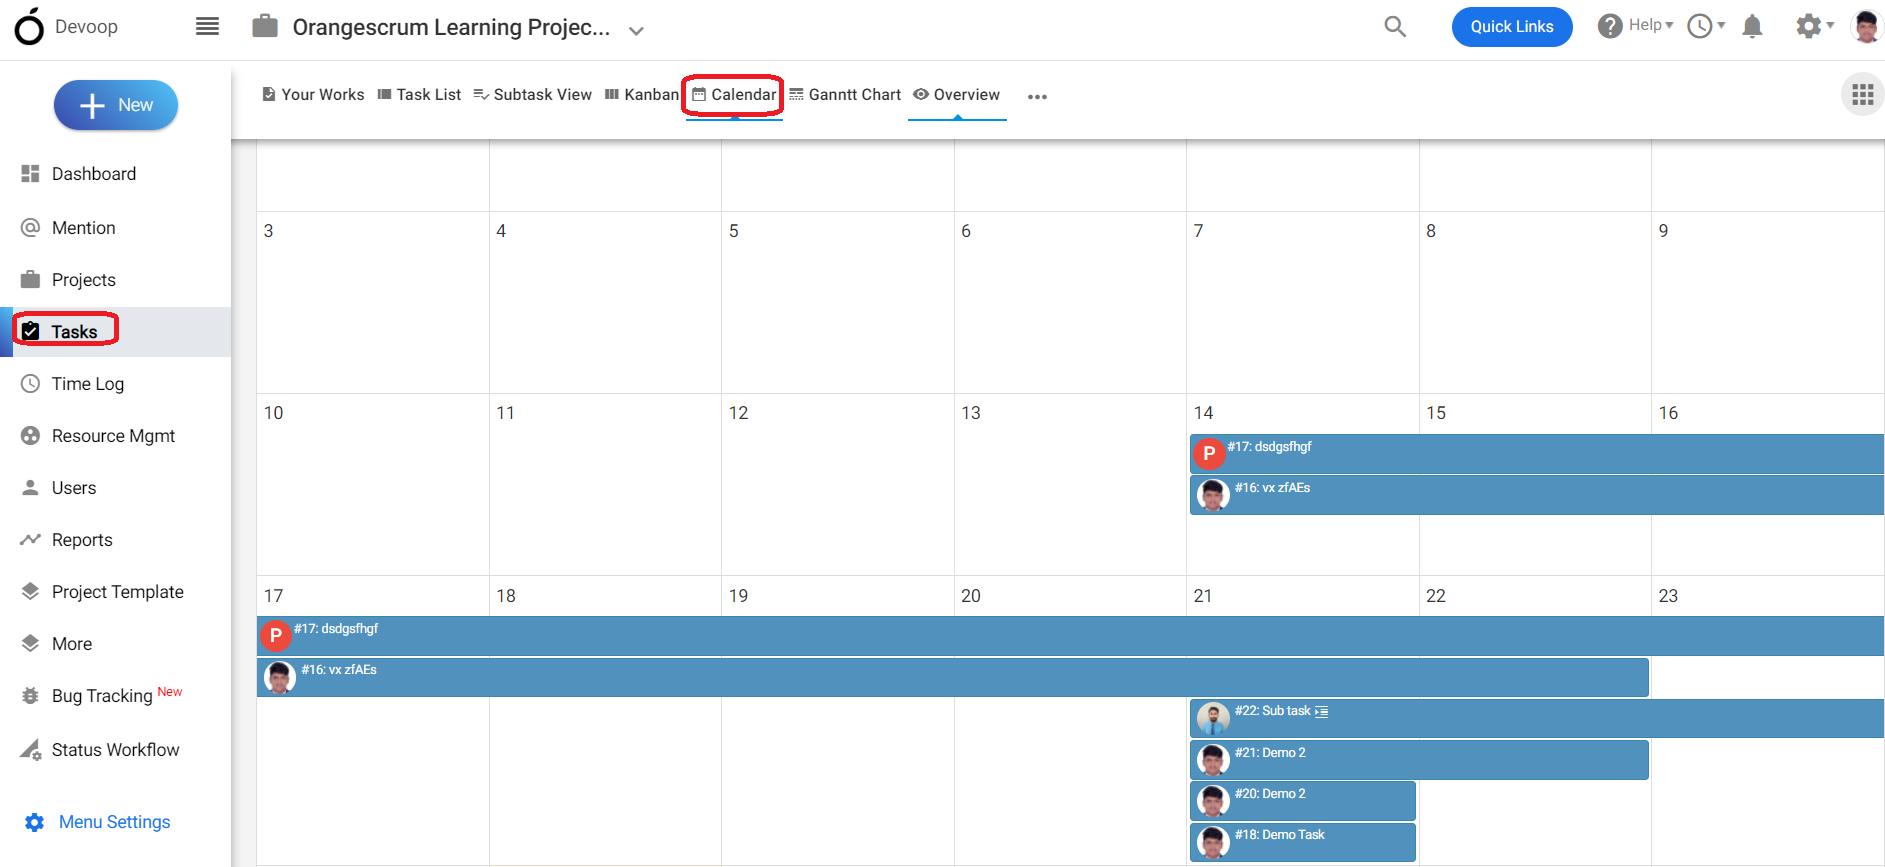
**(Image 7)**
13\. If you choose the ‘Overview’ option, you can see all the details about the project, including task status, time logs, team members, and all activities. Also there is an export option available on the top bar where you can export the data in pdf format.
14\. This view allows you to easily find and visualize the details about the tasks.
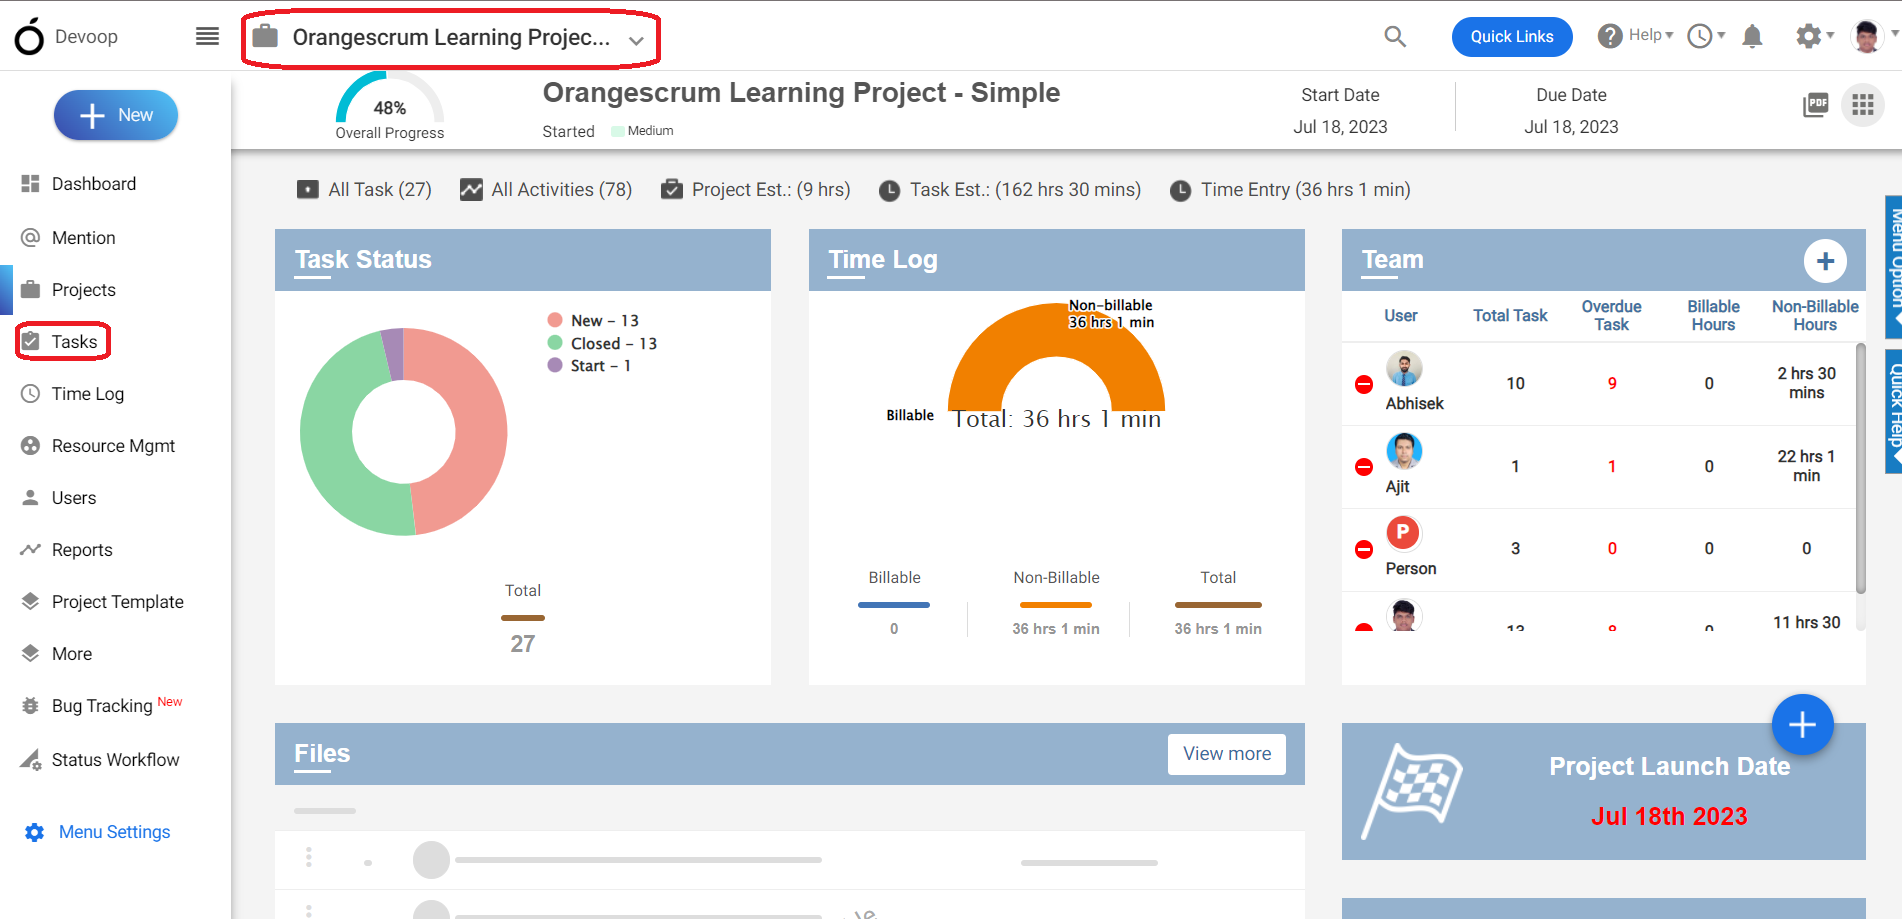**(Image 8)**
15\. In the Report section, you can view all reports related to the ‘Simple’ project except for the ‘Agile Scrum Reports’ which only contains details for the Scrum project.
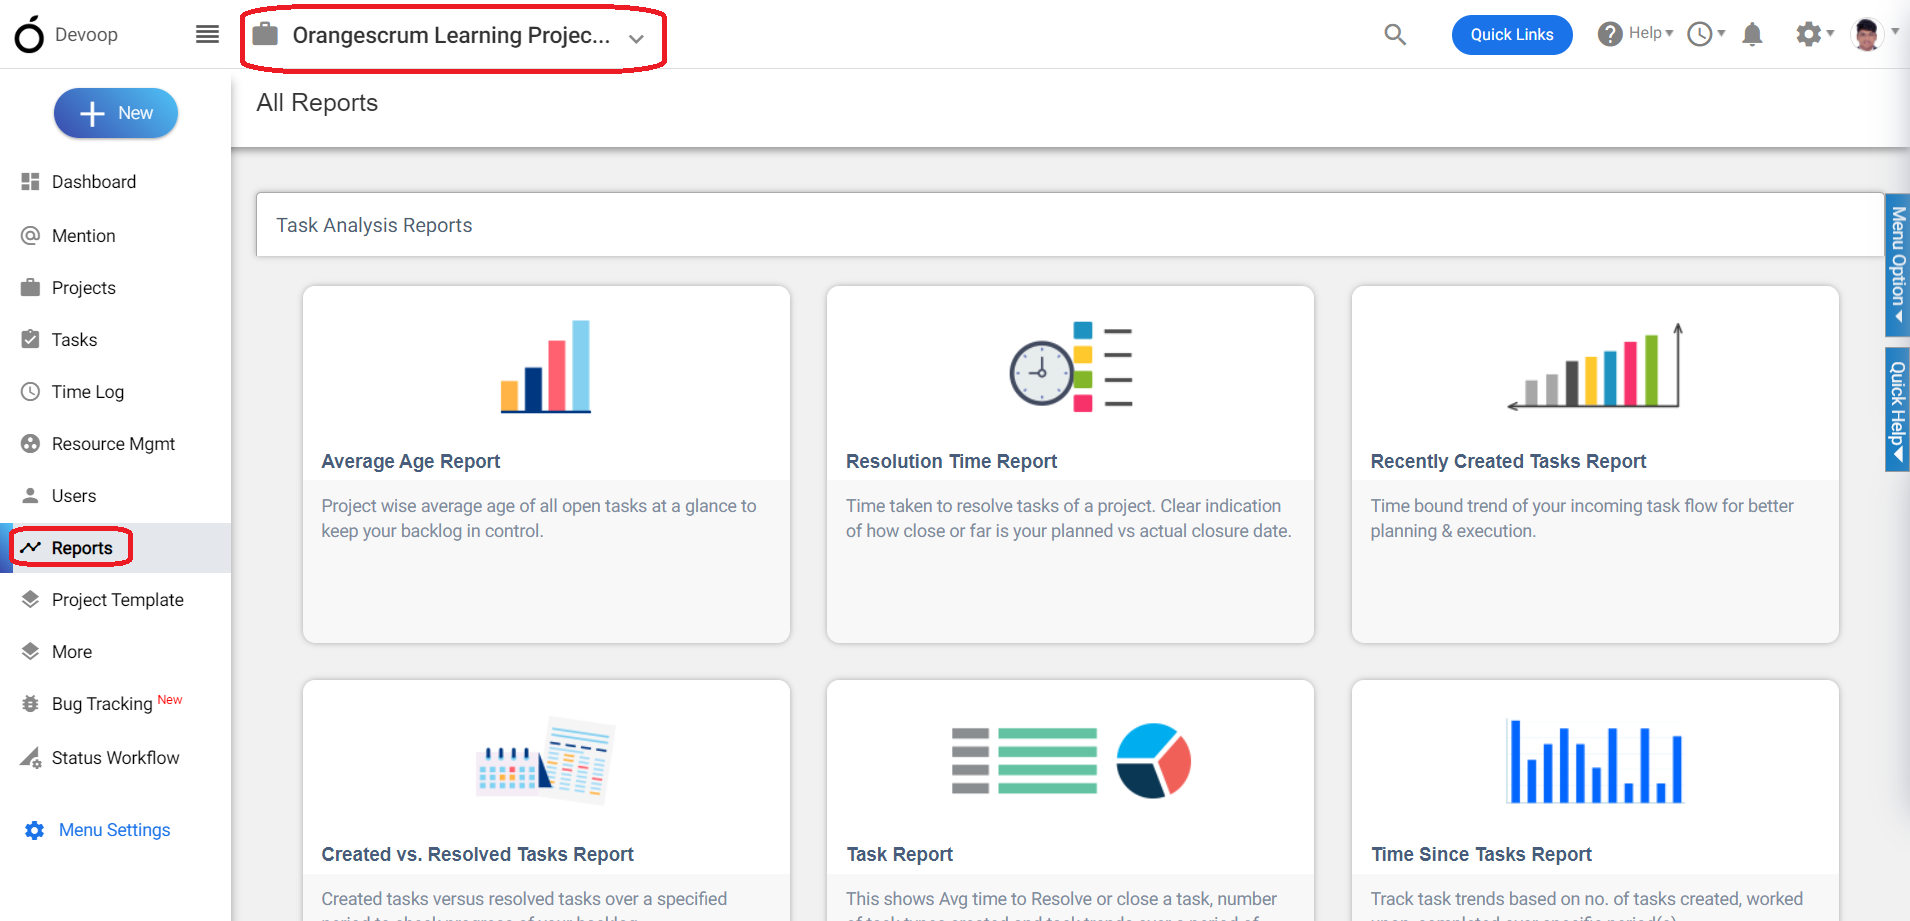
**(Image 9)**
# How to customize the left menu in Orangescrum?
> Learn how to customize the left menu in Orangescrum for better navigation and enhanced project management efficiency.
> For the complete documentation index, see [llms.txt](https://helpdesk.orangescrum.com/llms.txt).
Source: https://helpdesk.orangescrum.com/how-to-customize-the-left-menu-in-orangescrum
---
If you feel the left menu is crowded for you or some of the listed features are not used frequently you can customize the Orangescrum left menu as per your need.
Follow the process:
1. Login to the Orangescrum account.
2\. On the dashboard page click on the setting icon. (refer image 1)
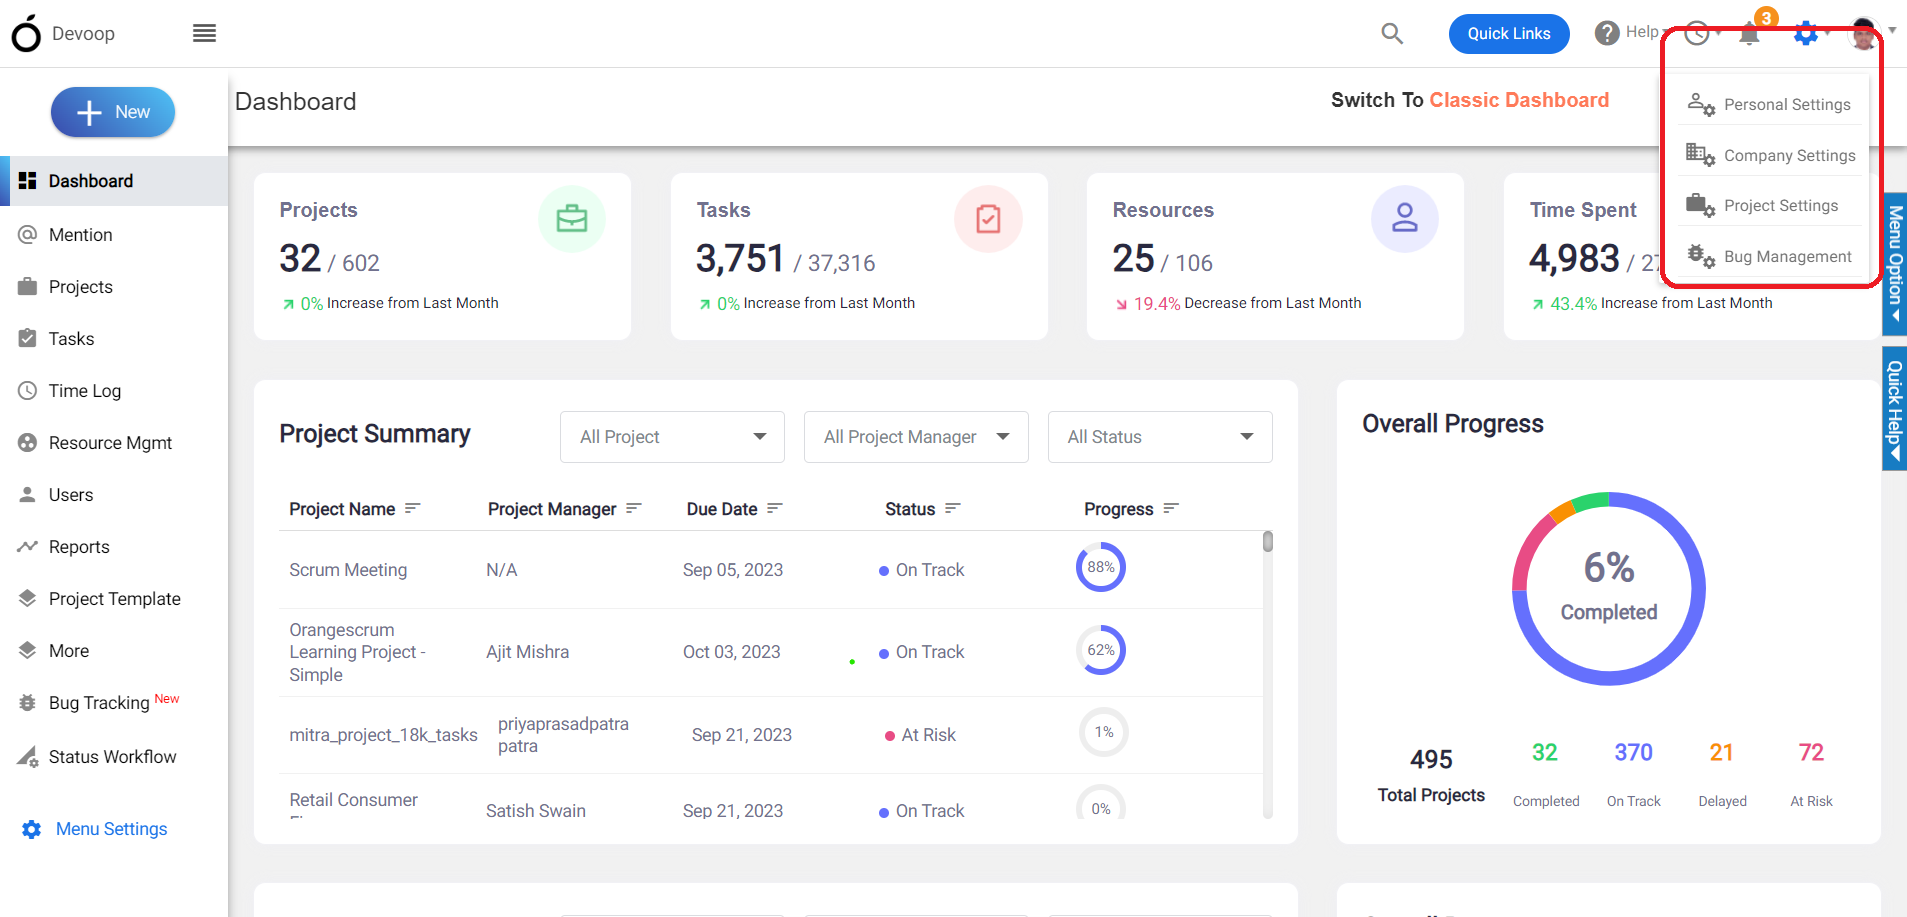
*Image-1*
3\. Click on a personal setting. (refer image 1)
4\. Click on “Left Menu” at the top navigation bar. (refer image 2)

*Image-2*
5\. You can drag the menu items to customize your menu. (refer image 3)
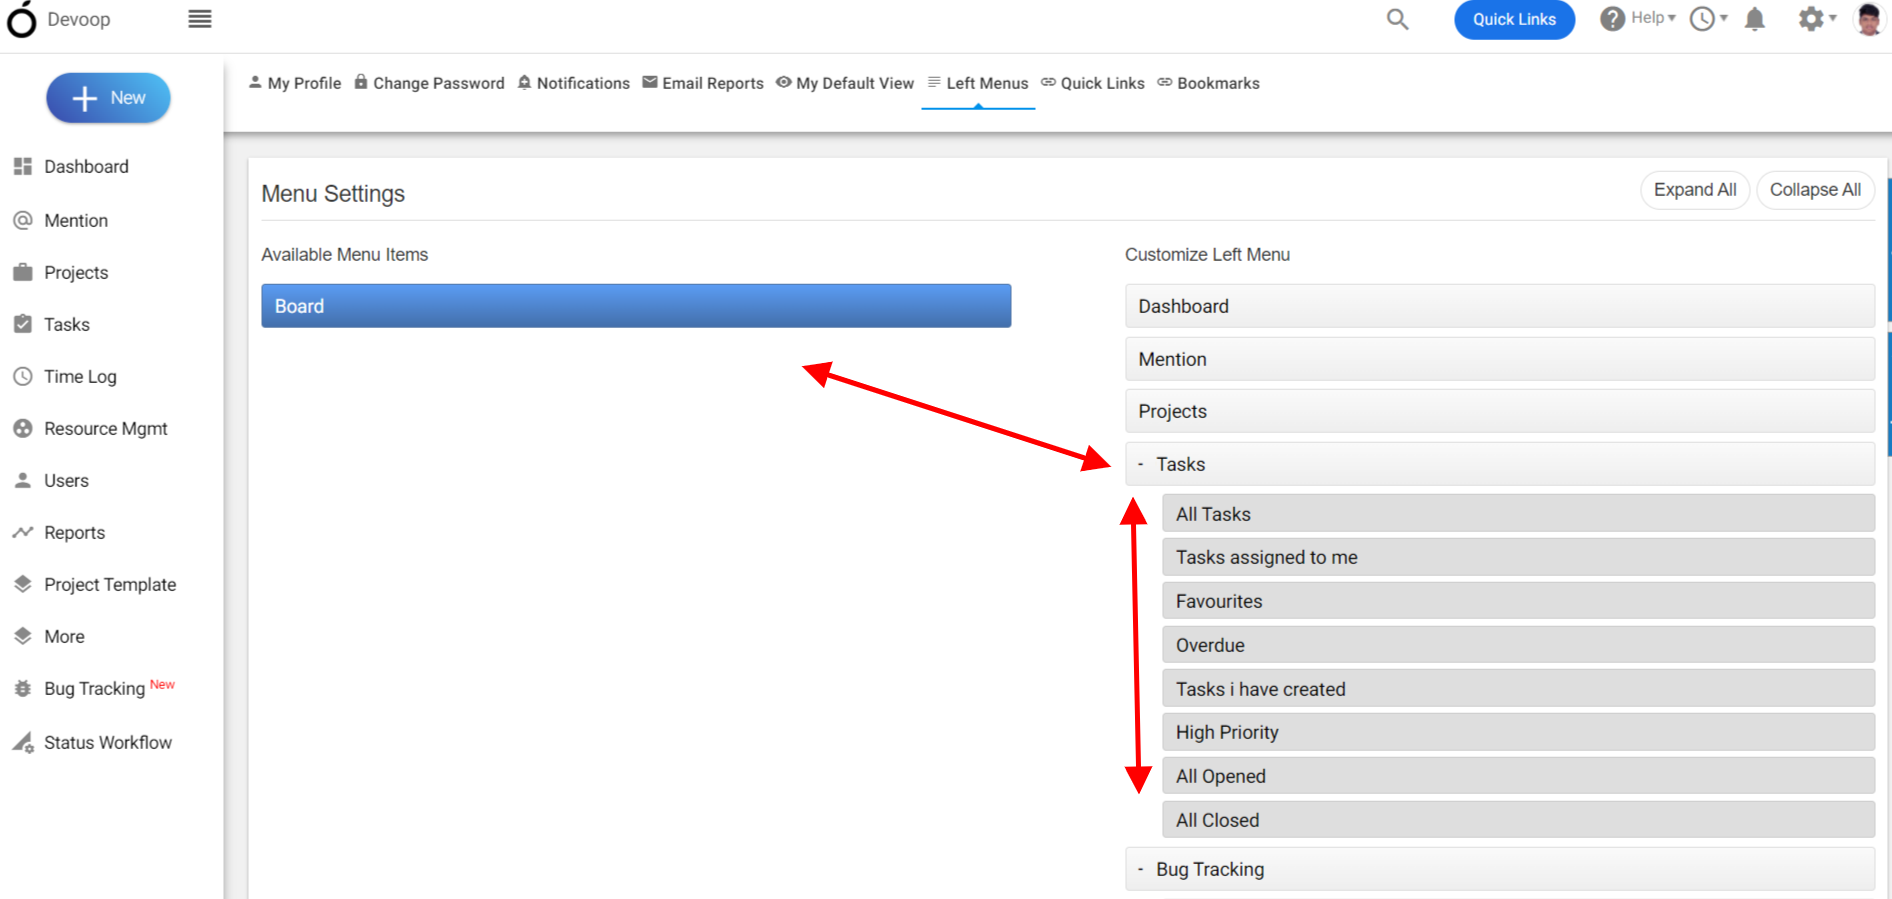
*Image-3*
For any information contact our support at support@orangescrum.com.
# How to Add A Client to Project?
> How to Add A Client to Project
> For the complete documentation index, see [llms.txt](https://helpdesk.orangescrum.com/llms.txt).
Source: https://helpdesk.orangescrum.com/how-to-add-a-client-to-project
---
1. Log in to your Orangescrum account using your credentials.
2. Click Quick Links > User (Refer Image 1)
3. Provide required details on the pop-up, select project & Click **Add** (Refer Image 2)
4. Navigate to **User Listing Page**, Click **icon>Mark Client**(Refer Image 3)
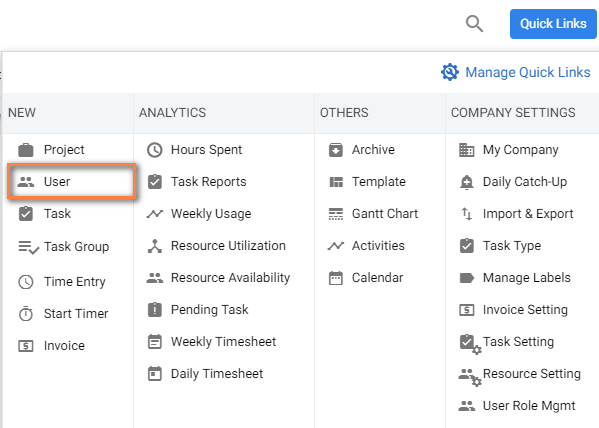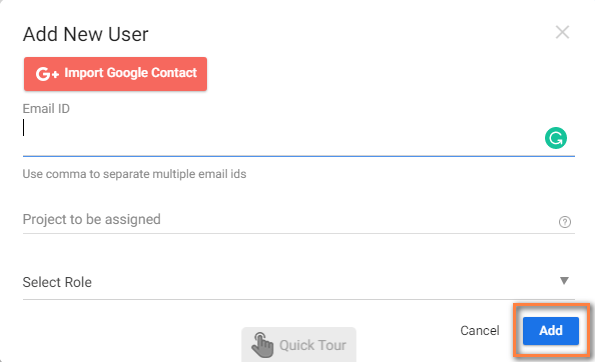
**(Image 1) (Image 2)**
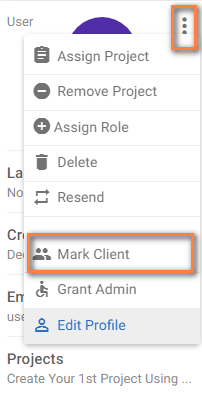
**(Image 3)**
# How to View Task Groups in Kanban?
> How to View Task Groups in Kanban
> For the complete documentation index, see [llms.txt](https://helpdesk.orangescrum.com/llms.txt).
Source: https://helpdesk.orangescrum.com/view-task-groups-kanban
---
To view task groups in Kanban mode in Orangescrum, you can follow these steps:
- Log in to your Orangescrum account.
- From the left menu, click on “**Tasks**“.
- In the header, select “**Kanban**” mode.
- The Kanban view will display the tasks organized into different columns representing stages or statuses.
- To view task groups, click on “**Task Group view**” located within the Kanban view.(Refer to Image-1)
- In the Task Group view, you will find all the details of the tasks grouped together based on their assigned labels or headings.(Refer to Image-2)
- You can expand or collapse the task groups to view the individual tasks within each group.
- Within each task group, you can perform various actions such as updating task statuses, assigning tasks to team members, adding comments, drag & drop the tasks and more.
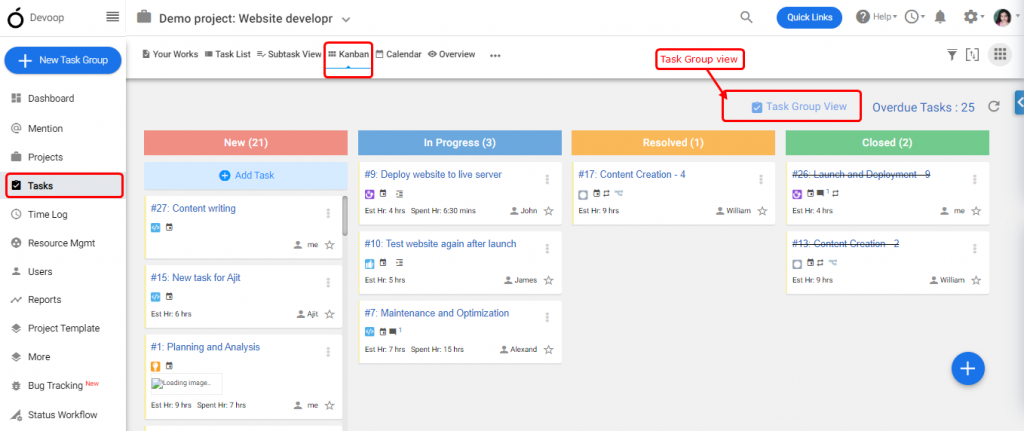
**(Image-1)**
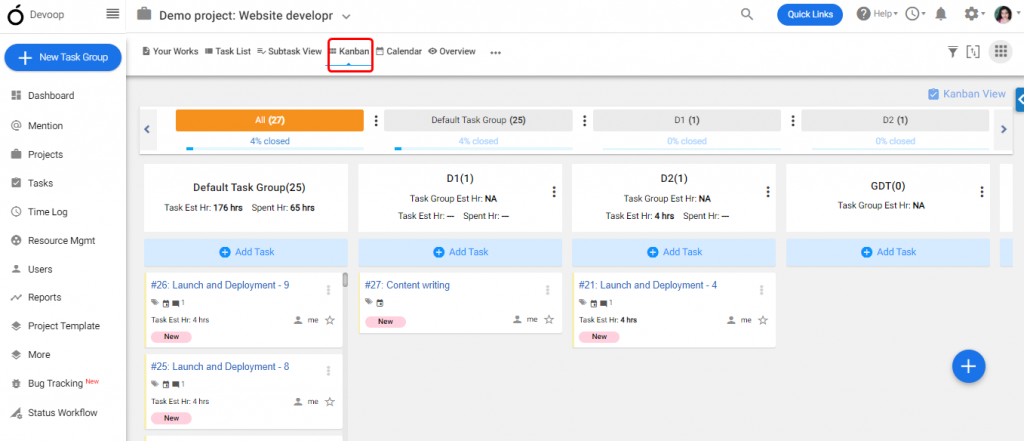
**( Image-2)**
# Orangescrum features
> Let us take a quick look at how task management and collaboration simplifies our work Robust Project & Task Management Sitting around the table or across the globe, task management, collaboration and communication is just the same. Task Groups You can break your projects into multiple Task Groups.…
> For the complete documentation index, see [llms.txt](https://helpdesk.orangescrum.com/llms.txt).
Source: https://helpdesk.orangescrum.com/orangescrum-features
---
Let us take a quick look at how task management and collaboration simplifies our work
**Robust Project & Task Management**
Sitting around the table or across the globe, task management, collaboration and communication is just the same.
- **Task Groups**
You can break your projects into multiple Task Groups. And each of your task groups will have unlimited tasks, sub-tasks and sub sub-tasks**.** Task Groups allow you to break your project into smaller manageable chunks with detailed tasks breakdown.
You can use [Task Groups](https://helpdesk.orangescrum.com/create-task-group/) for:
- Very large complex tasks involving multiple teams
- Modules or phases of your projects depending on specific project needs
- Sprints if running Agile Scrum Project Management
- **Task Types and Labels**
Proper classification of tasks is very important when running projects. There is also an added complexity when you have specific project types with tasks related to finance, research, content, ideas, issues, billing, design, quality assurance etc.
Over time this could be very confusing and tasks may fall through the cracks. [Custom Task Types](https://helpdesk.orangescrum.com/what-is-a-task-type/) and Labels allow you to create as many categories and tags as you need to ensure smooth task execution.
**Tips: –** You can filter by task types and labels from your task list to focus on what you truly have to!
- **Project Templates**
Work smarter with [Project Templates](https://helpdesk.orangescrum.com/what-is-project-template-how-it-helps-you/) in Orangescrum. Most projects we run have a significant tasks overlap and it is frustrating to create the same set of tasks repetitively.
Create pre-defined templates for your most common project types once and reuse them forever. Just apply them on the “Create Project” form during project creation and you get all your task groups, tasks, subtasks created with a single click.
Learn how you can save time and be efficient with Project Templates.
**Tip: –** You can create unlimited [project templates](https://helpdesk.orangescrum.com/how-to-create-custom-project-templates-in-orangescrum/) within Orangescrum.
**Optimum Time and Resource Management**
Time and Resource Management is crucial for project success. It is one of the most time consuming activities for the project managers and teams hate to do it. But not with Orangescrum!
- **Time Tracking**
There are flexible [time management](https://helpdesk.orangescrum.com/how-do-i-log-time/) options available for your teams in Orangescrum. And it makes it easier for teams to adopt it. You can track time via:
- Automated Timer
- Time Entry
- Daily Time Sheet
- Weekly Time Sheet
- Approvals
- **Resource Utilization**
Optimal [resource utilization](https://helpdesk.orangescrum.com/what-is-resource-utilization/) is a must to keep your projects profitable. As your teams continue to track time spent against their tasks your resource utilization reports gets built automatically.
With easy marking of billable hours you know how much time did the team spent on non-billable hours and why. Thus you can quickly monitor and take proactive measures to ensure high billability and reduce activities that are non-productive and non-value adds.
- **Resource Availability**
You can define your [work hours per day, weekends, leaves and company holidays](https://helpdesk.orangescrum.com/define-weekends-workdays-company/) in Orangescrum. This comes in handy during task allocation and ensures optimal workloads for your team.
Not only that, you get to identify possible delays due to leaves, holidays and overloaded employees and reprioritize your tasks to deliver on time.
Understand how [resource availability](https://helpdesk.orangescrum.com/how-can-i-know-the-reason-for-which-the-resource-is-overloaded-with-the-work/) can save time and money for your projects.
- **Resource Allocation**
The Resource Allocation Report in Orangescrum typically includes the following information:
Resource Name: Lists the names of the resources or team members.
Task Name: Displays the names of the tasks assigned to each resource.
Resource Allocation by Hours: Specifies the number of hours allocated for each task.
Total Spent Hours: Displays the number of hours actually utilized for each task.
Hours Remaining: Indicates the remaining hours for each task.
Project Name: Specifies the name of the project associated with each task.
Total Est. Hours: Shows the total estimation hour of each task.
Current Week Status: It displays the Active Tasks, Overdue Tasks and Future Tasks.
The Resource Allocation Report helps project managers and team leads in monitoring resource allocation, identifying potential bottlenecks or over/underutilization of resources, and making informed decisions to optimize resource allocation across projects.
- ### Team Utilization
Orangescrum provides a Team Utilization feature that allows you to track and analyze the utilization of your team members. This feature provides insights into how effectively your team members are utilizing their time and resources.
The Team Utilization feature helps you monitor and optimize the utilization of your team members, identify bottlenecks, and make informed decisions regarding resource allocation and project planning.
**Visual Project Planning**
Interactive [Gantt Chart](https://helpdesk.orangescrum.com/how-to-use-the-gantt-chart-view-for-my-projects/) allows for real time project planning and progress monitoring. It helps visualize the big picture and take real time decisions w.r.t the overall project progress.
You can adapt your project plan with the greater visibility in terms of –
- [Task Dependencies](https://helpdesk.orangescrum.com/can-create-task-dependencies/)
- Task status updates
- Task schedule and due dates
- [Add/delete tasks](https://helpdesk.orangescrum.com/create-task-gantt-chart/)
- Optimize task priorities
# How can I change the language?
> Orangescrum SaaS Project Management tool supports 5 languages – English, French, German, Portuguese, and Spanish.You can change your prefered language.
> For the complete documentation index, see [llms.txt](https://helpdesk.orangescrum.com/llms.txt).
Source: https://helpdesk.orangescrum.com/can-change-language
---
Currently, Orangescrum SaaS Project Management tool supports 6 languages – Danish, English, French, German, Portuguese, and Spanish.
1. Log in to your Orangescrum ac count.
2. Click on your profile icon in the top-right corner of the screen.
3. In the dropdown menu, select “My Profile.”(Refer to Image-1)
4. On the Profile page, find the “Language” section.
5. Click on the dropdown menu next to “Language” to see the available language options.(Refer to Image-2)
6. Select your desired language from the list.
7. Click on the “Update” button to apply the language change.
8. The page will refresh, and Orangescrum will now be displayed in the selected language.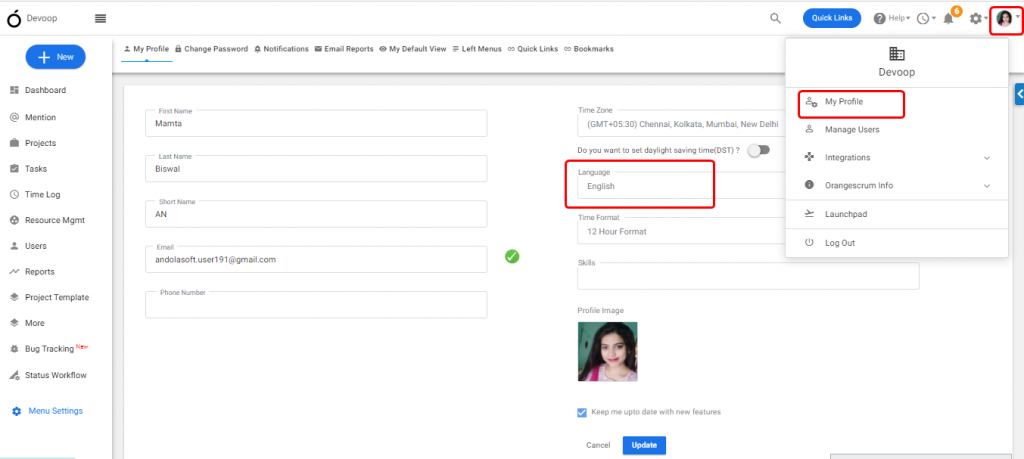
**(Image-1)**
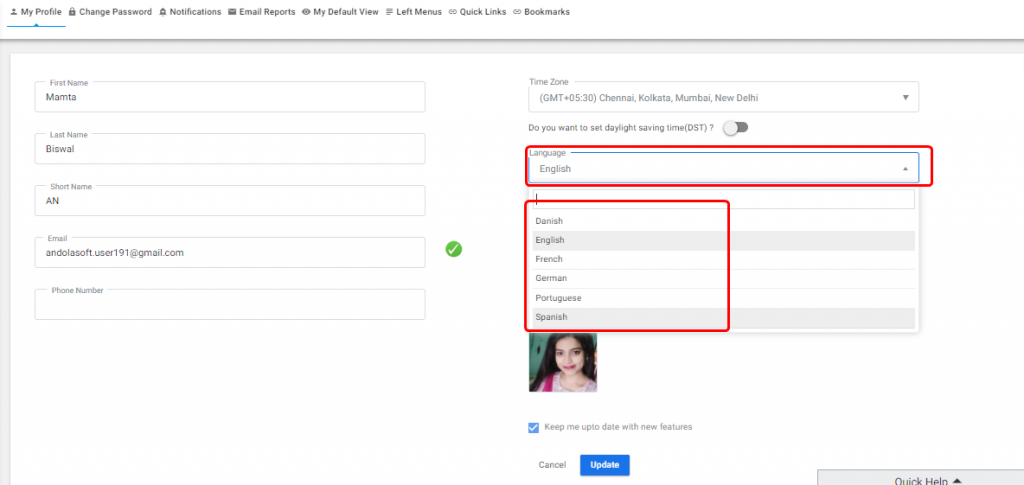 **(Image-2)**
# Is there an In-App Chat Feature in the Cloud Edition?
> Orangescrum Cloud Project management Tool does provide an in-app chat for instant collaboration and interactions within teams.
> For the complete documentation index, see [llms.txt](https://helpdesk.orangescrum.com/llms.txt).
Source: https://helpdesk.orangescrum.com/app-chat-feature-cloud-edition
---
Currently, the Orangescrum Cloud Edition does not have an in-app chat feature.
# Can I Move a Task Up and Down?
> Can I Move a Task Up and Down
> For the complete documentation index, see [llms.txt](https://helpdesk.orangescrum.com/llms.txt).
Source: https://helpdesk.orangescrum.com/can-move-task
---
**YES**, you can **Drag & Drop** a task. Please refer below steps to do so;
1. Login to your orangescrum account using your credentials.
2. Navigate to **Left menu > Tasks > Kanban**
3. You can find all the task details in the kanban. Here, you can drag and drop the tasks from ‘New’ to ‘In progress’ or to any other status you prefer.**(Refer to Image-1)**
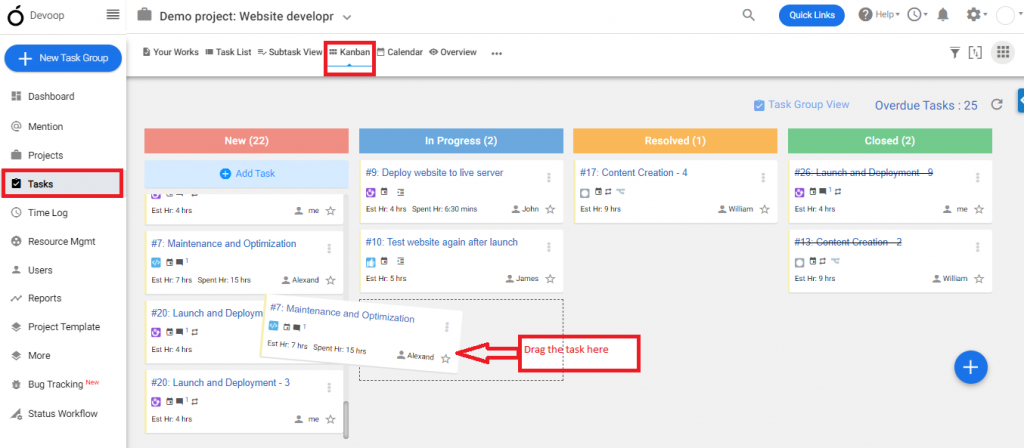
**(Image 1)**
# How can I enable or disable the columns or fields in Orangescrum?
> Learn how to enable or disable columns and fields in Orangescrum to customize your project management experience.
> For the complete documentation index, see [llms.txt](https://helpdesk.orangescrum.com/llms.txt).
Source: https://helpdesk.orangescrum.com/8265
---
**Create project-**
- Navigate to Quick Links and select Project under the New menu.
- **In the Create Project form, click on the Show/hide option on the top right of the form**
- A menu with all the optional fields in the form will appear.
- You can unmark any field to hide and mark any field to show in the column.
Please note that this configuration will be applicable to every new project you would create. While creating any project in the future, if you need any additional fields, you can click on the Show/hide menu and mark the fields you want to see.
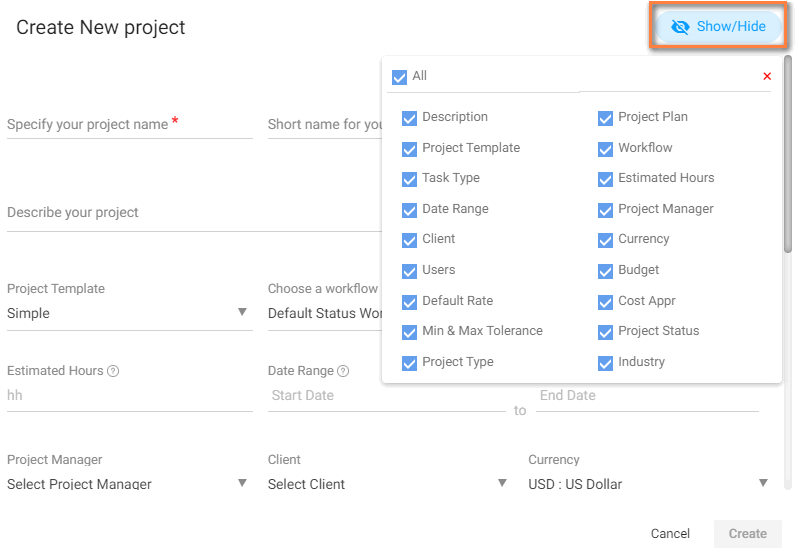
**Create Task –**
- Navigate to Quick Links and select Task under New menu.
- In the Create Task form, click on the Show/hide option on the top right of the form
- A menu with all fields except the task title will appear in the form. You can unmark any field to hide and mark any field to show in the column.
- You can click All to hide all or show all the columns.
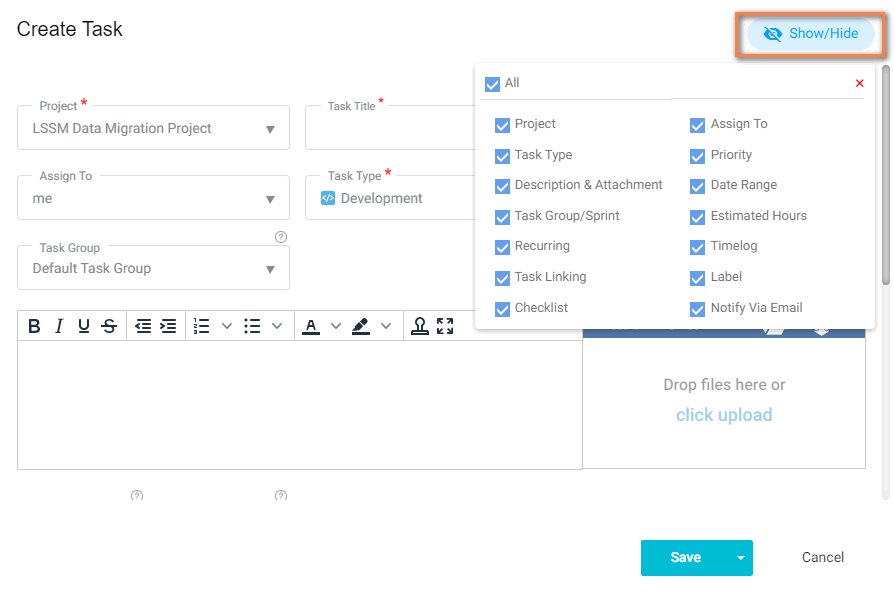
This setting is applicable to all projects. This means if you change the project on the task list page, then the configuration will not be changed.
**Task List –**
- Navigate to the Task list by clicking Task in the left panel.
- In the Task list, click on the Show/hide option on the top right of the form.
- A menu with all the optional fields in the form will appear.
- You can unmark any column to hide and mark any column to enable it. You can click Show/Hide All to hide all or show all the columns.
- Once changes are done, click on Save.
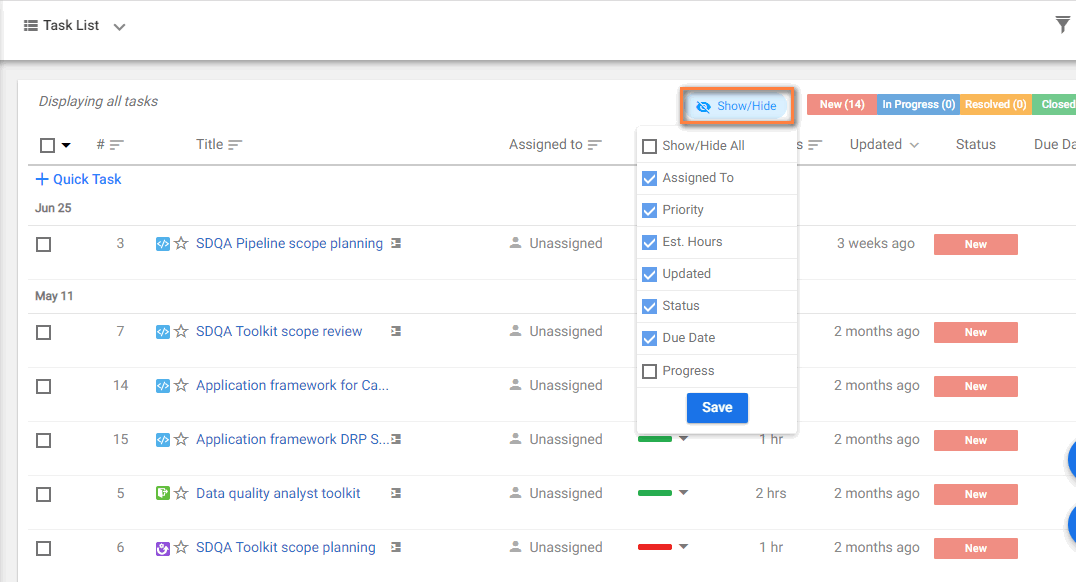
**Bug Tracking –**
- Navigate to the Bug Tracking by clicking from the left panel.
- In the Bug Tracking, click on the Show/hide option on top right of the form.
- A menu with all the optional fields in form will appear.
- You can unmark any column to hide and mark any column to enable it. You can click Show/Hide All to hide all or show all the column.
- Once changes are done, click on Save.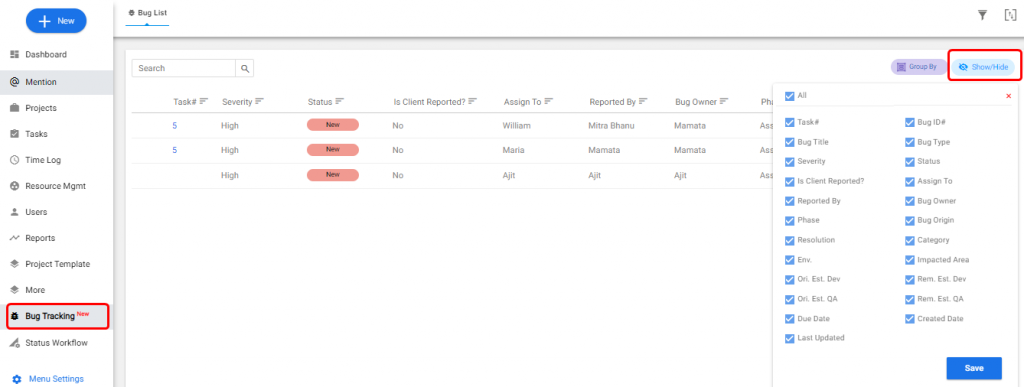
**Resource Utilization –**
- Navigate to the **Resource Mgmt** by clicking from the left panel then click on **Resource Utilization**.
- In the **Resource Utilization**, click on the Add/Remove Column option on top right of the form.
- A menu with all the optional fields in form will appear.
- You can unmark any column to hide and mark any column to enable it.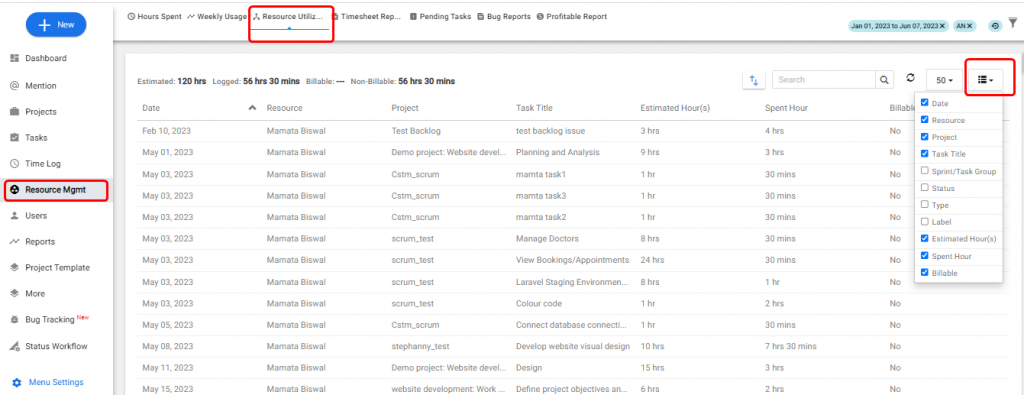
Please note this configuration is user specific. This means each user can configure columns for their respective accounts. This configuration is applicable for all the projects.
# How to create Task?
> Creating a task in Orangescrum task management tool is very simple and easy. You need to follow the basic steps to get the things done easily.
> For the complete documentation index, see [llms.txt](https://helpdesk.orangescrum.com/llms.txt).
Source: https://helpdesk.orangescrum.com/how-to-create-a-new-task
---
1. Login to your Orangescrum account with your credentials.
2. Once you have logged in, go to the “Tasks” section from the left menu. (Refer to Image-1)
OR,
1. Click **[Quick Links](https://helpdesk.orangescrum.com/how-can-i-manage-the-menus-in-quick-links/) > Task** (Refer Image-1)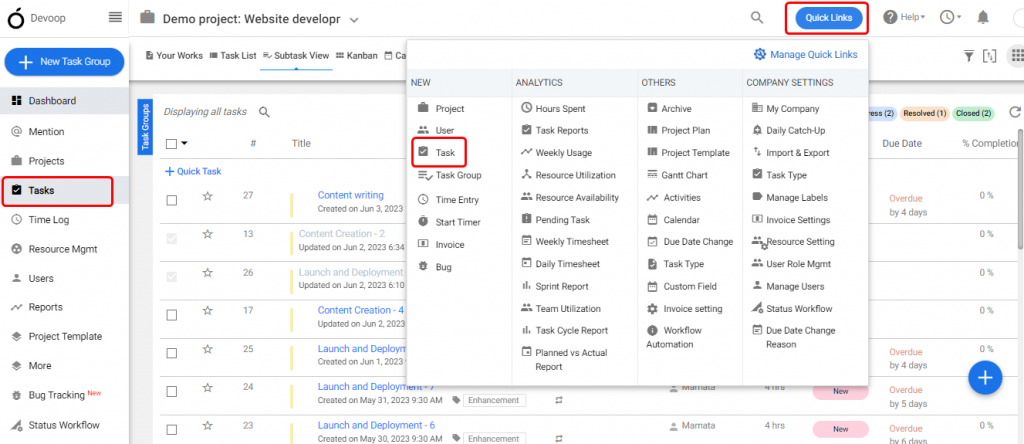 **(Image-1)**
  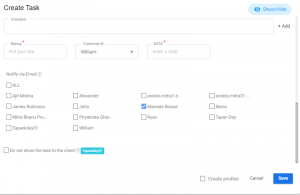
- Attachments:- Attachment allows you to attach the files that are related or required for the task.
- Priority:- You can set the priority of the task. If the task needs to be completed fast or is important then you can mark it as high. If a task has low priority then you can mark it as low.
- Task type:- Choose the type of task(Refer Image-1)
- Task template:- Like a project template, if you have certain tasks which are performed same way for all/maximum projects, then you can create a task template of the task and just add it to the template.
**Tips:** Using a Task template saves time from defining task description manually while creating tasks.
- Start Date:- The date on which the task will be started.
- Due Date:- The date on which task is to be completed.
**Tips: –**You can directly enter your spent hours while creating the task. If the task is assigned to you, you can find time range field while creating task
- [Estimated hour](https://helpdesk.orangescrum.com/assign-time-user-task/):- Minimum hours required to complete the task.
- Notify via email:- Users selected in this section will receive notifications of the activities done in the task. If I mark Daniel Jones, then he will be informed about the updates done to the task.
- [Related to](https://helpdesk.orangescrum.com/what-is-task-linking/):- You can link to related, duplicated or derived tasks.
- Label:- You can label your task as per your requirement.
- Don’t show the task to the client:- Your client will not be able to view the task or get the updates about the task.
Moreover, you can also create a [Recurring Task](https://helpdesk.orangescrum.com/create-recurring-task/).
2\. Click on **‘Save & Cancel**‘.
# How to Change the Status of Task Group?
> How to Change the Status of Task Group
> For the complete documentation index, see [llms.txt](https://helpdesk.orangescrum.com/llms.txt).
Source: https://helpdesk.orangescrum.com/change-status-task-group
---
1. Login to your Orangescrum account with your credentials.
2. Once you have logged in, go to the “**Tasks**” from the left menu then find the “**Task Groups** “.(Refer to Image 1).
3. Hover on the **icon** of the **Task Group**
4. Click ‘**Complete**’ (Refer to Image 2).
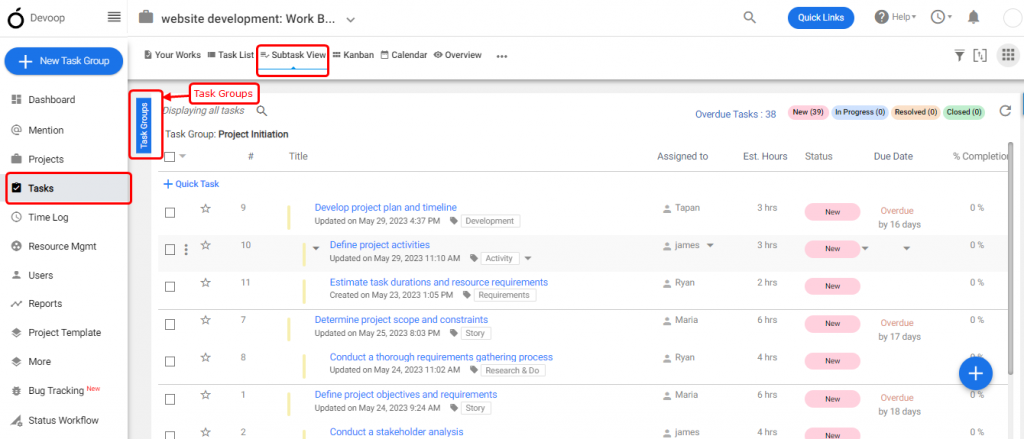
**(Image-1)**
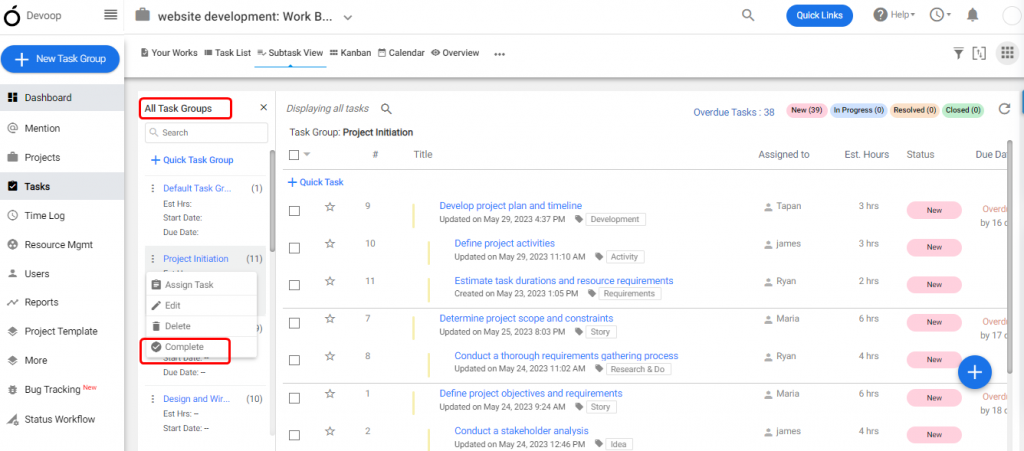
**(Image-2)**
# Why Some Blocks Seems to Show Half Booked?
> Why Some Blocks Seems to Show Half Booked
> For the complete documentation index, see [llms.txt](https://helpdesk.orangescrum.com/llms.txt).
Source: https://helpdesk.orangescrum.com/why-some-blocks-seems-to-show-half-booked
---
By default, Orangescrum takes 9 hours as the working hours. If you have assigned a resource with less than 9 hours, slots will show half booked. (Refer Image 1)

**(Image 1)**
# Why Does the Resource Show Available/Free When a Task is Assigned to Him?
> Why Does the Resource Show Available/Free When a Task is Assigned to Him
> For the complete documentation index, see [llms.txt](https://helpdesk.orangescrum.com/llms.txt).
Source: https://helpdesk.orangescrum.com/why-does-the-resource-show-available-free-when-a-task-is-assigned-to-him
---
This happens when the due dates aren’t assigned to the task. Please make sure you have assigned the task with ‘**Due Date**‘, ‘**Start date**‘ in order to see the availability status of the user in [**Resource Availability**](https://helpdesk.orangescrum.com/how-can-i-know-the-reason-for-which-the-resource-is-overloaded-with-the-work/).
If Estimated hours is not mentioned, it will take estimated hours as “**None**” .
# How can I Compare the Estimated Hour Vs Hours Spent by a Resource?
> Login to your Orangescrum account with your credentials. Once you have logged in, go to the “Resource Mgmt” from the left menu and hover over it to reveal a dropdown menu. From there, locate the “Resource Utilization” section.(Refer Image 1) Click & filter it as Resource, Estimated Hour(s) and Hour…
> For the complete documentation index, see [llms.txt](https://helpdesk.orangescrum.com/llms.txt).
Source: https://helpdesk.orangescrum.com/can-compare-estimated-hour-vs-hours-spent-resource
---
1. Login to your Orangescrum account with your credentials.
2. Once you have logged in, go to the “**Resource Mgmt**” from the left menu and hover over it to reveal a dropdown menu. From there, locate the “**Resource Utilization**” section.(Refer Image 1)
3. Click & filter it as **Resource**, **Estimated Hour**(s) and **Hour (s) Spent.**(Refer Image 2)
4. Check the **Estimated Vs. Spent Hour** by the **Resource** (Refer Image 3)
**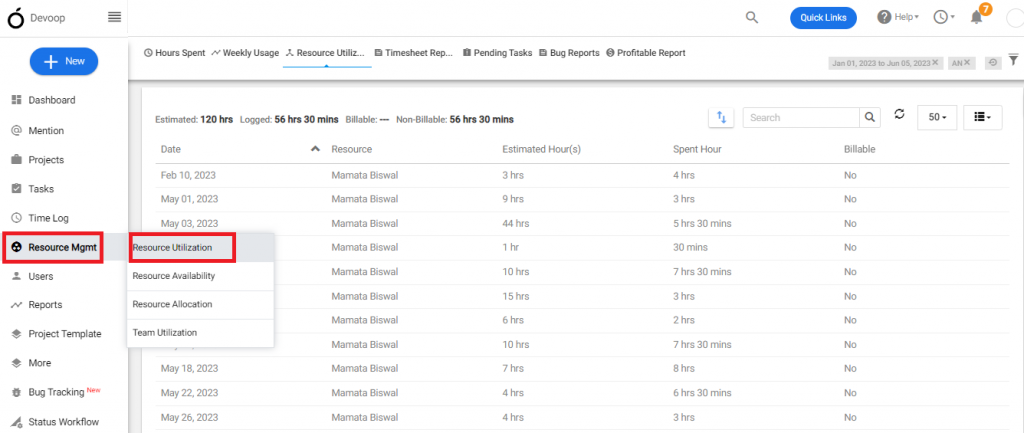**
**(Image 1)**
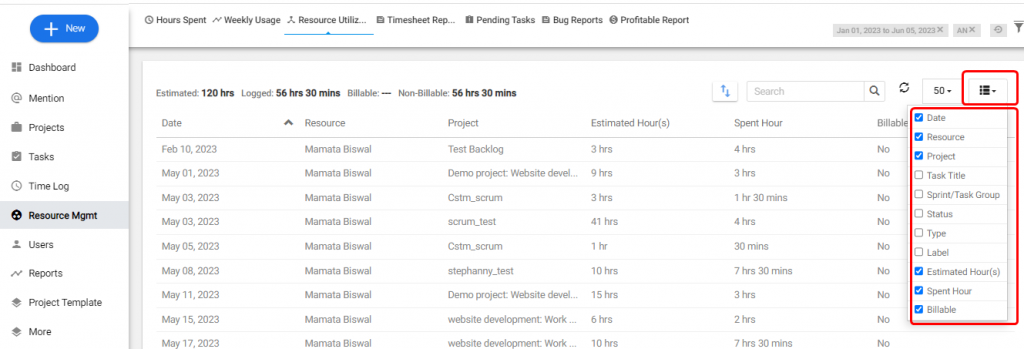
**(Image 2)**

**(Image 3)**
# How can I Add a Sub-Category?
> How can I Add a Sub-Category
> For the complete documentation index, see [llms.txt](https://helpdesk.orangescrum.com/llms.txt).
Source: https://helpdesk.orangescrum.com/how-to-add-sub-categories
---
1. Login to your Orangescrum account with your credentials.
2. Once you have logged in, go to the “**More**” section and hover over it to reveal a dropdown menu. From there, locate the “**Wiki**” section.
3. Click  option in top-right corner > **Manage Subcategory**(Refer to Image-1)
4. Click on ‘**Add Wiki Sub Category**’ from the top right section
5. Give a Sub-category title > Create(Refer to Image-2)
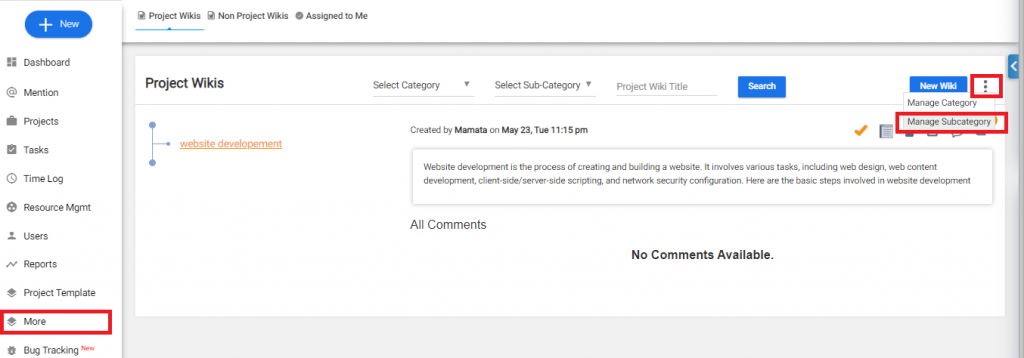
**(Image-1)** 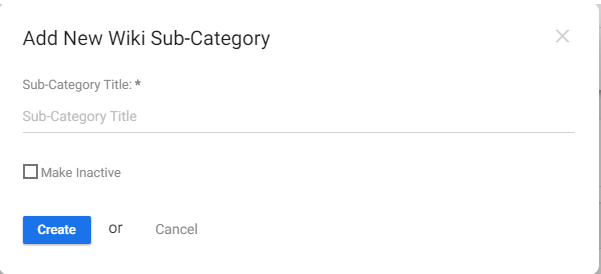 **(Image-2)**
# How can I See Project-Wise Resource Utilization?
> How can I See Project-Wise Resource Utilization
> For the complete documentation index, see [llms.txt](https://helpdesk.orangescrum.com/llms.txt).
Source: https://helpdesk.orangescrum.com/can-see-project-wise-resource-utilization
---
1. Login to your Orangescrum account with your credentials.
2. Once you have logged in, go to the “**Resource Mgmt**” from the left menu and hover over it to reveal a dropdown menu. From there, locate the “**Resource Utilization**” section(Refer Image 1)
3. Click **icon > Project > Select a Project** (Refer Image 2)
4. Check the **Estimated Vs. Spent Hour** by the **Resource** (Refer Image 3)
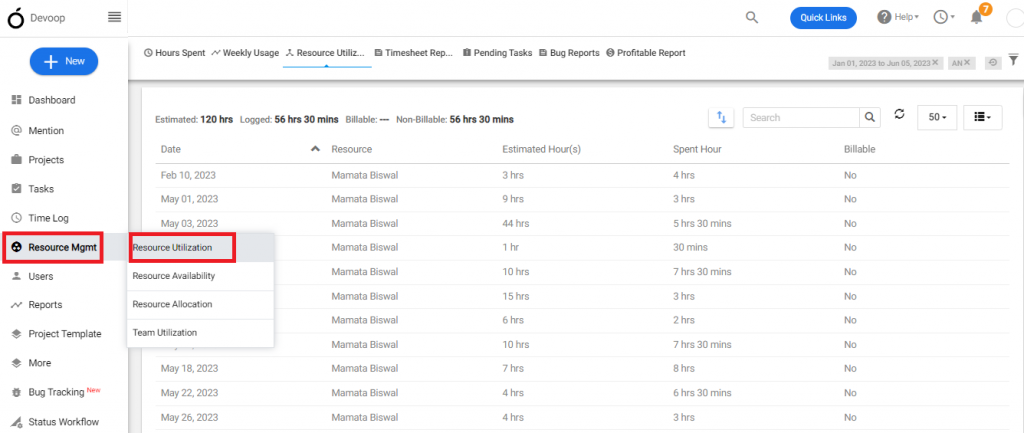
**(Image1)**
**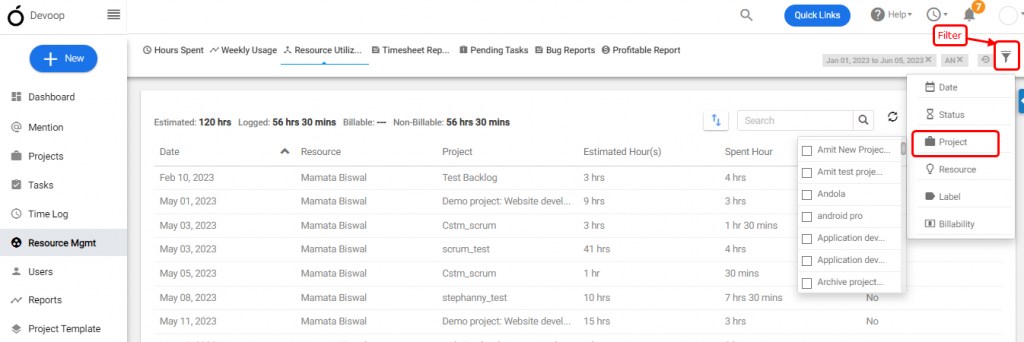** **(Image2)**

**(Image 3)**
**Note: Resource Utilization shows the Hour Spent by a resource in a project. That means the Estimated Vs. Spent Hour**
# Can I Log Time for a Past Date or Week?
> Sure, you can. In Weekly Timesheet: Login to your Orangescrum account with your credentials. Once you have logged in, go to the “Time Log” section and hover over it to reveal a dropdown menu. From there, locate the “Weekly Timesheet” section Click on the “<>” options near the week mentioned above,…
> For the complete documentation index, see [llms.txt](https://helpdesk.orangescrum.com/llms.txt).
Source: https://helpdesk.orangescrum.com/can-i-log-time-for-previous-date-or-week
---
Sure, you can.
**In [Weekly Timesheet](https://helpdesk.orangescrum.com/how-do-i-log-time/):**
1. Login to your Orangescrum account with your credentials.
2. Once you have logged in, go to the “**Time Log**” section and hover over it to reveal a dropdown menu. From there, locate the “Weekly Timesheet” section
3. Click on the “<>” options near the week mentioned above, OR click on the arrow icons in the table header to go to the week of your choice. ( Refer to Image-1)
4. Add a line item from the bottom, enter your time log & save. ( Refer to Image-2)
### **In Daily Timesheet:**
1. Click on the arrow icons on the top edges of the table to go to a week of your choice.
2. Add a line item from the bottom, enter your time log & save. (Refer to Image-3)
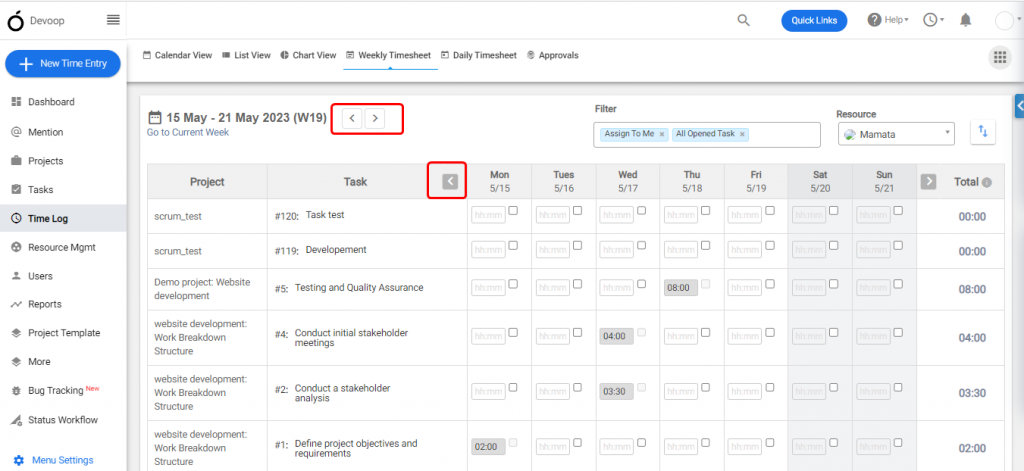
**(Image-1) 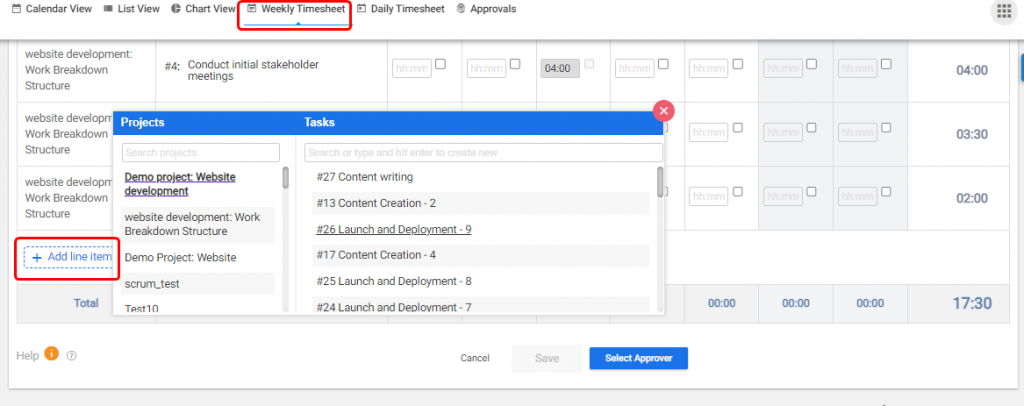**
**(Image-2)**
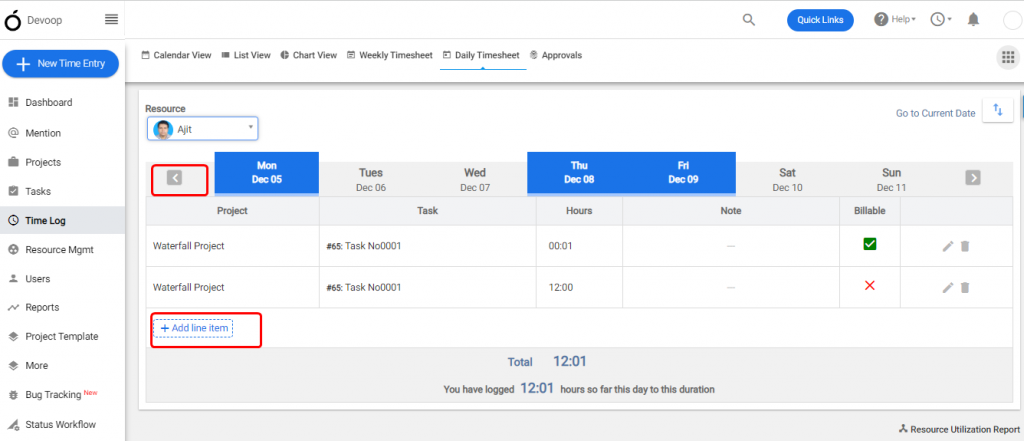
**(Image-3)**
# How Do I Send Invoice To Customer?
> How Do I Send Invoice To Customer
> For the complete documentation index, see [llms.txt](https://helpdesk.orangescrum.com/llms.txt).
Source: https://helpdesk.orangescrum.com/how-do-i-send-invoice-to-customer
---
To Send Invoice To Customer in Orangescrum, you can follow these steps:
1. Login to your Orangescrum account with your credentials.
2. Once you have logged in, go to the “More” section and hover over it to reveal a dropdown menu. From there, locate the “Invoice” section.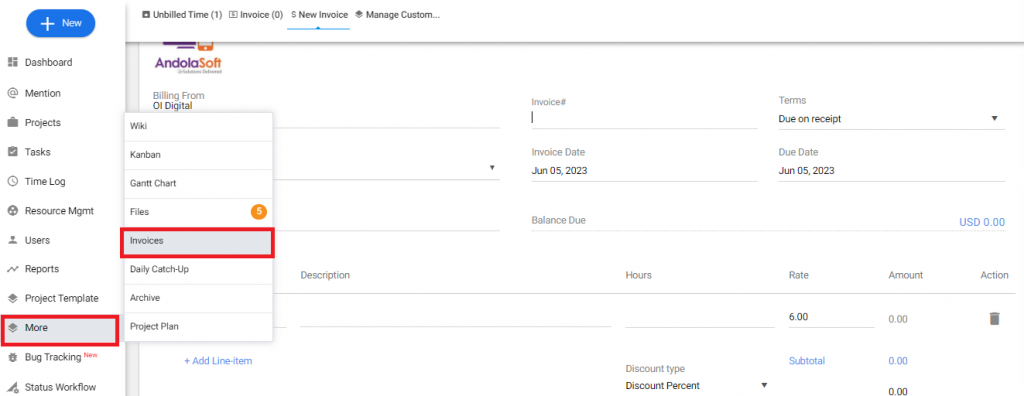
3\. Inside the “Invoice” section, you will find all the details of your invoices. If you do not have any invoices yet, you can create one by clicking on the option to create a new invoice. During the invoice creation process, remember to click on the “**Save & Send**” button to save the invoice and send it to customers.
4\. Fill in the custom message you would like to send to your customer and click “Send”.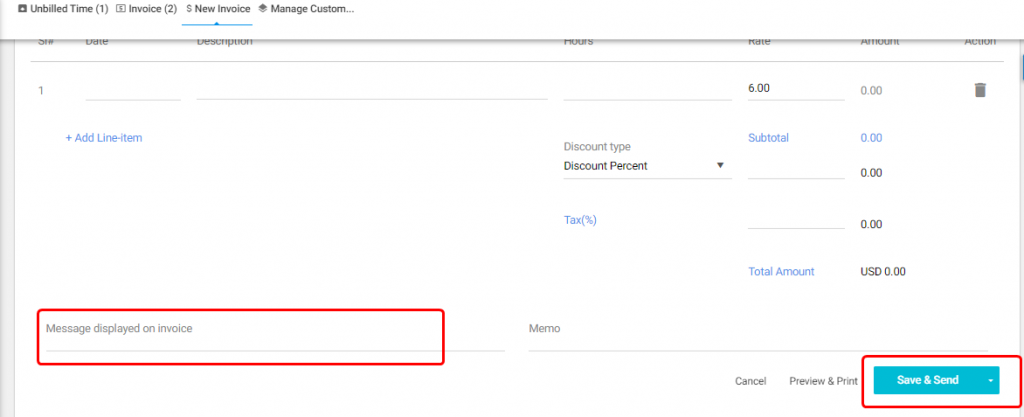
OR
1. In invoice listing page, click on the mail icon  .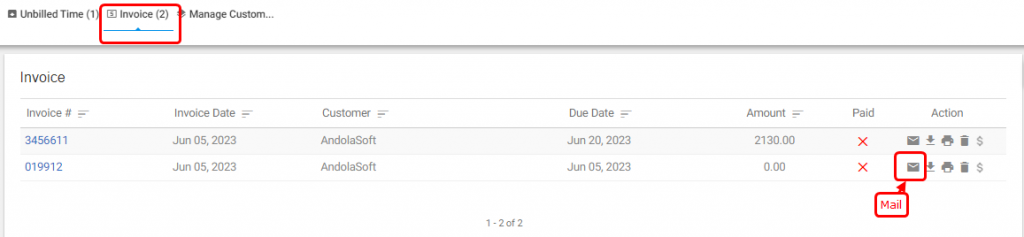
2. Fill in the custom **message** you would like to send to your customer and click “**Send**”.
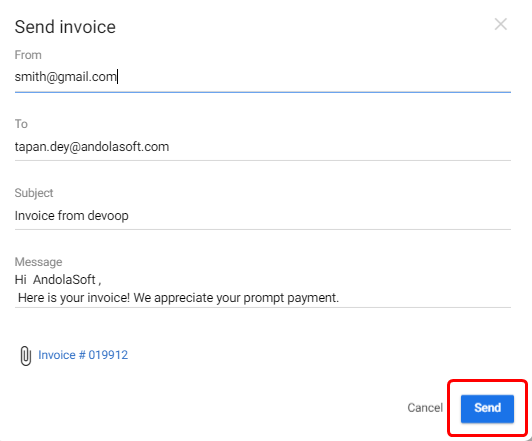
# How Do I Download Invoice?
> To download an invoice in Orangescrum, you can follow these steps: Login to your Orangescrum account with your credentials. Once you have logged in, go to the “More” section and hover over it to reveal a dropdown menu. From there, locate the “Invoice” section(Refer to Image-1) […]
> For the complete documentation index, see [llms.txt](https://helpdesk.orangescrum.com/llms.txt).
Source: https://helpdesk.orangescrum.com/how-do-i-download-invoice
---
To download an invoice in Orangescrum, you can follow these steps:
1. Login to your Orangescrum account with your credentials.
2. Once you have logged in, go to the “More” section and hover over it to reveal a dropdown menu. From there, locate the “Invoice” section(Refer to Image-1)
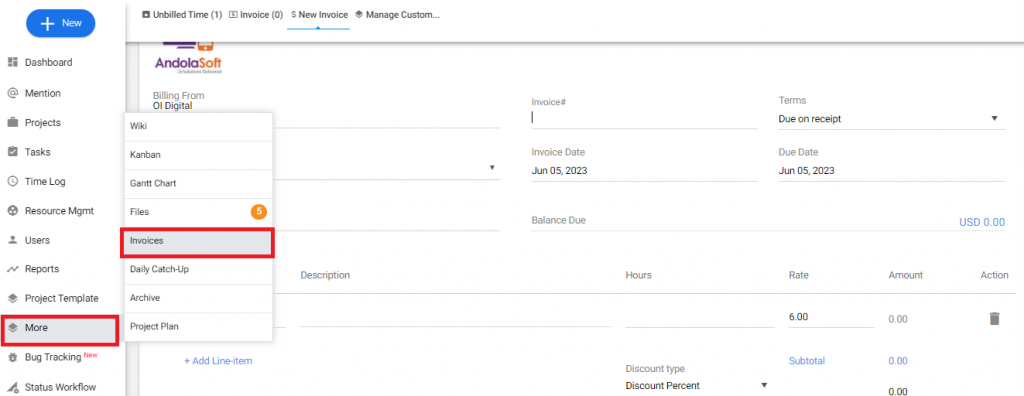
**(Image-1)**
3. Inside the “Invoice” section, you will find all the details of your invoices. If you do not have any invoices yet, you can create one by clicking on the option to create a new invoice. During the invoice creation process, remember to click on the “**Save & Download**” button to save the invoice and download it. (Refer to Image-2)
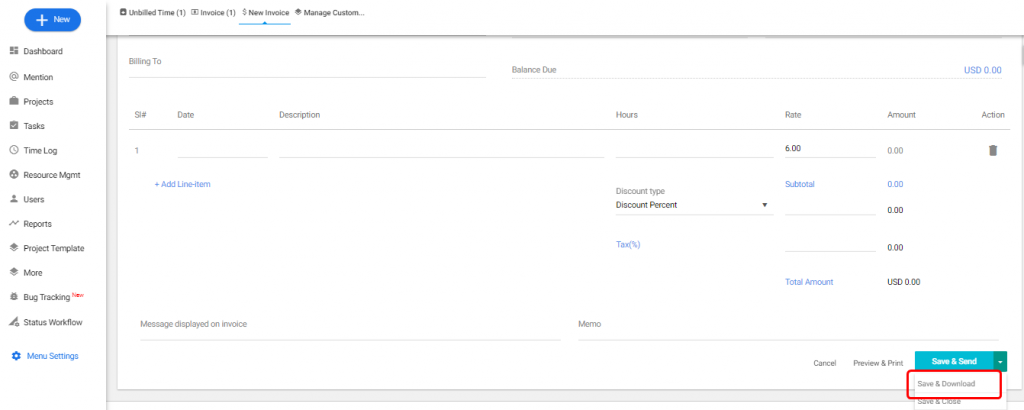 **(Image-2)**
OR
4\. In invoice listing page, click on the download icon .(Refer Image-3)
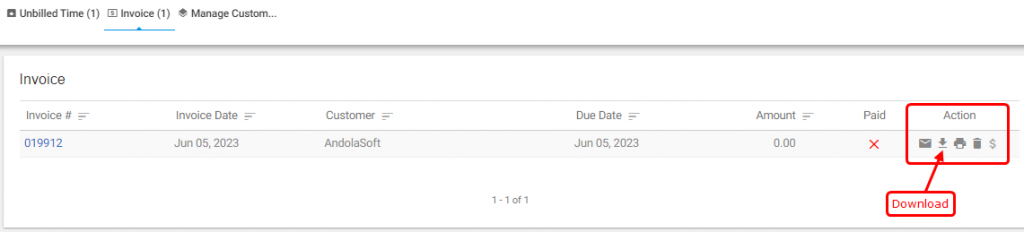
**(Image-3)**
After clicking on the “Save & Download” button, the invoice will be generated and will have a similar appearance to the example shown here.
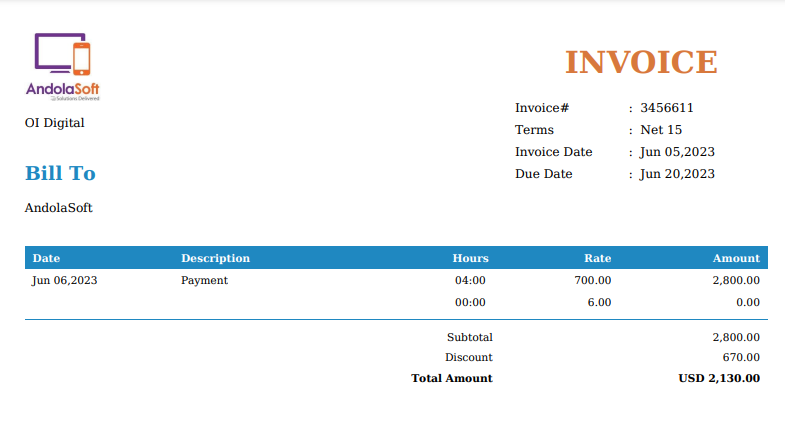
# How to Use the Kanban View to View and Filter My Tasks?
> How to Use the Kanban View to View and Filter My Tasks
> For the complete documentation index, see [llms.txt](https://helpdesk.orangescrum.com/llms.txt).
Source: https://helpdesk.orangescrum.com/how-to-use-the-kanban-view-to-view-and-sort-my-tasks
---
1. Login to your Orangescrum account.
2. Navigate to **Task Listing Page.**
3. Navigate to **Left Menu > Tasks > Task assigned to me** & Click [**Kanban**](https://helpdesk.orangescrum.com/view-task-groups-kanban/)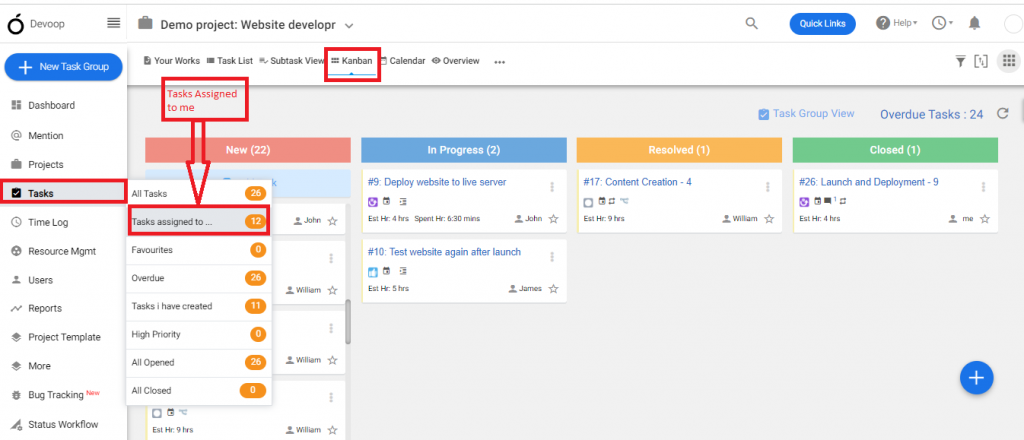
****(Image 1)****
**Or**
1. Click **i****con > Kanban**
2. Drag & Drop the task from one status to another. Here, we have **Dragged** a task from **Resolved** & **Dropped** it in **Closed**. (Refer Image 2)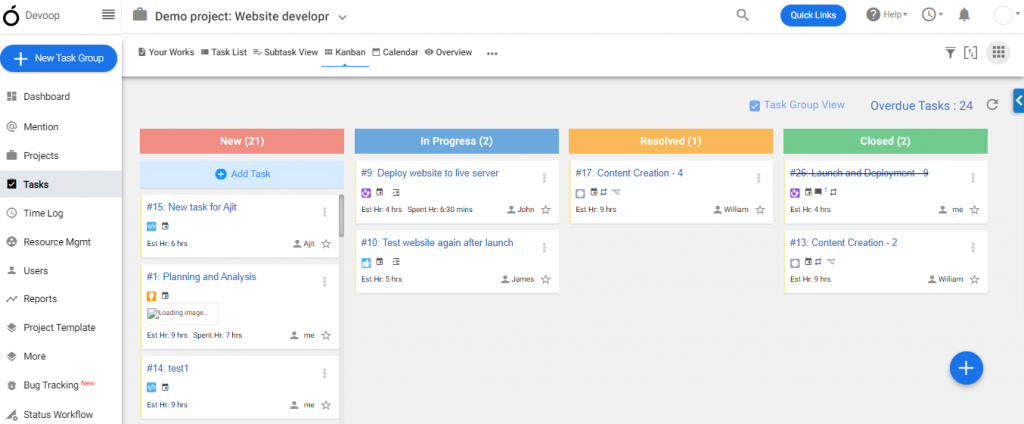
**(Image 2)**
# How to create a quick task ?
> Login to your Orangescrum account. Navigate to Left Menu > Tasks > All Tasks Click + Quick Task from the Task Listing Page (Refer Image 1) Provide required details & click Save (Refer Image 2) (Image 1) (Image 2)
> For the complete documentation index, see [llms.txt](https://helpdesk.orangescrum.com/llms.txt).
Source: https://helpdesk.orangescrum.com/create-quick-task
---
1. Login to your Orangescrum account.
2. Navigate to **Left Menu > Tasks > All Tasks**
3. Click **\+ Quick** Task from the **Task Listing Page** (Refer Image 1)
4. Provide required details & click **Save** (Refer Image 2)
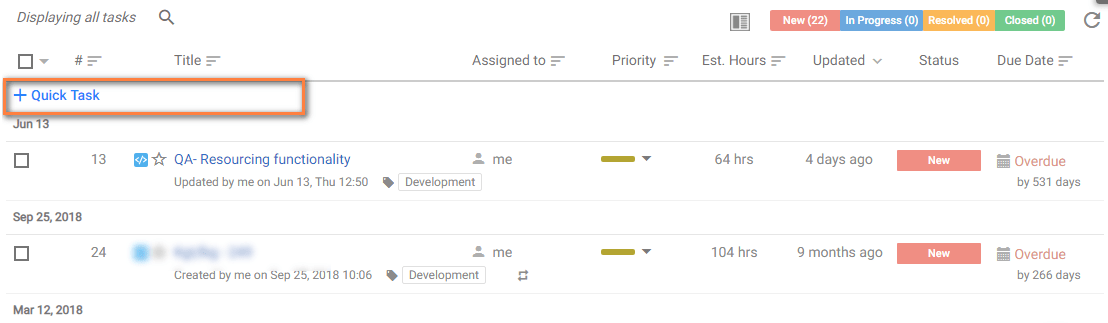
**(Image 1)**

**(Image 2)**
# Can I Edit the Task Status of the Linked Task?
> Can I Edit the Task Status of the Linked Task
> For the complete documentation index, see [llms.txt](https://helpdesk.orangescrum.com/llms.txt).
Source: https://helpdesk.orangescrum.com/can-i-edit-the-task-status-of-the-linked-task
---
**YES**, you can edit the task status of the linked task. Please refer below steps to do so;
1. Log in to your Orangescrum account using your credentials.
2. From the left menu, click on “**Tasks**“.
3. Navigate to the task detail page. This page displays the specific details and information about a particular task.
4. On the task detail page, locate the section “**Task Links**” related to tasks.
5. Click on the “**Task Links**” section and find the **Linking Task** & Click the status dropdown and change the status. (Refer to Image 1)
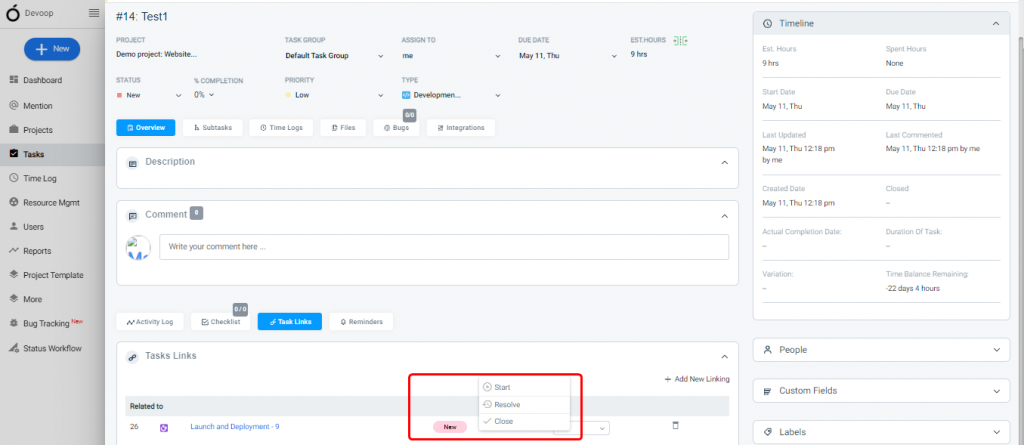
**(Image 1)**
# Can I Delete the Task Links?
> Can I Delete the Task Links
> For the complete documentation index, see [llms.txt](https://helpdesk.orangescrum.com/llms.txt).
Source: https://helpdesk.orangescrum.com/can-i-delete-task-links
---
YES, you can delete the Task Links. Please refer below steps to delete a task link.
1. Log in to your Orangescrum account using your credentials.
2. From the left menu, click on “**Tasks**“.
3. Navigate to the task detail page. This page displays the specific details and information about a particular task.
4. On the task detail page, locate the section “**Task Links**” related to tasks.
5. Click on the “Task Links” section and find the **Linking Task** & Click icon (Refer Image 1)
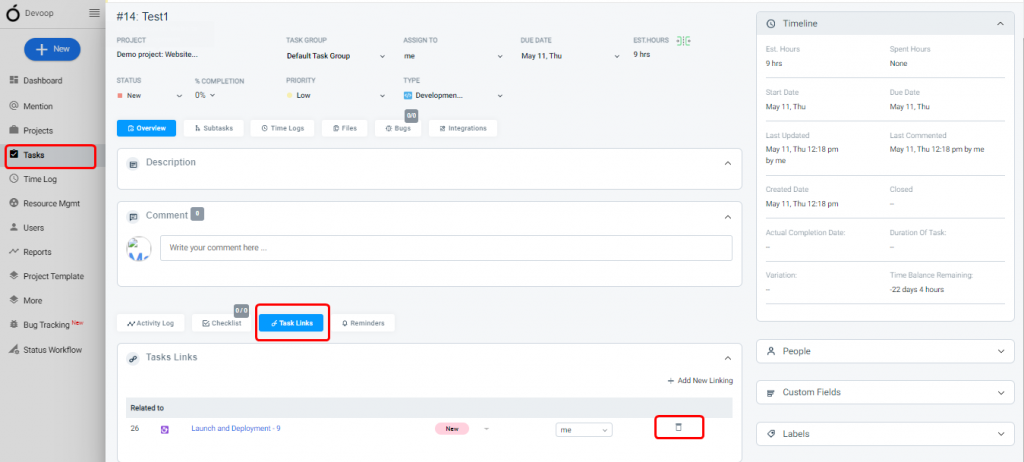
**(Image 1)**
# What Happens if I Do Not Add the Estimated Hour for the Task?
> What Happens if I Do Not Add the Estimated Hour for the Task
> For the complete documentation index, see [llms.txt](https://helpdesk.orangescrum.com/llms.txt).
Source: https://helpdesk.orangescrum.com/what-happens-if-i-do-not-add-the-estimated-hour-for-the-task
---
If you don’t add the estimated hours while creating a task in OrangeScrum, the system will consider it as “None” for the working hours per day.**(Refer Image-2)**
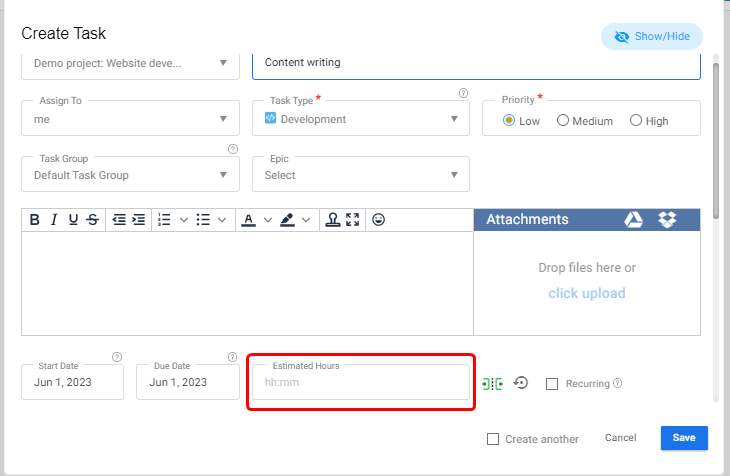
**(Image-1)**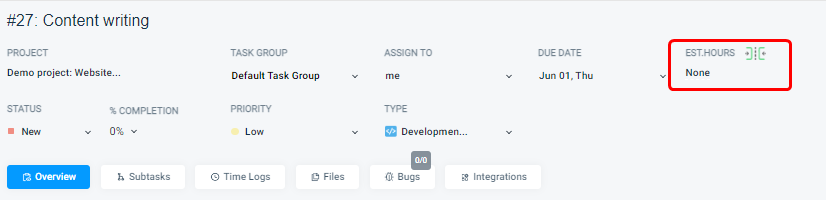
**(Image-2)**
Availability status of the resource depends on the Estimated Hour & Spent Hour
# How can I See the Attached Files in a Wiki?
> How can I See the Attached Files in a Wiki
> For the complete documentation index, see [llms.txt](https://helpdesk.orangescrum.com/llms.txt).
Source: https://helpdesk.orangescrum.com/how-can-i-see-the-attached-files-in-a-wiki
---
1. Go to the Orangescrum website and log in using your admin credentials.
2. Once logged in, locate the left menu and click on “More.”
3. From the dropdown menu, select “Wiki” and click on it.
4. Click **Project Wikis** Or **Non Project Wikis** (As per your requirement)
5. Click on the **Wiki > ****icon** (Refer Image 1 & 2)
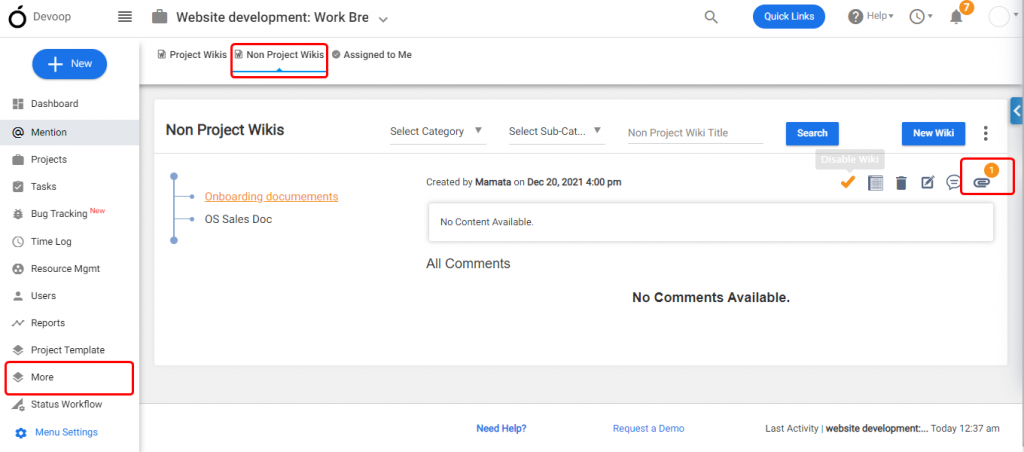
**(Image 1)**
**(Image 2)**
**Note :** You can download the attached file of the wiki. Just click Download on the pop-up & get your file downloaded
# How to View Spent Hours by Each Resource for a Specific Period for a Project?
> How to View Spent Hours by Each Resource for a Specific Period for a Project
> For the complete documentation index, see [llms.txt](https://helpdesk.orangescrum.com/llms.txt).
Source: https://helpdesk.orangescrum.com/how-to-see-hours-utilization-by-each-resource-for-a-specific-period
---
1. Log in to your Orangescrum account with your credentials.
2. Navigate to **Left Menu > Reports > Hours Spent Report**
3. Define the specfic time period on the top right of the page.
4. You can see Hours Spent by each resource in the below image (Refer Image -1)
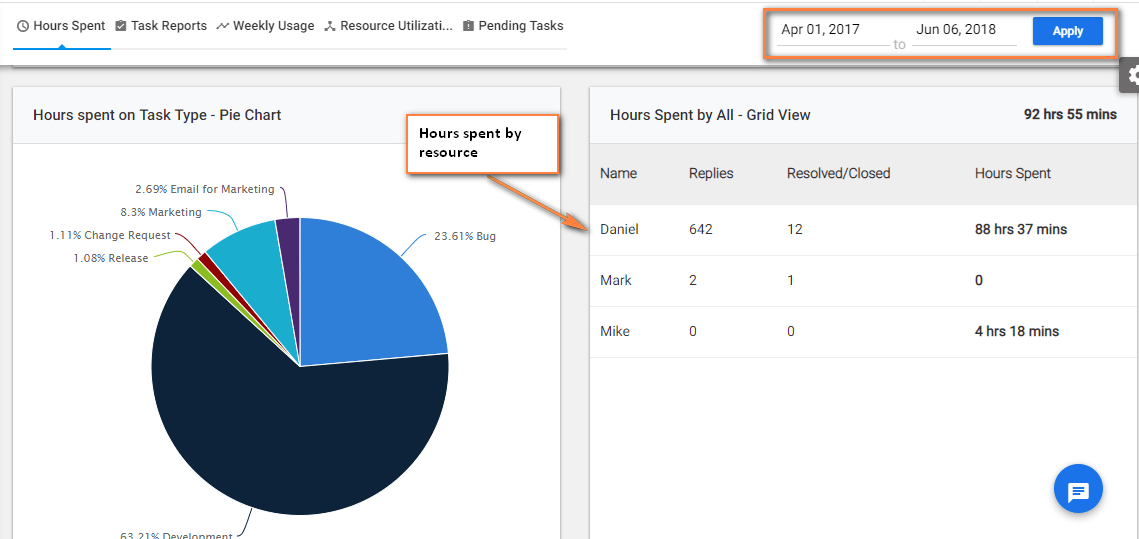
**(Image-1)**
You can also find the details from [Resource Utilization](https://helpdesk.orangescrum.com/what-is-resource-utilization/) section.
# How can I See the Wiki Assigned to Me and Approve Them?
> How can I See the Wiki Assigned to Me and Approve Them
> For the complete documentation index, see [llms.txt](https://helpdesk.orangescrum.com/llms.txt).
Source: https://helpdesk.orangescrum.com/how-can-i-see-the-wiki-assigned-to-me-and-approve-them
---
1. Go to the Orangescrum website and log in using your admin credentials.
2. Once logged in, locate the left menu and click on “More.”
3. From the dropdown menu, select “Wiki” and click on it.
4. Click **Assigned to Me >** **icon > Approve (on the pop-up)** (Refer Image 1 & 2)
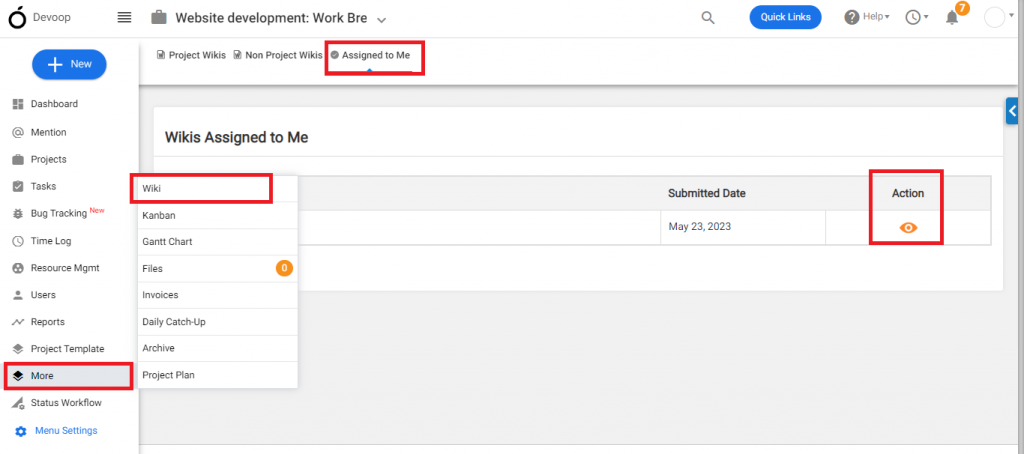
**(Image 1)**
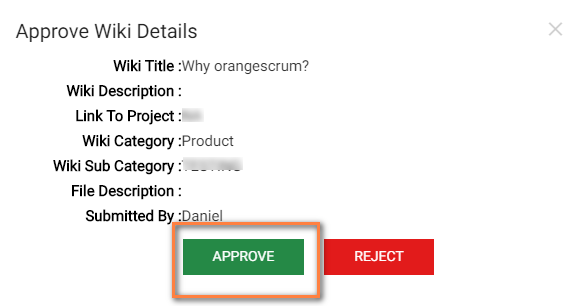
**(Image 2)**
# How to See Burn-Down Chart?
> How to See Burn-Down Chart
> For the complete documentation index, see [llms.txt](https://helpdesk.orangescrum.com/llms.txt).
Source: https://helpdesk.orangescrum.com/how-to-see-burn-down-chart
---
1. Login to your Orangescrum account using your credential.
2. Navigate to **Left Menu > Reports > Hours Spent Report** (Refer Image 1 & 2)
3. Burn-down chart appears in 2 ways:
- According to Start date & End date of the project.
- According to the minium start date of all tasks and maximum end of all tasks.
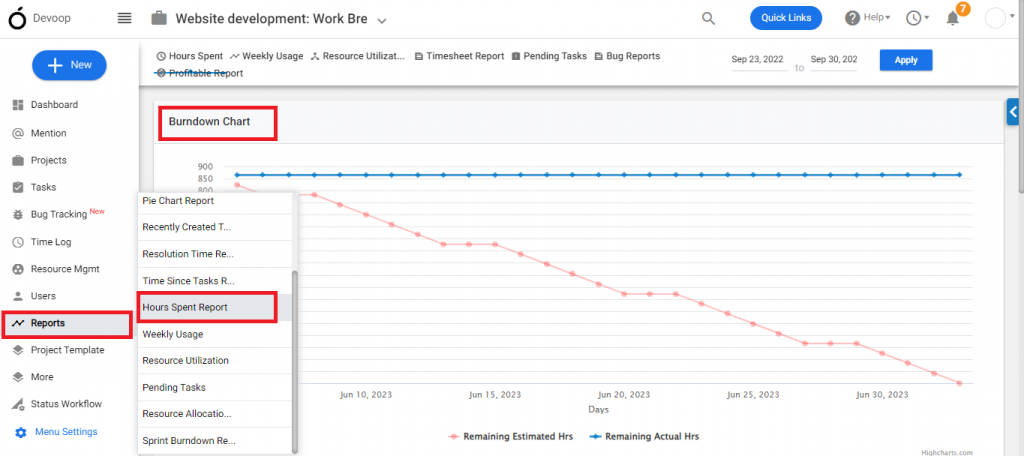
**(Image-1)**
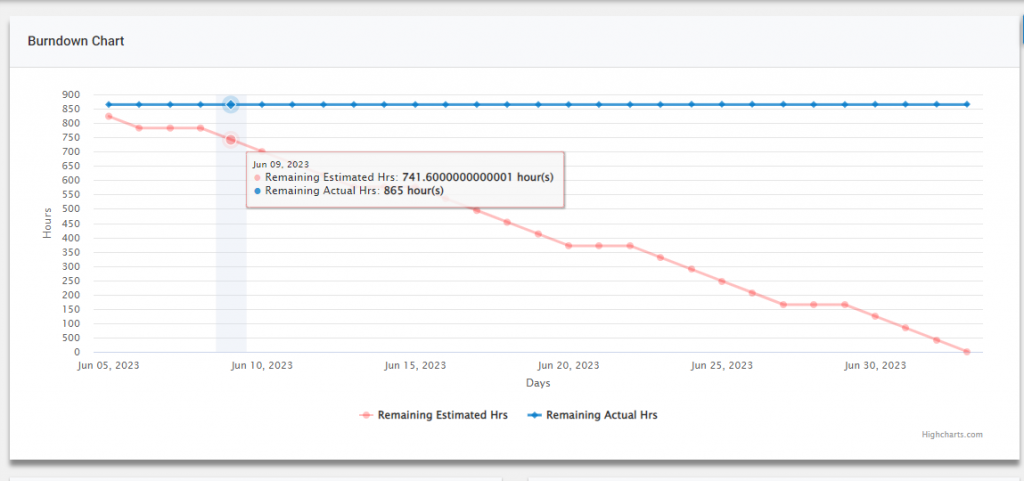
**(Image 2)**
**Note:** The Estimated hour is mandatory to find the burndown chart of the project.
# How to See Hours Spent by Task Type?
> How to See Hours Spent by Task Type
> For the complete documentation index, see [llms.txt](https://helpdesk.orangescrum.com/llms.txt).
Source: https://helpdesk.orangescrum.com/how-to-see-hours-spent-by-task-type
---
1. Login to your Orangescrum account.
2. Navigate to **Left Menu > Reports > Hours Spent Report** (Refer Image 1)
3. Hover on the **Pie Chart** that shows **Hour Spent by the Task Type** (Refer Image 2)
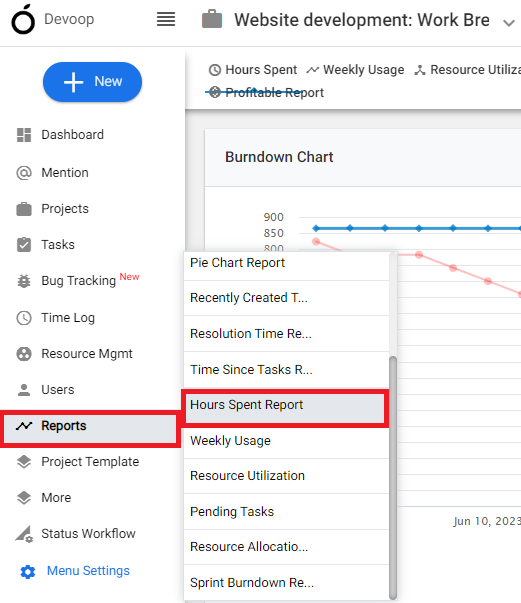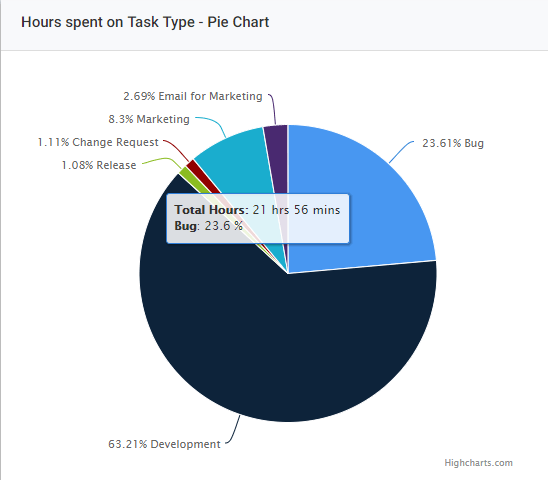
**(Image-1) (Image-2)**
Hour spent report per task types helps you to understand the amount of hours spent by resource on particular task type say, Bug. You can calculate numbers of hours spent by your team on development tasks, bug tasks etc.
# How can I Deactivate a Wiki Category?
> How can I Deactivate a Wiki Category
> For the complete documentation index, see [llms.txt](https://helpdesk.orangescrum.com/llms.txt).
Source: https://helpdesk.orangescrum.com/how-can-deactivate-some-wiki-categories
---
1. Go to the Orangescrum website and log in using your credentials.
2. Once logged in, locate the left menu and click on “More.”
3. From the dropdown menu, select “Wiki” and click on it.
4. Click  in top-right corner > Manage category (Refer Image-1)
5. Click on  button to make required changes
6. Tick off ‘**Make Inactive**’ and click **Update.**
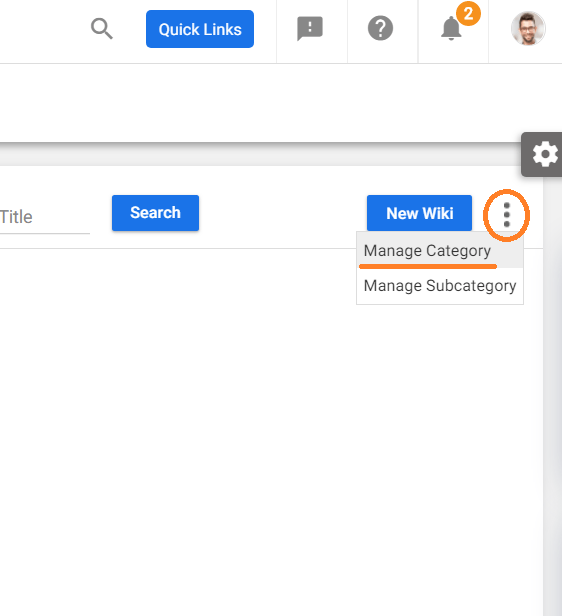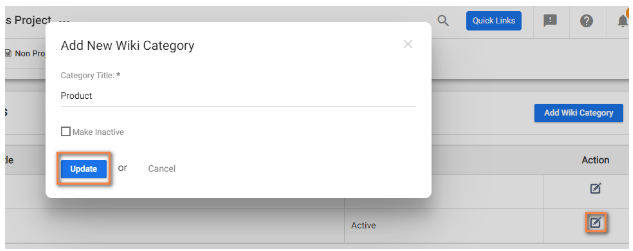
**(Image-1) (Image-2)**
# How can I Approve the Non-Project Wiki?
> How can I Approve the Non-Project Wiki
> For the complete documentation index, see [llms.txt](https://helpdesk.orangescrum.com/llms.txt).
Source: https://helpdesk.orangescrum.com/how-can-i-approve-the-non-project-wiki
---
1. Go to the Orangescrum website and log in using your credentials.
2. Once logged in, locate the left menu and click on “More.”
3. From the dropdown menu, select “Wiki” and click on it.
4. Click **[Assigned to Me](https://helpdesk.orangescrum.com/how-can-i-see-the-wiki-assigned-to-me-and-approve-them/) > ** **icon > Approve (on the pop-up)** (Refer Image 1 & 2)
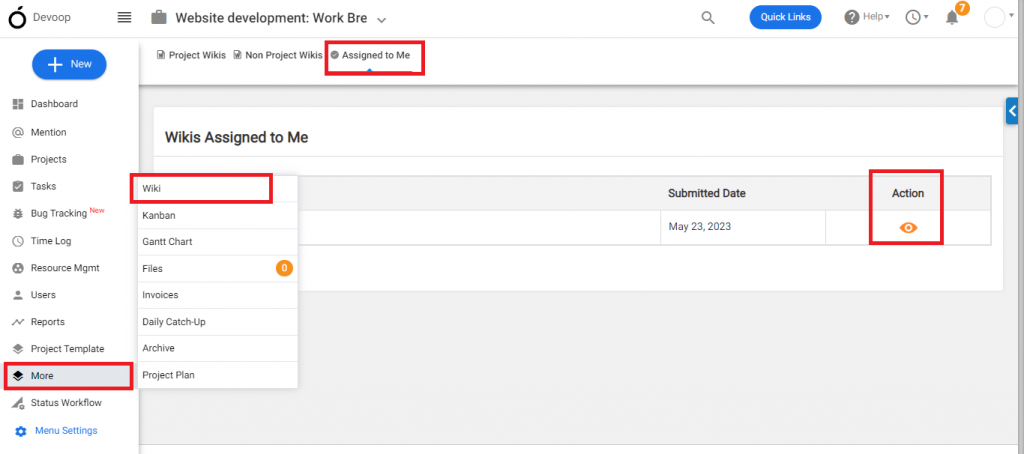
**(Image 1)**
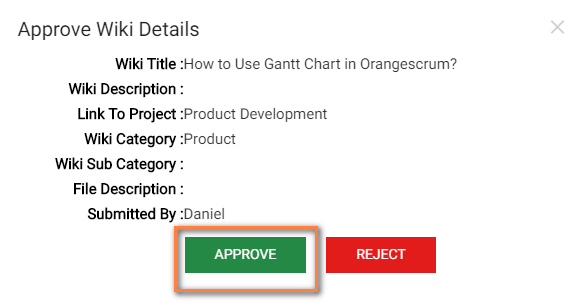
**(Image 2)**
# How can I Add Categories to Wiki?
> How can I Add Categories to Wiki
> For the complete documentation index, see [llms.txt](https://helpdesk.orangescrum.com/llms.txt).
Source: https://helpdesk.orangescrum.com/how-can-i-add-categories-to-wiki
---
1. Go to the Orangescrum website and log in using your credentials.
2. Once logged in, locate the left menu and click on “More.”
3. From the dropdown menu, select “Wiki” and click on it..
4. Click on the  option in top-right corner > **Manage category.** (Refer Image-1)
5. Click on ‘**Add Wiki Category**’ from the top right section (Refer Image-2)
6. Give a category title > Create
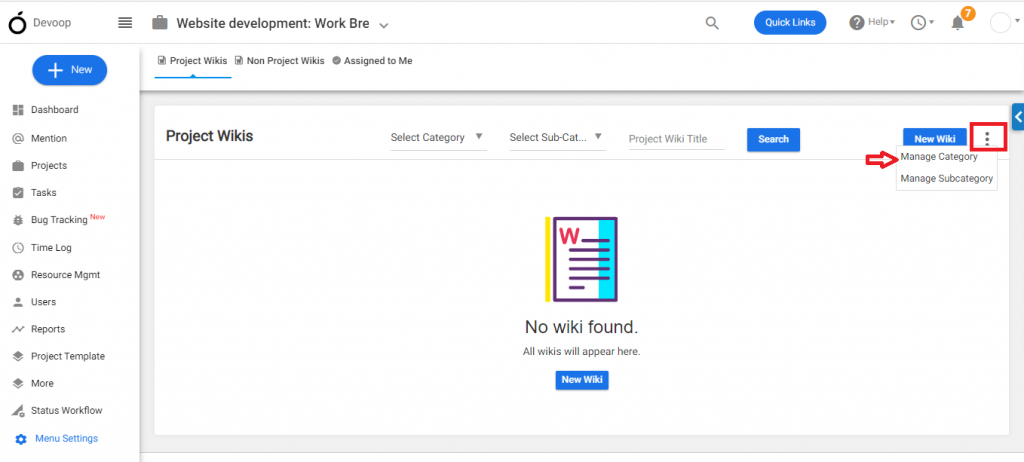
**(Image-1)**
**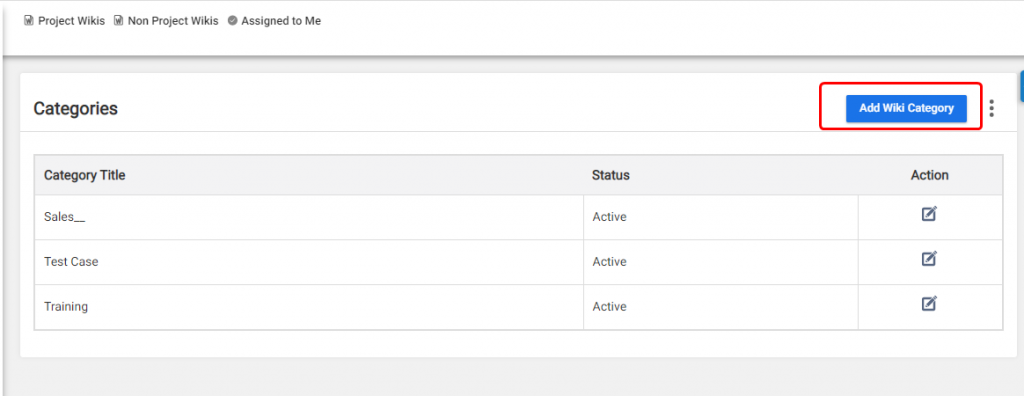**
**(Image-2)**
# How to Create a Project Wiki?
> How to Create a Project Wiki
> For the complete documentation index, see [llms.txt](https://helpdesk.orangescrum.com/llms.txt).
Source: https://helpdesk.orangescrum.com/how-to-create-a-project-wiki
---
1. Go to the Orangescrum website and log in using your admin credentials.
2. Once logged in, locate the left menu and click on “More.”
3. Navigate to **Left Menu > Wiki > New Wiki** (Refer Image 1)
4. Provide required details and choose the project under which wiki is to be published.
5. Click **Final Submit for Approval** (Refer Image 2)
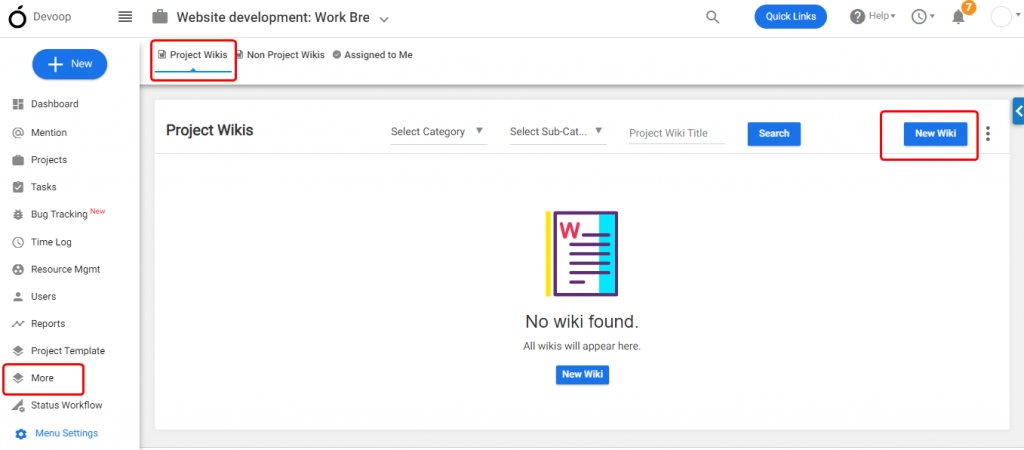
**(Image 1)**
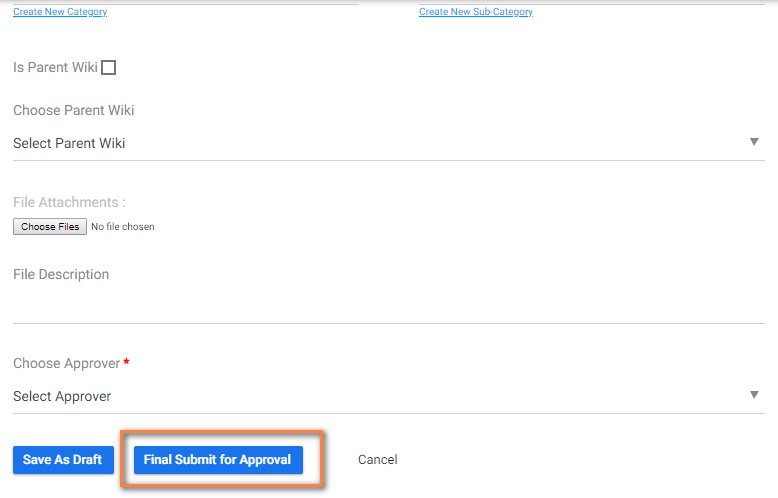 **(Image 2)**
# Can I edit a task from Gantt chart?
> YES, you can edit a Task from Gantt Chart. Please refer below steps to do so; Login to your Orangescrum account using your credential. Navigate to Left Menu >More> Gantt Chart Click icon, Make required changes & click Save (Refer Image 1 & 2) (Image-1) (Image-2)
> For the complete documentation index, see [llms.txt](https://helpdesk.orangescrum.com/llms.txt).
Source: https://helpdesk.orangescrum.com/can-i-edit-a-task-from-gantt-chart
---
YES, you can edit a Task from Gantt Chart. Please refer below steps to do so;
1. Login to your Orangescrum account using your credential.
2. Navigate to Left Menu >More> [Gantt Chart](https://helpdesk.orangescrum.com/how-to-use-the-gantt-chart-view-for-my-projects/)
3. Click  icon, Make required changes & click Save (Refer Image 1 & 2)
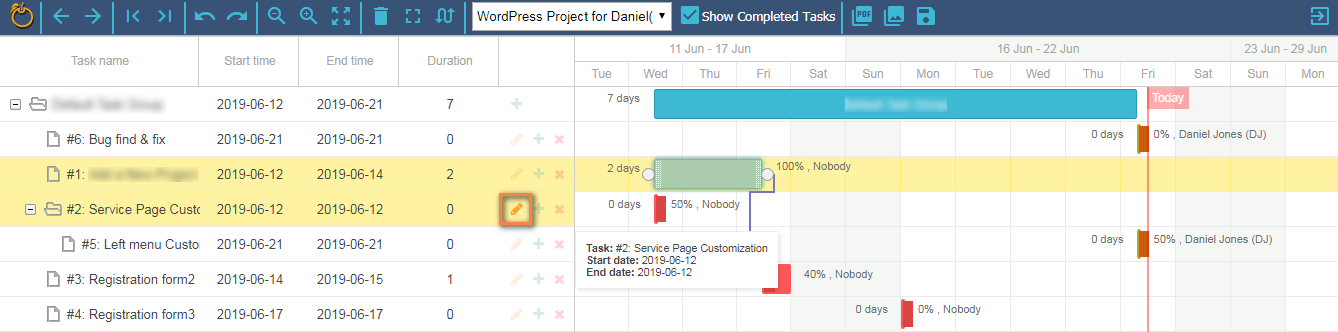
**(Image-1)**
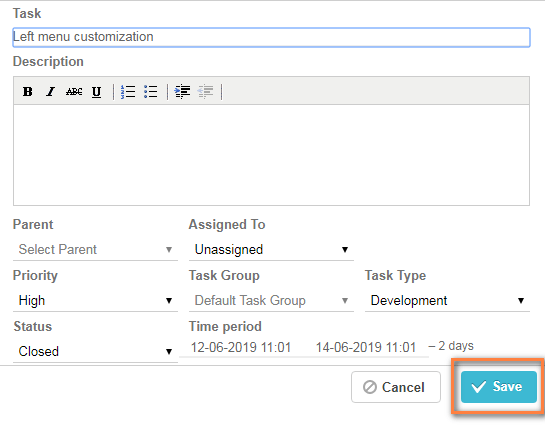
**(Image-2)**
# What are Story Points and How can I Add It?
> Story Point is a term used in Scrum Project Management to estimate the difficulty of implementing or completing the task.
> For the complete documentation index, see [llms.txt](https://helpdesk.orangescrum.com/llms.txt).
Source: https://helpdesk.orangescrum.com/what-are-story-points-and-how-can-i-add-it
---
**Story Point** is a term used in [**Scrum Project Management**](https://helpdesk.orangescrum.com/what-is-scrum-project-management-and-what-are-the-features-available-in-orangescrum/) to estimate the difficulty of implementing or completing the task. It is generally rated in the scale of 1-12 or 1-5 with 1 being the lowest.
There is no restriction of scale for **Story Points** in Orangescrum and you can add your own story point range to the tasks.
If the estimated story point is high then it can be broken into small sub-tasks. Please refer below steps to add Story Points to your Task;
1. Login to your Orangescrum account.
2. Click **Quick Links > Task**
3. Provide required details, choose **Task Type** as **Story &** Click **Save & Exit** (Refer Image 1)
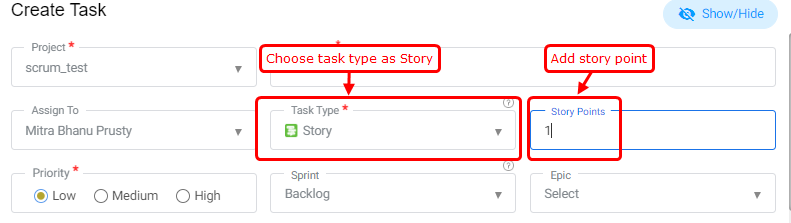
**(Image 1)**
# How to Submit a Wiki for Approval?
> How to Submit a Wiki for Approval
> For the complete documentation index, see [llms.txt](https://helpdesk.orangescrum.com/llms.txt).
Source: https://helpdesk.orangescrum.com/how-to-submit-the-wikis-saved-as-draft
---
1. Go to the Orangescrum website and log in using your credentials.
2. Once logged in, locate the left menu and click on “More.”
3. From the dropdown menu, select “Wiki” and click on it.(Refer Image-1)
4. On the Wiki page, you will find an option to create a new wiki. Click on “New Wiki.”
5. While creating the new wiki, you will have the option to choose an approver. Look for the “Choose Approver \*” option and select the appropriate approver for your wiki.
6. Alternatively, if you have an existing wiki that you want to update, locate the specific wiki and click on the “Update Wiki” option on the right edge.
7. Scroll down to the bottom of the wiki page, where you will find the “Choose Approver” section.
8. Select the desired approver for the wiki and make any other necessary changes.(Refer Image-2)
9. Finally, click on “Final Submit for Approval” to submit the updated wiki with the selected approver
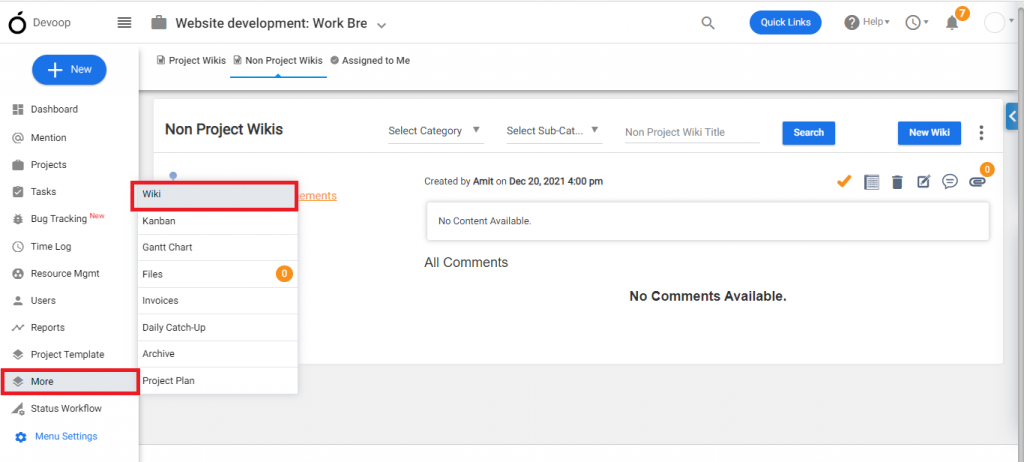
**(Image-1)**
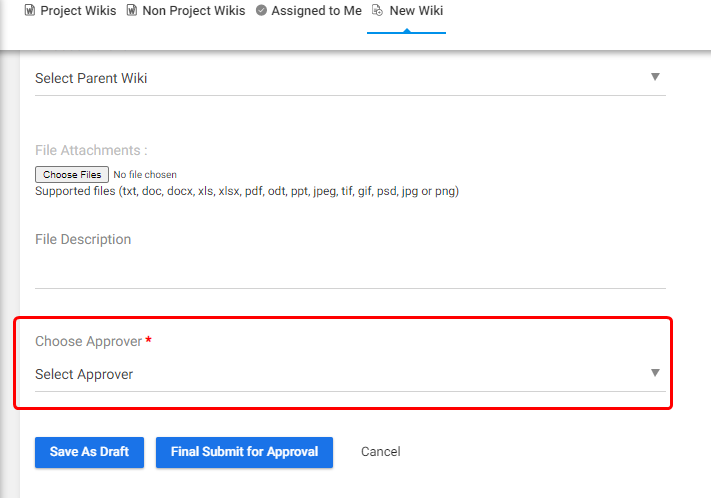
**(Image-2)**
# Can I Know Who are the Users in the Role?
> User in the Role
> For the complete documentation index, see [llms.txt](https://helpdesk.orangescrum.com/llms.txt).
Source: https://helpdesk.orangescrum.com/can-i-know-who-is-in-a-user-role
---
1. Log in to your Orangescrum account with your credentials.
2. Navigate to [**Quick Links**](https://helpdesk.orangescrum.com/how-can-i-manage-the-menus-in-quick-links/) and click on “**User Role Management**” under **Company Settings.**
3. Go to User Role, expand the default role, and select the user icon for users in that role.(Refer Image-1)
**Tip**: ***know what role assigned to a user :*** In the User Page, you can see what is the Role of a user.****
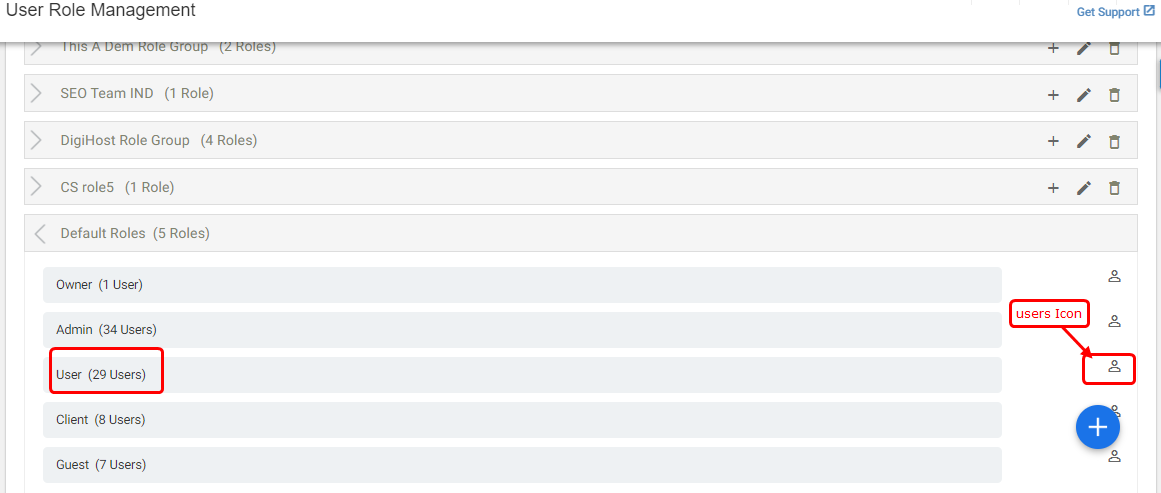
# How to Close a Sprint?
> How to Close a Sprint
> For the complete documentation index, see [llms.txt](https://helpdesk.orangescrum.com/llms.txt).
Source: https://helpdesk.orangescrum.com/how-to-close-a-sprint
---
1. Log in to your Orangescrum account using your credentials.
2. Navigate to **Left Menu > Active Sprint**
3. Click **Complete Sprint > Complete (Refer Image 1)**

**(Image 1)**
Note: You can close a task if there are no active tasks or incomplete tasks under the Sprint. If there are active tasks, then it will ask you to move the active tasks to other Sprint.
# How can I Add a New Task to a Sprint?
> Log in to your OrangeScrum account using your credentials. Navigate to Left Menu > Backlog Click + Quick Task, provide Task Title & Click icon (Refer Image 1) (Image 1)
> For the complete documentation index, see [llms.txt](https://helpdesk.orangescrum.com/llms.txt).
Source: https://helpdesk.orangescrum.com/how-can-i-add-a-new-task-to-a-sprint
---
1. Log in to your OrangeScrum account using your credentials.
2. Navigate to **Left Menu > Backlog**
3. Click **\+ Quick Task**, provide **Task Title** & **Click ** **icon** (Refer Image 1)

**(Image 1)**
# Can I Re-Open a Closed Sprint?
> Can I Re-Open a Closed Sprint
> For the complete documentation index, see [llms.txt](https://helpdesk.orangescrum.com/llms.txt).
Source: https://helpdesk.orangescrum.com/can-i-re-open-a-closed-sprint
---
**YES**, you can re-open a Sprint only when there is no other Active Sprint in the project. Please refer below steps to re-open a closed Sprint;
1. Log in to your OrangeScrum account using your current credentials.
2. Navigate to **Left Menu > Reports > Sprint Reports**
3. Click  **icon** of the Sprint **\> Reopen** (Refer Image 1)

**(Image 1)**
# Can I Delete A Sprint?
> Can I Delete A Sprint
> For the complete documentation index, see [llms.txt](https://helpdesk.orangescrum.com/llms.txt).
Source: https://helpdesk.orangescrum.com/can-i-delete-a-sprint
---
**YES**, you can delete a Sprint only when there is no other Active Sprint in the project. Please refer below steps to re-open a closed Sprint;
1. Log in to your OrangeScrum account using your current credentials.
2. Navigate to **Left Menu > Reports > Sprint Reports**
3. Click  **icon** of the Sprint **\> Delete** (Refer Image 1)

**(Image 1)**
# How can I Add an Existing Task to Another Sprint?
> How can I Add an Existing Task to Another Sprint
> For the complete documentation index, see [llms.txt](https://helpdesk.orangescrum.com/llms.txt).
Source: https://helpdesk.orangescrum.com/how-can-i-add-an-existing-task-to-a-sprint
---
1. Login to your Orangescrum account.
2. Click on the “Task” from the left menu.
3. Click on the particular task you want to change the sprint.
4. This will take you to the task detail page, where you can see all the information related to the task.
5. Click on “Sprint” in the dropdown menu and select the desired sprint to add.(Refer Image 1)
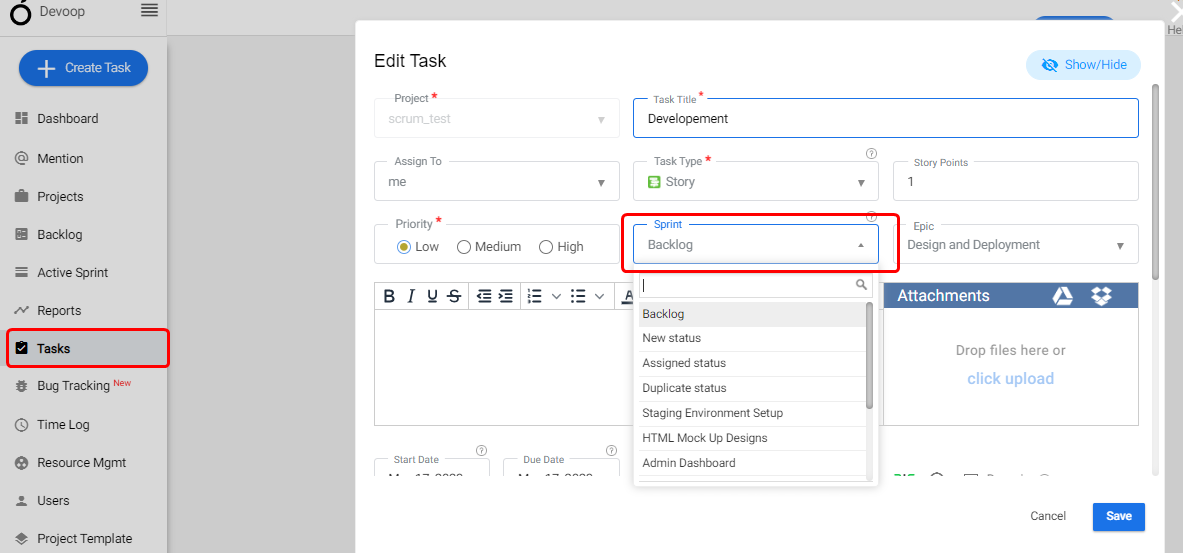
**(Image 1)**
# How can I Create Sprints?
> How can I Create Sprints
> For the complete documentation index, see [llms.txt](https://helpdesk.orangescrum.com/llms.txt).
Source: https://helpdesk.orangescrum.com/how-can-i-create-sprints-2
---
1. Log in to your Orangescrum account using your current credentials.
2. Navigate to ‘**Backlog**’ page from the left panel.
3. Click on ‘**Create Sprints’** and add the Sprint name and Description. (Refer Image-1)
4. Click on ‘**Create’** to add the Sprint.(Refer Image-2)
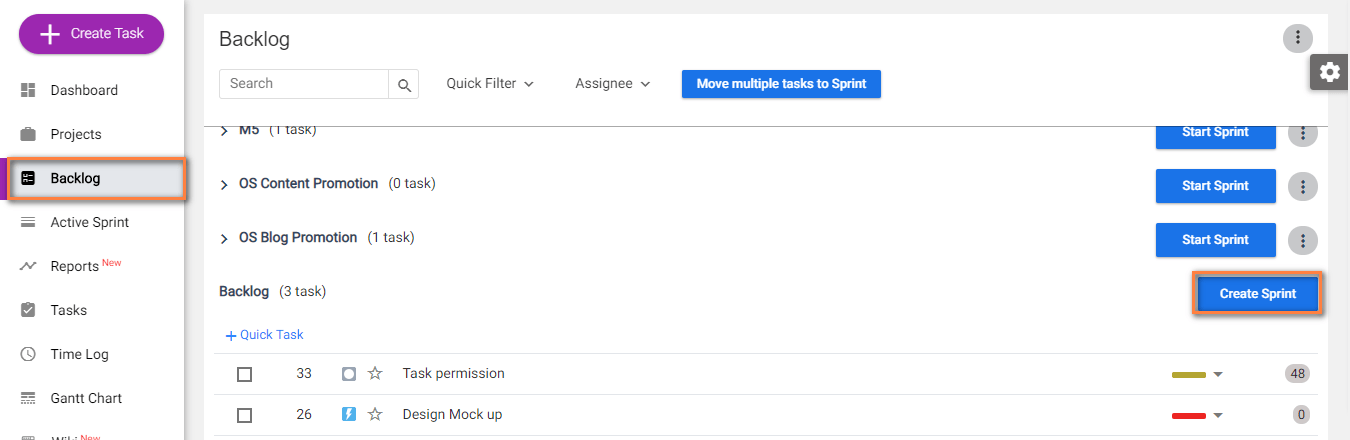
**(Image-1)**
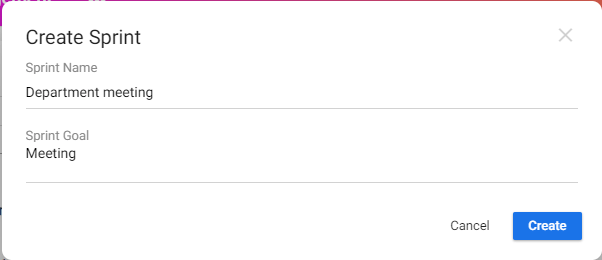
**(Image-2)**
# How can I See the Tasks Assigned to Me?
> How can I See the Tasks Assigned to Me
> For the complete documentation index, see [llms.txt](https://helpdesk.orangescrum.com/llms.txt).
Source: https://helpdesk.orangescrum.com/how-can-i-see-the-tasks-assigned-to-me
---
### **If you are in simple project**
1. Navigate to the task listing page of specific project.
2. In the left menu, you will see a sub-menu. Click on **Tasks assigned to me**.
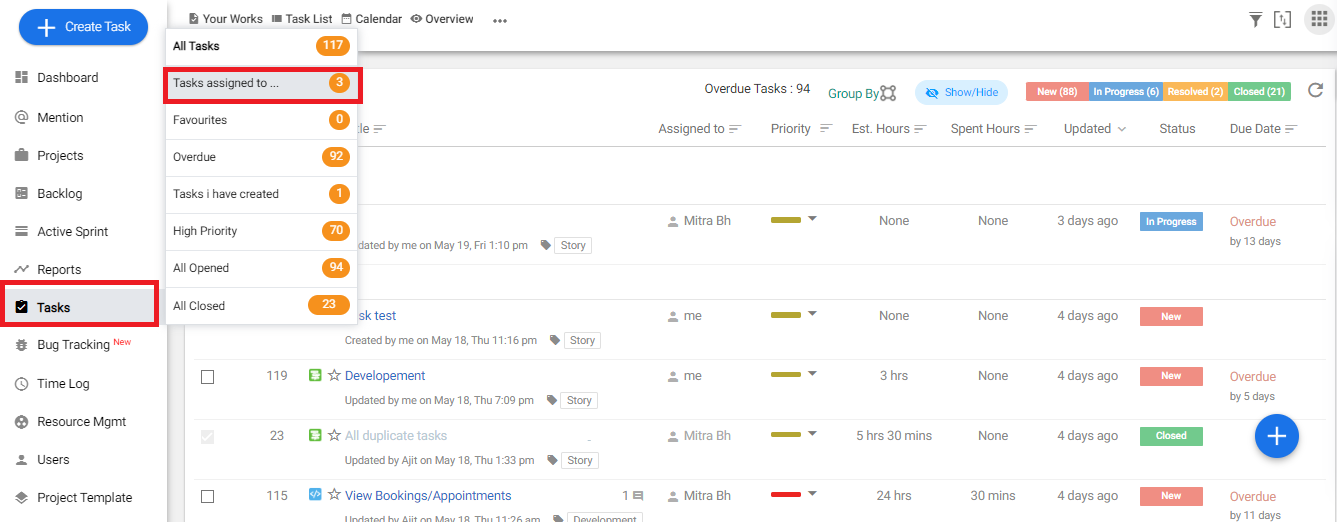
### **If it’s a scrum project:**
1. Navigate to Backlog page from the left menu
2. Quick filter > Assign to me
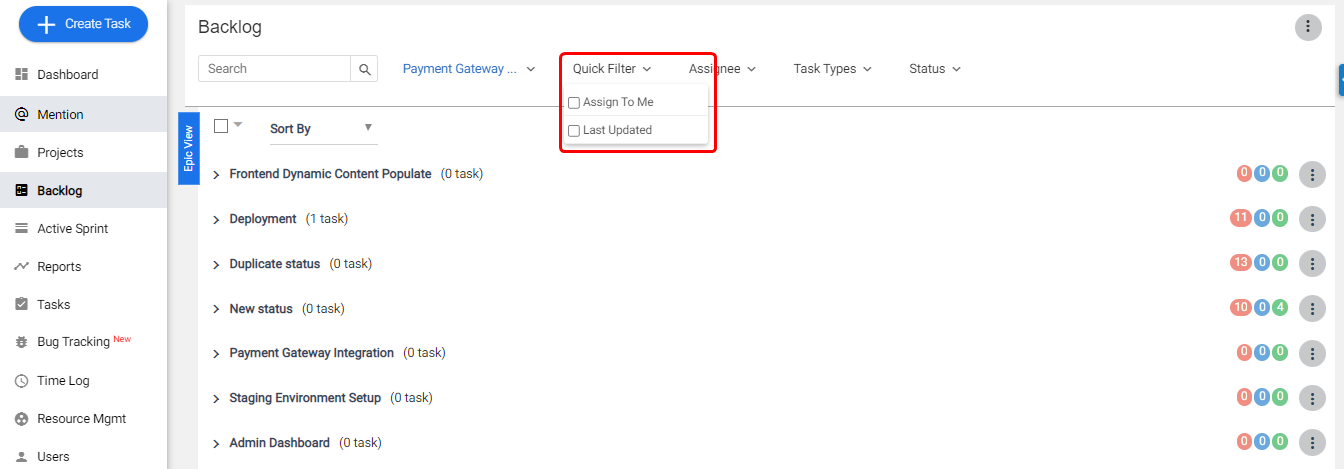
# Can I Edit a Time Log from the Daily Timesheet?
> Can I Edit a Time Log from the Daily Timesheet
> For the complete documentation index, see [llms.txt](https://helpdesk.orangescrum.com/llms.txt).
Source: https://helpdesk.orangescrum.com/can-i-edit-a-time-log-from-the-daily-timesheet
---
YES, you can edit a time log from the daily timesheet.
Please follow below steps to edit a time log from timesheet-
1. Click on **Quick Links > Daily Timesheet(Refer Image 1)**
2. Click on the edit **icon > Save** (Refer Image 2)
**(Image-1)**
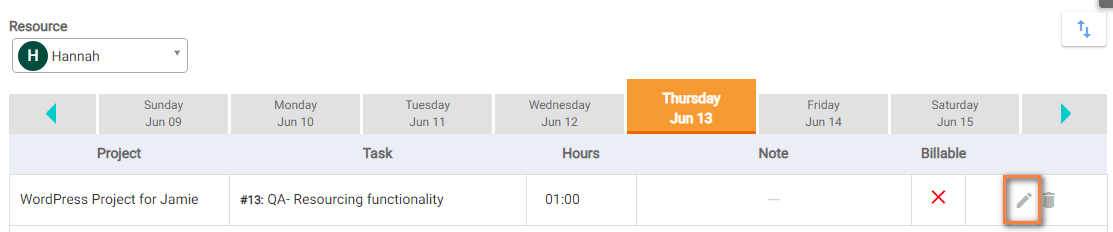
**(Image-2)**
# How can I create custom reminder for task?
> Can I Get a Reminder for My Tasks?
> For the complete documentation index, see [llms.txt](https://helpdesk.orangescrum.com/llms.txt).
Source: https://helpdesk.orangescrum.com/can-create-custom-reminder
---
**Create custom reminder:**
- Log in to your Orangescrum account with your credentials.
- Navigate to left menu & click on Tasks
- On the [Task List](https://helpdesk.orangescrum.com/what-is-task-list-how-it-helps-you/) page, click on the task title
- Click the **Reminders** under **Overview** section. (Refer Image-1)
- Provide  required details Date & time at which reminder is to be sent, users to whom reminder is to be sent and the custom message. ( Refer Image -2)
- Click **Save.**
- Users will receive a reminder via email notification.
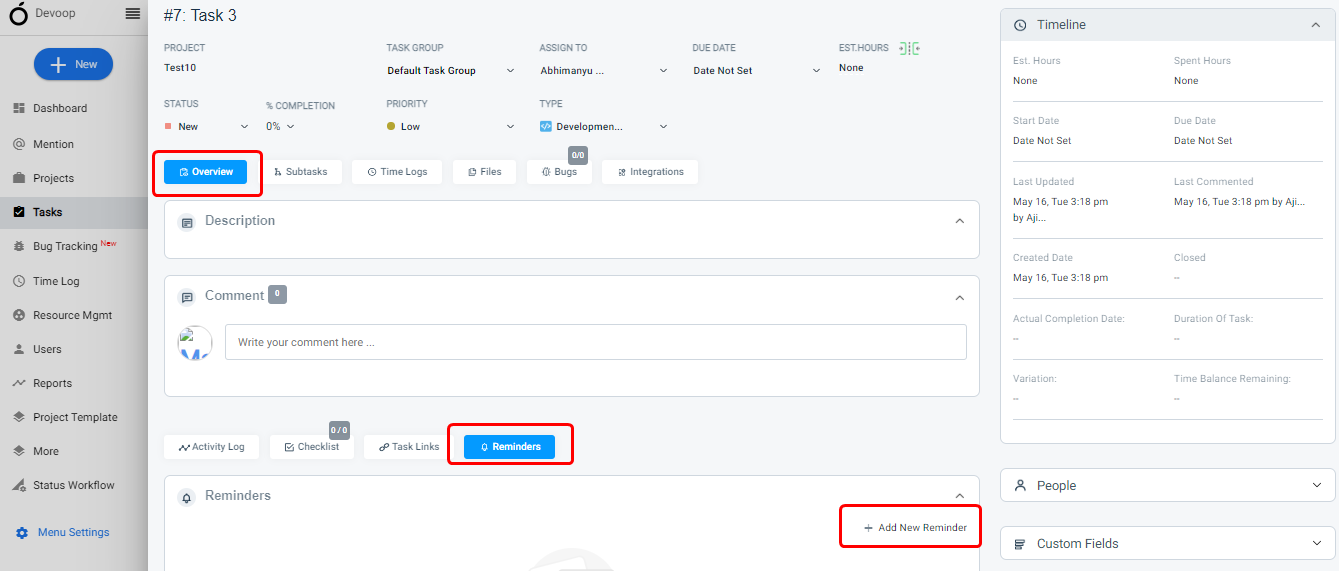
**(Image-1)**
**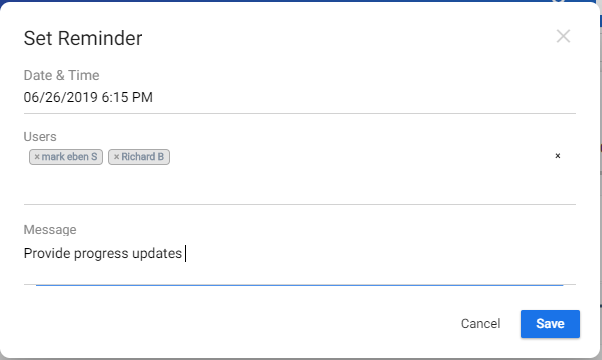**
**(Image-2)**
**Note:**
- Only the Owner and Admin can define task reminder.
- Task reminder is available for all plans. However, once free trial is over, the feature will be auto-disabled.
- You can set reminders for closed and Archived task.
You can add multiple reminders for a single task. You can follow the above steps.
**Tip**: ***Overdue Task Reminder***: You can use a Custom reminder as an overdue task reminder. While creating reminder, you can choose Date as one day ahead of the task due date. So once the task crosses the due date, overdue notification will be received via email.
**Edit Task reminder:**
- Navigate to left menu & click on Tasks
- Click on the specific task for which you want to edit the reminder.
- Hover on  under Task reminder.
- Click .
- Make the required changes and click **Save**.
**Delete Task reminder:**
- Navigate to left menu & click on Tasks.
- Click on specific task for which you want to edit the reminder.
- Hover on  under Task reminder.
- Click .
# How do I Log Time?
> How do I Log Time
> For the complete documentation index, see [llms.txt](https://helpdesk.orangescrum.com/llms.txt).
Source: https://helpdesk.orangescrum.com/how-do-i-log-time
---
1. Go to “**Quick Links**” > “**Time Entry**” under “New” section.
2. Select Task from the task list .
3. Select Resource Name from the list and pick Date from the calendar.
4. Select Start time when you have started the task
5. Select End time when you have completed/stopped doing the task.
6. Enter Break time(If you have taken any break while doing the task, then add the break time). Spent Hours will be calculated automatically.
7. Click on “**\+ Add Line Item**“, if you want to log more hours for a different resource or same resource different date or different time.
8. Enter Summary
9. Click on “**Save**” Button to save data.
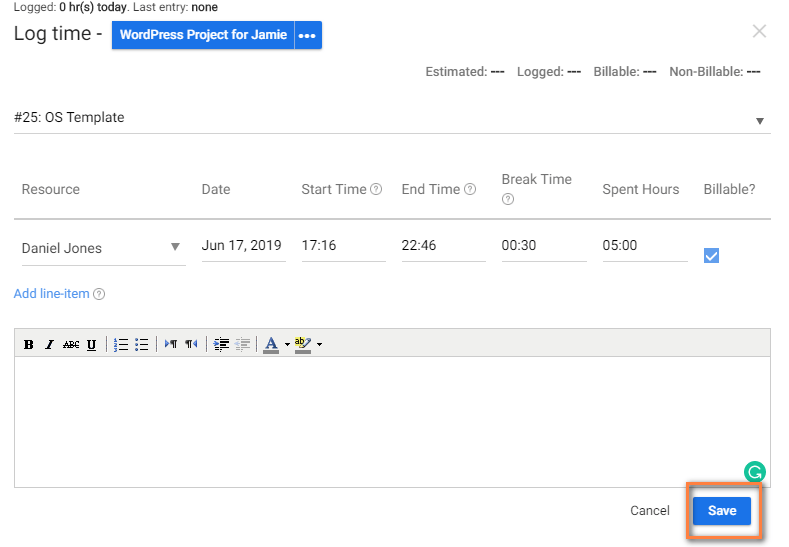
**(Image-1)**
You can also log time through [timer](https://helpdesk.orangescrum.com/use-start-timer/) and [timesheet.](https://helpdesk.orangescrum.com/cloud-category/using-orangescrum/#timesheet)
# How can I See the Active Aprints of a Project?
> How can I See the Active Aprints of a Project
> For the complete documentation index, see [llms.txt](https://helpdesk.orangescrum.com/llms.txt).
Source: https://helpdesk.orangescrum.com/how-can-i-see-the-active-sprints-of-a-project
---
- Log in to your OrangeScrum account using your current credentials.
- Navigate to **Left Menu > Active Sprint** (Refer Image 1)
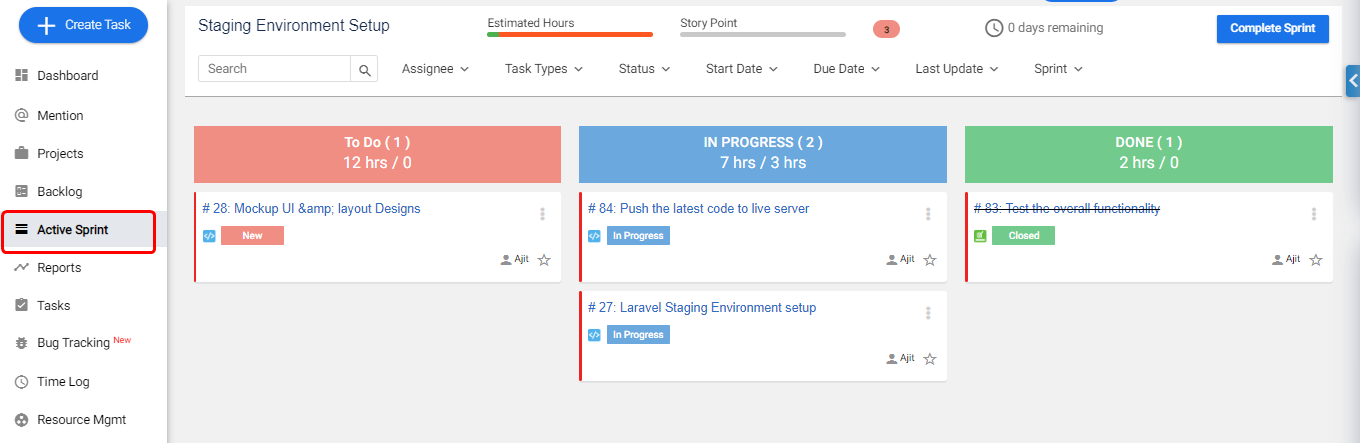
**(Image-1)**
**Note:** Active sprints page shows the details of the sprint that is started from Backlog.
# How can I Link Tasks that are Dependent?
> How can I Link Tasks that are Dependent
> For the complete documentation index, see [llms.txt](https://helpdesk.orangescrum.com/llms.txt).
Source: https://helpdesk.orangescrum.com/can-link-tasks-dependent
---
1. Log in to your OrangeScrum account using your current credentials.
2. Navigate to **[Left Menu](https://helpdesk.orangescrum.com/can-i-manage-my-left-menu-of-the-orangescrum/) >More>Gantt Chart**
3. Hover on the Task Block
4. **Click ** **icon** & **Drag** it to one end of the child task (Refer Image 1)
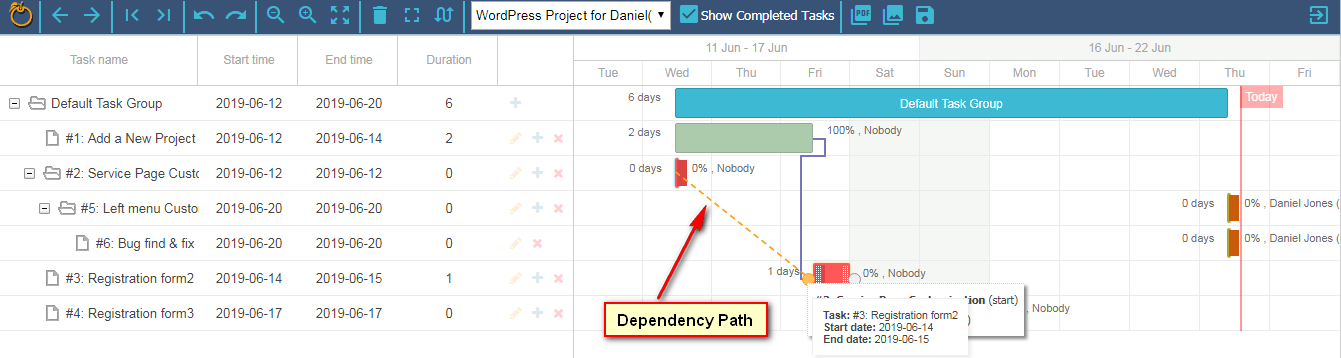
**(Image 1)**
# How to Save the Gantt Chart?
> How to Save the Gantt Chart
> For the complete documentation index, see [llms.txt](https://helpdesk.orangescrum.com/llms.txt).
Source: https://helpdesk.orangescrum.com/save-gantt-chart
---
1. Log in to your OrangeScrum account using your current credentials.
2. Navigate to **Left Menu >More> Gantt Chart**
3. Click icon on Gantt Tool bar.
**Note: Once you make any changes to your Gantt Chart, you need to click on the Save Icon ( ) to save the changes**
# Can I Disable the Email Notification from Orangescrum?
> Can I Disable the Email Notification from Orangescrum
> For the complete documentation index, see [llms.txt](https://helpdesk.orangescrum.com/llms.txt).
Source: https://helpdesk.orangescrum.com/can-i-disable-the-task-create-or-reply-emails-i-am-getting
---
- Log in to your OrangeScrum account using your current credentials.
- Once logged in, navigate to your profile by clicking on your profile picture or avatar, usually located at the top right corner of the screen.
- From the dropdown menu of “**Personal setting**” , select the “**Notifications**” option.
- To disable the emails, Mark all options as **NO.**
- Click on **Update.**
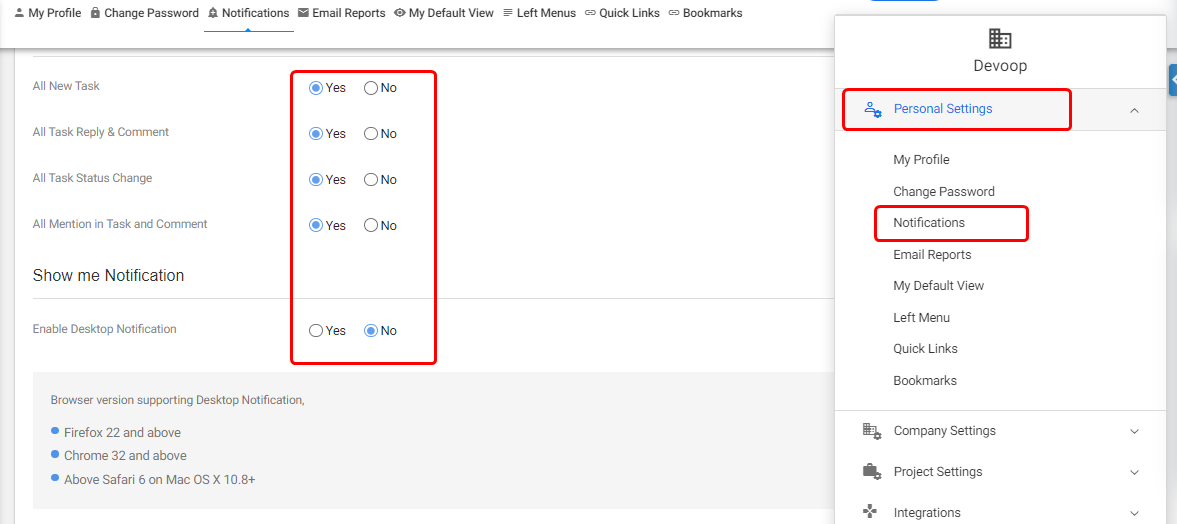
# How to Manage Company?
> How to Manage Company
> For the complete documentation index, see [llms.txt](https://helpdesk.orangescrum.com/llms.txt).
Source: https://helpdesk.orangescrum.com/how-to-manage-company
---
1. Login to your Orangescrum account.
2. Click **User Profile > Company Settings > My company** (Refer Image 1)
3. Provide required details & Click ‘**Update**’ (Refer Image 2)
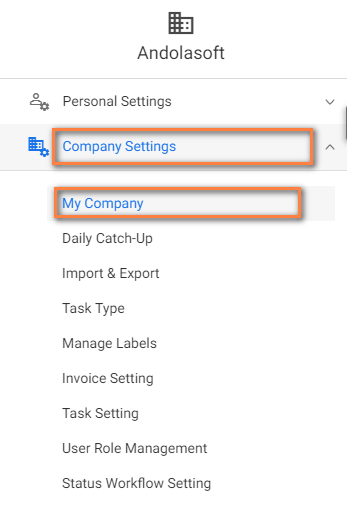 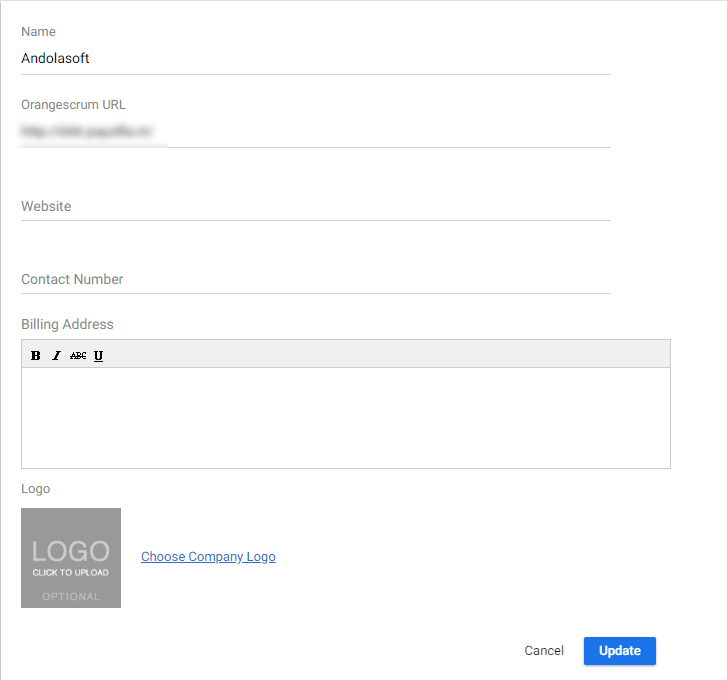
**(Image 1) (Image-2)**
# How will I add a new user with a user role to the project?
> You can invite a user with a user role in Orangescrum. During the invite, you can add the user to selected project(s) as well. Login to your Orangescrum account using your credentials. Navigate to Quick Links. Click on “User” under New. Enter email id, search project(s), select roles (Refer…
> For the complete documentation index, see [llms.txt](https://helpdesk.orangescrum.com/llms.txt).
Source: https://helpdesk.orangescrum.com/how-will-i-add-a-new-user-with-a-user-role-to-the-project
---
You can invite a user with a user role in Orangescrum. During the invite, you can add the user to selected project(s) as well.
1. Login to your Orangescrum account using your credentials.
2. Navigate to Quick Links.
3. Click on “User” under New.
4. Enter email id, search project(s), select roles (Refer Image-1)
5. Click on Add
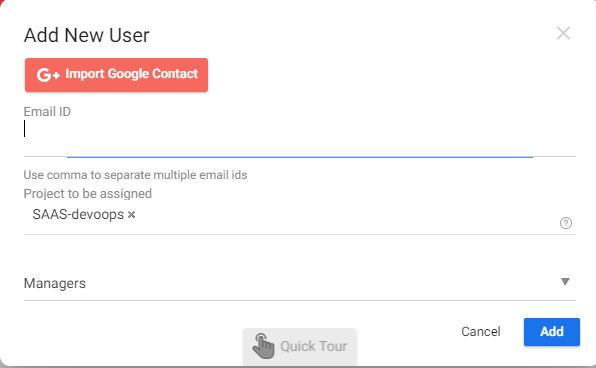
**(Image-1)**
**Note**: The invited user will get an email notification and once the user signed up, s/he will be assigned to the user role you selected. As per the user role permissions, the user can perform the actions in the project.
**Tip:** While inviting, you can’t assign multiple roles to a user for different projects. However, you can assign a different role for a specific project.
# How can I See Project Overview?
> How can I See Project Overview
> For the complete documentation index, see [llms.txt](https://helpdesk.orangescrum.com/llms.txt).
Source: https://helpdesk.orangescrum.com/how-can-i-see-project-overview
---
1. Log in to your OrangeScrum account using your credentials.
2. Navigate to **Left Menu > Projects**
3. Click on any project. It will take you to the overview page.

**(Image 1)**
# How to Create A Task in Gantt Chart?
> Learn the steps to create tasks in the Gantt Chart in Orangescrum for effective project planning and timeline management.
> For the complete documentation index, see [llms.txt](https://helpdesk.orangescrum.com/llms.txt).
Source: https://helpdesk.orangescrum.com/create-task-gantt-chart
---
1. Log in to your Orangescrum account using your current credentials.
2. Navigate to **Left Menu >More > Gantt Chart**
3. Select **Project**, Click  **icon** (from respective **Task Group/Sprint**), provide required details & Click **Save** (Refer Image 1 & 2)

**(Image 1)**
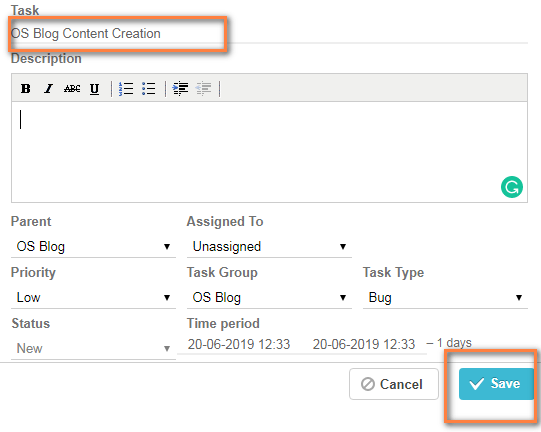
**(Image 2)**
**Note**: Whenever you are making any changes to Gantt Chart, don’t forget to click on  on the Gantt Chart.
# How to Archive or Delete a Task?
> How to Archive or Delete a Task in Orangescrum SaaS project management Tool
> For the complete documentation index, see [llms.txt](https://helpdesk.orangescrum.com/llms.txt).
Source: https://helpdesk.orangescrum.com/how-to-archive-or-delete-a-task
---
**Archive task :-**
1. Log in to your Orangescrum account using your credentials.
2. Click on the “Tasks” section from the left menu.
3. Navigate to **Task Listing Page** of specific project
4. Click  icon of the task.
5. Click ‘**Archive**’.
6. It will show up a warning message asking to archive tasks. Click **Ok.**
**Delete task:-**
1. Log in to your Orangescrum account using your credentials.
2. Click on the “Tasks” section from the left menu.
3. Navigate to **Task Listing Page** of specific project**.**
4. Click  icon of the task.
5. Click ‘**Delete**’.
6. It will show up a warning message asking to delete tasks. Click **Ok.**
# Can I Notify a Task to Multiple Users?
> Can I Notify a Task to Multiple Users
> For the complete documentation index, see [llms.txt](https://helpdesk.orangescrum.com/llms.txt).
Source: https://helpdesk.orangescrum.com/notify-task-multiple-users
---
YES, you can notify a task to multiple users.
1. Log in to your Orangescrum account using your credentials.
2. Navigate to Task Detail Page from the left menu.
3. Click on the particular task you want to notify.
4. Select the resources to whom you want to notify the task & Click ‘**Post Comment**’ (Refer Image 1)
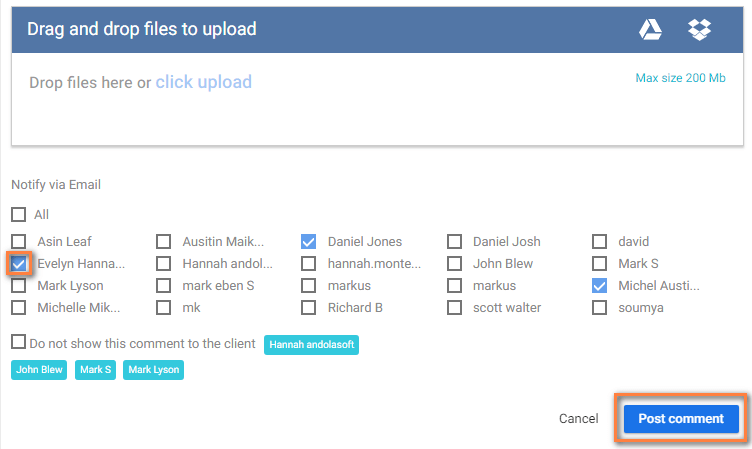
**(Image-1)**
**Note**: You can’t assign tasks to multiple users. However, you can notify and collaborate the task with multiple users, so that they can reply or comment on the task.
# How to link tasks?
> In Orangescrum Project Management tool, Task Linking can be done upon task create, task edit, and task details.Task linking is pretty simple to manage.
> For the complete documentation index, see [llms.txt](https://helpdesk.orangescrum.com/llms.txt).
Source: https://helpdesk.orangescrum.com/how-to-link-tasks
---
In Orangescrum Project Management tool, Task Linking can be done upon [**task create**](https://helpdesk.orangescrum.com/how-to-create-a-new-task/), [**task edit**](https://helpdesk.orangescrum.com/how-to-edit-a-task/), and [**task details**](https://helpdesk.orangescrum.com/how-to-view-task-details-and-reply-on-a-task/).
1. Log in to your Orangescrum account using your credentials.
2. Click **[Quick Links](https://helpdesk.orangescrum.com/how-can-i-manage-the-menus-in-quick-links/) > Task** (Refer Image-1)
3. Add task details such as [**Project**](https://helpdesk.orangescrum.com/how-to-create-a-project/), **Task title**, [**Task Type**](https://helpdesk.orangescrum.com/add-view-edit-task-type-task/), **Assigned to**, etc.
4. Click ‘**Relate to**’ drop-down to define the task link type and add the task in the ‘**Linking Task’.** (Refer Image-2)
Note- Here, you’ll get 3 options such as **Related to, Duplicated by** & **Derived from**. **[Learn more about task linking](https://helpdesk.orangescrum.com/what-is-task-linking/)**
4. Click on **‘Save & Exit**‘.
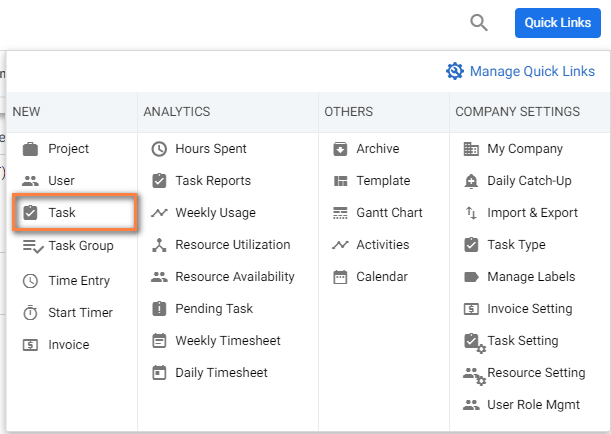
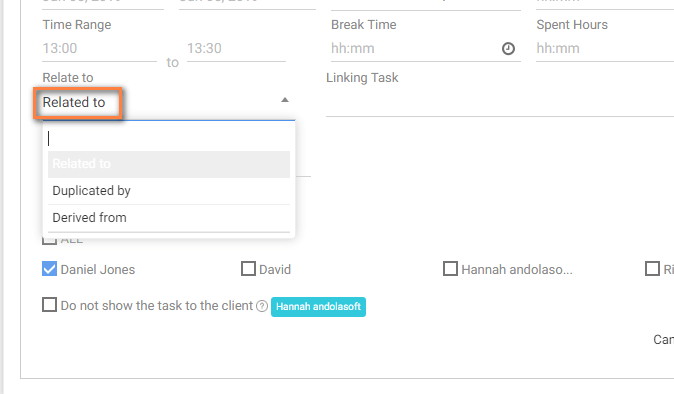
**(Image-1) (Image-2)**
## **Edit Task Link:**
1. Navigate to Task Listing Page.
2. Click icon of the task.
3. Click **‘Edit’.** (Refer Image-1)
4. Click ‘**Relate to**’ drop-down to define the task link type and add the task in the ‘**[Linking Task](https://helpdesk.orangescrum.com/what-is-task-linking/)’**
5. Click ‘**Update**’.
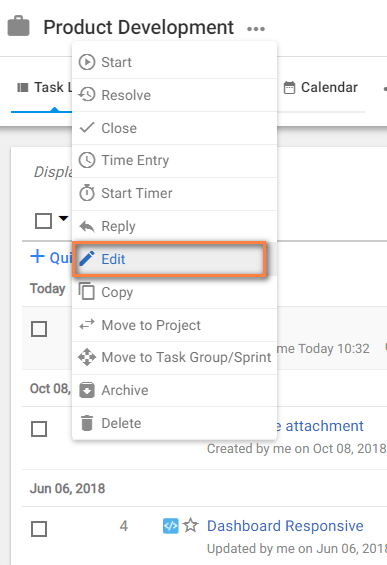
**(Image-1)**
## **Task Detail Linking:**
1. Navigate to Task Details
2. Click  icon (Refer Image-1)
3. Click ‘**Relate to**’ drop-down to define the task link type and add the task in the ‘**[Linking Task](https://helpdesk.orangescrum.com/what-is-task-linking/)’** (Refer Image-2)
4. Click ‘**Save’.**
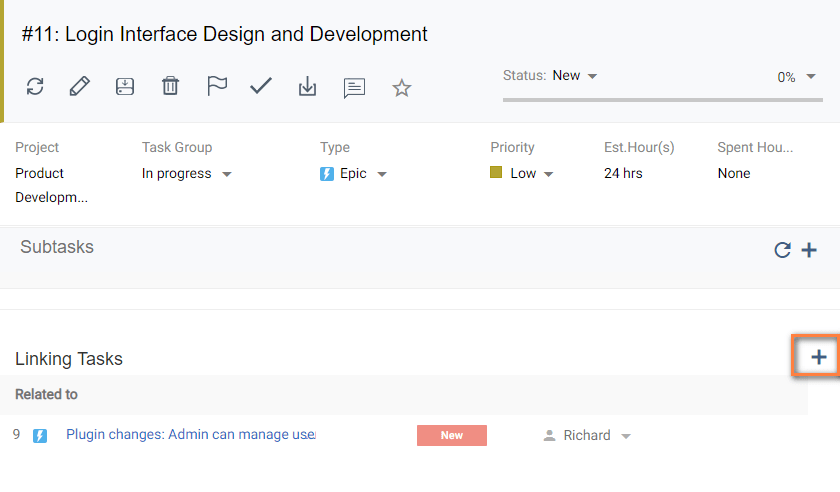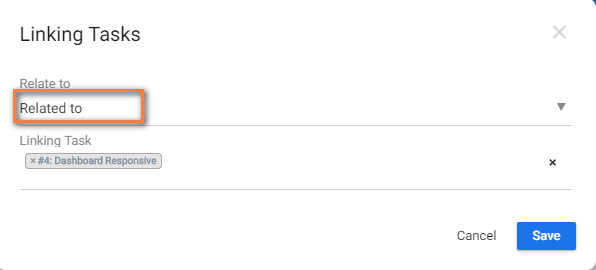
**(Image-1) (Image-2)**
## **Delete Task Link:**
1. Navigate to Task Detail Page of the specific task
2. Hover on the specific task to find delete icon  (Refer Image-1)
3. Click ‘**Delete’.**
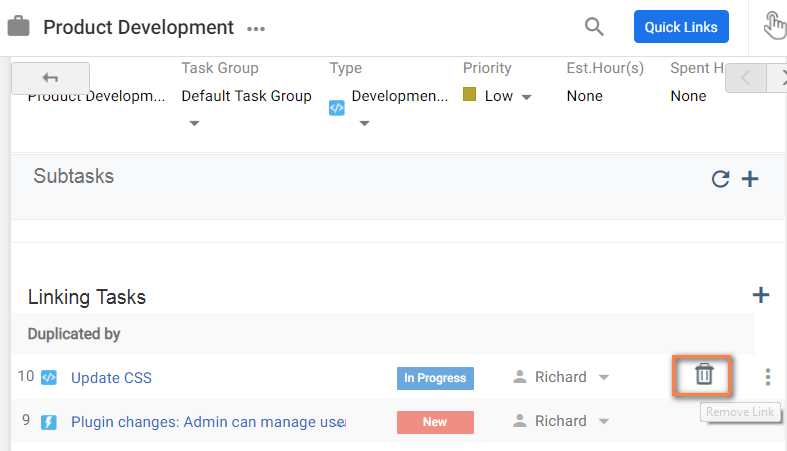
**(Image-1)**
# How can I Take Backup of My Data from Orangescrum?
> How can I Take Backup of My Data from Orangescrum
> For the complete documentation index, see [llms.txt](https://helpdesk.orangescrum.com/llms.txt).
Source: https://helpdesk.orangescrum.com/how-can-i-take-backup-of-my-data-from-orangescrum
---
1. Login to your Orangescrum account.
2. Click **Profile Icon > Project Settings> Import & Export** (Refer Image 1)
3. Click icon from the **Import & Export page**
4. Provide required details & Click ‘**Export CSV**’ (Refer Image 2)
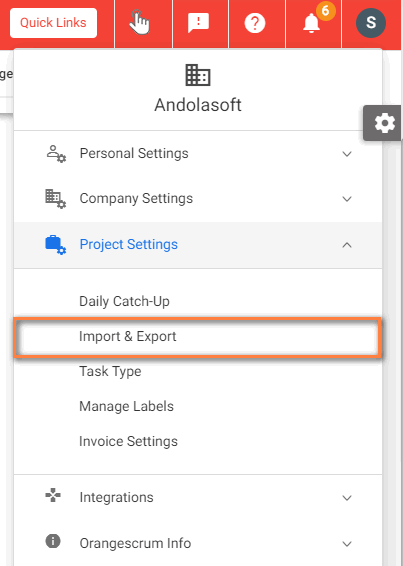 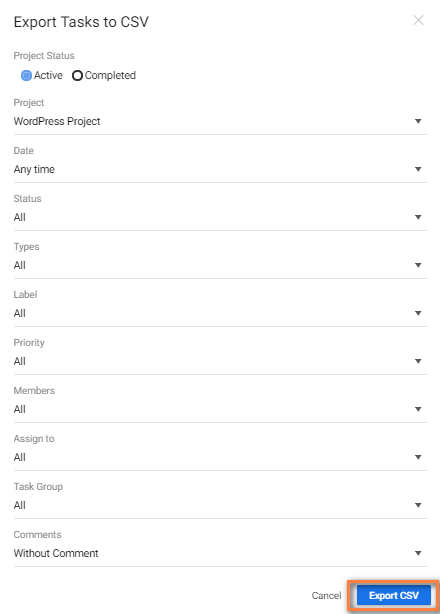
**(Image 1) (Image 2)**
# How can I Import My Data into Orangescrum?
> How can I Import My Data into Orangescrum
> For the complete documentation index, see [llms.txt](https://helpdesk.orangescrum.com/llms.txt).
Source: https://helpdesk.orangescrum.com/how-can-i-import-my-data-into-orangescrum
---
1. Log in to your Orangescrum account using your credentials.
2. Navigate to **Profile Icon > Project settings> Import & Export** (Refer Image 1)
3. Select the projecT for which you want to import task.
4. Click on attach icon to upload the task csv file & click **Continue** to upload the task(Refer Image 2)
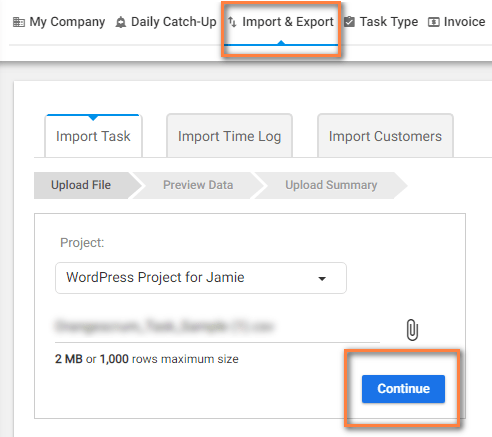
**(Image 1) (Image 2)**
**Note:** You can upload task list CSV format only
# How can I restrict user from closing the task?
> Learn how to restrict users from closing tasks in Orangescrum to maintain control over project workflows and task management.
> For the complete documentation index, see [llms.txt](https://helpdesk.orangescrum.com/llms.txt).
Source: https://helpdesk.orangescrum.com/how-can-i-restrict-user-from-closing-the-task
---
- Log in to your Orangescrum account using your admin credentials.
- Navigate to **Profile icon>Company Settings>User Role Management**
- Click on **Task** Module of the specific role to which user is assigned. (Refer Image -1)
- Unmark “**Close Task**” to restrict user to close the tasks.
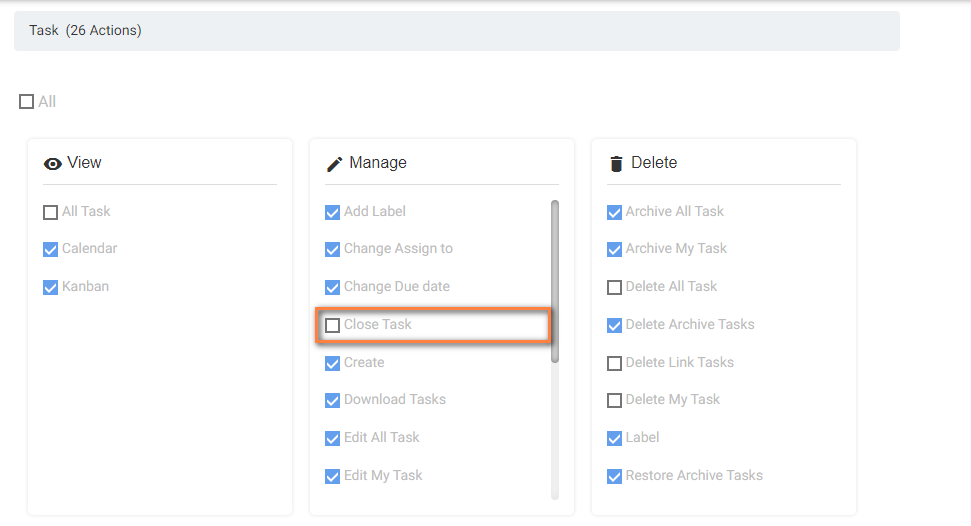
# How to use task filters?
> Learn how to effectively use task filters in Orangescrum to streamline your project management and improve workflow efficiency.
> For the complete documentation index, see [llms.txt](https://helpdesk.orangescrum.com/llms.txt).
Source: https://helpdesk.orangescrum.com/how-to-use-task-filters
---
- Login to your Orangescrum account.
- Click on the “Task” from the left menu.
- Navigate to [**Task Listing Page**](https://helpdesk.orangescrum.com/what-is-task-list-how-it-helps-you/)**.**
- Click on the present at the top right corner of “Task list table”.
- Click on the filter type to get the filter options.
- You can select multiple filters there.
- You can filter your tasks by Time, Due date, Status, Types, Priority, Commented by, Created by, Assigned to, and Label. It helps users to find their tasks easily & quickly.
**What information can you get using task filters?**
- **List of task with a particular status**–
- Click beside the task status strip on the top right of the task list as shown in the image & select the status to filter the task.
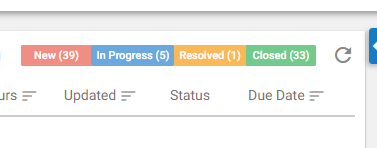
- **Get the list of high priority tasks:**
- Click  icon and select Priority. From the menu, select the priority type as High. Upon selecting the tasks will be filtered**.**
- You can also select **Common task filters** under the filter menu & select **High Priority.** This will filter high priority tasks from task list
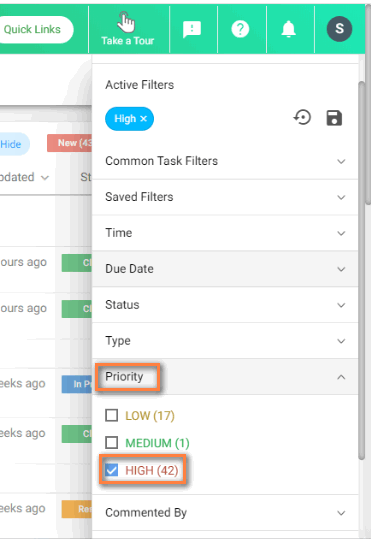
- **Find out tasks assigned to specific user**
- - Click icon and select Assign To.
- From the menu, select the resource for which you want to see the assigned tasks. Upon selecting the tasks will be filtered.
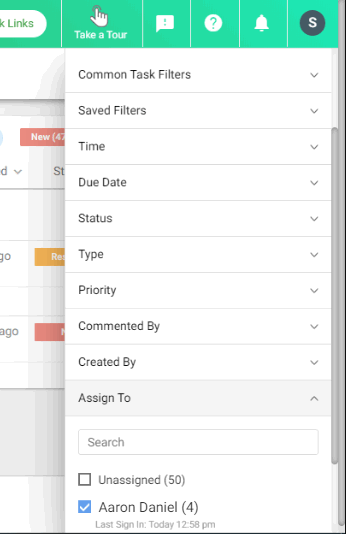
- Filter the task associated with Specific task type-
- - Click icon and select Type.
- From the menu, select the type for which you want to see the associated tasks. Upon selecting the tasks will be filtered.
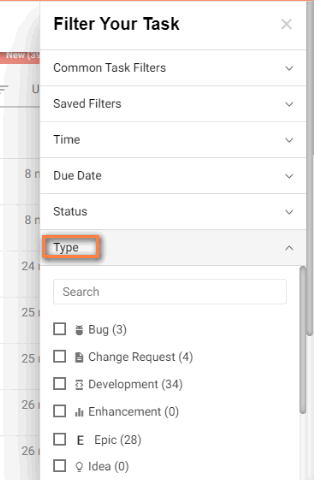
**How to Create Custom Filter or Save a Filter?**
- - Click icon at the top-right corner of the Task and [Task Group](https://helpdesk.orangescrum.com/create-task-group/) page.
- Use any filter like [Time](https://helpdesk.orangescrum.com/how-do-i-log-time/), [Due Date](https://helpdesk.orangescrum.com/how-to-change-the-task-type-assign-to-due-date-on-the-task-listing-page/), [Status](https://helpdesk.orangescrum.com/how-can-i-make-custom-workflow-or-task-status/) etc.
- Click  icon.
- Give the Filter name, and click “Save”.
Note:
- At any time, you can view your filtered tasks in custom filters using Saved filters under the filter menu. You can edit or delete the saved filter as well.
- No other users can view the filter you have created at any point.
- Filters will remain the same even if you change the project.
**How can I delete the custom filter ?**
- Hover on the “Task” menu in the Left panel.
- Click “Manage Filters”
- Click delete on the filters you wish to delete.
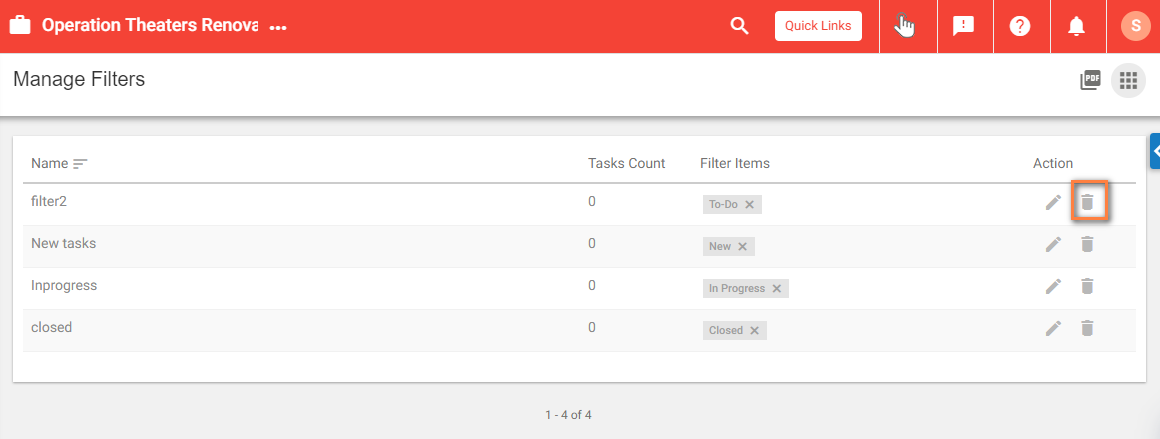
# How to Create a New Role Group & Role?
> How to Create a New Role Group
> For the complete documentation index, see [llms.txt](https://helpdesk.orangescrum.com/llms.txt).
Source: https://helpdesk.orangescrum.com/how-to-create-a-new-role-group
---
- Log in to your Orangescrum account.
- Navigate to **Profile Icon>Company Setting>****User Role Management**
- On the User Role Setting page, hover on the “**+**” button & Click on the option to “**Create New Role Group”.** (Refer Image -1)
- On the Role group pop-up, you can mention your role groups like: Accounts & Finance, Human Resource, Project leads etc. and the short name for Department.(Refer Image-2)
- Click on ‘Create’ to create Role Group.
Once you have created custom role group, you can add custom roles under it and assign [role privileges](https://helpdesk.orangescrum.com/orangescrum-quick-guide-for-user-role-management/).
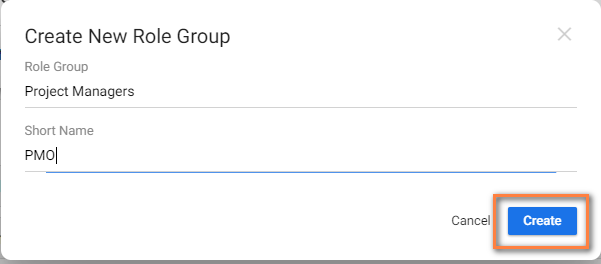
**(Image -1) (Image-2)**
With a custom role, you can define or control what a user can do within your project or in Orangescrum. The custom user access role is associated to a [role group](https://www.orangescrum.com/user-role-management). Every user role has View, Manage & Delete permission for different features/modules such as Task, Project, Timelog, Gantt chart etc.
**Important Note**:
- A Custom User Role or Role Group can be created by admins and owner of the account.
- Owner and Admins can create unlimited number of user roles. There is no restriction on number of user roles or role groups in Orangescrum.
- You can’t change or modify default user roles & their permissions, i.e Owner, Admin, Client & User.
- Orangescrum allows only one owner per account
- This feature is available to all accounts.
To create a custom user role,
- Navigate to **Profile Icon>Company Setting>****User Role Management**
**Tip**: You can also access User Role Management from Quick Links under Company Settings
- On the User Role Setting page, hover on the + icon
- Click on the **Create New Role** button
- On the Create New Role Page pop-up, define which “**Role**” you want to assign to a user like: Developer, Tester, Analyst, Graphic Designer, and Project Manager Etc.
- **Short Name**: Provide a short name for the User Role
- **Role Group**: Select the Role Group under which this role will be associated
- **Users**: Add user(s) for the new Role
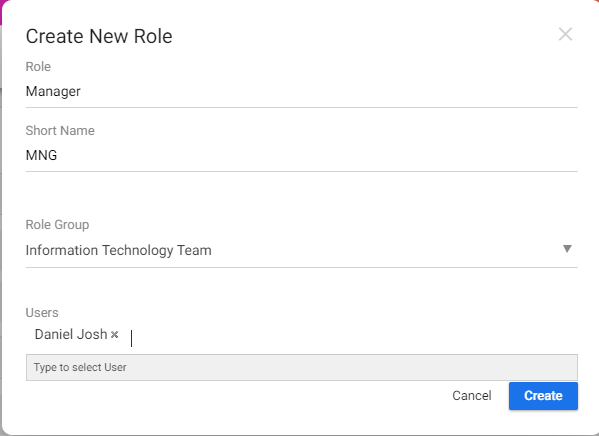
**Note**: If you add a user to any custom role, then the user will remove from the previous role. The new role will be assigned to the user.
- Click on **Create** to successfully create the new User Role in Orangescrum.
**Orangescrum Tip**: This role created on the account level and applicable for all projects. To create project specific role, navigate to your project page and follow [these steps](https://helpdesk.orangescrum.com/how-will-i-assign-different-role-for-different-project-to-a-member/).
**Define User Access Control or Permission of User Roles**
To define the actions or permission of users what they can do within your project or tool, you must create user role groups and then user roles under the role group. Once you create the user roles, added users, you need to define the access and permissions for each role.
- Navigate to User Role Management Setting from Quick Links under Company Settings
- On the User Role Setting Page, Click on the Custom User Role
- Under the role, you can see different modules/features such as Task, TimeLog, File, Invoice, Gantt Chart etc.
- Click on any module, it will show the complete list of actions of each module in terms of “View, Manage, Delete”
- Check the corresponding box to provide access to that particular role and uncheck to remove the access/permission of that action for the role
- Click on “Save Changes”
**Orangescrum Tip**:
***Private Task***: For example, click on Task Module. Under View, Check All Tasks that means the users belong to this user role can view all the task of the assigned projects. However if you uncheck it, then the users can view only the task assigned to them.
***Only allow Timer for time entry***: Click on Timelog module, uncheck the “Manual Time Entry” option under the Manage section. That will remove the Manual Time Entry, Weekly Timesheet and Daily Timesheet option from the user’s account. The user can log time only through the timer.
***Don’t Allow to edit time log***: Click on Timelog module, uncheck the “Edit Timelog Entry” option under Manage. This disables users of a role to edit any time log entries.
**Edit Custom User Role**
- Navigate to **Quick Links** and click on “**User Role Management**” under **Company Settings**
- Go to the User Role, and Click on the Edit icon
- On the Edit pop-up, you can update **Role Name, Short Name, Change Role Group, Add or remove Users** from the User Role
- Click on the **Update** Button
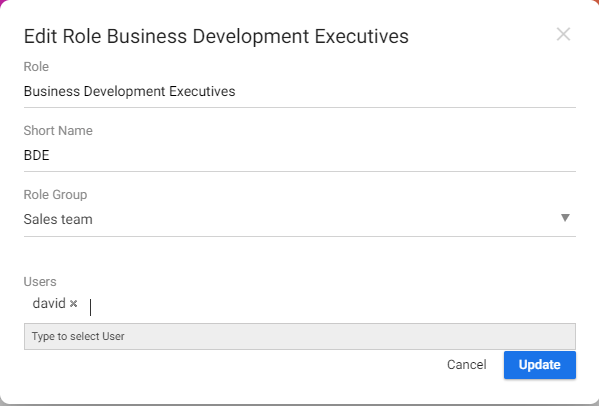
**Note**: Only account admins and owner can edit user roles.
**Delete Custom User Role:**
- Navigate to **Quick Links** and click on “**User Role Management**” under **Company Settings**
- **Go to the User Role, and Click on the Delete icon**

**Note**: Once you delete a user role, the assigned user belongs to that user role will be removed from the role, and added to the default user role.
**Add Users to User Role**
- Navigate to **Quick Links** and click on “**User Role Management**” under **Company Settings**
- Go to the User Role, and Click on the User icon
- On the pop-up click on +Add Users button
- Type the user name, select the user and click on “Add User” button
**Tip 1**: On the Edit User Role pop-up, you can add or remove users from the User Role as well.
**Tip 2**: While inviting a new user through Quick Links>>User>> you can select the User Role of the newly invited user
# What is User Role Management? and How Can I Navigate to User Role Settings?
> With Orangescrum’s SaaS Project Management Tool User Role Management feature, you can clearly define the roles & responsibilities of your teams as well as the projects.
> For the complete documentation index, see [llms.txt](https://helpdesk.orangescrum.com/llms.txt).
Source: https://helpdesk.orangescrum.com/how-to-navigate-to-user-role-settings
---
With Orangescrum’s SaaS Project Management Tool User Role Management feature, you can clearly define the roles & responsibilities of your teams as well as the projects.
To see the User Role Settings:-
- Log in to your Orangescrum account using your credentials.
- Navigate to **Profile Icon>Company Setting>****User Role Management.**
- Click on the “**User Role Management**”.(Refer Image-1)
On the User Role Management page, by default you can add users to default roles i.e Owner Admin, User, or Client. Moreover, you can create:
- Custom [Role Groups](https://helpdesk.orangescrum.com/how-to-create-a-new-role-group/) (Refer Image-1)
- Custom [Roles](https://helpdesk.orangescrum.com/how-to-create-a-new-role-group/) under Role Groups (Refer Image-1)
- Add users to defined Roles
- Define Role privileges(Refer Image-1)
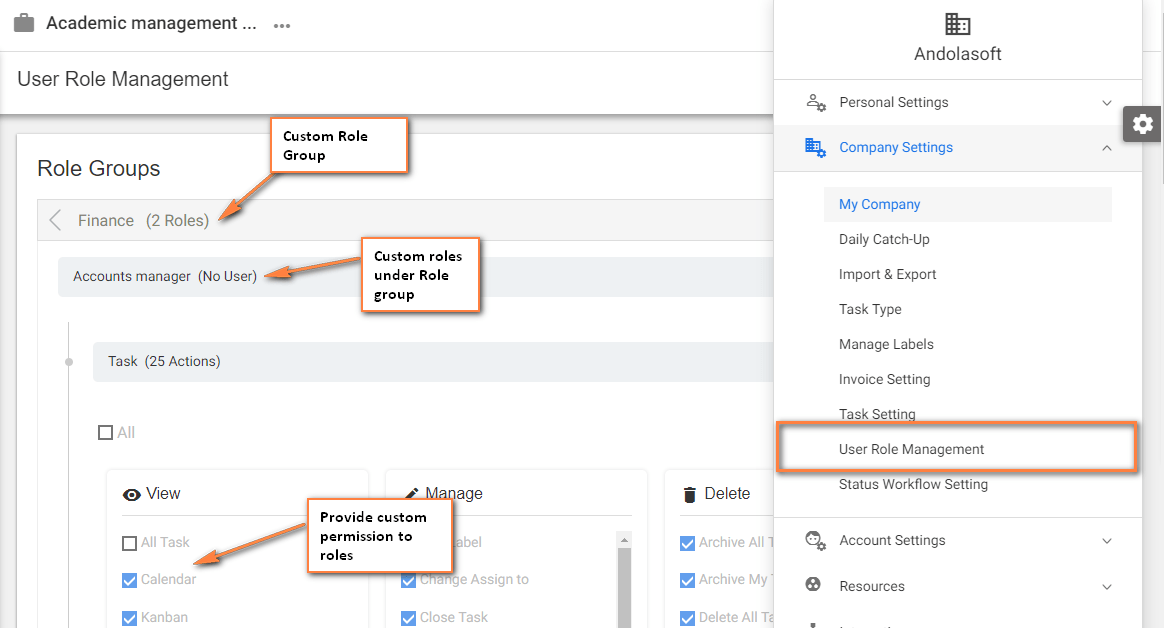
**(Image-1)**
**Who Can View or Access User Role Management Settings?**
Only Owner and admin can view User Role Management setting.
# How can I Set Priority of the task?
> Login to your Orangescrum account. Click on the “Task” from the left menu. Click icon > Set Priority (Refer Image 1) ( Image 1)
> For the complete documentation index, see [llms.txt](https://helpdesk.orangescrum.com/llms.txt).
Source: https://helpdesk.orangescrum.com/how-can-i-set-priority-of-the-task
---
1. Login to your Orangescrum account.
2. Click on the “Task” from the left menu.
3. Click **icon > Set Priority** (Refer Image 1)

**( Image 1)**
# How to Delete a User ?
> you can't delete a user from your account. However, you can disable or remove the user from the project and restrict his/her access.
> For the complete documentation index, see [llms.txt](https://helpdesk.orangescrum.com/llms.txt).
Source: https://helpdesk.orangescrum.com/how-to-delete-an-user-from-my-account
---
You can only delete a user who is in invited state or has not accepted the user invitation yet. However, you can disable active users to restrict his/her access. In order to disable the user, you can follow the below steps-
1. Log in to your Orangescrum account with your admin credentials.
2. Click on the Users section in the left menu.
3. Find the user whose access you want to delete and click on the three-dotted icon on the top left of the user details.
4. Click on 3 dot icon on the card of the specific user and click **Disable** (Refer Image 1)
5. Click ‘**OK**’ .
# How to Remove a Task From Task Group?
> How to Remove a Task From Task Group
> For the complete documentation index, see [llms.txt](https://helpdesk.orangescrum.com/llms.txt).
Source: https://helpdesk.orangescrum.com/remove-task-task-group
---
1. Log in to your OrangeScrum account using your credentials.
2. Navigate to **Task Group Page**
3. Hover on **icon** of the task that you want to remove from the **Task Group**
4. Click **Delete > Ok** (Refer Image 1)
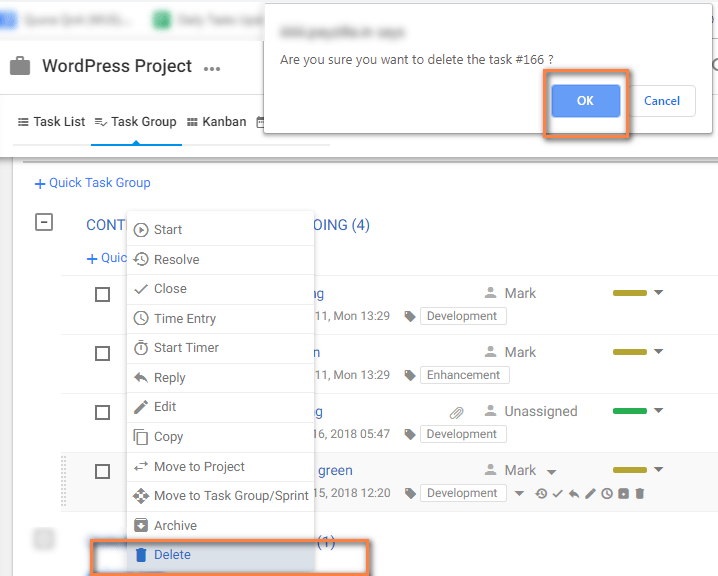
**(Image-1)**
# Why Cannot I Delete Some Task Statuses?
> Since those task statuses has been assigned to some tasks, they cannot be deleted. You can delete the tasks or close the tasks to delete the status.
> For the complete documentation index, see [llms.txt](https://helpdesk.orangescrum.com/llms.txt).
Source: https://helpdesk.orangescrum.com/why-cannot-i-delete-some-task-statuses
---
In Orangescrum, certain task statuses cannot be deleted due to system limitations and dependencies within the software. These predefined task statuses often have important functionality and associations tied to them, such as workflow transitions, automation rules, or integrations with other features.
By restricting the deletion of certain task statuses, Orangescrum ensures the stability and integrity of your project management processes. Removing a task status that is already being used or has dependencies may lead to inconsistencies in your project data or disrupt the overall workflow.
Remember that Orangescrum is designed to streamline and optimize project management processes, and the predefined task statuses are carefully configured to ensure smooth operations and accurate reporting.
# How to Mark the User Status “Leave” or “Absent”?
> How to Mark the User Status “Leave” or “Absent”
> For the complete documentation index, see [llms.txt](https://helpdesk.orangescrum.com/llms.txt).
Source: https://helpdesk.orangescrum.com/mark-user-status-leave-absent
---
1. Login to your Orangescrum account.
2. Go to the left menu.
3. Click on “**Resource Mgmt**” and hover this then click on “**Resource Availability**”.
4. Select the **slot** for assigning leave & click ‘**Add’** (Refer Image 1)
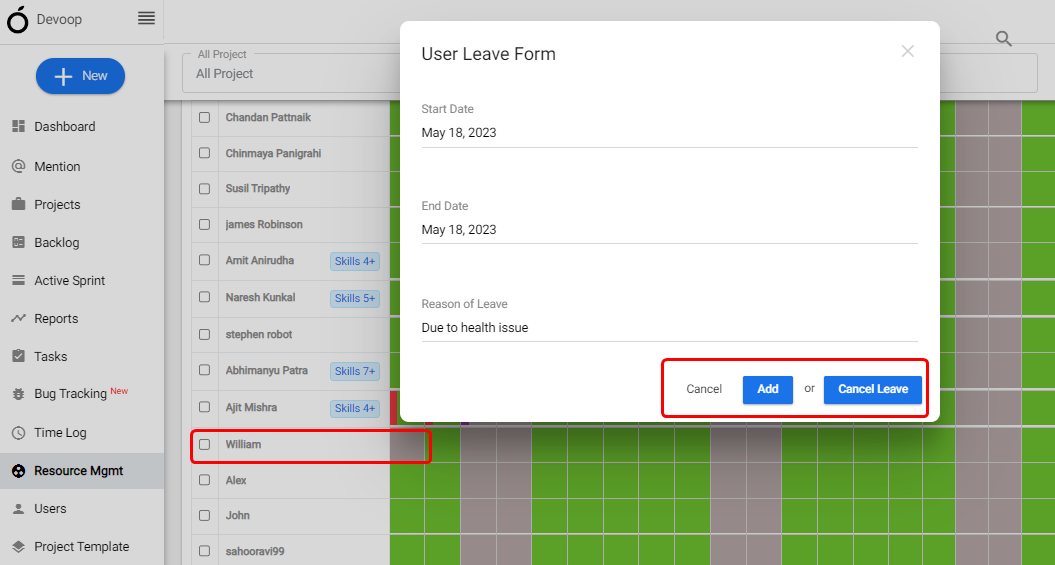
**(Image-1)**
If you click on the “Add” option, the leave will be successfully added. On the other hand, if you select “Cancel Leave,” a pop-up will appear asking, “Are you sure you want to cancel the leave?” If you click “Ok,” the leave will be successfully canceled.
# How can I know which Resource is available for the task?
> You can check which resource is available or not or on leave from the Resource Availability page. Login to your Orangescrum account. Go to the left menu. Click on “Resource Mgmt” and hover this then click on “Resource Availability”. Find all the details about the resources. Find the following…
> For the complete documentation index, see [llms.txt](https://helpdesk.orangescrum.com/llms.txt).
Source: https://helpdesk.orangescrum.com/how-can-i-know-which-resource-is-available-for-the-task
---
You can check which resource is available or not or on leave from the Resource Availability page.
- Login to your Orangescrum account.
- Go to the left menu.
- Click on “Resource Mgmt” and hover this then click on “Resource Availability”.
- Find all the details about the resources.
Find the following colors for “**Resource Available**”, “**Resource** **Booked**”,” **Resource overbooked**” and “**Leave**”.
- **Green**: Resource Available
- **Red**: Resource Booked
- **Grey**: Vacation
- **Purple**: Resource Overloaded

Or,
When assigning a task to a user, the system will notify you if the user is unavailable and suggest the next available date for that user. It will also suggest if there is another available resource before or on that date. You have two options: create the task anyway or change the resource.

You have two options; either create the **task anyway** or **change** the resource.
To change the resource, you can select other available resources that are shown in the pop-up window, as shown in the screenshot above. Click on the “Change” button to update the task accordingly.
If you select the “Create Anyway” option, the task will be created and assigned to the unavailable resource
**Note**: To know the Resource Availability during task creation enters the “**Estd. Hour**” or “**Due Date**” of the task.
# How can I Set My Daylight Saving Time(dst)?
> How can I Set My Daylight Saving Time
> For the complete documentation index, see [llms.txt](https://helpdesk.orangescrum.com/llms.txt).
Source: https://helpdesk.orangescrum.com/how-can-i-set-my-daylight-saving-time
---
1. Log in to your OrangeScrum account using your credentials.
2. Click **User Profile > Personal Settings > My Profile** (Refer Image 1)
3. Enable DST from icon & click ‘**Update**’ (Refer Image 2)
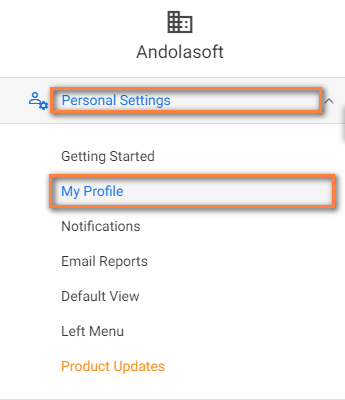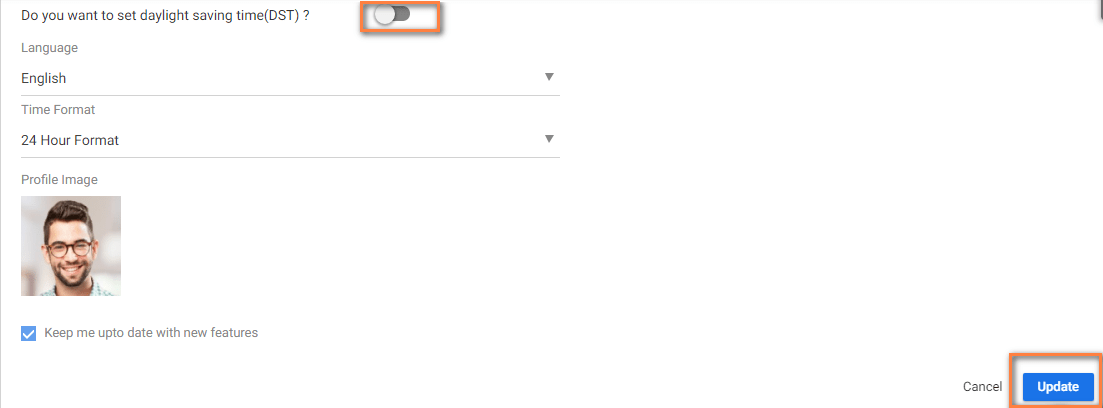
**(Image 1) (Image 2)**
# I have Disabled the Resource Availability Feature. Will Holidays be Applicable When I Create Task?
> I have Disabled the Resource Availability Feature. Will Holidays be Applicable When I Create Task?
> For the complete documentation index, see [llms.txt](https://helpdesk.orangescrum.com/llms.txt).
Source: https://helpdesk.orangescrum.com/i-have-disabled-the-resource-availability-feature-will-holidays-be-applicable-when-i-create-task
---
If you have disabled the Resource Availability feature in Orangescrum, holidays will not be automatically considered when creating a task. The Resource Availability feature typically takes into account holidays and other factors to calculate resource availability and task scheduling.
# How Do I See All Time Log Records?
> How Do I See All Time Log Records
> For the complete documentation index, see [llms.txt](https://helpdesk.orangescrum.com/llms.txt).
Source: https://helpdesk.orangescrum.com/how-do-i-see-all-time-log-records
---
1. Log in to your OrangeScrum account using your credentials.
2. **Navigate to Left Menu Panel > Time Log (Refer Image 1)**
3. Select **All** from project drop-down**.** It will show all the time logs across the tool.
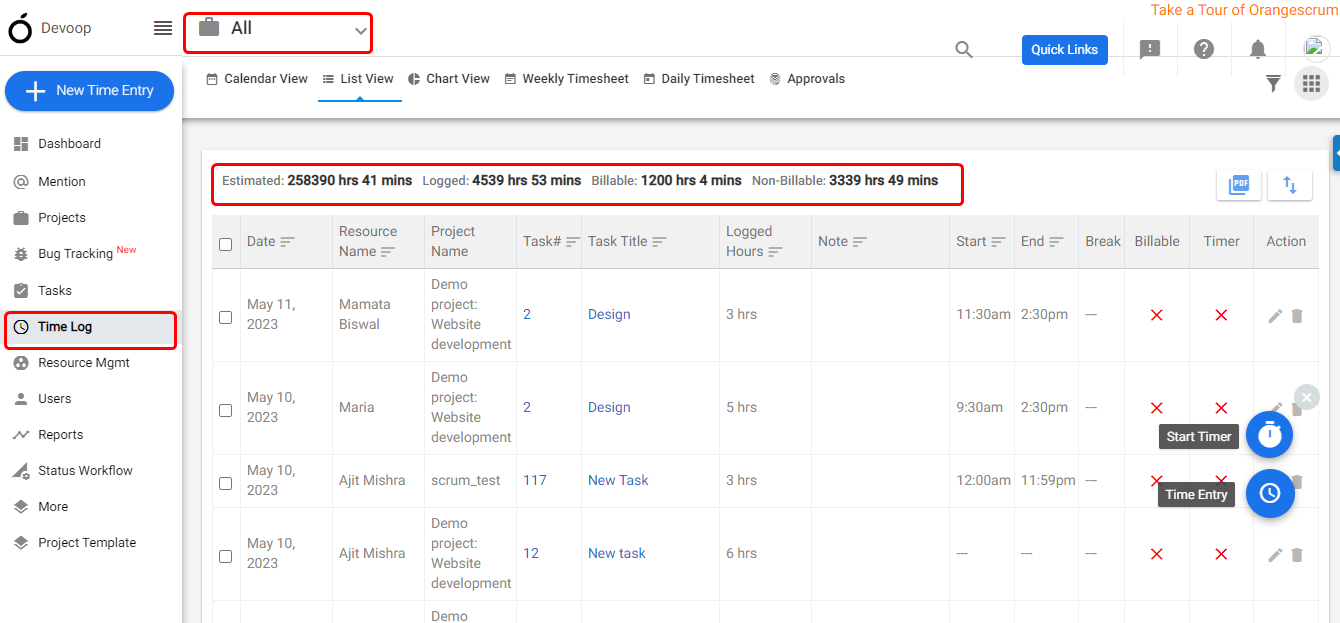
****(Image 1)****
# How do I Log Time While Replying a Task?
> How do I Log Time While Replying a Task?
> For the complete documentation index, see [llms.txt](https://helpdesk.orangescrum.com/llms.txt).
Source: https://helpdesk.orangescrum.com/how-do-i-log-time-while-replying-a-task
---
To log time from the task detail page in OrangeScrum, follow these steps:
1. 1. Log in to your OrangeScrum account using your credentials.
2. Once logged in, navigate to the task detail page. This page displays the specific details and information about a particular task.
3. On the task detail page, locate the section “Time Logs” related to time tracking or time logging. This section is usually labelled “Time Log,” “Track Time,” or something similar.
4. Click on the “Time Log” section or tab to access the time logging functionality.
5. Within the time log section, you will find a form or input fields to enter the time details as “Manual time entry”.
6. Fill in the required information, such as the date, duration, and any additional notes or comments related to the time spent on the task.
7. Once you have entered all the necessary details, click on the “Save” button to log the time for the task.
**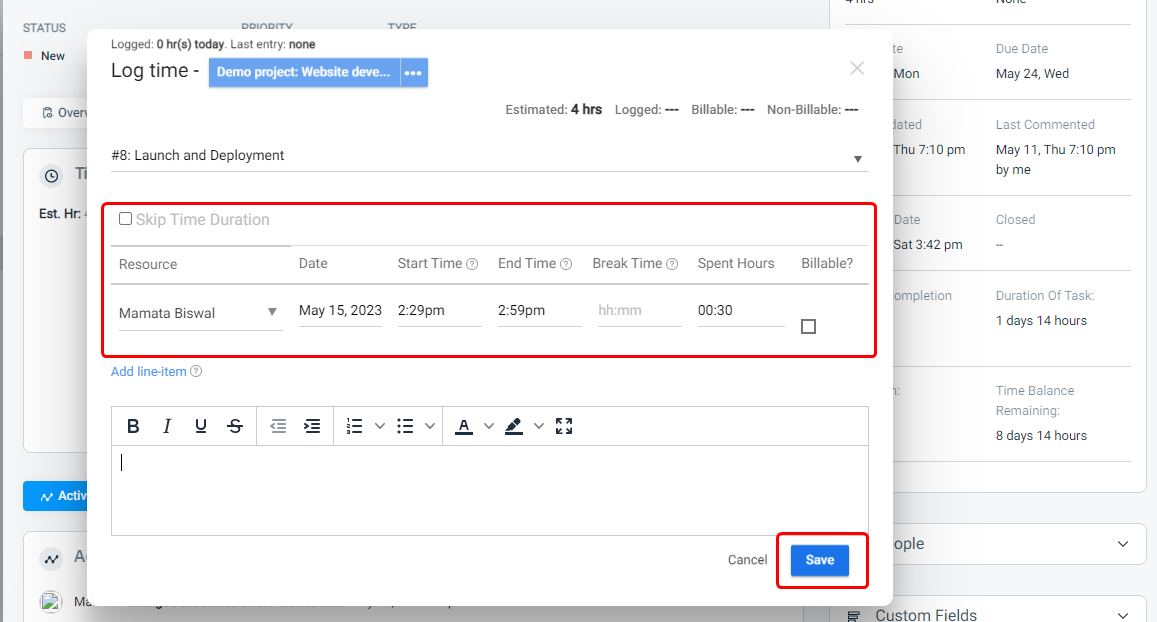**
**(Image-1)**
After that, click on “Overview” and scroll down to find the comment section. Here, you can tag a user by using the “@” symbol followed by their username (e.g., @Emily). As you start typing the username, a dropdown list will appear, allowing you to select the desired user. Once you have tagged the user, you can post your comment relevant to the task. Finally, click on the “Post” button to publish the comment.
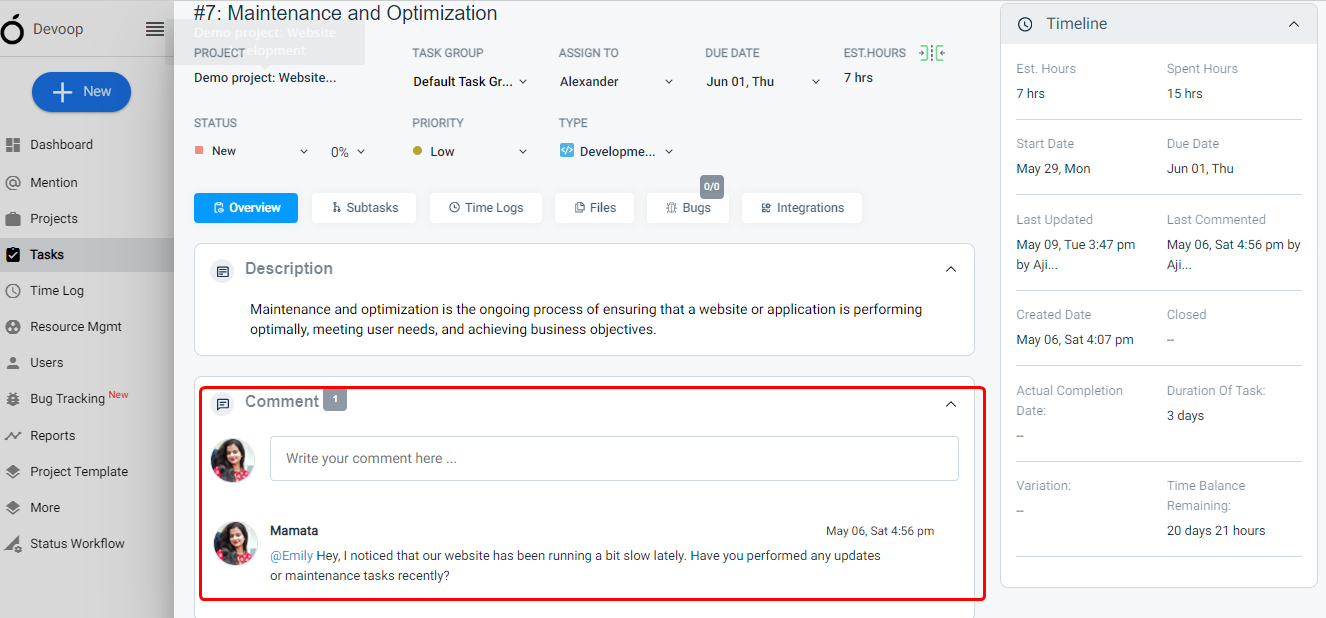
**(Image-2)**
**\[Note-** You can log time (while replying) to those tasks which are assigned to you**\]**
# What is the Difference Between Predefined and Custom filters?
> What is the Difference Between Predefined and Custom filters
> For the complete documentation index, see [llms.txt](https://helpdesk.orangescrum.com/llms.txt).
Source: https://helpdesk.orangescrum.com/difference-predefined-custom-filters
---
In Orangescrum, filters are used to sort and search tasks based on specific criteria. There are two types of filters available: Predefined and Custom filters.
Predefined filters are the default filters provided by Orangescrum. These filters are designed to help you quickly find tasks that meet specific criteria, such as tasks that are due today or tasks that are assigned to a particular user. Predefined filters cannot be modified, but you can use them as a starting point for creating custom filters.
Custom filters, on the other hand, are filters that you create based on your specific needs. With custom filters, you can specify your criteria, such as tasks that are overdue and assigned to a particular user, or tasks that are in progress and have a high priority. Custom filters are more flexible than predefined filters because you can define the criteria yourself.
The main difference between predefined and custom filters is that predefined filters are fixed and cannot be modified, while custom filters are created by you and can be modified as needed. Predefined filters are useful for quickly finding tasks based on common criteria, while custom filters are useful for creating complex searches based on your specific needs.
# How Can I Change Status of the Task from Task List Page?
> How Can I Change Status of the Task from Task List Page
> For the complete documentation index, see [llms.txt](https://helpdesk.orangescrum.com/llms.txt).
Source: https://helpdesk.orangescrum.com/how-can-i-change-status-of-the-task-from-task-list-page
---
1. Log in to your OrangeScrum account using your credentials.
2. From the left menu, click on “Tasks.”
3. Select “Task List” to view the details of tasks.
4. Locate the task you want to modify and click on it to open the task details.
5. In the task details, find the “Status” field.
6. Click on the “Status” field, and a dropdown menu will appear.
7. From the dropdown menu, select the desired status for the task.
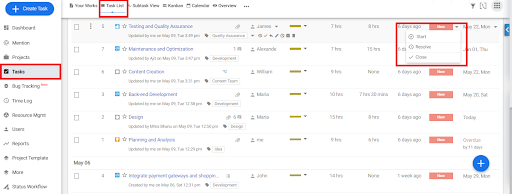
**(Image 1)**
# How can I Know the Reason for Which Resource is Overloaded with the Work?
> How can I Know the Reason for Which Resource is Overloaded with the Work
> For the complete documentation index, see [llms.txt](https://helpdesk.orangescrum.com/llms.txt).
Source: https://helpdesk.orangescrum.com/how-can-i-know-the-reason-for-which-the-resource-is-overloaded-with-the-work
---
1. Log in to your OrangeScrum account using your credentials.
2. Navigate to **Left Menu > Time Log > Resource Availability.**( Refer Image-1)
3. Click on any overloaded slot in blue colour of your resource.(Refer Image-2)
4. To see in details, click on the overloaded hours from the top right corner of the popup.(Refer-2)

**(Image-1)**
**(Image-2)**
# Do I Need Mobile API to Use Mobile App of Cloud (SaaS) Edition of Orangescrum
> Orangescrum Cloud subscription offers you free Mobile app usage. You do not need the Mobile API to use the Orangescrum mobile application for the cloud edition.
> For the complete documentation index, see [llms.txt](https://helpdesk.orangescrum.com/llms.txt).
Source: https://helpdesk.orangescrum.com/need-mobile-api-use-cloudsaas-edition-orangescrum
---
No, you do not need to use Mobile API to use the mobile app of the Cloud (SaaS) edition of Orangescrum. The mobile app is designed to work seamlessly with the Cloud edition, and you can simply download the app from the App Store or Google Play Store and log in using your Orangescrum Cloud account credentials to access your projects and tasks on the go.
# Can I Edit the Log Time Tracked by the Timer?
> Yes, you can edit the log time tracked by the timer in Orangescrum. Here are the steps to follow: Go to the task for which you want to edit the log time. Click on the “Time Log” tab. Locate the log time entry you want to edit and click on the “Edit” button. Update the […]
> For the complete documentation index, see [llms.txt](https://helpdesk.orangescrum.com/llms.txt).
Source: https://helpdesk.orangescrum.com/can-edit-log-time-tracked-timer
---
Yes, you can edit the log time tracked by the timer in Orangescrum. Here are the steps to follow:
Go to the task for which you want to edit the log time.
Click on the “Time Log” tab.
Locate the log time entry you want to edit and click on the “Edit” button.
Update the start time, end time, and/or the duration as required.
Click on the “Update” button to save the changes.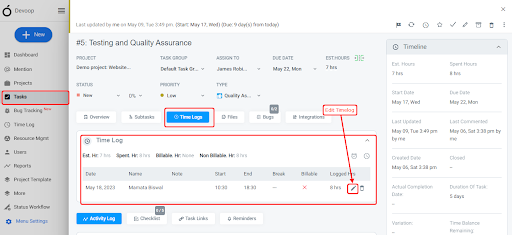
Or you can edit the log like:
1. Navigate to **Left Menu > Time Log**
2. Click the icon at the end of each time log record. You can find the option by scrolling right of the page. (Refer Image 1)
3. Make required changes & Click ‘**Save**’ .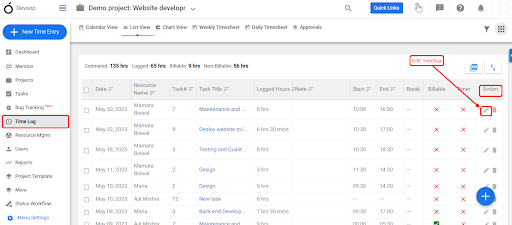
# How can I Export My Gantt Chart Data?
> How can I Export My Gantt Chart Data
> For the complete documentation index, see [llms.txt](https://helpdesk.orangescrum.com/llms.txt).
Source: https://helpdesk.orangescrum.com/can-export-gantt-chart-data
---
You can export the data of the Gantt chart in the form of PNG or PDF.
1. log in to your Orangescrum account.
2. In the left menu, hover on the “more” option and click on the “Gantt” tab.
3. This will take you to the Gantt chart view for your project.
4. Select the specific project from the project drop-down.
5. Choose the file format you want to export your Gantt chart data to, such as PNG or PDF.
6. Click on  to export data in the form of PNG or PDF(Refer Image-1) That’s it! You have successfully exported your Gantt chart data in Orangescrum.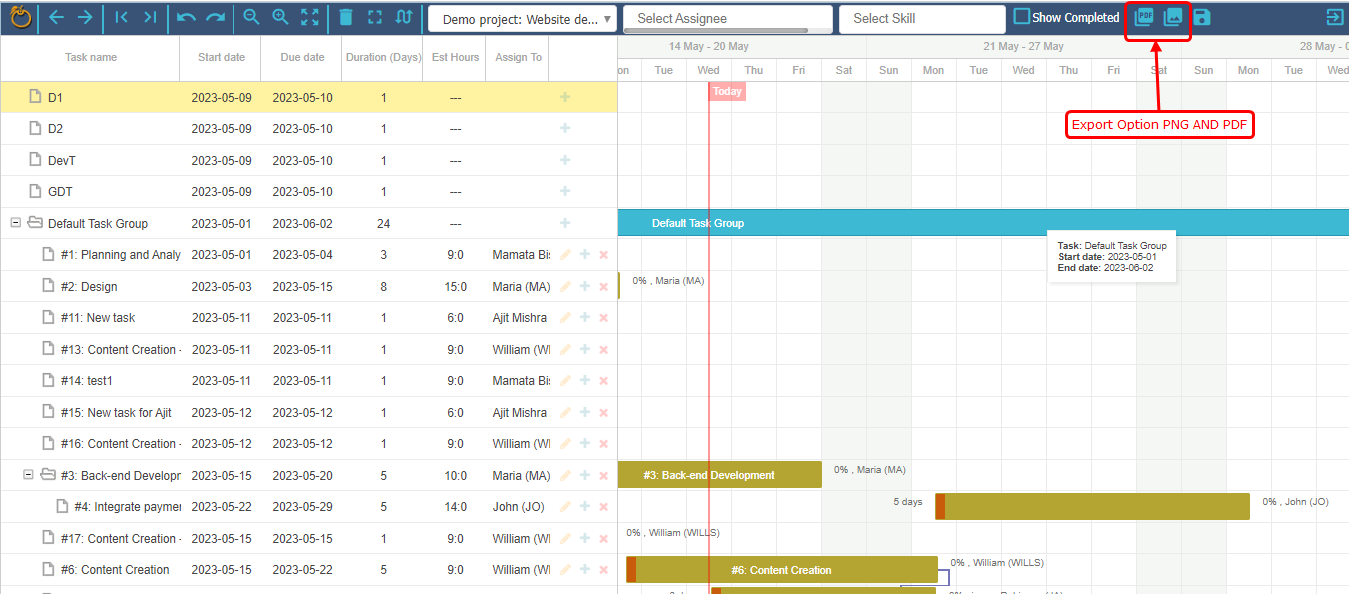
(Image-1)
# How to Assign Projects to Users?
> How to Assign Projects to Users
> For the complete documentation index, see [llms.txt](https://helpdesk.orangescrum.com/llms.txt).
Source: https://helpdesk.orangescrum.com/how-to-assign-projects-to-users
---
To assign projects to users in Orangescrum, follow these steps:
1. 1. Log in to your Orangescrum account using your admin credentials.
2. Click on the “Users” section in the left-hand menu.
3. Find the user to whom you want to assign the project and click on their name to access their details.
4. On the top left of the user details, click on the three-dotted icon.
5. Select the “Assign Project” option from the dropdown menu.(Refer Image -1)
6. A popup will appear displaying a list of available projects. Choose the project you want to assign to the user and click “Save”.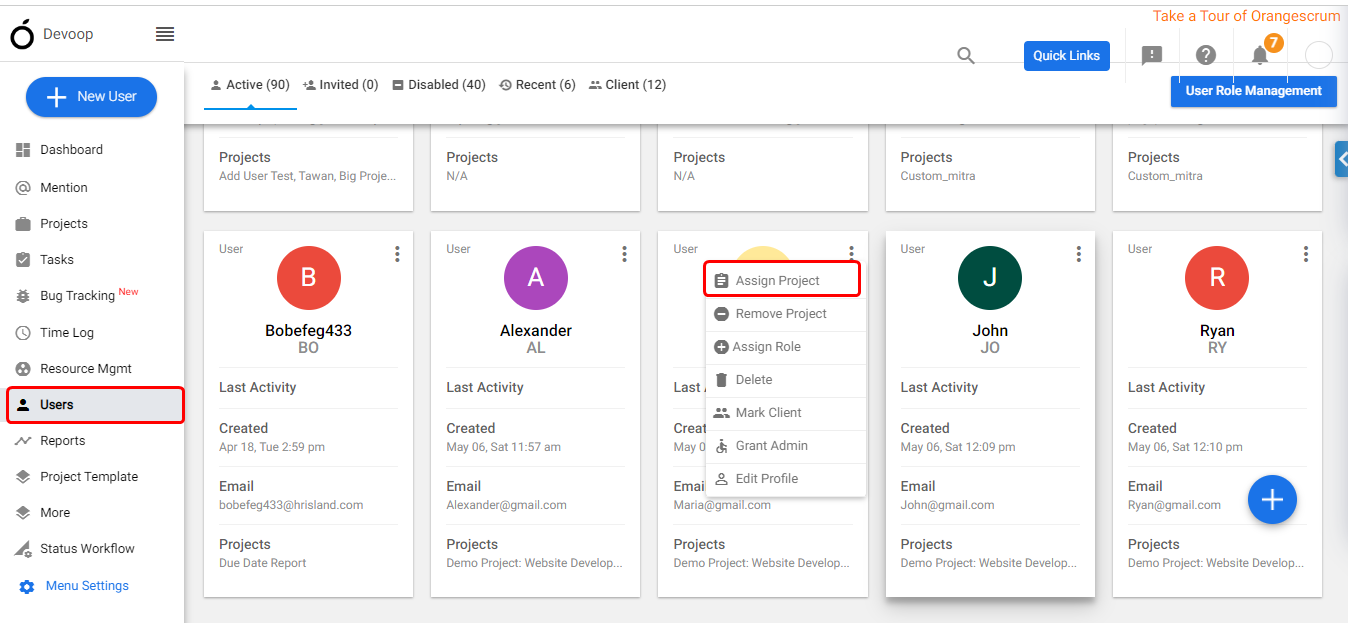 Image -1
# How Can I Import Customers?
> How Can I Import Customers
> For the complete documentation index, see [llms.txt](https://helpdesk.orangescrum.com/llms.txt).
Source: https://helpdesk.orangescrum.com/how-can-i-import-customers
---
1. Log in to your OrangeScrum account using your credentials.
2. Click on your profile photo located in the top right corner of your account.
3. From the dropdown menu, select “Project Settings” and then choose “Import & Export.”
4. Within the “Import & Export” section, navigate to the “Import Customers” tab (Refer Image-1).
5. On the right side of the page, download the sample CSV file.
6. Open the downloaded CSV file and fill in all the necessary customer information.
7. Once you have filled in the customer details, return to the “Import Customers” tab.
8. Click on the “Upload” button and select the CSV file you just filled in.
9. Proceed with the import process by following the on-screen instructions.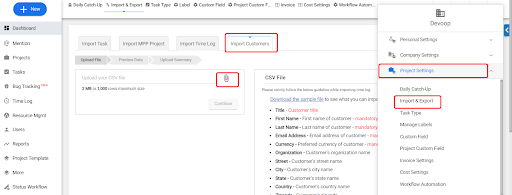
**Note:** The CSV file you’re uploading should match the format given in the sample file.
# Can I Delete a Time Log Entry from the Timesheet?
> Can I Delete a Time Log Entry from the Timesheet
> For the complete documentation index, see [llms.txt](https://helpdesk.orangescrum.com/llms.txt).
Source: https://helpdesk.orangescrum.com/can-i-delete-a-time-log-entry-from-the-timesheet
---
Of course you can. Here’s how:
### **In Weekly Timesheet:**
1. Hover on any time log entry > Click on the edit option.
2. Click on ‘Delete icon’ option on extreme right to delete that particular time log entry.(Refer Image-1)
3. To delete all the time log entries for a task over the week, hover on the total hours for that task in timesheet page > click on the ‘Delete’ option.(Refer Image-2)
### **In Daily Timesheet:**
1. If you’re on the daily timesheet, click on the Delete icon at the extreme right for any task.(Refer Image-3)
**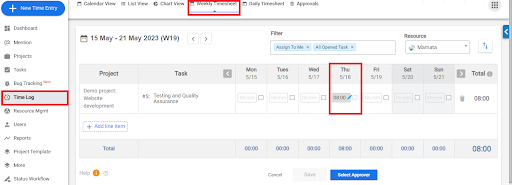**
**(Image-1)**
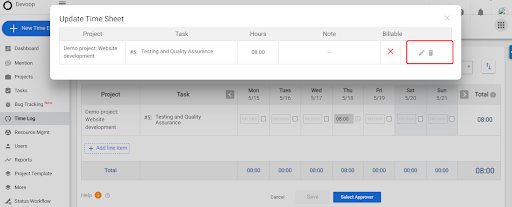
**(Image-2)**
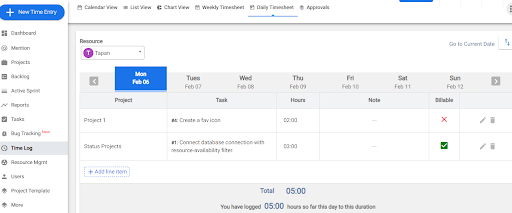
**Image-3**
# What Happens When I Upgrade?
> What Happens When I Upgrade
> For the complete documentation index, see [llms.txt](https://helpdesk.orangescrum.com/llms.txt).
Source: https://helpdesk.orangescrum.com/what-happens-when-i-upgrade
---
1. When you upgrade in OrangeScrum, you gain access to additional features and functionality based on the selected plan. This may include:
1. Advanced Project Management: Upgrading can provide access to enhanced project management capabilities, such as task dependencies, Gantt charts, agile boards, and custom workflows.
2. Expanded User Permissions: Upgraded plans often offer more granular control over user permissions and roles, allowing you to define access levels and restrict certain actions or data.
3. Increased Storage and User Limits: Upgrading may provide higher storage limits for files and documents, as well as the ability to add more users to your account or project teams.
4. Integration Options: Certain integrations, such as with popular tools like Slack or GitHub, may be available with upgraded plans, enabling seamless collaboration and workflow automation.
5. Reporting and Analytics: Upgraded plans may include advanced reporting features and analytics dashboards, allowing you to gain deeper insights into project progress, resource utilization, and team performance.
6. Priority Support: Upgrading often grants you access to priority customer support, ensuring faster response times and dedicated assistance from the OrangeScrum support team.
It’s important to review the specific features and benefits associated with each upgrade tier to determine which plan aligns best with your project management needs and goals.
# How to Change My Name, Timezone and Profile Photo?
> How to Change My Name, Timezone and Profile Photo
> For the complete documentation index, see [llms.txt](https://helpdesk.orangescrum.com/llms.txt).
Source: https://helpdesk.orangescrum.com/how-to-change-my-name-timezone-and-profile-photo
---
To change your name, timezone, and profile photo in OrangeScrum, follow these steps:
1. Log in to your OrangeScrum account using your credentials.
2. Once logged in, navigate to your profile by clicking on your profile picture or avatar, usually located at the top right corner of the screen.
3. From the dropdown menu, select “Profile” or a similar option.
4. In the profile settings, you should see options to edit your name, timezone, and profile photo.
5. Click on the respective fields you want to change and make the necessary modifications.
6. To change your name, simply replace the existing name with your new desired name.
7. To change your timezone, select the appropriate time zone from the dropdown menu.
8. To update your profile photo, click on the existing photo or avatar and choose a new image from your device.
9. Once you have made the desired changes, click on the “Save” or “Update” button to save your updated profile information.
**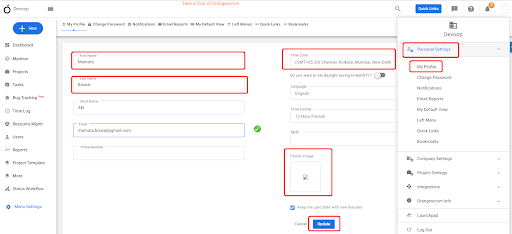**
Image 1
### **How to change Profile Picture?**
1. Click **Profile Icon > Personal Settings > My Profile** (Refer Image 1)
2. Click icon & make the required changes.
3. Click ‘**Update**’ to save the changes (Refer Image 2)
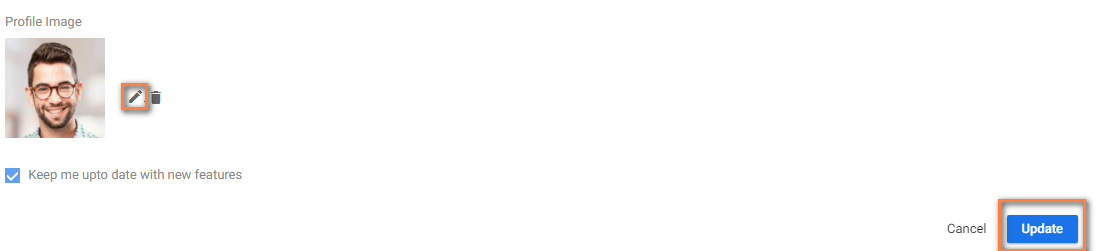
**(Image-2)**
# What is Resource Utilization? What are the Benefits?
> Orangescrum's "Resource Utilization" feature will help you to manage information in one place, eliminating the need for maintaining multiple spreadsheets.
> For the complete documentation index, see [llms.txt](https://helpdesk.orangescrum.com/llms.txt).
Source: https://helpdesk.orangescrum.com/what-is-resource-utilization
---
Resource utilization refers to the measurement and management of how effectively and efficiently resources (such as employees, equipment, or facilities) are being utilized within a project or organisation. It involves tracking and analysing the allocation and usage of resources to ensure optimal productivity and performance.
Resource utilization allows project managers to see who has spent how many hours on which project and when. In order to see this, please click on analytics from the left side navigation and click on the last tab named “Resource utilization”.
- - Here it allows you to filter data for a specific time period, project etc.
- It also allows user to add/remove columns.
- User can download data in csv format and share with others for any further analysis.
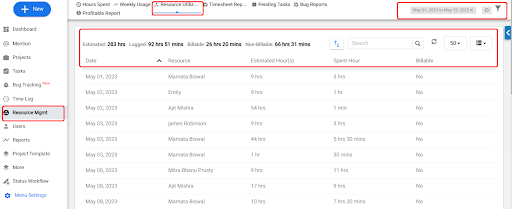
**Benefits of Resource Utilization:**
1. Helps organization’s prioritize resource utilization in project management by:
- Aligning the right tasks with the right resources based on skill set and availability.
- Tracking effort so that resources are not just getting the job done, but getting it done in time.
- Re-balancing resources across billable projects.
- Built-in dashboards and reports that make resource utilization fast and efficient.
2. Orangescrum’s “Resource Utilization” feature will help you to manage information in one place, eliminating the need for maintaining multiple spreadsheets to achieve the same task every day and reduces the overhead burden of managing schedules, saving you time and money.
3. Real-time Monitoring: OrangeScrum provides real-time resource utilization dashboards and reports, enabling project managers to have a comprehensive view of resource allocation and usage. This allows for proactive decision-making and timely adjustments to optimize resource utilization.
4. Financial Efficiency: Effective resource utilization leads to cost savings by ensuring that resources are utilized efficiently and wastage is minimized. It helps in controlling project costs and improving the overall financial performance of the organization.
**Note**: Resource Utilization is available for all plans. However, [Resource availability](https://helpdesk.orangescrum.com/how-can-i-know-which-resource-is-available-for-the-task/) is available from Basic plan onwards
# How to Stop the Recurrence of a Task?
> How to Stop the Recurrence of a Task
> For the complete documentation index, see [llms.txt](https://helpdesk.orangescrum.com/llms.txt).
Source: https://helpdesk.orangescrum.com/stop-recurrence-task
---
To stop the recurrence of a task in OrangeScrum, follow these steps:
1. Log in to your OrangeScrum account using your credentials.
2. Navigate to the “Task” from the left menu
3. Navigate to Task Listing > Look for the task with the ‘recurring’ icon
4. Click on the task to access its details and settings.
5. Click on the ‘recurring’ icon of the task
6. Click on ‘Stop Recurring’. It’s that easy!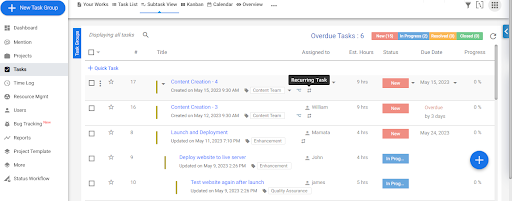 Image-1 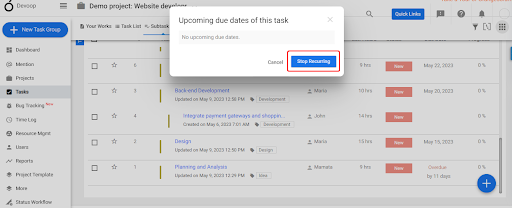 Image-2
# How Do I Modify Logged Time?
> How Do I Modify Logged Time
> For the complete documentation index, see [llms.txt](https://helpdesk.orangescrum.com/llms.txt).
Source: https://helpdesk.orangescrum.com/how-do-i-modify-logged-time
---
1. Log in to your OrangeScrum account using your credentials.
2. Navigate to **Left Menu > Time Log**
3. Click  icon at the end of each time log record. You can find the option by scrolling right of the page. (Refer Image 1)
4. Make required changes & Click ‘**Save**’.
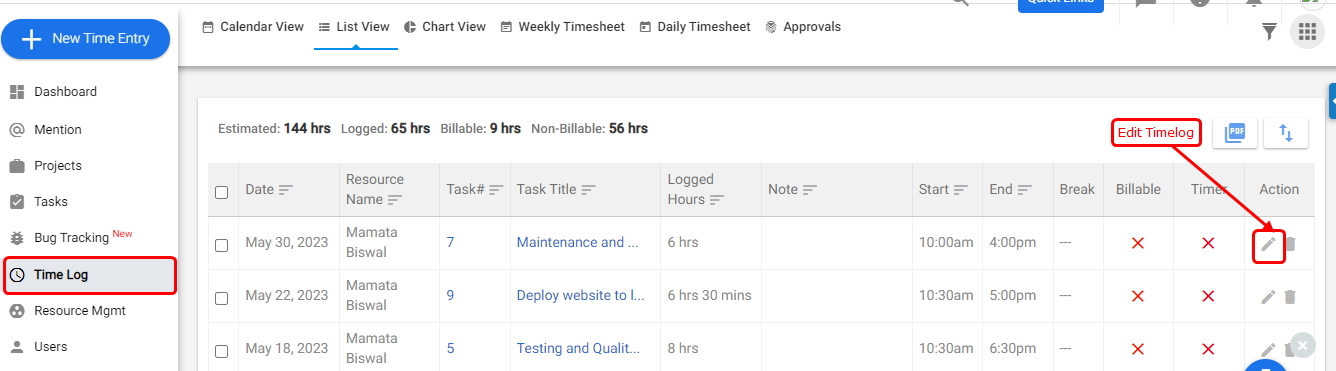
**(Image-1)**
# How Do I Log Time from Task Detail Page?
> How Do I Log Time from Task Detail Page
> For the complete documentation index, see [llms.txt](https://helpdesk.orangescrum.com/llms.txt).
Source: https://helpdesk.orangescrum.com/how-do-i-log-time-from-task-detail-page
---
To log time from the task detail page in OrangeScrum, follow these steps:
1. 1. Log in to your OrangeScrum account using your credentials.
2. Once logged in, navigate to the task detail page. This page displays the specific details and information about a particular task.
3. On the task detail page, locate the section “Time Logs” related to time tracking or time logging. This section is usually labelled “Time Log,” “Track Time,” or something similar.
4. Click on the “Time Log” section or tab to access the time logging functionality.(Refer Image-1)
5. Within the time log section, you will find a form or input fields to enter the time details as “Manual time entry”.
6. Fill in the required information, such as the date, duration, and any additional notes or comments related to the time spent on the task.
7. Once you have entered all the necessary details, click on the “Save” button to log the time for the task.(Refer Image-2)
8. The time log will be recorded and associated with the task in OrangeScrum.
**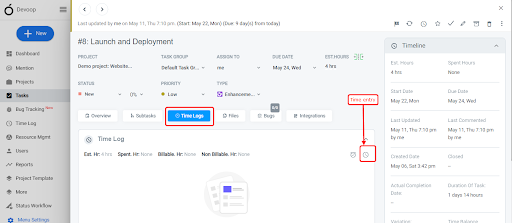**
**Image-1**
**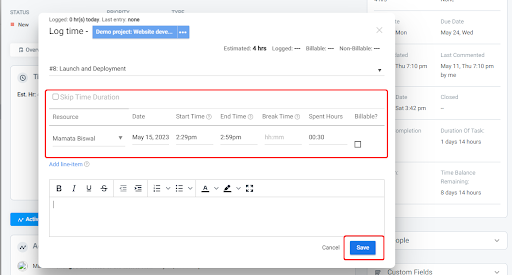 Image-2**
# Can I Edit a User Profile?
> Yes, in OrangeScrum, you can edit a user profile. To do so, follow these steps: Log in to your OrangeScrum account using your credentials. Navigate to the left menu “Users” management section. Here you can find all the details about users. Locate the user profile that you want to edit from the list…
> For the complete documentation index, see [llms.txt](https://helpdesk.orangescrum.com/llms.txt).
Source: https://helpdesk.orangescrum.com/can-edit-user
---
Yes, in OrangeScrum, you can edit a user profile. To do so, follow these steps:
1. Log in to your OrangeScrum account using your credentials.
2. Navigate to the left menu “Users” management section.
3. Here you can find all the details about users.
4. Locate the user profile that you want to edit from the list of users.
5. Click on the user’s name or profile to access their details and settings.
6. Click on the 3dot option in the top right corner > Edit Profile. (Refer to Image-1) and make changes to the user’s profile.
7. In the edit profile form, you can modify various details such as the user’s name, email address, Avatar, Skills, Time zone, and any other relevant fields.
8. Update the necessary information according to your requirements.
9. Once you have made the desired changes, click on the “Update” button to save the updated user profile.
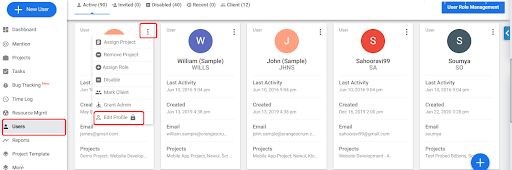
**(Image-1)**
**Note:** If you’re changing the email id, an activation email will be sent to the new email id. Password remains the same till you change it yourself. If the user is under multiple company, you cannot edit the profile.Please note that the ability to edit user profiles may depend on your access rights and permissions within OrangeScrum
# How to Disable a User to Access?
> How to Disable a User to Access
> For the complete documentation index, see [llms.txt](https://helpdesk.orangescrum.com/llms.txt).
Source: https://helpdesk.orangescrum.com/how-to-restrict-an-user-to-access
---
1. To disable a user’s access in Orangescrum, follow these steps:
1. Log in to your Orangescrum account with your admin credentials.
2. Click on the Users section from the left menu.
3. Find the user whose access you want to disable and click on the three-dotted icon on the top left of the user details.
4. Click on the “Disable” option.(Refer Image-1)
5. A popup will appear; click “OK.”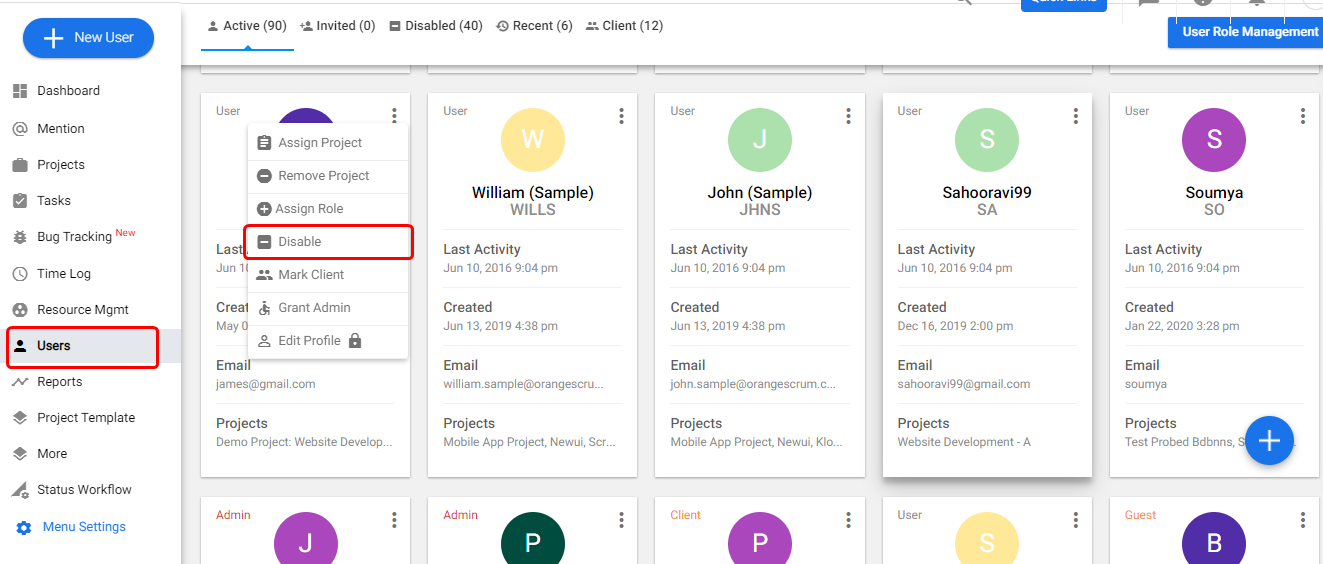
**(Image-1)**
# Can I Resolve or Close a Task Without Any Reply?
> We understand that some tasks may have been created in error or are simple To-Dos that do not need extensive collaboration or comments.
> For the complete documentation index, see [llms.txt](https://helpdesk.orangescrum.com/llms.txt).
Source: https://helpdesk.orangescrum.com/can-i-resolve-or-close-a-task-without-any-reply
---
You can resolve or close any task without having to [reply](https://helpdesk.orangescrum.com/how-to-view-task-details-and-reply-on-a-task/) to it. We understand that some tasks may have been created in error or are simple To-Dos that do not need extensive collaboration or comments.
To resolve or close a task without any reply, follow these steps:
1. Login to your Orangescrum account.
2. Click on the “Task” from the left menu.
3. Click on the particular task you want to resolve or close.(Refer Image-1)
4. This will take you to the task detail page, where you can see all the information related to the task.
5. If the task is complete, click on the “Resolve” button located under the “Status” of the task detail page. This will change the status of the task to “Resolved”.
6. If the task is closed, click on the “Close” button located under the “Status” of the task detail page. This will change the status of the task to “Closed”.
7. Once you have resolved or closed the task, you can add a comment or notes to explain the reason for resolving or closing the task. However, this is not required.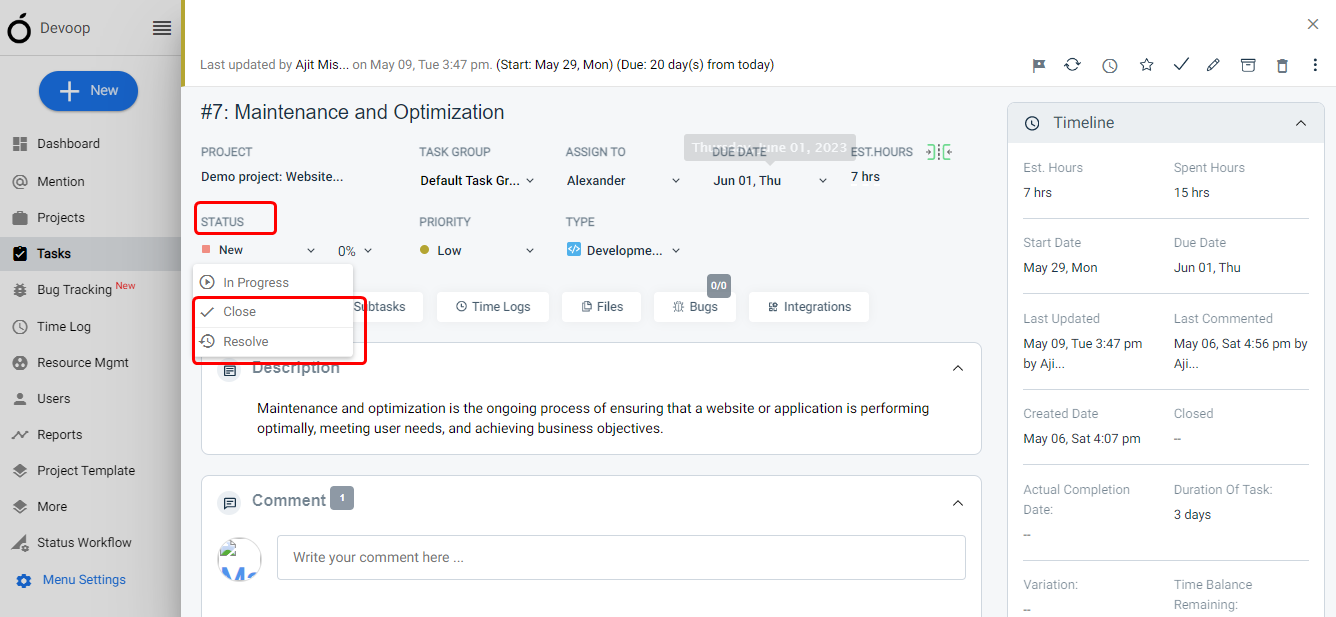 (Image-1)
Tip:- You can select multiple tasks from the task list and follow the above steps just once to update task status of multiple tasks with a single click.(Refer Image-2)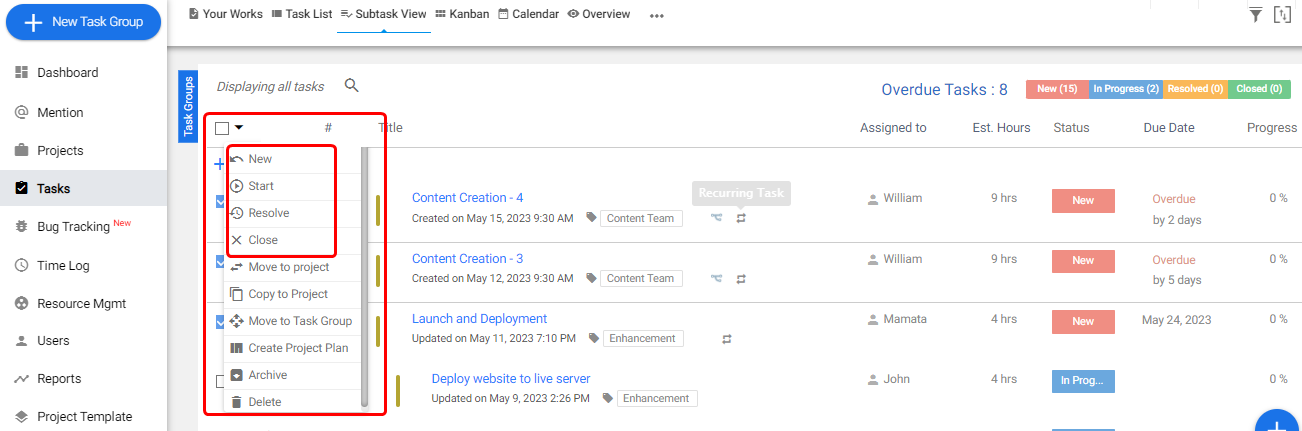
(Image-2)
That’s it! You have successfully resolved or closed a task without any reply in Orangescrum.
# How Do I Log Time from Task Listing Page?
> How Do I Log Time from Task Listing Page
> For the complete documentation index, see [llms.txt](https://helpdesk.orangescrum.com/llms.txt).
Source: https://helpdesk.orangescrum.com/how-do-i-log-time-from-task-listing-page
---
To log time from the task listing page in OrangeScrum, follow these steps:
1. Log in to your OrangeScrum account using your credentials.
2. Once logged in, navigate to the task listing page. This page typically displays a list of tasks assigned to you or tasks within a specific project.
3. Locate the task for which you want to log time from the list.
4. Hover on this task and click the 3 dotted button on the left side of the task.”
5. Then Click on the “Time Entry” button or icon associated with the task.(Refer Image-1)
6. A time log form or popup window will appear, allowing you to enter the details of the time log.
7. Fill in the required information, such as the date, duration, and any additional notes or comments related to the time spent on the task.
8. Once you have entered all the necessary details, click on the “Save” button to log the time for the task.
9. The time log will be recorded and associated with the task in OrangeScrum.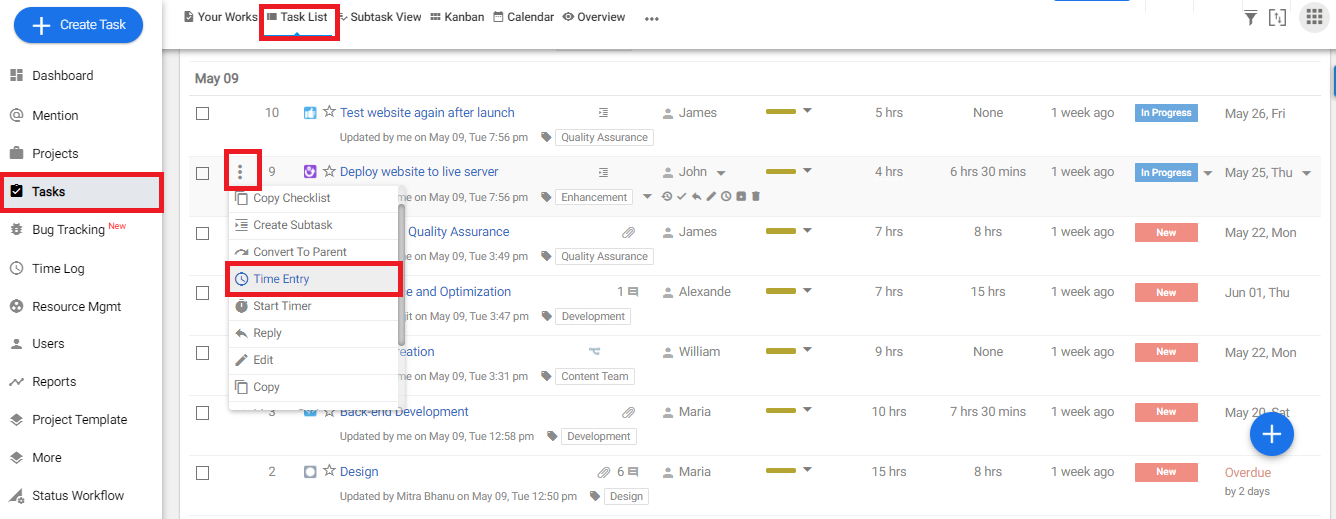 (Image-1)
# How to See Weekly Usage?
> How to See Weekly Usage
> For the complete documentation index, see [llms.txt](https://helpdesk.orangescrum.com/llms.txt).
Source: https://helpdesk.orangescrum.com/how-to-see-weekly-usage
---
- Login to your Orangescrum account.
- Navigate to **Left Menu > Reports > Weekly Usage** (Refer Image 1 & 2)
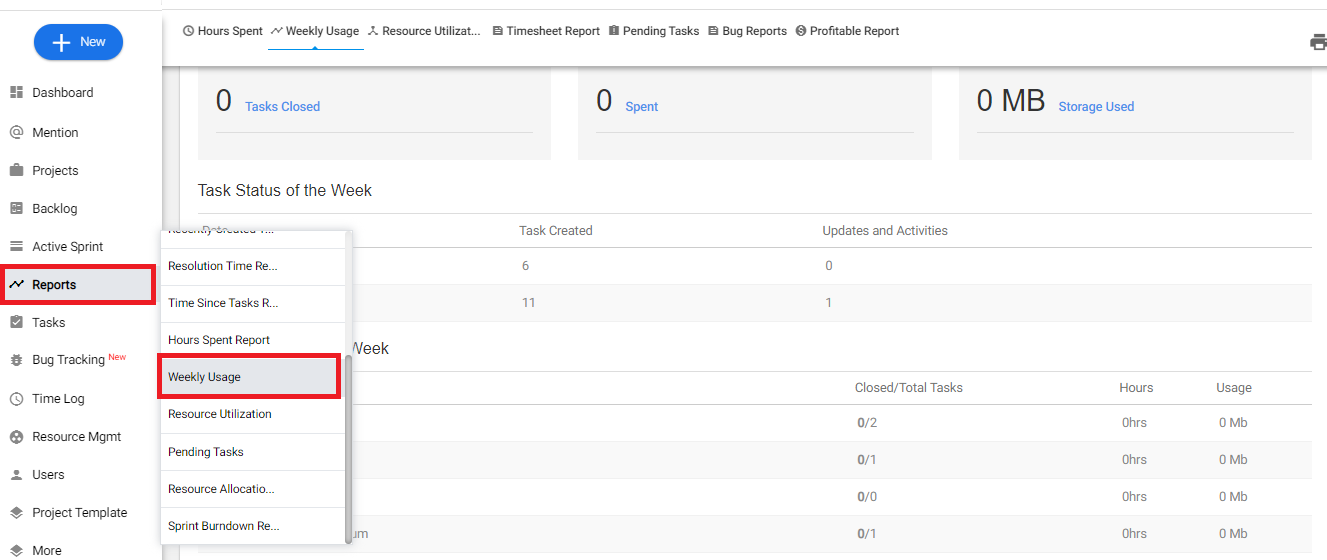
**(Image 1)**
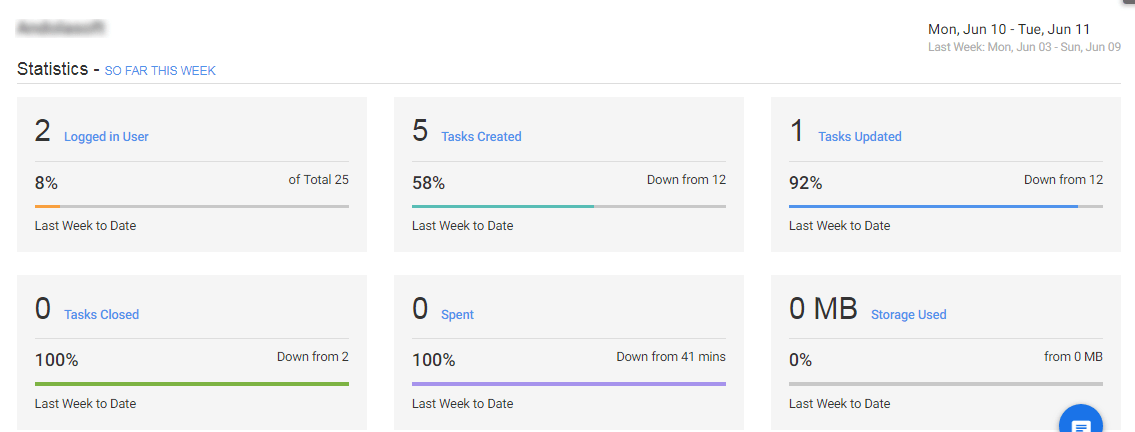
**(Image 2)**
**NOTE**: Weekly Usage Page helps you to get the weekly report on Statistics, Task Status, and Project Status of **last 7 days.**
# How to Link Tasks to an Epic in Orangescrum?
> Learn how to link tasks to an Epic in Orangescrum for effective project organization and better task management.
> For the complete documentation index, see [llms.txt](https://helpdesk.orangescrum.com/llms.txt).
Source: https://helpdesk.orangescrum.com/how-to-link-tasks-to-an-epic-in-orangescrum
---
#### **While Creating/Editing a task you can link the task to an EPIC.**
1. Navigate to Quick Links and click on “Task” to Create Task.
2. Select the required Epic from the dropdown.
3. Enter the other required task detail and Save.

#### In an Agile project, one can also link a task to an epic from a Backlog Page
1. Navigate to the Left menu and click on “Backlog” to Create Task.
2. Hover on the Task list
3. Select the required Epic from the dropdown

#### Know more about Epic:
[How to Create Epic in Orangescrum?](https://helpdesk.orangescrum.com/how-to-create-epic-in-orangescrum/)
How to View Epics in Orangescrum?
How to see Epic Progress in Orangescrum?
User Note for Orangescrum Epic View
Source: [Orangescrum blog](https://www.orangescrum.com/blog/epic-view-feature-released.html)
# How to View Epics linked to a task in Orangescrum?
> Learn how to view Epics linked to a task in Orangescrum for enhanced project tracking and better task management.
> For the complete documentation index, see [llms.txt](https://helpdesk.orangescrum.com/llms.txt).
Source: https://helpdesk.orangescrum.com/how-to-view-epics-linked-to-a-task-in-orangescrum
---
#### After creating an Epic within your project, you can view Epics from the task list page.

#### Know more about Epic:
[How to Create Epic in Orangescrum?](https://helpdesk.orangescrum.com/how-to-create-epic-in-orangescrum/)
How to Link Tasks to an Epic in Orangescrum?
How to see Epic Progress in Orangescrum?
User Note for Orangescrum Epic View
Source: [Orangescrum blog](https://www.orangescrum.com/blog/epic-view-feature-released.html)
# How to see Epic Progress in Orangescrum?
> Find out how to see Epic progress in Orangescrum for effective project tracking and management of your team's tasks.
> For the complete documentation index, see [llms.txt](https://helpdesk.orangescrum.com/llms.txt).
Source: https://helpdesk.orangescrum.com/how-to-see-epic-progress-in-orangescrum
---
#### For agile projects, Orangescum has a separate Epic view block. Users can find the Stories and tasks related to Epic and track the progress respectively.
1. Navigate to the Left menu and click on “Backlog” to create Task.
2. Click on “Epic View” Panel

#### Know more about Epic:
[How to Create Epic in Orangescrum?](https://helpdesk.orangescrum.com/how-to-create-epic-in-orangescrum/)
How to Link Tasks to an Epic in Orangescrum?
How to View Epics in Orangescrum?
User Note for Orangescrum Epic View
Source: [Orangescrum blog](https://www.orangescrum.com/blog/epic-view-feature-released.html)
# How to Create EPIC in Orangescrum?
> Step-by-step guide on creating an EPIC in Orangescrum for effective task organization and streamlined project management.
> For the complete documentation index, see [llms.txt](https://helpdesk.orangescrum.com/llms.txt).
Source: https://helpdesk.orangescrum.com/how-to-create-epic-in-orangescrum
---
An epic is one big piece of feature, bigger project, initiative, or just an issue that collects the work of mutual areas.
#### To create an Epic from Task List Page at either on waterfall project or at agile project
1. Click Tasks from left Menu
2. Hover on floating menu
3. Click on “Create Epic”
4. Enter the required fields, and then click Save & Close

*Step: 1*

*Step: 2*
#### To create an quick Epic in agile project
1. Click backlog from left Menu
2. Go to the Epic view panel
3. Click on + Quick Epic
4. Enter the Epic title and enter to save
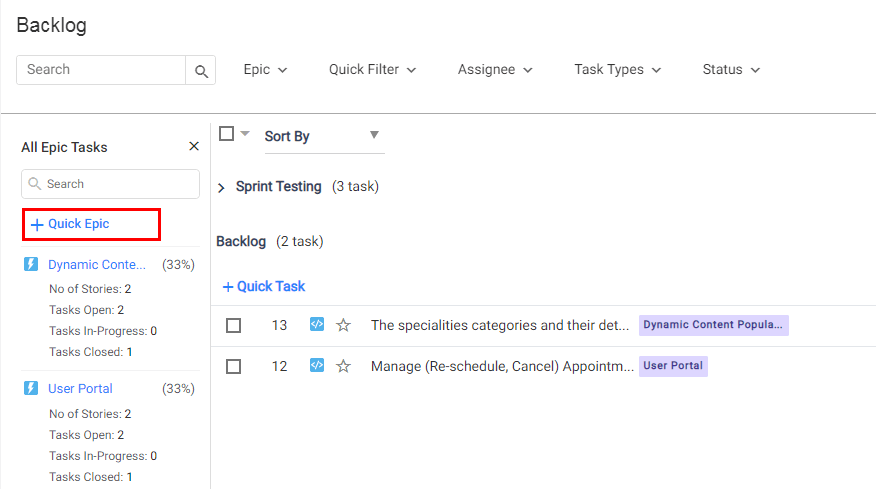
#### Know more about Epic:
How to Link Tasks to an Epic in Orangescrum?
How to View Epics in Orangescrum?
How to see Epic Progress in Orangescrum?
User Note for Orangescrum Epic View
Source: [Orangescrum blog](https://www.orangescrum.com/blog/epic-view-feature-released.html)
# How to Manage Project Budget and Cost in Orangescrum?
> Learn how to manage project budgets and costs in Orangescrum for effective financial oversight and project success.
> For the complete documentation index, see [llms.txt](https://helpdesk.orangescrum.com/llms.txt).
Source: https://helpdesk.orangescrum.com/how-to-manage-project-budget-and-cost-in-orangescrum
---
Orangescrum’s Budgeting feature gives a clear picture of whether you’re completing your projects within the budget and how much you’re making profits for your projects.
It includes
- Setting up the budget for the project
- Define the approved cost
- Define hourly rate
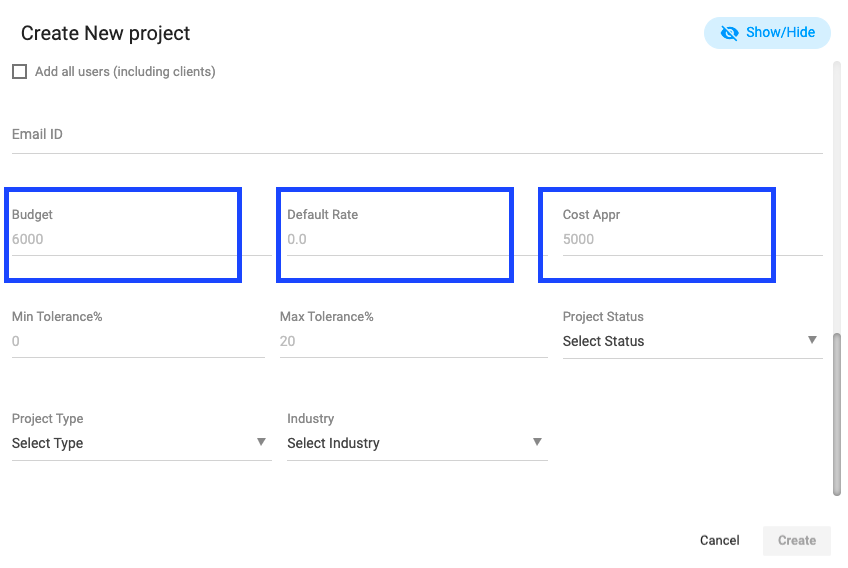
(Image 1)
### How do budget and cost-benefit a user?
Budget and Cost give you access to important metrics that are not accessible in traditional [project management tools](https://www.orangescrum.com/project-management).
This is essential for any company looking to increase the efficiency of their workflow and ensure they’re getting maximum ROI on their projects.
Budget and Cost also allow you to forecast your project’s profitability, which will make it easier to make the right business decisions.
- It helps us to specify the cost and keep transparency.
- It makes the projects’ profitability starting from the planning phase and through the execution.
Cost management is a discipline that evaluates the cost of delivering on the product promises made to customers and communicates this information to various stakeholders.

**User Note:**
- To define the [budget & cost](https://www.orangescrum.com/blog/guide-to-budgeting-with-agile-projects.html) the user needs to add the cost value at the time of creating a new project.
The users can define the cost value of a resource for a project by following the steps below.
1: Click on “**Create Project**” from **quick links** or the left menu. (Refer to Image 1)
2: Scroll down and put the “**Budget Amoun**t” (Refer to Image 1)
3: Enter the “**Default Hourly Rate**” (Refer to Image 1)
4: Enter the value of “**Cost Approved**” (Refer to Image 1)
5: Create the project

**User Note:**
- **Default hourly rate**: When a resource will log to the same project or associated task, the Default hourly rate will be added to the billing.
- **Cost Approve value**: If you’re working on a [fixed bid project](https://www.orangescrum.com/blog/top-project-management-challenges.html) then you can mention the cost approved, so you can know what is the profit when your project gets over.
### How to add Role-Based Billing Rate:
Users can add Role-Based Billing Rates by following the steps below.
1: Go to “**Profile**” (Refer to Image 3)
2: Select the “**Project Settings**” from the drop-down menu. (Refer to Image 3)
3: Select “**Cost settings”** from the drop-down menu. (Refer to Image 3)
4: Select the project for which you want to define hourly rate for users. (Refer to Image 2)
5: Select the user for whom you want to define the hourly rate. (Refer to Image 2)
6: Define the hourly rate for the user and click on save. (Refer to Image 2)
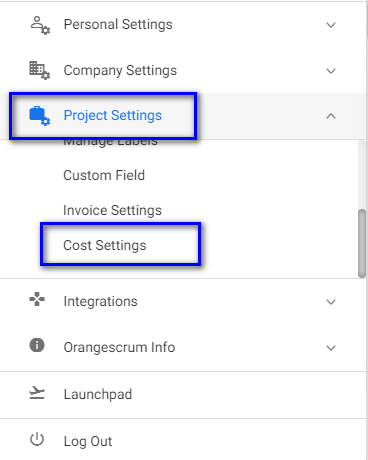
(Image 2)
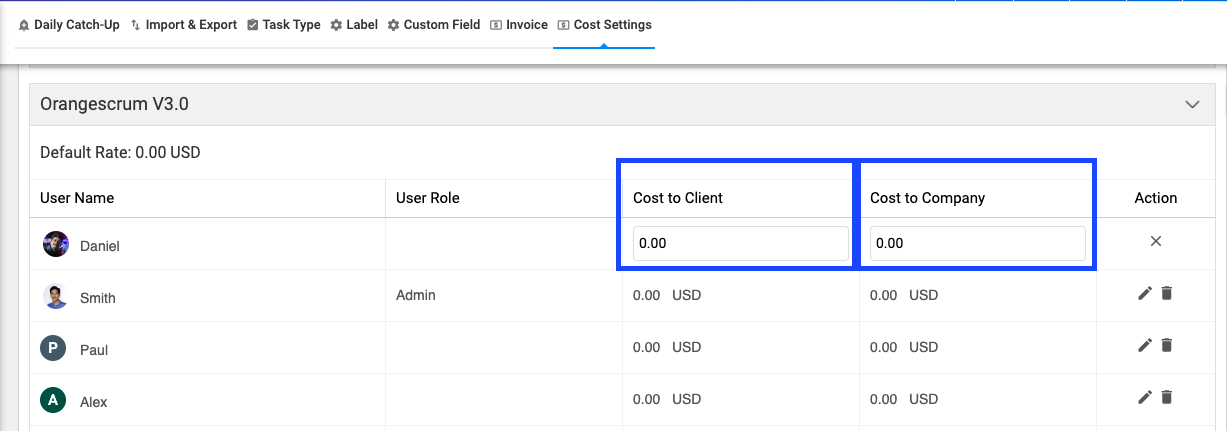
(Image 3)

**User Note:**
- **Cost to Company**: How much you’re paying to your [resources](https://www.orangescrum.com/resource-management) at an hourly rate.
- **Cost to the client**: How much you’re billing or charging your customer at the hourly rate.
### Budget and Cost report:
When the resources start log time or submit the timesheet with billable hours, the cost value will be added to the Project cost report.
You can find two cost reports within Orangescrum. Project Cost Report and Resource Cost Report.
### Project Cost Report:
You can find the project cost report on your organizational dashboard page and in-side any individual project overview page. *In Dashboard*, you can find the Budget & Cost report (*that includes Approved Cost, Cost to Client, and Cost to Company*) of all projects under your organization.
On the *Project Overview page*, you can find the Budget & Report for that particular project.
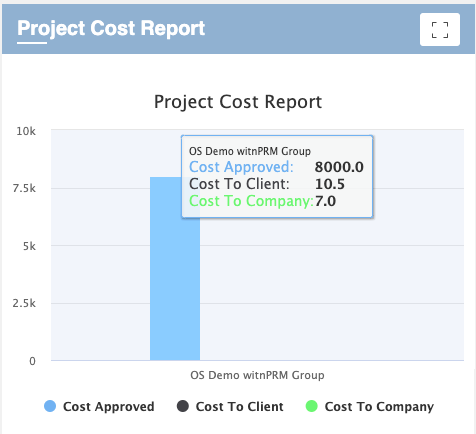
(Image 4)
### Resource Cost Report:
As with Project Cost Report, you can find the Resource Cost Report on your organizational dashboard page and in-side any individual project overview page.
*In Dashboard*, you can find the Resource Cost Report for your all projects that includes the value of Resource-wise billable hours, Hourly Rate for the Company, Cost to Company, Hourly Rate for Clients, and Cost to Client reports for each project.

(Image 5)
*On Project Overview Page*, you can find the Resource Cost Report for that particular project. The reporting value includes Resource Name, Billable Hours, Hourly Rate for Company, Cost to Company, Hourly Rate for Clients, and Cost to Client.
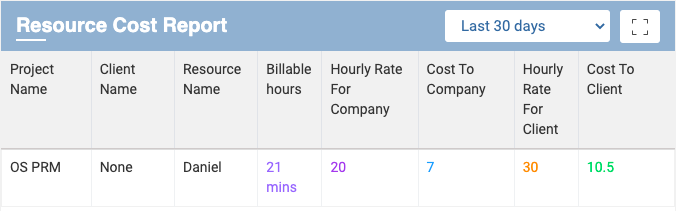
(Image 6)

**User Note:**
- Users can export this report as well. The report can be export in CSV.
### Profitability Report:
With the Profitability report, now the project admin can see the real-time cost status report that defines if the company getting profits or it overlaps the [project budget](https://www.orangescrum.org/features/project-budget-and-cost).
The users can find the profitability report by following the steps below.
1: Select **“Reports”** from the left menu. (Refer to Image 7)
2: Select “**Time and Resource reports**” from the reports page.
3: Select the “**Profitable Report”**(Refer to Image 8)
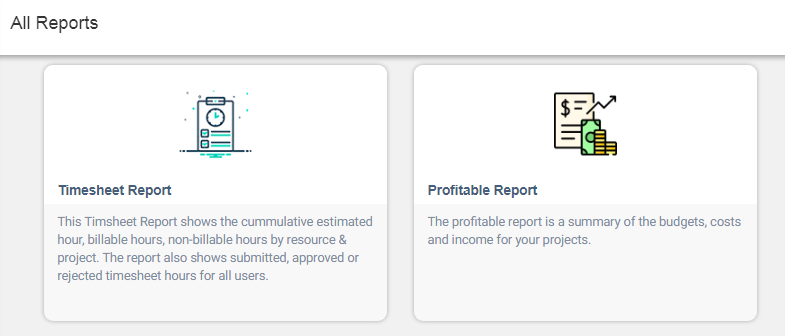
(Image 7)
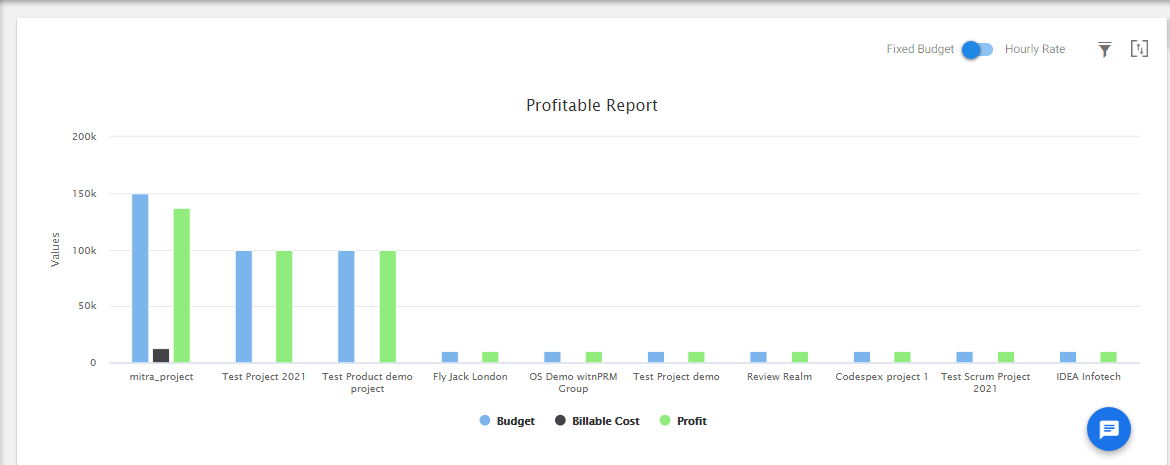
(Image 8)
There are two reporting modules available on this Profitability Reporting Dashboard.
- Profit report for fixed budget project
- Profit report for hourly billing projects
By hovering on the graphical status bar, you can able to find the Budget Value, Billable Cost and Profit Value respectively of the Project.
The Shown profit value is calculated by:
**Total Budget Value – Billable Cost = Profit Value**
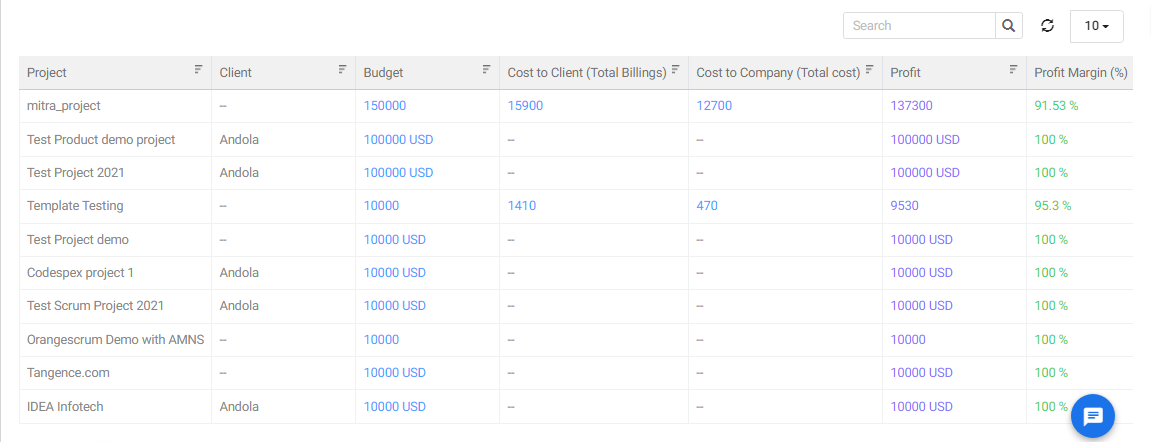
(Image 9)
By Scrolling down from the visual graph view, you can see Project wise profit value in a list view.
This report provides Project Name, Fixed Budget Value, Cost to Client Value, Cost to company Value, Net Profit, and Profit Margin in %.
For fixed budget projects, the profit value is calculated by:
**Total Budget Value – Cost to Company = Profit Value**
For hourly billing projects, the profit value is calculated by:
**Cost to Client – Cost to Company = Profit Value**
This profitable report will help Project Administrators and Managers to know the project’s profit margin in a single glance.
# What is Timesheet Approval?
> Understand timesheet approval in Orangescrum and its importance for tracking time and ensuring accurate project management.
> For the complete documentation index, see [llms.txt](https://helpdesk.orangescrum.com/llms.txt).
Source: https://helpdesk.orangescrum.com/what-is-timesheet-approval
---
This feature enables you as an approver to approve or reject the [weekly timesheets](https://www.orangescrum.com/timesheet) and the hours logged by the users.
The users can select their approvers and submit their weekly timesheets for approval.
Previously there was no way for the approvers to approve the hours logged by a user. Now, the approval of [your weekly timesheet](https://www.orangescrum.com/blog/how-to-use-orangescrum-timesheet.html) is in the hands of the approver.
Somehow, have more control over your [teams working remotely](https://www.orangescrum.com/remote-team-management) and check the overall progress of your projects even more efficiently by monitoring the hours logged by various resources working on the projects.
### How to submit the weekly timesheet for approval:
Users can now submit their Weekly timesheet for approval by following the steps below.
1: Go to the “**Time Log”** option from the **left menu**. (Refer to Image 1)
2: Select the “**Weekly Timesheet”** from the left menu.
3: Click on “**Select Approver**”.
4: Select the desired user as **Approve**r from the drop-down
5: Click on “**Submit timesheet”.**
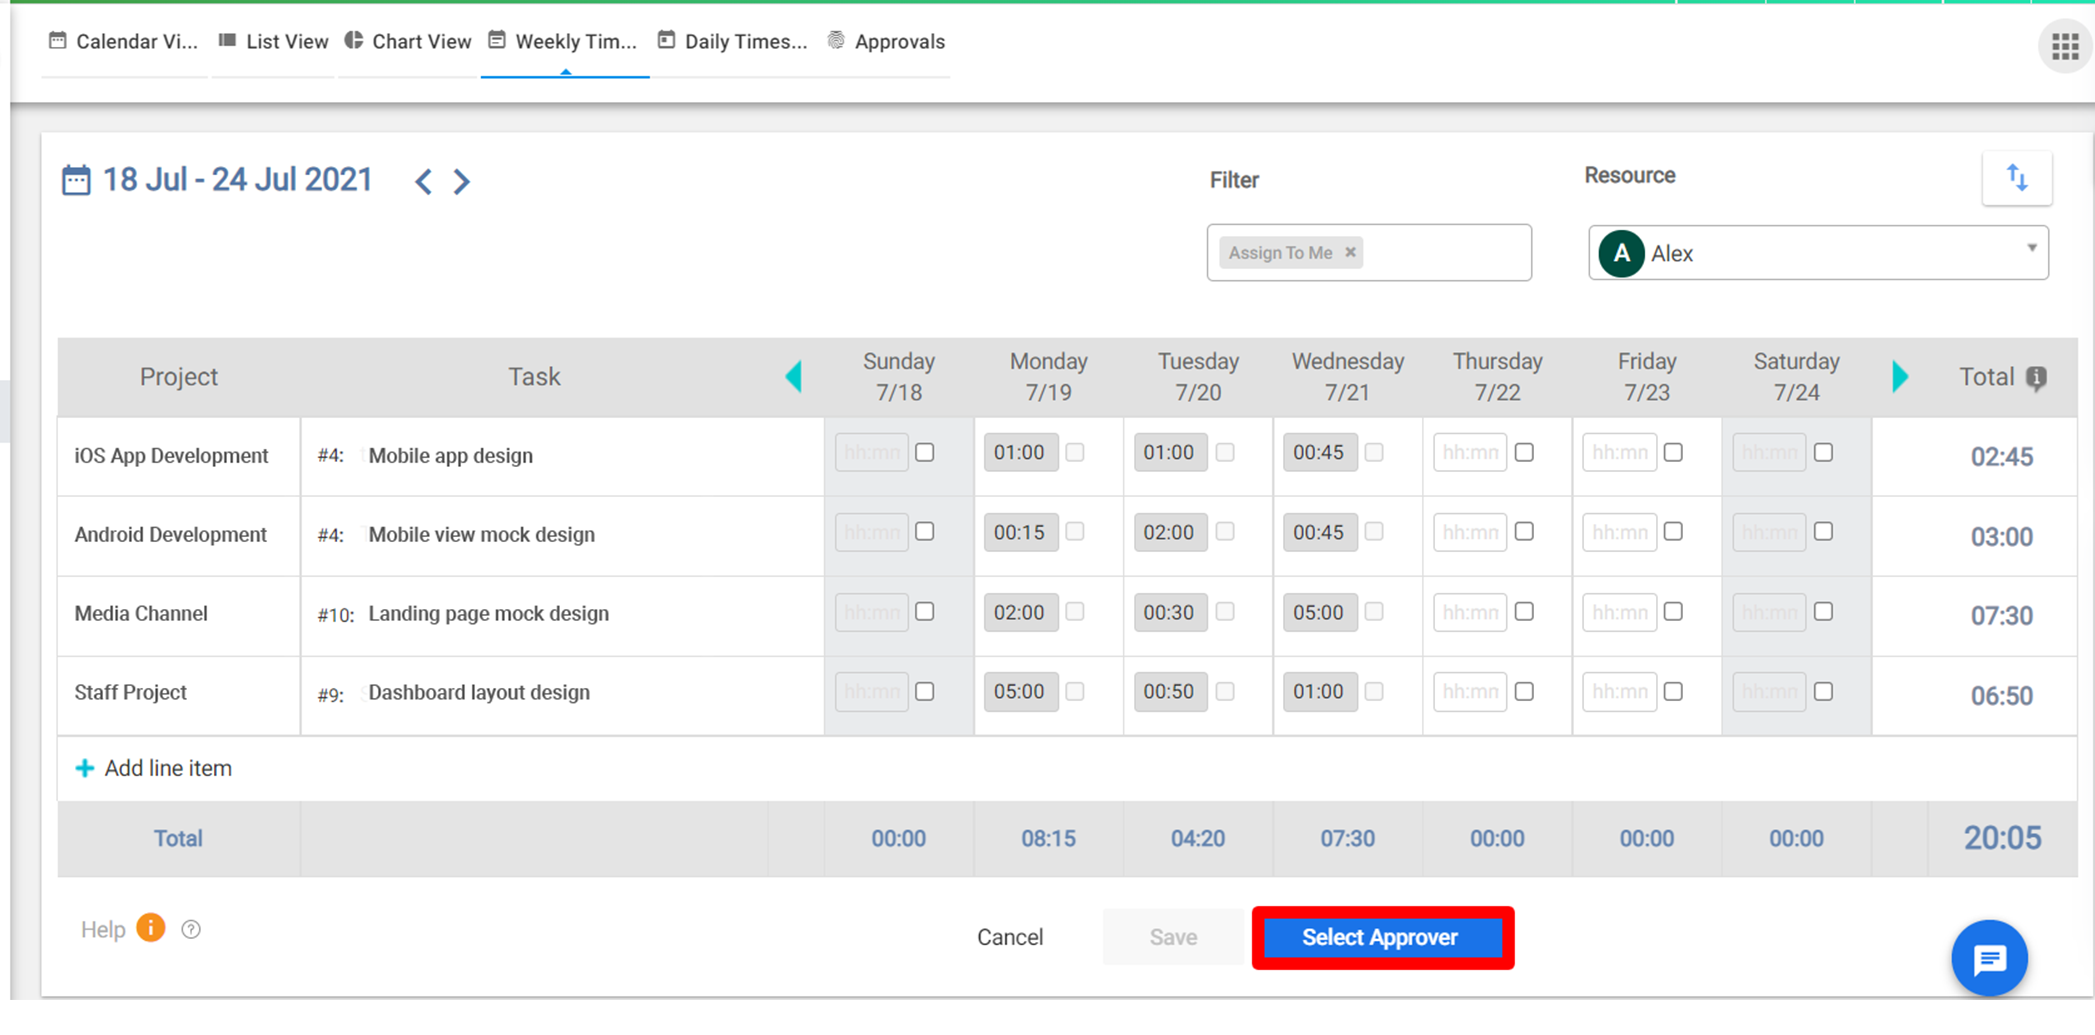
(Image 1)

**User Note:**
- Users can also add logged hours and save them before selecting the approver.
- Once the timesheet is submitted for approval, the user won’t be able to edit it until it has been approved or rejected by the Approver.
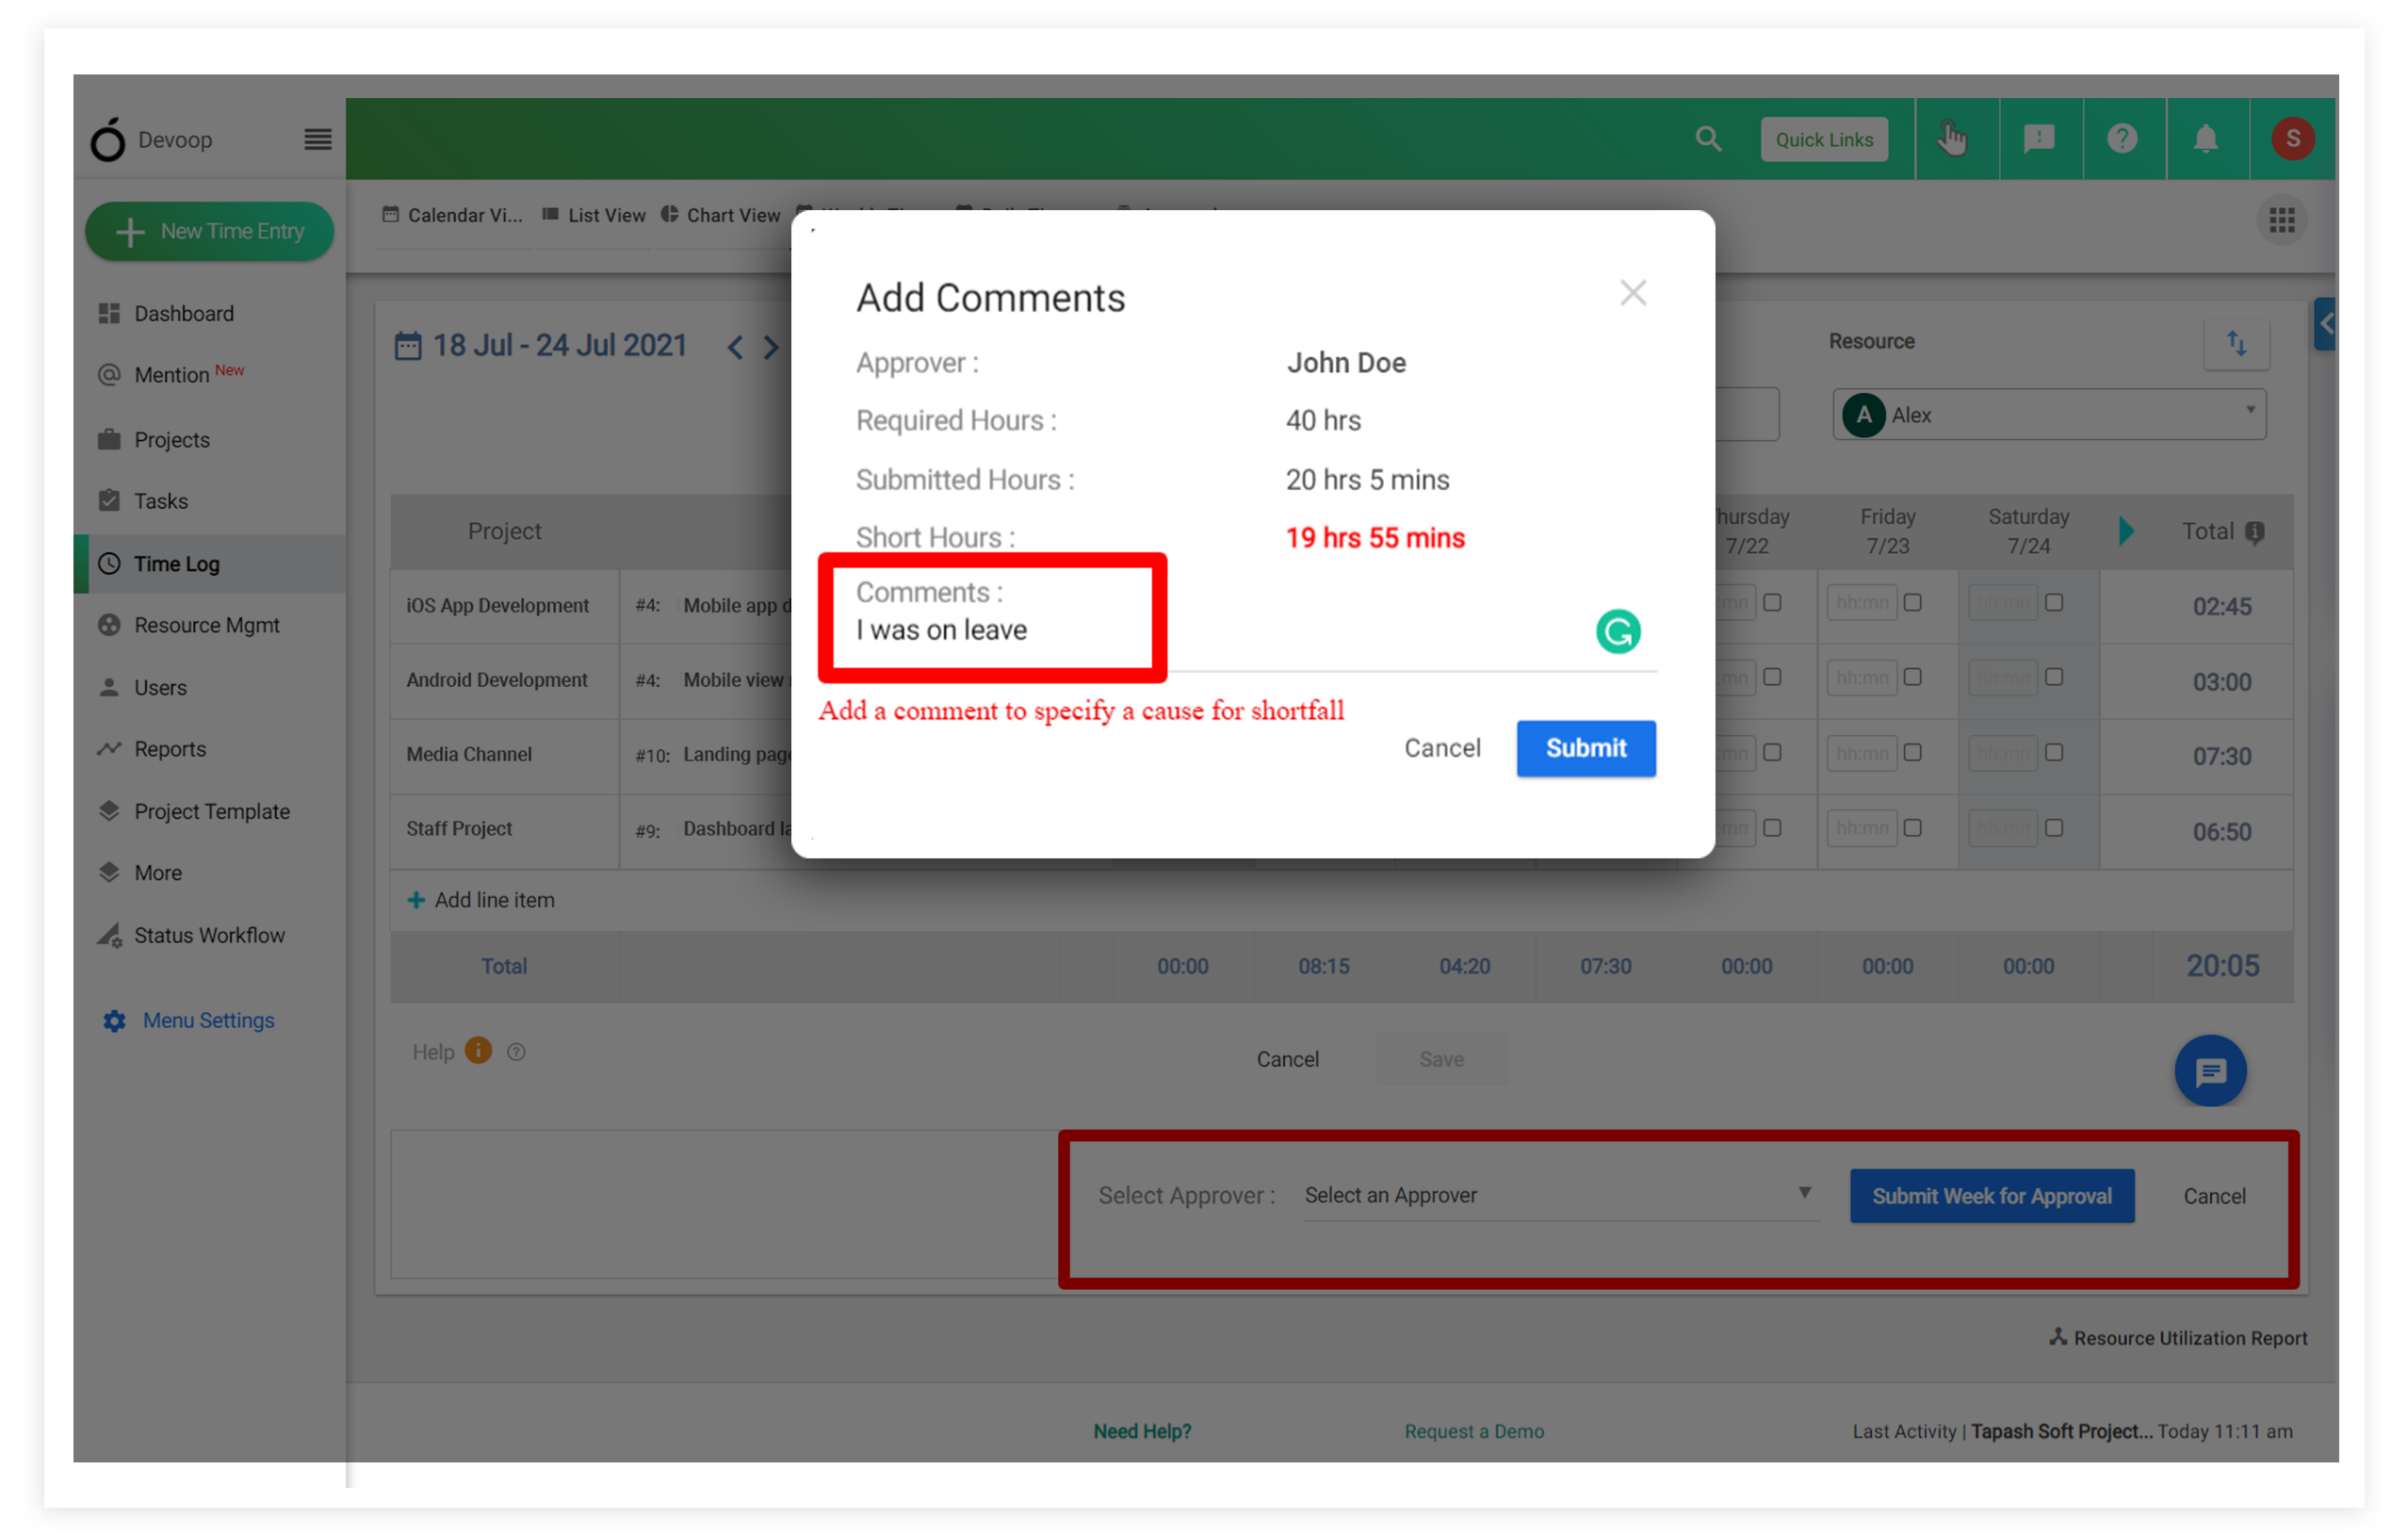
(Image 3)
On clicking the “**Submit for Approval”,** the users will get a pop us suggesting the logged hours and the required hours. They can also find the shortfall of hours if at all. (Refer to Image 3)
The users can select the week to be submitted for approval and filter out various parameters from the options provided at the top. The Weekly timesheet can also be exported to a CSV file from the export option mentioned above. (Refer to Image 4)
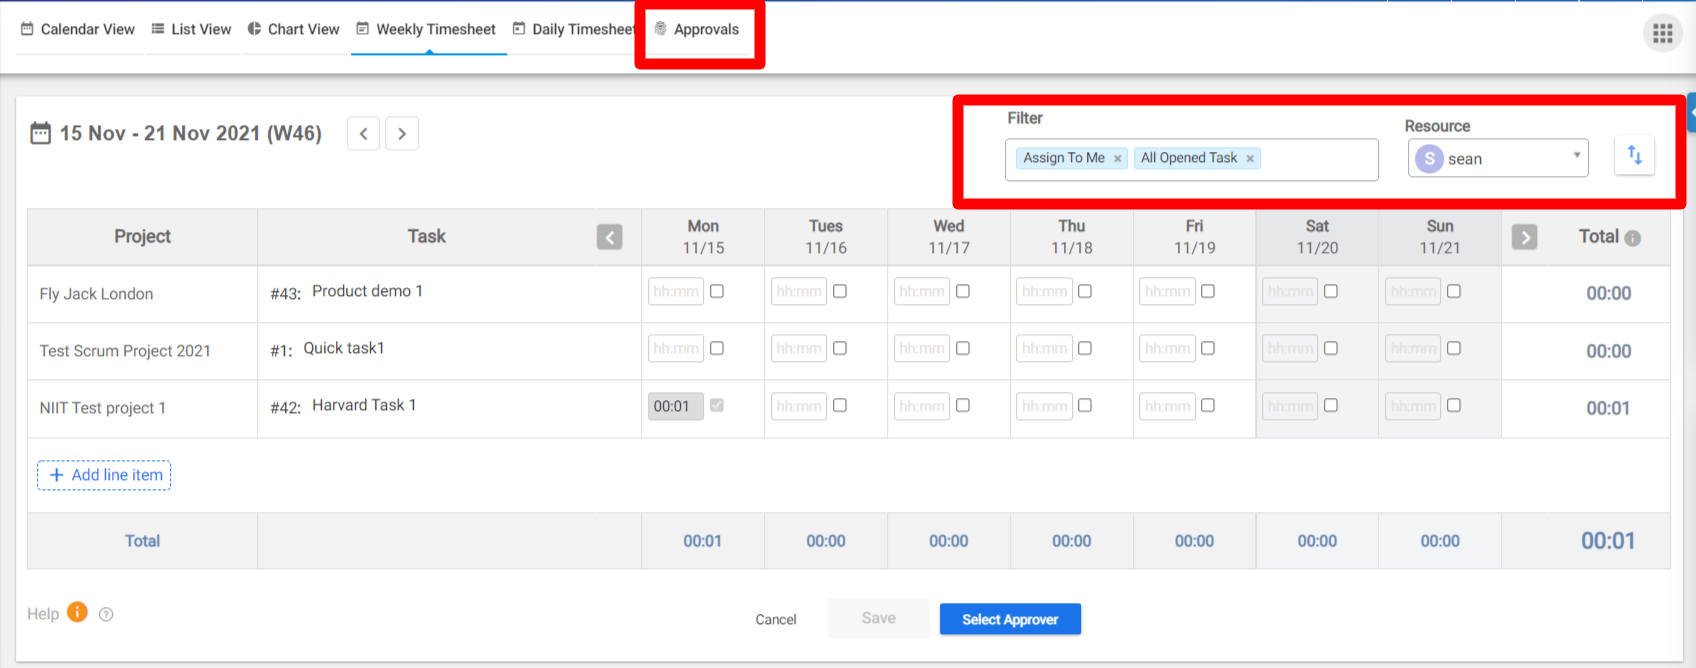
(Image 4)
### Timesheet approval management:
Users would be able to see their submitted timesheet status as per the level of
- approval Request
- my pending timesheet
- my approved timesheet
- my rejected timesheet
The users will be able to manage their timesheets by following the steps below.
1: 1: Go to the “**Time Log”** option from the **left menu**. (Refer to Image 1)
2: Click on “**Approvals”** from the top menu. (Refer to Image 4)

**User Note:**
- Users can now manage their Timesheet approvals and get an idea of their pending approval requests and their approved/ rejected timesheets from the top menu.
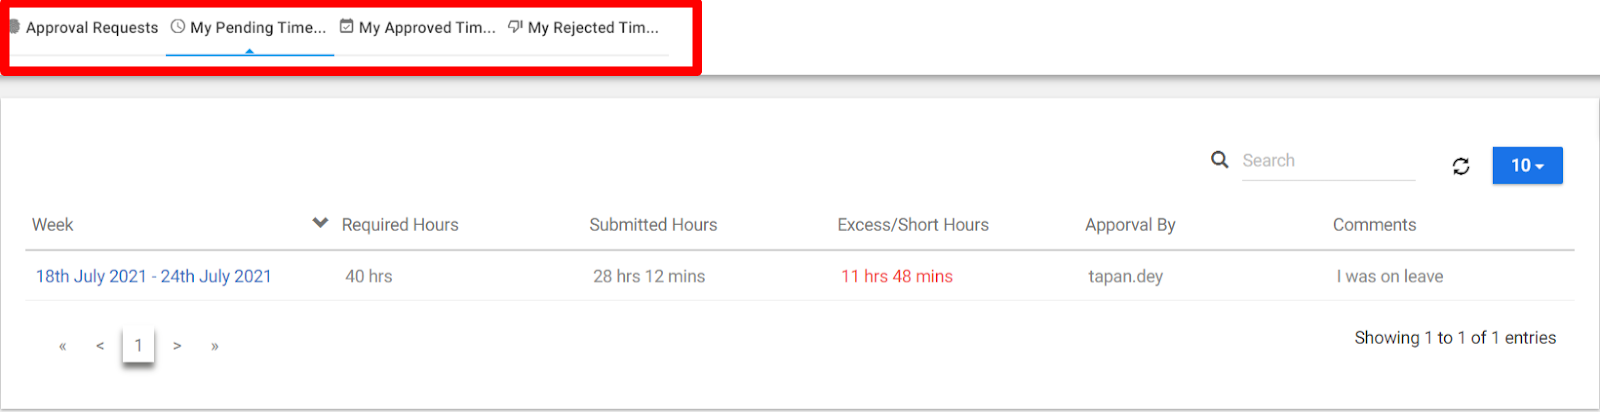
(Image 6)
### Timesheet Report:
Now the users can get a [complete timesheet report](https://www.orangescrum.com/blog/how-to-use-orangescrum-timesheet.html) with actual vs estimated, rejected, approved, and submitted time entries by resource or project over a period of time in a single view.
The users will be able to access the Timesheet Report by following the step below.
1: Select **“Reports”** from the left menu.
2: Select “**Time and Resource reports**” from the reports page.
3: Select the “**Timesheet Report”**(Refer to Image 7)
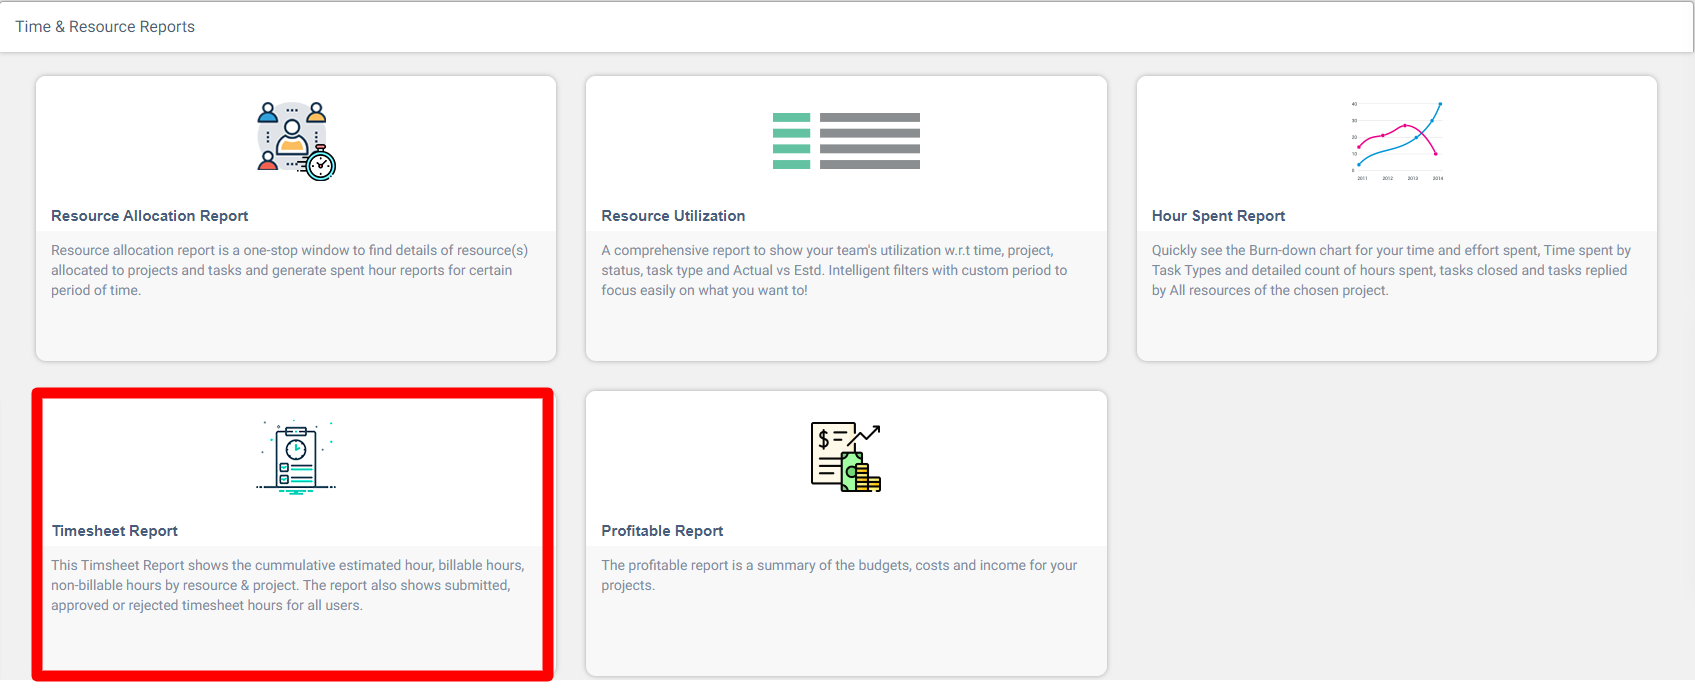
(Image 7)

**User Note:**
- Users can now visualize the total number of hours spent on various projects by the user along with the Approved/rejected hours for each project.
- The users will be able to change the time duration and the projects from the top menu as shown in Image 9.
- The timesheet report can be viewed on the basis of the projects and on the basis of the resources. The user can select it from the Filter type and click on save for the same.
# How to Make Zoom Integration with Orangescrum
> Learn how to seamlessly integrate Zoom with Orangescrum for enhanced collaboration and effective project management.
> For the complete documentation index, see [llms.txt](https://helpdesk.orangescrum.com/llms.txt).
Source: https://helpdesk.orangescrum.com/how-to-make-zoom-integration-with-orangescrum
---
Orangescrum has come up with another big update and this time in the form of Zoom Integration. Now intra- and inter-team communication within the tool are far more easy and convenient. Now Orangescrum allows the users to set up meetings directly from within the tool.
### How to initiate Zoom Connect:
To Integrate Zoom underneath a Company, the Account Owner or Admin needs to enable the Zoom integration feature for their users first.
To enable the Zoom Integration feature:
1: Go to “**Profile**” from the top right corner. (For Admin/Account Owner Only)
2: Click on “**Integrations**” (Refer to Image 1)
3: Select “**Zoom**” from the drop-down menu. (Refer to Image 1)
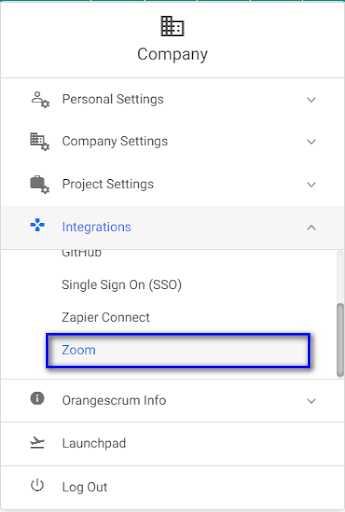
Image 1
*\*\* The user will be redirected to the Zoom Integration page.*
4: Click on “**Enable Zoom**”
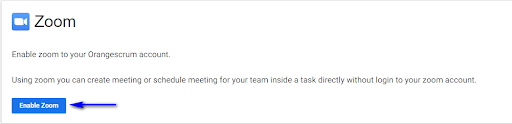
Image 2
Note: In case the Account Owner or Admin wants to disable the Zoom Integration feature, simply follow the same step and click on the “Disable” button. ( Refer to Image 3)
Image 3
### How to Connect with Zoom:
After the feature gets enabled by the Account Owner / Admin, the user can able to find the “Connect Zoom” button at the Zoom integration page underneath their profile setting.
Click on the “**Connect Zoom**”. ( Refer to Image 4)
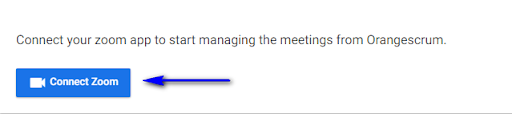
Image 4
You will be redirected to the Zoom Login pop-up.
You can either log in to your existing Zoom account or create a new Account on Zoom.
Image 5
*\*\*After signing in to Zoom, you will be asked to allow authorization between the Orangescrum account and the Zoom account.*
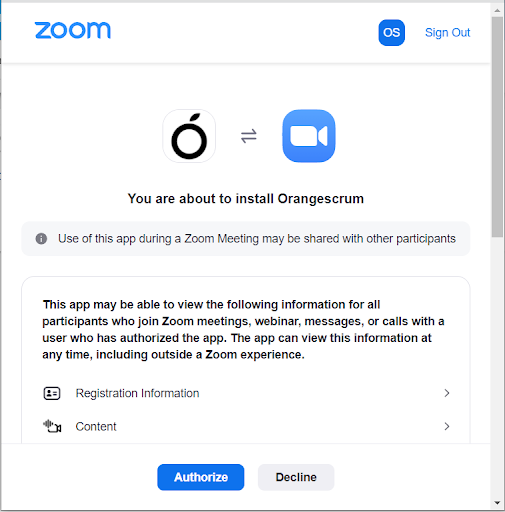
Image 6
*\*\*On click in “**Authorize**”, the integration between Orangescrum and Zoom will proceed.*
#### **User Note**
- *The Zoom can be enabled and authenticated only by the Owner or Admins for the company.*
- *Once the Zoom connection is authenticated by the Owner/Admin, the users can now easily set up new Zoom meetings or add existing Zoom meetings against a particular task.*
- *The Zoom connection can be done by users from the task detail page also. However, if it is being done from the Zoom Integration page, that has to be done by the Owner or Admins of the company.*
### How to create a new Zoom meeting:
The users with access to manage tasks can create a new Zoom meeting by following the tasks below.
1: Select “**Tasks**” from the left side menu.
2: Select the task for which you want to create a Zoom meeting.
3: Click on the “**Zoom**” option from the right side menu on the task details page.
*\*\* The user will be getting a dropdown menu with 2 options (Refer to Image 7)*
- ***Create a new meeting***
- ***Add an existing meeting***
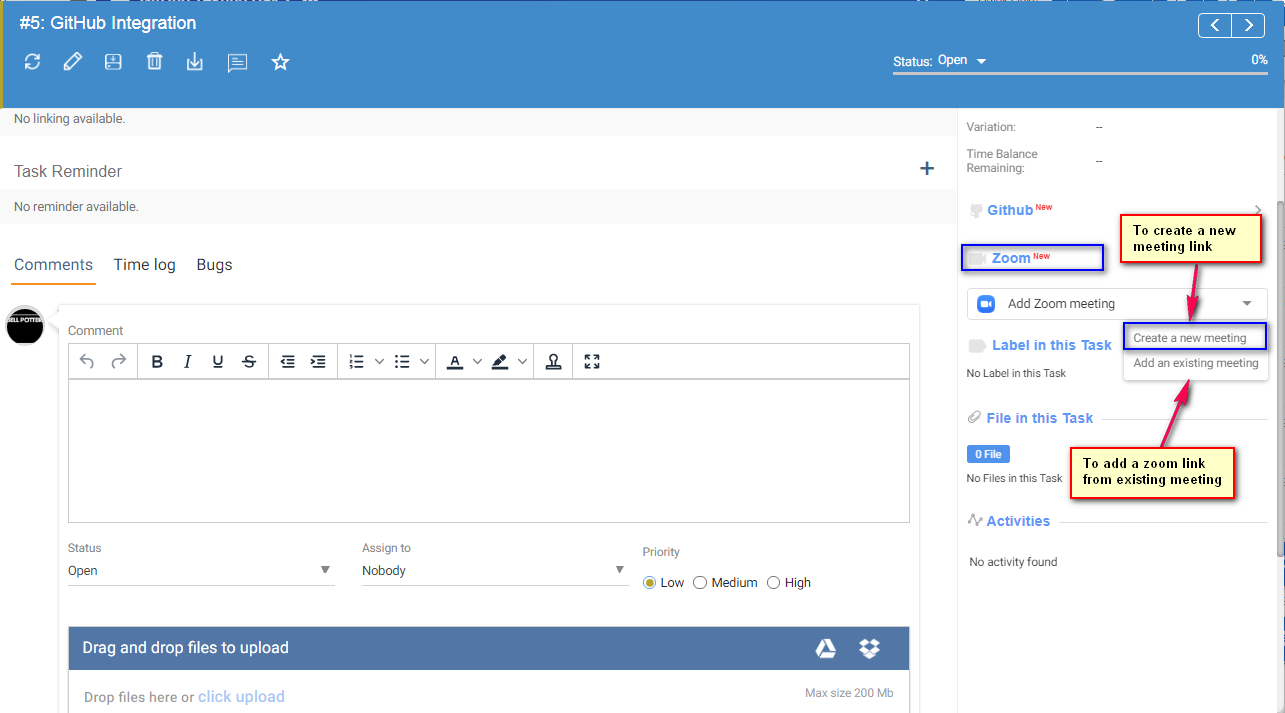
Image 7
4: Select the “**Create a new meeting**” option from the drop-down. (Refer to Image 7)
*\*\* The user will be asked to enter the meeting details.*
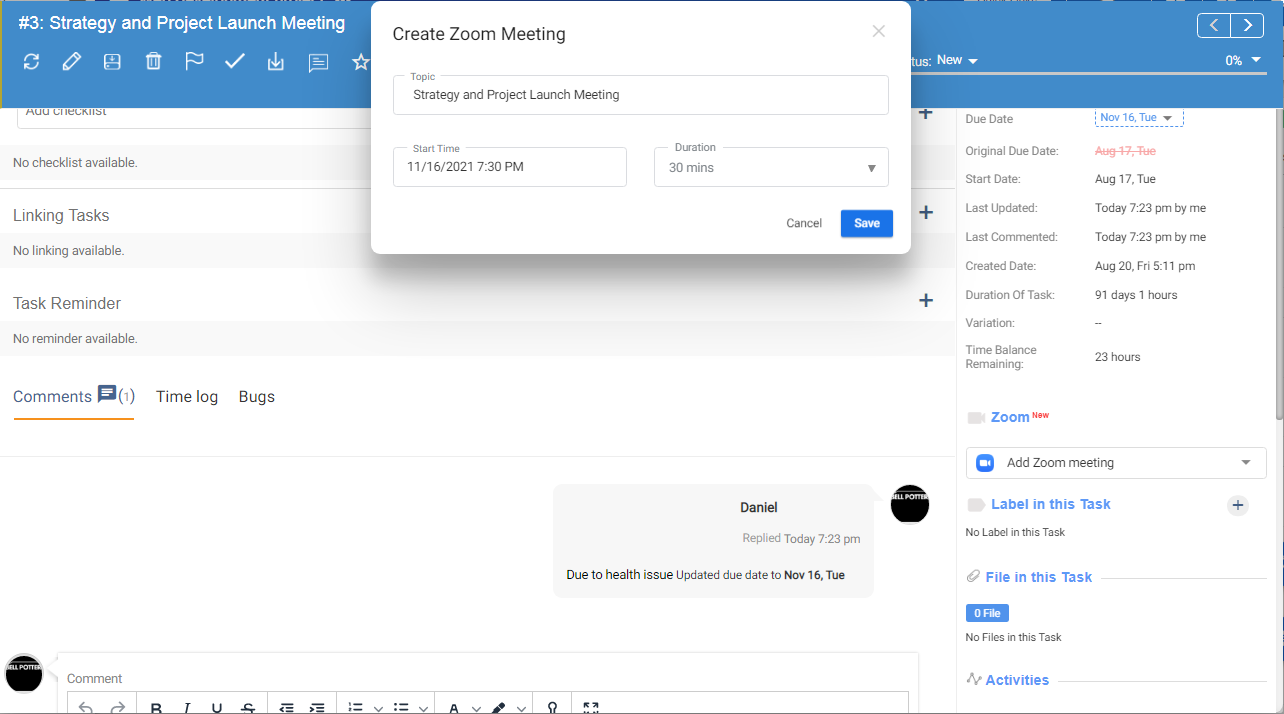
Image 8
5: Fill in the meeting details (Refer to Image 8)
6: Click on “**Save**” to create the Zoom. (Refer to Image 8)
***\* Orange Note***
- *Once the Zoom meeting is created, the user will be able to get the meeting details from the right side menu of the task details page.*
- *The users can create only one Zoom meeting per task currently. Separate Zoom meetings, however, can be created for the subtasks created within a task.*
- *The name of the Zoom meeting remains the same as that of the task/subtask against which the meeting has been created.*
- *All the users assigned to the tasks will be getting an email notification if the “Notify via email” option is enabled. The email carries the Zoom meeting I’d.*
### How to add an existing Zoom to the task:
The users can add an existing Zoom meeting to a task by following the steps below.
1: Select “**Tasks**” from the left side menu.
2: Select the task for which you want to add a Zoom meeting.
3: Click on the “**Zoom**” option from the right side menu on the task details page.
*\*\* The user will be getting a dropdown menu with 2 options*
- ***Create a new Zoom meeting***
- ***Add an existing meeting***
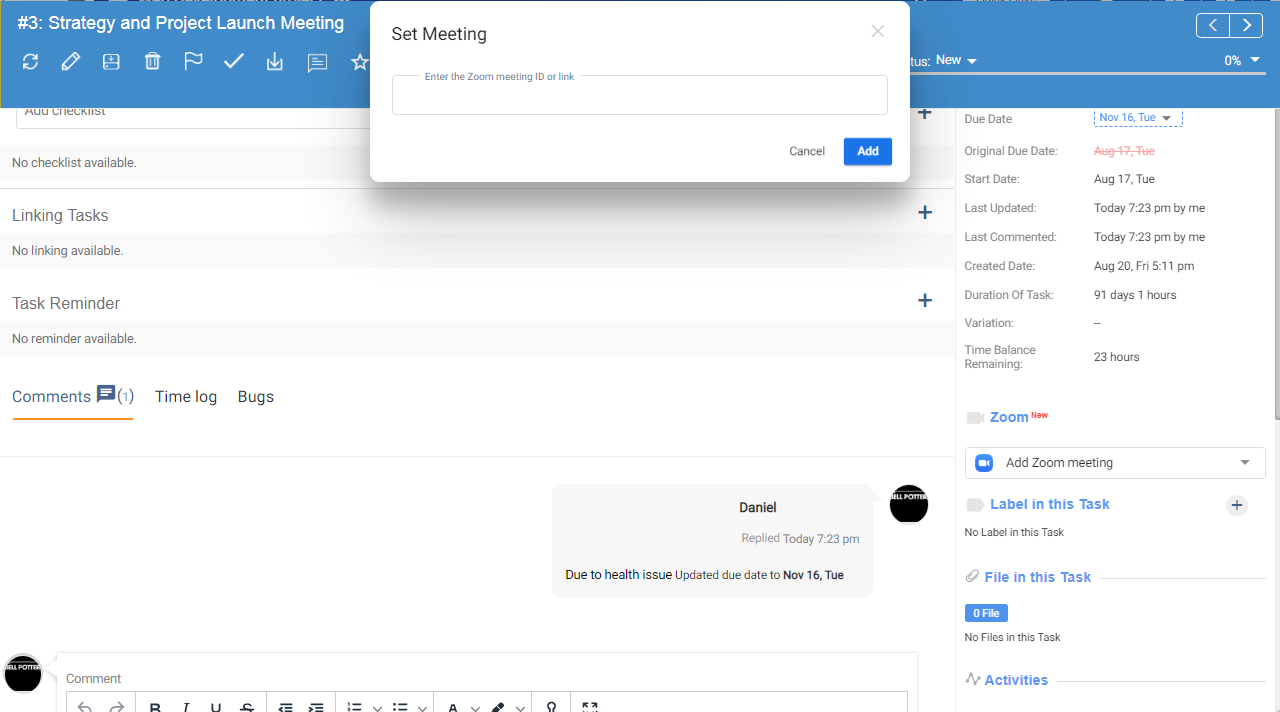
Image 9
4: Select the “**Add Zoom**” option from the drop-down. (Refer to Image 9)
5: Enter the Meeting I’d of the Zoom meeting you want to add to the task. ( Refer to Image 9)
#### User Note
- *Once the Zoom meeting is added, the user will be able to get the meeting details from the right side menu of the task details page.*
- *The users can add only one Zoom meeting per task currently. Separate Zoom meetings, however, can be created for the subtasks created within a task.*
- *All the users assigned to the tasks will be getting an email notification if the “Notify via email” option is enabled. The email carries the Zoom meeting I’d.*
### How to view, copy, and Remove Zoom Meeting?
After creating a zoom meeting successfully, the associated users (to the task) can View, Copy Zoom Link, and Remove the meeting on the task details page. The users can view, copy and remove Zoom meetings by following the step below.
#### To view meeting details on Zoom:
1: Visit the “**Task Details**” page (Refer to Image 10)
2: Click on the “**View in Zoom**” (Refer to Image 10)
\*\*Once users click on the “**View in Zoom**” the user will redirect to the zoom website/app with the created Zoom details.
#### To Copy Link:
1: Visit the “**Task Details**” page (Refer to Image 10)
2: Click on the **“Copy Link”** (Refer to Image 10)
\*\*User is able to copy the Zoom meeting link after clicking on the “**Copy Link**”.
#### **To Remove meeting from Task:**
1: Visit the “**Task Details**” page (Refer to Image 10)
2: Click on the “**Remove from Task**” (Refer to Image 10)
Remove from Task: Users can remove the zoom meeting link, using the “Remove from task” button.
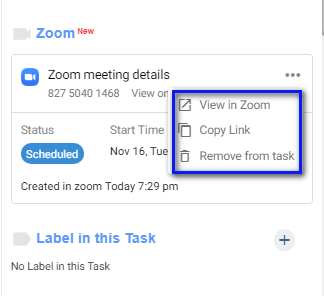
Image 10
# How to Make use of Bug Tracking Feature
> Learn how to use the bug tracking feature in Orangescrum, a web app that lets you manage customer support and customer service.
> For the complete documentation index, see [llms.txt](https://helpdesk.orangescrum.com/llms.txt).
Source: https://helpdesk.orangescrum.com/how-to-make-use-of-bug-tracking-feature
---
A bug is often a piece of code that does not work as expected. It may be that a feature or a specification supposed to enable a certain functionality has been coded incorrectly. Bug tracking is one of the important aspects of a software development lifecycle to deliver quality products.
### Creating a bug:
A user can create a bug while executing a project by following the steps below.
1: Select the **Bug Tracking** option from the left menu (Refer Image 1)
(Image 1)
2: Click on **New Bug**. You can also click on the (Refer Image 2)
3: Enter the bug details (Refer Image 3)
4: Click on the **Save**.
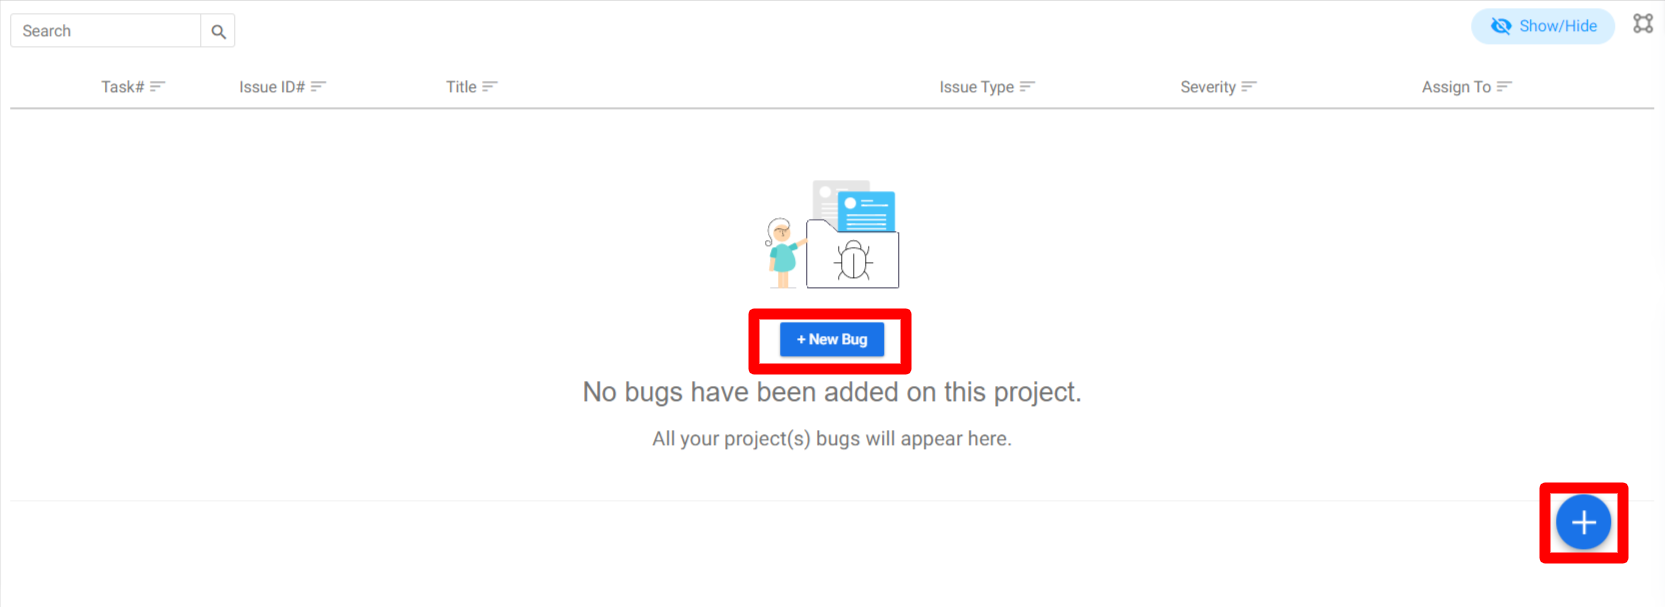
(Image 2)
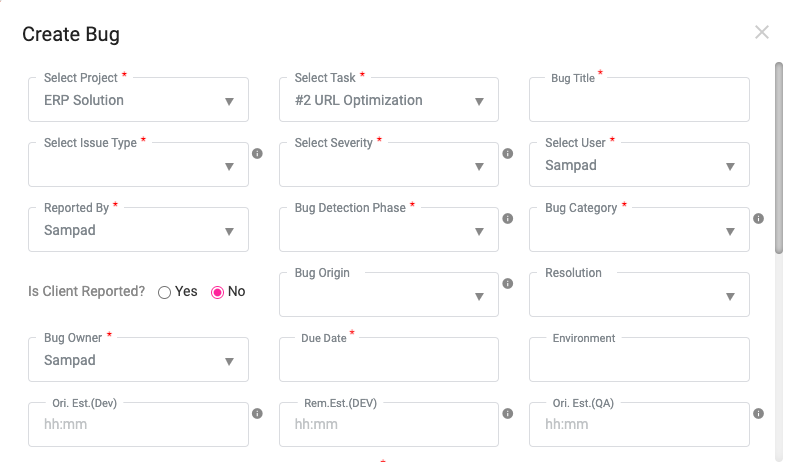
(Image 3)
### Guide to fields in Bug creation window:
The users can find a quick insight into the details of all the fields mentioned in the Bug Tracking window below.
1. **Select Project** – Select the project from the drop-down where you found the bug.
2. **Select Task** – Select the related task of that project where you found the bug.
3. **Bug Name** – Name your Bug.
4. **Select the Bug-type** – The founded issue can be a bug, or a required improvement, or might be a query. So add your bug type accordingly.
5. **Select Bug Severity** – Select the Bug Severity.
6. **Reported by** – Select the user who has reported the bug.
7. **Bug Detection Phase** – In case the task is in the development phase or in the designing phase, Add the bug detection phase accordingly.
8. **Bug Category** – Select the Bug Category.
9. **Select Client** – Select if the Client has reported this bug or not.
10. **The Bug Origin** – Put the origin of this bug, as it could be from Designing origin, or Development origin, etc.
11. **Resolution** – Users need to add the required resolution for the bug.
12. **Bug Owner** – You can select a user as bug owner where the selected user can able to monitor all bug handling activities.
13. **Due Date** – Add the estimated due date to resolve the bug issue.
14. **Environment** – Select the bug environment as like operating system, browser, device, etc.
15. **Impacted Area** – Add the details where the founded bug has made the maximum impact.
16. **Description** – Add the detailed bug information to the description field.
17. **Attachment** – Add the bug-related attachments.
#### User Note
- *Bugs can only be created by the users appointed as the Owner, the admins and the users allowed access in the user role management*
### Bug Listing Page:
Here the user can able to find the Detected Bug List as it shows bug name, Issue type, the bug severity, and the Status (Closed, In-Progress or Yet to start).
So the user would have a clear view of bug status for all [projects](https://www.orangescrum.com/project-management) with a single dashboard.
A user can create a bug while executing a project by following the steps below.
1: Select the **Bug Tracking** option from the left menu (Refer Image 1)
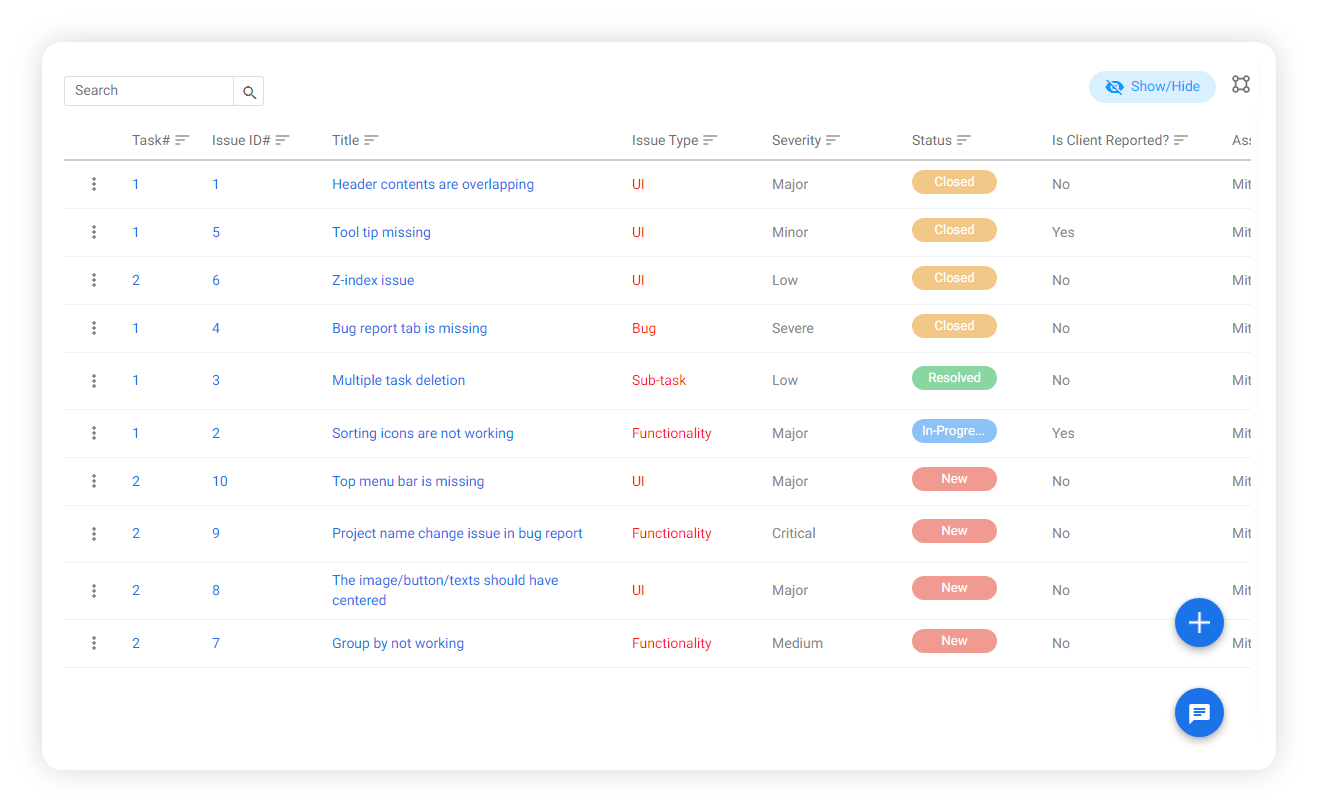
(Image 4)
### Bug details page:
On the bug detail page, the users can able to see the all related information added to the bug.
Along with the bug details, the user can also find the bug handling activities in the Activity History section.
Refer to the image below (Image 5) for quick reference.
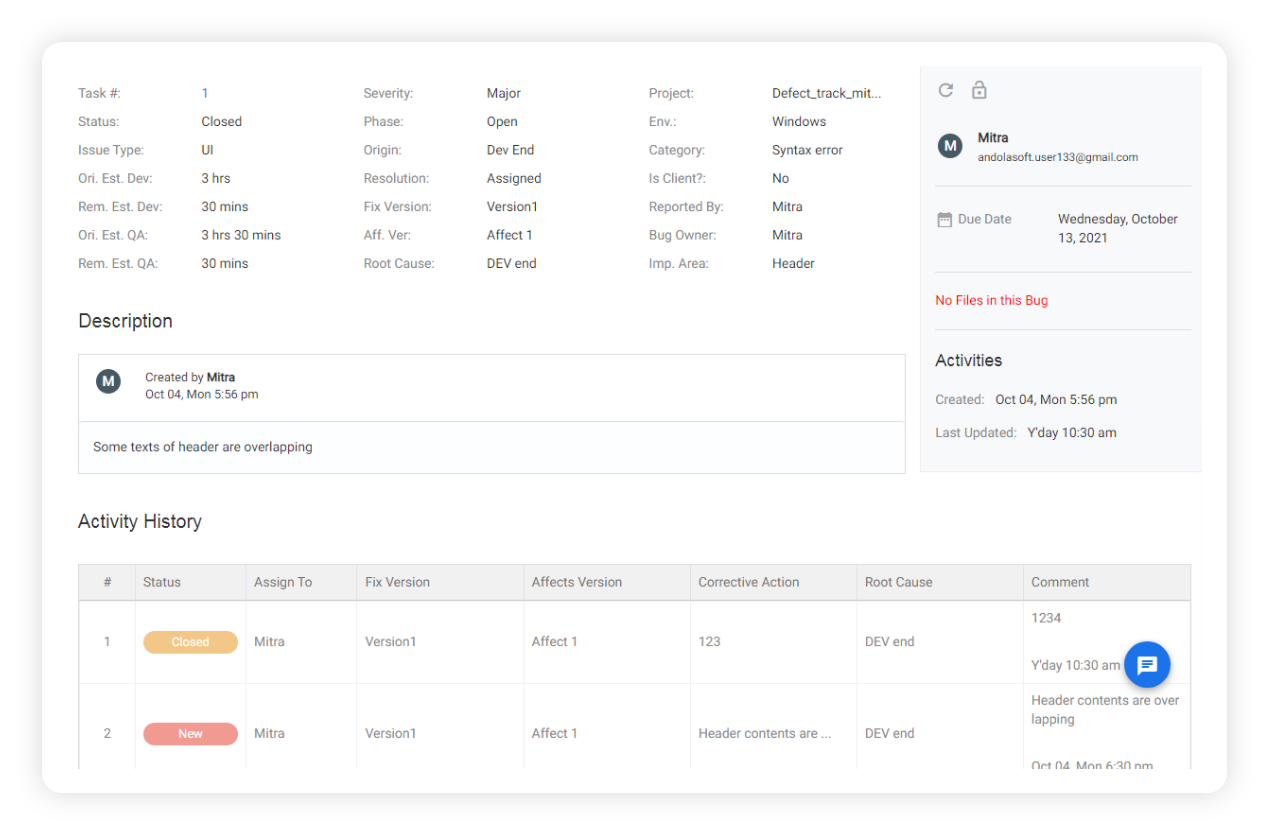
(Image 5)
### How to customize fields in Bug Tracking :
Users can customize the fields mentioned in the Bug tracking feature by following the steps below.
1: Go to **Profile** (Refer to Image 6)
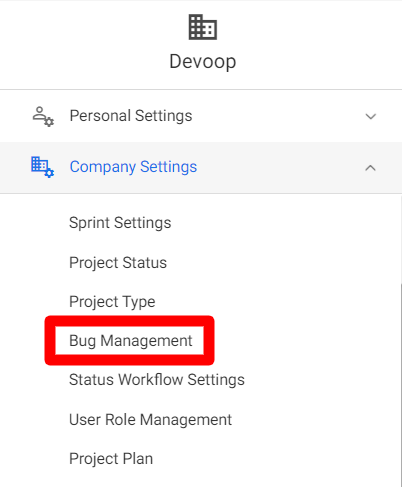
(Image 6)
2: Select **Company Settings** and select “**Bug Management**” from the drop-down (Refer Image 6)
3: Select the field to customize. (Refer Image 7)
4: Click on **New Bug severity** (Refer Image 7)
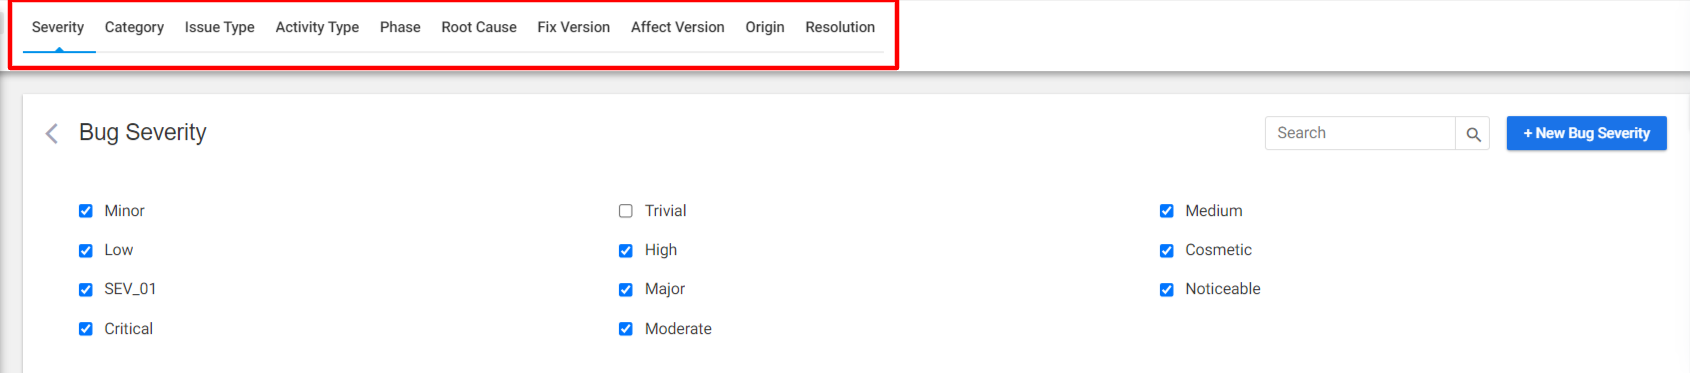
(Image 7)
5: Enter the field details (Refer Image 8)
6: Click on **Add**
(Image 8)
### How to edit an added field in Bug Tracking :
Users can customize the fields mentioned in the Bug tracking feature by following the steps below.
1: Go to **Profile** ( Refer Image 6)
2: Select **Company Settings** and select “**Bug Management**” from the drop-down (Refer Image 7)
3: Select the field to customize and click on the **Edit** icon
4: Update the field details
5: Click on **Update**
#### ***Availability :***
*\*The Bug Tracking feature is available in the [Professional Plan](https://www.orangescrum.com/pricing) starting from the 11 Users.*
# How to use Custom Fields for tasks in Orangescrum
> Learn how to effectively use custom fields for tasks in Orangescrum to enhance project tracking and management.
> For the complete documentation index, see [llms.txt](https://helpdesk.orangescrum.com/llms.txt).
Source: https://helpdesk.orangescrum.com/how-to-use-custom-fields-for-tasks-in-orangescrum
---
Custom fields let you add additional data to tasks in your projects. You can create a [custom field](https://www.orangescrum.com/custom-fields) to capture more data for your tasks like URL, task number, any specific data related to tasks, cost, email, or anything else that’s important to your project, workflow, team, and company.
This allows individuals to have clarity on work happening across their projects.
Key Features
- Create your own fields
- Create a field for a specific business context that is available while creating a new project
- Choose a field type
- Enable field usage
- Make your fields available for Task & task detail page by enabling custom field
- Edit fields that have already been Assigned
- Delete fields that have already been Assigned
### **
How to find the Custom Fields:**
A user can find the options for a custom field by following the steps below.
1: Click on **Profile**
2: Select **Project Settings** from the drop-down.
3: Click on the **Custom field**.
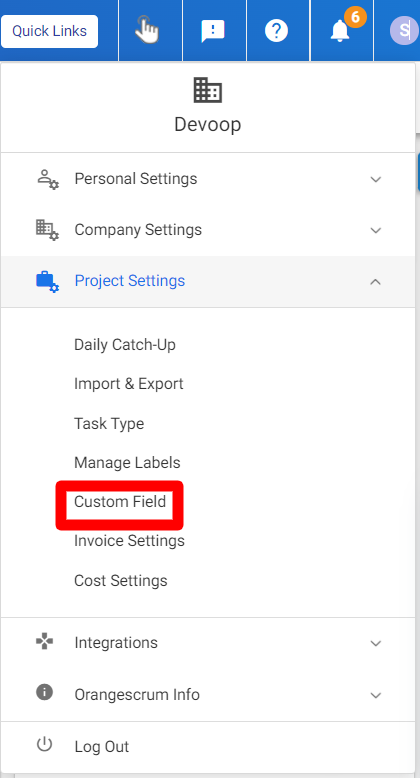
### How to Creat a new Custom Field:
To create a new custom field, follow the steps below.
1: Select “**New Custom Field**”
2: Select the Custom “**Field Type**” (Refer Image 2)
3: Specify a field name and place holder (Refer Image 3)
4: Mark if the field is a required field or not. (Refer Image 3)
5: Click on “**Save**” (Refer Image 3)
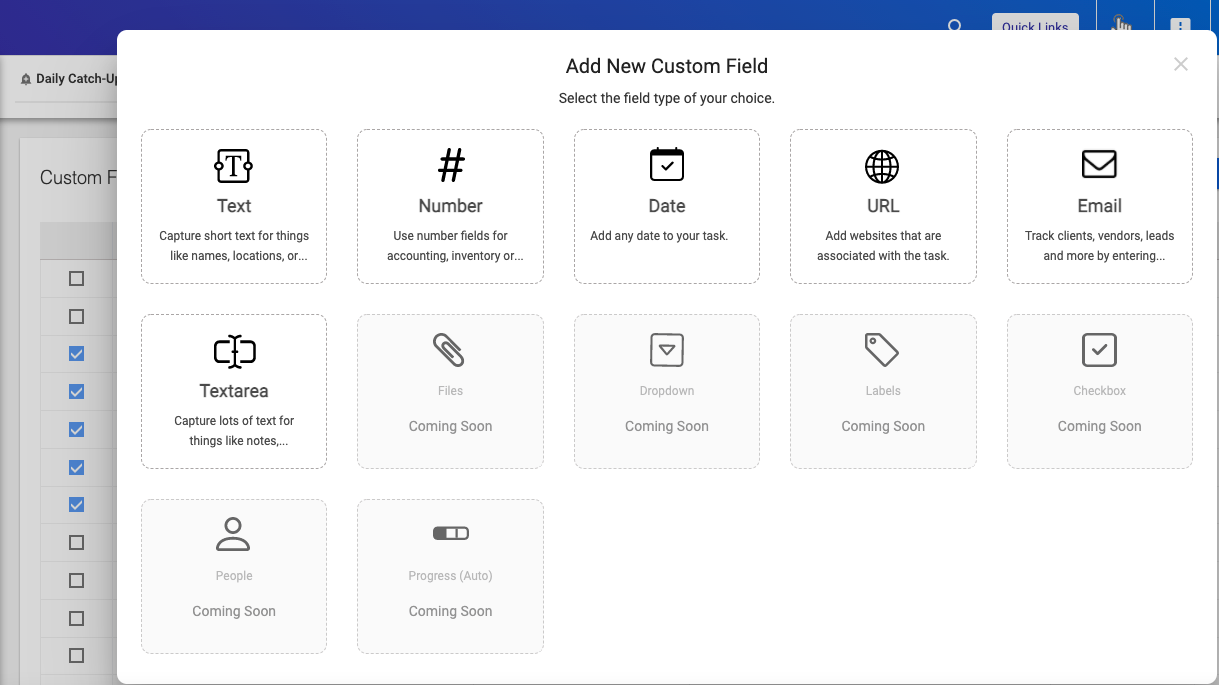
(Image 2)
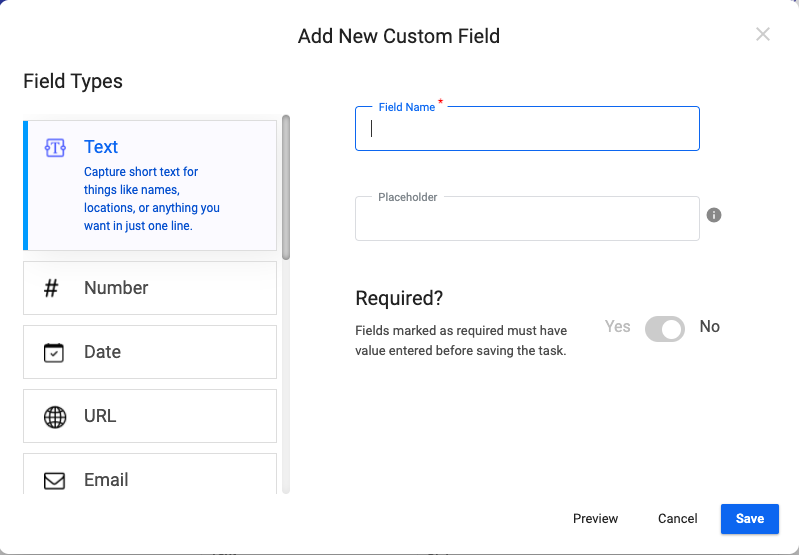
(Image 3)
### What are the Field Types available:
**Single line text**: Add single-line text to capture names, location, etc in one line
**Date**: Add a date using this field in the task
**Number**: Add numerical numbers using this field in the task
**URL**: Add email addresses using this field in the task
**Email**: Add Web: Addresses using this field in the task
**Multiline** Text: Add multiple lines texts to capture names, location, etc in one line
Now when the users will create any new task, these custom fields will be listed on the create task popup.
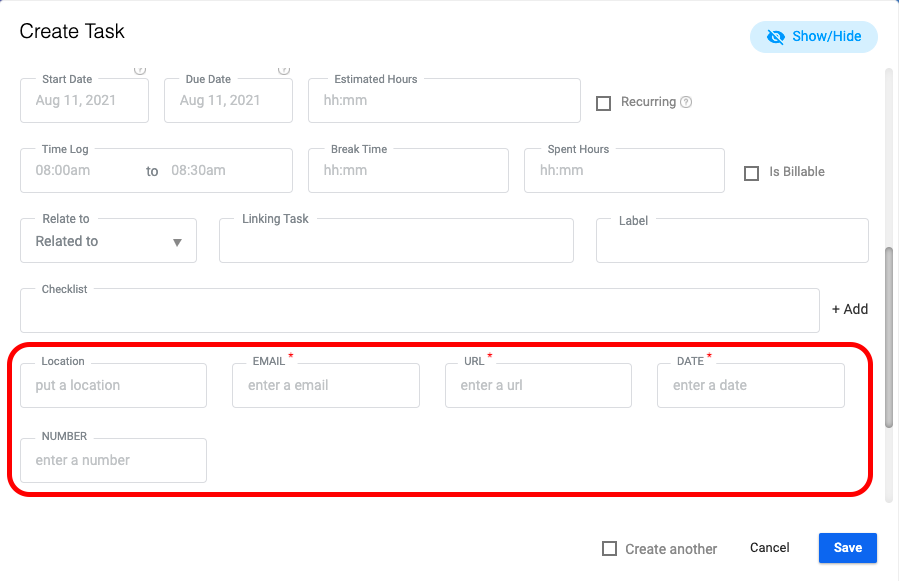

**User note:**
- Users can also edit the custom field values of a task by clicking edit task from the task list page.
- On clicking the task edit icon one can edit custom field values. And the edited values of custom fields can be seen on the detail page.
- ***Duplicate custom fields*** – Don’t create duplicate custom fields with the same name as other custom fields. The unique custom fields will bring more clarity to your tasks.
- ***Relevant Custom Fields***– Add relevant custom field details – Always try to add relevant data to the custom fields. Ex- If there is a custom field for adding an email address, then users must add the email address in that field rather than adding something else.
- ***Make it Generic** – Make custom fields names generic – At the time of creating custom fields, the names must be generic as they should be understandable to all other users. For example, instead of naming a field “Mail”, name the field “Email Address” and provide the placeholder name as “enter an email address”. This brings more clarity to other users.*
### How to Edit a Custom Field:
Users can edit existing fields by following the steps below.
1: Go to the “**Custom Fields**” page
2: Find the “**Edit option**” against the custom field you want to edit. (Refer to Image 5)
3: Make the necessary changes in the “**Field name**” and “**Placeholder**” (Refer to Image 6)
4: Click on “**Save**”
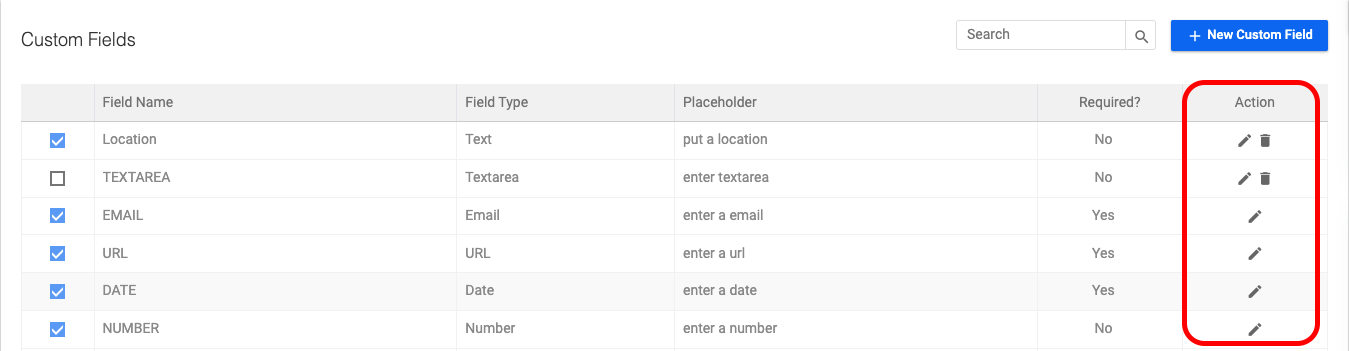
(Image 5)
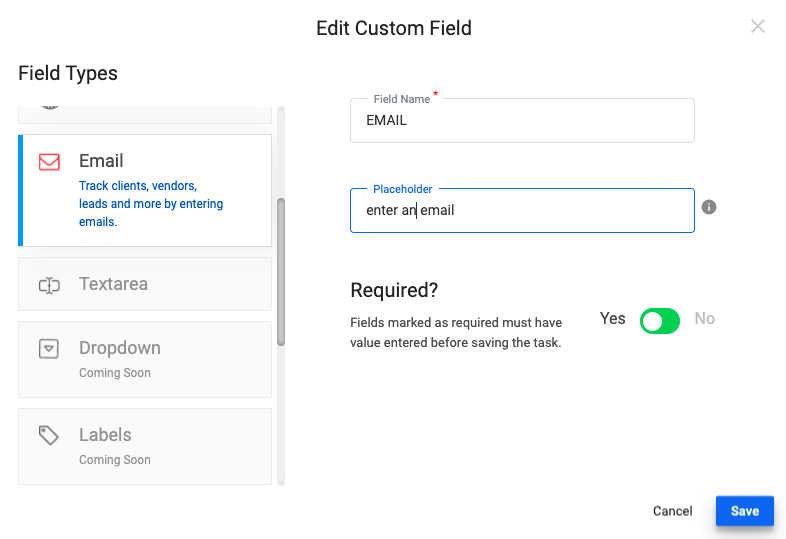
(Image 6)
### Where to use Custom Fields?
You can use Custom Fields to capture a task’s custom property values. Custom Fields created against [any project](https://www.orangescrum.com/blog/six-writing-skills-any-project-manager-should-absolutely-have.html) are added automatically while [creating a new task](https://www.orangescrum.com/task-management).

Users can also edit the custom field values of a task by clicking edit task from the task list page.
On clicking the task edit icon one can edit custom field values. And the edited values of custom fields can be seen on the detail page.

**User note:**
- Users can also edit the custom field values of a task by clicking edit task from the task list page.
- On clicking the task edit icon one can edit custom field values. And the edited values of custom fields can be seen on the detail page.
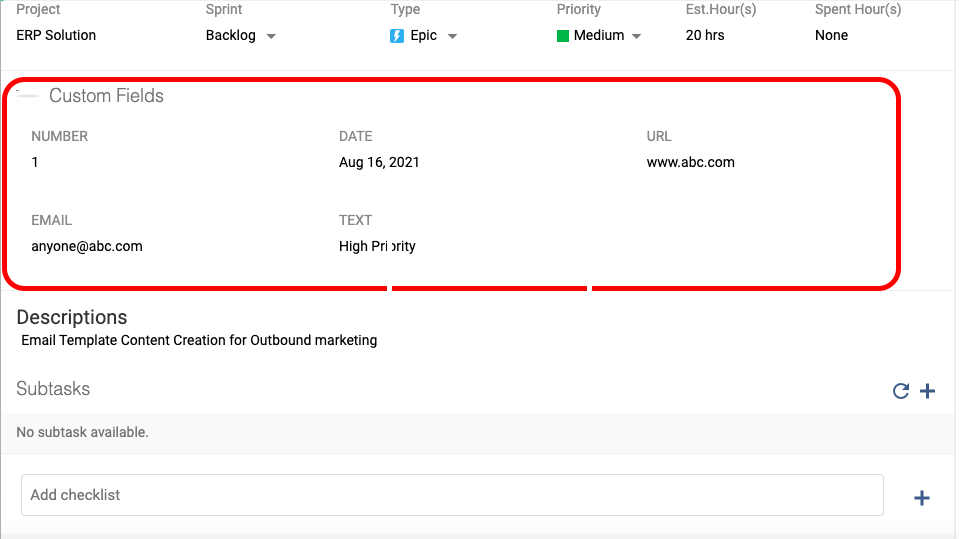
### What is Advanced Custom Fields?
These are the advanced fields, which have pre-defined logic. Here the only users need to select and add those fields in tasks.
**Actual task completion date** – It will show the actual completion date of the tasks when it is marked as complete or closed the task
**Duration of the task** – It will show how many days/hours are needed to complete the task.
**Variation** – Actual days it took to complete the task
These are the advanced fields, which have pre-defined logic. Here the only users need to select and add those fields in tasks.
### How to add an advanced Custom Field:
Users can edit existing fields by following the steps below.
1: Go to the “**Custom Fields**” page
2: Find the “**Advanced Custom Fields**”
3: Select the custom fields to be added
### Why Custom Fields**?**
**Visual Organization**: A custom field creates a visual impact across your projects with multiple colors, numbering, and a key so that it’s easy to keep track of where things stand.
Custom fields make it easy for your team to track their work and prioritize it based on the information they’re needing to manage.
A custom field creates a visual impact across your projects with multiple colors, numbers, and a key so that it’s easy to keep track of where things stand.
**Ease of Addition**: Adding fields to your projects can be an easy task for teams with the time, workflow, and deadlines to remember. Custom fields make it easy for your team to track their work and prioritize it based on the information they’re needing to manage.
### How do Custom Fields work?
- After a custom field has been used to gather information from [multiple projects](https://www.orangescrum.com/blog/why-and-how-to-manage-multiple-projects.html), it is exported into one place. That one place is most often your [Client Manager](https://www.orangescrum.com/client-management) or your Production manager’s interface.
- The other Project Managers will then be able to view the detailed Field Information for that project as it existed at the time of the submission. What does this mean for you as a Project Manager?
- Whenever you submit custom fields, your clients will be able to see the amount of information that was given in the custom fields.
- When it comes time to resubmit a Field Request, the client will be able to see the original Field Request, along with any modifications that have been made in response to feedback or available information at the time. How does this help you as a [Project Manager](https://www.orangescrum.com/blog/better-project-manager-advice.html)?
### The Benefits of having Custom Fields in Project Management Tool
An individual can make a mark in the world: you can add [timestamps](https://www.orangescrum.com/timesheet) to a task or create a task title that helps find the tasks that need your attention faster.
- Simplify projects: make it easier for users to access information
- Analyze project data: gain insights into current project status Manage teams efficiently: allow your team members to review projects and track changes
- Streamline workflows: Shorten [project timelines](https://www.orangescrum.com/blog/create-best-project-timeline.html) have the ability to add and modify fields that reflect your organization
***Availability :***
*The Custom fields feature is available in the [Professional Plan](https://www.orangescrum.com/pricing) starting from the 11 Users.*
# How Can I Integrate Zapier with Orangescrum?
> Find out how to integrate Zapier with Orangescrum to automate workflows and streamline your project management tasks.
> For the complete documentation index, see [llms.txt](https://helpdesk.orangescrum.com/llms.txt).
Source: https://helpdesk.orangescrum.com/how-can-i-integrate-zapier-in-orangescrum
---
### **How to create a Zap?**
Before getting started with Zapier integration with Orangescrum, a user must be aware of certain functionalities like creating Zap.
A user can create a Zap by following the steps below.
1: Go to “**Profile**”
2: Click on “**Integrations**” from the drop-down menu. (Refer to Image 1)
3: Select the “**Zapier Connec**t” option. (Refer to Image 2)
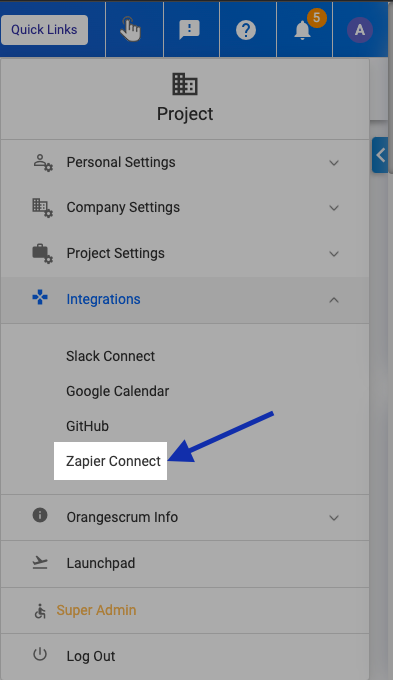
*Image: 1*
***\*\* The user will be redirected to the Zapier Integration page.***
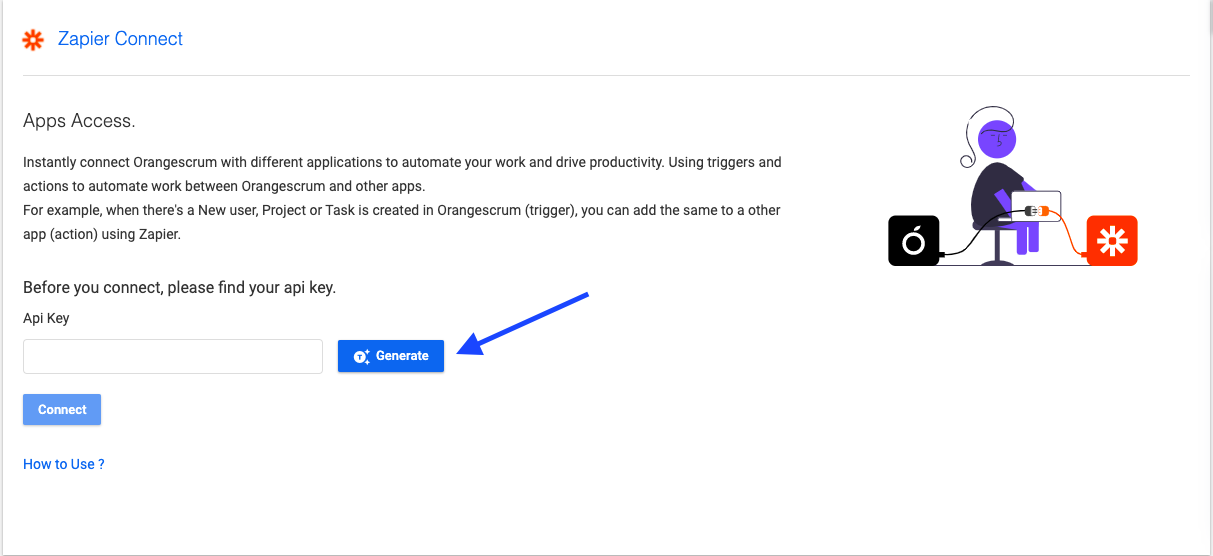
4: Click on the “**Generate**” button to generate the unique API.
***\*\* The user will be able to find the unique API Generated***
5: Go to the [**Zapier**](https://zapier.com/how-it-works?utm_source=google&utm_medium=cpc&utm_campaign=gaw-gbl-nua-search-top_trademark-brand_exact&utm_adgroup=zapier&utm_term=zapier&utm_content=_pcrid_516106589735_pkw_zapier_pmt_e_pdv_c_slid__pgrid_119867242503_ptaid_kwd-298647606221_&gclid=Cj0KCQjwrJOMBhCZARIsAGEd4VGM1o3Y7gvZHvvDj4iqW4RVpFKZvDjxhKRmAZwfIBZ9czHL0MuNbzAaAgtyEALw_wcB) site.
6: Go to the “**Zaps**“ tab on the left side menu.
7: Click on “**Make a new Zap**” (Refer to the image)
8: Type “**Orangescrum**” to create an app event (Refer to Image)
***\*\* The user will be able to find Orangescrum(Beta)***
9: Select Orangescrum(Beta)
\* *Orange Note*
- *Users must have registered to Zapier.*
- *Users must have registered to Zapier with the same email id as registered with Orangescrum.*
### How to set up for Triggering Event?
Triggering event is the process where the action is triggered from Orangescrm to other applications through Zapier integration.
There are 3 triggering events within the Orangescrum-Zapier integration module. The integrated triggering events are as follows.
- Create Task
- Create Project
- Inviting a new user
The users can set up a Triggering event **after creating a Zap** by following the steps below.
1: Choose the appropriate “**Triggering Event**” from the list and click on “**Continue**“.
2: Sign in to Orangescrum using the common email I’d used to sign in with Zapier and Orangescrum.
3: Enter the API key generated.
4: Click on “**Continue”**.
5: Return to Orangescrum-Zapier integration page (at Orangescrum site).
6: Click on “**Activate Link”**.
7\. Once the activation is done, the user can find, the allocated Company list and Project at the “**Company List**” and “**Project List**” respectively.
**Use Case:**
- After creating the triggering event set up to “create a new task” successfully, when you would create a new task under the specific project (which is chosen at the time of setup), the triggering event will be processed.
- If you created the triggering event to “create a new project”, once you would create a new project under the chosen company (at the time of setup), the triggering event will be processed.
### How to set up for Action Event?
Action event is the process where the action made at the Orangescrum from other connected applications through Zapier integration.
The user can start an action event by following the steps below.
1. Go to the **“Zap”** from the Zapier website.
2. Go to the “**Action Event Dashboard**“.
3. Select “**Orangescrum(Beta)**“.
As like the Triggering Event, we have released 3 Action events within Orangescrum and Zapier integration module.
- Create Tasks
- Create Project
- Invite Users
After choosing the appropriate Action event, you need to click on “Continue”.
You will be asked to choose the Orangescrum account. After choosing the appropriate account now you have to select the Action values i.e. Companies and Projects.
Once you select your project company list and project name, the Action event will be followed accordingly.
After making the successful test turn ON your Zap.
# How can one filter task list in Weekly Timesheet?
> Learn how to filter your task list in the Weekly Timesheet of Orangescrum for better time management and project tracking.
> For the complete documentation index, see [llms.txt](https://helpdesk.orangescrum.com/llms.txt).
Source: https://helpdesk.orangescrum.com/how-can-one-filter-task-list-in-weekly-timesheet
---
- Navigate to **Left Menu > Time Log > Weekly Timesheet**
- There are three filters – **Assignee To Me,** **Closed Task** and **Delegated.** By default, tasks are filter based on **Assignee To Me** and **Closed Task.** Click on the Filter Box to select required filters. For example, if you want to log time for the tasks assigned to you, then you can select **Assignee To Me in** filter menu.
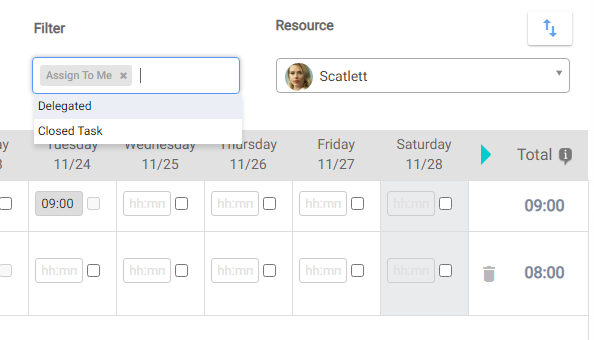
- Please note that tasks for which you have not logged any time log in that week will be filtered.
- You can also select multiple filters.
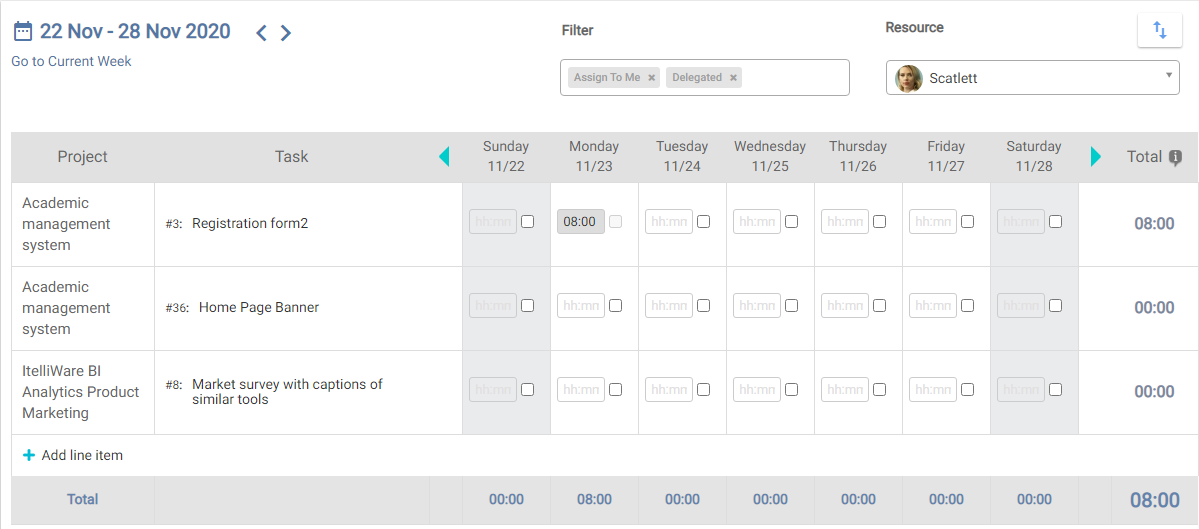
# How to use @mention feature in Orangescrum?
> Learn how to effectively use the @mention feature in Orangescrum to enhance team collaboration and communication on tasks.
> For the complete documentation index, see [llms.txt](https://helpdesk.orangescrum.com/llms.txt).
Source: https://helpdesk.orangescrum.com/how-to-use-mention-feature-in-orangescrum
---
@mention feature can be used in task description and comments. In order to use this feature, you can follow the below steps-
**In Task description-**
- Click on **+Quick Links> Tasks** under New menu.
- On the Create task form, refer to the description field, add your description and type ***‘@’***. Auto-suggestions will appear showing tasks and team members in that project.
- Provide details such as task title, type, task linking, etc. You can tag the tasks or any team member as required and click on **Save**.
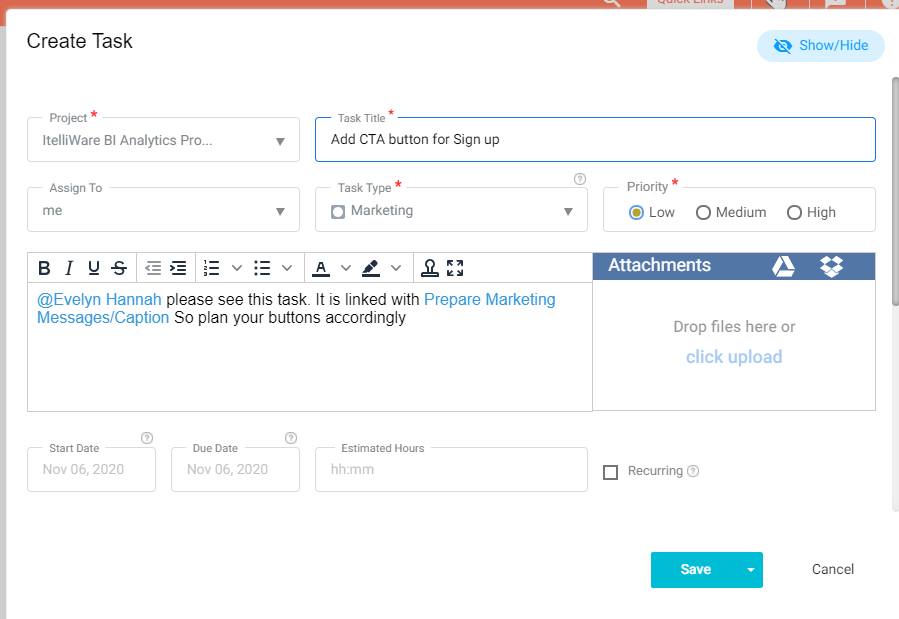
- Once the task is created, people added to that task description box will get an email notification regarding this task.
**In Task Reply or Comments-**
- Navigate to task listing page of the project and select on a specific task for which you want to add a comment or reply.
- In the task detail page, navigate to reply section, add your message and type ***‘@****’*. Auto-suggestion will appear adding showing tasks and team members in that project. Once a reply is added click on the **Comment** button to add the comment.
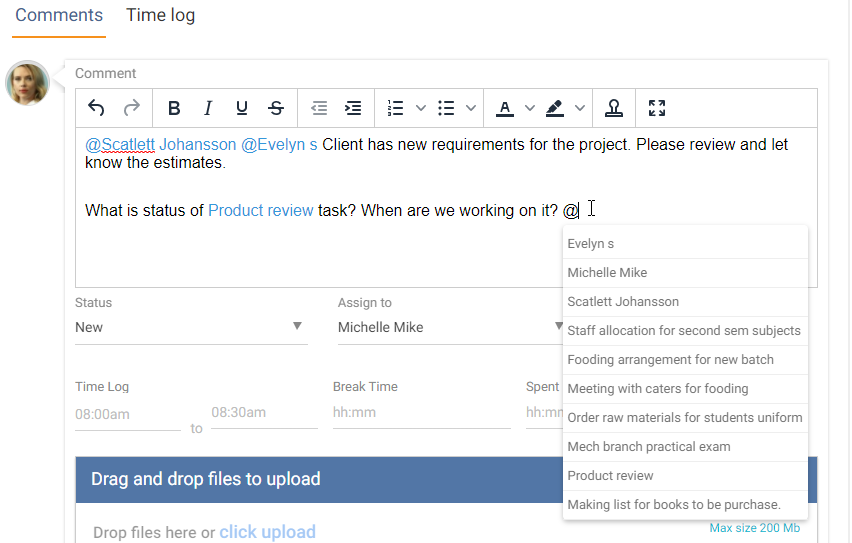
- Use @ to quickly get the list of users as well as tasks to tag them in your comment.
- Once the task comment is added, people added in the comment will get an email notification regarding this task and its comments.
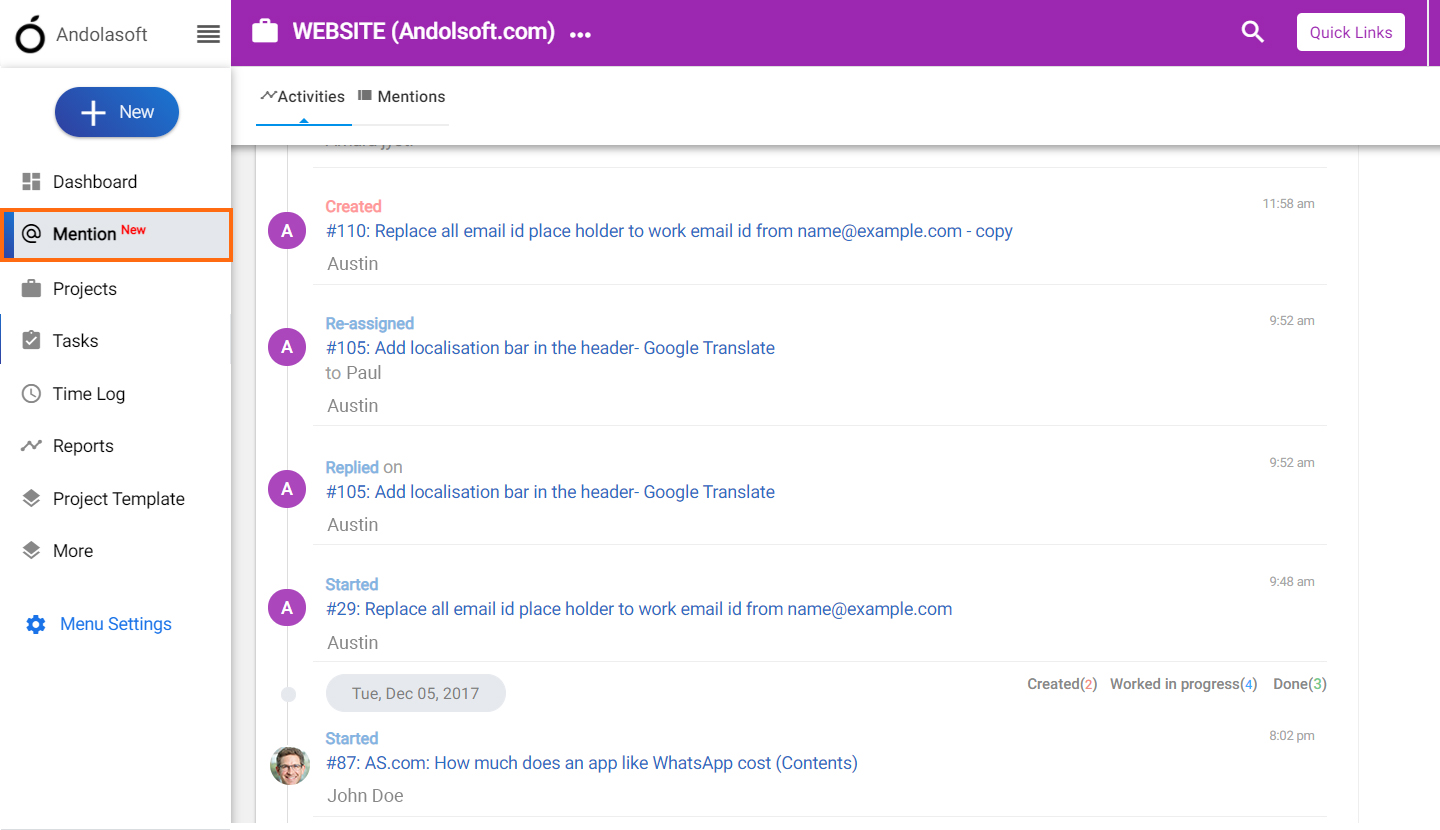
You can access all @mentions from one central listing page and respond to them intuitively without having to navigate to other task views.
# How can I assign task to resource from Resource availability?
> Learn how to assign tasks to resource in Orangescrum based on their availability for effective project management.
> For the complete documentation index, see [llms.txt](https://helpdesk.orangescrum.com/llms.txt).
Source: https://helpdesk.orangescrum.com/how-can-i-assign-task-to-resource-from-resource-availability
---
Now you can directly create tasks from the Resource Availability grid itself. There is no need to go to task list or Kanban view to Create Tasks. Here is how-
- Hover on **Resource Management from the left main menu** and click on **Resource Availability**. Resource availability will be available for owner and admin by default. However, you can provide access to the users using User role management feature
- Click on Available slots denoted by Green color. Green color in Resource Availability indicates that resource is available and you can assign task to the resource.
- Upon clicking on Green slots, you will find 2 options- **Create Task & Submit Leave**.
- If you want to assign task, then you can click on Create task. Or, if you would like to add leave, then click on **Submit leave**. I would like to assign Richard a task for 2 days. So I would click on **Create task** on 5th October**.
**[](https://i2.wp.com/www.orangescrum.com/blog/wp-content/uploads/2020/10/Create-task.png)
- Upon clicking, Richard is selected as assignee in Create task pop-up and the start date 5th October is auto selected as well. Update important task info such as task title, estimated hours, priority etc. and save it.
[](https://i2.wp.com/www.orangescrum.com/blog/wp-content/uploads/2020/10/Create-task1.png)
- You will be able to see that task will be booked for Richard on 5th October and 6th October.
[](https://i2.wp.com/www.orangescrum.com/blog/wp-content/uploads/2020/10/Assign-Task.png)
- That’s easy! Now you don’t have to check the resource availability and navigate to task list to assign tasks.
# How can I convert sub-task to parent task or vice versa?
> Learn how to easily convert sub-tasks to parent tasks or vice versa in Orangescrum to improve your project workflow.
> For the complete documentation index, see [llms.txt](https://helpdesk.orangescrum.com/llms.txt).
Source: https://helpdesk.orangescrum.com/how-can-i-convert-sub-task-to-parent-task-or-vice-versa
---
You can convert parent task to subtask and vice versa seamlessly. Here is how you can do so-
**Convert Tasks to Subtask-**
- Navigate to task list of the specific project.
- Click on 3-dot icon of the specific parent task for which you want to convert to subtasks. Further click on **Convert to Subtask**. If you are unable to find the option, then there should be the Subsub tasks associated with it.
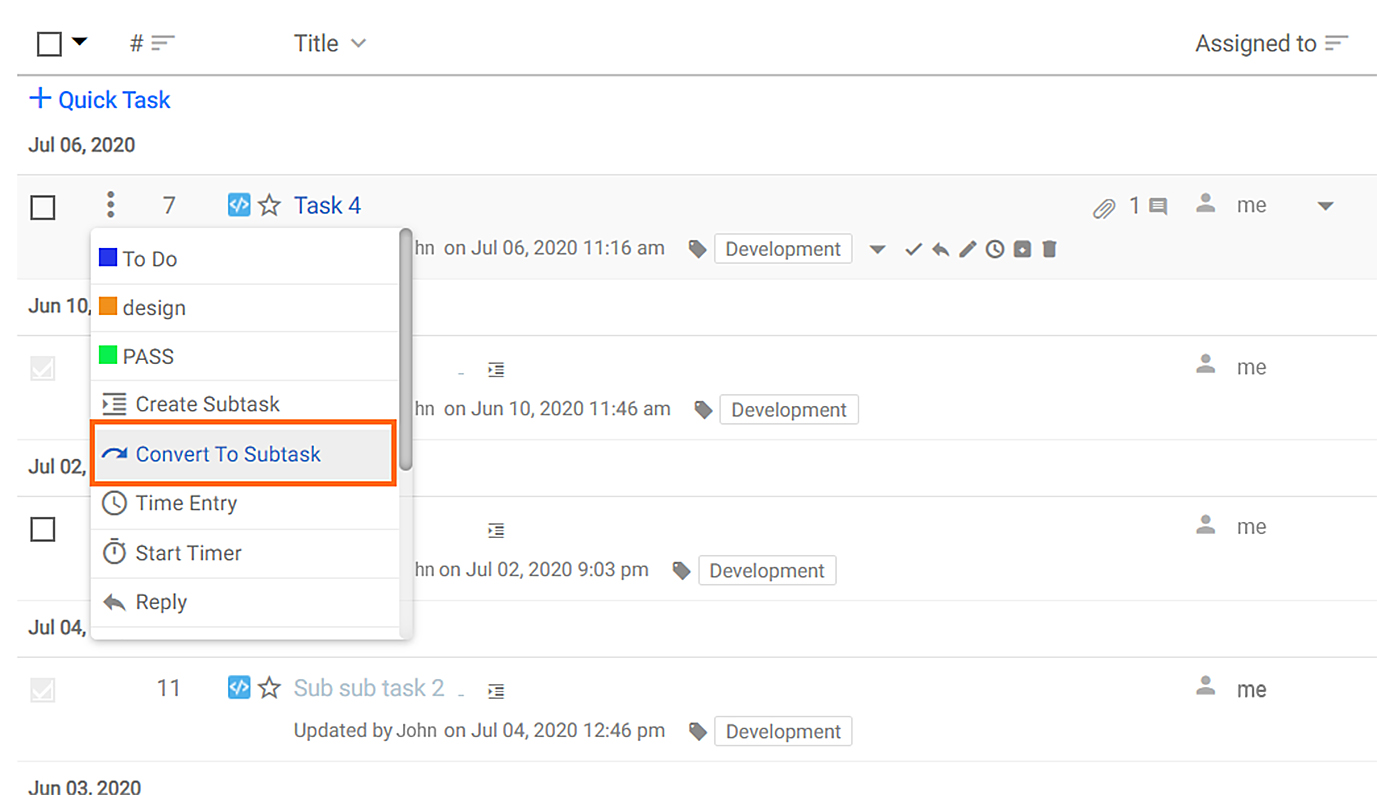
- In the Convert to Subtask popup, select the parent for which you want the associated task as Subtask. Please note that, you will be able to find Tasks & Subtasks only in that menu.
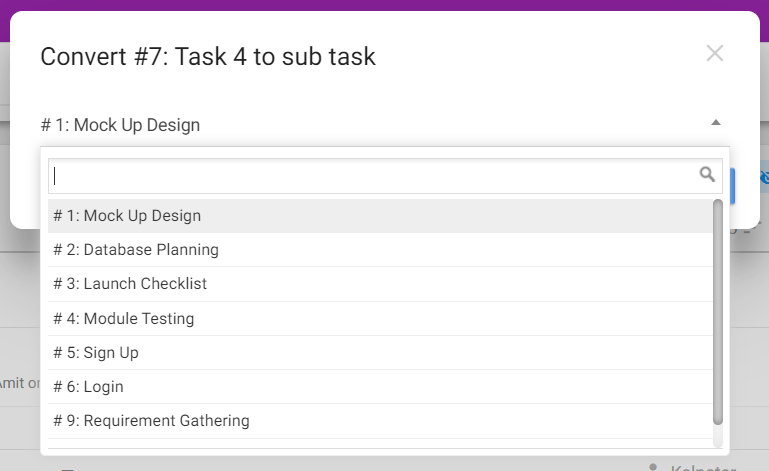
- Select the specific task or subtask and select save. Once saved, the specific task will be added as Subtask.
**Convert Sub-task to Task-**
- Navigate to task list of the specific project.
- Click on 3-dot icon of the specific Sub-task or Sub sub task and select Convert to parent. You can find that option for Subtasks and Sub sub tasks only.
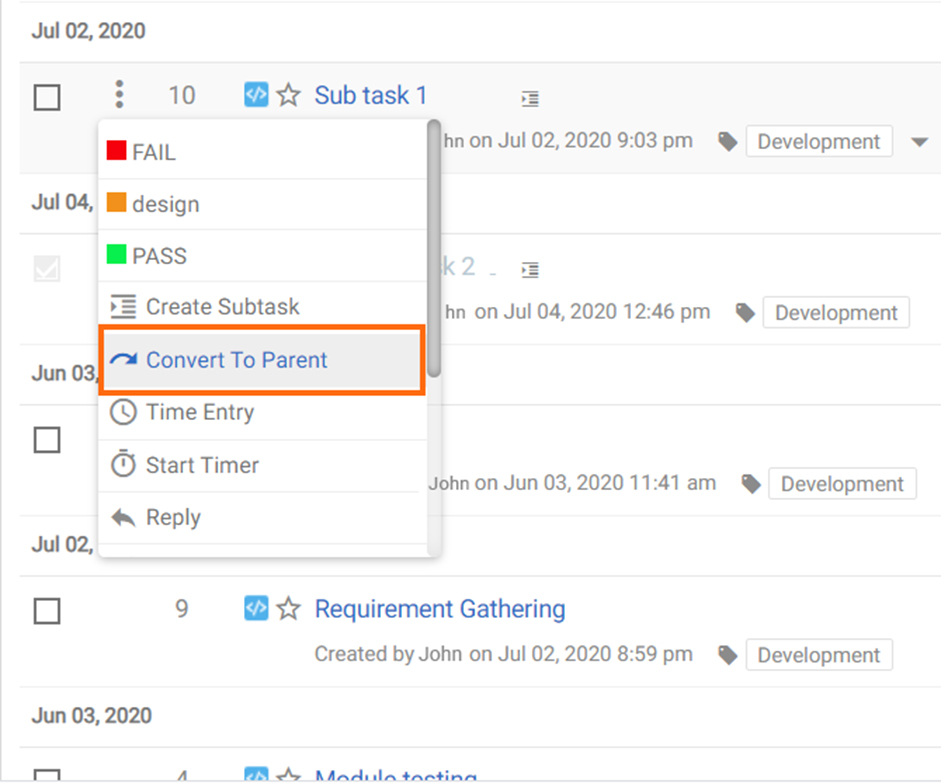
- Once clicked, you will be asked for the confirmation about the change. Click OK on the alert box.
- The sub-task or sub sub task will be detached from existing parent and become a normal task.
# Can I filter Tasks in Kanban view?
> Find out how to filter tasks in the Kanban view in Orangescrum to enhance your project management efficiency.
> For the complete documentation index, see [llms.txt](https://helpdesk.orangescrum.com/llms.txt).
Source: https://helpdesk.orangescrum.com/can-i-filter-tasks-in-kanban-view
---
Yes, you can apply filters from the Kanban view too. See the steps below.
- Navigate to the Project listing page from the left panel.
- Select any project with **Simple** project template.
- Navigate to Left Menu, Click on **Tasks**
- To change the Task List view to Kanban, Click on on the top left header of the task list section and select
- Now, click on to filter the tasks as per your requirements. Once you have set the filter, Kanban view would be refreshed with the relevant task information accordingly.
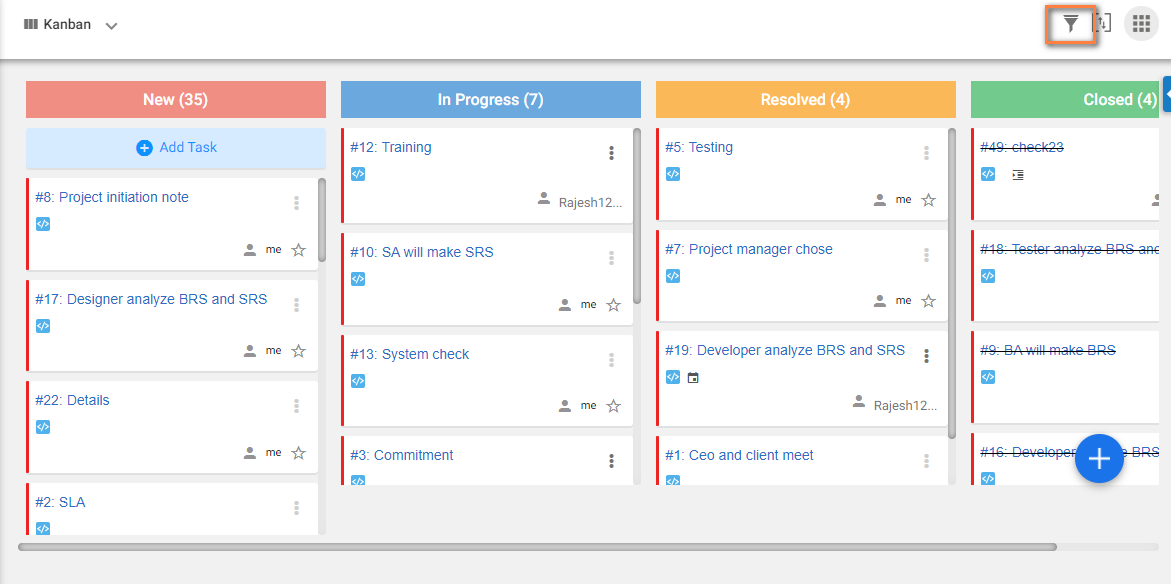
# How can I allow user to view time log of all the resources?
> Learn how to allow users to view time logs of all resources in Orangescrum to enhance project visibility and management.
> For the complete documentation index, see [llms.txt](https://helpdesk.orangescrum.com/llms.txt).
Source: https://helpdesk.orangescrum.com/how-can-i-allow-user-to-view-time-log-of-all-the-resources
---
- Navigate to **Profile icon > Company Settings > User Role Management**
- Click on [Timelog](https://helpdesk.orangescrum.com/cloud-category/using-orangescrum/#time-log) module of the specific role to which user is assigned.
- Check the “**View All Resource** ” & “**View All Timelog**” option under View section. This will allow users to view Time log for all the resources.
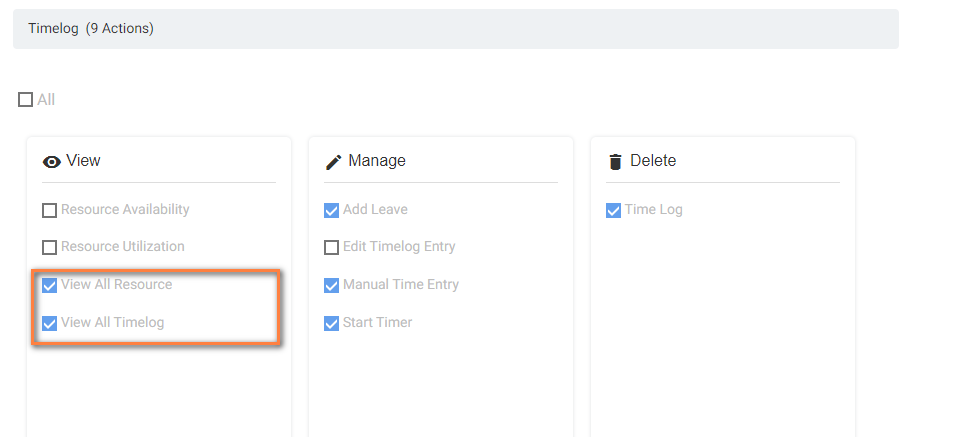
- In similar way, if you would mark “[**Resource Utilization**](https://helpdesk.orangescrum.com/what-is-resource-utilization/)” & “**Resource Availability**”, then the user will be able to see the utilization and availability status for all the users.
# What are the options available in Orangescrum Settings menu?
> Explore the various options in the Orangescrum Settings menu to customize and enhance your project management experience.
> For the complete documentation index, see [llms.txt](https://helpdesk.orangescrum.com/llms.txt).
Source: https://helpdesk.orangescrum.com/what-are-the-options-available-in-orangescrum-settings-menu
---
In Orangescrum, we have 4 different users. The settings menu varies according to role assigned to you. You can find the options available for you as per your role from the table below:-
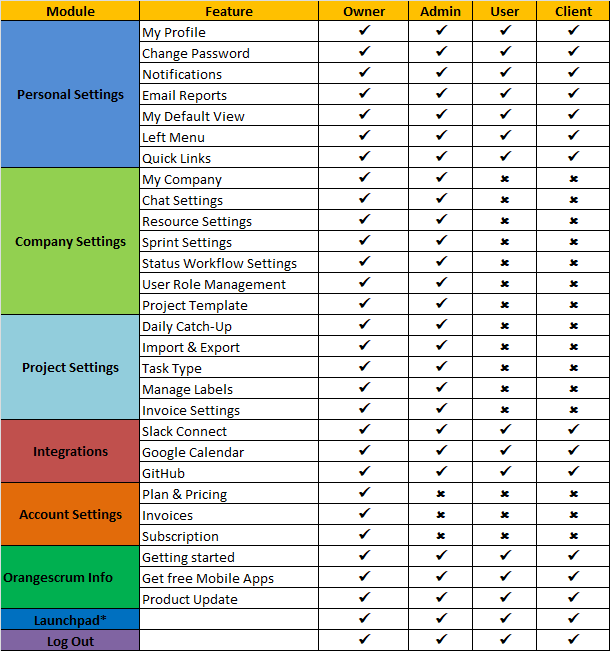
\* *– Launchpad only if you are part of multiple companies.*
### **Personal Settings**
**My Profile:-** This option comes under **Personal Settings** menu. With this option, you can set up for profile such as add you display name, image, email id, language etc.
**Change Password**:- From here, you can change the password for your account.
**Notification:-** Here you can manage the email notifications you want to receive. Currently, Orangescrum provides email notification on task create, comments & status change of the task. You can mark yes to receive the email notification & no for not to receive email notification.
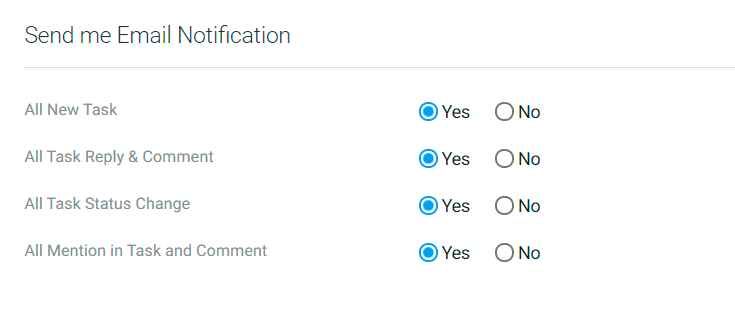
**Email Report:-** Email report feature allows you to manage the reports you want to receive via email. By default, the Email reports will be sent at 6 am every day. However, for Daily Update Report, you can define the time and select a specific project for which you want to receive the updates.
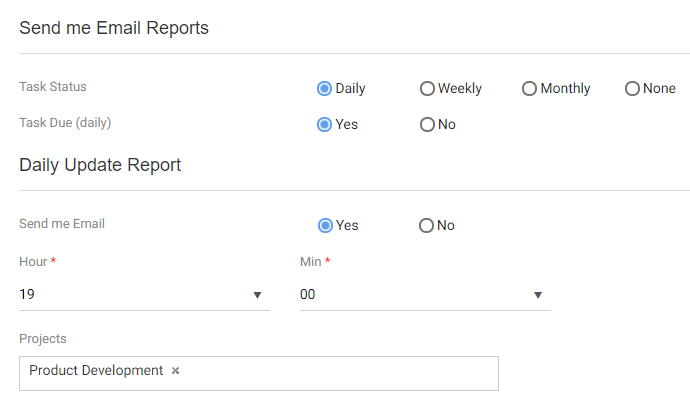
**My Default View:-** In My Default View, you can set the default view of Project, Tasks, Kanban & Time log. Say, you have defined Tasks view as List. So everytime you visit Task listing page, you will be seeing it in List view. However, you can still access the other views by clicking the other task view icons.
**Left Menu:-** With this, you can manage the options that you want to access in your left menu. You can enable or disable the option according to your requirements and save. You can find more information about this [here](https://helpdesk.orangescrum.com/can-i-manage-my-left-menu-of-the-orangescrum/).
**Quick Links:-** Here, you can also manage the quick menus as per your requirements. You can mark to enable or unmark to disable the options. To know more about this feature, visit [here](https://helpdesk.orangescrum.com/how-can-i-manage-the-menus-in-quick-links/)**.**
### **Company Settings**
**My Company:-** Here you can manage your company name, Address, Orangescrum URL& logo of your company.
**Chat Setting:-** At here, you can enable or disable the In-app chat feature for your company.
**Resource Settings:-** With Resource setting, you can define the company holidays, [working hours & weekends](https://helpdesk.orangescrum.com/?post_type=post&p=6443). You can know more about this feature [here](https://helpdesk.orangescrum.com/add-holidays-company-calendar/).
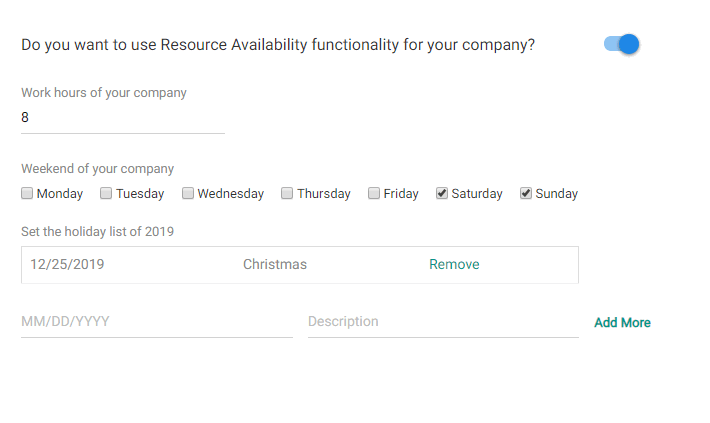**Sprint Settings:-** This setting basically works for Scrum projects only. Here, you enable running of parallel sprints. Once enabled, you can run multiple sprints at a time.

**Status Workflow Settings:-** Status Workflow is basically Workflow management feature in Orangescrum. Here, you can create your custom workflow and assign it to the project. You can know more about the feature [here](https://helpdesk.orangescrum.com/cloud-category/using-orangescrum/#task-status-management).
**User Role Management:-** User Role Management allows you to create custom role group, custom roles and define access permissions as per your requirement. In order to know more about this feature, you can visit [here](https://helpdesk.orangescrum.com/cloud-category/using-orangescrum/#user-role-management).
**Project Template:-** Project allows you to create pre-defined template of the task. Later you can use these templates while creating project. The tasks in the project template will auto-created once the project is created. [Project template](https://helpdesk.orangescrum.com/what-is-project-template-how-it-helps-you/) helps you to save time from repetitive creation of tasks for multiple projects.
### **Project Settings**
**Daily Catch-Up:-** Sometimes team members forget to send their daily progress update at the end of the day. In order to get rid of such a situation, the admin can set up a reminder option, by which the team member would get a reminder email. In turn, he/she is required to just to respond to that email with filling out the daily progress updates. You can visit [here](https://helpdesk.orangescrum.com/how-to-get-daily-catch-up-alerts-for-a-project/) to learn creating Daily Catch-up alert.
**Import & Export:-** You can import/export tasks to/from the project(s) inform of CSV. You can also import customers and time logs as well. In order to do so, you need to prepare your CSV as per the sample file and import it. You can learn about importing the task [here](https://helpdesk.orangescrum.com/how-can-i-import-my-data-into-orangescrum/).
**Task Type:-** Task type is basically a custom attribute in which helps in better categorization of tasks. Orangescrum has some predefined task types with the ability to create custom task types as well. You can know more about the feature [here](https://helpdesk.orangescrum.com/what-is-a-task-type/).
**Manage Labels:-** Task Types are typically used for a broader set of categorization and [task labels](https://helpdesk.orangescrum.com/what-are-task-labels-and-how-can-i-create-task-labels/) can be your subcategory or specific as you want it to be.
E.g. your task type = bug, and your task label = specific feature name. Basically, you can quickly filter out from the task list to see how many bugs you have for a specific feature for e.g. Or task type is customer feedback and task label can be – enhancement. Thus, you know how many enhancement requests you received from your customers.
**Invoice Settings:-** Here you can define your [invoice](https://helpdesk.orangescrum.com/can-change-currency-setting-invoice/) layout & rate for individual projects.
### **Integrations**
**Slack Connect:-** If your company uses Slack, then you can integrate Slack with Orangescrum. [Here](https://www.orangescrum.com/slack-integration) is detailed instruction for integrating Slack with Orangescrum.
**GitHub:-** If your developers are using [GitHub](https://helpdesk.orangescrum.com/cloud-category/integrations/#github-integration) for issues management, then you can integrate GitHub accounts with Orangescrum here.
**Google Calendar:-** Orangescrum [Google calendar integration](https://helpdesk.orangescrum.com/cloud-category/integrations/#google-calendar-integration) provides 2-way synchronization to keep your Google Calendar and Orangescrum completely in sync with real-time data. This enables you to stay informed about your plans, task schedules, meetings, etc.
### **Account Settings**
**Plan & Pricing:-** Here you can get the pricing details of Orangescrum Cloud. This page provides you information about the Subscription & its prices here. You can visit this page in order to subscribe any plan.
**Invoices:-** You can get information of the monthly invoices of your Orangescrum plan. You can also download your monthly invoice from this page.
**Subscription**:- Subscription page shows an overview of the plan you plan you have subscribed. It includes your plan name, next billing date, account history, project, user & storage details.
### **Orangescrum Info**
**Getting Started:-** Provide a quick guide of some basic features like create project, task, manage notifications etc.
**Get free Mobile Apps:-** You can get the link to download the mobile app of Orangescrum from this page.
**Product Updates:-** With Product Updates, you can get information about recent feature releases, enhancements, Bug fixes etc.
**Launchpad****:**– Launchpad helps in switching between the multiple companies. If you are part of multiple companies, then you can click Launchpad to switch to another company without logging out from the account.
# What are Task Labels ? and How can I create Task Labels?
> Learn what task labels are in Orangescrum and how to create them to organize and prioritize your tasks effectively.
> For the complete documentation index, see [llms.txt](https://helpdesk.orangescrum.com/llms.txt).
Source: https://helpdesk.orangescrum.com/what-are-task-labels-and-how-can-i-create-task-labels
---
Task Labels can help you quickly see certain things that several tasks have in common, like requirements, locations, dependencies, or important time constraints.
Similar to task type, Labels are the custom attributes that are used to categorize tasks. You can assign multiple task labels to a single task.
The task labels will be used for specific projects only. You can define the task labels to the tasks associated with that project only.
Note – “Labels” which was created before 18th November 2019 will be treated as company level “Labels” .
#### How to create task labels?
- Select **Quick links** or **Profile icon > Project Settings > Manage Labels**
- In order to set up project level labels, click on +New Labels.
- Select the project, Label name & click Add.
- In order to set up for all projects, selcct ‘**All project**‘ from project drop-down, add the label name & select add.
- The label will be auto-created under all the projects.
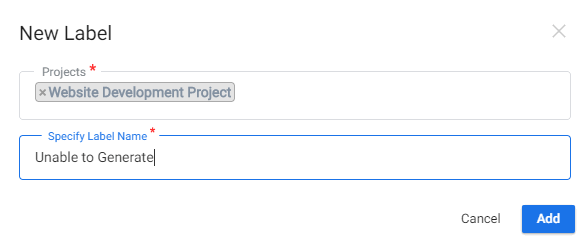
**How to use Labels?**
While creating task, you can use labels to categorize task in a meaningful manner.
- Click **[Quick Links](https://helpdesk.orangescrum.com/how-can-i-manage-the-menus-in-quick-links/) > Task**
- Provide task name, start date, due date & estimated hour.
- Add appropriate labels & click on save.
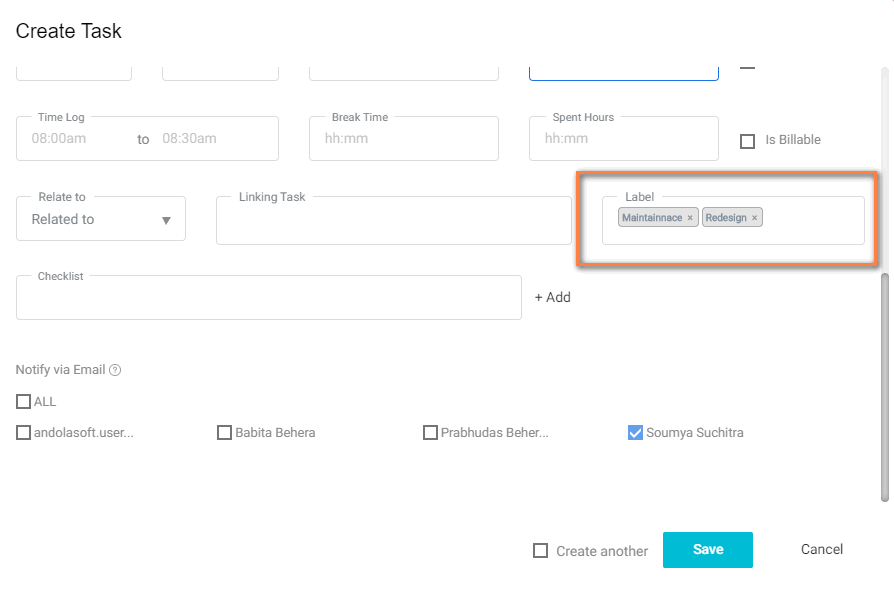
NOTE : Only the Owner and Admin of the account can create the label for the task, If User has been given the access by the admin, or owner then the user can create the label.
# What are the data synced via GitHub Integration?
> Find out what data is synced via GitHub integration in Orangescrum to streamline your project management and collaboration efforts.
> For the complete documentation index, see [llms.txt](https://helpdesk.orangescrum.com/llms.txt).
Source: https://helpdesk.orangescrum.com/what-are-the-data-synced-via-github-integration
---
With GitHub Integration, you can sync the following data:-
1. Task Title
2. Task Description
3. Comments
4. Task Status
Currently, tasks type, labels, file attachments, sub-tasks, assigned to details are not being synced. However, we are working on this.
If a task is in New/In-progress/Resolve status in Orangescrum, in GitHub, the task will be assigned to Open status. For closed tasks in Orangescrum, GitHub assigns status as Closed.
If a task that is Open in GitHub, it will be default assigned as status New in Orangescrum.
Task deletion is not supported with GitHub Integration. So in an event of a task deletion in either of the platforms would not result in deletion from the other. You will have to delete the task from both the platforms individually.
# How can I integrate GitHub with Orangescrum?
> Learn how to integrate GitHub with Orangescrum to enhance project management and streamline your development workflow.
> For the complete documentation index, see [llms.txt](https://helpdesk.orangescrum.com/llms.txt).
Source: https://helpdesk.orangescrum.com/how-can-i-integrate-github-with-orangescrum
---
GitHub is a cloud-based platform that helps developers to store and manage their code, as well as track and control changes to their code.
With GitHub integration, you can have following benefits:-
- You can create & manage your Git issues via Orangescrum.
- Auto sync in Orangescrum helps to update the real time status of the tasks in Git.
- You can also sync your task comments to your Git repository. This helps users to get notified about the task comments without logging in to Orangescrum.
In order to integrate Orangescrum, please follow the below steps:-
1. Click on **profile picture>Integration>GitHub Issues**
2. It will take you to GitHub setup page where you will be integrating GitHub with Orangescrum. Click on **Connect** **Orangescrum + GitHub**.
3. At GitHub sign in page, you need to add your GitHub credentials.
4. Further provide click on **Authorize** to provide permission for data access by Orangescrum.
**Note**– GitHub Integration can only be done by the Owner or Admin of the account. However, all users of the account can use the integration and perform their activities.</span
On authorization, it will integrate your GitHub account with Orangescrum. You need to connect your repository to an Orangescrum project.
In order to sync, Project with Repository we needed to follow steps below:-
1. Click **Add Sync**.
2. Select the Project & GitHub repository which is to be integrated.
3. If you would like to include your existing closed tasks of the project and repository, then you can enable **Include closed tasks.**
4. If you would like to add any pre-defined task initials/prefix for the tasks that is being created in GIT or Orangescrum, then you can enable **Add GitHub issue number to task title** and provide your task prefix. By default, when a task will be created, the prefix will be added to the task title.
5. Select type of Sync & enable **Auto sync**.
6. Click Reconfirm all the details and click **Create Sync**.
Orangescrum Github Integration has 3 ways sync:
- **2-way sync:** You can sync your GitHub issues and Orangescrum tasks in a single platform. It is denoted by  . With 2-way sync, you can perform following functions:-
- Create your tasks via both Orangescrum & GitHub and the tasks will be auto-synced in both platforms.
- Update the status of tasks/issues.
- Comment to your tasks/issues.
- **Orangescrum to GitHub**: Only tasks created/edited via Orangescrum will move to GitHub. Whereas any task created/edited via GitHub will not reflect in Orangescrum. It is denoted by . You can perform the following activities with Orangescrum to GitHub sync:-
- You can sync Orangescrum tasks to GitHub. However, GitHub issues will not be synced with Orangescrum.
- You can update and comment on the task status from Orangescrum. The changes done in GitHub will not be reflected in Orangescrum.
- **GitHub to Orangescrum**: Only tasks created/edited via GitHub will move to Orangescrum. Whereas any task created/edited via Orangescrum will not reflect in GitHub. It is denoted by. You can perform the following activities with GitHub to Orangescrum to sync:-
- You can sync GitHub issues to Orangescrum. However, Orangescrum tasks will not be synced with GitHub.
- - The comments/updates done in GitHub will reflect in Orangescrum. But the changes done in Orangescrum will not be reflected in GitHub.
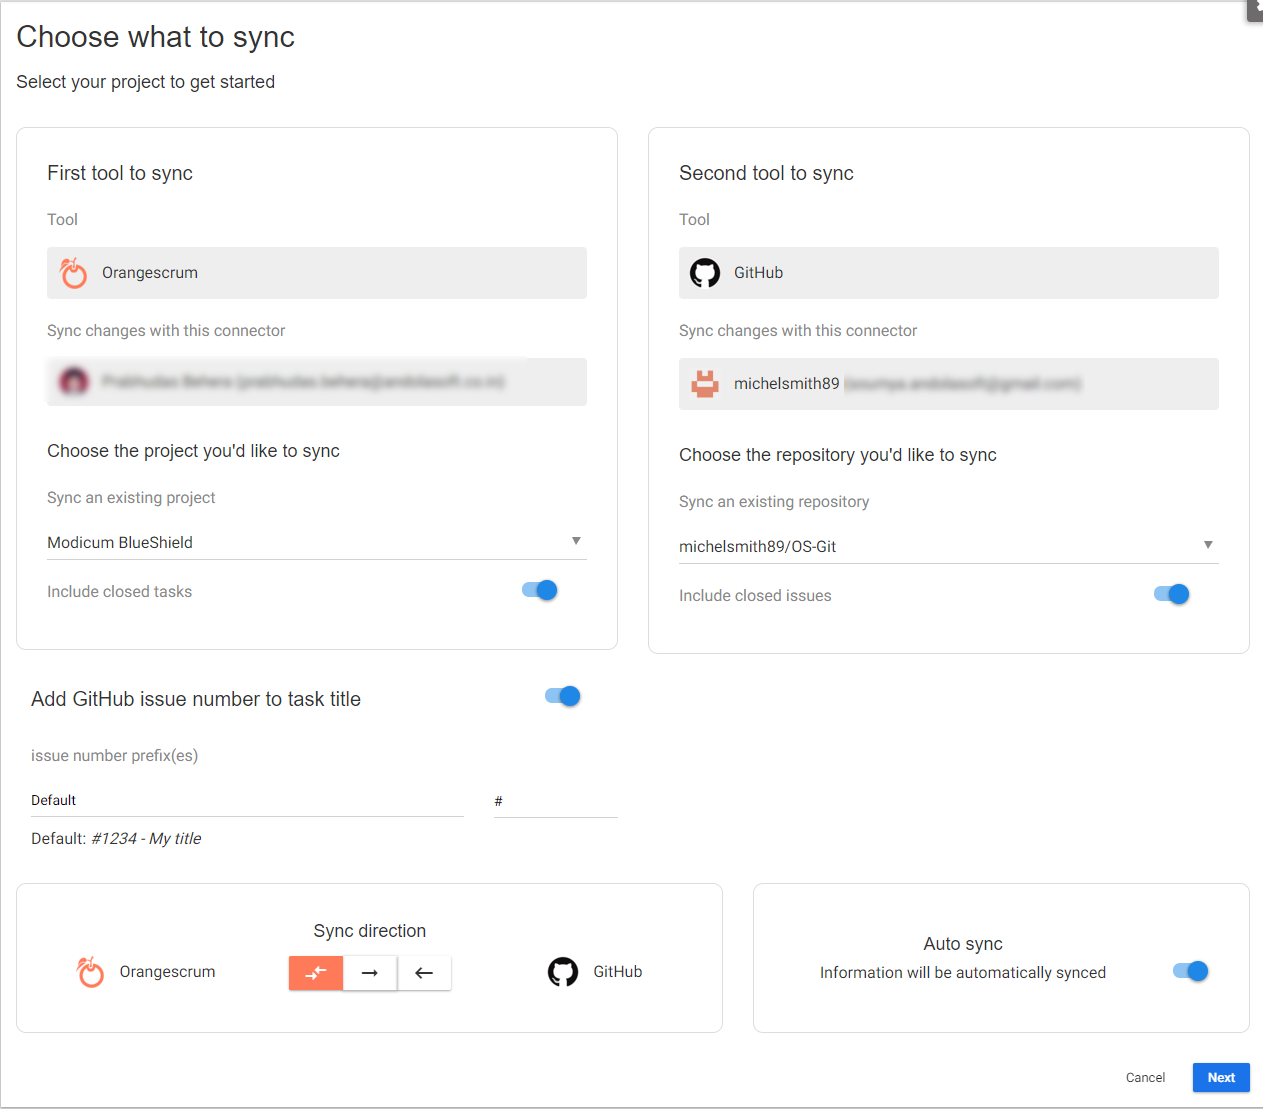
**Note:**
- Once the repository or project synced, it cannot be edited. You need to delete the sync and add new sync.
- On **Auto sync**, other tasks on creation will move depending upon sync speed you have subscribed in GitHub. In case, task is not synced, you can click on **Sync now**.
- You can sync both Private and Public repository.
- GitHub Integration is available from **Professional plan** onwards.
# What information do we get from Resource allocation reports?
> Explore the key information provided by resource allocation reports in Orangescrum to optimize project management and resource utilization.
> For the complete documentation index, see [llms.txt](https://helpdesk.orangescrum.com/llms.txt).
Source: https://helpdesk.orangescrum.com/what-information-do-we-get-from-resource-allocation-reports
---
Resource allocation report is a one-stop window to find details of resource(s) allocated to projects, tasks and generate spent/estimated hour reports for certain period of time.
From **Resource allocation report**, you can find out following details:-
- No. of tasks created/updated in a certain period of time.
- Total number of Estimated and Spent hours of tasks in a certain period of time.
- List of project & tasks assigned to a certain resource within that time range.
- List of tasks active, overdue and upcoming tasks across a project.
- List of tasks active, overdue and upcoming tasks assigned to a resource.
- You can export the report and present to top management
**Note:**
- Resource allocation report is only available to owner and admins only**.**
- By default tools shows the data of last 7 days.
- You can find data of single project & resource at a time.
**Elements in Resource Allocation Report:**
- **Resource name**: It shows the list of active users in the account. Clicking on a certain resource, the tool shows the relevant data associated with the resource.
- **Project name:** It shows the list of projects created in the account. Clicking on a certain project,the tool shows the relevant data associated with that project.
- **Resource Allocation by hours:** It shows the list of tasks created/update with a certain time range and estimated hours assigned. On clicking , tool shows the spent hours across those tasks.
- **Project:** Total number of active projects in the tool.
- **Task:** As per items selected in Resource name & Project name, tool shows the total number of tasks created for a certain period of time.
- **Active tasks**: It shows the list of **New & In-progress** tasks within a time range.
- **Overdue task**: As the name suggests, it shows the list overdue tasks within a time range.
- **Future**: Tasks with no due date or future start date appears here.
**Kind of reports generated with Resource Allocation report:-**
**No. of tasks or projects assigned to a resource:**
1. Hover on **Reports** from left panel.
2. Click **Resource Allocation Report** under the menu.
3. Select the resource for which you want to see the data.
4. Select the time **From** date and **To** date for which you want to see the data.
5. On right hand side of page, you will find no. of projects and task assigned to resources.
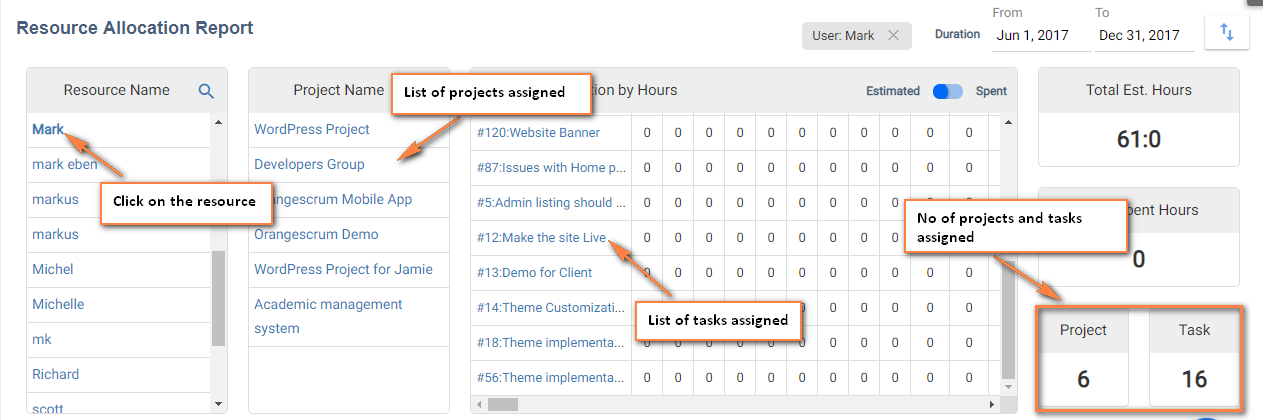
**List of Active, Overdue and Upcoming tasks in a project:**
1. Hover on **Reports**from left panel.
2. Click **Resource Allocation Report** under the menu.
3. Select Project for which you want see the details of tasks.
4. Select the time **From** date and **To** date for which you want to see the data
5. Scroll down the page to see the list of Active, Overdue and Upcoming tasks in a project.
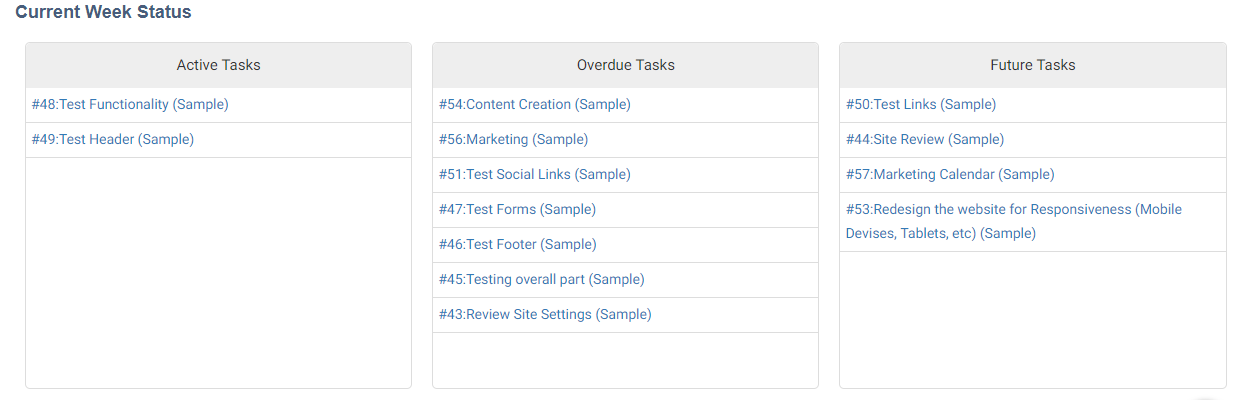
Note- Please note that the task list shows according to the time range that is selected. Say, I have selected From as May 22, 2019 and To as Jul 3, 2019
**Active task:** Active tasks will show the list of tasks New & In-progress tasks created or updated under May 22, 2019- Jul 3, 2019.
**Overdue task**: Overdue tasks will show the list of tasks depends upon below conditions:
- Tasks whose due date has crossed the current date.
- If the task is created/updated on above time range and has crossed the current date, then the task will be listed on **Overdue** section.
**Future tasks:** Future tasks will show the list of tasks depends upon below conditions:
- Tasks have no start date and end date
- Tasks created in the above date range and have start date after Jul 3, 2019
**Find out estimated vs spent hours for project in a certain date range:**
1. Hover on **Reports** from left panel.
2. Click **Resource Allocation Report** under the menu.
3. Select Project for which you want to see the details of tasks.
4. Select the time **From** date and **To** date for which you want to see the data.
5. Click  to see the estimated or spent hours details.
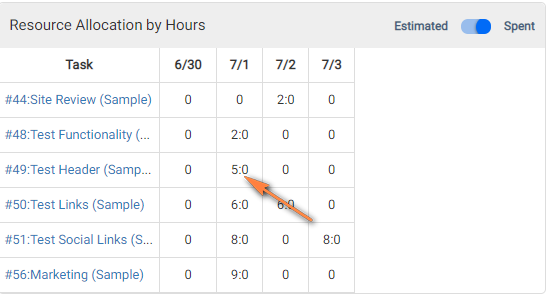 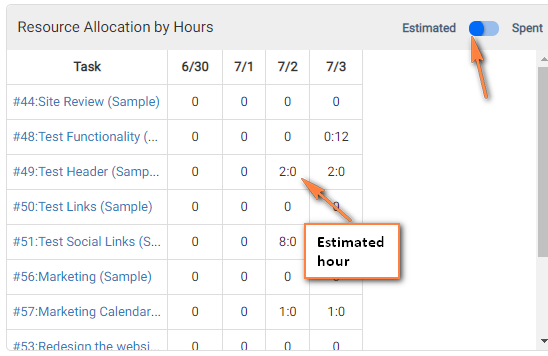
If a task has start date as 2 Jul 2019 and end date as 3 Jul 2019 and estimated hour is 4 hours, then it will divide the task estimated hours assigning 2 hours for each day. This happens when resource availability is not enabled.
# What is the Hours Spent Report?
> Learn what the Hours Spent Report in Orangescrum is and how it helps track time spent on tasks to improve project management efficiency.
> For the complete documentation index, see [llms.txt](https://helpdesk.orangescrum.com/llms.txt).
Source: https://helpdesk.orangescrum.com/what-is-the-hours-spent-report
---
The Hours Spent Report provides a comprehensive resource and time spent for your projects.
You can access the Hours Spent report under **Reports** > **Hours Spent Report** from the left main menu
As soon as you are in the Hours Spent Reports page you are first presented with the **Burndown Chart.**
### **Burndown Chart**
A burndown chart shows your real time project progress in terms of work accomplished versus pending. Updating the estimated hours for each task of your project is crucial for the burndown chart to show you the true picture.
The Burndown Chart in Orangescrum gives you a real time insight between Remaining Estimated Hours and Remaining Actual Hours. In a nutshell, it shows your team’s efficiency and by when the team will be able to complete the project based on the current execution speed.
### **Hours Spent by Task Type**
This is a quick snapshot of what task types consume your team’s maximum time. You can easily identify how much time is being spent on non-value add and non-billable activities for the chosen project over a specified time period.
This view will also indicate if a certain team is overloaded or has the most erroneous delivery.
E.g. If your developers are spending too many hours on Task Type = Bug, it means they have delivered buggy code in the first place, have not understood the scope, feature or functionality and/ or not skilled enough to handle the project at hand.
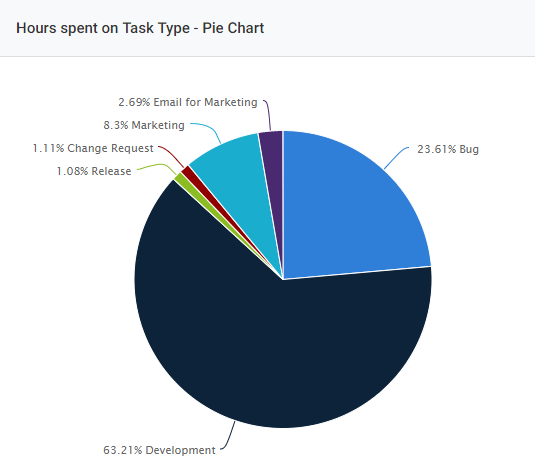
### **Hours Spent by All**
Hours Spent by All is a quick time and closed task snapshot of each resource of the chosen project
- List of all resources of the chosen project
- Number of replies across all tasks assigned to the specific resource
- Number of resolved and closed tasks per specific resource
- Total hours spent by each resource across all of his or her tasks.
### **Hours Spent by All – Line Chart**
The Hours Spent by All Line Chart is a cumulative chart of time spent by each resource over a specific time period for the chosen period.
You can see how your project team spent their hours across the project for the given time period and the variation. Thus, you can easily spot outliers of whom have spent over or less than expected hours on a given day.
With this insight, you can strengthen your task allocation and resource management if you have shared resources who are not able to spend the required hours on your project.
# Can I Change the Task Start Date and End Date in Gantt Chart?
> Can I Change the Task Start Date and End Date in Gantt Chart
> For the complete documentation index, see [llms.txt](https://helpdesk.orangescrum.com/llms.txt).
Source: https://helpdesk.orangescrum.com/can-i-change-the-task-start-date-and-end-date-in-gantt-chart
---
There are 2 ways you can change the start date of the task in Gantt chart:
1. Drag the task block horizontally to change the start date & end date of the task.
2. You can [edit the task](https://helpdesk.orangescrum.com/can-i-edit-a-task-from-gantt-chart/) in Gantt chart to change the start date and end date of the task.
# Download Orangescrum for Android
> The Orangescrum app for Android helps you take control of your business, collaborate with your teams and clients even when you are away from the office. Download the app to manage your projects, track task progress, post comments and replies and log time against your tasks at your convenience and…
> For the complete documentation index, see [llms.txt](https://helpdesk.orangescrum.com/llms.txt).
Source: https://helpdesk.orangescrum.com/download-orangescrum-for-android
---
The Orangescrum app for Android helps you take control of your business, collaborate with your teams and clients even when you are away from the office.
Download the app to manage your projects, track task progress, post comments and replies and log time against your tasks at your convenience and from a locale of your choice
Make your commute to workplace productive with Orangescrum android app on your android devices.
Let us get going
1. [Find Orangescrum](https://play.google.com/store/apps/details?id=com.andolasoft.orangescrum&hl=en) on the google play store.
2. Tap Install to download.
3. Tap the Orangescrum icon on your device.
4. Choose “I am a Cloud User”
5. Sign in to your Orangescrum account.
Once in the Orangescrum app, you can
- Create Projects, Task Groups and Tasks
- Invite Users to your projects
- Assign, edit and delete tasks
- Post comments, update task status and add files to your tasks
- Log time against your tasks
- Manage your Profile
Learn more on the [mobile app usage](https://helpdesk.orangescrum.com/use-orangescrum-mobile-app-saas-cloud-edition/).
**Note: –** The number of users, task status, and custom user role permissions as set by you subscription plan and project admin apply.
# Download Orangescrum for iOS
> The Orangescrum app for iOS helps you take control of your business, collaborate with your teams and clients even when you are away from office. Download the app to manage your projects, track task progress, post comments and replies and log time against your tasks at your convenience and from a…
> For the complete documentation index, see [llms.txt](https://helpdesk.orangescrum.com/llms.txt).
Source: https://helpdesk.orangescrum.com/download-orangescrum-for-ios
---
The Orangescrum app for iOS helps you take control of your business, collaborate with your teams and clients even when you are away from office.
Download the app to manage your projects, track task progress, post comments and replies and log time against your tasks at your convenience and from a locale of your choiceJ
Make your commute to workplace productive with Orangescrum iOS app on your iPhone and iPad.
Let us get going:
1. [Find Orangescrum](https://apps.apple.com/ph/app/orangescrum-saas/id1390552311) on app store.
2. Tap Get to download.
3. Tap Open from the App Store, or tap the Orangescrum icon on your device.
4. Sign in to your Orangescrum account.
Once in the Orangescrum app you can
- Create Projects, Task Groups and Tasks
- Invite Users to your projects
- Assign, edit and delete tasks
- Post comments, update task status and add files to your tasks
- Log time against your tasks
- Manage your Profile
Learn more on the [mobile app usage](https://helpdesk.orangescrum.com/use-orangescrum-mobile-app-saas-cloud-edition/).
**Note: –** The number of users, task status, and custom user role permissions as set by you subscription plan and project admin apply.
# How Free Trial works?
> Learn how Orangescrum's free trial works and explore our project management tool without any commitment. Discover features, benefits, and how to get started with your trial today!
> For the complete documentation index, see [llms.txt](https://helpdesk.orangescrum.com/llms.txt).
Source: https://helpdesk.orangescrum.com/how-free-trial-works
---
Orangescrum offers 15-day free trial to all its users. No commitment, no credit card and no questions asked!
You can [sign up here](https://www.orangescrum.com/signup), and access all the premium task management and collaborative features for 15 days. In the free account, you will have the following features:
- 3 Projects
- 2 Users (excluding Owner)
- Unlimited Tasks
- All features free pass
- 100MB Storage
**Note**: *You can upgrade to any plan during the trial period if you want to try with more users and you won’t be charged a cent till your trial period ends*
# **What to expect**
You are assigned a Dedicated Account Manager the moment you sign up with Orangescrum along with the online guided tour within the Orangescrum app.
Your account manager would be your *first point of contact* for any queries or help with your Orangescrum account and its usage.
The account manager will reach out to you to provide a personalized guided tour of Orangescrum.
Follow the link to [schedule a demo](https://www.orangescrum.com/schedule-a-demo) with our account manager!
### **Benefits of a demo with your Account Manager**
- You can evaluate Orangescrum better and save your time.
- You can talk about how to set up projects, manage tasks & resources, import existing projects and track time etc. with Orangescrum.
- You can gain from expert insights on how other users are using Orangescrum and figure out how to tailor Orangescrum to suit your needs.
- You can talk about the features in our roadmap.
- You can discuss project management best-practices and solutions to common problems.
### **Managing your Free Trial account**
If you’ve upgraded but change your mind before the free trial ends, you can cancel your free trial account. Learn how to [cancel your free trial account](https://helpdesk.orangescrum.com/how-to-cancel-my-account/).
If you’ve downgraded to a lower plan before the free trial ends, then you continue to use Orangescrum with the benefits of the current active plan. Your card will be charged at the end of the free trial as per the current active plan. You will never be charged before your free trial has expired.
If you cancel after the end of the trial, our [refund policy](https://www.orangescrum.com/termsofservice#10) apply. You can cancel at any time, and no further payments will be taken, but we do not refund payments already made.
**Note:** You cannot downgrade back to the free trial once you have upgraded. You can either downgrade to plan lower than the current active or cancel your account. Learn how to manage your [Orangescrum subscription](https://helpdesk.orangescrum.com/cloud-category/account-management/#subscription).
# Users, storage and app limits of the Free Trial Offer
> Orangescrum Free Trial offer is restricted to 15 days. You have access to all features during the trial. But once the free trial ends few usage limitations kick in. Number of Users – During the free trial, you can a total of 3 users. Once the trial expires only the Owner of the account can […]
> For the complete documentation index, see [llms.txt](https://helpdesk.orangescrum.com/llms.txt).
Source: https://helpdesk.orangescrum.com/users-storage-and-app-limits-of-the-free-trial-offer
---
Orangescrum Free Trial offer is restricted to 15 days. You have access to all features during the trial.
But once the free trial ends few usage limitations kick in.
**Number of Users** – During the free trial, you can a total of 3 users. Once the trial expires only the Owner of the account can log in and use Orangescrum. You can no longer invite your team members to Orangescrum. How sad is that!
**Number of Projects** – You can only have a maximum of 3 active projects during the free trial and after your free trial is over you can no longer create new projects. Once you upgrade, the project restriction is waived away.
**File Storage** – Your 2 GB file storage space is reduced to 25 MB once your trial period ends.
**Integrations –** The Dropbox and Slack integrations would be restricted once your trial period expires.
**Features –** Your free pass to Orangescrum premium features is significantly reduced and you lose access to time log, gantt chart, daily catch-up, invoices, resource availability, resource utilization etc.
# Benefits of a Paid Plan in Orangescrum
> Congratulations! Your Orangescrum account has been upgraded! We’d like to help you uncover all of the value and benefits of upgrading. Read on to learn more about the perks of our paid plans: Startup, Professional, and Corporate. Why use Orangescrum with a paid plan? Unlimited Projects, task…
> For the complete documentation index, see [llms.txt](https://helpdesk.orangescrum.com/llms.txt).
Source: https://helpdesk.orangescrum.com/benefits-of-a-paid-plan-in-orangescrum
---
Congratulations! Your Orangescrum account has been [upgraded](https://www.orangescrum.com/pricing)! We’d like to help you uncover all of the value and benefits of upgrading. Read on to learn more about the perks of our paid plans: Startup, Professional, and Corporate.
Why use Orangescrum with a paid plan?
- Unlimited Projects, task groups, tasks, subtasks, custom task types and labels. Everything you need to organize and add structure to your projects.
- Project Methodology of choice – [Agile Scrum](https://helpdesk.orangescrum.com/cloud-category/scrum-project-management/), [Kanban or simple to do lists](https://helpdesk.orangescrum.com/cloud-category/using-orangescrum/#kanban-calendar). Pick whatever suits your projects and the team.
- [Custom Task Status](https://helpdesk.orangescrum.com/cloud-category/using-orangescrum/#task-status-management) Workflow allows to build logical flow of your tasks from start to finish i.e. added clarity and transparency over your task execution.
- Google Drive, [Google Calendar](https://helpdesk.orangescrum.com/why-do-i-need-to-integrate-google-calendar-with-orangescrum/), Dropbox and [Slack](https://www.orangescrum.com/slack-integration) Integrations along with native android and iOS [mobile apps](https://helpdesk.orangescrum.com/use-orangescrum-mobile-app-saas-cloud-edition/) for that seamless project management experience
- Visual project planning and project schedule management with your project specific [Gantt Charts](https://helpdesk.orangescrum.com/cloud-category/using-orangescrum/#gantt-chart)
- Track time spent on each task & evaluate team’s performance with easy to use [daily and weekly timesheets](https://helpdesk.orangescrum.com/cloud-category/using-orangescrum/#timesheet)
- Charge Your Team’s True Worth and confidently generate accurate invoices for your customers.
- Data to decisions with insightful reports and analytics to monitor, track and measure your project and team performance.
- Run your projects in a highly professional manner by bringing your key stakeholders into Orangescrum and keeping them up to date at all times.
# Orangescrum Plans & Features
> We have a plan to meet the needs of teams of all sizes. Whether you are just starting up, growing or are an industry leader, we’ve got you covered. Here is a quick sneak peak of our pocket-friendly subscription plans and their feature offerings. Free Plan (trial period offer) Pricing Plans Startup…
> For the complete documentation index, see [llms.txt](https://helpdesk.orangescrum.com/llms.txt).
Source: https://helpdesk.orangescrum.com/orangescrum-plans-features
---
We have a plan to meet the needs of teams of all sizes. Whether you are just starting up, growing or are an industry leader, we’ve got you covered.
Here is a quick sneak peak of our pocket-friendly subscription plans and their feature offerings.
- **Free Plan (trial period offer)**
- **Pricing Plans**
- **Startup Plan Features**
- **Professional Plan Features**
- **Corporate** **Plan Features**
Free Plan **(trial period offer)**
OrangeScrum offers a 15-day free trial to all users. You can [sign up here](https://www.orangescrum.com/signup), and access all available features for 15 days except Daily Catch-up, Custom Task Status & 2-way google calendar integration. In the free account, you will have the following features:
- 3 Projects
- 2 Users (excluding Owner)
- Unlimited Tasks
- All features (except Daily Catch-up, Google Drive, Dropbox)
- 100MB Storage
**Note**: *You can upgrade to any plan during the trial period if you want to try with more users and you won’t be charged a cent till your trial period ends*
**Pricing Plans**
OrangeScrum offers 2 [subscription pricing plans](https://www.orangescrum.com/pricing):
1. **Startup**: $9/month, up to 10 users
2. **Professional**:
1. This plan starts with $13/mo for 11 users.
2. So if you are subscribing for 20 users, then pricing would be calculated as $9 for 10 users and for an additional 10 users, it will cost $4/ user/mo. So total price would be $49/mo.
3. Team size here is limited to 500.
3. **Corporate:-** If your team size is higher than 100, then you can go for this plan. You can write to us at support@orangescrum.com
When you pay **yearly**, you can save 10% on the total price and your discounted yearly price will be
1. **Startup**: $96/yr, up to 10 users
2. **Professional**:
1. This plan starts with $140/yr for 11 users
2. So if you are subscribing for 20 users, then you pricing would be calculated as $9 for 10 and for addition 10 user, it will cost $4/ user/mo multiplied by 12.So it will be $588/yr(($9+ 10 \* $4)\*12)). Also, you will get an additional 10 % discount. So, the final price should be $529/yr.
3. Team size here is limited to 500.
3. **Corporate:-** If your team size is higher than 100, then you can go for this plan. You can write to us at support@orangescrum.com
**Startup Plan Features**:
The name says it all. The Startup plan is for small teams and businesses. All of our Startup plan features have been thoughtfully designed to provide all the bells and whistles your Startup business may need.
The following features are available in the Startup plan:
- Unlimited Projects & Tasks
- Up to 10 users
- Simple Project Management
- Agile Scrum Project Management
- Kanban/Scrum Board
- Subtasks, Task Linking, Labels and Task Type
- Time Tracking (timer & time entry)
- Resource Utilization
- Custom Task Status
- Invoice
- Recurring Task
- Gantt Chart
- Reports & Analytics
- Custom User Role Management
- Themes and Quick links Personalization
- Multilingual ( Spanish, German, French, Portuguese and English)
- Mobile App- iOS
- Mobile App – Android
- Storage: 5 GB
- Support – 24/7 Online Helpdesk, email & live chat
- Uptime – 99.99% Guaranteed Uptime SLA
**Tip:** For a comprehensive feature offering visit our [pricing page](https://www.orangescrum.com/pricing).
**Professional plan( Start with 11 users)**
The following features are available in the 11 users plan
- *All Startup Plan Features*
- Unlimited Projects
- Unlimited Tasks
- Time Sheet
- Resource Availability
- Google Calendar
- In-App Chat
- Wiki
- GitHub
- In-app chat
- Wiki
- Storage limit 10 GB
- Support – 24/7 Online Helpdesk, email & live chat
- Uptime – 99.99% Guaranteed Uptime SLA
After this, the storage limit will vary as per the user limit or the plan you have purchased.
**Corporate Plan Features**:
Maintaining the market leader position is of utmost importance for all established companies. We understand that and watch your back so that you focus on your core business.
***Priority Support, Dedicated Account Managers, 99.99% Guaranteed Uptime SLA and less than 4 hours of first response times*** within business hours offers our Corporate customers the peace of mind they need with their cloud service providers.
The following features are available in the Unlimited Plan:
- **All features**
- Onboard more than 100 users
- Storage: As per the user limit
- Support – 24/7 Online Helpdesk, priority support, account manager, skype, email & live chat
- Uptime – 99.99% Guaranteed Uptime SLA
# What is Orangescrum?
> Orangescrum is an all in one project, task, time & resource management software for teams of all sizes and complexity. Start-ups, growing agencies and industry leaders continue to benefit with its simple collaborative platform for planned and well-coordinated execution. Orangescrum supports Agile…
> For the complete documentation index, see [llms.txt](https://helpdesk.orangescrum.com/llms.txt).
Source: https://helpdesk.orangescrum.com/what-is-orangescrum
---
Orangescrum is an all in one project, task, time & resource management software for teams of all sizes and complexity. Start-ups, growing agencies and industry leaders continue to benefit with its simple collaborative platform for planned and well-coordinated execution.
Orangescrum supports [Agile Scrum](http://helpdesk.orangescrum.com/cloud-category/scrum-project-management/), [Waterfall and simple task list](http://helpdesk.orangescrum.com/cloud-category/using-orangescrum/) methods of project execution. Thus allowing users greater freedom to self-organize their tasks to meet specific project needs.
### **Key Features**
**Centralized Collaboration**
Orangescrum brings all the key elements of project management together on a single centralized platform. Projects, tasks, teams and clients all work & collaborate seamlessly in real-time enabling faster resolution of pending items.
**Alerts and Notifications**
[Instant desktop notifications and email alerts](http://helpdesk.orangescrum.com/cloud-category/account-management/#manage-notification) are triggered for key actions such as project and task creation, user invites, task edits, replies, comment and status updates. Hence, teams are always aware of the latest progress of your most important tasks.
**Custom User Role Management**
Project collaboration entails bringing the entire team together. This also includes your clients, cross-department teams, external users, vendors and ISPs. Managing users and ensuring your confidential information is safe and accessed only on a “**need to know”** basis is of utmost importance. Learn how to [configure custom user roles and permissions](http://helpdesk.orangescrum.com/cloud-category/using-orangescrum/#user-role-management) for your teams.
**Apps and Integrations**
Having the most commonly used apps by your teams makes your work fun and stress-free. We understand it! Google Drive, Dropbox or Slack integrate them all with Orangescrum for seamless access to your important documents anytime.
**Reports**
Project reporting is critical to keep all your stakeholders updated on the project progress, open items, project health status and risks if any. Orangescrum provides comprehensive reports of your critical project elements such as tasks, time and resources. Learn more about our [reports](http://helpdesk.orangescrum.com/cloud-category/reports/).
# How Can I Edit or Delete a Status in a Workflow?
> How can I edit or delete a status in a workflow
> For the complete documentation index, see [llms.txt](https://helpdesk.orangescrum.com/llms.txt).
Source: https://helpdesk.orangescrum.com/how-can-i-edit-or-delete-a-status-in-a-workflow
---
1. Click on the profile icon and click on ‘**Company settings’.**
2. Click on **‘Status workflow settings’.**
3. Click on the status name.
4. Click on the edit icon to status name to edit task status.
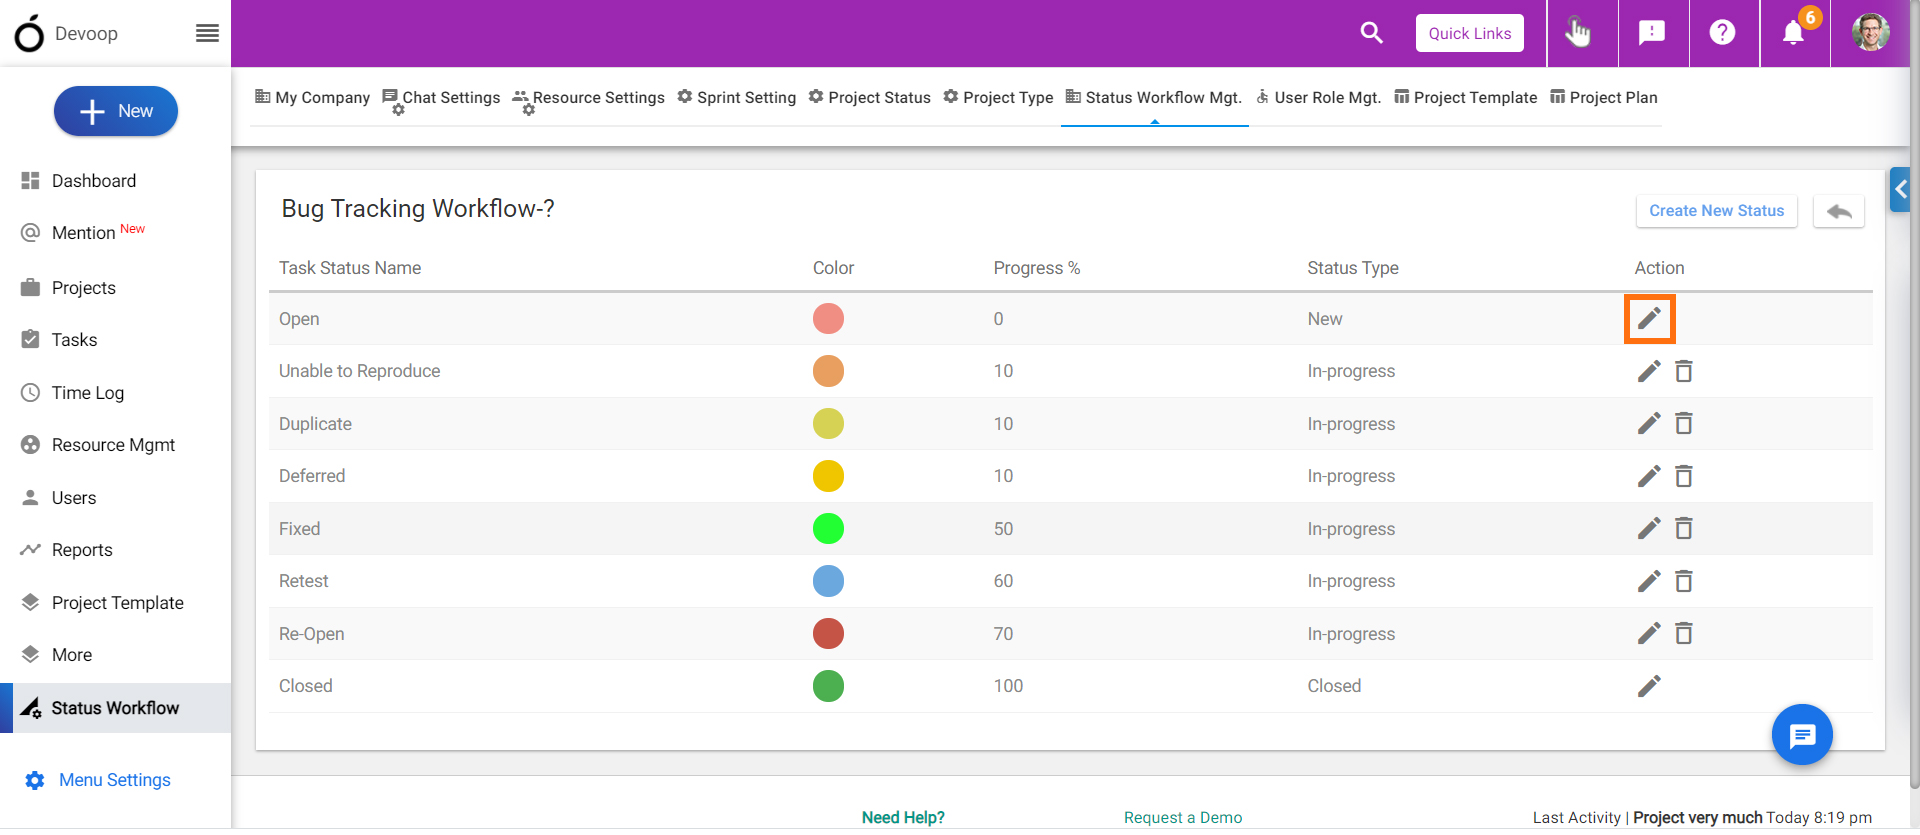
P.S.:- You can only [delete the status](https://helpdesk.orangescrum.com/why-cannot-i-delete-some-task-statuses/) if no task is assigned to it.
# Can I Know Which Workflow is Being Used by the Project?
> Can I Know Which Workflow is Being Used by the Project
> For the complete documentation index, see [llms.txt](https://helpdesk.orangescrum.com/llms.txt).
Source: https://helpdesk.orangescrum.com/can-i-know-which-workflow-is-being-used-by-the-project
---
1. Navigate to project listing page by **Projects** in left menu. (Refer Image-1)
2. You can find the name of workflow from the card of the project.(Refer Image-2)
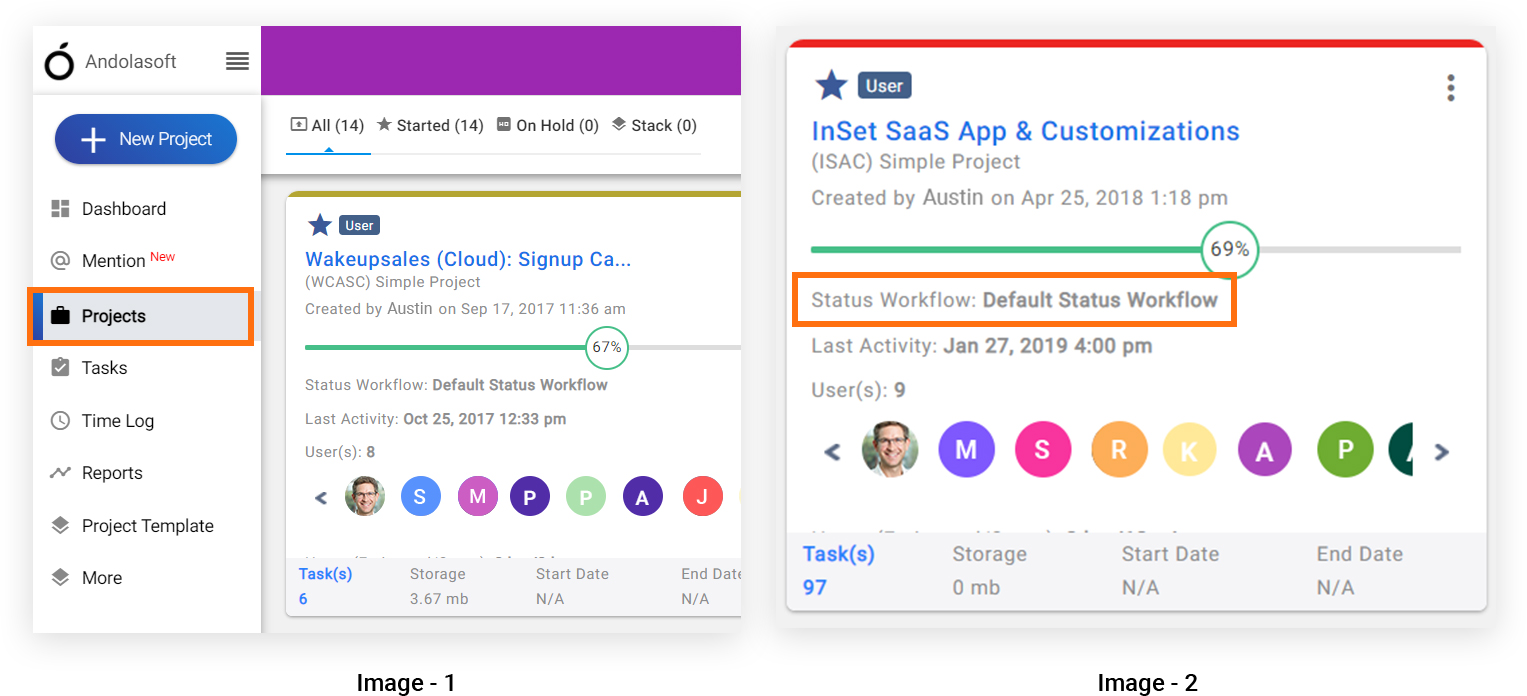
# Who Can Have Access to Status Workflow Setting?
> Who Can Have Access to Status Workflow Setting
> For the complete documentation index, see [llms.txt](https://helpdesk.orangescrum.com/llms.txt).
Source: https://helpdesk.orangescrum.com/who-can-have-access-to-status-workflow-setting
---
Only the owner and admin can view [Status workflow setting](https://helpdesk.orangescrum.com/what-is-status-workflow-setting/).
**Note**:- Status workflow setting is available for [All pricing plan users](https://www.orangescrum.com/pricing).
# Can I Reorder the Tasks Statuses in Particular Workflow?
> Can I Reorder the Tasks Statuses in Particular Workflow
> For the complete documentation index, see [llms.txt](https://helpdesk.orangescrum.com/llms.txt).
Source: https://helpdesk.orangescrum.com/can-i-reorder-the-tasks-statuses-in-particular-workflow
---
1. Click **profile icon** **\>Company settings>Status workflow settings**.(Refer Image-1)
2. Click on the specific workflow for which you would like to reorder.(Refer Image-2)
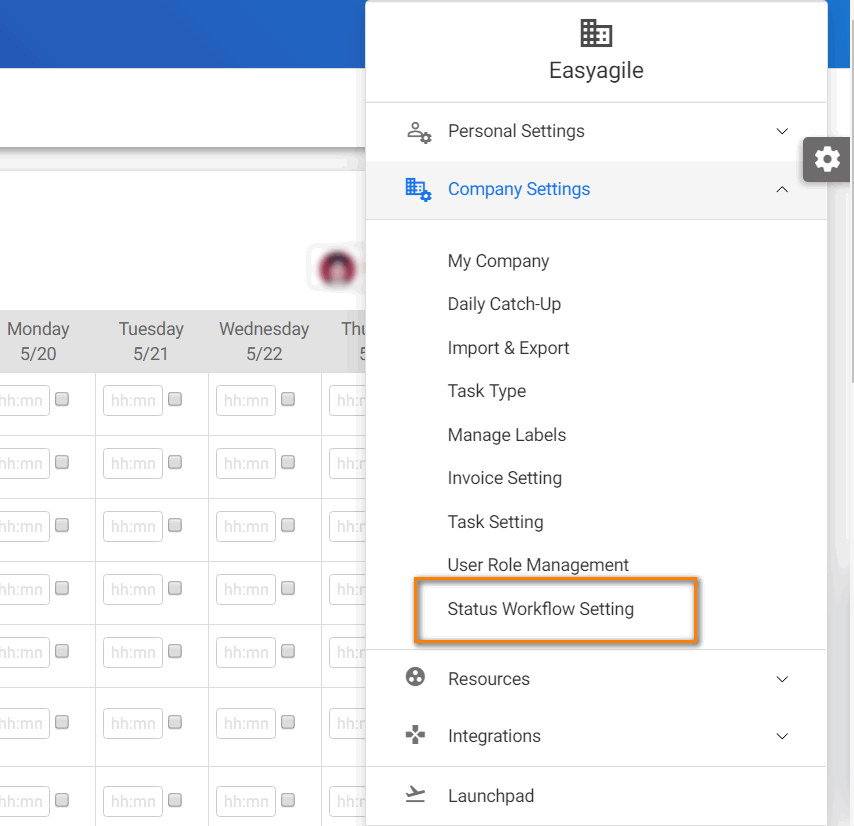 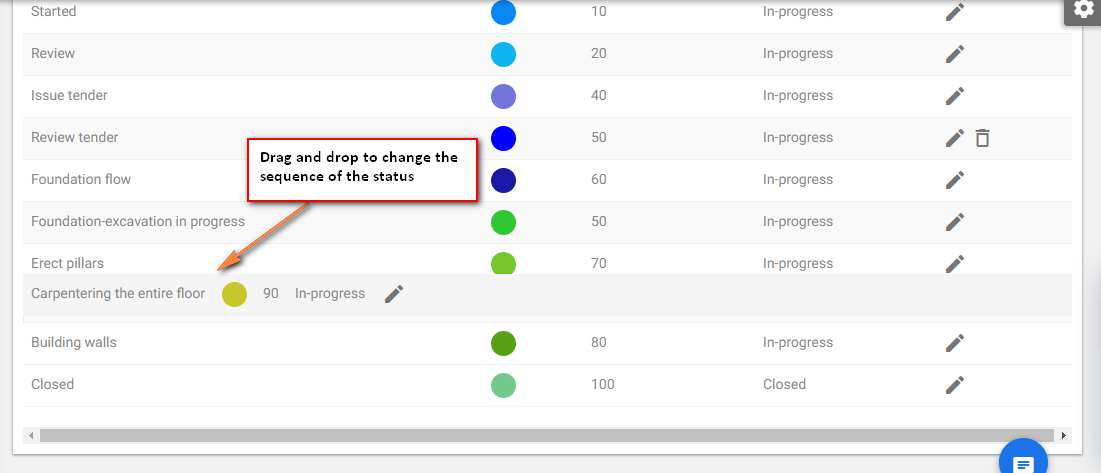
**( Image-1)** **(Image-2)**
# How Can I Add Custom Workflow to Project?
> How Can I Add Custom Workflow to Project
> For the complete documentation index, see [llms.txt](https://helpdesk.orangescrum.com/llms.txt).
Source: https://helpdesk.orangescrum.com/how-can-i-add-custom-workflow-to-project
---
There are two ways you can [custom task status](https://helpdesk.orangescrum.com/how-can-i-make-custom-workflow-or-task-status/) to the project.
- From Quick Links
- From Status workflow settings
**From Quick Links:**
1. Click on [**Quick Links**](https://helpdesk.orangescrum.com/how-can-i-manage-the-menus-in-quick-links/)\>**Project**
2. In create project pop-up, provide project name, short name, priority, project template (if any).
3. Select your workflow in **Choose your workflow.**(Refer Image-1)
4. Click on **Create**.
**Or,**
**From Status workflow settings:**
1. Click **profile icon** **\>Company settings> Status workflow settings**
2. Click on the status name and click **Create Project**.(Refer Image-2)
3. Provide project name, short name, priority, project template (if any).
4. Select your workflow in **Choose your workflow.**
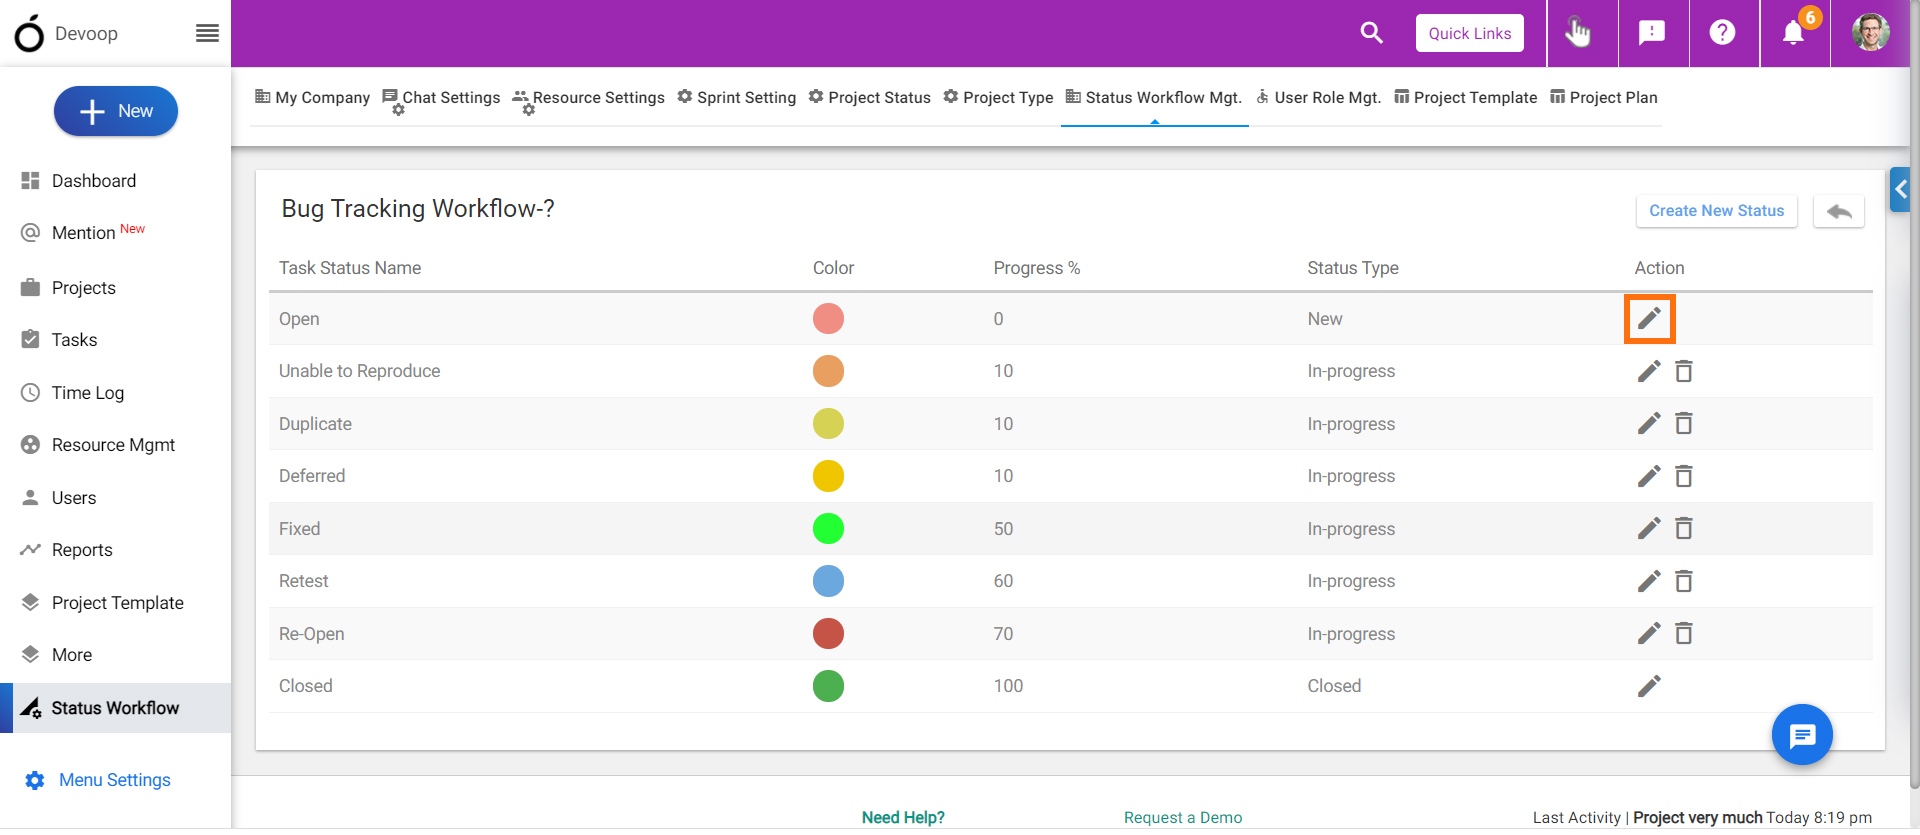
**Note-** You cannot change the Workflow once the project is created.
# How Can I Make Custom Workflow or Task Status?
> How Can I Make Custom Workflow or Task Status
> For the complete documentation index, see [llms.txt](https://helpdesk.orangescrum.com/llms.txt).
Source: https://helpdesk.orangescrum.com/how-can-i-make-custom-workflow-or-task-status
---
You can make your own workflow by following below steps:-
1. Click on the profile icon and click on ‘**Company settings’.**
2. Click on **‘[Status workflow settings](https://helpdesk.orangescrum.com/what-is-status-workflow-setting/)’.** (Refer Image-1)
3. Click on **Create New Status Workflow.**
4. Provide **Status workflow name** and **description** and click on **Add.**
5. Click on the status name to add further task status.
6. Click on ‘**Create New Status’** and provide **Status name, Status type, progress** and **color**.(Refer Image-1)
7. In order to select color, click on the color icon, select the required color and click on 
8. Click on **Add** to save.
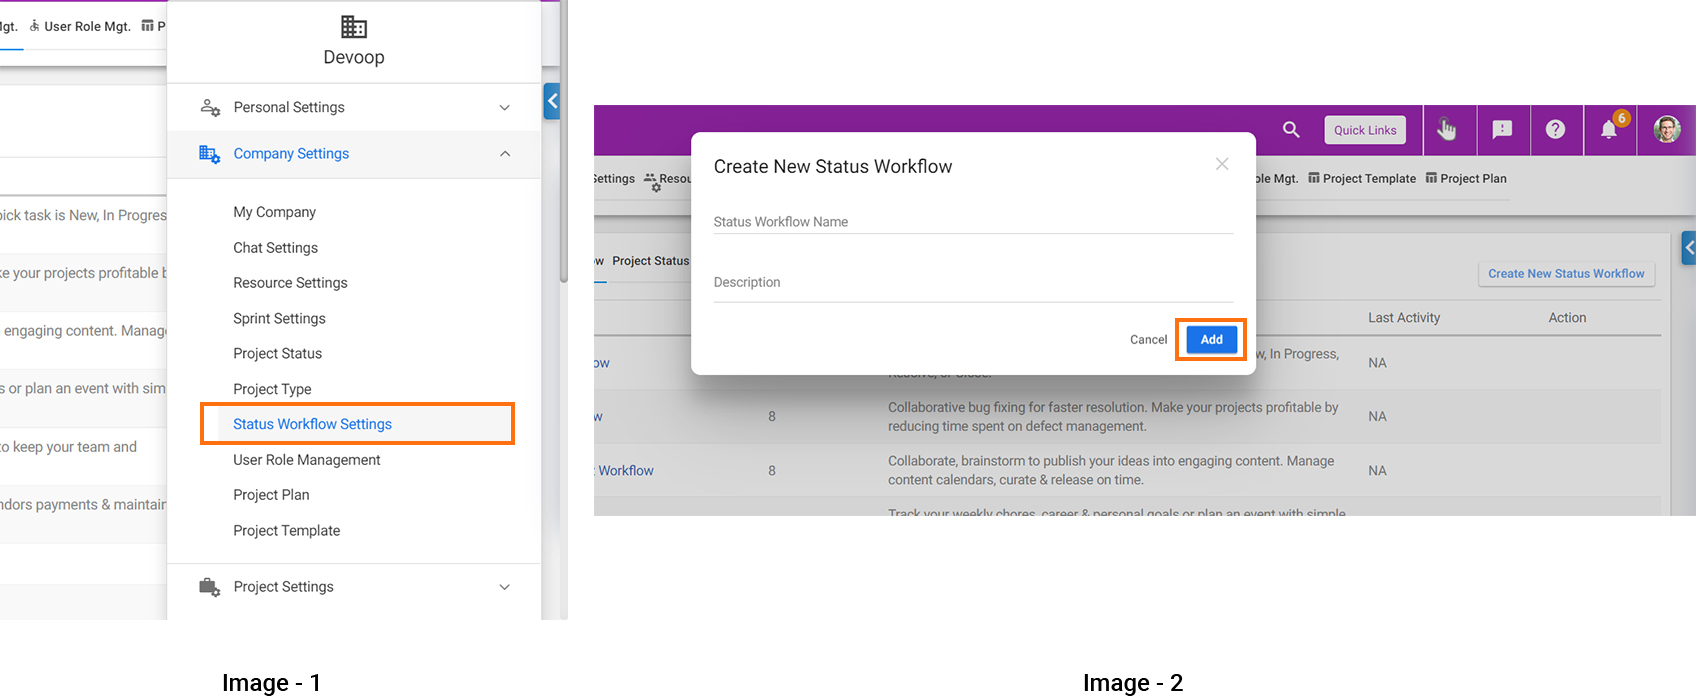
# What is Status Workflow Setting?
> What is Status Workflow Setting
> For the complete documentation index, see [llms.txt](https://helpdesk.orangescrum.com/llms.txt).
Source: https://helpdesk.orangescrum.com/what-is-status-workflow-setting
---
By default Orangescrum Project management Tool comes with 4 task statuses – New, In-progress, Resolved, Closed.
In order to [make your own workflow](https://helpdesk.orangescrum.com/how-can-i-make-custom-workflow-or-task-status/) for the project, you will need the ‘Status workflow setting’.
With ‘**Status workflow setting** ’, you can:
1. Create your own workflow and unlimited task status.
2. Add progress weight & color code each of task status.
3. Add your custom workflow to individual projects.
4. Quickly update task status to keep everyone on the same page.
# Deleting Events from Google Calendar, will the Tasks be Deleted from Orangescrum?
> Yes, if you have deleted events in Google Calendar, then the associated tasks will be deleted in Orangescrum.
> For the complete documentation index, see [llms.txt](https://helpdesk.orangescrum.com/llms.txt).
Source: https://helpdesk.orangescrum.com/deleting-events-from-google-calendar-will-the-tasks-be-deleted-from-orangescrum
---
Yes, if you have deleted events in [Google Calendar](https://helpdesk.orangescrum.com/how-can-i-integrate-google-calendar-with-orangescrum/), then the associated tasks will be deleted in Orangescrum.
# How can I Integrate Google Calendar with Orangescrum?
> How can I Integrate Google Calendar with Orangescrum
> For the complete documentation index, see [llms.txt](https://helpdesk.orangescrum.com/llms.txt).
Source: https://helpdesk.orangescrum.com/how-can-i-integrate-google-calendar-with-orangescrum
---
In order to integrate Google Calendar with Orangescrum, please refer to the below steps:-
1. Navigate to **User Profile > Integrations > [Google Calendar](https://helpdesk.orangescrum.com/why-do-i-need-to-integrate-google-calendar-with-orangescrum/) > Connect** (Refer Image 1)
2. It will ask you to choose specific email ID which you want to integrate your calendar. Please choose the specific email and provide edit access by clicking on ‘**Allow’**.
3. On clicking Allow, it will ask you to share required information.(Refer Image-2)
- **Pick a calendar:-** You need to select a calendar which you would like to integrate. By default, it will show the list of your own calendars or you can also create a new calendar from here by just typing the name of the Calendar in the field.
- **Sync:**– You need to select project, to sync all the tasks created in that project, to be reflected in Google Calendar. If you have chosen ‘**All projects’**, then task created in any of the projects will be auto-created as Events in Google calendar. Similarly if you have selected ‘**A specific project’**, you need to select a project on which task created from tool will be reflected in Google Calendar.
- **Tasks created on Google Calendar will go to:**– This field appears if you have select ‘**All projects’** in **Sync** Here, you need to select a specific project on which tasks will be auto-created when any kind of event is added to **Google Calendar**.
- **When a task is closed?** :- Once tasks is closed, you can decide if you would like to keep that event on Google Calendar or not. If you have selected ‘**Leave it on Google Calendar’**, then on task closure, the event will not be deleted from your calendar. If you select ‘**Remove it from Google Calendar’**, then once task is closed the event will be auto-deleted from calendar.
- **Task without due date:**– If you would like to sync the task without due date, then you need to select **‘Should be synced’.**
4. Once all required details are updated you can click on **Submit**.(Image-3)
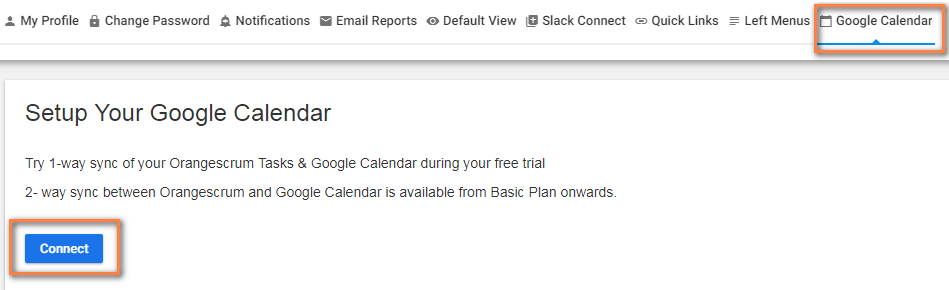
**(Image 1)**
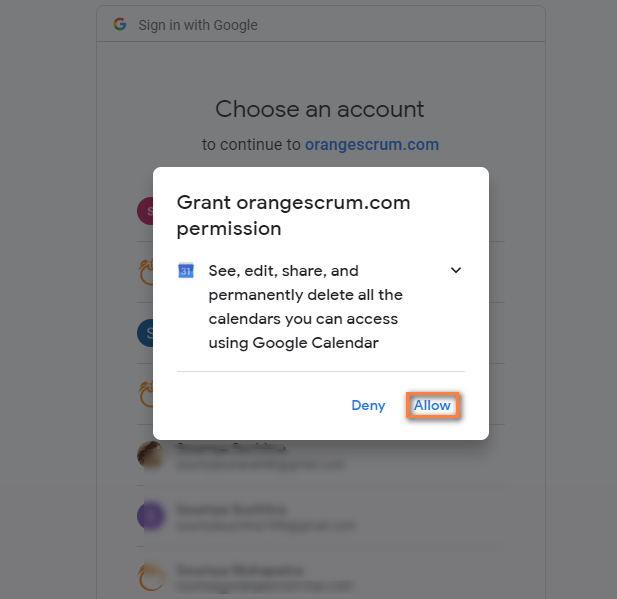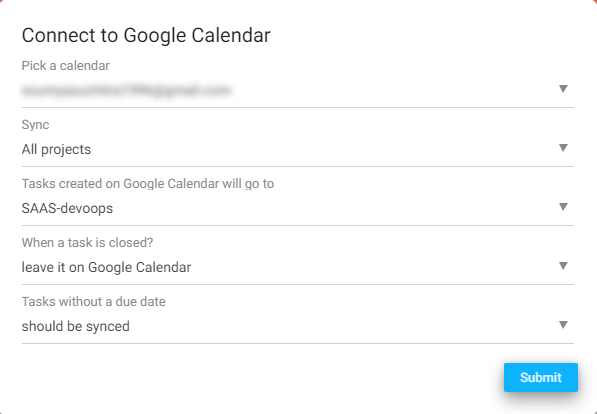
**(Image-1) (Image-2)**
# Who Can Access Google Calendar?
> Who Can Access Google Calendar
> For the complete documentation index, see [llms.txt](https://helpdesk.orangescrum.com/llms.txt).
Source: https://helpdesk.orangescrum.com/who-can-access-google-calendar
---
**Google calenda**r is available to all users in Orangescrum. Please refer below steps to access Google calendar.
Navigate to **User Profile > Integrations > Google Calendar** (Refer Image 1)
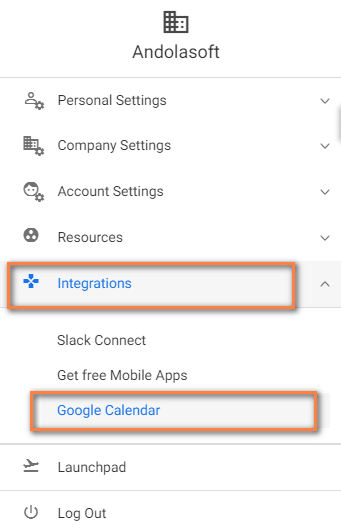
**(Image 1)**
Note: Google Calendar integration is available Professional plan with 11 users onwards.
# Can I Edit My Google Calendar Settings in Orangescrum?
> Can I Edit My Google Calendar Settings in Orangescrum
> For the complete documentation index, see [llms.txt](https://helpdesk.orangescrum.com/llms.txt).
Source: https://helpdesk.orangescrum.com/can-i-edit-my-google-calendar-settings-in-orangescrum
---
Once you have integrated a [**Calendar**](https://helpdesk.orangescrum.com/why-do-i-need-to-integrate-google-calendar-with-orangescrum/), you cannot edit the settings of that calendar in Orangescrum. However, you can only edit below **2** fields:
### **When a task is closed:**
1. Once tasks are closed, you can decide if you would like to keep that event on **Google Calendar** or not.
2. If you have selected ‘**Leave it on Google Calendar**’, then on task closure, the event will not be deleted from your calendar.
3. If you select ‘**Remove it from Google Calendar**’, then once the task is closed the event will be auto-deleted from the calendar.
### **Task without due date:**
1. If you would like to sync the task without due date, then you need to select ‘**Should be synced**’.
2. In order to edit the above details, please navigate to Setting.
3. Select ‘**Integrations**’ and select ‘**Google Calendar**’.
4. Select ‘**Edit**’ and make the required changes. Click ‘**Update**’ to save the changes. (Refer Image 1)
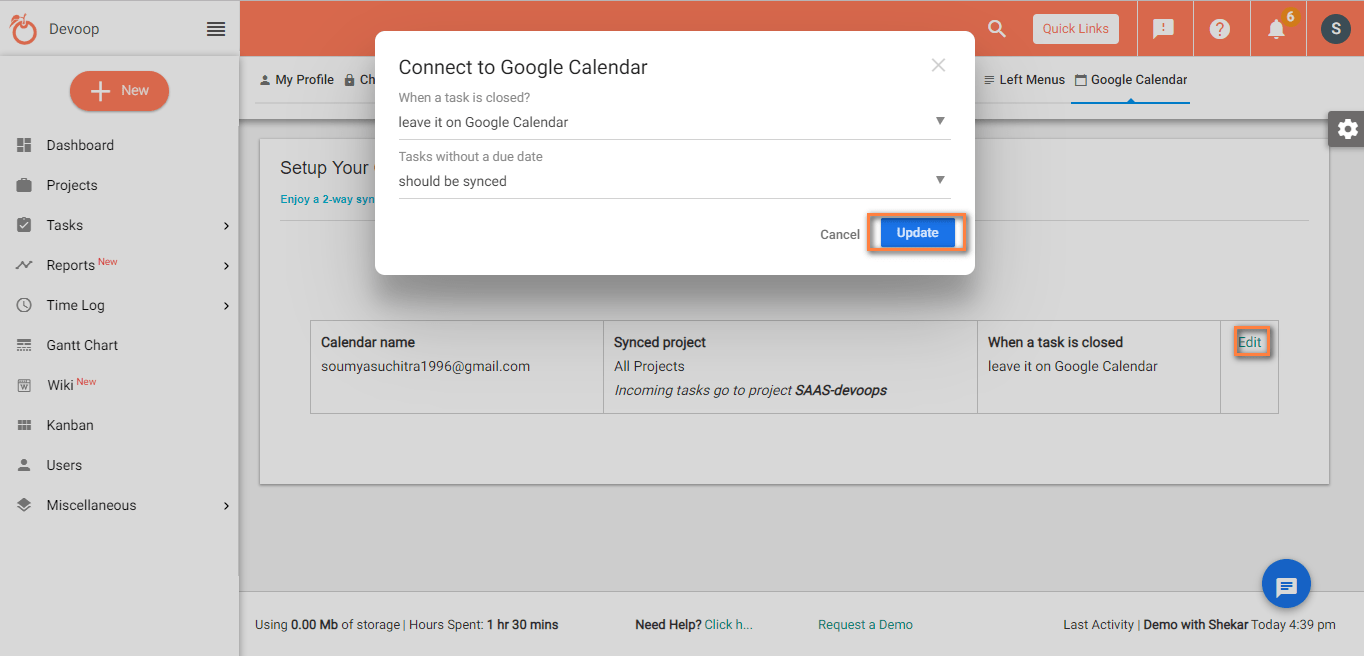
**(Image 1)**
# On Deleting the Tasks in Orangescrum, will the events be Deleted from Google Calendar?
> YES, being 2-way sync, if you have deleted the tasks in Orangescrum, then the event will be deleted in Google Calendar.
> For the complete documentation index, see [llms.txt](https://helpdesk.orangescrum.com/llms.txt).
Source: https://helpdesk.orangescrum.com/on-deleting-the-tasks-in-orangescrum-will-the-events-be-deleted-from-google-calendar
---
**YES**, being **2-way sync**, if you have deleted the tasks in Orangescrum, then the event will be deleted in [**Google Calendar**](https://helpdesk.orangescrum.com/why-do-i-need-to-integrate-google-calendar-with-orangescrum/).
# On Updating Data in Orangescrum or Google Calendar, will the Tasks or Events be Auto-Updated accordingly?
> Orangescrum Google Calendar integration has come with 2-way sync. So, updating events or tasks in Orangescrum or Google Calendar will be auto-updated in both the platforms.
> For the complete documentation index, see [llms.txt](https://helpdesk.orangescrum.com/llms.txt).
Source: https://helpdesk.orangescrum.com/on-updating-data-in-orangescrum-or-google-calendar-will-the-tasks-or-events-be-auto-updated-accordingly
---
**YES**, Orangescrum [Google Calendar integration](http://helpdesk.orangescrum.com/cloud-category/using-orangescrum/#google-calendar-integration) has come with **2-way sync**. So, updating events or tasks in **Orangescrum** or **Google Calendar** will be auto-updated in both the platforms.
# I have Created Some Tasks Using Mobile App. It is not Reflecting in Google Calendar. Why?
> Resolve issues with Google Calendar not syncing tasks from the Orangescrum mobile app. Follow our guide to fix integration problems.
> For the complete documentation index, see [llms.txt](https://helpdesk.orangescrum.com/llms.txt).
Source: https://helpdesk.orangescrum.com/i-have-created-some-tasks-using-mobile-app-it-is-not-reflecting-in-google-calendar-why
---
Currently, this feature is unavailable. It will be released soon.
# Can I Sync Multiple Calendars?
> Can I Sync Multiple Calendars
> For the complete documentation index, see [llms.txt](https://helpdesk.orangescrum.com/llms.txt).
Source: https://helpdesk.orangescrum.com/can-i-sync-multiple-calendars
---
No, you can only sync one [calendar](https://helpdesk.orangescrum.com/how-can-i-integrate-google-calendar-with-orangescrum/) will one company. In order to update new calendar, you can ‘**Remove Connection**’ from the previous calendar and sync the new one.
# Why do I Need to Integrate Google Calendar with Orangescrum?
> Why do I Need to Integrate Google Calendar with Orangescrum
> For the complete documentation index, see [llms.txt](https://helpdesk.orangescrum.com/llms.txt).
Source: https://helpdesk.orangescrum.com/why-do-i-need-to-integrate-google-calendar-with-orangescrum
---
Syncing your Google calendar with Orangescrum enhances your task management capabilities, ensure better planning of task schedules.
Orangescrum [Google calendar integration](https://helpdesk.orangescrum.com/how-can-i-integrate-google-calendar-with-orangescrum/) provides 2-way synchronization to keep your Google Calendar and Orangescrum completely in sync with real-time data. This enables you to stay informed about your plans, task schedules, meetings, etc.
Once you provide required authorization to Google Calendar through Orangescrum, any kind of task you create in Orangescrum will be auto-created in Google calendar. Similarly, events created in Google calendar will automatically be added as tasks in Orangescrum.
# Can I Change the Color of Left Menu and Header of the Orangescrum?
> Yes, you can do this. Click icon on the right side of the screen. At here, please choose the color shown on the list. There are two pre-defined color rows. The first row under both “Menu Color” & “Navbar Color” shows flat colors and the second row shows the gradient colors. Menu color section will…
> For the complete documentation index, see [llms.txt](https://helpdesk.orangescrum.com/llms.txt).
Source: https://helpdesk.orangescrum.com/can-i-change-the-color-of-left-menu-and-header-of-the-orangescrum
---
Yes, you can do this.
1. Click  icon on the right side of the screen.
2. At here, please choose the color shown on the list.
There are two pre-defined color rows. The first row under both “**Menu Color**” & “**Navbar Color**” shows flat colors and the second row shows the gradient colors.
**Menu color** section will change the color in the [left panel](https://helpdesk.orangescrum.com/can-i-manage-my-left-menu-of-the-orangescrum/) of the tool.
**Navbar color** section will change the color of Navbar.
1. You can also collapse the left menu if required.
# Can I Manage My Left Menu of the Orangescrum?
> Can I Manage My Left Menu of the Orangescrum
> For the complete documentation index, see [llms.txt](https://helpdesk.orangescrum.com/llms.txt).
Source: https://helpdesk.orangescrum.com/can-i-manage-my-left-menu-of-the-orangescrum
---
You can manage the menus in left panel by following below steps:-
1. Click **‘Settings’.**
2. Click **‘[Left Menu](https://helpdesk.orangescrum.com/can-i-change-the-color-of-left-menu-and-header-of-the-orangescrum/)’** under **‘Personal Settings’.**
3. At here, you can mark/unmark the options to which you want to provide or remove access. Accordingly, you can see enabled options in ‘**My Preference’.**
4. After making the required changes, you can click on ‘**Save’.**
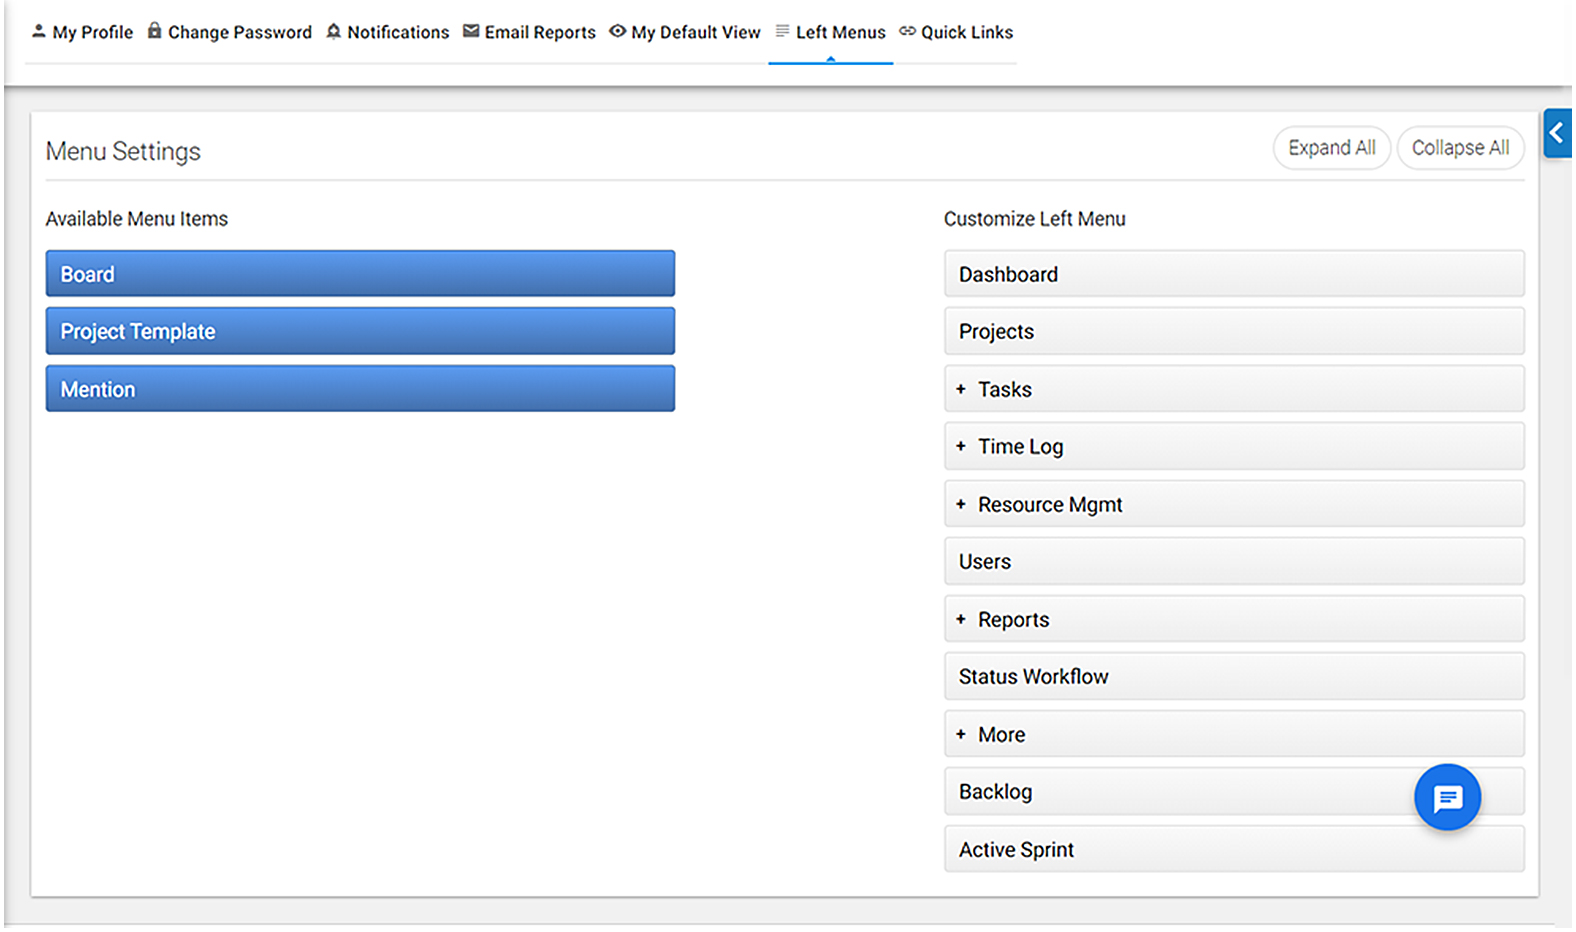
# How can I Manage the Menus in Quick Links?
> How can I Manage the Menus in Quick Links
> For the complete documentation index, see [llms.txt](https://helpdesk.orangescrum.com/llms.txt).
Source: https://helpdesk.orangescrum.com/how-can-i-manage-the-menus-in-quick-links
---
You can manage the menus under Quick links by following below steps:-
1. Click on **‘Quick Links’.**
2. Click on **‘Manage Quick Links’.**
3. At here, you can mark/unmark the options to which you want to provide or remove access.
4. After making the required changes, you can click on ‘**Save’.**
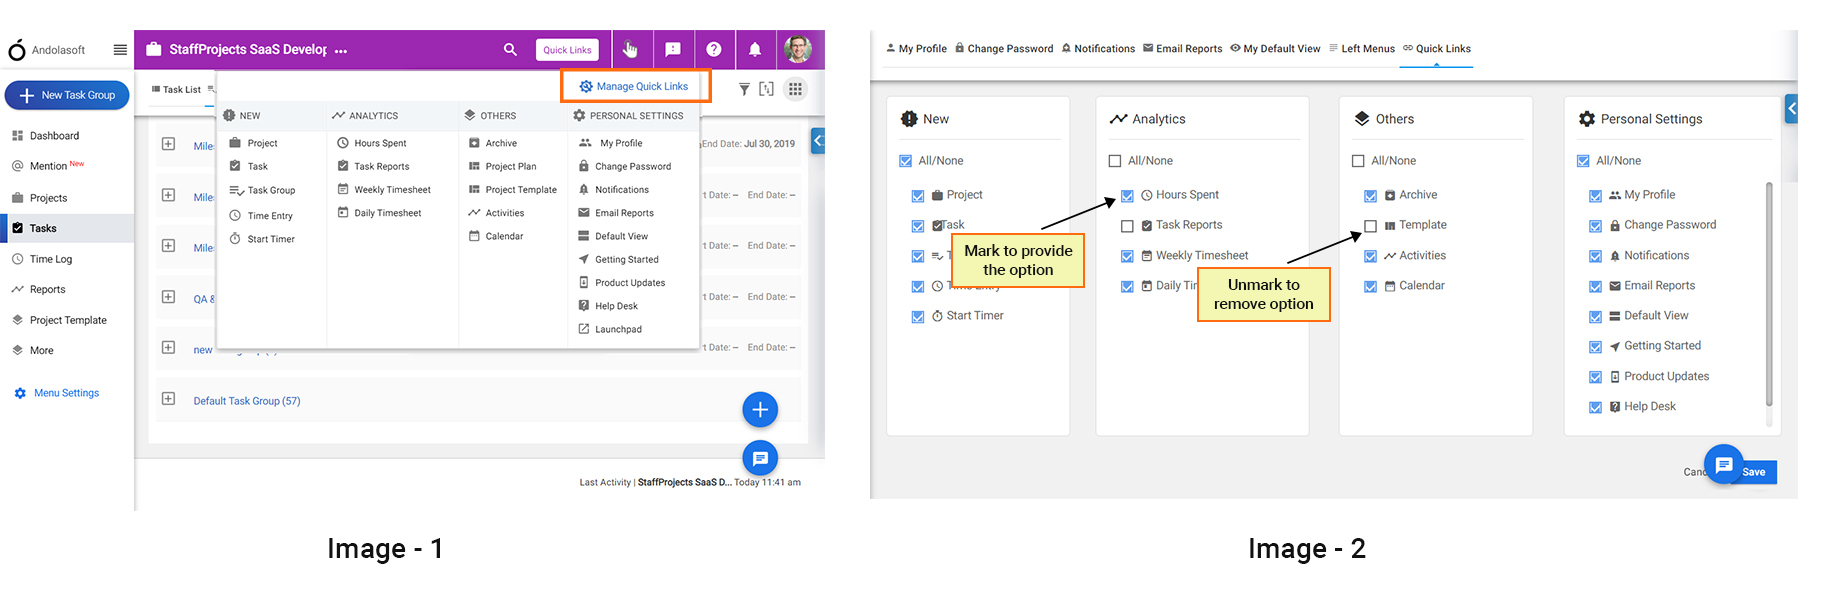
# How will I Assign Different Role to project members for a specific project?
> How will I Assign Different Role for Different Project to a Member
> For the complete documentation index, see [llms.txt](https://helpdesk.orangescrum.com/llms.txt).
Source: https://helpdesk.orangescrum.com/how-will-i-assign-different-role-for-different-project-to-a-member
---
- Navigate to **Quick Links** and click on “**User Role Management**” under **Company Settings**
- Create user roles
This user roles on the account level. For example, if you created a role Project Manager, then it will be applicable to the user for all the projects s/he added. However, you can assign a specific role for different projects even if you assigned a role in user role setting. For company level, you may assign a user to Project Manager role, but for a particular project you can assign a user to Team Lead role. To create project wise role,
- Navigate to left menu and click on Projects
- Go to the project card, and click on three dot icon in both card or list view
- Click on Assign Role
- On the pop-up, select the role you want to assign to the user
- Click on Save
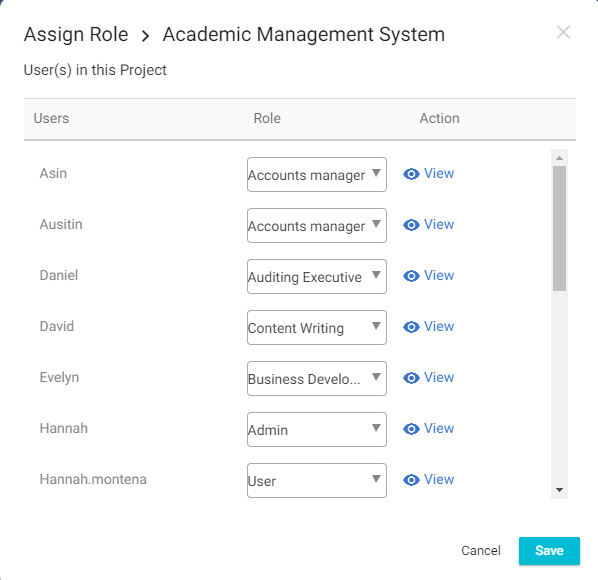
**Tip**: On the Assign Role pop-up, you can click on view to know what permissions are allowed for that particular role. In the view section, you’re not allowed to change any action of the role.
**Note**: You can’t change Owner and Admin user roles to protect specific. However, you can make any user an admin user role for a specific project.
#### How can I assign multiple roles an user in different projects?
- Click **User** in the left panel.
- Click 3 dot icon on the card of the specific user and select **Assign role.**
- Select the arrow icon of the role against the specific project and provide the required role.
- Once all changes are done click **Save.**
#### 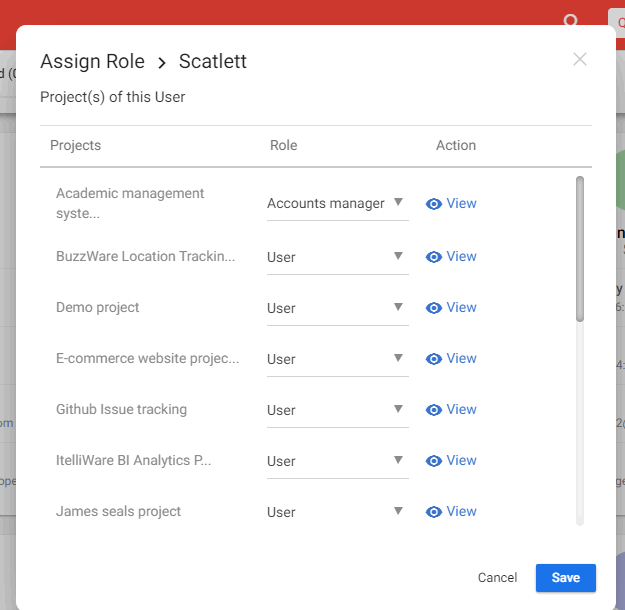
#### **Know your user role in a project:**
- Navigate to left menu and click on Projects
- Go to the project card, you can see the user role for that project (on the right of star icon)
- On the list view, you can see the user role for that project as shown in the image (on the right side of priority)
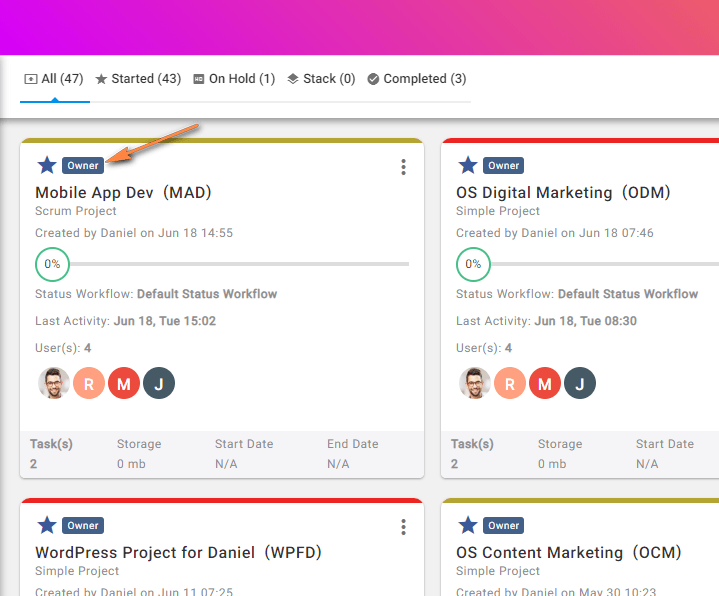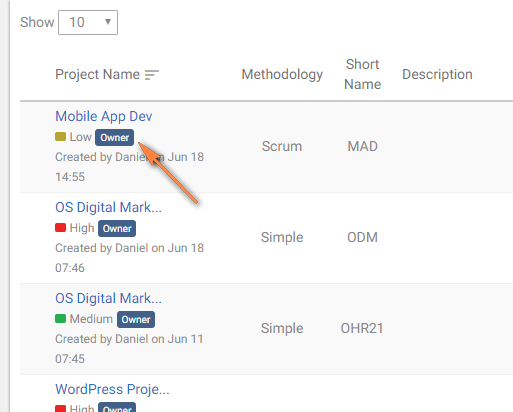
**(Image-1) (Image-2)**
# Can I print my Gantt chart?
> YES, you can explore Gantt Chart in the form of PNG and PDF (Refer Image 1) (Image 1)
> For the complete documentation index, see [llms.txt](https://helpdesk.orangescrum.com/llms.txt).
Source: https://helpdesk.orangescrum.com/can-i-print-my-gantt-chart
---
**YES**, you can explore Gantt Chart in the form of PNG and PDF (Refer Image 1)

**(Image 1)**
# I have Created the Dependency, But didn’t Reflect on Gantt Chart?
> It seems you have not saved the data after making the required changes. Once the changes are made to Gantt chart.
> For the complete documentation index, see [llms.txt](https://helpdesk.orangescrum.com/llms.txt).
Source: https://helpdesk.orangescrum.com/i-have-created-the-dependency-but-didnt-reflect-on-gantt-chart
---
It seems you have not saved the data after making the required changes. Once the changes are made to Gantt chart, make sure you click . Else changes will not reflect on the [Gantt chart](https://helpdesk.orangescrum.com/how-to-use-the-gantt-chart-view-for-my-projects/).
# How can I Upgrade from a Monthly to Yearly Subscription Under the Same Plan?
> How can I Upgrade from a Monthly to Yearly Subscription Under the Same Plan
> For the complete documentation index, see [llms.txt](https://helpdesk.orangescrum.com/llms.txt).
Source: https://helpdesk.orangescrum.com/how-can-i-upgrade-from-monthly-to-yearly-subscription-under-same-plan
---
1. Click on your profile picture from the top right corner > Account settings > Subscription
2. Click on ‘Switch to Annual Plan’
3. Make the payment & you’re good to go.
# What is Velocity Chart?
> Sprint Velocity is a measure of the amount of work your team can handle or complete during a single Sprint and is a key metric in Agile Scrum Project Management.
> For the complete documentation index, see [llms.txt](https://helpdesk.orangescrum.com/llms.txt).
Source: https://helpdesk.orangescrum.com/what-is-velocity-chart
---
Sprint Velocity is a measure of the amount of work your team can handle or complete during a single Sprint and is a key metric in Agile Scrum Project Management.
The estimates for Sprint Velocity can be based on Story Points, Count of tasks or hours committed to the various stories or tasks of the sprint.
Sprint Velocity is key to understanding your team’s true performance and is very helpful for future sprint planning. It can decisively indicate how much work the team can accomplish in the future sprints.
### **How is Velocity calculated?**
Velocity is the sum of estimates (e.g. story points, issue count, task count, number of hours etc.) of completed stories or tasks of a Sprint.
E.g. you have a Sprint with 5 user stories with estimate type as Story points.
Story 1 – 5 story points
Story 2 – 8 story points
Story 3 – 4 story points
Story 4 – 6 story points
Story 5 – 7 story points
And at the end of the sprint you have completed stories **1,2,4 and 5**. Then the **velocity of the above Sprint is 26**.
**Tip:** Velocity is ALWAYS calculated for the **completed stories** ONLY. In the above example, story 3 isn’t completed or partially completed and hence would not be considered for calculating velocity.
Velocity helps in accurate forecasting of how many stories the team is capable of handling in a Sprint. For real results, you must take the average of the velocities of a minimum of the last 3 sprints.
You can confidently assess the work the team can commit to for future sprints based on the identified true velocity of the team.
Orangescrum’s velocity chart clearly indicates as to how much of the committed work has been completed by the team for a given sprint.
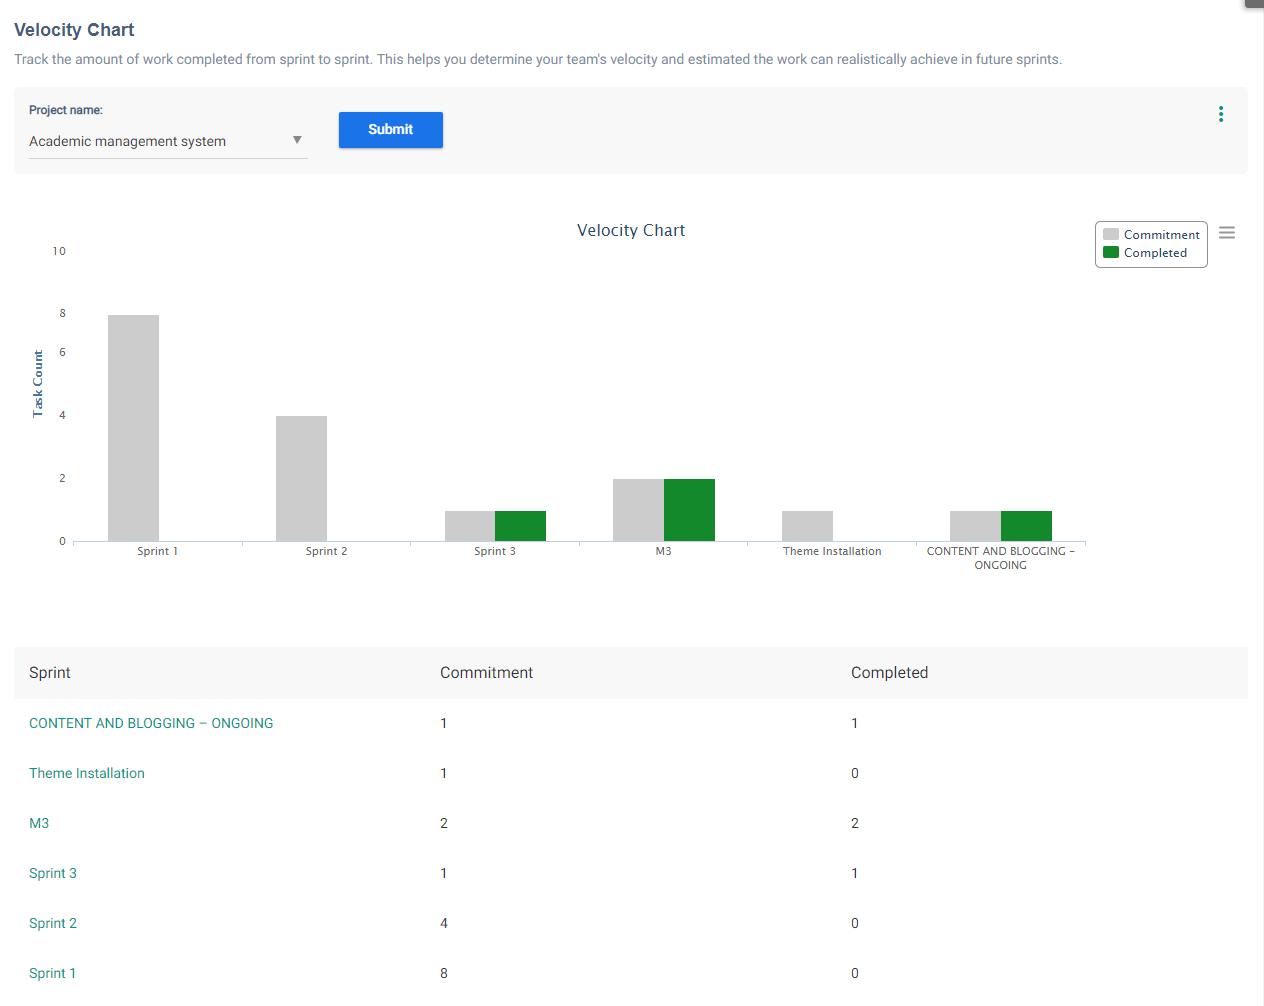
# How can I See All the Tasks Assigned to a User Across all Project as a Admin?
> How can I See All the Tasks Assigned to a User Across all Project as a Admin
> For the complete documentation index, see [llms.txt](https://helpdesk.orangescrum.com/llms.txt).
Source: https://helpdesk.orangescrum.com/how-can-i-see-all-the-tasks-assigned-to-a-user-across-all-project-as-a-admin
---
1. Navigate to **Left Menu > Tasks > All Tasks** (Refer Image 1)
2. Select **All** from Project drop-down.
3. Click  **icon >Assign to** (Refer Image 2)
4. Select the user whose assigned tasks you want to see across all projects
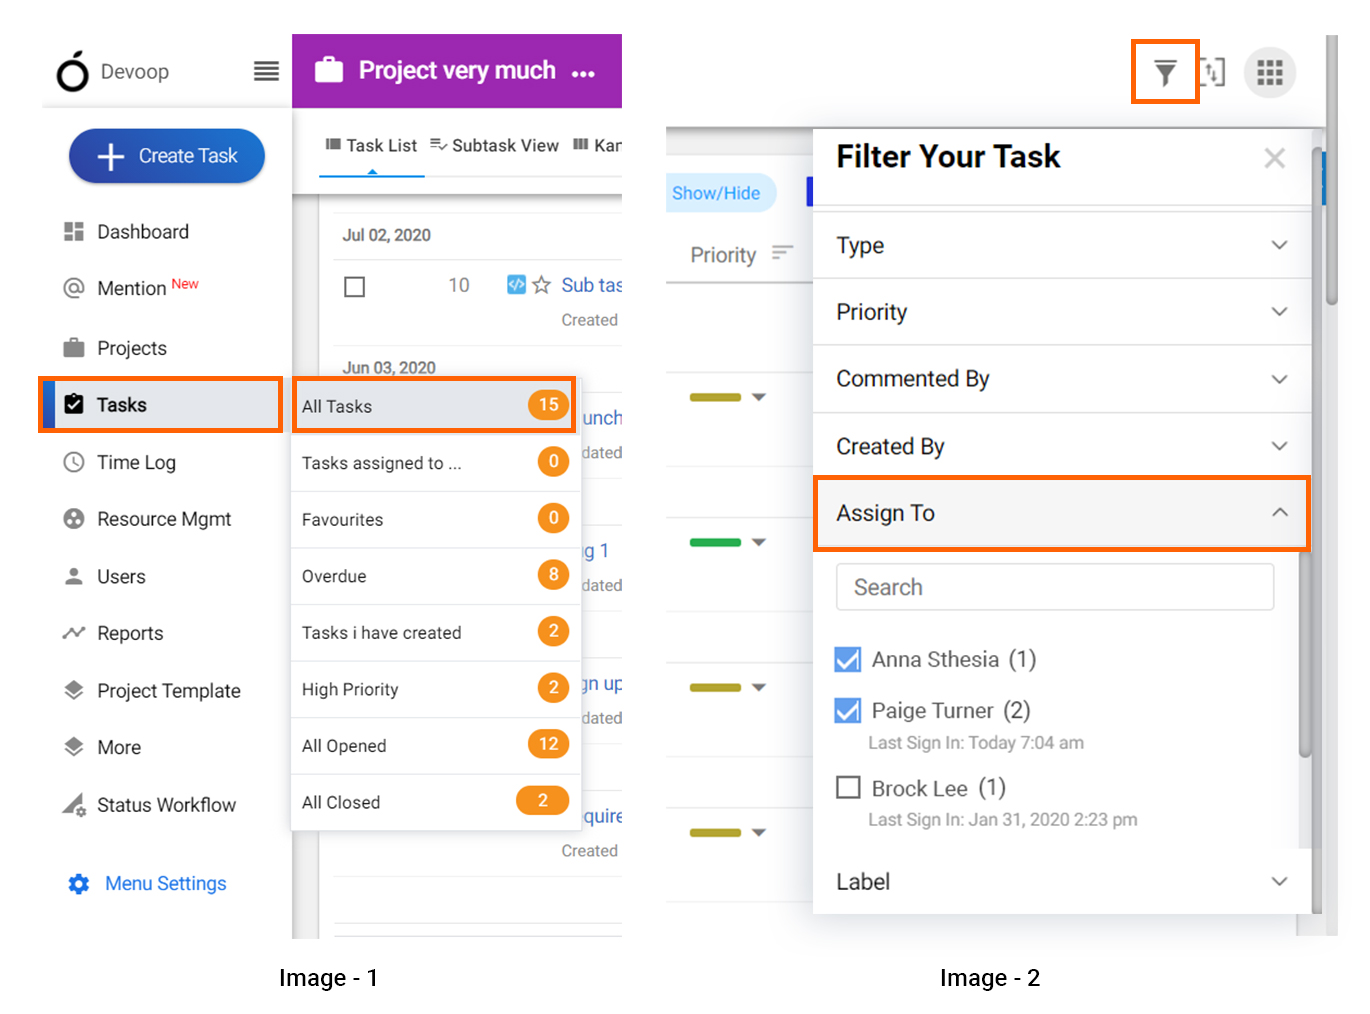
# Google Drive File Attachment Show ‘There is no Read Permission’. How to Fix This?
> You need to navigate to your google drive and provide 'Anyone with the link' permission to the particular files.
> For the complete documentation index, see [llms.txt](https://helpdesk.orangescrum.com/llms.txt).
Source: https://helpdesk.orangescrum.com/google-drive-file-attachment-show-there-is-no-read-permission-how-to-fix-this
---
You need to navigate to your google drive and provide ‘Anyone with the link’ permission to the particular files. Please refer to the below image for more clarification.
Once done, you would be able to attach the files to Orangescrum.
# How to Create a New Project Plan from an Existing Project?
> How to Create a New Template from an Existing Project
> For the complete documentation index, see [llms.txt](https://helpdesk.orangescrum.com/llms.txt).
Source: https://helpdesk.orangescrum.com/how-to-create-a-template-from-the-project
---
1. Navigate to task listing > Select all tasks or selected few using the checkbox (Image-1)
2. Click on the drop-down option from top left corner of the listing table > Create project plan
3. In the popup > Scroll to the bottom of ‘Select Project Plan’ drop-down > Add New Project Plan> Give a name to the Project Plan> Create.(Image-2)
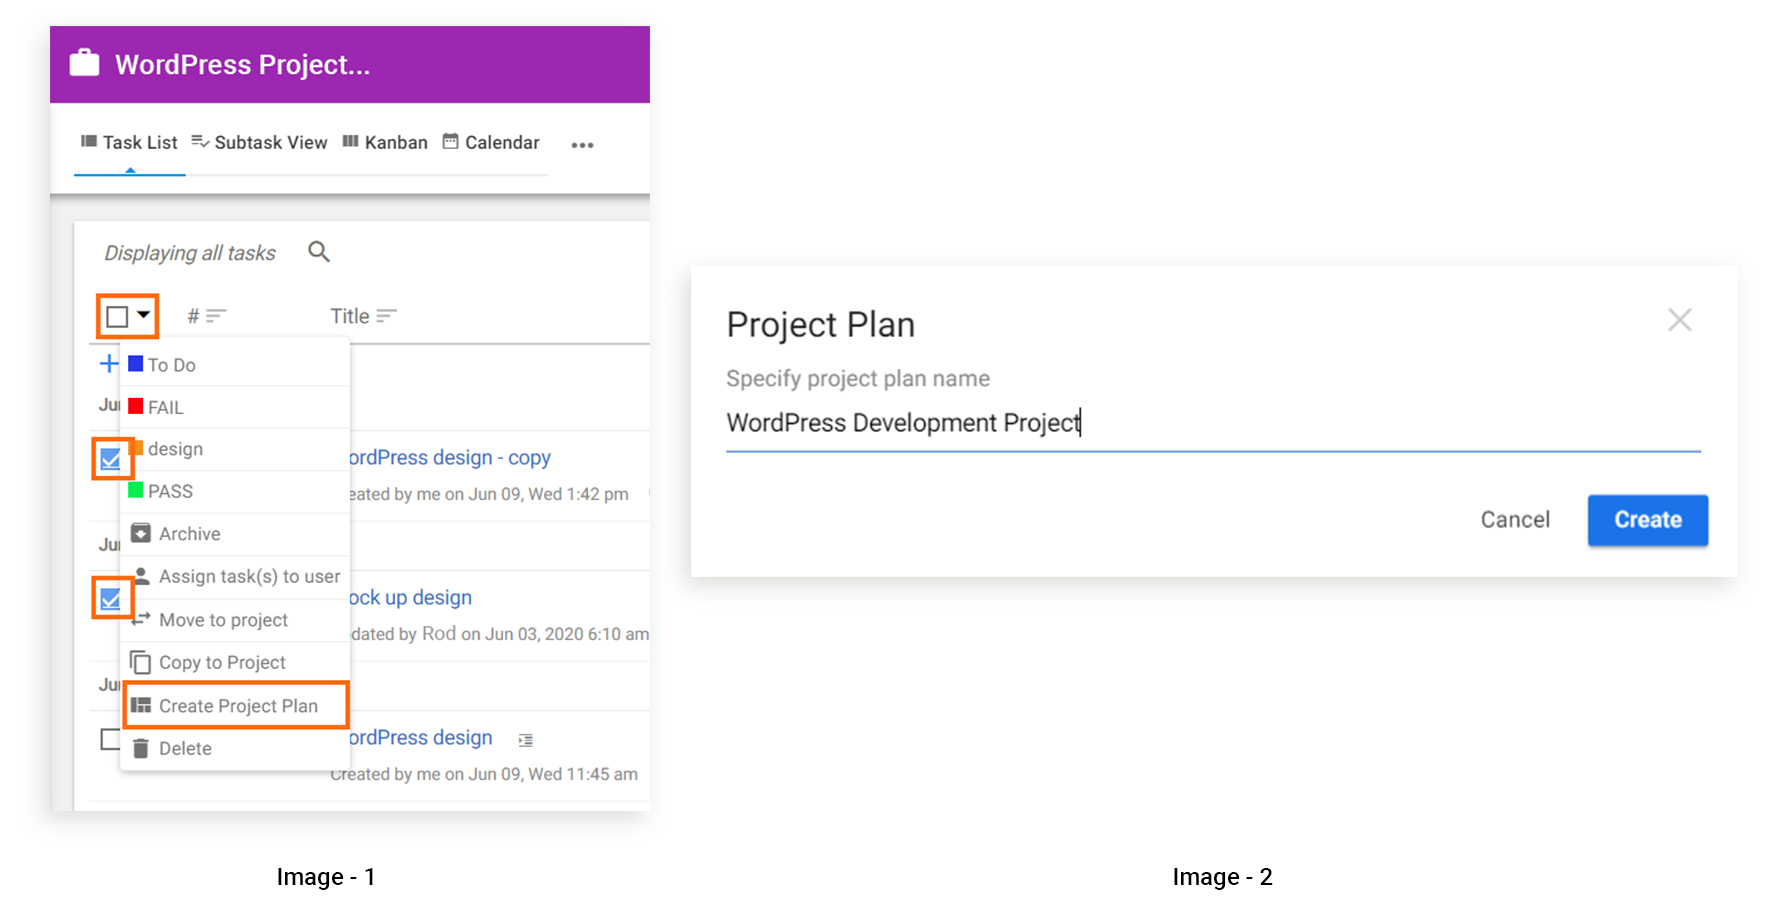
**Note**: To add your selected tasks to an existing project plan, select a project plan from the drop-down & click on ‘Create’.
# How can I Use a Project Plan to Create a New Project?
> How can I Use a Template to Create a New Project
> For the complete documentation index, see [llms.txt](https://helpdesk.orangescrum.com/llms.txt).
Source: https://helpdesk.orangescrum.com/how-to-use-the-project-plan-to-create-a-new-project
---
**From the Project Plan Listing page:**
1. Navigate to **More**\> **Project Plan> Project tab**
2. Choose the project plan of your choice & click on ‘Create Project’ from the bottom.
3. Fill out everything that’s asked for & provide your project template, workflow etc & click on ‘Create’.
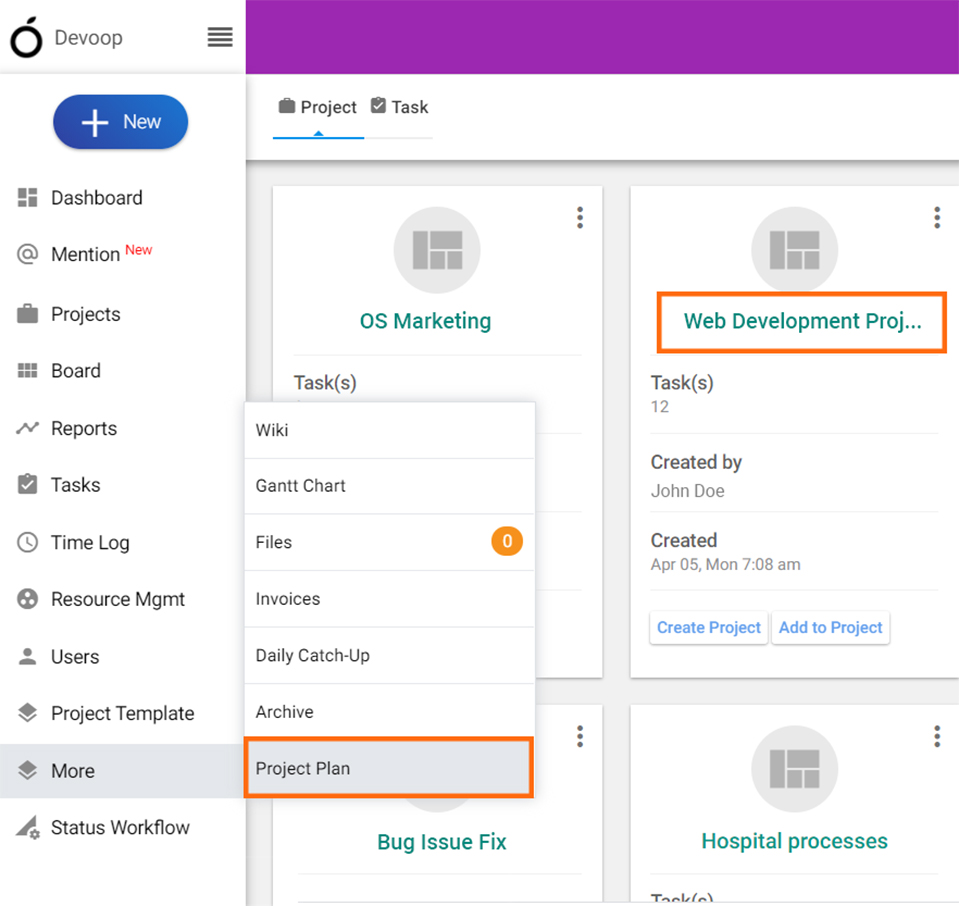
**From [Quick Links](https://helpdesk.orangescrum.com/how-can-i-manage-the-menus-in-quick-links/):**
1. From anywhere in the app, click on ‘Quick Links’ on the header > New > Project
2. Choose the project plan of your choice & click on ‘Create Project’ from the bottom.
3. Fill out everything that’s asked for & provide your project template, workflow etc & click on ‘Create’.
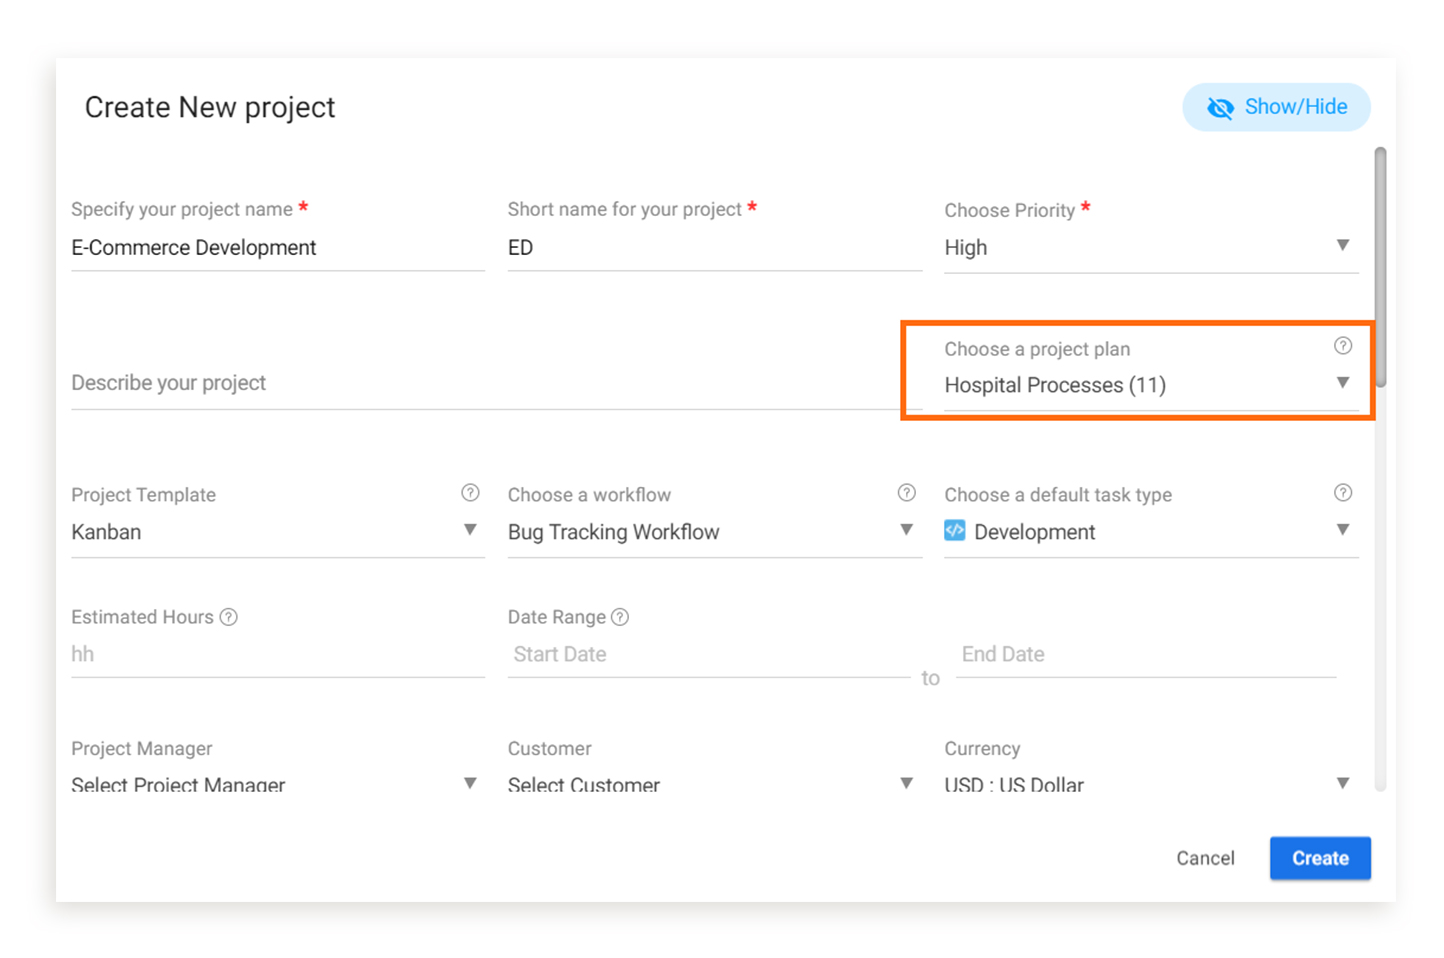
# How to Add a Project plan to an Existing Project?
> Navigate to More> Project Plan> Project tab. Choose the project plan of your choice & click on ‘Add to Project’ from the bottom Select a project from the drop down list > Click on ‘Add’.
> For the complete documentation index, see [llms.txt](https://helpdesk.orangescrum.com/llms.txt).
Source: https://helpdesk.orangescrum.com/how-to-add-a-project-plan-to-a-project
---
1. Navigate to **More**\> Project Plan> Project tab.
2. Choose the project plan of your choice & click on ‘Add to Project’ from the bottom
3. Select a project from the drop down list > Click on ‘Add’.
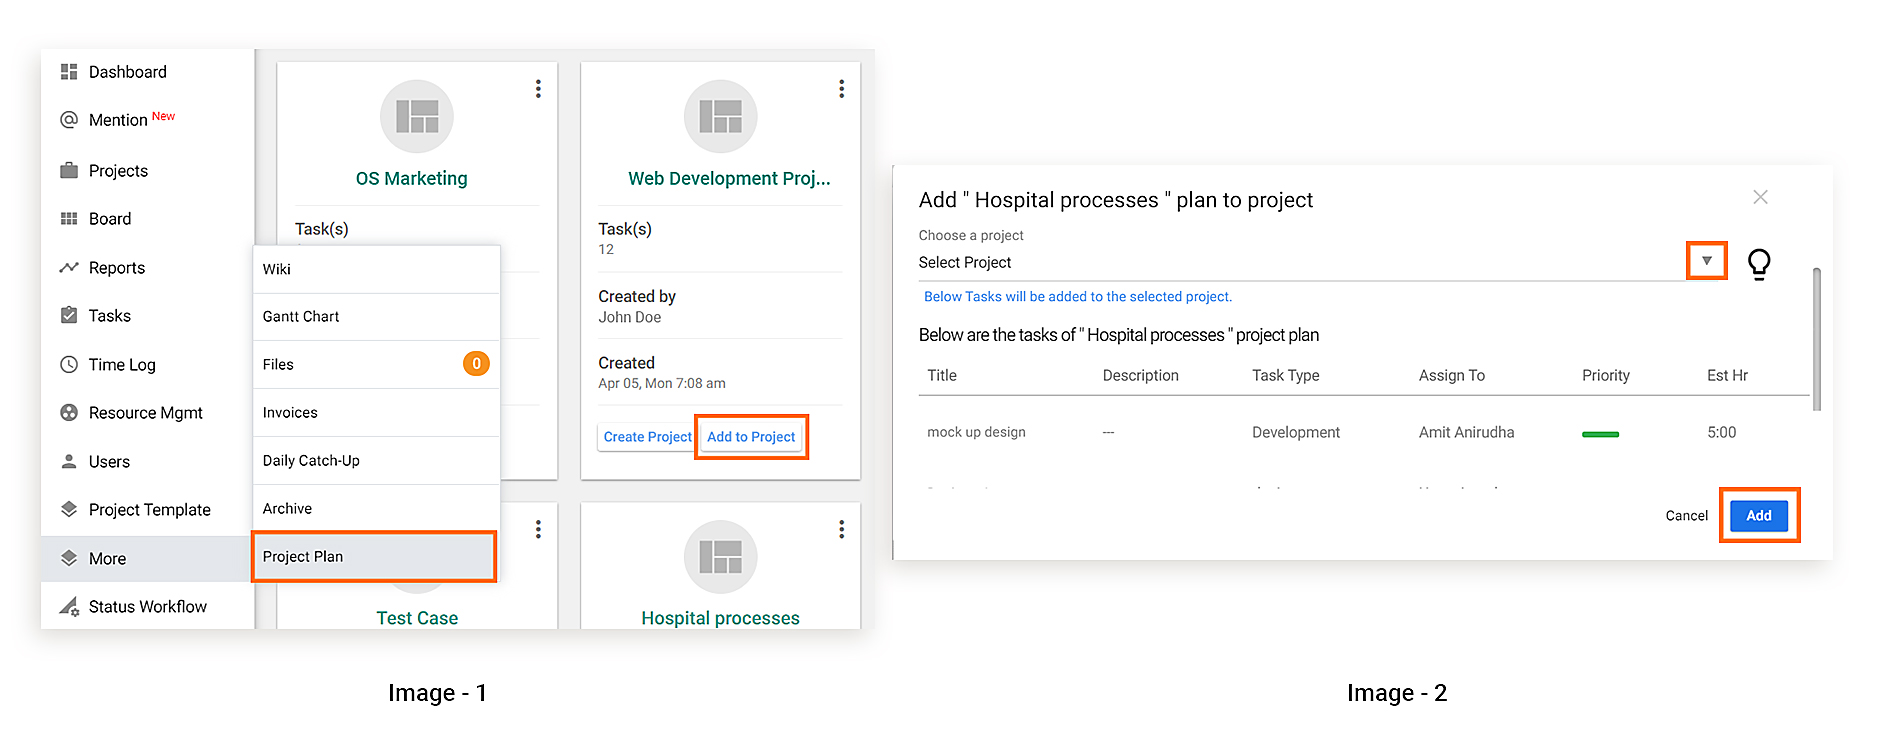
# How to Create Custom Project Plan in Orangescrum and Use it in Project?
> How to Create Custom Project Templates in Orangescrum and Use it in Project
> For the complete documentation index, see [llms.txt](https://helpdesk.orangescrum.com/llms.txt).
Source: https://helpdesk.orangescrum.com/how-to-create-custom-project-plan-in-orangescrum
---
**Creating Project Plan:**
1. Navigate to **More > Project Plan** from left panel. (Refer Image -1)
2. On the [Project plan](https://helpdesk.orangescrum.com/what-is-project-template-how-it-helps-you/) page, click  to create a project plan.
3. Provide your project plan name and click on **Create.** (Refer Image -2)
4. Click on **Quick Task Group** to create a task group. Provide task group name, description estimated hour and click **Save**.
5. Under the specific Task Group, click on **Quick Task** to add task under that task group.
6. Provide a required description, Task Type, Task Priority etc. and click **Save.**
7. Similarly you can create Subtasks, Sub-sub tasks by clicking plus icon beside the specific parent task.
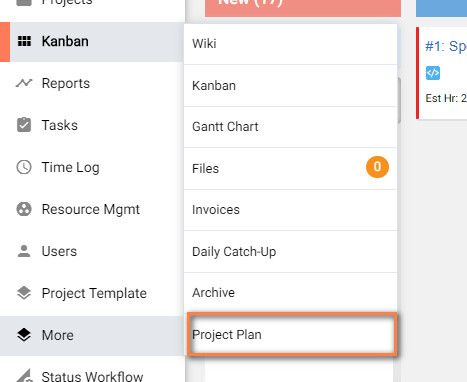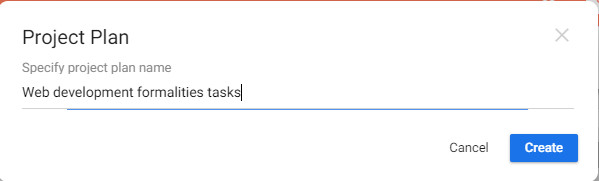
**(Image-1) (Image-2)**
**Using project plan in Project:**
1. Click [**Quick link**](https://helpdesk.orangescrum.com/how-can-i-manage-the-menus-in-quick-links/)**\> Project**.
2. Provide required title, short name, Default task type etc.
3. Select specific project template under project template.
4. Click on **Create**.
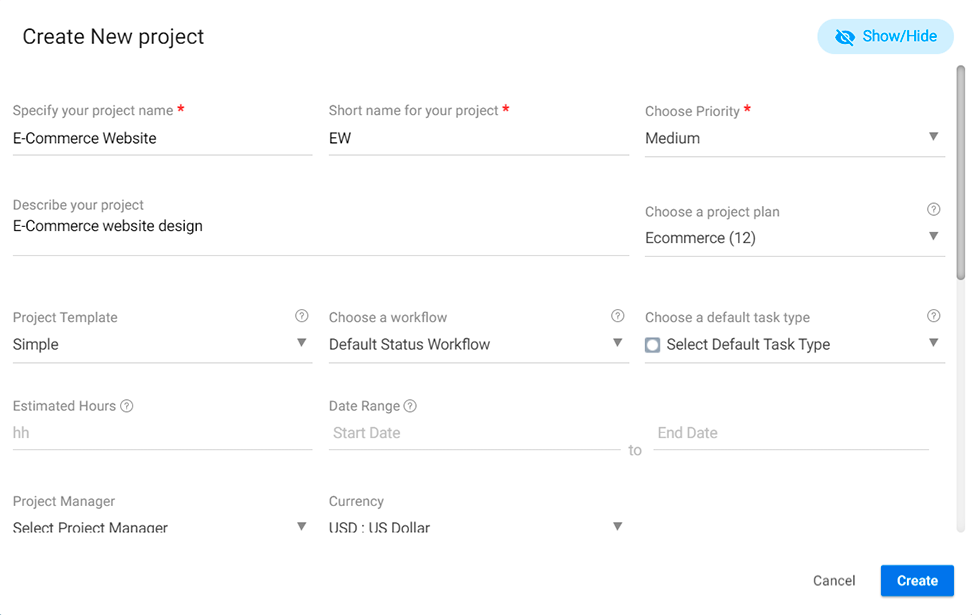
**Tips: –** Once the project is created, you cannot add the project plan again. However, you can click on **Add to project** in project plan page to add the project plan to an existing project.
# Can I start Multiple Sprint for a Scrum Project ?
> Currently, you can only view one sprint report at a time. And we're working on bringing multiple reports viewing to you soon.
> For the complete documentation index, see [llms.txt](https://helpdesk.orangescrum.com/llms.txt).
Source: https://helpdesk.orangescrum.com/can-i-view-the-reports-of-multiple-sprints-at-one-time
---
In order to start multiple sprints for a Scrum project, you need to enable Parallel sprints. You can do this by following below steps-
1. Click on **Profile icon> Company setting>Sprint setting**.
2. Click  to the icon to enable parallel sprint and Click **Save.**
Once you have enabled the above option, you will be able to find sprint drop-down in the active sprints and you can select the required sprint you wan to see.
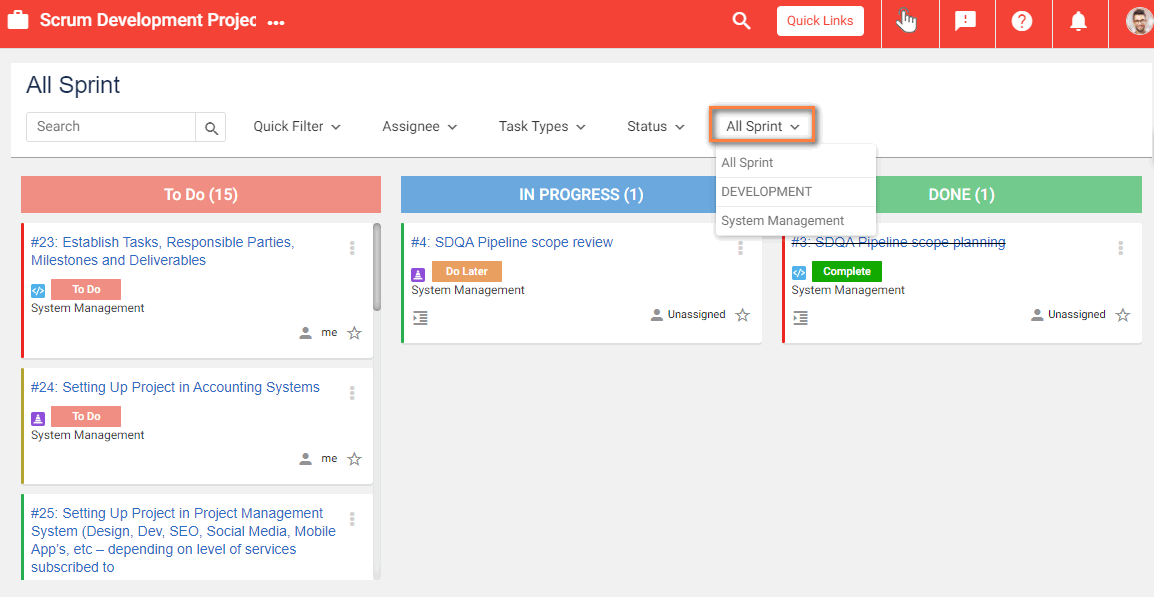
# What are Sprint Reports?
> Sprint Reports are designed to help you understand your team’s performance across completed Sprints
> For the complete documentation index, see [llms.txt](https://helpdesk.orangescrum.com/llms.txt).
Source: https://helpdesk.orangescrum.com/what-are-sprint-reports
---
Sprint Reports are designed to help you understand your team’s performance across active & completed Sprints.
You can quickly understand the work that has been completed and the ones that were returned to the backlog with the Sprint Reports.
A Sprint Report will provide you with ***a list of all associated tasks of the Sprint and their status.*** You can clearly see how many of those tasks weren’t completed and were pushed back to the backlog or reprioritized and/or sent to another active sprint.
This helps you understand if your team is ***over-committing***, does not understand the scope well or if there is *scope creep*.
Sprint Reports are a handy tool to conduct successful Sprint Retrospectives, help organize future sprints better and improve the agile quotient of your team.
Let us now see how to access a Sprint Report in Orangescrum:
1. Click on the **‘Reports’** from the left panel.
2. Select ‘**Sprint Report’** from the list.
3. By default it will show the last viewed project with Scrum Methodology and the list of active & completed sprints present in the project. Select the project and the sprint you would like to review.
4. Click on ‘**Submit’**.
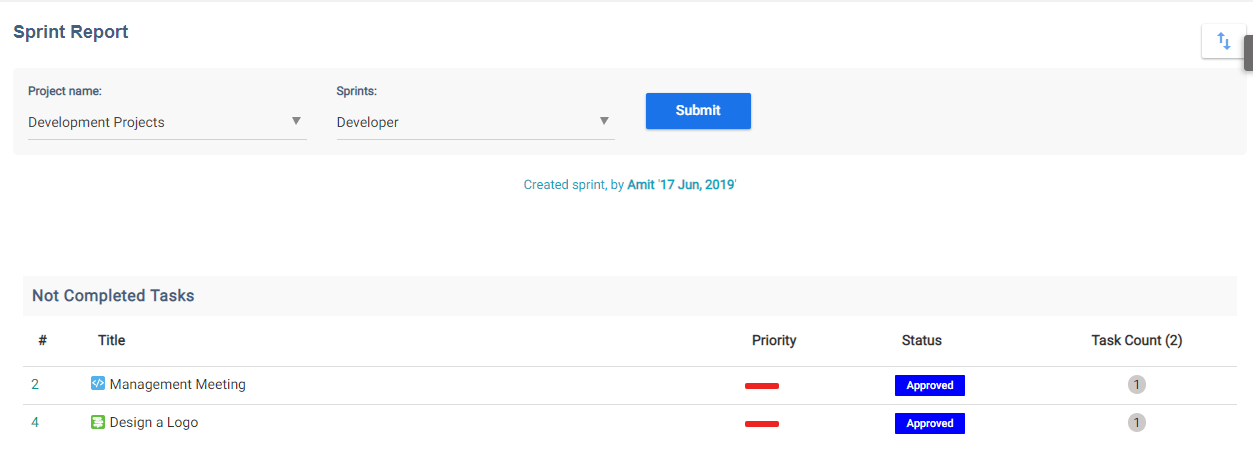
# Who can Edit and Manage the Sprints in a Project?
> Who can Edit and Manage the Sprints in a Project
> For the complete documentation index, see [llms.txt](https://helpdesk.orangescrum.com/llms.txt).
Source: https://helpdesk.orangescrum.com/who-can-edit-and-manage-the-sprints-in-a-project
---
**Owner** & **Admin** are allowed to edit & manage a **Sprint** in a project. However, if the **User** has permission to **Add** and **Manage** Sprints under **User Role Management** **settings**, then the user can also edit & manage [Sprints](https://helpdesk.orangescrum.com/how-can-i-create-sprints-2/) in a project.
# Who can Create A Sprint or a Backlog?
> Who can Create A Sprint or a Backlog
> For the complete documentation index, see [llms.txt](https://helpdesk.orangescrum.com/llms.txt).
Source: https://helpdesk.orangescrum.com/who-can-create-a-sprint-or-a-backlog
---
**Owner** & **Admin** are allowed to create a **Sprint** or a **Backlog**. However, if the Custom User has permission to **Create** Sprints under **User Role Management** **settings**, then the user is also allowed to create a Sprint/backlog.
# What are Backlogs? How can I Add a Task to Backlog?
> Backlogs are the tasks planned/need to be done in order to close the project.
> For the complete documentation index, see [llms.txt](https://helpdesk.orangescrum.com/llms.txt).
Source: https://helpdesk.orangescrum.com/what-are-backlogs-how-can-i-add-a-task-to-backlog
---
Backlogs are the list of tasks planned & need to be done in order to complete the project. Backlog or Product Backlog as commonly known in the agile methodology is a list of all features, epics, stories and tasks that the product owner would like to develop.
Backlog is owned by the Product Owner, he prioritizes it and the Scrum team picks up items from the backlog into a Sprint and work on them.
**Note:** Backlog is only applicable and visible when you have chosen a Scrum project. Hence, if you want to use Backlogs & run Sprints, then **select the Scrum template** from the **Template** dropdown field in the create project form. Else, you will be able to see them when you navigate to an existing Scrum project.
There are **2** ways you can add a task to the Backlog;
- From [**Quick Links**](https://helpdesk.orangescrum.com/how-can-i-manage-the-menus-in-quick-links/)
- From **Backlog**
### **From Quick Links:**
1. Click **Quick Links > Tas**k
2. Provide required details, choose **Backlog** under **Sprint** option & click **Save & Exit** (Refer Image 1)
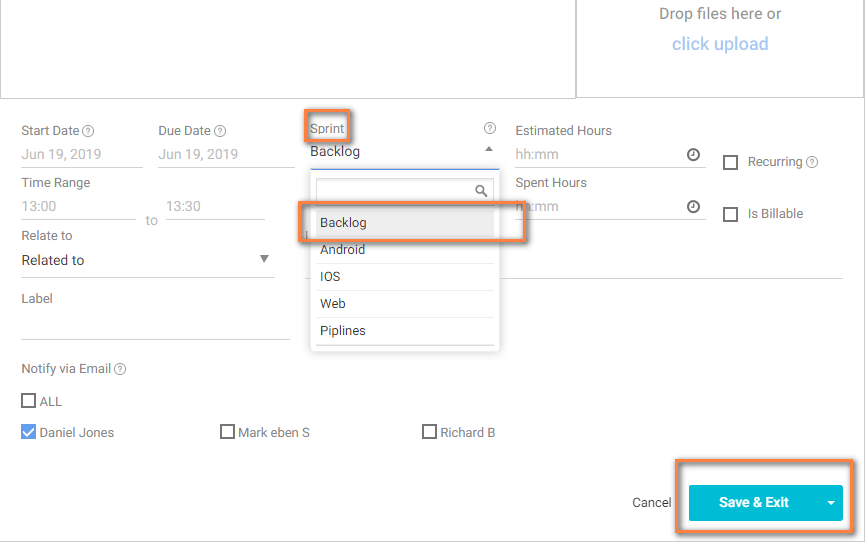
**(Image 1)**
### **From Backlog:**
1. Click **Backlog** from Left Menu **> Quick Task**
2. Provide required details & **click**  **icon** (Refer Image 2)

**(Image 2)**
#### **How can I use filters in Backlogs?**
- Click **Backlog** from the Left Menu**.**
- In the Backlog page, you will see certain predefined filters like Assigned to me, Task status, Task type.
You can use filters to find the following information-
- **List of tasks with a particular status**– In order filter the task associated with particular status click Status in the top of Backlog page. By default, it will show status in Active Sprint- To Do, In progress, Closed.
**Note:** The Scrum Board will show tasks in 3 highlevel states – TO DO, IN Progress & Done. However, if you have used a custom status workflow, then the custom status with 0% progress will be mapped to the TO DO column. All custom status with progress>0% and less than<100% will be mapped to the IN-Progress column and the last status with 100% progress will be mapped to the Done column.
Also, you will not be able to add custom columns to the Scrum Board.
- **Filter tasks assigned to me- In order to filter tasks assigned to me, you can select Quick filter> Assigned to me.**
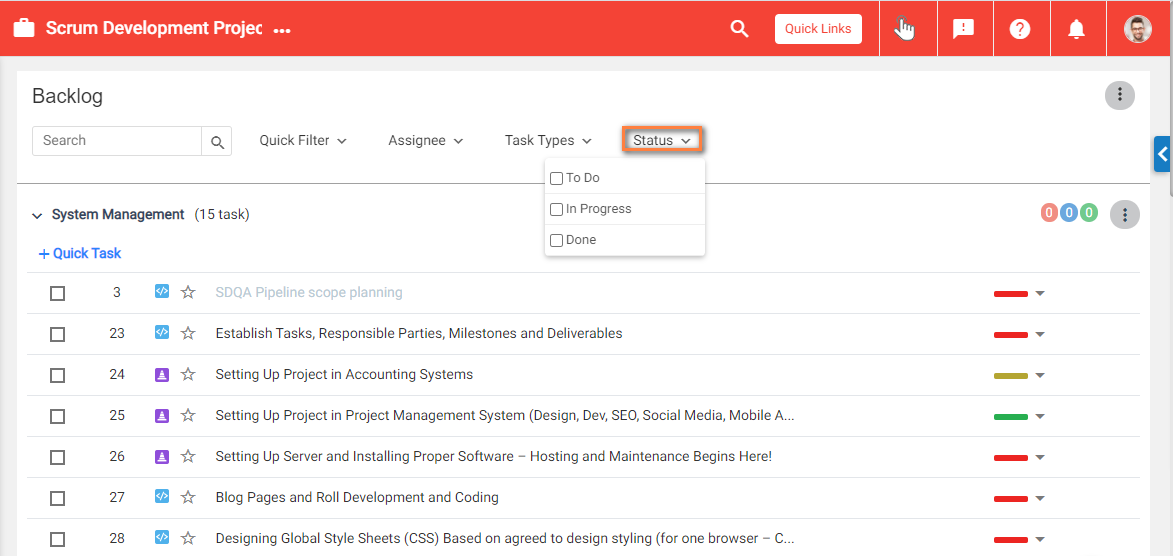
- Filter list of tasks assigned to specific user- In order to filter assigned tasks to specific user, select Assignee and select the specific user for which you want to see the assigned tasks.
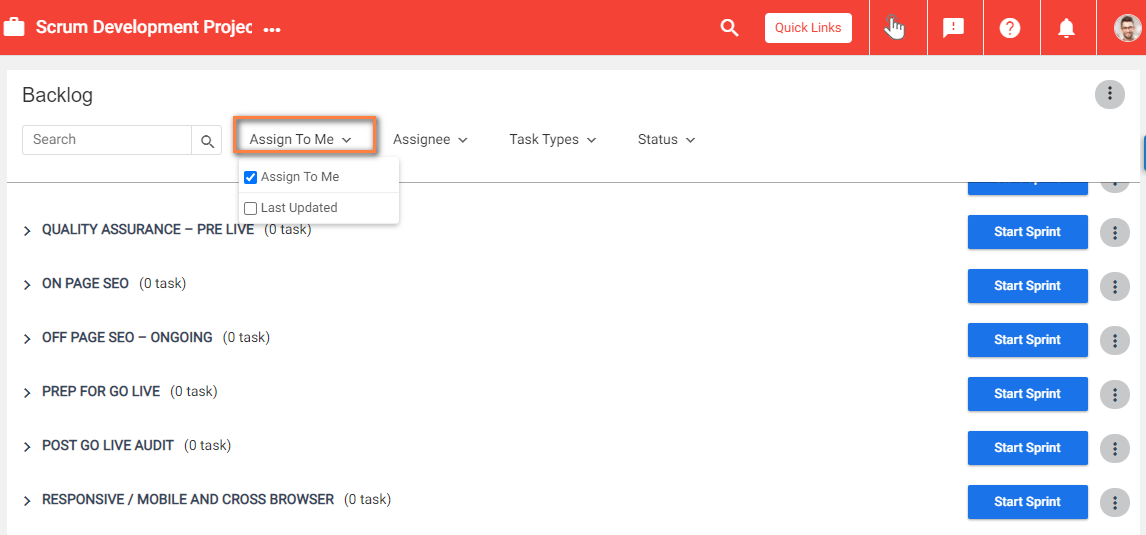
- Filter tasks associated with specific task type- In order to filter tasks with specific task type, select Type and select the specific task type for which you want to filter the tasks.
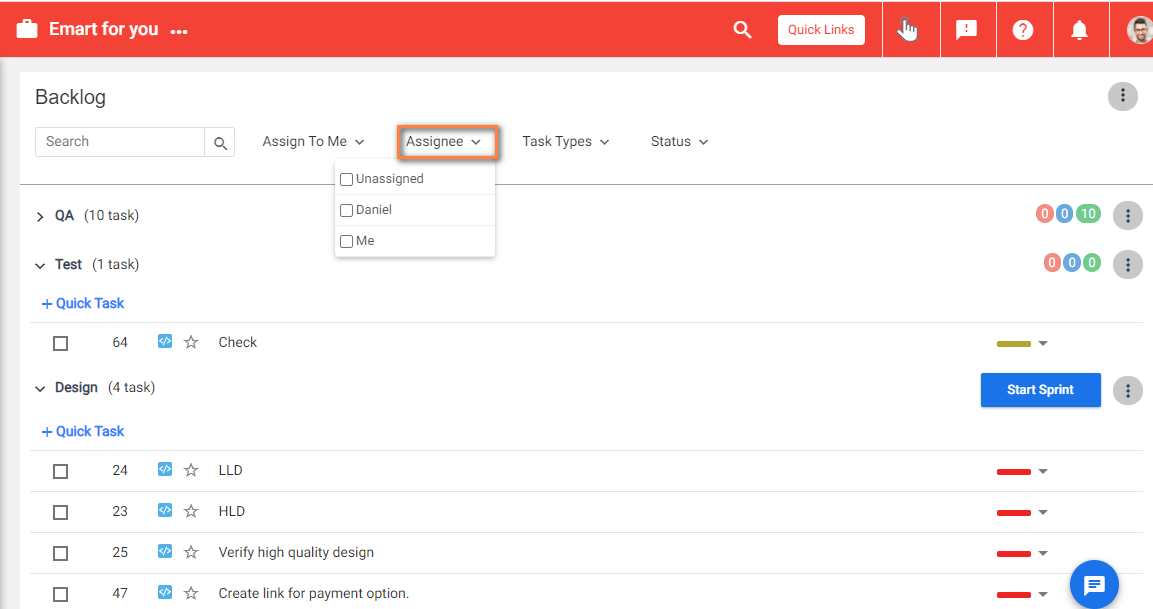
**Note:** The backlog section only displays new or in-progress items. Closed tasks or stories are not shown here. To view closed tasks or stories, please refer to the task list page and use the filter to find the specific task or story you’re looking for.
# Can I Change Project template of an existing project?
> Can I Change to Scrum Interface While in Simple Project Management Interface
> For the complete documentation index, see [llms.txt](https://helpdesk.orangescrum.com/llms.txt).
Source: https://helpdesk.orangescrum.com/can-i-change-to-scrum-interface-while-in-simple-project-management-interface
---
**NO**, you can’t change Project template of an existing project.
However, you can create a project with the required methodology. Then [copy](https://helpdesk.orangescrum.com/can-copy-task-2/) all the existing Tasks from the existing project & move them to the new project.
# Can I Change the Project Plan of Existing Projects?
> Can I Change the Project Methodology of Existing Projects
> For the complete documentation index, see [llms.txt](https://helpdesk.orangescrum.com/llms.txt).
Source: https://helpdesk.orangescrum.com/can-i-change-the-project-methodology-of-existing-projects
---
Once the project has been created, [Project Plan](https://helpdesk.orangescrum.com/what-project-management-methodologies-are-available-in-orangescrum/) cannot be edited.
However, you can create a new project with the required project plan and copy all the tasks of the existing project to the new project.
# How can I Choose A Specific Project Template for My Project?
> How can I Choose A Specific Project Management Methodology for My Project
> For the complete documentation index, see [llms.txt](https://helpdesk.orangescrum.com/llms.txt).
Source: https://helpdesk.orangescrum.com/how-can-i-choose-a-specific-project-management-methodology-for-my-project
---
You can add a project template by following below steps:-
- Click on Quick links> Project
- Provide Project name, short name, priority etc.
- Click on Project Template drop-down to select a project template. By default, the associated relevant workflow will be auto-selected.
- If you need to use your own workflow, then you can select it from workflow drop-down.
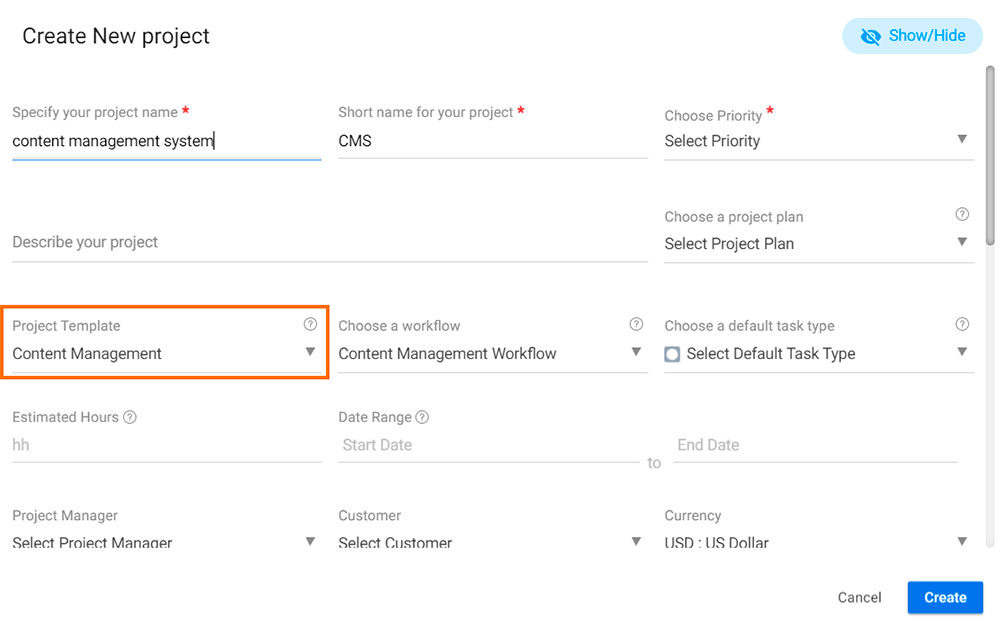
- Provide estimated hour & date range details & click Create
**Note:** Once the project is created, you will not be able to edit the Project Template.
# What is Scrum Project Management? And what are the Features Available in Orangescrum?
> What is Scrum Project Management? And what are the features available in Orangescrum
> For the complete documentation index, see [llms.txt](https://helpdesk.orangescrum.com/llms.txt).
Source: https://helpdesk.orangescrum.com/what-is-scrum-project-management-and-what-are-the-features-available-in-orangescrum
---
**Scrum** is an **Agile Project Methodology** that enables software development organizations to prioritize the work which matters the most and break it down into manageable chunks. In this methodology, work is done in short cycles called [**Sprints**](https://helpdesk.orangescrum.com/how-can-i-create-sprints-2/), and the team meets daily to discuss current tasks and roadblocks that need to be resolved. Simply, **Scrum** is a method for managing projects that allow for quick development and testing, especially within a small team & increasing business value by ensuring that customers get what they actually want.
**The features available in Orangescrum are;**
- Add your planned/necessary tasks to [**Backlog**](https://helpdesk.orangescrum.com/what-are-backlogs-how-can-i-add-a-task-to-backlog/).
- Get to know the status of tasks and remaining time in Active sprints.
- Drag and drop the task to change the status of the task in the **Scrum board**.
- Conduct Sprint Retrospective of sprints with [**Sprint Report**](https://helpdesk.orangescrum.com/what-are-sprint-reports/).
- Get information about sprints performance with **[Velocity Reports](https://helpdesk.orangescrum.com/what-is-velocity-chart/).**
- **Sprint Burndown Report** provides transparency about the current performance (burndown rate) and allows easy estimation if the Sprint Goal can be reached in time or if the team has to find additional measures to speed-up completion of the remaining activities.
# What Project Templates are Available in OrangeScrum? and how can I Choose A Specific Project Template for My Project?
> What Project Management Methodologies are available in OrangeScrum
> For the complete documentation index, see [llms.txt](https://helpdesk.orangescrum.com/llms.txt).
Source: https://helpdesk.orangescrum.com/what-project-management-methodologies-are-available-in-orangescrum
---
There are 8 types of project templates available in Orangescrum:-
- Simple
- Scrum
- Kanban
- Bug Tracking
- Content Management
- Task Tracking
- Recruitment
- Procurement
You can choose the project template as per your project type. With each project type, the workflow will be auto-selected adding relevant tasks status to the project. However, you can choose your own workflow. You can find below options in each project template.
- **Simple:-**
This project template comes with **Default status workflow** which includes task status as New, Inprogress, Resolved & Close.
With this template, your task list will be landing in the list view page. However, you can change to any view say Calendar view, Task group, Kanban, Sub-task view as per your requirements.
Simple project template helps to:-
- - Manage and track status your tasks in a list view
- Delegate tasks easily to assign tasks to teams
- Monitor team’s activity at one place
- **Scrum**:-
Similar to Simple, you will be having Default Status workflow in Scrum project template.
However, in Scrum, you will be having Active Sprint, Reports such as Velocity Report, Sprint Reports etc. You can find more details about the Scrum project template [here](https://helpdesk.orangescrum.com/cloud-category/scrum-project-management/).
Scrum project template helps to:-
- - Visualize the content flow from plan to publish
- Manage all content tasks in one board
- Customize your content lifecycle with workflow
- **Kanban**:-
When you are adding the Kanban project template to a project, the default view of the task list will be in the Kanban board and task statuses in the project will appear as columns with tasks associated with that status under it.
Kanban will have drag-drop feature for the tasks, which means you can drag & drop the task cards to change its status.
Additionally, you can get the total task count in terms of status.
- - Visualize task progress in a board
- Customize the status workflow based on their use case
- Easily drag and drop tasks to update status
- **Bug Tracking:**–
Manage all your bugs & issues with pre-defined bug tracking workflow.
With the Bug tracking template, you will have a Board available. Similar to the Kanban view, you will have the following task status- Backlog, Ready, In-progress, Done.
Bug tracking template helps QA team to:
- - Add & manage bugs or issues
- Track bug status in real-time
- Customize the workflow to suit your use case
- **Content Management:-**
Plan & release contents with a pre-defined review & approval process.
Similarly, for Content Management, you will have the following predefined task status with Content Management workflow-Open, In-progress, Approved, Cancelled & Rejected.
Marketing teams can use to:
- - Visualize the content flow from plan to publish
- Manage all content tasks in one board
- Customize your content lifecycle with workflow
- **Task Tracking:-**
Simple & minimalistic approach to organize and track your To-Do lists. Task tracking will have the following status with Task tracking workflow:- To-do, Done.
Task tracking workflow helps you to:
- - Check what’s to do and what’s done
- Quickly add tasks to your to-do list
- Organize your worklist based on priority
- **Recruitment:-**
Automate requirement process from job posts to employee onboarding.
With Recruitment project template, you will have the following workflow or task status- Application, Screening, Interviewing, Interview offer, Offer discussion, Accepted, Rejected.
HR teams use this template to
- - Manage all the applicants in a single board
- Add new candidates and track progress till onboarding
- Attach documents, schedule interviews, share notes and reminders
- **Procurement:-**
Track your procurement process from RFP to order closure. With this project template, you will have the following workflow:- Requested, In review, Approved, Purchased & Lost
Procurement team can use this template to:-
- - Add all their procurement details in one place
- Track purchases from request a quote to purchase
- Add attachments, submit purchase requirements, POs & invoices
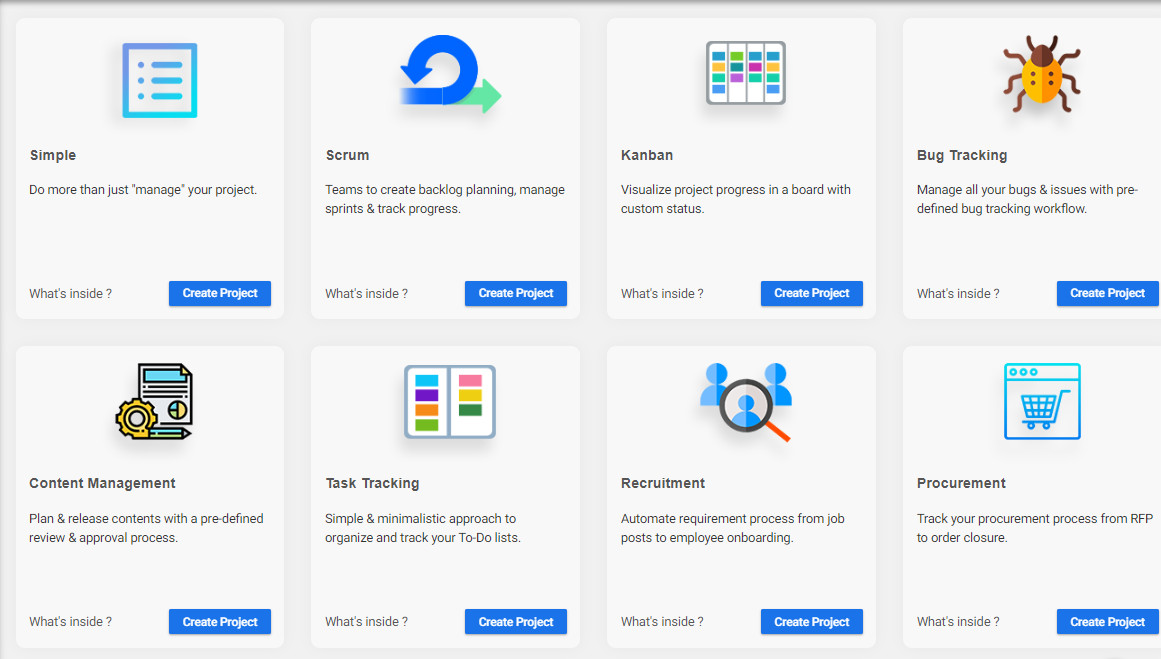
**How can I Choose A Specific Project Template for My Project?**
You can add a project template by following below steps:-
- Click on **Quick links> Project**
- Provide Project name, short name, priority etc.
- Click on Project Template drop-down to select a project template. By default, the associated relevant workflow will be auto-selected.
- If you need to use your own workflow, then you can select it from workflow drop-down.
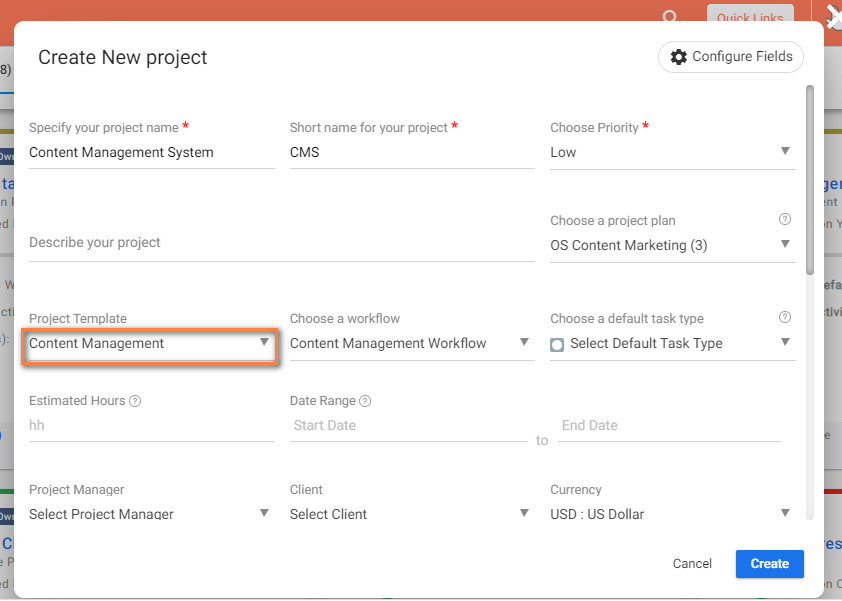
- Provide estimated hour & date range details & click Create
**Note:** Once the project is created, you will not be able to edit the Project Template.
# How can I Create a Non-Project Wiki?
> Click Left panel>Wiki Click on ‘New Wiki’ Add Wiki title, Wiki description, Category and Sub-category and attach the required file. Once all details are added, you need to choose name of approver who is going to approve the wiki. You can also select ‘Is Parent’ box to indicate the wiki as a parent…
> For the complete documentation index, see [llms.txt](https://helpdesk.orangescrum.com/llms.txt).
Source: https://helpdesk.orangescrum.com/how-can-i-create-a-non-project-wiki
---
1. Click **[Left panel](https://helpdesk.orangescrum.com/can-i-manage-my-left-menu-of-the-orangescrum/)\>Wiki**
2. Click on ‘**New Wiki’**
3. Add Wiki title, Wiki description, Category and Sub-category and attach the required file.
4. Once all details are added, you need to choose name of approver who is going to approve the wiki.
5. You can also select ‘**Is Parent’** box to indicate the wiki as a parent wiki or select a parent wiki to link the new wiki as a Child wiki.
6. Once all details are provided, click on ‘**Final Submit for Approval’**.
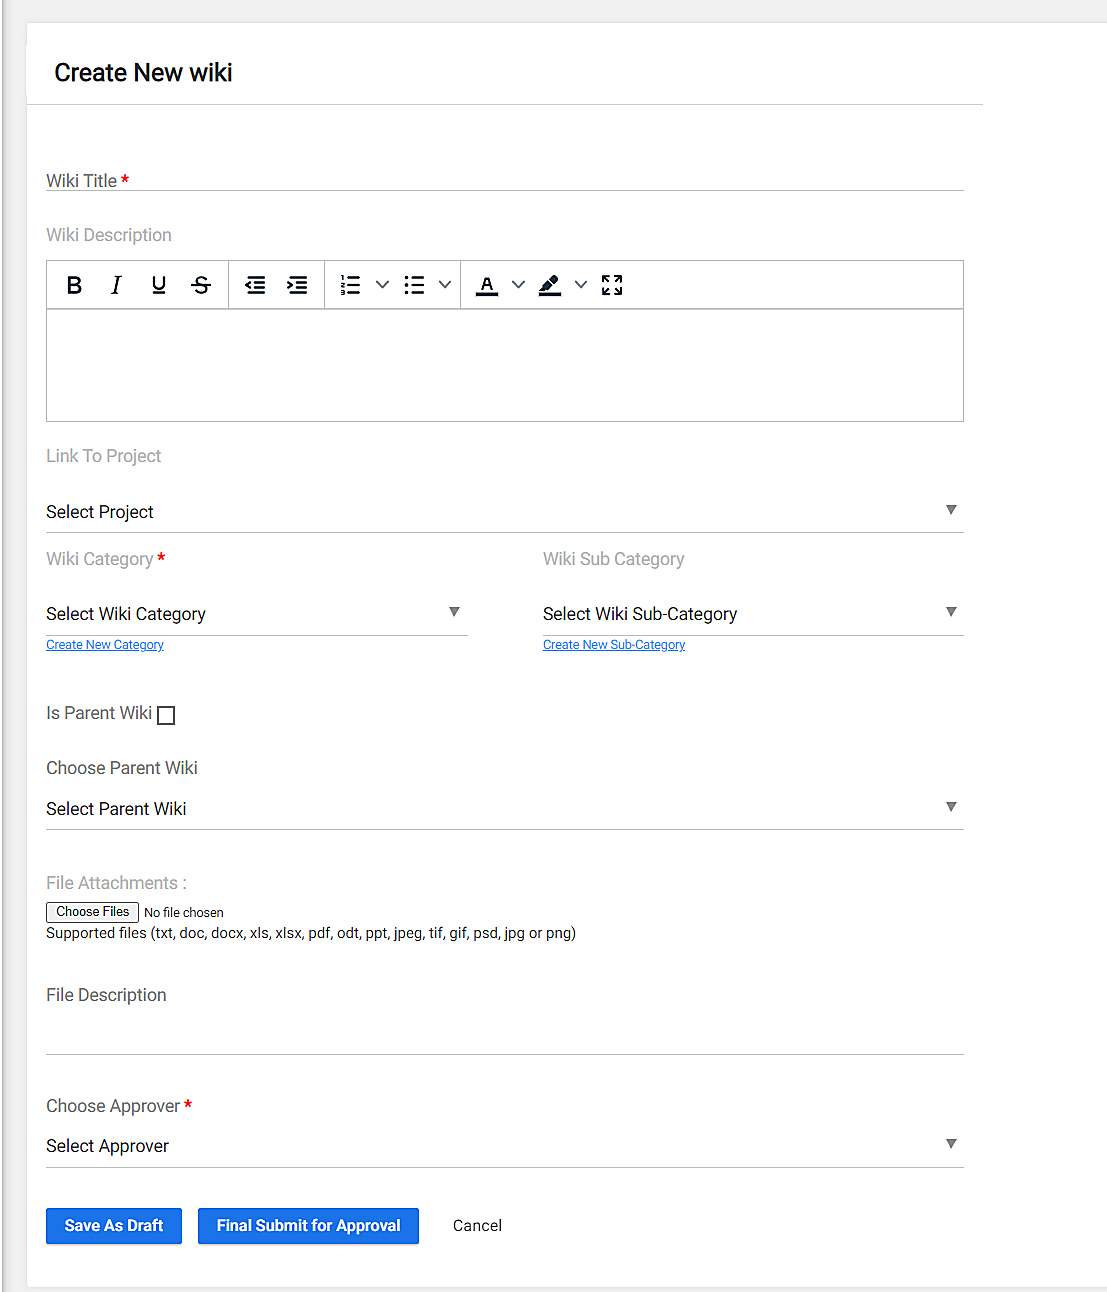
**Note**: Please make sure you are not selecting any project.
# What is the Hierarchy Followed in Orangescrum?
> What is the Hierarchy Followed in Orangescrum
> For the complete documentation index, see [llms.txt](https://helpdesk.orangescrum.com/llms.txt).
Source: https://helpdesk.orangescrum.com/what-is-the-hierarchy-level-orangescrum
---
Here’s the hierarchy Orangescrum follows:
Projects
\-Task group
\-Tasks
\-Subtasks
\-Sub-subtasks
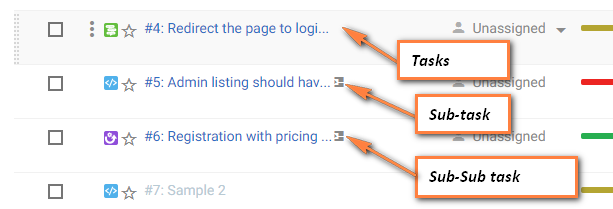
Note: You can create tasks without a task group but you can’t create tasks, subtasks or task groups without creating project.
# What is a Sub-task? How can I Create a Sub-task?
> Subtasks are means to split a task into smaller tasks for easier tracking & completion of the parent task
> For the complete documentation index, see [llms.txt](https://helpdesk.orangescrum.com/llms.txt).
Source: https://helpdesk.orangescrum.com/what-is-a-subtask
---
Subtasks are means to split a task into smaller tasks for easier tracking & completion of the parent task.
Subtasks are the means to split a large complex task into smaller tasks for easier tracking & completion of the parent task.
All the subtasks are linked to a parent task, but have their own priorities, progress%, assign to, start/end dates and task types.
**Note**: You can’t create a subtask without a parent task. Also, you can assign all the subtasks to different people in your team, for quicker execution.
**Benefits of using Subtask-**
- Easier task tracking & on-time completion
- Faster execution search subtask can be allocated to a different resource
- Better work breakdown structure with full clarity
**How can I Create a Subtask?**
You create sub-task from two places-
**From Task Details pages**
- Navigate to a task details page from task listing
- In the subtasks section,click on the option
- Give a title to your sub-task & save.
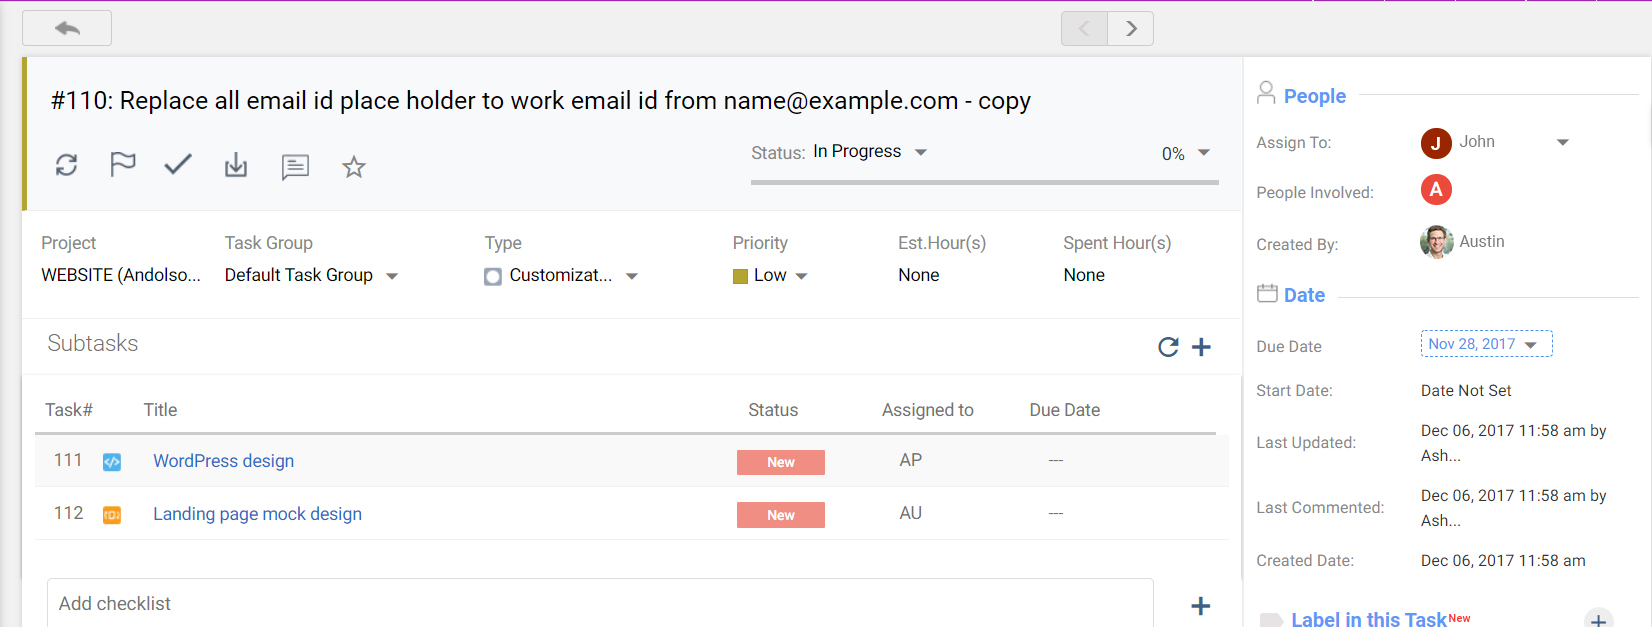
**From Task listing page-**
- Navigate to task list of the specific project.
- Click on 3-dot icon of the specific parent task for which you want to add sub-tasks. Further, click on **Create Subtask**. If you are unable to find the Create Subtask option, then the task should be already a Sub sub task.
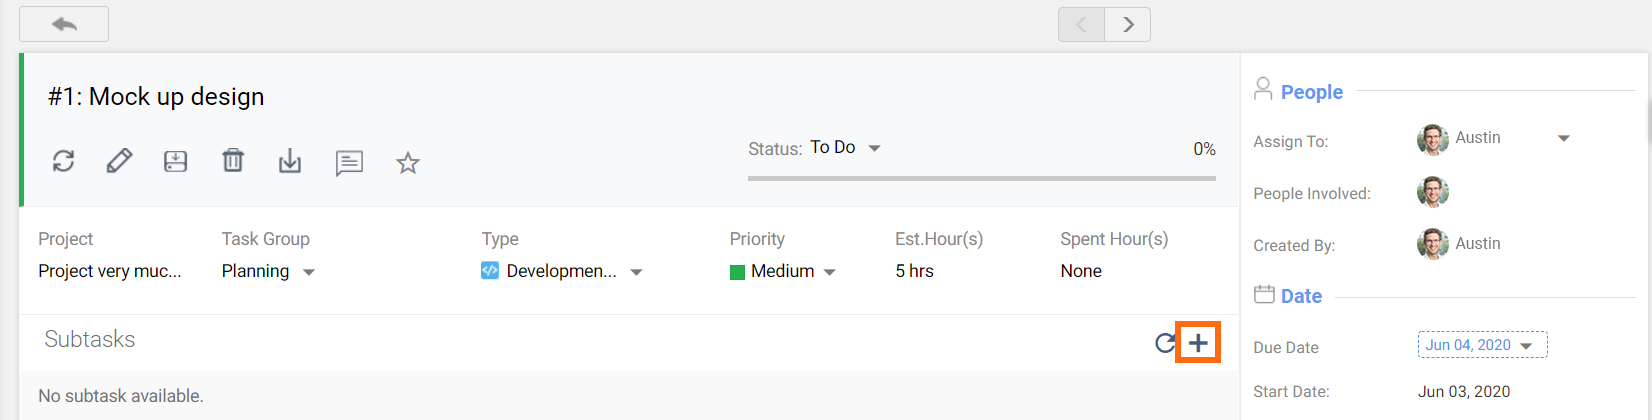
- In create subtask, provide Task name, task type, estimated hour, assignee, start date & end date and click save.
[](https://i2.wp.com/www.orangescrum.com/blog/wp-content/uploads/2020/09/Sub-Task.png)
- Subtask will be created and shown in task list view. You can also create subtask from Task list, Task group & Kanban view.
[](https://i2.wp.com/www.orangescrum.com/blog/wp-content/uploads/2020/09/Application-Framework.png)
**How can I Identify Subtask from the Task List Page?**
 icon indicates Subtask. Please follow below steps to identify subtask. Navigate to **Task Listing Page >** Click **icon**

**How can I Edit the Subtask?**
There are 2 ways you can edit a subtask:
**From Task Listing**
- In the task listing page, navigate to the specific task.
- Click on option and click **Edit.**
- Make the required changes and click **‘Update’.**
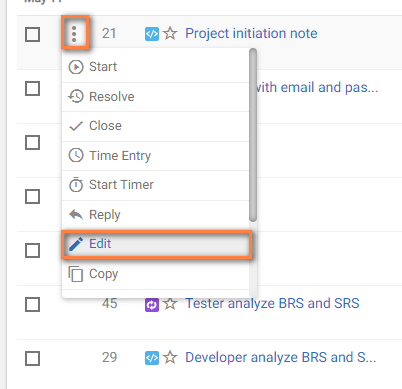
**From Task Details Page**
- In the task listing page of the project,click on the task title of the specific task you want to edit.
- Click  in the top section > Make your changes > **Update.**
- If you’re on the parent task’s details page, Click on the subtask title you wish to edit > Edit option on the top > Make your changes > **Update**.
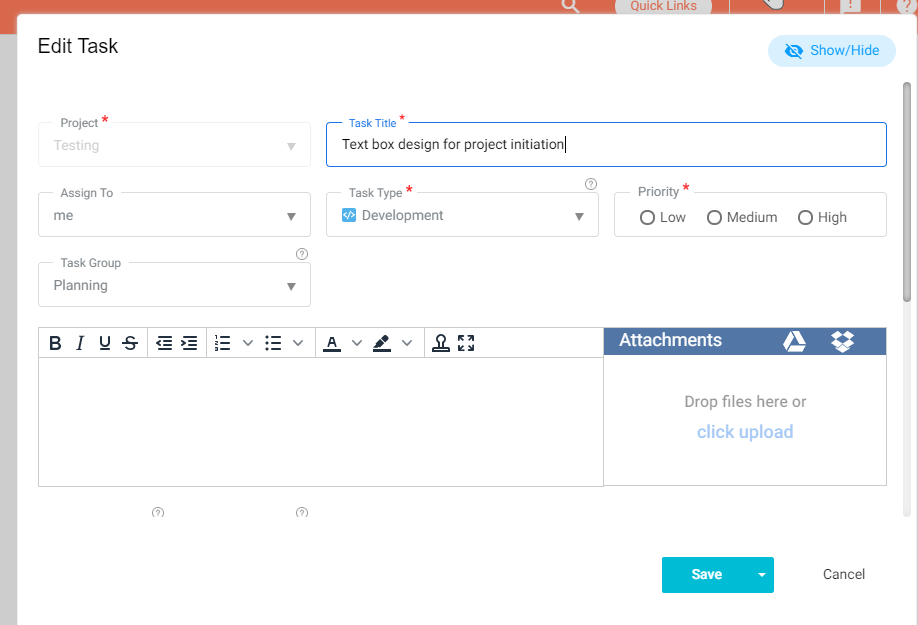
**How can I Copy a Sub-Task?**
- Go to the Task List page.
- Click and click It creates a copy of the subtask.
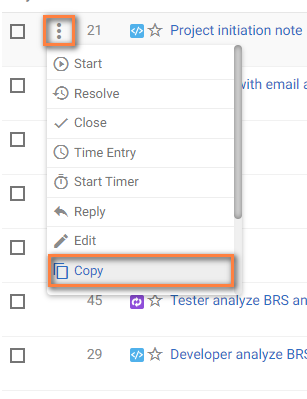
**How can I Delete a Subtask?**
- In the task listing page, navigate to the specific subtask.
- Click on option and click **Delete**.
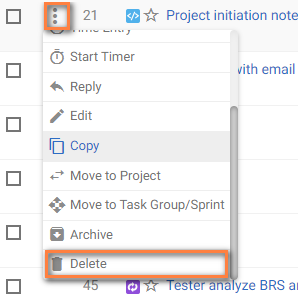
**How can I See All the Associated Sub-Tasks of a Parent Task?**
- Navigate to Task Detail Page
- Under **Subtasks** option, get the listed sub-tasks.
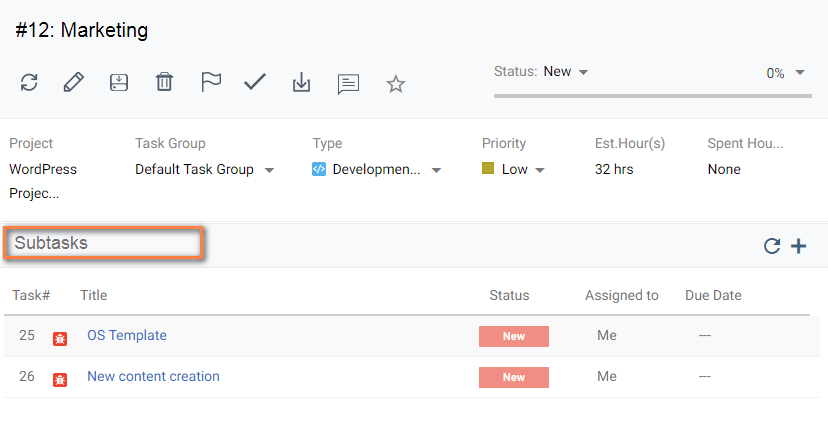
# How can I Change the Status of the Sub-Task?
> Navigate to the parent or main task’s detail page. Move to the subtasks section > Click on the 3dot option at the end of every subtask listing to change the status Click on the subtask title > Go to subtask details page > change the status from the top section If We Change the Status […]
> For the complete documentation index, see [llms.txt](https://helpdesk.orangescrum.com/llms.txt).
Source: https://helpdesk.orangescrum.com/how-can-i-change-status-sub-task
---
- Navigate to the parent or main task’s detail page.
- Move to the [subtasks](https://helpdesk.orangescrum.com/what-is-a-subtask/) section >
- Click on the 3dot option at the end of every subtask listing to change the status
- Click on the subtask title > Go to subtask details page > change the status from the top section
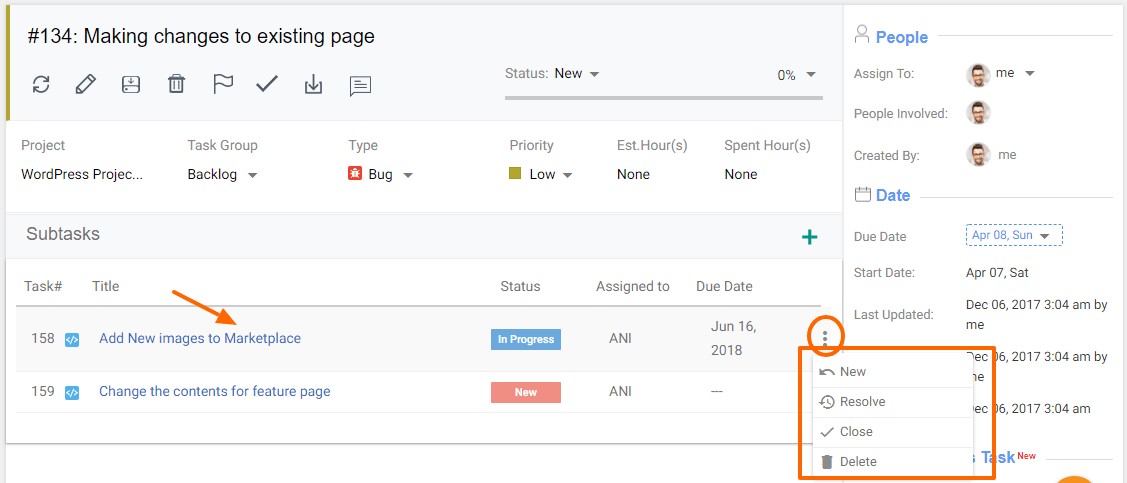
**If We Change the Status of the Parent Task, will the Status of Sub-Task be Changed?**
**NO**, the change in **Parent Task Status** won’t affect the **Status** of **Subtask**. But if you close the parent task, then all Sub-tasks will be closed.
If the Parent Task Status is Closed, the Status of Subtask will be Closed.
# Why am I not able to Change the Status of the Parent Task to Close?
> Why am I not able to Change the Status of the Parent Task to Close
> For the complete documentation index, see [llms.txt](https://helpdesk.orangescrum.com/llms.txt).
Source: https://helpdesk.orangescrum.com/not-able-change-status-parent-task-close
---
Please check if there is any **Dependency** added to the **Subtask**. If there is any dependency attached with any sub task, then it won’t allow you to close the parent task till the sub task is closed.
# Can I View Sub-Tasks in Gantt Chart?
> Can I View Sub-Tasks in Gantt Chart
> For the complete documentation index, see [llms.txt](https://helpdesk.orangescrum.com/llms.txt).
Source: https://helpdesk.orangescrum.com/can-view-sub-tasks-gantt-chart
---
Yes! Subtasks are displayed in the Gantt Chart too.
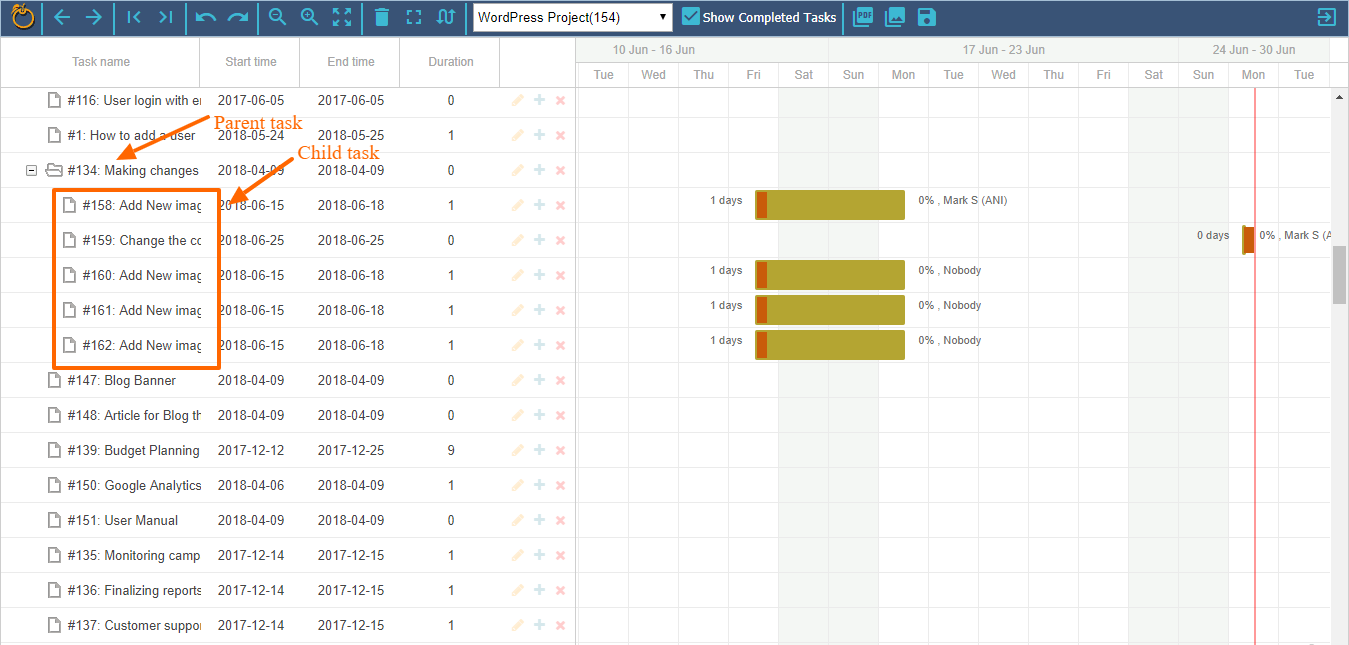
# What is a Pending Tasks report?
> The Pending Tasks report will quickly show the true status of your team’s work. It is a comprehensive resource wise pending tasks list that shows Resource Name Total Estimated Time of all pending tasks Total Spent Hours so far for all pending tasks Remaining Time for all pending tasks Total count…
> For the complete documentation index, see [llms.txt](https://helpdesk.orangescrum.com/llms.txt).
Source: https://helpdesk.orangescrum.com/pending-tasks-reports
---
The Pending Tasks report will quickly show the true status of your team’s work. It is a comprehensive resource wise pending tasks list that shows
- Resource Name
- Total Estimated Time of all pending tasks
- Total Spent Hours so far for all pending tasks
- Remaining Time for all pending tasks
- Total count of all pending tasks.
Project Managers can track the project progress and identify probable delays and resource bottlenecks in execution with the help of the Pending Tasks report. It also helps in better task assignment and resource allocation.
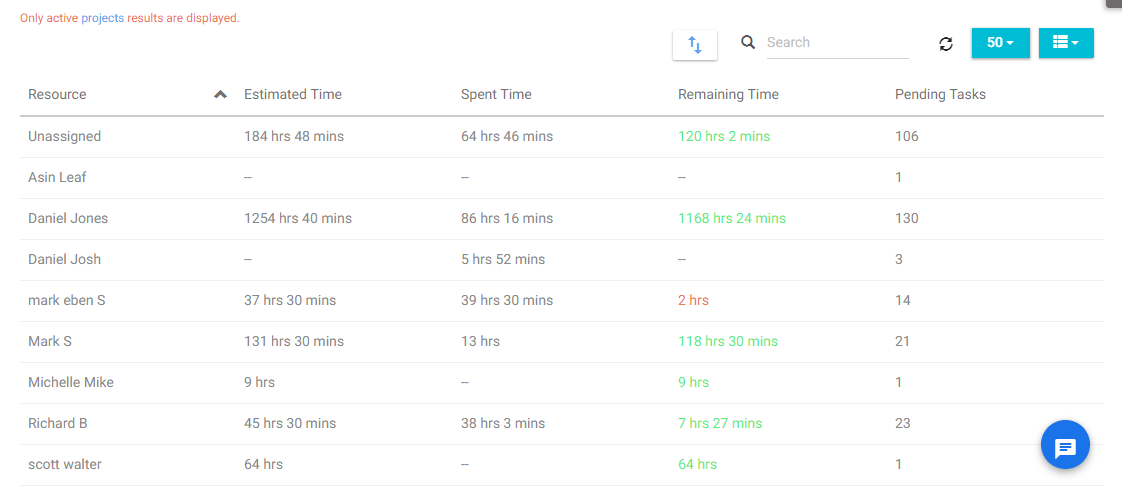
**Tip:** Use filters to create reports filtered by specific project, resource, task status for a specific time period.
# What Information can I Get from Recently Created Task Report?
> What Information can I Get from Recently Created Task Report
> For the complete documentation index, see [llms.txt](https://helpdesk.orangescrum.com/llms.txt).
Source: https://helpdesk.orangescrum.com/information-can-get-recent-created-task-report
---
You can access the report from Reports>Recently created Task Report
Once there:
- Select a Project from the project dropdown list
- Choose a frequency for which you want to see the count of created tasks
- Choose the number of days previous to the current date to see the count of created tasks
You will be presented with a chart as shown below indicating the count of tasks created on each day based on the chosen frequency and days previously.
It will also show the count of tasks that were resolved and/or closed out of the total created tasks on the specific date.
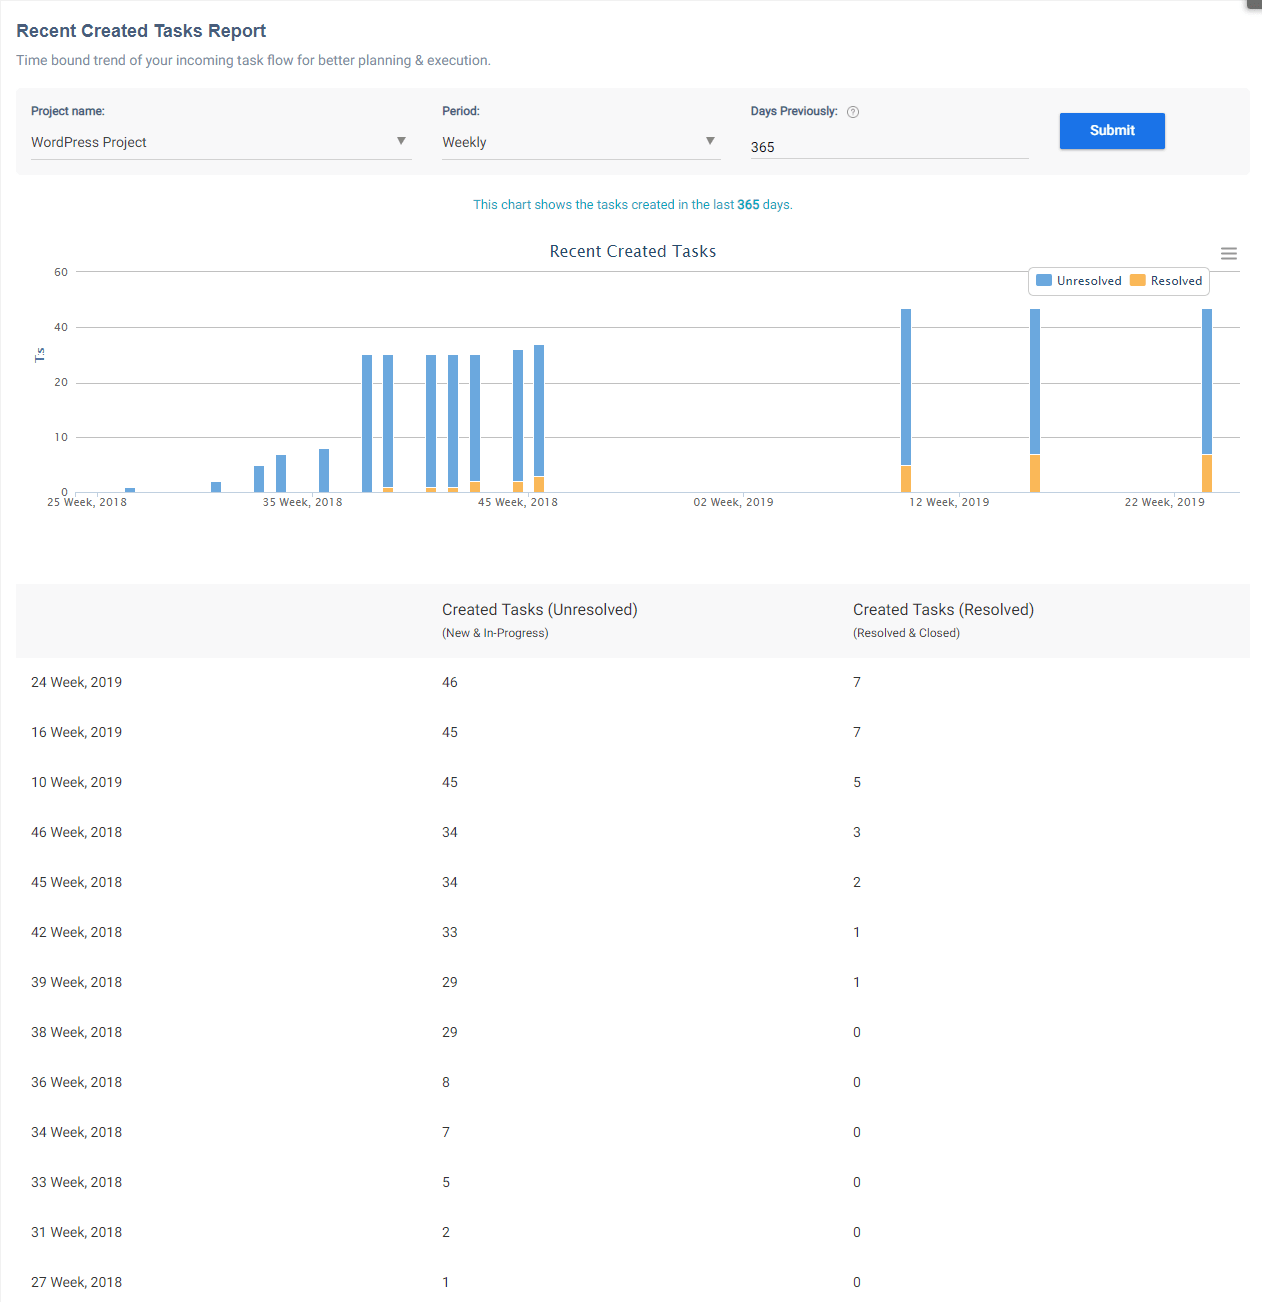
# What Information can I Get Resolution Time Report?
> It provides you the information about the number of tasks resolved or closed and average number days taken to close or resolve the task.
> For the complete documentation index, see [llms.txt](https://helpdesk.orangescrum.com/llms.txt).
Source: https://helpdesk.orangescrum.com/information-can-get-resolution-time-report
---
It provides you the information about the number of tasks resolved or closed and average number days taken to close or resolve the task. You can get number tasks counts of a particular project based on daily, weekly, monthly, yearly, and quarterly.
For example, if we select Orangescrum Marketing, choose period as ‘Daily’, Days previously as 7, then you get information that
04th Jun 2018:- 6 tasks are resolved or closed and it took average 1 day.
01st Jun 2018:- 7 tasks were resolved or closed and it took average 1 day.
and so on.
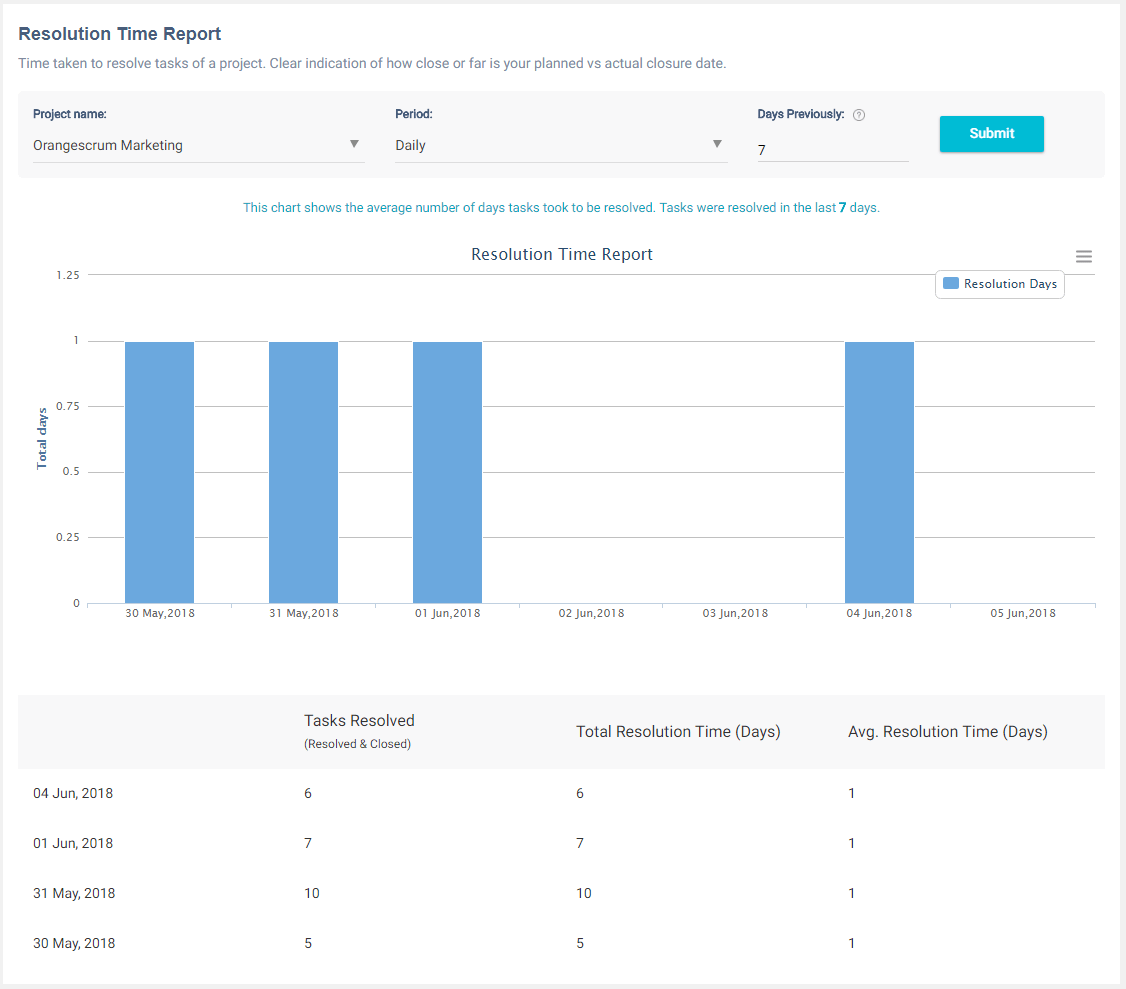
# What Information can I Get from Time Since Task Report?
> This chart shows the number of tasks based on the selected “date field” over a given period of time. You can get the tasks count of a particular project.
> For the complete documentation index, see [llms.txt](https://helpdesk.orangescrum.com/llms.txt).
Source: https://helpdesk.orangescrum.com/information-can-get-time-since-task-report
---
This chart shows the number of tasks based on the selected **“date field”** over a given period of time. You can get the tasks count of a particular project based on other date fields as
- Created date
- Due date
- Resolved date
- Updated
For example, if we select Orangescrum Marketing, choose period as ‘Daily’, Days previously as 7, Cumulative totals as Yes and **date field** as **‘Created’** then you will find that
- 36 tasks were created on 5th Jun 2018
- 34 tasks were created on 6th Jun 2018
- 31 tasks were created on 31st May 2018
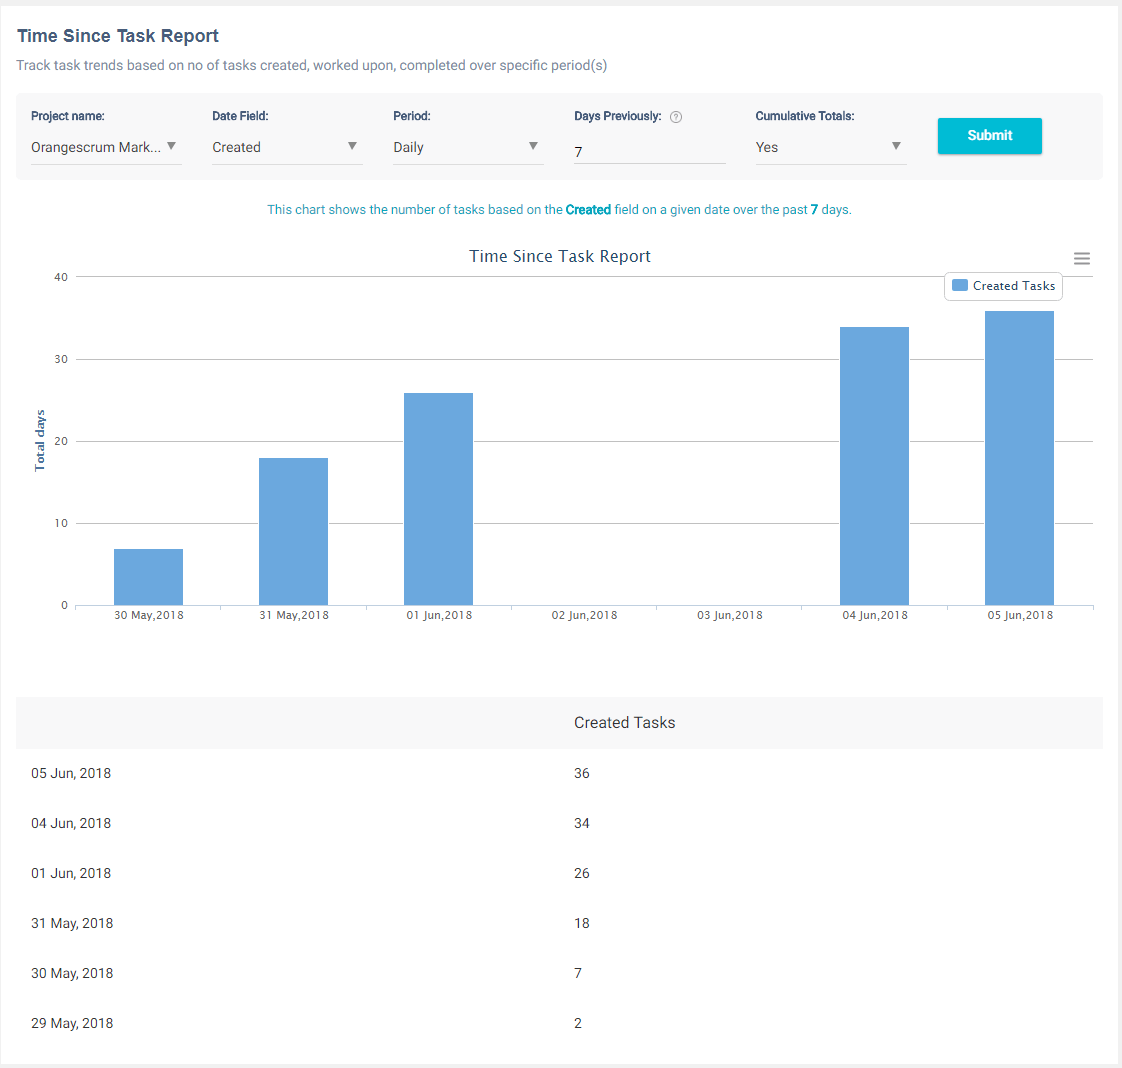
# What Information can I Get From Created vs Resolved Tasks Report?
> The Created vs Resolved Task Report displays your team’s daily performance.
> For the complete documentation index, see [llms.txt](https://helpdesk.orangescrum.com/llms.txt).
Source: https://helpdesk.orangescrum.com/information-can-get-created-vs-resolved-tasks-report
---
The Created vs Resolved Task Report displays your team’s daily performance.
You can select a project, specify the frequency (daily, weekly, monthly, quarterly & yearly) and set the number of days previously to see the tasks trend chart.
The chart will show you the count of tasks created and resolved on a particular day based on your chosen frequency for the number of past days from the current date.
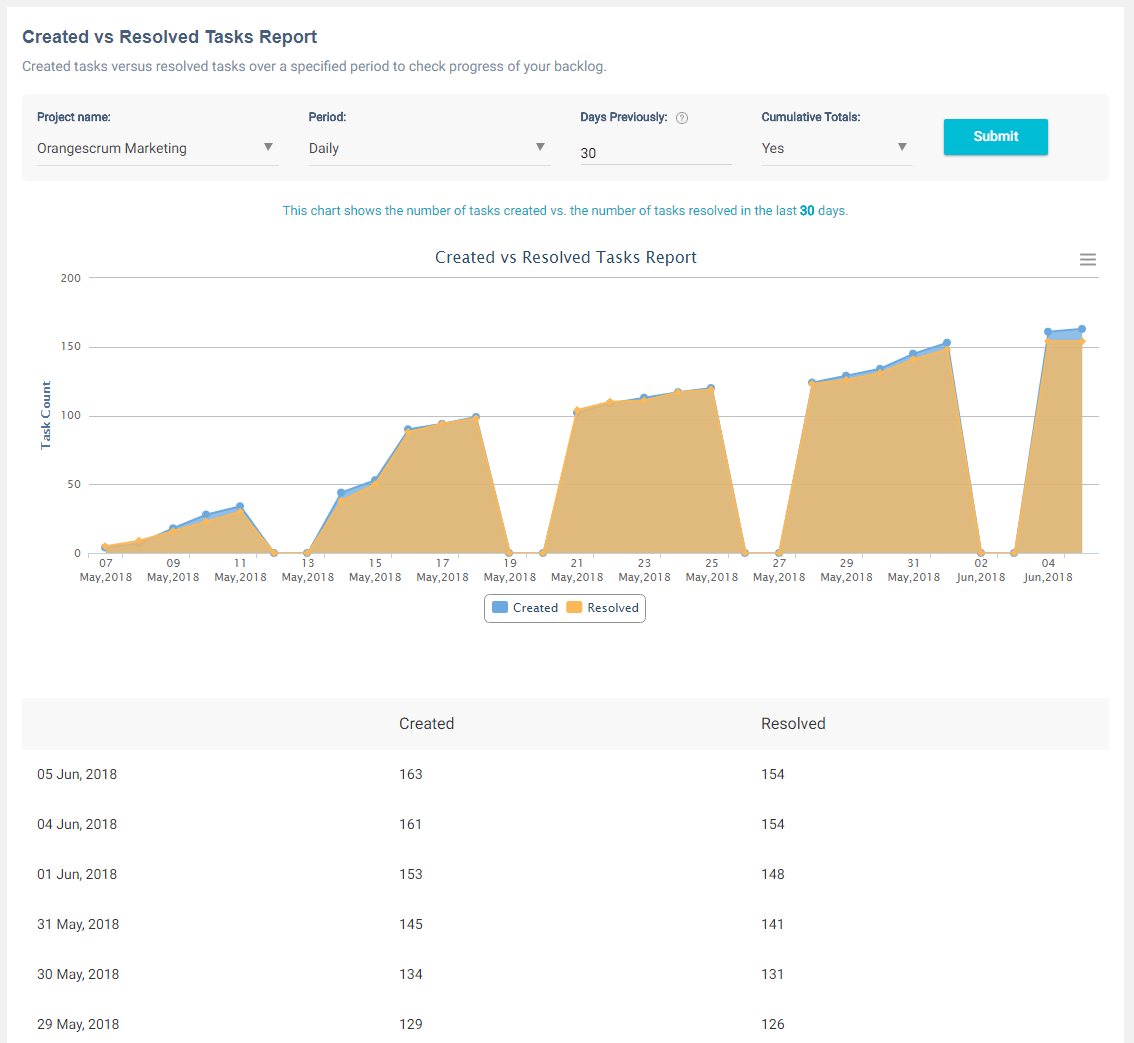
# What Information can I Get from Average Age Report?
> What Information can I Get from Average Age Report
> For the complete documentation index, see [llms.txt](https://helpdesk.orangescrum.com/llms.txt).
Source: https://helpdesk.orangescrum.com/information-can-get-average-age-report
---
This report shows the average number of days’ tasks were unresolved for on a given day over a period of time.
In other words, the report shows the **average time (number of days)** taken by your team to close tasks.
You can get the trend over daily, weekly, monthly, quarterly & yearly basis.
Let us consider an example,
On a daily basis, WordPress Project has 23 tasks unclosed till date, where 7 is the range of previous days from today.
Total Age:- Total age is the sum of the number of days of each task till the task was closed.
Average Age:– Average number of days the tasks were unresolved.
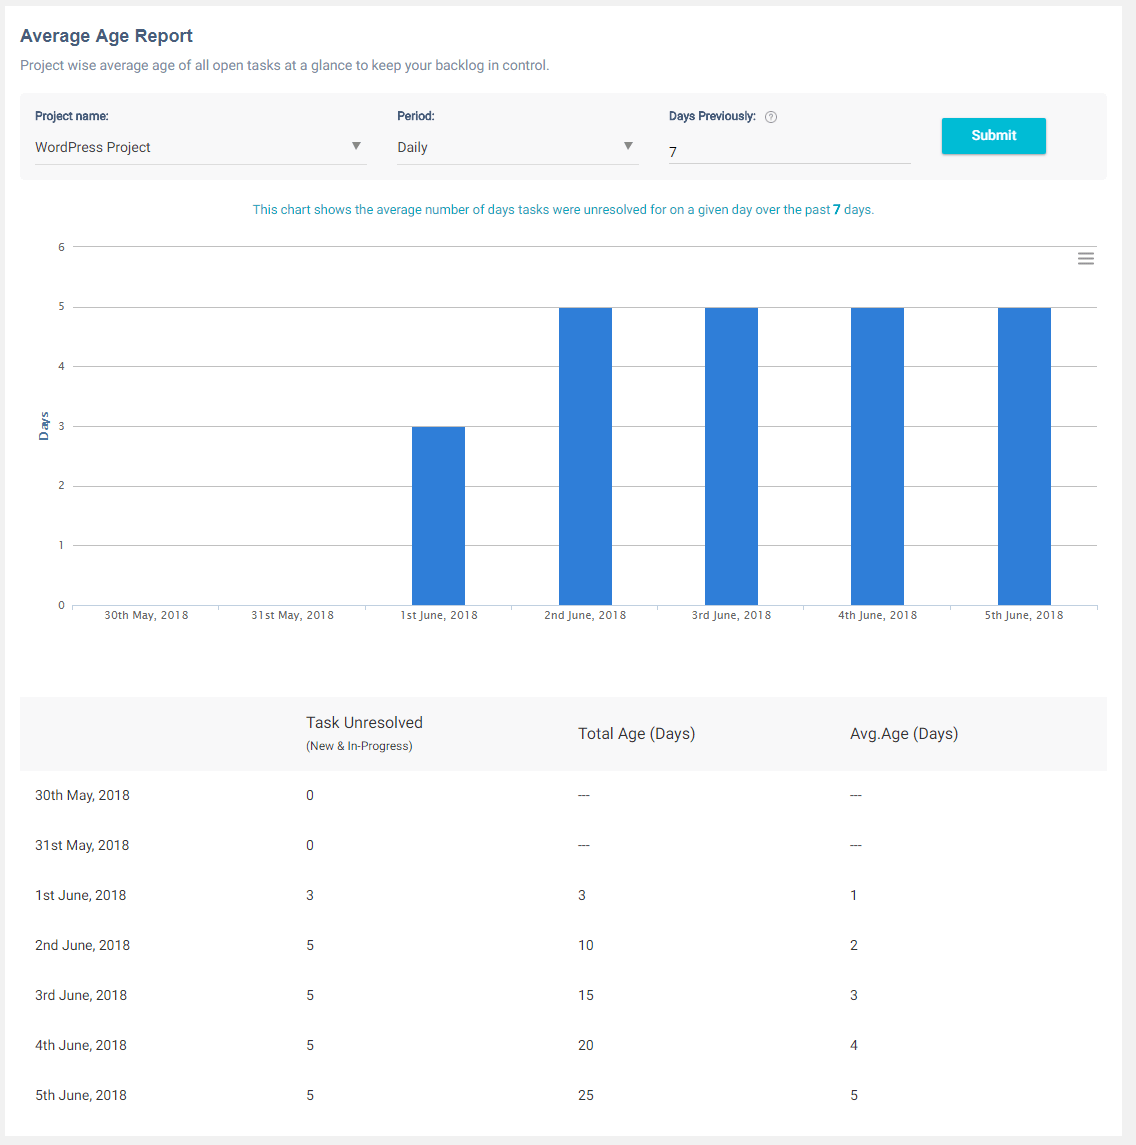
# What Information can I Get from Pie Chart Report?
> This chart shows the number of tasks based on the Assignee, Task type, Priority, Status, Epic Link and Task Group.
> For the complete documentation index, see [llms.txt](https://helpdesk.orangescrum.com/llms.txt).
Source: https://helpdesk.orangescrum.com/information-can-get-pie-chart-report
---
This chart shows the number of tasks based on the Assignee, Task type, Priority, Status, Epic Link and Task Group.
**Assignee:** – Number of tasks and percentage of tasks assigned to each resource
**Task Type:** – Number of tasks count with respect to their task type
**Status:** – Number of tasks count with respect to their status
**Epic link:** – Number of tasks count with task type as ‘EPIC’ and have linked task
**Task Group:** – Number of tasks count with respect to their task groups.
**Priority:** – Number of tasks count based on their priority.
**For example:** – Let us choose the ‘Wordpress Project’ and we
**Assignee:**\-Daniel has been assigned to 48 tasks, Mark has been assigned to 32 tasks, Mike has been assigned with 2, Richard has been assigned 7 tasks and 99 are unassigned in the project. (Refer Image-1)
**Task Type:** -Here ‘Development’ task type has 125tasks, ‘Idea’ task type has 5 task,’Email for marketing’ has 2 task and so on. (Refer Image-2)
**Status:** – Closed-42, Resolved-39, new-52, in-progress-12
**Priority:** – Low-29, Medium-110, High-6 ( Refer Image-3)
**Epic link:** – There is one task that has ‘Epic’ as task type and has links to another task.
**Task Group:** – There are 110 tasks in backlog, 6 task in development, 6 tasks in graphic design,5 tasks in QA, and so on.
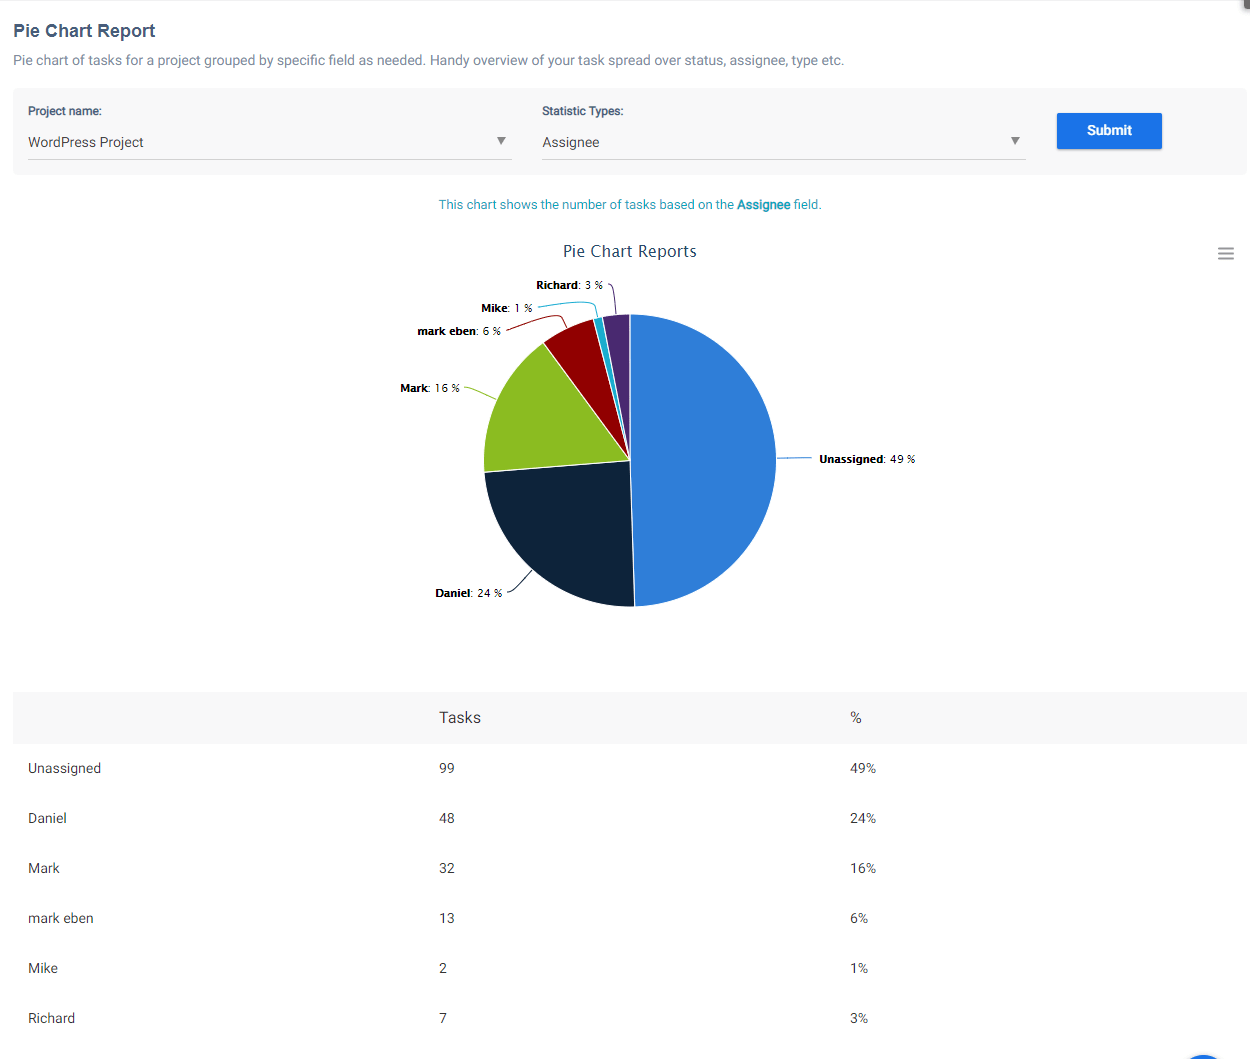
**(Image-1)**
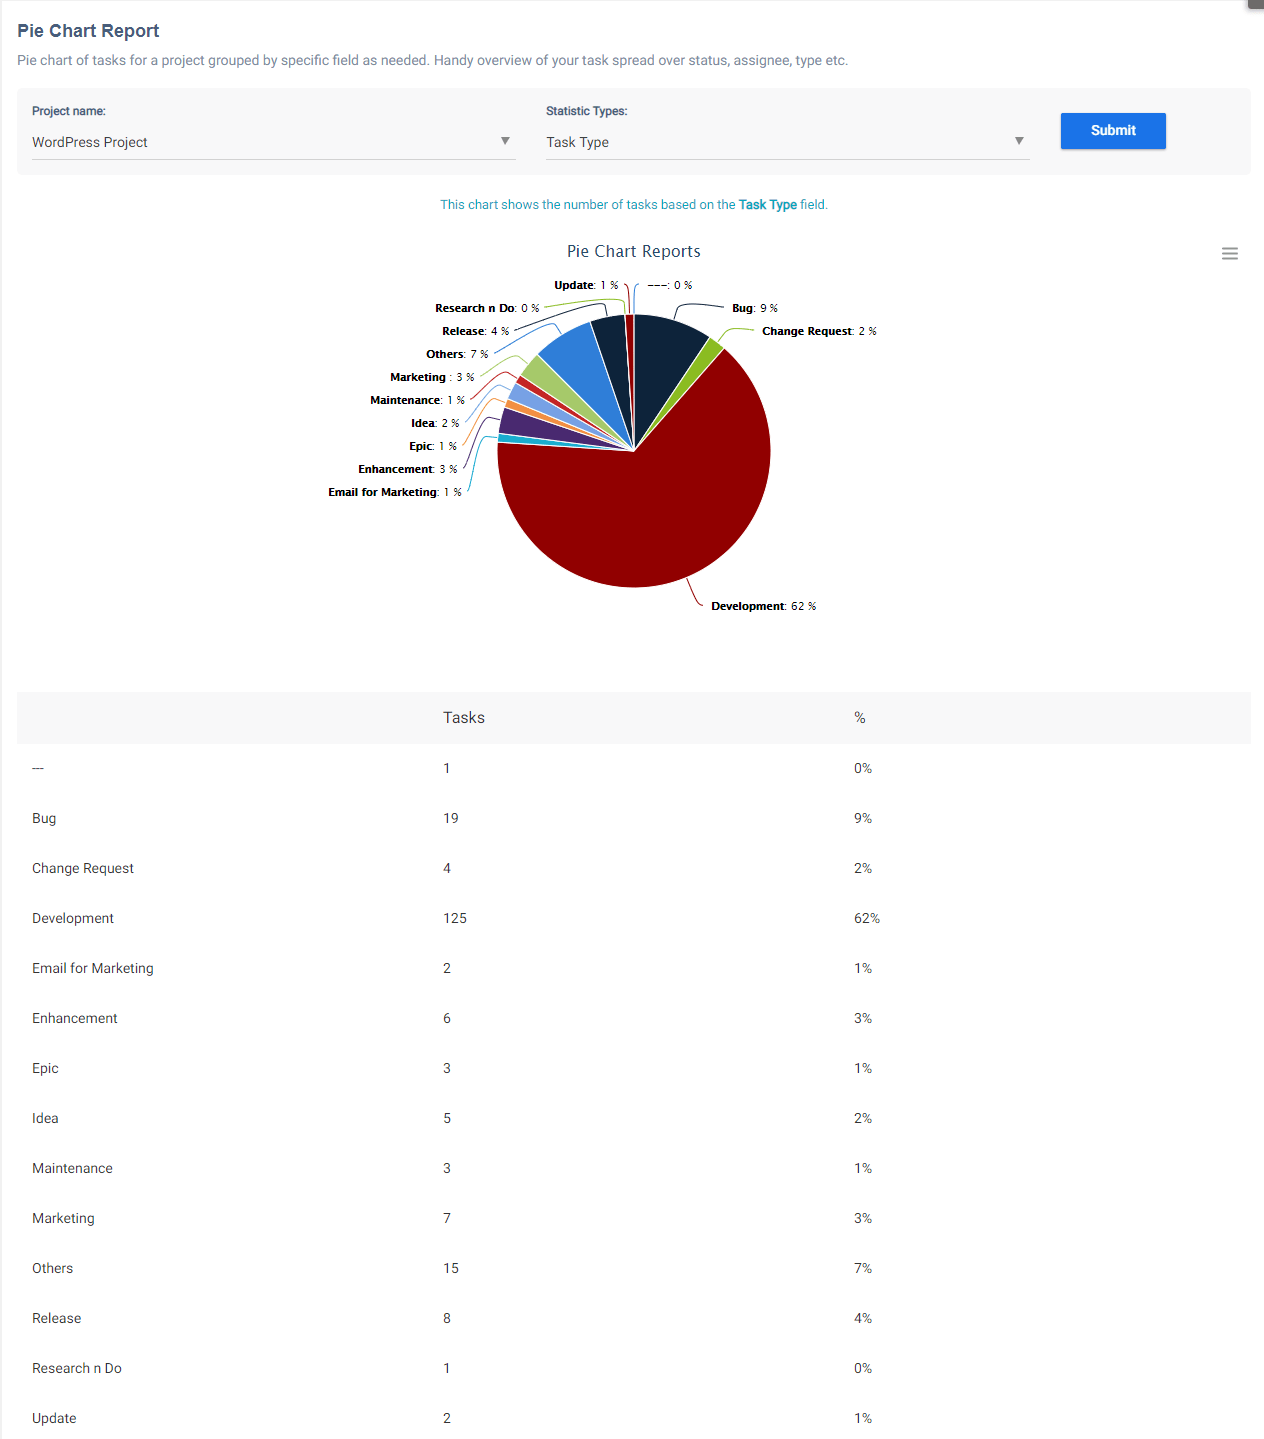
**(Image-2)**
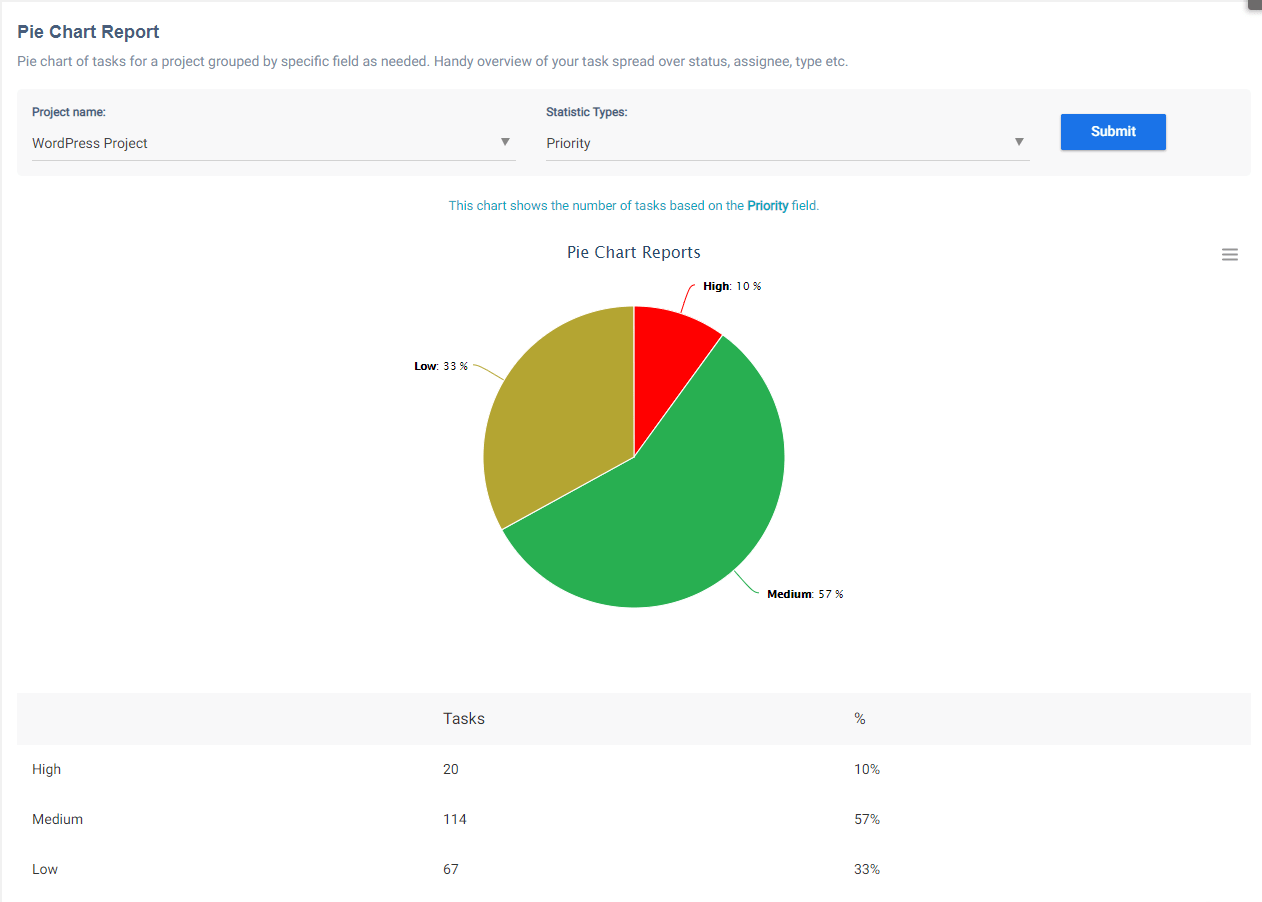
**(Image-3)**
# What is Task Linking?
> What is Task Linking
> For the complete documentation index, see [llms.txt](https://helpdesk.orangescrum.com/llms.txt).
Source: https://helpdesk.orangescrum.com/what-is-task-linking
---
Task Linking is about establishing meaningful associations between tasks of a project in order to provide an easier reference between related tasks.
There are 3 kinds of links that can be defined and these are;
- Related to
- Duplicated by
- Derived from
**Related to:** If a task is related to the current task, then you can select Related to in order to indicate that the 2 tasks are related.
**Duplicated by:** If the similar type of task is added before, then you can use Duplicated by in order to link the tasks.
**Derived from:** If the current task is the result of or derived from a previous task, then you can use Derived from to link the task.
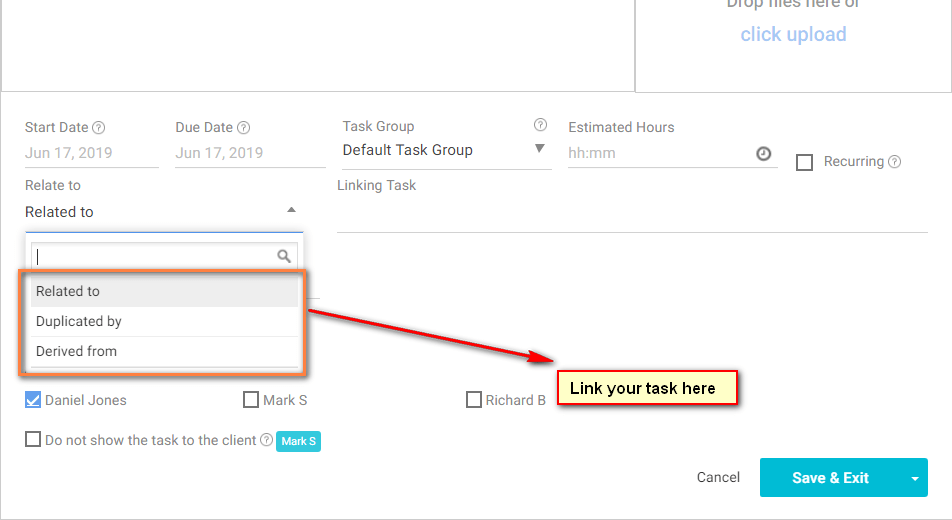
**(Image-1)**
#### **How to link tasks?**
In Orangescrum Project Management tool, Task Linking can be done upon [task create](https://helpdesk.orangescrum.com/how-to-create-a-new-task/), task edit, and task details.
1. Click [Quick Links](https://helpdesk.orangescrum.com/how-can-i-manage-the-menus-in-quick-links/) > Task
2. Add task details such as [Project](https://helpdesk.orangescrum.com/how-to-create-a-project/), Task title, Task Type, Assigned to, etc.
3. Click ‘Relate to’ drop-down to define the task link type and add the task in the ‘Linking Task’.
**Note** – Here, you’ll get 3 options such as Related to, Duplicated by & Derived from.
4. Click on **‘Save & Exit**‘.
#### **Edit Task Link:**
1. Navigate to the Task Listing Page.
2. Click icon of the task.
3. Click **‘Edit’.**
4. Click ‘**Relate to**’ drop-down to define the task link type and add the task in the ‘**Linking Task’**
5. Click ‘**Update**’.
#### **Task Detail Linking:**
1. Navigate to Task Details
2. Click icon
3. Click ‘**Relate to**’ drop-down to define the task link type and add the task in the ‘**Linking Task’**
4. Click ‘**Save’.**
#### **Delete Task Link:**
1. Navigate to Task Detail Page of the specific task
2. Hover on the specific task to find delete icon
3. Click ‘**Delete**’.
# Can I Mark the Time Log as Billable and Add Notes in the Timesheet?
> Can I Mark the Time Log as Billable and Add Notes in the Timesheet
> For the complete documentation index, see [llms.txt](https://helpdesk.orangescrum.com/llms.txt).
Source: https://helpdesk.orangescrum.com/can-i-mark-the-time-log-as-billable-and-add-notes-in-the-timesheet
---
**YES**, you can mark the time log as billable and add notes to that in the timesheet. Please refer below steps to do so;
1. Navigate to **Left Menu > Time Log > Weekly Timesheet**
2. Hover on the time slot that you want to edit and click  **icon** (Refer Image 1)
3. Put the **NOTE**, select **mark** as the billable hour & click **Save** (Refer Image 2)

**(Image 1)**
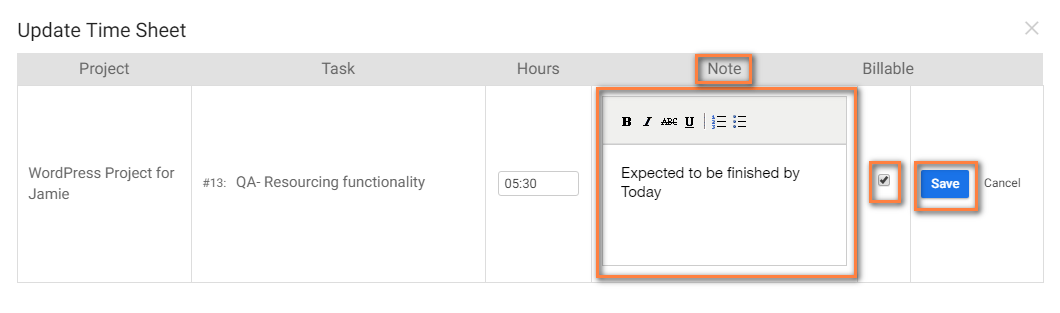
**(Image 2)**
# How can I Disable Resource Availability Feature?
> How can I Disable Resource Availability Feature
> For the complete documentation index, see [llms.txt](https://helpdesk.orangescrum.com/llms.txt).
Source: https://helpdesk.orangescrum.com/how-can-i-disable-resource-availability-feature
---
- Click on +Quick Links and click on ‘Resource Setting’.
- Click on  to disable the Resource availability and click on ‘Save’.
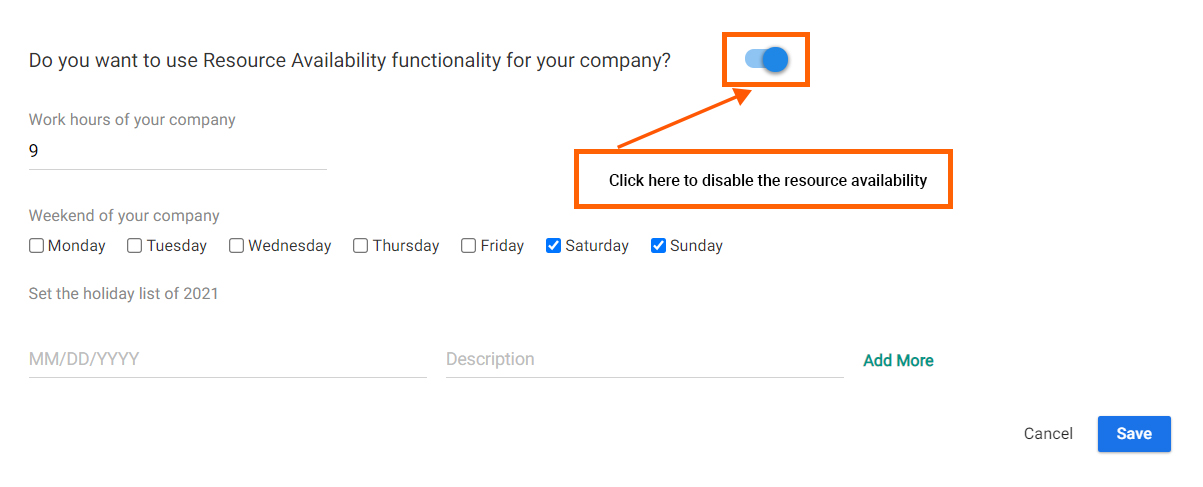
# What Information can I get from Project Overview?
> What Information can I get from Project Overview
> For the complete documentation index, see [llms.txt](https://helpdesk.orangescrum.com/llms.txt).
Source: https://helpdesk.orangescrum.com/what-information-can-i-get-from-project-overview
---
The Project Overview provides you with overall status of the project at a glance.
- Project Status
- Project Progress Status in percentage (%)
- Project Start and End Date
- Task Count by Status – New, In Progress, Resolved and Closed
- Time Log Report with total Billable, Non-billable hours and total time spent for the project
- Team Member’s information with Total Tasks assigned, Overdue Tasks, Billable Hours and Non-Billable hours of each resource
- Project Go-Live Date
- Tasks File & Attachments list
- Number of Task Type belongs to which Task Type
- Activities Stream
- Overdue tasks
- Task Group report with New, Work in Progress, Overdue and Total tasks per Task Group
- Project Description
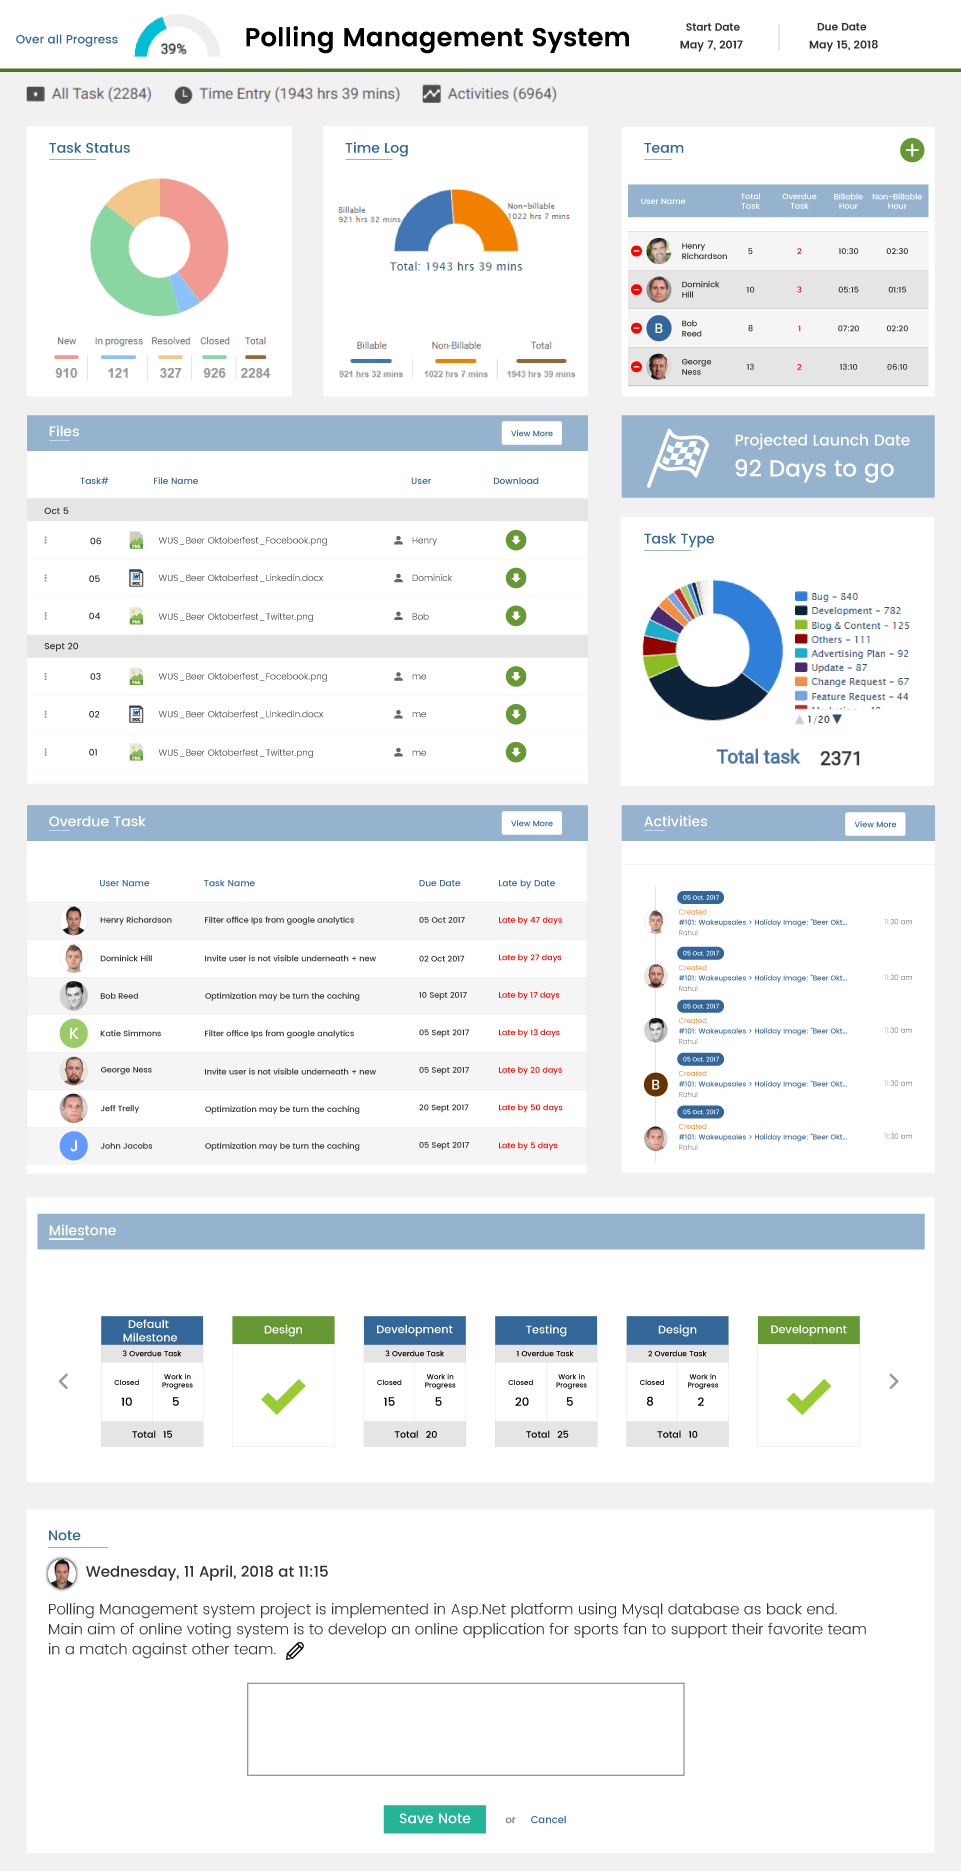
# How can I Edit the Priority of the Project?
> Navigate to Left Menu > Projects > Project Listing Page Click icon > Edit (Refer Image 1) Set your Priority from Choose Priority option & Click Update (Refer Image 2) […]
> For the complete documentation index, see [llms.txt](https://helpdesk.orangescrum.com/llms.txt).
Source: https://helpdesk.orangescrum.com/how-can-i-edit-the-priority-of-the-project
---
1. Navigate to **Left Menu > Projects > Project Listing Page**
2. Click ****** icon > Edit** (Refer Image 1)
3. Set your **Priority** from **Choose Priority** option & Click **Update** (Refer Image 2)
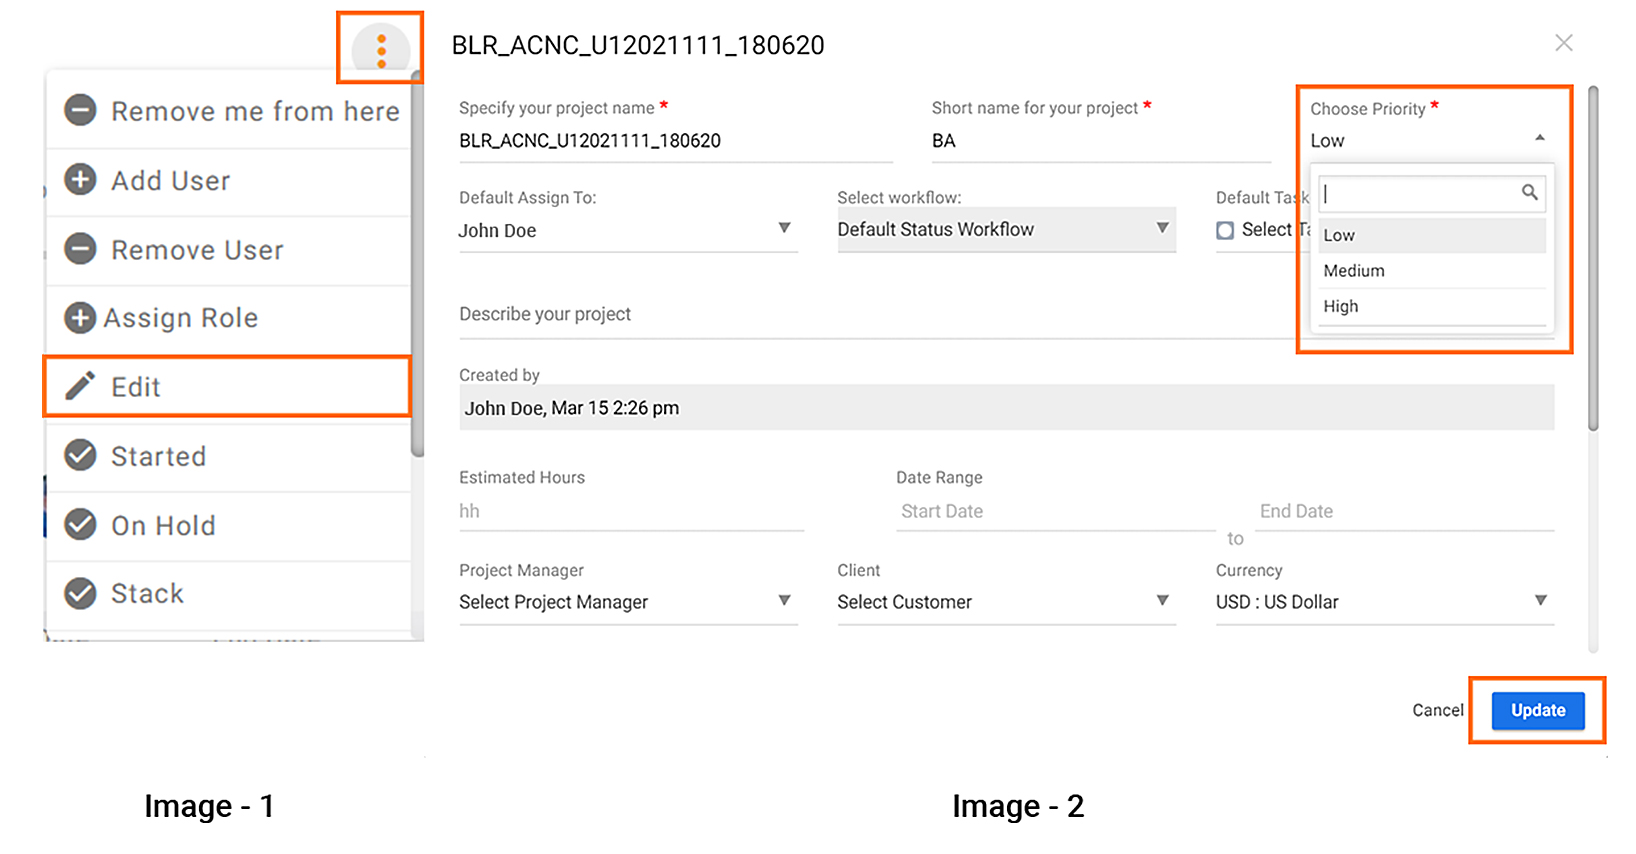
# How can I Know the Priority Level of the Project?
> How can I Know the Priority Level of the Project
> For the complete documentation index, see [llms.txt](https://helpdesk.orangescrum.com/llms.txt).
Source: https://helpdesk.orangescrum.com/how-can-i-know-the-priority-level-of-the-project
---
1. Navigate to **Project Listing Page**
2. Click icon for **Card View &**  icon for **Grid View**
3. **Grey**, **Green** & **Red** color symbolizes **Low, Medium** & **High** Priority respectively (Refer Image 1 & 2)
**From Card View Project Listing:**
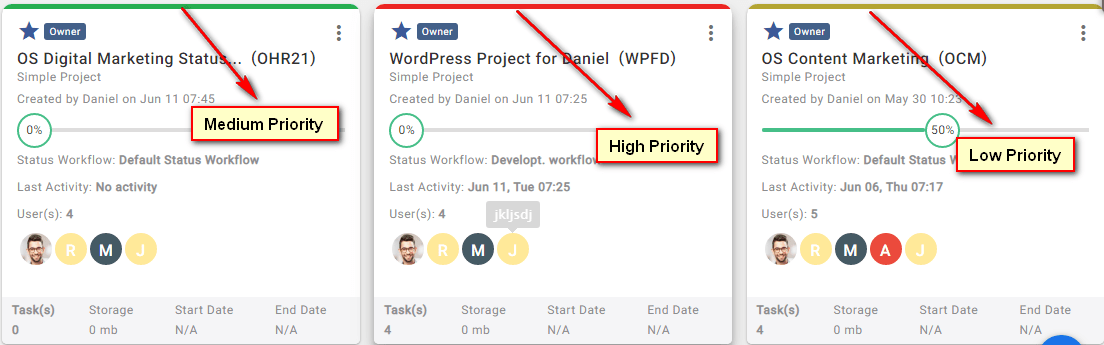
**(Image- 1)**
**From List ViewProject Listing:**
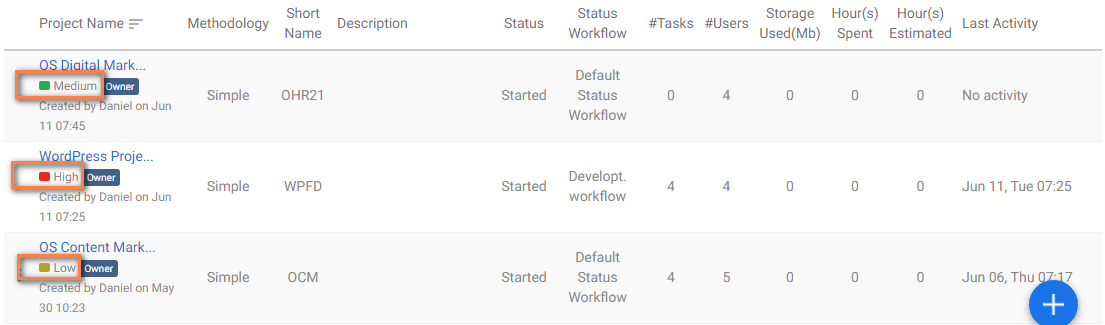
**(Image-2)**
# How can I Change the Owner of the Account?
> How can I Change the Owner of the Account
> For the complete documentation index, see [llms.txt](https://helpdesk.orangescrum.com/llms.txt).
Source: https://helpdesk.orangescrum.com/how-can-i-change-the-owner-of-the-account
---
You cannot change the owner of the account from your end. If you want to change the owner of your account then please send us your request to [support@orangescrum.com](mailto:support@orangescrum.com)
# How can I Import My Time Logs to Orangescrum?
> How can I Import My Time Logs to Orangescrum
> For the complete documentation index, see [llms.txt](https://helpdesk.orangescrum.com/llms.txt).
Source: https://helpdesk.orangescrum.com/how-can-i-import-my-time-logs-to-orangescrum
---
1. Navigate to the top right corner of your account & click on your profile photo
2. Navigate to ‘Company Settings’ > Import & Export
3. Click on ‘Import Time Log’ tab(Refer Image-1)
4. Download the sample CSV file from the right side > Fill up all your time log info
5. Upload your CSV file & continue.
**Note:** The CSV file you’re uploading should match the format given in the sample file. Import and export is only available for Owner & Admin.
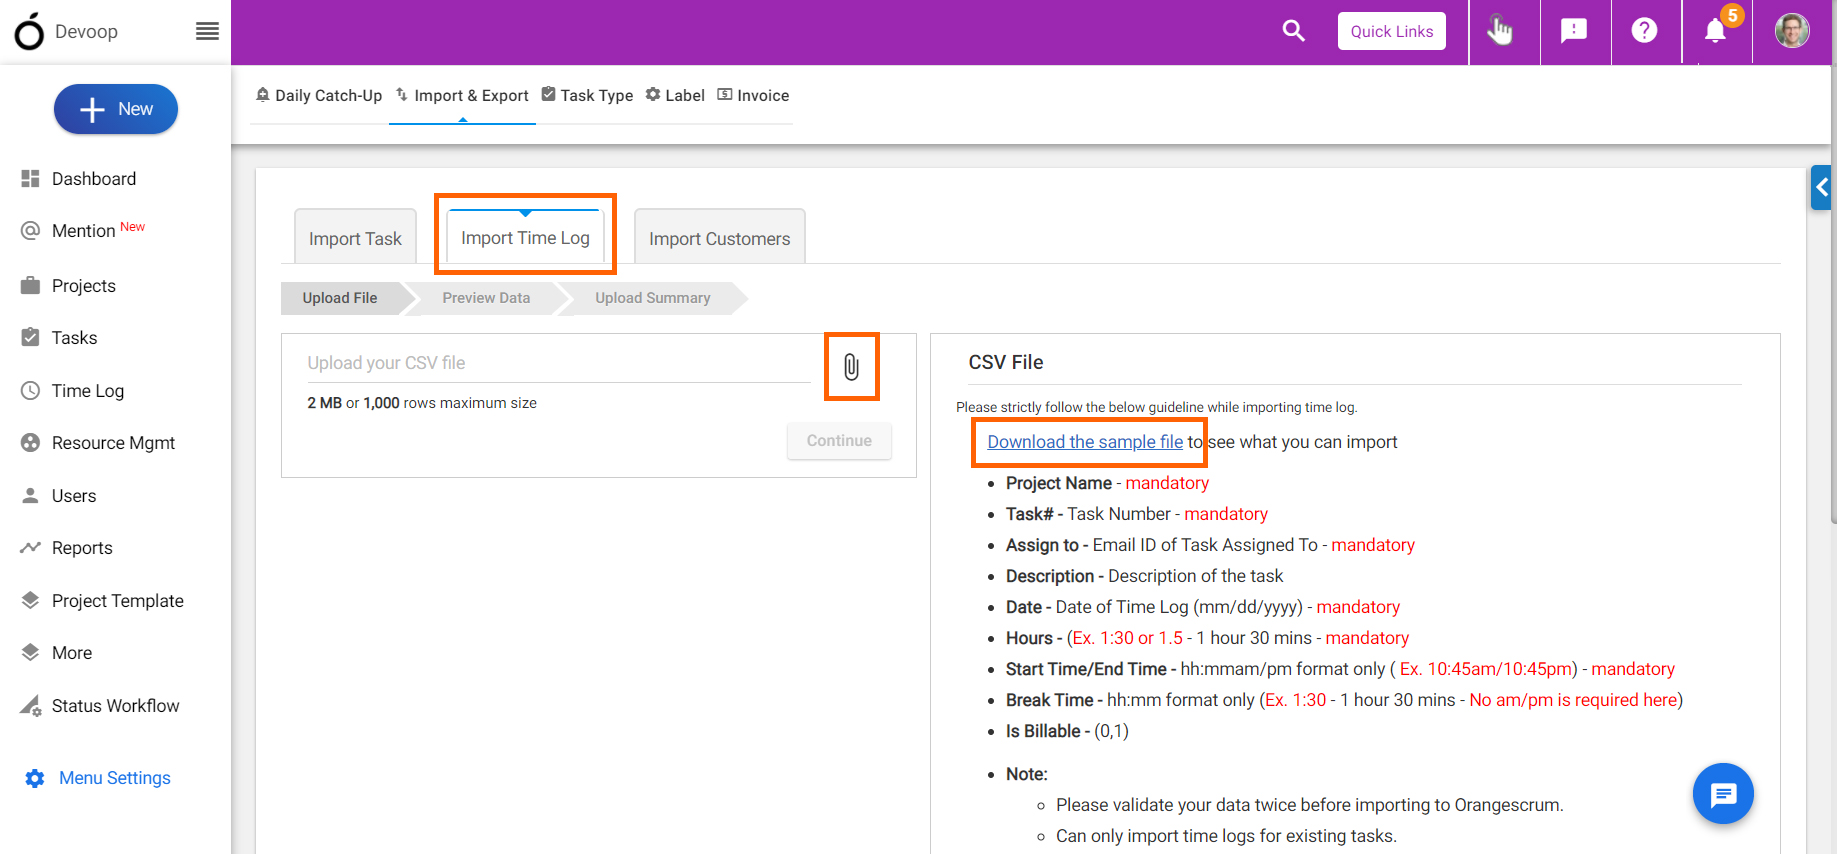
# What is a Task Type ?
> Few Default Task Types available in Orangescrum SaaS Project Management Tool for you to define your own task types that are relevant to your projects and team.
> For the complete documentation index, see [llms.txt](https://helpdesk.orangescrum.com/llms.txt).
Source: https://helpdesk.orangescrum.com/what-is-a-task-type
---
Task types are a custom task attribute that allows you to categorize tasks in a meaningful manner.
There are a few Default Task Types available in Orangescrum SaaS Project Management Tool with the freedom for you to define your own task types for individual projects as well.
When you set a Default Task Type during project creation, all tasks that you create in that project will have your pre-defined [Task Type](https://helpdesk.orangescrum.com/add-view-edit-task-type-task/) as set here.
For example, a Project Manager creates a task, add the task type as ‘Development’ and assigns it to the developer. The developers can easily filter out the tasks that are marked for ‘Development’ and can start working accordingly.
Similarly, when the QA team finds bugs they can classify a task as ‘Bug’, and make it easier for the developers to filter the Bug tasks and fix the bugs accordingly.
There are basically two types of task type available:-
1. **Default Task Type**:- These are pre-defined task types available in Orangescrum
2. **Custom Level Task Type**:- These are user-defined [task types](https://helpdesk.orangescrum.com/how-to-change-the-task-type-assign-to-due-date-on-the-task-listing-page/) generally created by users.
- **Project level task types**:- These task types are basically restricted to specific projects. If you want to have a set of task types that should appear for specific projects, then you can create project-level tasks. While creating task types, you need to choose the project for which you want to the task types to appear task type drop-down.
- **Company level task types:**– Company level task types are applicable for all projects. (This section will only be available to users who have signed before 18th November 2019). You can use on existing task types available here. No new task types can be added here.
In order to add custom task type for all projects, select **All project** in the project field while creating task type. The task type will be auto-added to all the projects in Project level task type section.
# How to Update Tasks From Timesheet?
> How to Update Tasks From Timesheet
> For the complete documentation index, see [llms.txt](https://helpdesk.orangescrum.com/llms.txt).
Source: https://helpdesk.orangescrum.com/update-tasks-timesheet
---
1. Navigate to **Left Menu > Time Log > Weekly Timesheet**
2. Click **TaskTitle>** **icon >Update.**
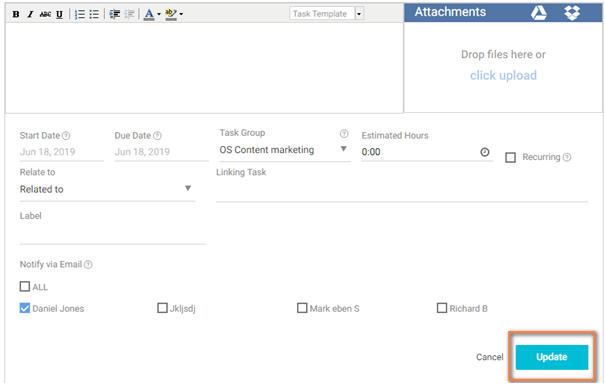
**Can I Edit a Time Log from the Daily Timesheet?**
**YES**, you can edit a time log from the daily timesheet.
Please follow below steps to edit a time log from timesheet-
1. Click **Left Menu > Time Log &** navigate to Daily Timesheet
2. Hover on any Time Log Entry & click on icon
3. Make required changes & click **Save**.
**Can I Edit a Time Log from the Weekly Timesheet?**
**YES**, you can edit a timelog from the weekly timesheet. Please refer below steps to edit a timelog;
1. Navigate to **Left Menu > Time Log > Weekly Timesheet**
2. Hover on any Time Log Entry & click on icon
3. Make required changes & click **Save**.
# How to Add Holidays in Your Company Calendar?
> Click Profile Icon > Company settings > Resource Setting Click on Date field and select a date Add the holiday description To add more, click on Add More option Once you add or update all your holidays’ list, click on Save Note: Only Owner and Admin can define the working hour, weekend and holidays…
> For the complete documentation index, see [llms.txt](https://helpdesk.orangescrum.com/llms.txt).
Source: https://helpdesk.orangescrum.com/add-holidays-company-calendar
---
1. **Click Profile Icon > Company settings > Resource Setting**
2. Click on Date field and select a date
3. Add the holiday description
4. To add more, click on **Add More** option
5. Once you add or update all your **holidays’ list**, click on **Save**
**Note:** Only Owner and Admin can define the working hour, weekend and holidays list of the company. The Holidays will be removed automatically from your estimated hours while creating a task or allocating a resource.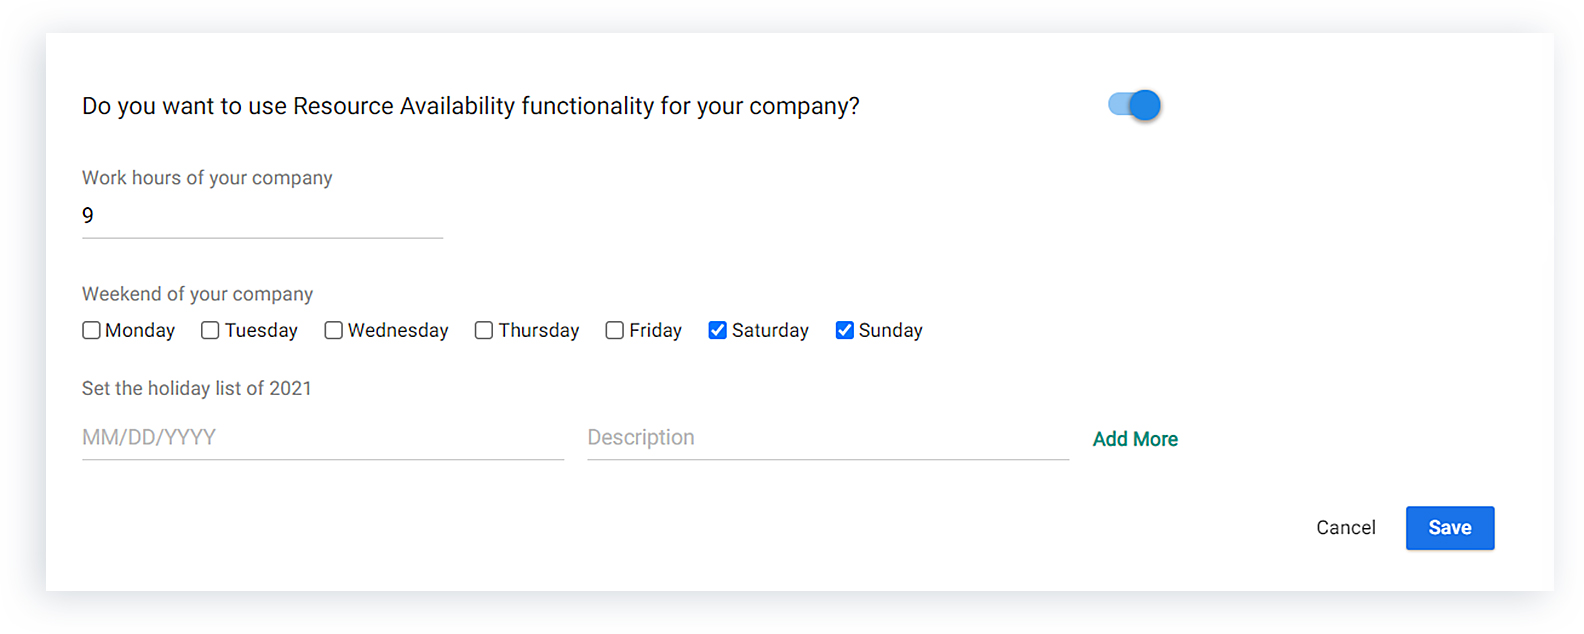
# How to Define Weekends or Workdays for My Company?
> How to Define Weekends or Workdays for My Company
> For the complete documentation index, see [llms.txt](https://helpdesk.orangescrum.com/llms.txt).
Source: https://helpdesk.orangescrum.com/define-weekends-workdays-company
---
1. **Click Profile Icon > Company Settings> Resource Setting**(Refer Image 1)
2. Mark the days you want to add in Weekend & click ‘**Save**’ (Refer Image 2)
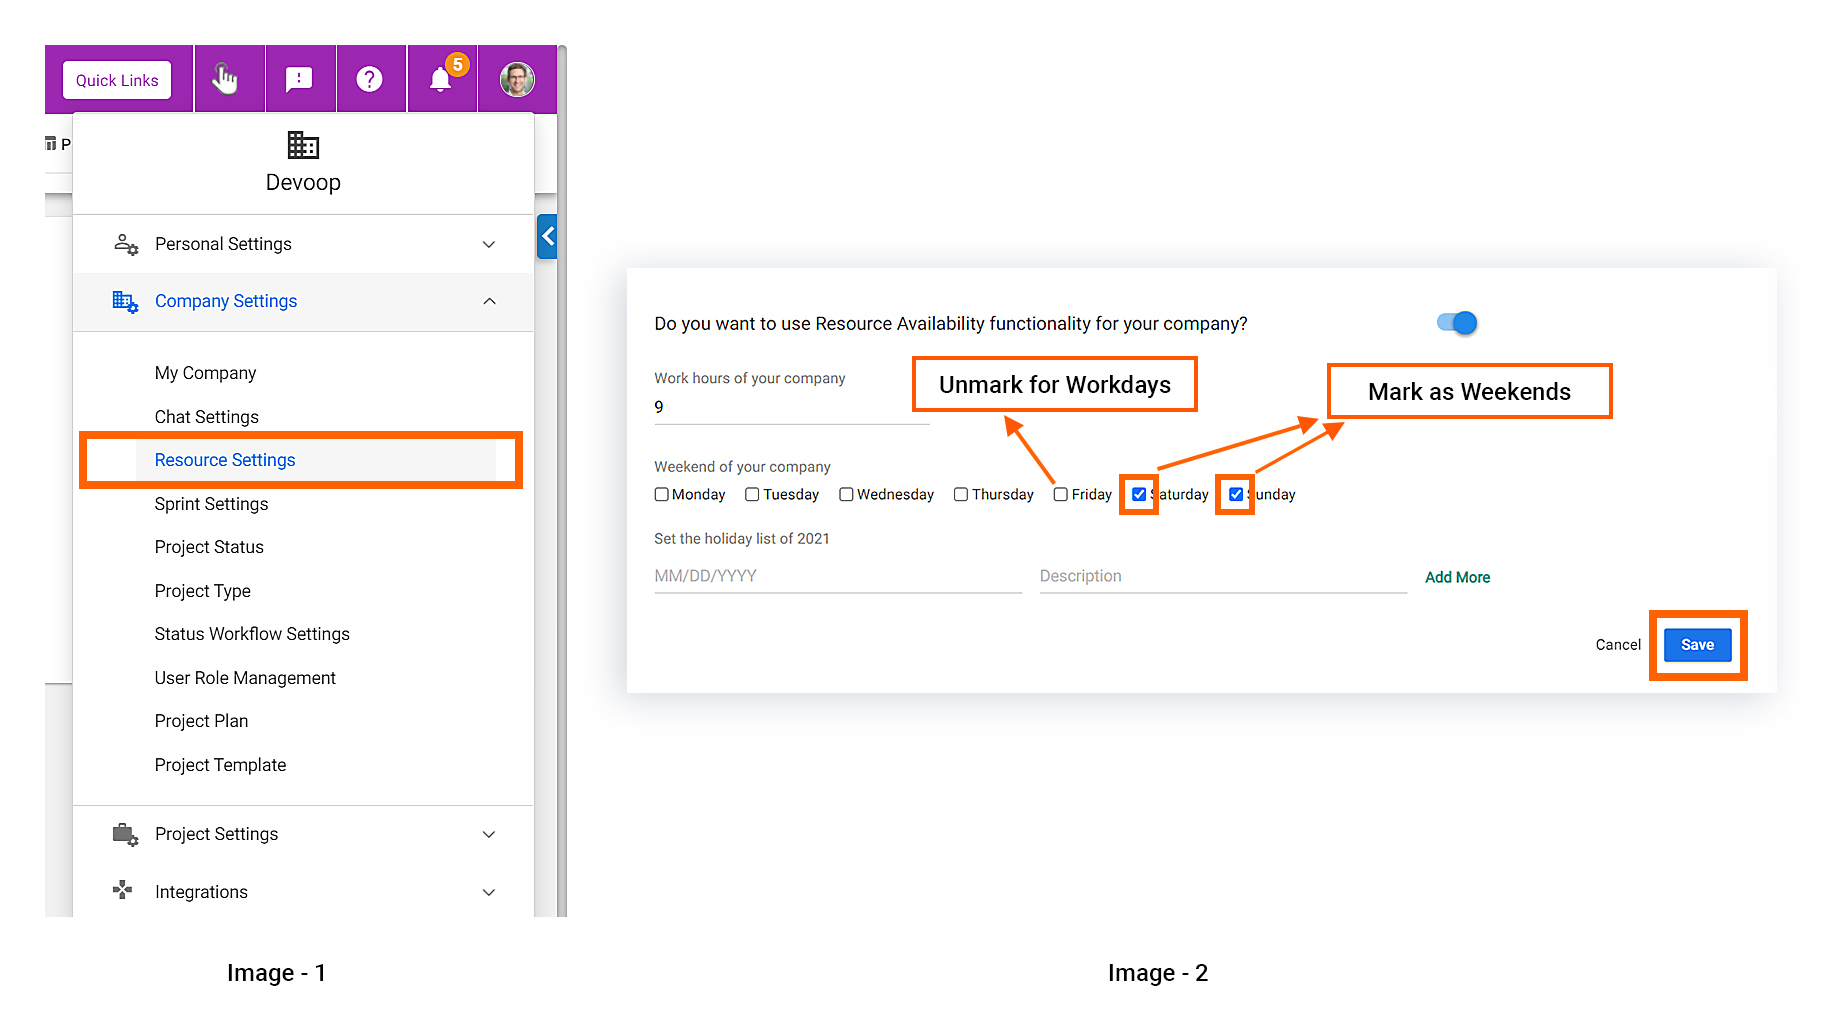
**Note**: The weekend will be excluded automatically from your estimated hour of a task if it is defined.
# How to Define Working Hours of the Company?
> How to Define Working Hours of the Company
> For the complete documentation index, see [llms.txt](https://helpdesk.orangescrum.com/llms.txt).
Source: https://helpdesk.orangescrum.com/define-working-hours-company
---
1. Click Profile Icon > Company settings> Resource Setting (Refer Image 1)
2. Make required changes & Click ‘Save’ (Refer Image 2)
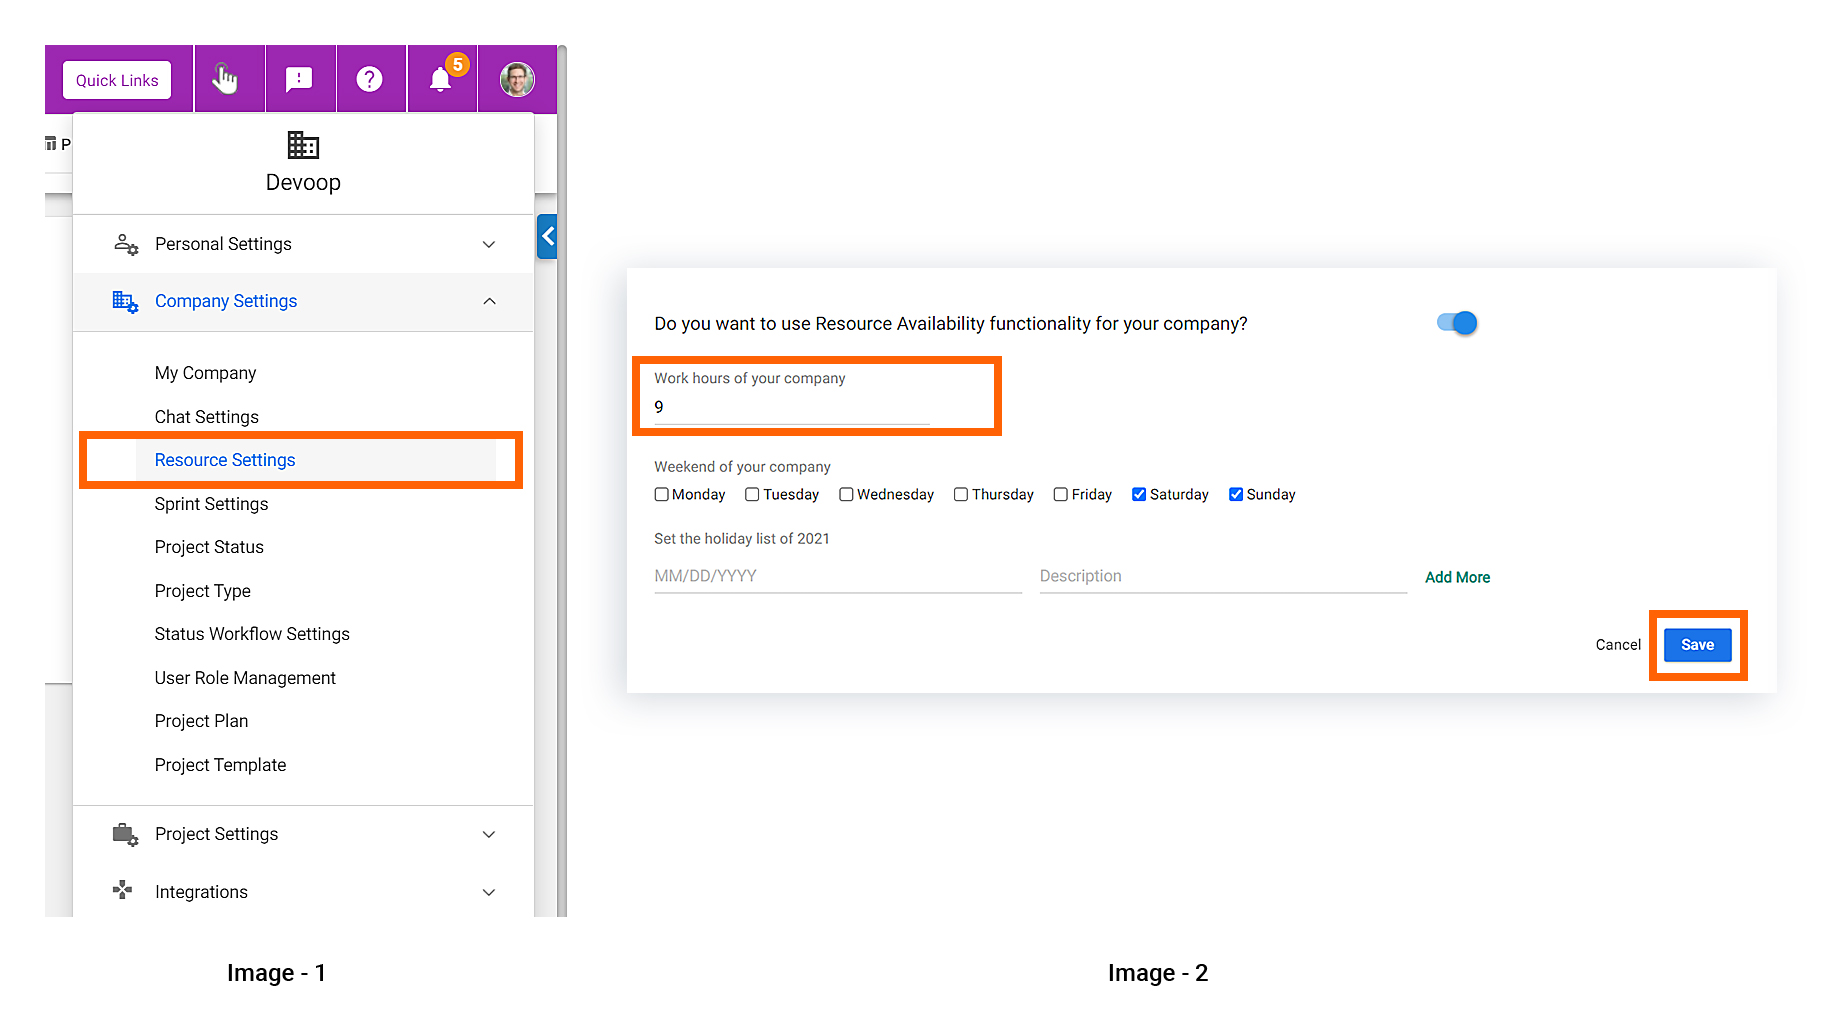
# How to add, view and edit task type of a Project?
> Default Task Types are available in Orangescrum task management software, with the freedom to define own task types that are relevant to projects & team.
> For the complete documentation index, see [llms.txt](https://helpdesk.orangescrum.com/llms.txt).
Source: https://helpdesk.orangescrum.com/add-view-edit-task-type-task
---
[Watch the video](https://www.youtube.com/embed/eCjYUKAH8Hc?vq=hd720&rel=0)
Task types are a custom task attribute that allow you to categorize tasks in a meaningful manner. There are a few Default Task Types available in Orangescrum task management software, with the freedom for you to define your own task types that are relevant to your projects and team. When you set a Default Task Type during project creation, all tasks that you create in that project will have your pre-defined Task Type as set here. [Learn more about task types](https://helpdesk.orangescrum.com/what-is-a-task-type/)
#### **How to add a new task type?**
1. Select **Quick links** or **Profile icon > Project settings> Task type.** (Refer image 1 & 2)
2. Click “**\+ New Task Type”** (Refer Image-3).
3. Enter a name, project name (if you want to add a project level task type) & Short name.
4. Click **Add.** Your new task type will be added to the Project level task type.
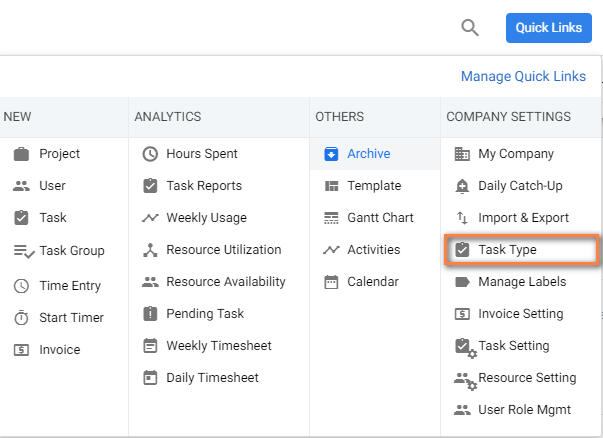
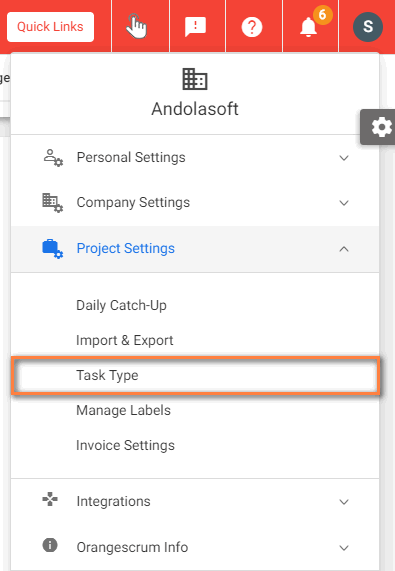
**(Image-1) (Image-2)**
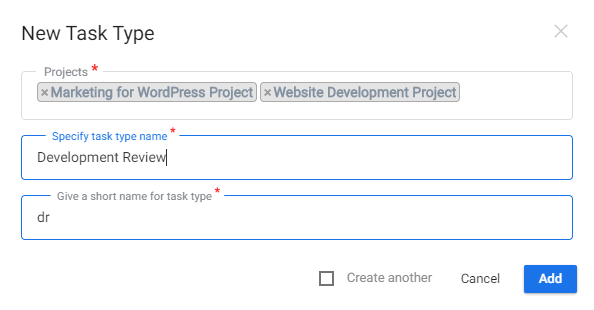
**(Image-3)**
**Tips:** Defining Default task type while creating a project helps in auto-selecting task type while creating task or Quick task.
**Note:-** Company Level Task Type section will be available only for the existing users who have signed up before 18 November 2019. You can only add task types for specific projects. If you have select ‘All projects’ in project drop-down, then task type will be added for all projects.
#### **How to edit a task type?**
1. Select **Quick links** or **Profile icon > Project settings > Task type.**
2. Hover on the specific task type name to find the edit icon .
3. Edit the task type name, short name and click **Update.**
#### **How to delete a task type?**
1. Select **Quick links** or **Profile icon > Project settings > Task type.**
2. Hover on the specific task type name to find the delete icon .
3. Click **Delete**.
Note: You can only delete task types that is not assigned to any task.
Visit [here](https://helpdesk.orangescrum.com/information-can-get-pie-chart-report/) to know more about generating reports for tasks types.
# Is it Possible to Assign Leave on a Booked or Overloaded Date?
> Is it Possible to Assign Leave on a Booked or Overloaded Date
> For the complete documentation index, see [llms.txt](https://helpdesk.orangescrum.com/llms.txt).
Source: https://helpdesk.orangescrum.com/is-it-possible-to-assign-leave-on-a-booked-or-overloaded-date
---
**NO**, it’s not possible to assign leave to a user when he/she is booked or overloaded with a task.
# Why the Resource is Still Free After Assigning Tasks for a Certain Period?
> Why the Resource is Still Free After Assigning Tasks for a Certain Period
> For the complete documentation index, see [llms.txt](https://helpdesk.orangescrum.com/llms.txt).
Source: https://helpdesk.orangescrum.com/why-the-resource-is-still-free-after-assigning-tasks-for-a-certain-period
---
This happens if you have added less estimated hours than expected for the task. By default, the system takes working hours as 8 hours per day.
### **For instance**:
Suppose you have assigned a task to a user for 10 days. So the estimated hours should be 80 hours (10\*8=80). But if you have entered 40 hours as the estimated hours, then the resource will be booked for 5 days and rest 5 days will be marked as Available. Please refer below image (Refer Image 1) for more details-
# Where can I Update Leave Planning of Resources?
> Where can I Update Leave Planning of Resources
> For the complete documentation index, see [llms.txt](https://helpdesk.orangescrum.com/llms.txt).
Source: https://helpdesk.orangescrum.com/where-can-i-update-leave-planning-of-resources
---
1. Click **User Profile Icon > Resources > [Resource Availability](https://helpdesk.orangescrum.com/how-can-i-know-which-resource-is-available-for-the-task/)**
**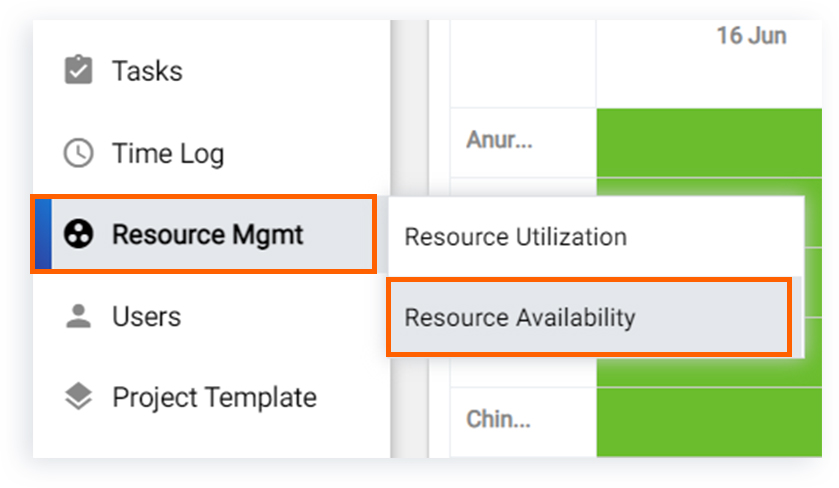**
2\. Click on the **Green Block** (this shows resource is not assigned any task for that day and you can assign leave).
3\. Green color in Resource Availability indicates that resource is available and you can assign task to the resource.
4\. Upon clicking on Green slots, you will find 2 options- **Create Task & Submit Leave**.
**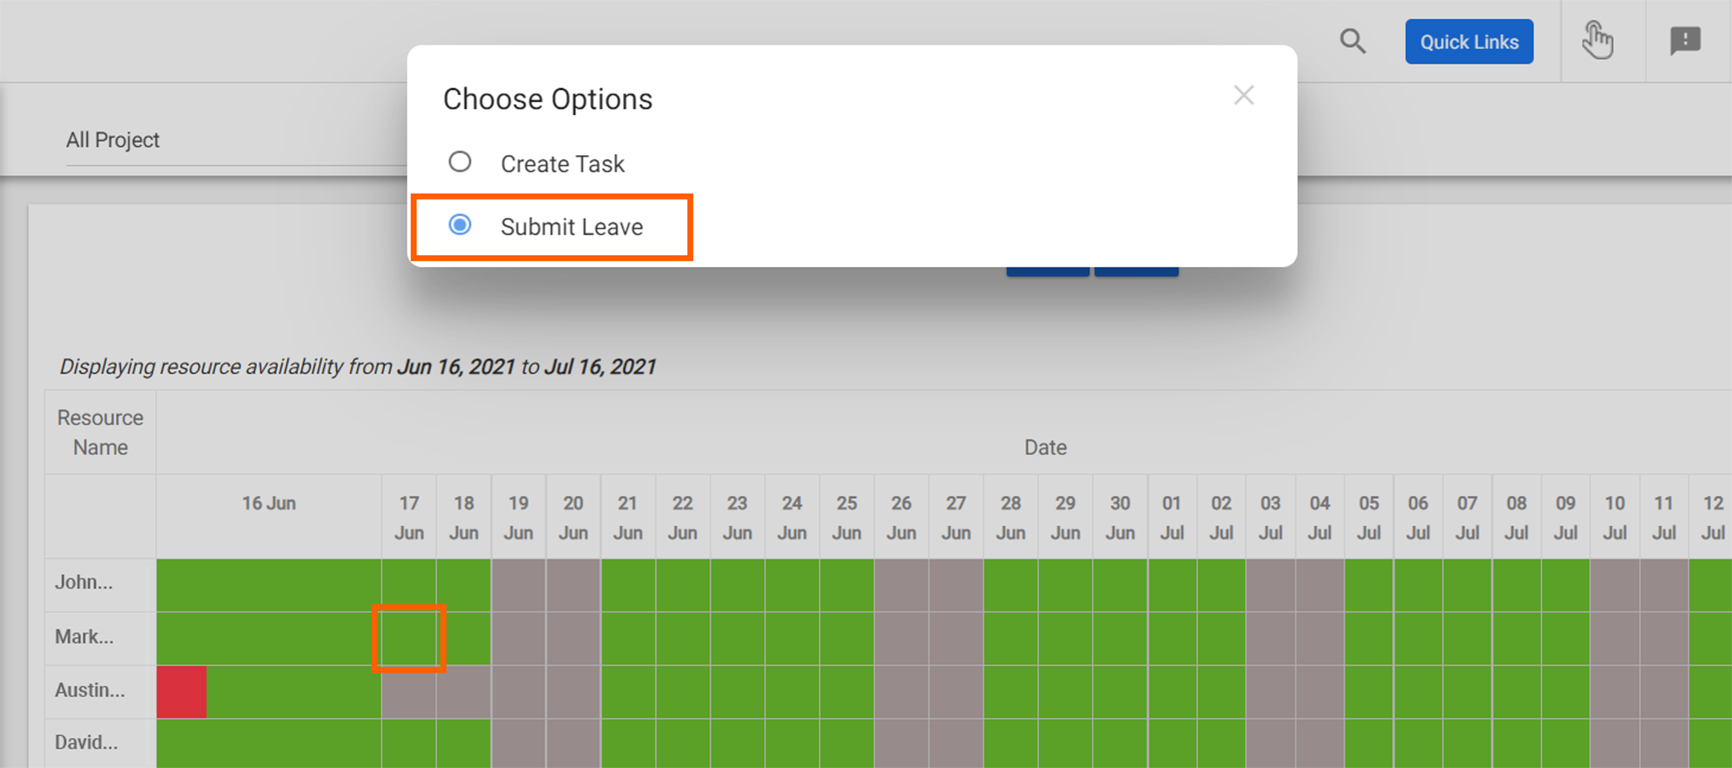**
5\. If you want to assign task, then you can click on Create task. Or, if you would like to add leave, then click on **Submit leave**.
6\. Provide required information on the **User Leave Form** & Click **Add.**
**
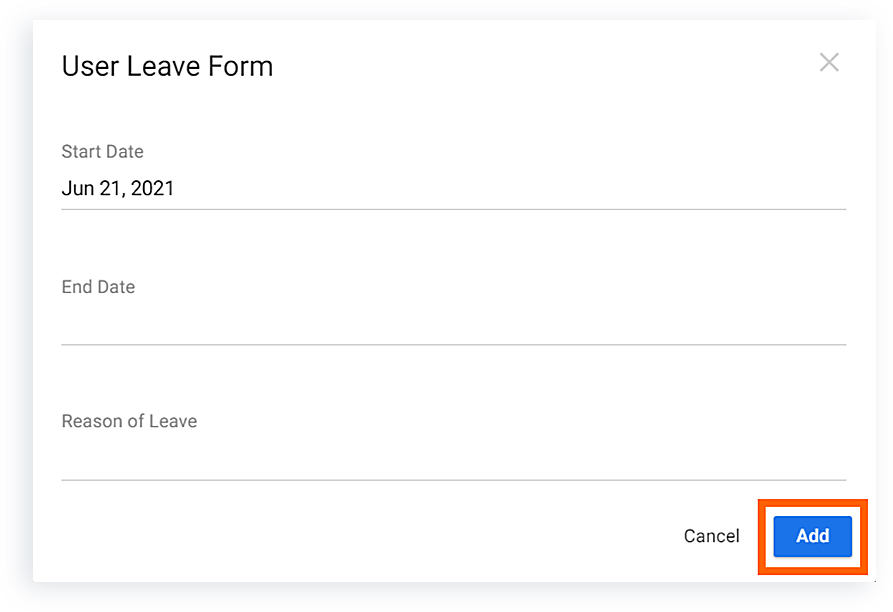
**
# Can a user see the Resource Availablility report?
> No, a user can’t see & access to resource available feature. Only admin & owner can see the report. However, you can provide custom permission to view resource availability. Click User Profile Icon > Company Settings > User Role Management (Refer Image 1) In the Role Group Page, click Timelog…
> For the complete documentation index, see [llms.txt](https://helpdesk.orangescrum.com/llms.txt).
Source: https://helpdesk.orangescrum.com/can-user-see-resource-available-report
---
No, a user can’t see & access to resource available feature. Only admin & owner can see the report.
However, you can provide custom permission to view resource availability.
1. Click **User Profile** **Icon > Company Settings > User Role Management** (Refer Image 1)
2. In the **Role Group Page**, click **Timelog** section & enable **Resource Availability** (Refer Image 2)
3. Navigate to **User** section & enable **View** & Click ‘**Save Changes**’(Refer Image 3)
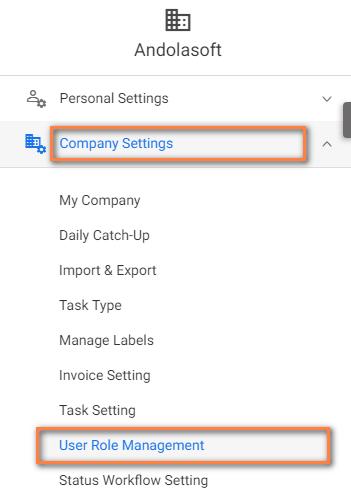 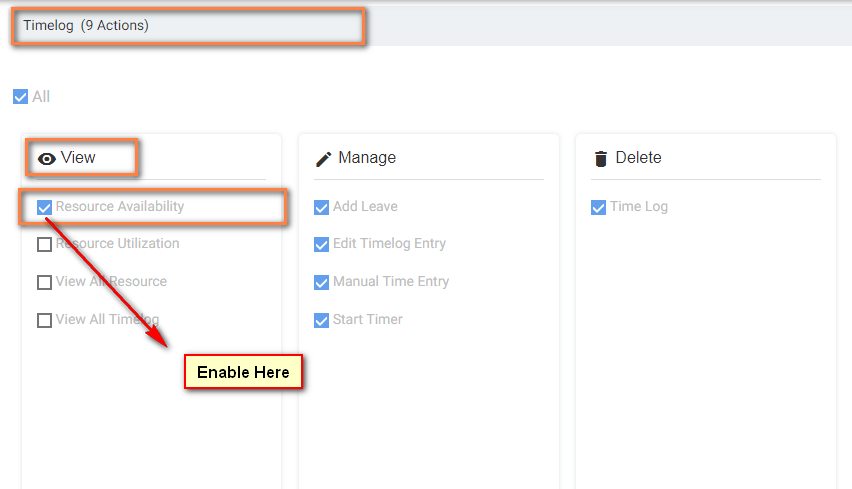
**(Image-1) (Image-2)**
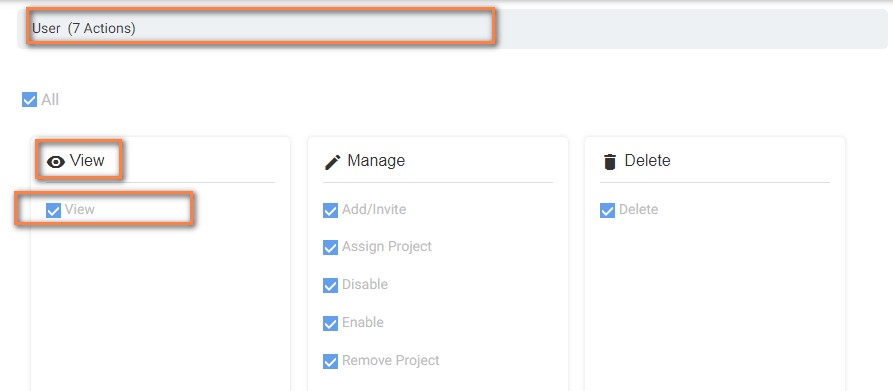
**(Image-3)**
# If I Log Time Through Time Entry or Timer, can I See it in Timesheet?
> If I Log Time Through Time Entry or Timer, can I See it in Timesheet
> For the complete documentation index, see [llms.txt](https://helpdesk.orangescrum.com/llms.txt).
Source: https://helpdesk.orangescrum.com/if-i-log-time-through-time-entry-or-timer-can-i-see-it-in-timesheet
---
**YES**, you can see the log time in **Timesheet** if you log it through **Time Entry** or **Timer.**
You can also edit those time entries from the Timesheet
# Can I See All Resources Timesheet?
> Other users can view and log time for themselves only. They can’t view/edit others time log. You can provide custom permission to the users using User role management
> For the complete documentation index, see [llms.txt](https://helpdesk.orangescrum.com/llms.txt).
Source: https://helpdesk.orangescrum.com/can-i-see-all-resources-timesheet
---
If you are the **Admin**/**Owner** of the account, then you can view & log time for all resources in the **Timesheet**.
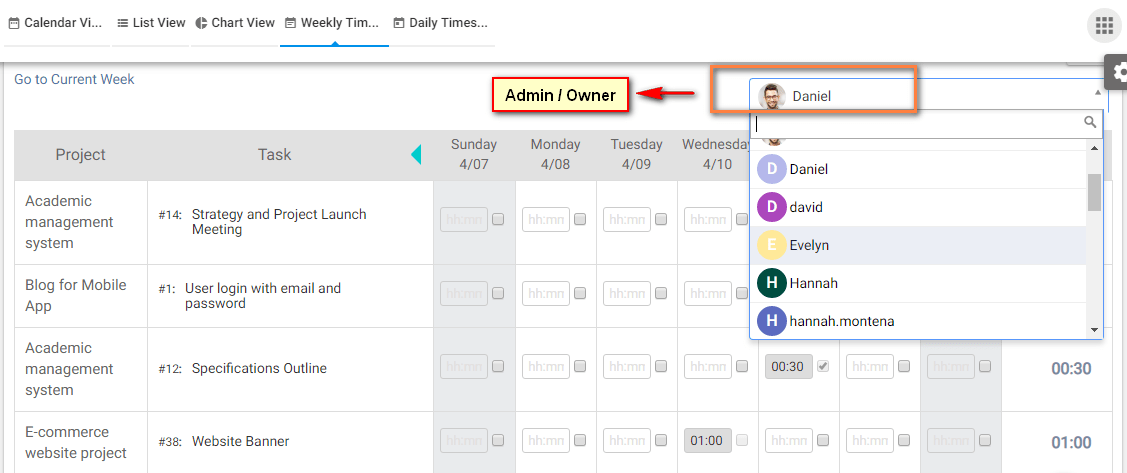
**(Image-1)**
**Note**: Other users can view and log time for themselves only. They can’t view/edit others time log. You can provide custom permission to the users using [User role management](http://helpdesk.orangescrum.com/cloud-category/using-orangescrum/#user-role-management)
# What can I know from Timesheet?
> What can I know from Timesheet
> For the complete documentation index, see [llms.txt](https://helpdesk.orangescrum.com/llms.txt).
Source: https://helpdesk.orangescrum.com/what-reports-i-can-get-from-the-timesheet
---
You’ll get to know the following info from [timesheet](https://helpdesk.orangescrum.com/update-tasks-timesheet/):
- Hours spent on a task by a resource, in a day.
- Hours spent on a task by a resource, over a week.
- Total hours spent by a resource, in a day.
- Total hours spent by a resource, over a week.
**How can I use the [Weekly Timesheet](https://helpdesk.orangescrum.com/?post_type=post&p=6298) for Time Entry?**
- Navigate on the left menu to Time Log > Weekly Timesheet
- By default, it will show all your Created & updated tasks in the current week.
- Navigate to any particular task & log your time on a particular day in the HH:MM format. You can click  to mark the time log as billable.
- To add a new time entry, click on ‘Add Line Item’ at the bottom > Select project & task > Log your time & Save.
**How can I use the [Daily Timesheet](https://helpdesk.orangescrum.com/can-i-edit-a-time-log-from-the-daily-timesheet/) for Time Entry?**
- Navigate on the left menu to Time log from the left panel.
- Click on the Daily Timesheet tab.
- To log time, click on + Add line item to select a Project and Tasks to log time.
- After selecting the Project and Task, entry time under the Hours column with format HH:MM
- Add a Note (optional) to time entries and mark your log time as billable or non-billable as well.
- Click on “Save” to successfully log time for the tasks.
**Who can have Access to Timesheet and what you can View?**
Timesheet is available for all users.
- **Owner & Admin** can view and log time for all resources in Timesheet and can edit/delete each time entry.
- **User & Client** can view and log time for himself and can edit/delete their own time entries.
# Can I Edit a Time Log from the Weekly Timesheet?
> Can I Edit a Time Log from the Weekly Timesheet
> For the complete documentation index, see [llms.txt](https://helpdesk.orangescrum.com/llms.txt).
Source: https://helpdesk.orangescrum.com/can-i-edit-a-time-log-from-the-weekly-timesheet
---
**YES**, you can edit a timelog from the weekly timesheet. Please refer below steps to edit a timelog;
1. Navigate to **Left Menu > Time Log > Weekly Timesheet** (Refer Image 1)
2. Hover on any Time Log Entry & click on icon (Refer Image 2)
3. Make required changes & click **Save.**(Refer Image 3)
****

# Getting started with Orangescrum
> We will walk you through the steps and get you started on your first project in OrangeScrum. Let us start with creating a new project and adding users to it. Then we will show you how to add tasks to the project or if you have tasks in other application, we will guide you […]
> For the complete documentation index, see [llms.txt](https://helpdesk.orangescrum.com/llms.txt).
Source: https://helpdesk.orangescrum.com/getting-started-orangescrum
---
[Watch the video](https://www.youtube.com/embed/bTyAakCMrnY?vq=hd720&rel=0&showinfo=0)
We will walk you through the steps and get you started on your first project in OrangeScrum. Let us start with creating a new project and adding users to it. Then we will show you how to add tasks to the project or if you have tasks in other application, we will guide you on how you can import existing tasks into OrangeScrum.
**Create and Assign Project:**
To create a new project, go to **“+Quick link**” Menu present on the top right-hand side of the screen and click on “**Project**” submenu to create a new project. You can also create project in two different ways as shown in image below.
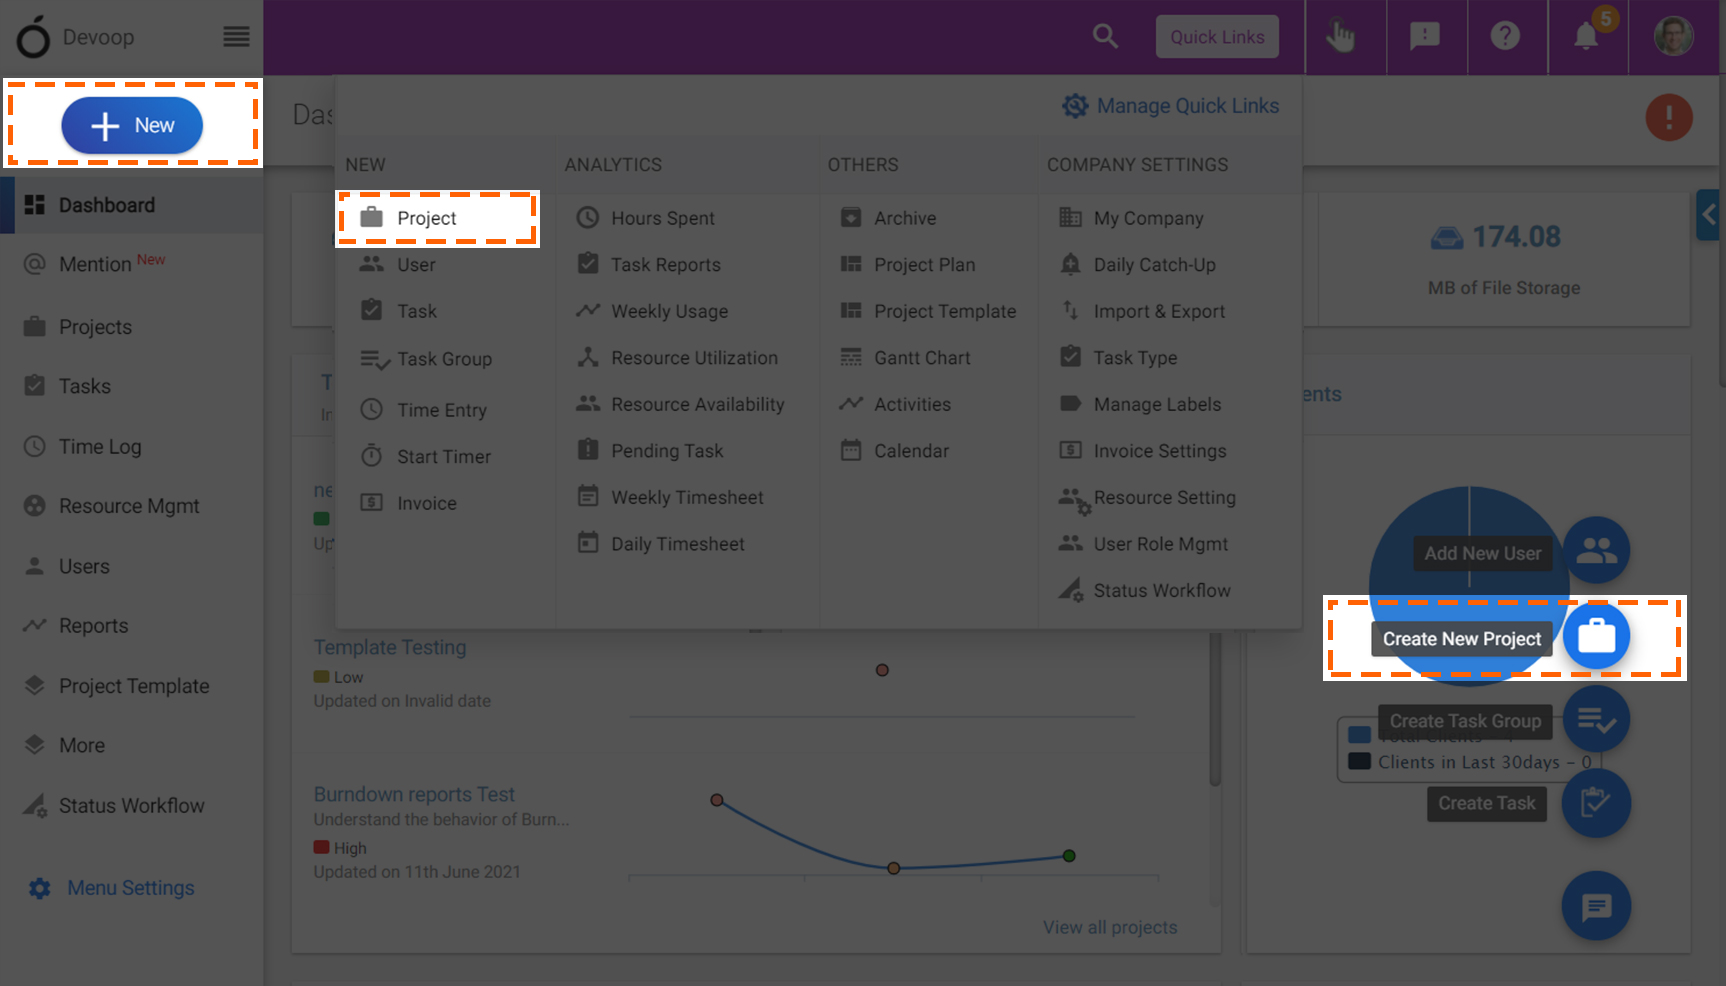
While creating a project, you will need to enter a suitable project name, a short name for the project (mandatory), invite users by entering their mail ids separated by a comma, estimated hours of the project, start date and end date of the project in the respective fields.
Defining a short name for any project makes it easy to remember and access quickly.
***For e.g.:***
**Project Name** – My Project **Short Name**– MP **Start Date** – 06-01-2015
**Add User** – usermp@gmail.com, usermp2@gmail.com **Estimated Hours**– 4hr 30mins
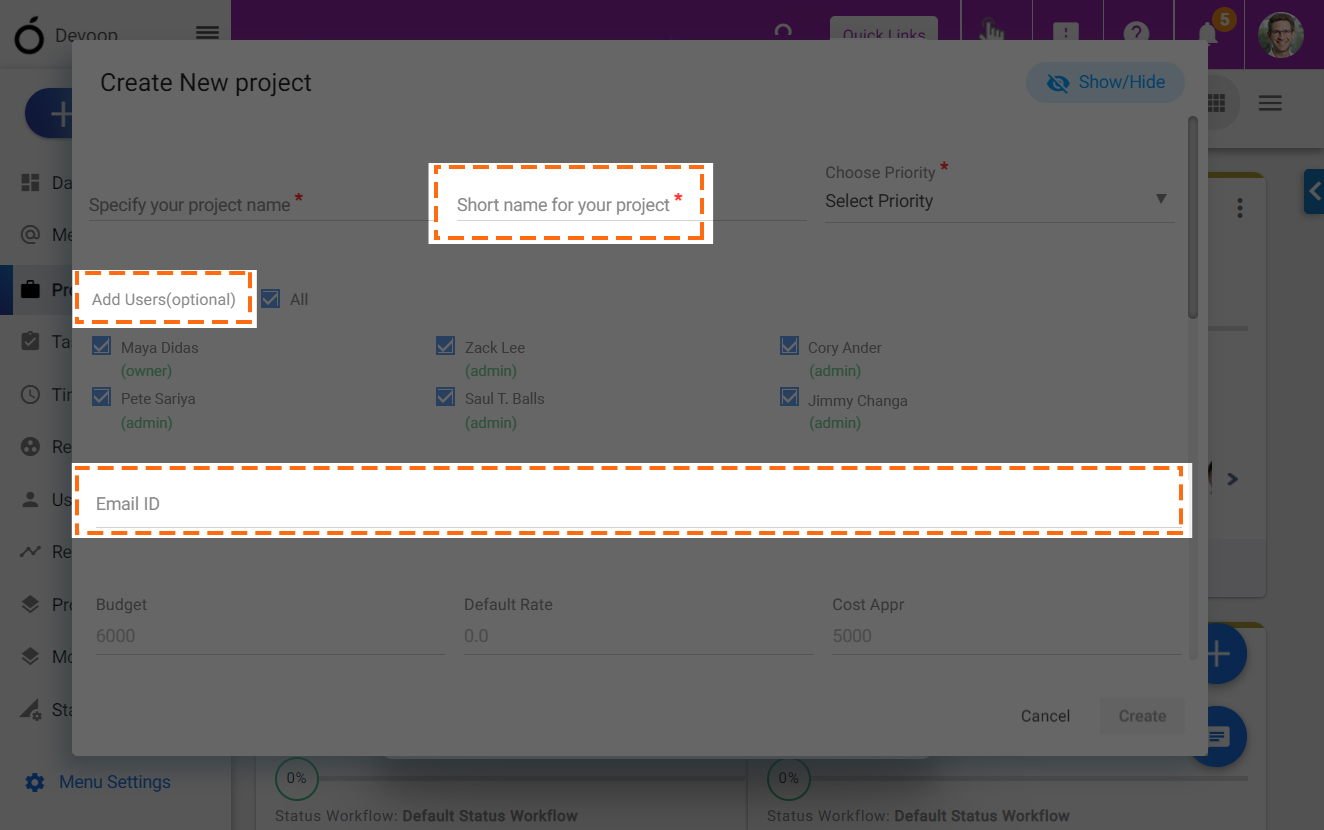
Once you have created the project, let’s add the user to this project for easy assignment of tasks. You can add users while creating a new project as displayed in the above image. To Add New Users, enter their email address and separate them with “**,**”.
You can add new users to any existing project by simply clicking on the menu over the specific project box (as displayed in the below image). It will show 4 action items and click on “**Add User**” link. Select user(s) form the pop-up screen, click on save button to save the data. If the user does not exist on the system yet, then invite the user to OrangeScrum by clicking on Add New user button on the top right corner.

**Invite User:**
Inviting new users to OrangeScrum is much easier. Click on “User” from “Quick Links” or Hover on ‘+’ icon “Add New User” from Dashboard or User page. Then enter the email address of the new user you want to invite/add & click on Add on the Add New User pop window. You can assign/ add the new user to a specific project by selecting any project.
*Note: Use the comma to invite or select multiple users.*
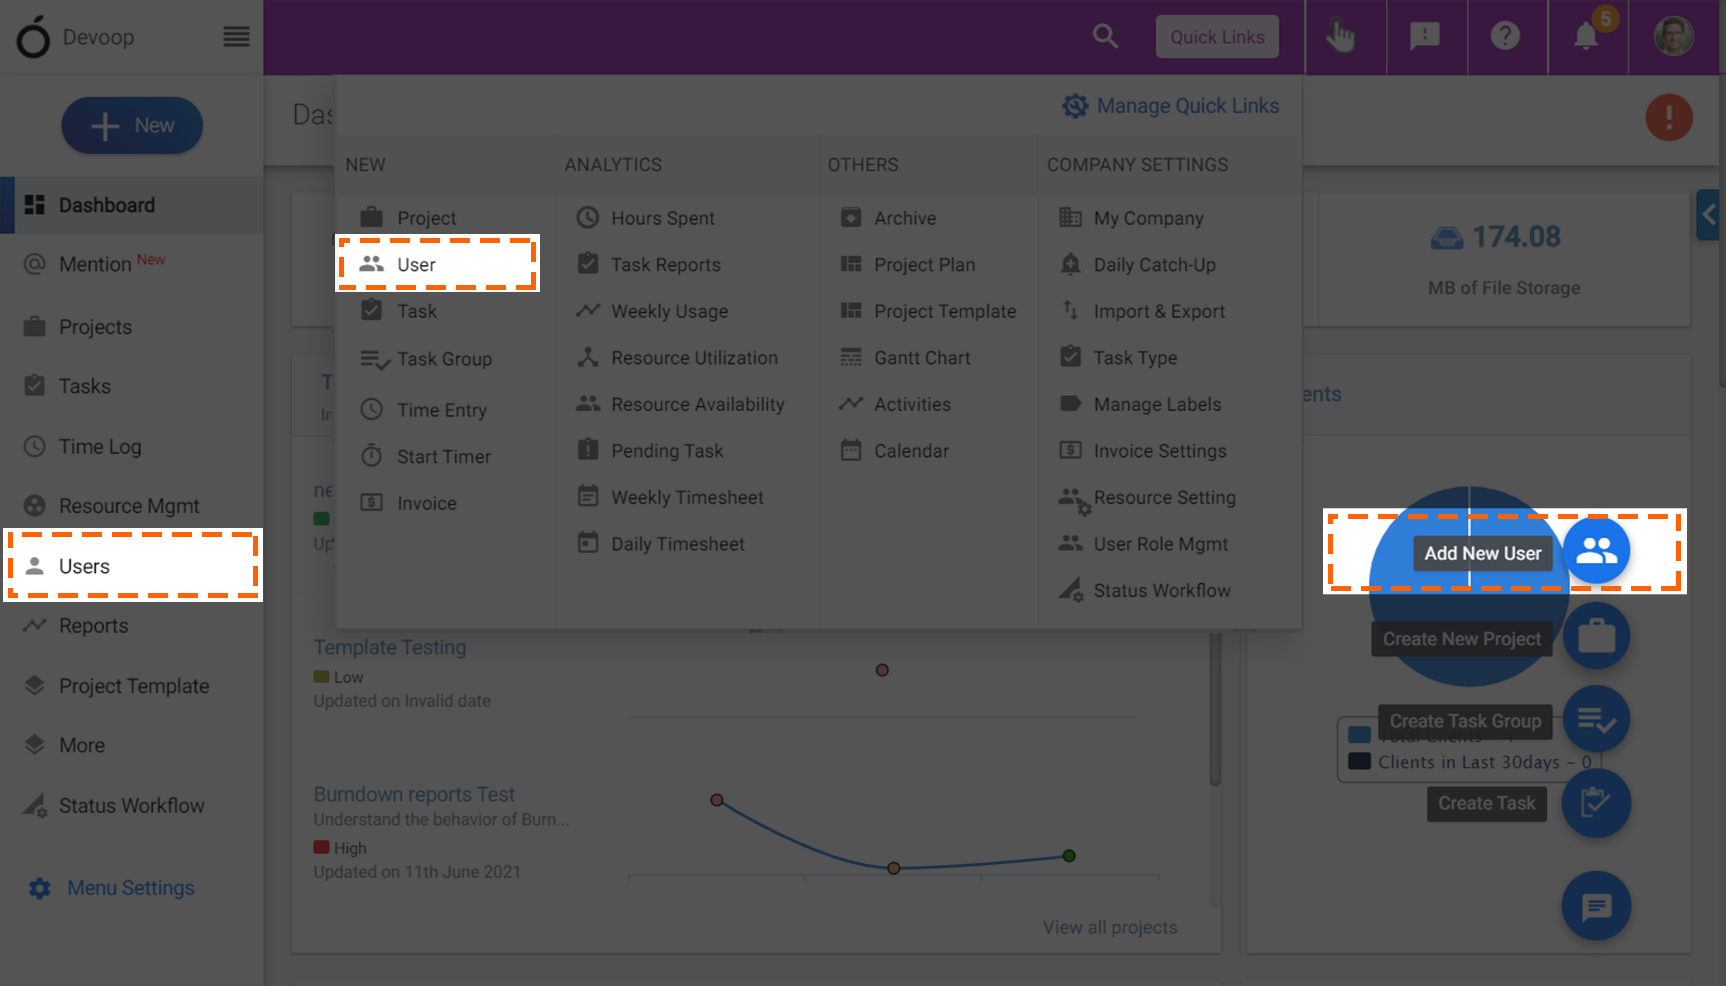
You can mark the user as Client or can grant Admin access to the user. At anytime you can Edit the user profile or Disable the user.
*Note: If you Disable then the user can’t log in to your OrangeScrum account anymore.*
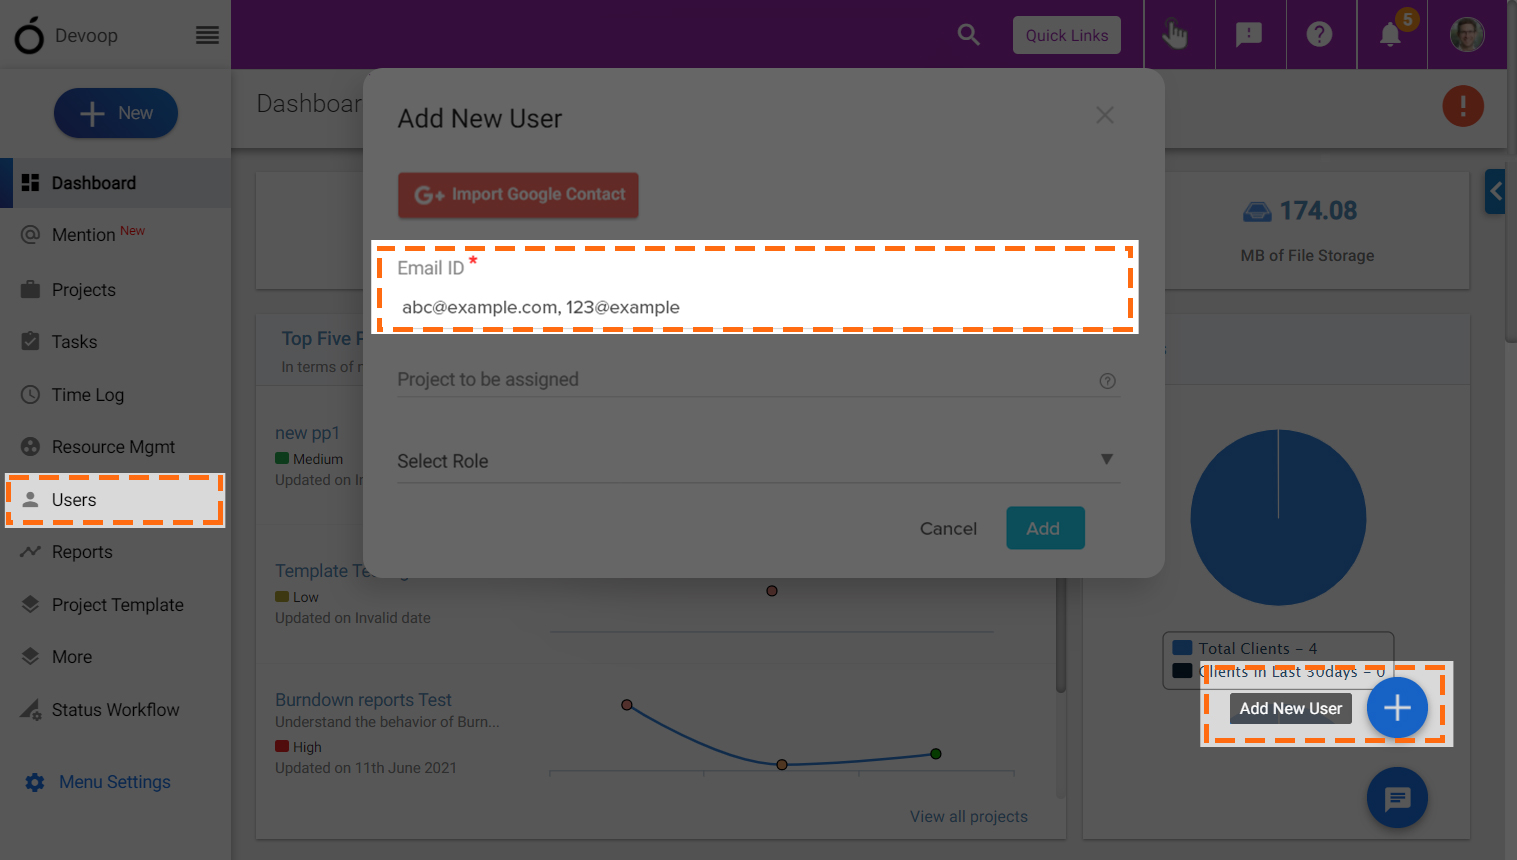
**Create or Import Task:**
Now as you have created a project and added users, it’s time to create tasks. Go to “+Quick link” Menu present on the top right-hand side of the screen and click on “Task” submenu to create a new task. You can also create the task in two different ways as shown in the image below.
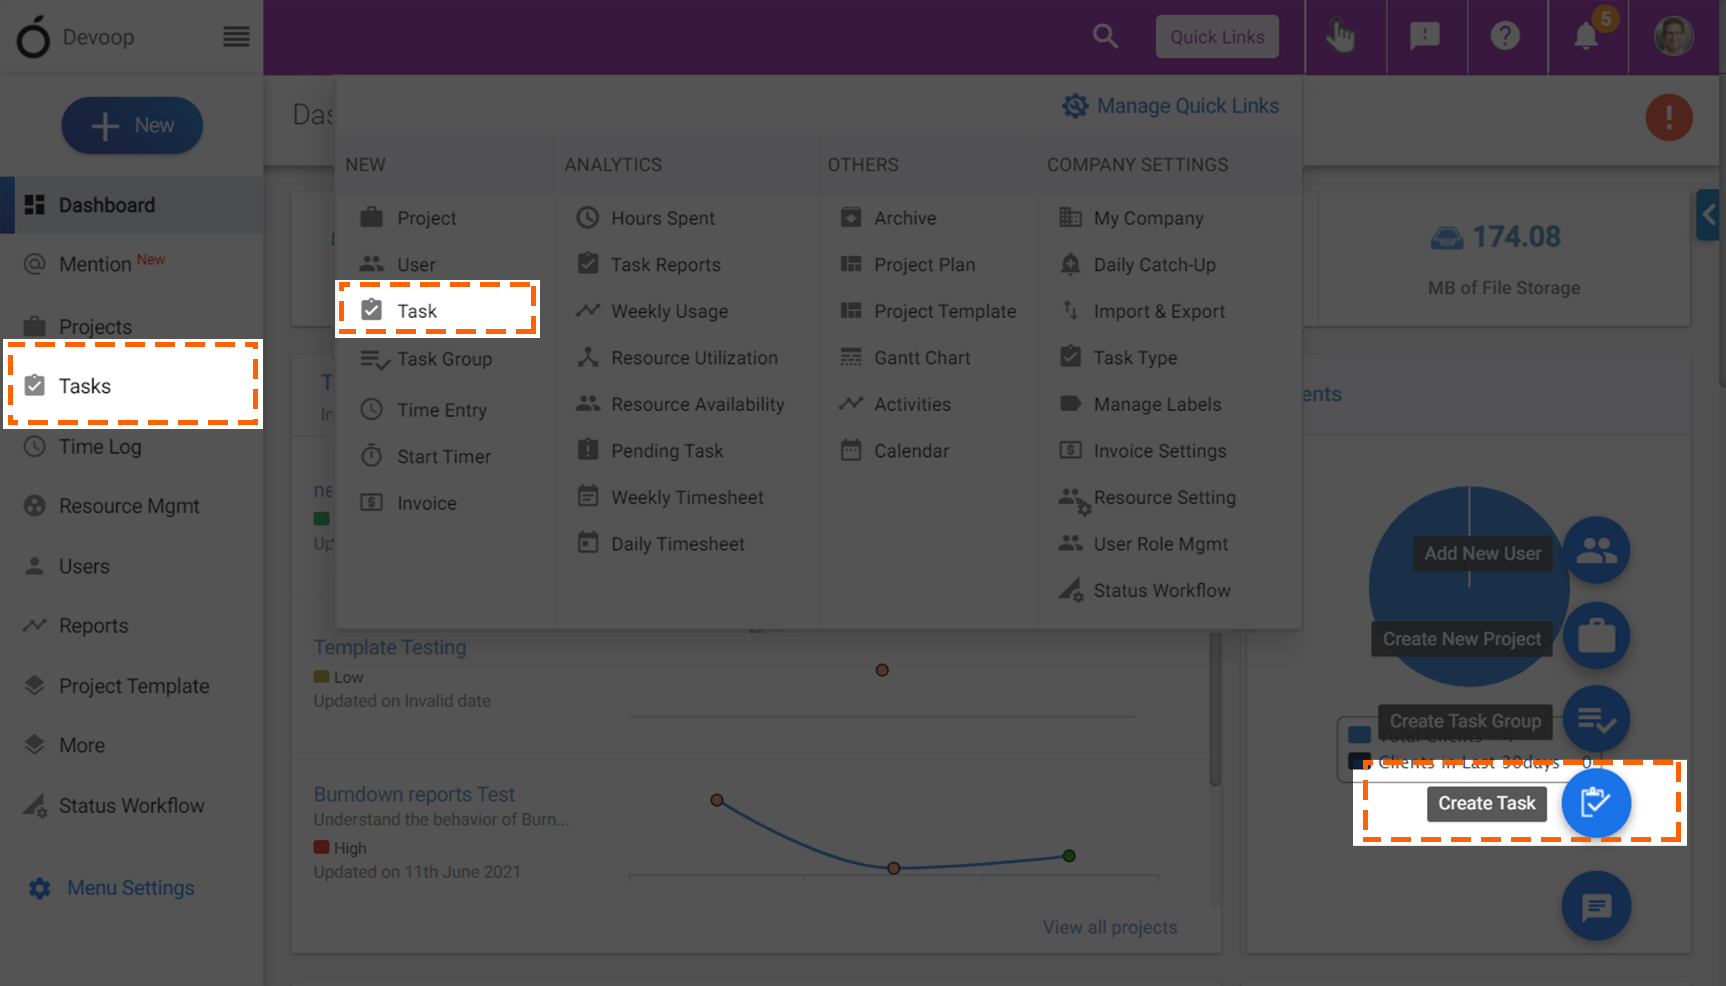
On the create Task page, enter task title, assign task, define task type and task group, start & end date and time and click on **Save** to create the task as shown in the image.

You can create a task from the task list using **Quick Task feature** as well. Click on **+Quick Task** to enter task title, define task type and assign task with an estimated hour and click on **Save** to create the task.
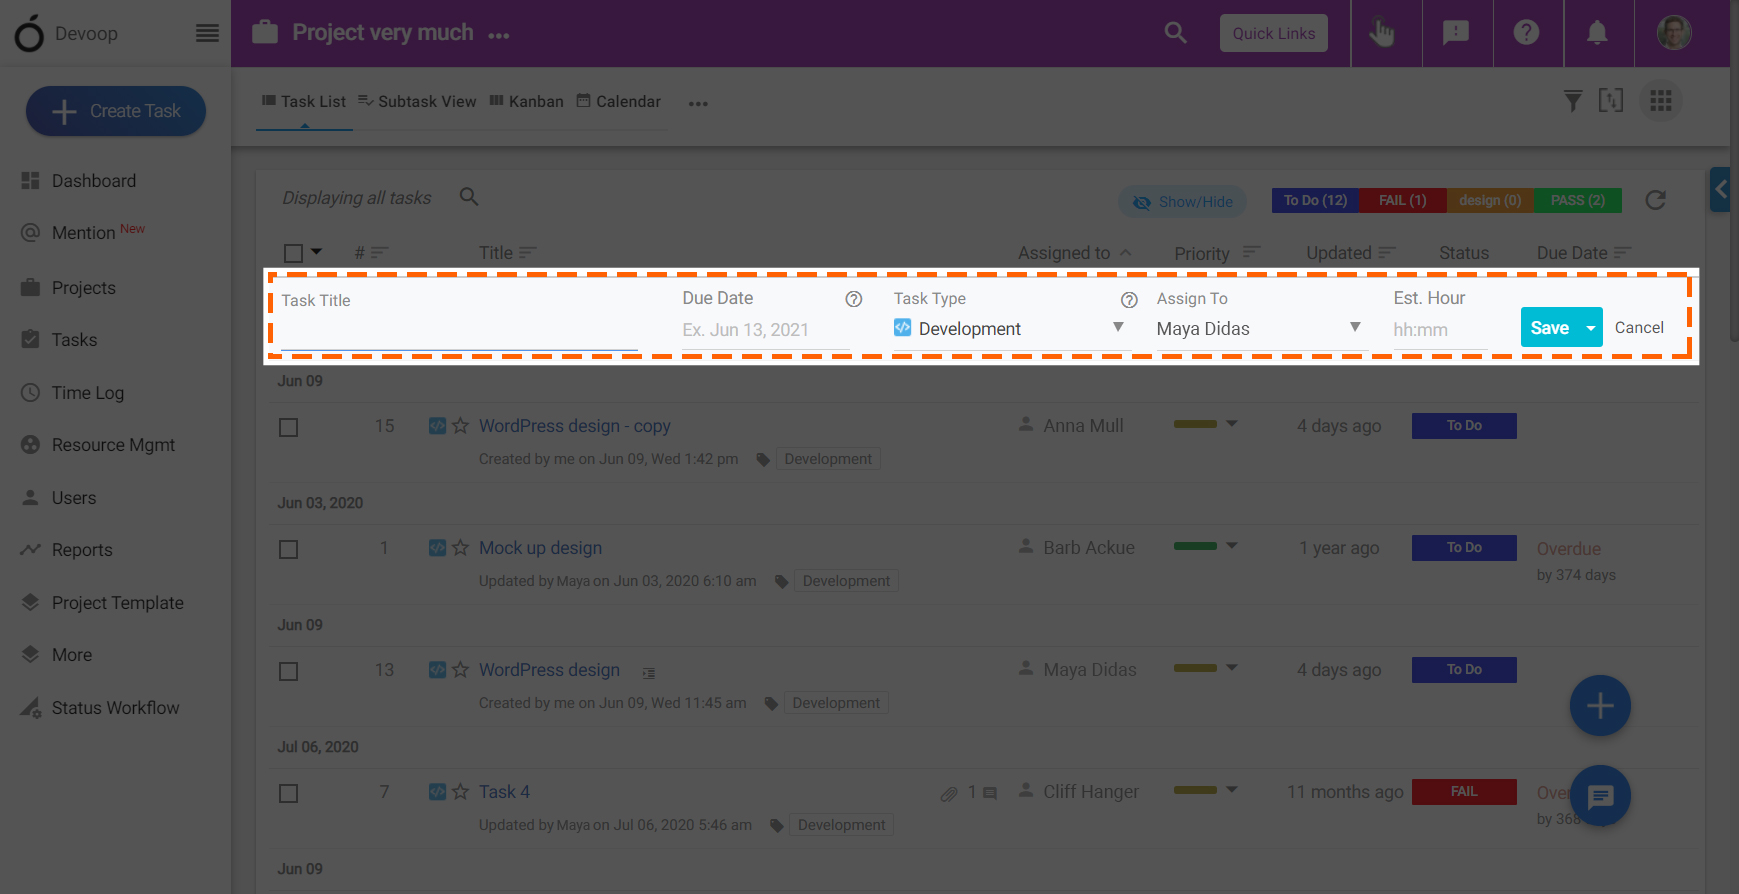
If you want to import tasks from any existing tool, it’s just a few clicks away. Click on “Account setting” and in the drop-down window, click on “Import & Export” sub-menu present under Company Settings. Now click on “Download .csv file” option to download a sample file. Insert your task in the prescribed format. This helps us to arrange the data and make sure you don’t lose any of the information.
Once you have arranged your data in the prescribed format, click on “Choose File” to upload the .csv file. Now click “Continue” and all your tasks are added in OrangeScrum.
You may export your created/uploaded task by clicking the export button in the right of the screen.
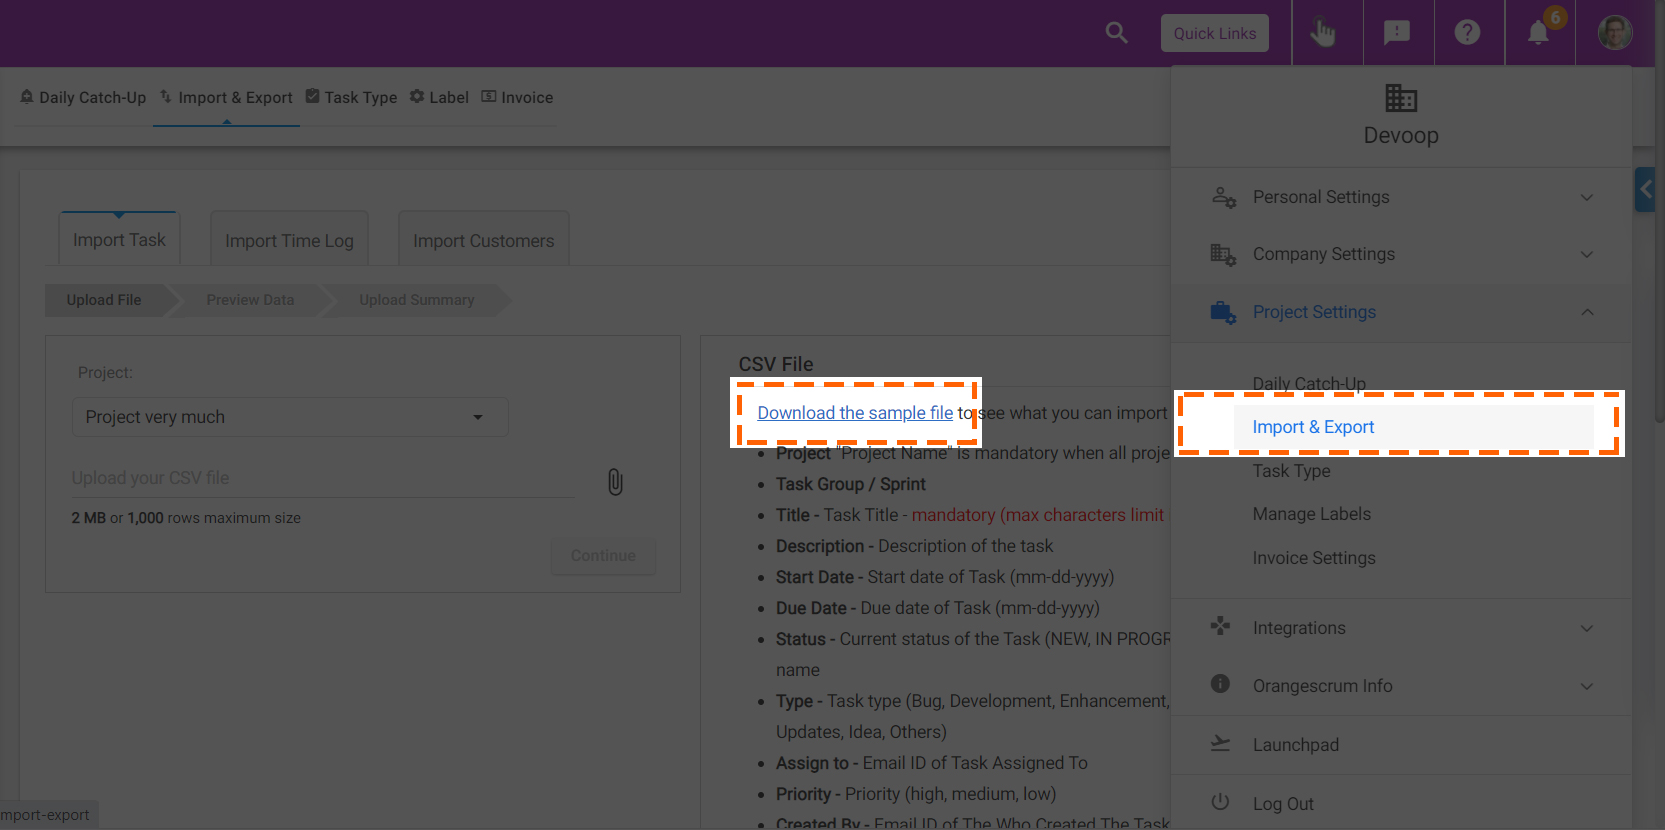
**Task Group:**
If you want to Group similar tasks, or milestone or department wise task or sub projects, then create a Task Group from Quick Links, Menu, Dashboard.
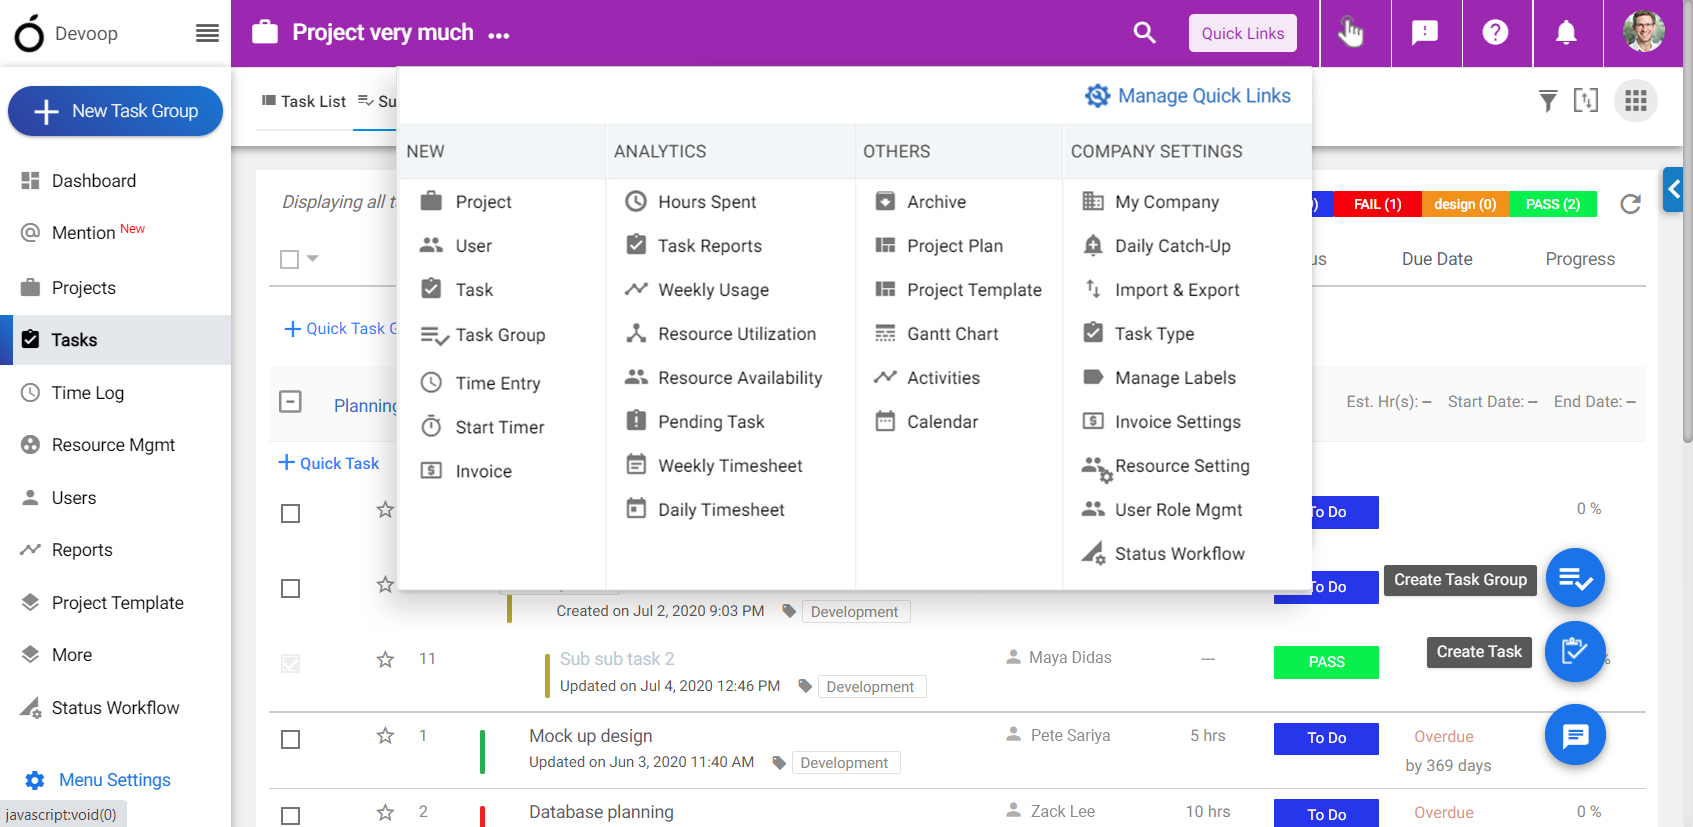
You can monitor your Task Group by creating with a Start Date and End Date as shown in image.
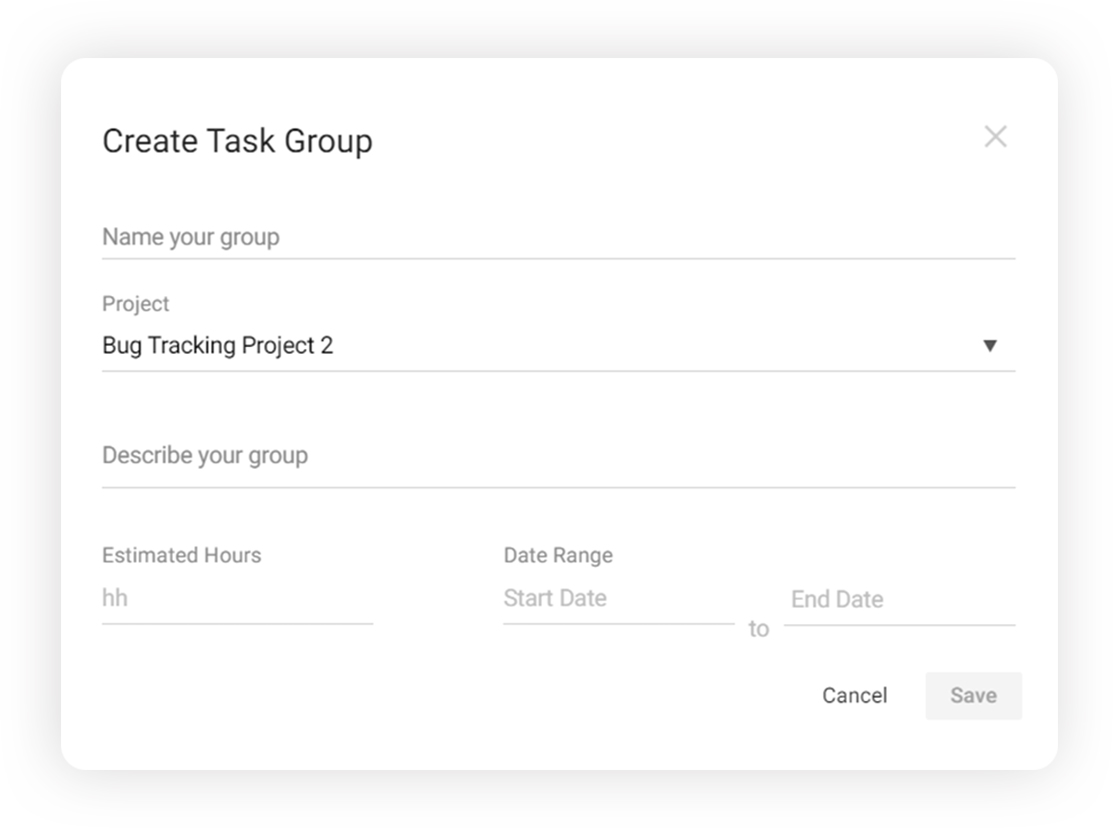
**Create Custom Task Type:**
Now that you have projects and tasks created and assigned, how will you track multiple tasks? Don’t worry, we have the fix ready. Now you can define the tasks based on any specific Task Type. And yes, you can custom define your own task groups. You can add custom task types or choose from default available task types listed on task type customization page. To add new task type, click on “New Task Type” button. This will open up a form to add custom task type.

**Time Zone and Profile:**
Click on your Profile button at the top-right corner of the page. click My Profile to change your name, time zone and profile photo.
Note: New time zone will only be effective in your OrangeScrum account once you log out and log in again.
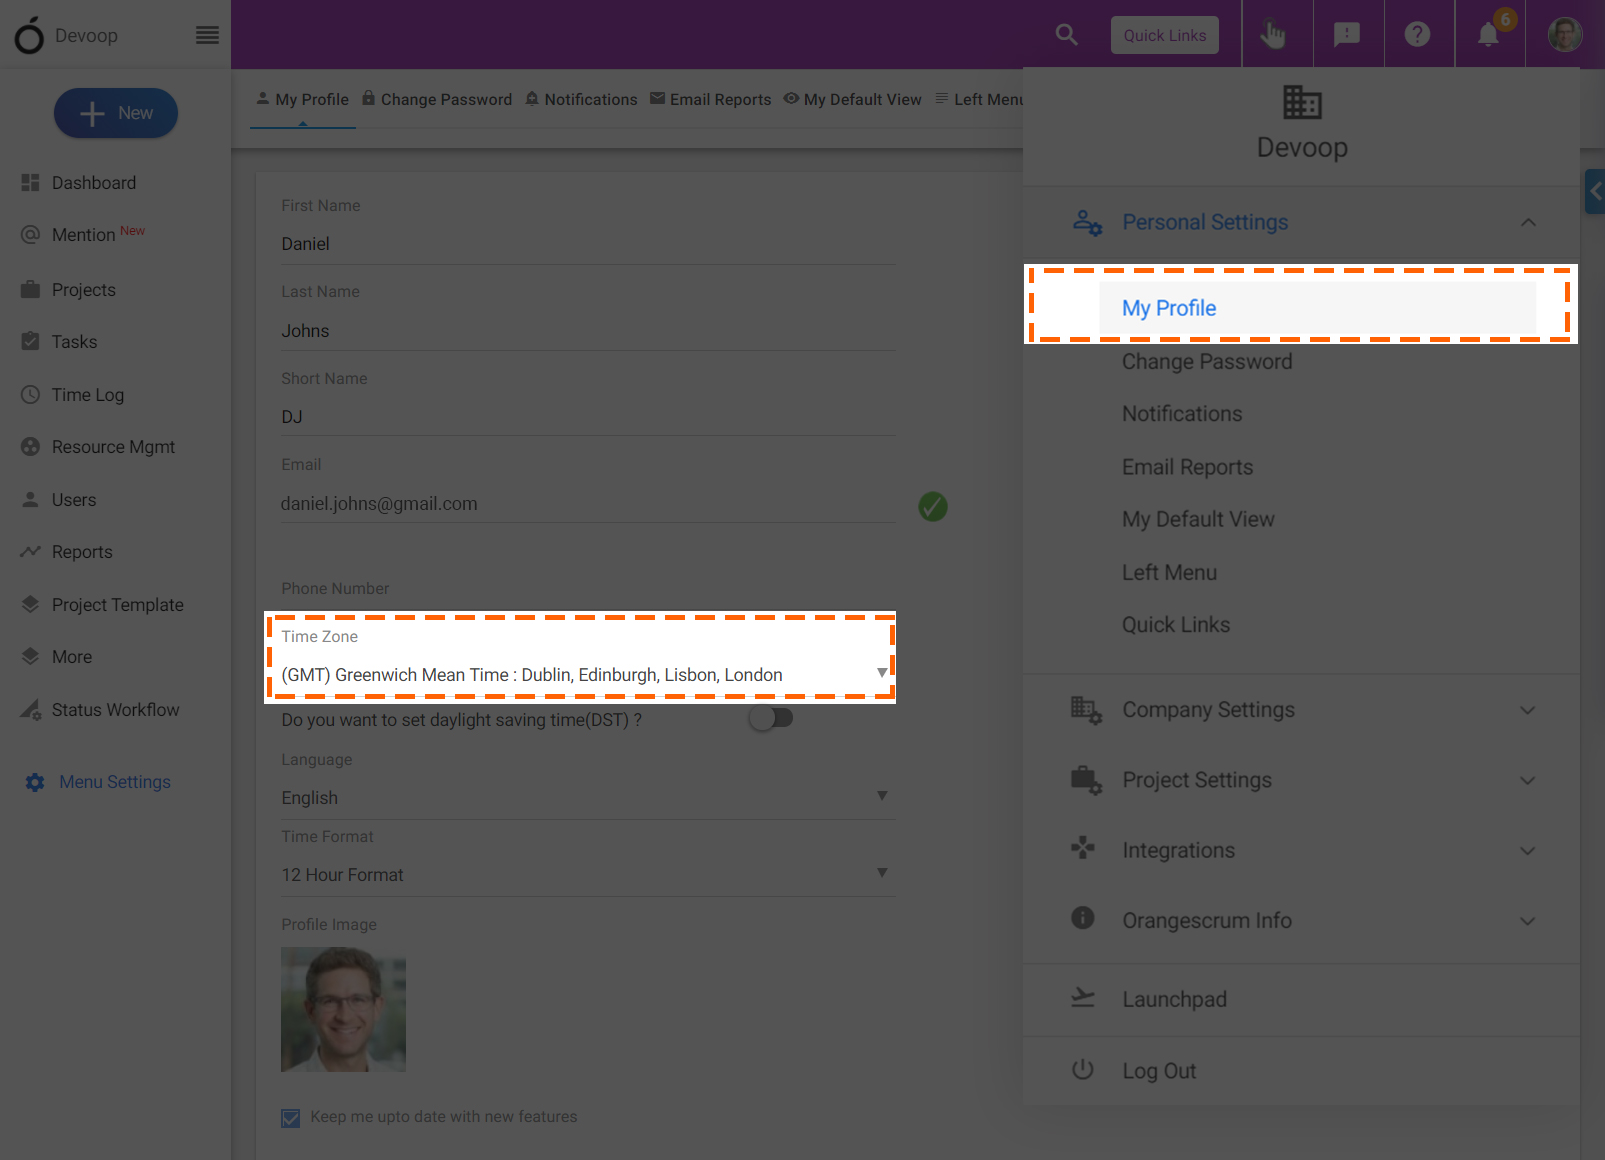
**Daily Catch-Up:**
Daily reminding team members for updates is very noisy. It’s kills your time and gradually leads you towards micro-management. Well, you got a solution for this. Daily Catch-up feature automatically collects daily updates and allows you to review entire teams progress at one place.
In the **Daily Catch-up** Alerts settings page, select the Project from the project drop down to get all settings for daily Catch-up alerts.
- **Select the user(s) by checking the check box(s)** to send them Daily catch-up alerts.
- Select the Alert time from the **drop down options to set a time** for the Daily catch-up alerts.
- **Select your Time zone** from drop down List.
- **Select the frequency** to send the Daily catch-up alerts for particular days in a week.

**Email Reports:**
- Under “Personal Settings”, click on “Email Reports”.
- Enable/disable “Weekly Usage”, Task Status”, “Task Due” reports.

**Kanban**
Do you want to check who is doing what on a single board? You can check the Scrum board in Kanban with Task Status “New, In Progress, Resolved and Closed”. You can view the Kanban view of Task group as well.
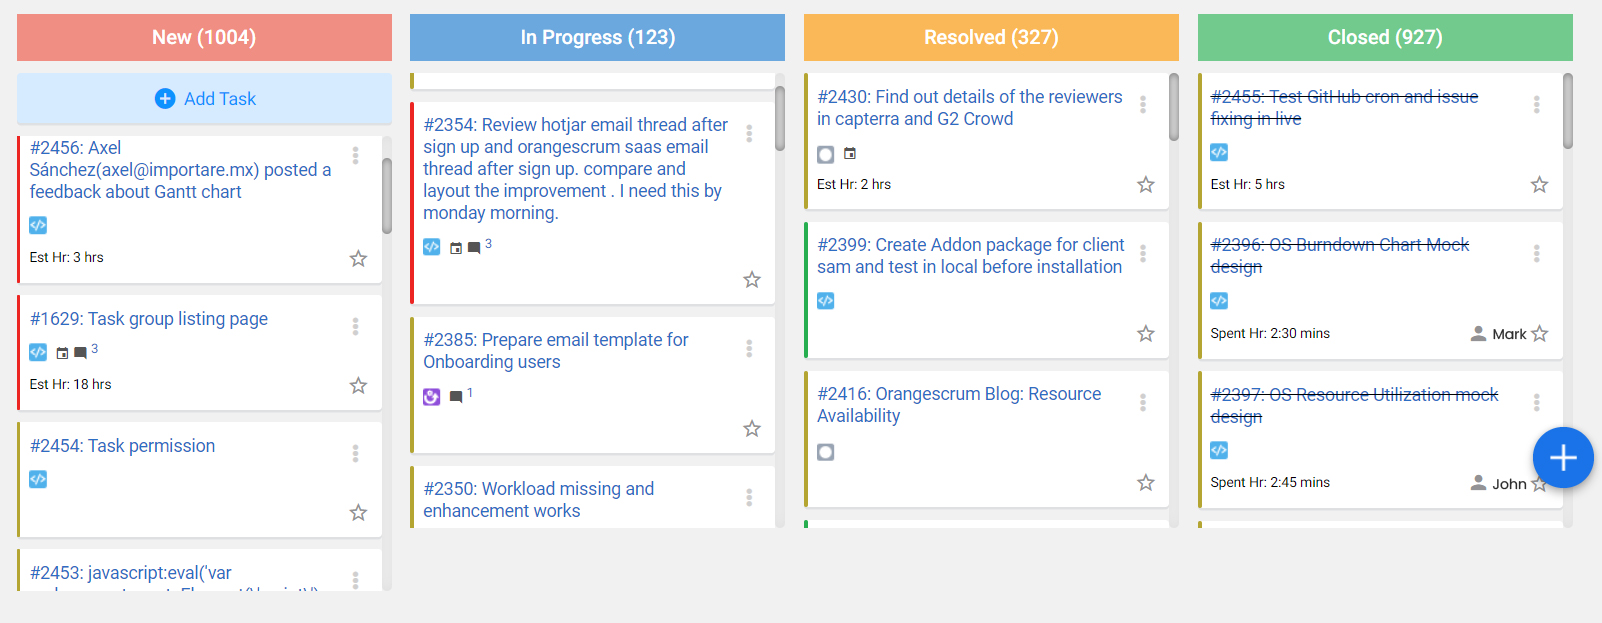
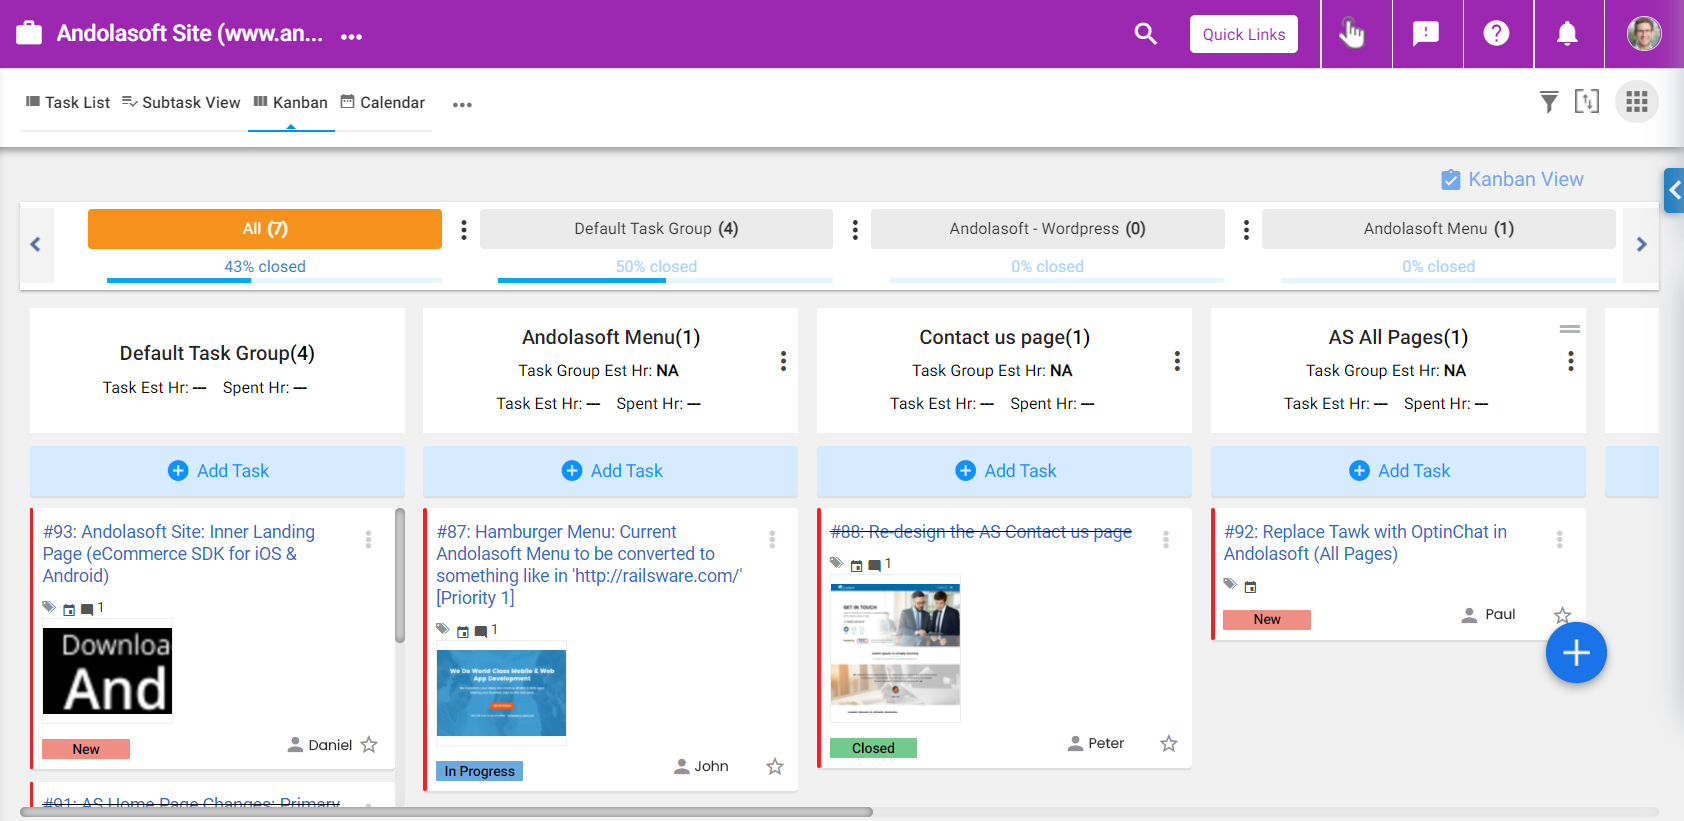
# Can I see the task dependencies on task list page?
> YES, you can see the task dependencies on the Task Listing Page as ‘Parent’ & ‘Child’ task. Navigate to Task Listing Page symbolizes the ‘Dependant’ or the Child task and shows the Parent task. (Refer Image 1) (Image-1) NOTE: Child task is dependent upon the Parent Task. i:e if the Parent task is…
> For the complete documentation index, see [llms.txt](https://helpdesk.orangescrum.com/llms.txt).
Source: https://helpdesk.orangescrum.com/can-see-task-dependencies-task-list-page
---
**YES**, you can see the task dependencies on the **Task Listing Page** as ‘**Parent**’ & ‘**Child**’ task.
1. Navigate to **Task Listing Page**
2. symbolizes the ‘**Dependant**’ or the **Child** task and shows the **Parent** task. (Refer Image 1)
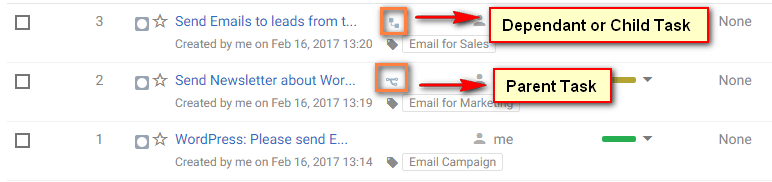
**(Image-1)**
**NOTE**: Child task is dependent upon the Parent Task. i:e if the Parent task is not completed yet, you can’t start the child task
The advantage of this feature is that it allows users to get the task sequence/plan without visiting Gantt chart. So, there is no need to provide access to gantt chart to project team in order to avoid editing of Gantt chart.
# How to View Task Details and Reply on a Task?
> How to View Task Details and Reply on a Task in Orangescrum SaaS Project Management tool
> For the complete documentation index, see [llms.txt](https://helpdesk.orangescrum.com/llms.txt).
Source: https://helpdesk.orangescrum.com/how-to-view-task-details-and-reply-on-a-task
---
Task replies can be done mainly in two ways in Orangescrum.
- From the Task List Page
- From the Task Details Page
**From the Task List Page**
1. Hover on the Task you want to Reply to
2. Click on the 3-dot menu
3. Click on **Reply.**
4. You will be taken to the **Comments section** of the Task detail page
5. Type in your reply or comments on the task
6. Click on the [**Post Comment**](https://helpdesk.orangescrum.com/how-do-i-log-time-while-replying-a-task/) button at the bottom of the task detail page
**From the Task Details Page**
1. Navigate to the **Comments Section** in the Task Detail page
2. Type in your reply or comments for the task
3. Click on the **Post Comment** button at the bottom of the task detail page
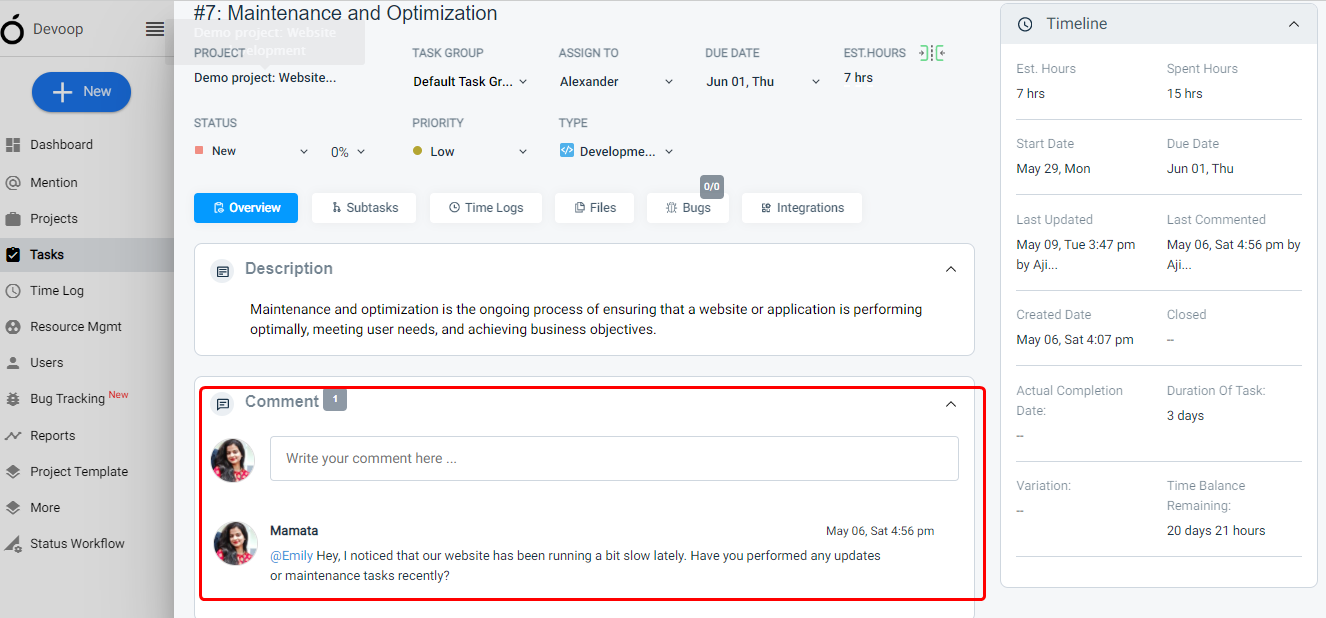
# Why I am unable to start the task?
> It is because the Associated Parent Task isn’t closed. You can’t start a Parent Task unless you finish the Child Task NOTE: Child task is dependent upon the Parent Task. i:e if the Parent task is not completed yet, you can’t start the child task
> For the complete documentation index, see [llms.txt](https://helpdesk.orangescrum.com/llms.txt).
Source: https://helpdesk.orangescrum.com/unable-start-task
---
It is because the Associated Parent Task isn’t closed. You can’t start a Parent Task unless you finish the Child Task
**NOTE**: Child task is dependent upon the Parent Task. i:e if the Parent task is not completed yet, you can’t start the child task
# Why I am Unable to Change the Progress of a Task?
> Why I am Unable to Change the Progress of a Task
> For the complete documentation index, see [llms.txt](https://helpdesk.orangescrum.com/llms.txt).
Source: https://helpdesk.orangescrum.com/unable-change-progress-task
---
This happens when you are trying to change the Task Status of a **Child Task** or **Dependent Task** whose **Parent Task** isn’t completed yet. Unless the **Parent Task** isn’t **Closed**, you can’t change the progress of a Task.
[Here](https://helpdesk.orangescrum.com/can-see-task-dependencies-task-list-page/) is how you can identify the parent task in the task list page.
# How can I view the Gantt Chart with all Projects?
> As of now, you can on view Gantt chart view for single project. Multi-project view in Gantt chart is currently not available.
> For the complete documentation index, see [llms.txt](https://helpdesk.orangescrum.com/llms.txt).
Source: https://helpdesk.orangescrum.com/can-view-gantt-chart-projects
---
As of now, you can on view [Gantt chart](https://helpdesk.orangescrum.com/how-to-use-the-gantt-chart-view-for-my-projects/) view for single project. Multi-project view in Gantt chart is currently not available.
# Where I Can Find Milestones in Orangescrum Cloud Edition?
> In Orangescrum #1 Task Management Software cloud edition, Milestone is renamed as Task Group. You can use Task Groups as Milestone.
> For the complete documentation index, see [llms.txt](https://helpdesk.orangescrum.com/llms.txt).
Source: https://helpdesk.orangescrum.com/can-find-milestones-cloud-edition
---
In Orangescrum #1 Task Management Software cloud edition, **Milestone** is renamed as **Task Group.** You can use [Task Groups](https://helpdesk.orangescrum.com/create-task-group/) as Milestone. The functionality remains the same as Open source edition
# How Many Languages does Orangescrum Support in Cloud Edition?
> Orangescrum SaaS Project Management tool supports 5 languages – English, French, German, Portuguese, and Spanish.
> For the complete documentation index, see [llms.txt](https://helpdesk.orangescrum.com/llms.txt).
Source: https://helpdesk.orangescrum.com/many-languages-orangescrum-support-cloud-edition
---
Currently, Orangescrum SaaS Project Management tool supports 6 [languages](https://helpdesk.orangescrum.com/can-change-language/) – Danish, English, French, German, Portuguese, and Spanish.
# How to Use Orangescrum Mobile App for SaaS (Cloud) Edition?
> Orangescrum Project Management Tool Mobile App is now available on iOS & Android platform for both SaaS (cloud) & Open Source (Community) Edition.
> For the complete documentation index, see [llms.txt](https://helpdesk.orangescrum.com/llms.txt).
Source: https://helpdesk.orangescrum.com/use-orangescrum-mobile-app-saas-cloud-edition
---
Orangescrum Mobile App is now available on iOS & Android platforms for both [SaaS (cloud)](https://www.orangescrum.com/) & [Open Source (Community)](http://www.orangescrum.org/) Edition.
Follow the steps below to use the mobile app for the SaaS edition.
1. Download/Install the Orangescrum Mobile App from [App Store](https://itunes.apple.com/app/id1390552311?mt=8) & [Play Store](https://play.google.com/store/apps/details?id=com.andolasoft.orangescrum&hl=en).
2. Once Installed, open the app
3. Select the **Yes** option to **“Are you an existing Orangescrum User?”** If you select No, it will ask you to sign up/open an account.
4. Once you select Yes, **Android users** will be presented with a screen as seen below with 3 options to choose from.( Refer Image-1)
- \-I am a Cloud User
- \-I am a Self-Hosted User
- I am a Community User
1. Select **I am a Cloud User**
2. iOS users will be directly taken to the login form because we have 2 separate mobile apps for the cloud and open source editions.
3. If you have already signed up & have an account in Orangescrum, then you can login by using your email id & password. You can also login by selecting **Login with Google** button. (Refer Image-2)
4. If not, you can do a Google Sign Up from the mobile app too.
5. After successful login you will be directed to the Launchpad to select your company (If you’re part of multiple companies, then it will show multiple company names otherwise it will show you only one company).
6. Once you select your company, you can see the Task list page of your project. (Refer Image-3)
**(Image-1) (Image-2) (Image-3)**
Note: Orangescrum offers mobile app for its Cloud Self-Hosted and Open Source (Community) editions as well. You will need to purchase the [Mobile API](http://www.orangescrum.org/add-on/mobileapi) to use the mobile app for Open Source edition. For more information, you can see the User Manual of Mobile API add-on
**What are features available in Orangescrum Mobile App?**
The following features are available for Mobile App:
- Create, Edit, Assign & Manage Projects( Refer Image -1)
- Create, Edit, Assign, Delete Task ( Refer Image -2)
- Invite, Edit & Manage Users
- Attach Files to tasks
- Update Profiles

**( Image -1) (Image -2)**
[](https://itunes.apple.com/ph/app/id1132539893) [](https://play.google.com/store/apps/details?id=com.andolasoft.orangescrum&hl=en)
# Why I am Unable to Log Time for My Task?
> It is because the task is a dependent task. You can’t log time for the dependent tasks unless you finish the parent task.
> For the complete documentation index, see [llms.txt](https://helpdesk.orangescrum.com/llms.txt).
Source: https://helpdesk.orangescrum.com/unable-log-time-task
---
It is because the task is a dependent task. You can’t log time for the dependent tasks unless you finish the parent task.
You can find the dependency details directly from the task list page. Please click [dependency icons](https://helpdesk.orangescrum.com/can-see-task-dependencies-task-list-page/) from the task list page to find the dependent task details.
# What is In-App Notification and Which Notification I will Get?
> This is to get the instant notification inside the Orangescrum. You will get immediate notifications for: Tasks assigned to you Your overdue tasks Time log reminder for your assigned tasks To view the Task assigned, over due Tasks, or Time Logs, click on the notification, you’ll be redirected to…
> For the complete documentation index, see [llms.txt](https://helpdesk.orangescrum.com/llms.txt).
Source: https://helpdesk.orangescrum.com/app-notification-notification-will-get
---
This is to get the instant notification inside the Orangescrum. You will get immediate notifications for:
- Tasks assigned to you
- Your overdue tasks
- Time log reminder for your assigned tasks
To view the Task assigned, over due Tasks, or Time Logs, click on the notification, you’ll be redirected to the respective page.
You can see the notification on the bell icon (just after the Quick Links) as shown in the image.
**Note**: The In-App Notification only work when some one assigned a task when you’re not logged in.
# Can I Edit a Task Group/Sprint From the Gantt Chart?
> Can I Edit a Task Group/Sprint From the Gantt Chart
> For the complete documentation index, see [llms.txt](https://helpdesk.orangescrum.com/llms.txt).
Source: https://helpdesk.orangescrum.com/can-i-edit-the-task-group
---
You can’t edit any Task Group/Sprint from the Gantt chart. You can only edit [tasks](https://helpdesk.orangescrum.com/create-task-gantt-chart/) under the task groups.
Note: To edit a task in the Gantt chart, click on the edit option near the task title.
# How to Delete a Task from Gantt Chart?
> Log in to your OrangeScrum account. Hover on the “more” option from the left menu. Click on Gantt chart . Select the required project from the project drop-down. Click icon against specific task you want to delete. It will provide warning message saying “Task will be deleted permanently, are you…
> For the complete documentation index, see [llms.txt](https://helpdesk.orangescrum.com/llms.txt).
Source: https://helpdesk.orangescrum.com/delete-task-gantt-chart
---
1. Log in to your OrangeScrum account.
2. Hover on the “more” option from the left menu.
3. Click on **Gantt chart** .
4. Select the required project from the project drop-down.
5. Click  icon against specific task you want to delete.
6. It will provide warning message saying “Task will be deleted permanently, are you sure?”. Click **Ok** to delete the task.(Image-1)
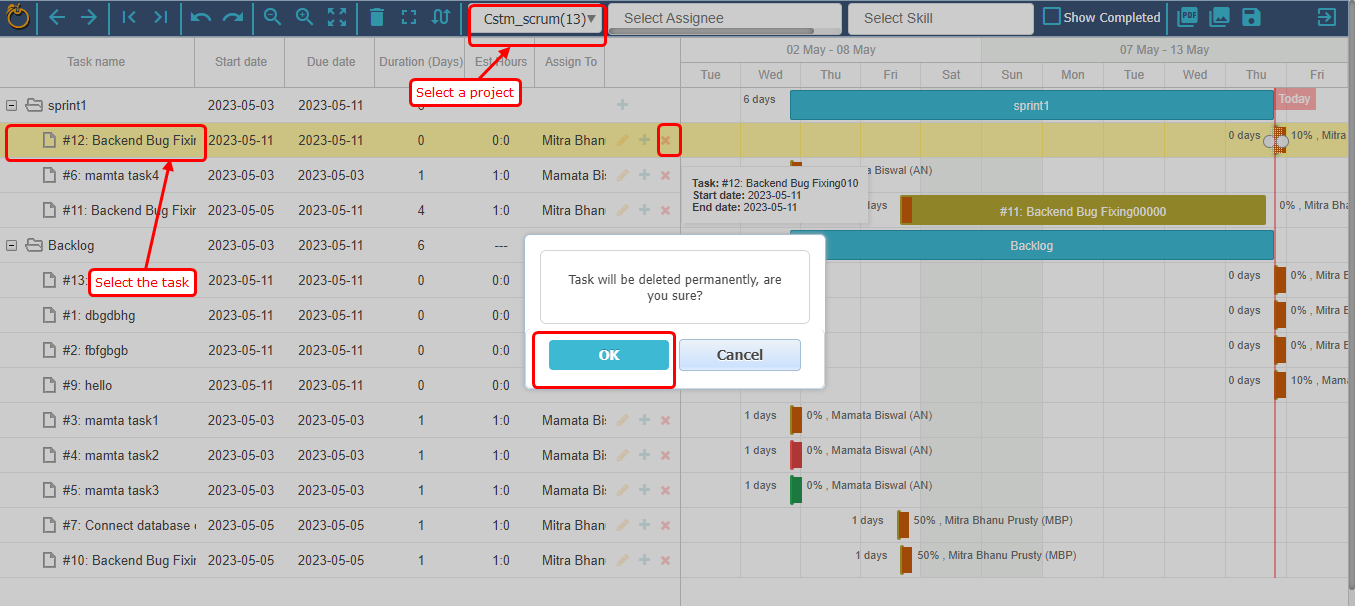
Image-1
# How can I Copy a Task?
> Orangescrum offers a Copy functionality for tasks to save you from redundant activities and time. To create a copy Hover on the task you wish to Copy Click on the 3-dot icon Click on Copy A duplicate task would now be created in the same project as Task A – Copy to indicate that it […]
> For the complete documentation index, see [llms.txt](https://helpdesk.orangescrum.com/llms.txt).
Source: https://helpdesk.orangescrum.com/can-copy-task-2
---
Orangescrum offers a Copy functionality for tasks to save you from redundant activities and time.
To create a copy
1. 1. Hover on the task you wish to Copy
1. Click on the 3-dot icon
2. Click on Copy
A duplicate task would now be created in the same project as Task A – Copy to indicate that it is a copied task.
When you Copy a task below is how the various task properties would be impacted
1. The Estimated Hour, Task Priority, Task Status, Task Type, Task Group, Project, Due Date, Files/attachments will remain as-is.
2. Task “Assign To” will be changed to “Unassigned”
3. Comments & Time Log entries of the original task will not be copied.
# Who can edit a task? How can I restrict users from editing a task?
> Who can Edit a Task? How can I Restrict Users from Edit a Task
> For the complete documentation index, see [llms.txt](https://helpdesk.orangescrum.com/llms.txt).
Source: https://helpdesk.orangescrum.com/can-restrict-users-edit-task
---
1. Click on the **Profile Icon >Company Settings > [User Role Management](http://helpdesk.orangescrum.com/cloud-category/user-role-management/)**
2. Navigate to the **Role Group** and Click on the desired **Role** that you want to set preferences for
3. Click on **Tasks** and set preferences for View, Edit and Delete actions as seen in the image below.
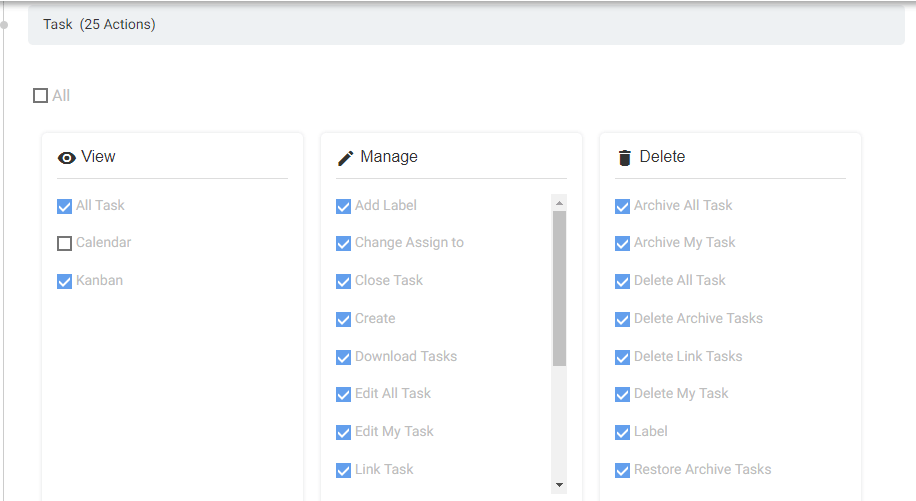
# How to Delete Comments?
> In Orangescrum SaaS Project Management Tool you can only edit the last comment. You would not be able to delete the previous dialogs or comments.
> For the complete documentation index, see [llms.txt](https://helpdesk.orangescrum.com/llms.txt).
Source: https://helpdesk.orangescrum.com/how-to-delete-comments
---
In Orangescrum SaaS Project Management Tool you can only edit the last comment. You would not be able to delete the previous dialogs or [comments](https://helpdesk.orangescrum.com/how-do-i-log-time-while-replying-a-task/).
# Can I Edit My Orangescrum URL?
> Can I Edit My Orangescrum URL
> For the complete documentation index, see [llms.txt](https://helpdesk.orangescrum.com/llms.txt).
Source: https://helpdesk.orangescrum.com/edit-website-url
---
Yes, you can edit the Orangescrum URL as owner.
1. Log in to Orangescrum account.
2. Click **profile icon** **\>Company settings>**[**My Profile**](https://helpdesk.orangescrum.com/how-to-change-my-name-timezone-and-profile-photo/)**.**
3. Click  to provide your custom URL. (Refer Image-1)
4. Provide your required sub-domain you want to add and click **Save.** Please note that you cannot change your URL completely. You can only add sub-domain to orangescrum.com
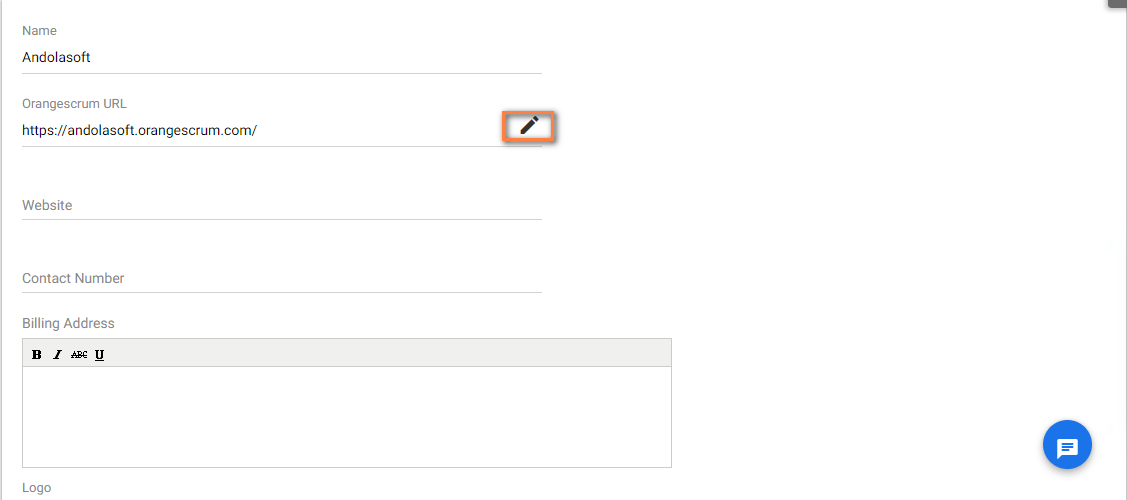
**(Image-1)**
**Note**: Only owner of the account will be able to edit the company URL.
# Can I Create a Task which Client can’t See?
> While creating a task if you are marking as “Do not show to client” then the task will not be shown to the client.
> For the complete documentation index, see [llms.txt](https://helpdesk.orangescrum.com/llms.txt).
Source: https://helpdesk.orangescrum.com/can-create-task-others-cant-see
---
While [creating a task](https://helpdesk.orangescrum.com/how-to-create-a-new-task/) if you are marking as “Do not show to client” then the task will not be shown to the client.
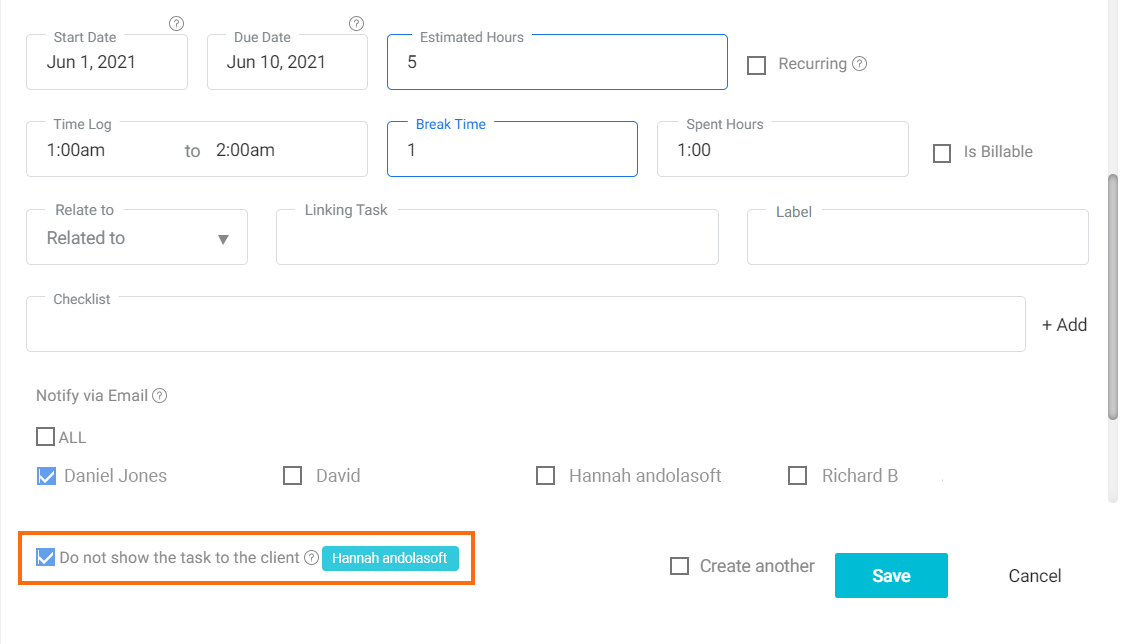
# Can I Hide a Task From a User?
> Can I Hide a Task From a User
> For the complete documentation index, see [llms.txt](https://helpdesk.orangescrum.com/llms.txt).
Source: https://helpdesk.orangescrum.com/can-hide-task-user
---
1. Click on the **Profile Icon >Company Settings > [User Role Management](http://helpdesk.orangescrum.com/cloud-category/user-role-management/)**
2. Navigate to the **Role Group** and Click on the desired **Role** that you want to set preferences for
3. Click on **Tasks** and unmark **All task** under **View** section.
4. Click on **Save changes**.

# How can I Import Users Through Google Contact?
> Navigate to Quick Links > User (Refer Image 1) Click G+ Google Contact > Add (Refer Image 2) Provide required permissions and click on Import (Image-1) […]
> For the complete documentation index, see [llms.txt](https://helpdesk.orangescrum.com/llms.txt).
Source: https://helpdesk.orangescrum.com/can-import-user
---
1. Navigate to **Quick Links > User** (Refer Image 1)
2. Click **G+ Google Contact > Add** (Refer Image 2)
3. Provide required permissions and click on Import
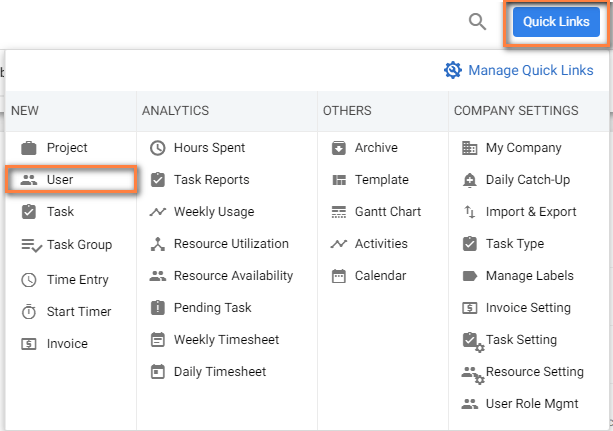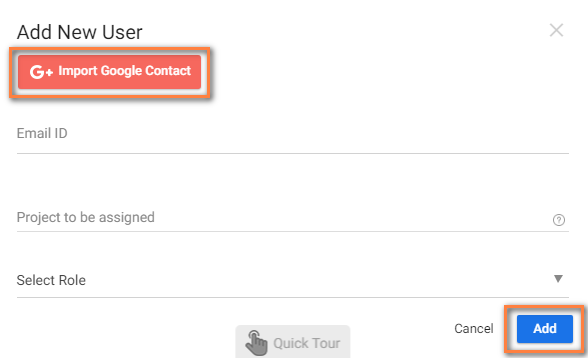
**(Image-1) (Image-2)**
# How to Use or Start the Timer?
> Click Quick Links>Timer Select a Project Click on the ‘Start Timer’, It will then select the default project automatically. If you need to change the project, just click on the ‘Project’ field and scroll down to select your project. (Note: you have to enter a backspace before search) Select […]
> For the complete documentation index, see [llms.txt](https://helpdesk.orangescrum.com/llms.txt).
Source: https://helpdesk.orangescrum.com/use-start-timer
---
Click **Quick Links>Timer**
### **Select a Project**
Click on the ‘Start Timer’, It will then select the default project automatically. If you need to change the project, just click on the ‘Project’ field and scroll down to select your project.
(Note: you have to enter a backspace before search)
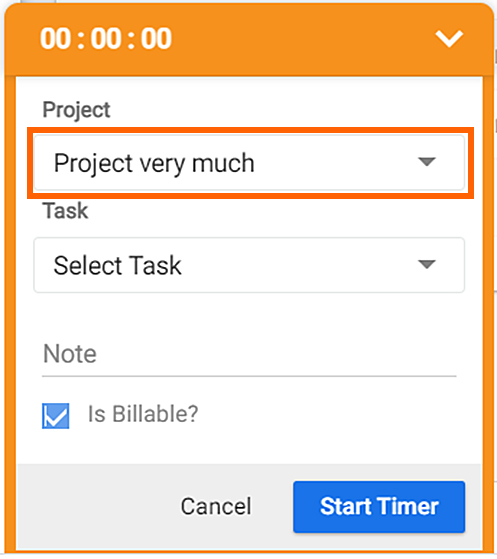
### **Select a Task**
Select a ‘Task(s) from the present tasks or you can add a new ‘Task(s)’ to the selected ‘Project’.
Note: Enter a backspace to add a new ‘Task’.
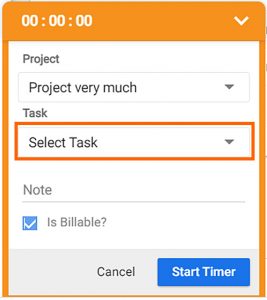
### **Billable or Non-billable**
1. Check or un-check the field to ‘Log Time’ for billable or non-billable hours which you can use later to generate ‘Invoice’ as per your billable hours.
2. cancel, click on **cancel** button. The Log time will flash in Time Log page or Task detail page of the selected Task.
**Note**: You can’t log time for less than one minute.
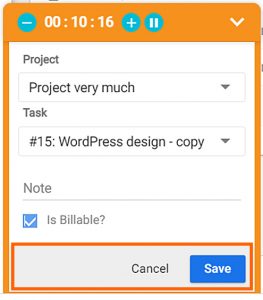
### **Pause & Play**
You can **Pause** and **Play** the ‘Timer‘ for a particular Task with ease. It will be added as your break time.
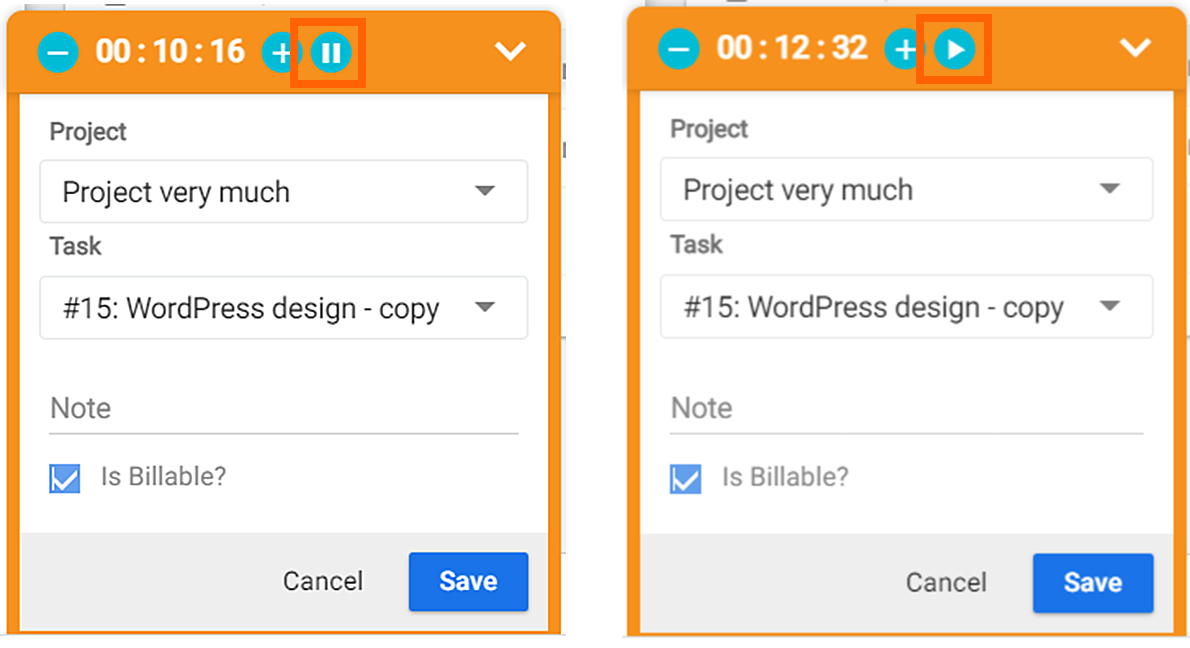
# What Action a Client User can Do or Access?
> What Action a Client User can Do or Access
> For the complete documentation index, see [llms.txt](https://helpdesk.orangescrum.com/llms.txt).
Source: https://helpdesk.orangescrum.com/client-can-view
---
First of all, you need to add/invite a user to make him/her a **Client.** (Refer Image-1)
1. A client can create a project
2. A client can create a new task (and can assign a user)
3. A client can reply to a task
4. Can’t create a new user or add a user
5. A client can’t see the timelog for others (except his own)
6. Client won’t be able to view or create for the Invoice section, Gantt chart, Template and Daily catch-up
7. In Analytics (cant view the weekly usage and the resource utilization page)
8. No access to Company & Account Settings.
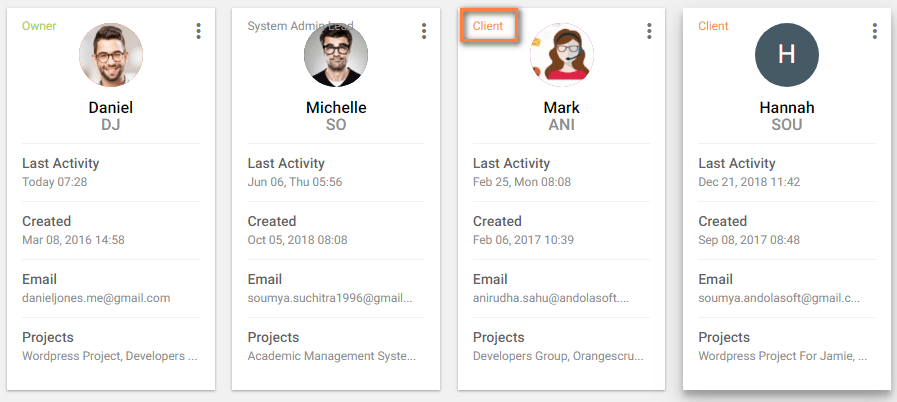
**(Image-1)**
# How to View Spent Hours by Resources for a Single Day?
> How to View Spent Hours by Resources for a Single Day
> For the complete documentation index, see [llms.txt](https://helpdesk.orangescrum.com/llms.txt).
Source: https://helpdesk.orangescrum.com/view-hour-one-day
---
1. Navigate to **[Quick Links](https://helpdesk.orangescrum.com/how-can-i-manage-the-menus-in-quick-links/) > [Resource Utilization](https://helpdesk.orangescrum.com/what-is-resource-utilization/)** (Refer Image 1)
2. Click and select date to find the hour spent report of the particular day. (Refer Image-2 &3)
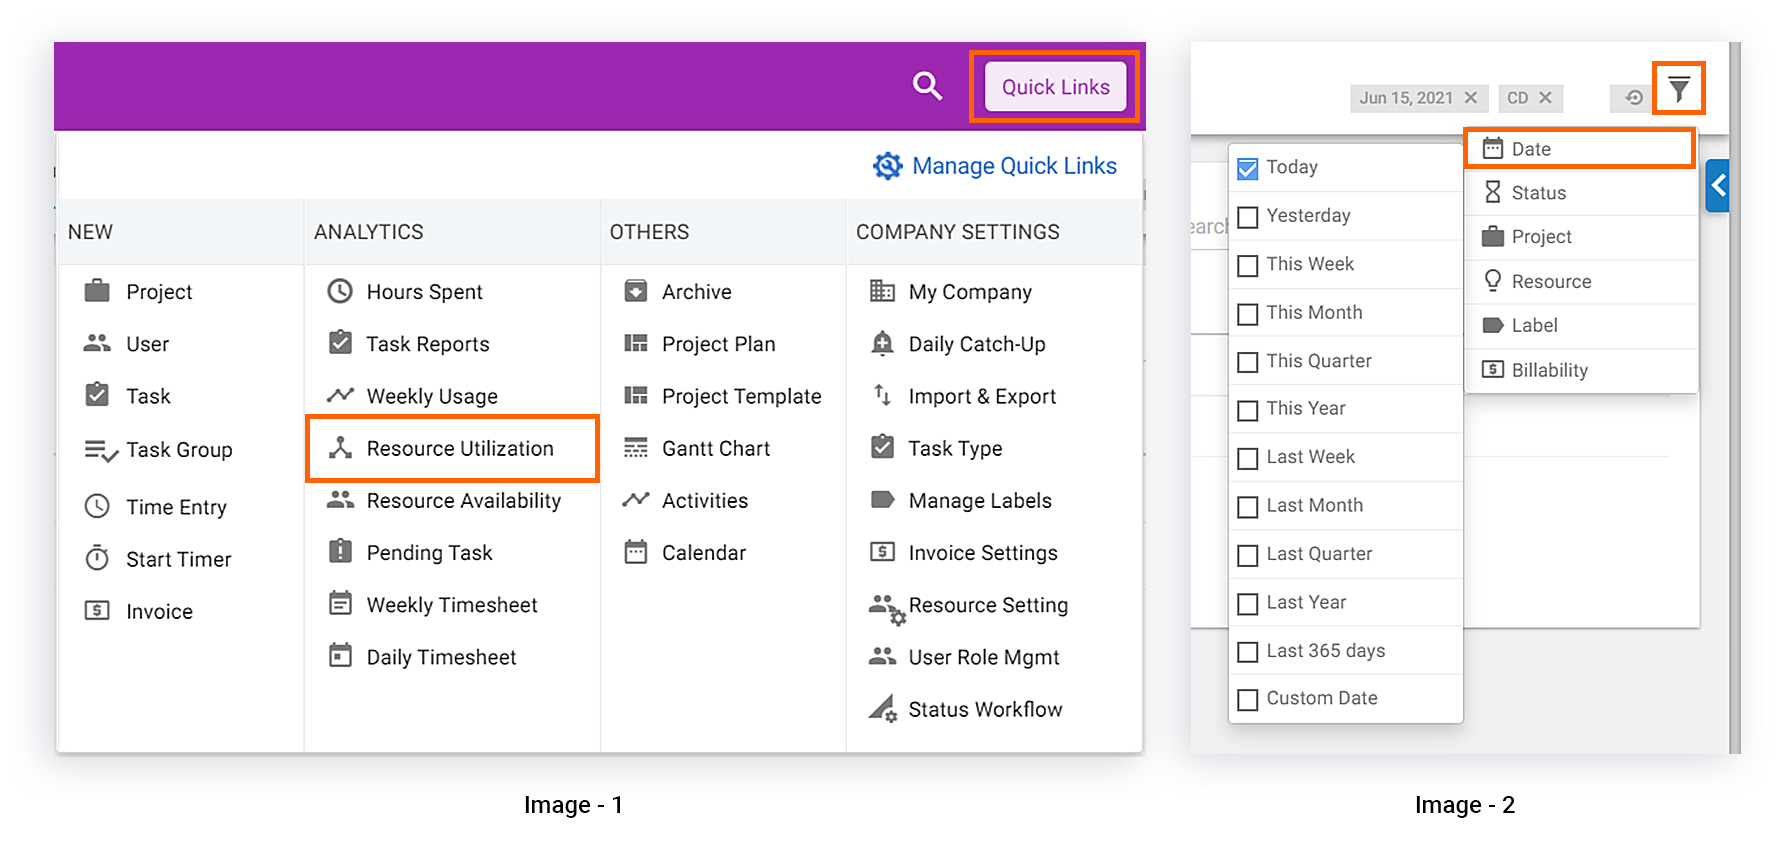
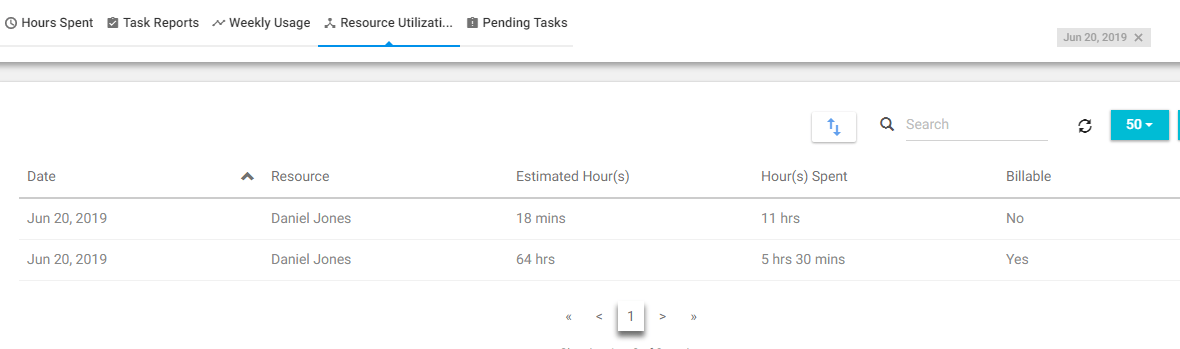
**(Image-3)**
# What is Update Task Type? How it is Used?
> Update is a special type of task type that is generally used while providing daily task updates to higher authorities.
> For the complete documentation index, see [llms.txt](https://helpdesk.orangescrum.com/llms.txt).
Source: https://helpdesk.orangescrum.com/use-update-status
---
Update is a special type of task type that is generally used while providing daily task updates to higher authorities. In order to use this task type, you can follow the below steps:-
1. Click **Quick Links > Task.**
2. In create task page, select the task type as **(Refer Image-1)**
3. Automatically, task title will be updated as **‘Daily update- mm/dd’.**
4. Provide required details and notify specific users (If required).
5. You can also log time for the day while creating task. **(Refer Image-1)**
6. Click **Save & exit.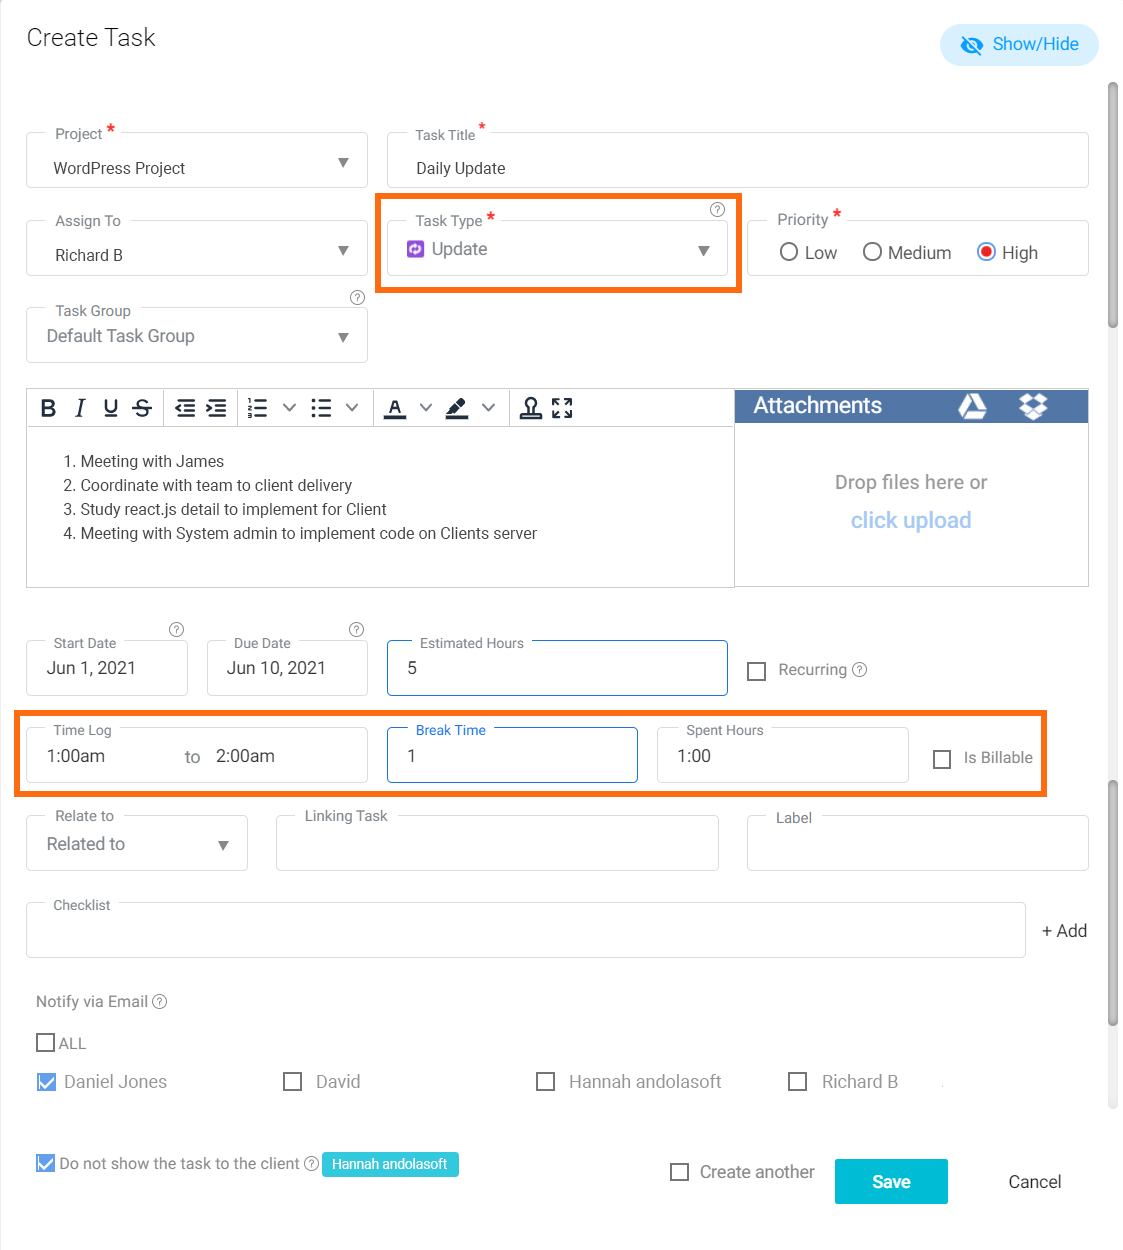**
**(Image-1)**
**Note**: You cannot update the status of the tasks if task type of task is **‘Update’.**
With this feature, you can directly provide task update from Orangescrum. Marked users in the task will receive email notification with required description of update. They can also reply to the task and it will be posted as comments to the task.
Additionally, incase, your resources forget to provide task update, you can take an advantage of [Daily Catch-up](https://helpdesk.orangescrum.com/what-is-daily-catch-ups/) feature.
# Why it Shows “Oops! You are not a Member of the Project. Please add yourself as a Member of this Project”?
> The above message is displayed only for the Admin Users of Orangescrum when they try to access a project that they have not been added to. An Orangescrum SaaS Project Management Tool Admin or Owner can only view the project listings that have been created in Orangescrum on the Projects page but…
> For the complete documentation index, see [llms.txt](https://helpdesk.orangescrum.com/llms.txt).
Source: https://helpdesk.orangescrum.com/add-me-to-this-project
---
The above message is displayed only for the **Admin Users** of Orangescrum when they try to access a project that they have not been added to.
An Orangescrum SaaS Project Management Tool Admin or Owner can only view the project listings that have been created in Orangescrum on the **Projects page** but cannot access them. However, being an admin they have the privilege to “add themselves to ANY project” they want to.
Here are the steps an Admin or Owner can follow:
1. Go to the **Projects** page.
2. Hover the mouse on the desired project
3. Click .
4. Click on “**Add me to this Project**”.(Refer Image-1)
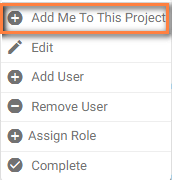
**(Image-1)**
# What Types of File I can Attach in My Task?
> We understand that projects are incomplete without file sharing and documentation. Orangescrum allows for efficient project information management so that you can share all MS-Office file types, PDF, JPEG, PNG,GIF, TIF, PSD, .AI, .TXT etc. with your team members.
> For the complete documentation index, see [llms.txt](https://helpdesk.orangescrum.com/llms.txt).
Source: https://helpdesk.orangescrum.com/types-file-can-attach-task
---
We understand that projects are incomplete without file sharing and documentation. Orangescrum allows for efficient project information management so that you can share all MS-Office file types, PDF, JPEG, PNG,GIF, TIF, PSD, .AI, .TXT etc. with your team members.
# How to Add Estimated Hours for a Task?
> How to Add Estimated Hours for a Task
> For the complete documentation index, see [llms.txt](https://helpdesk.orangescrum.com/llms.txt).
Source: https://helpdesk.orangescrum.com/assign-time-user-task
---
1. Click **[Quick Links](https://helpdesk.orangescrum.com/how-can-i-manage-the-menus-in-quick-links/) > Task** (Refer Image-1)
2. Add task details such as [**Project**](https://helpdesk.orangescrum.com/how-to-create-a-project/), **Task title**, [**Task Type**](https://helpdesk.orangescrum.com/add-view-edit-task-type-task/), **Assigned to**, etc.
3. Add the required estimated hours for the task.
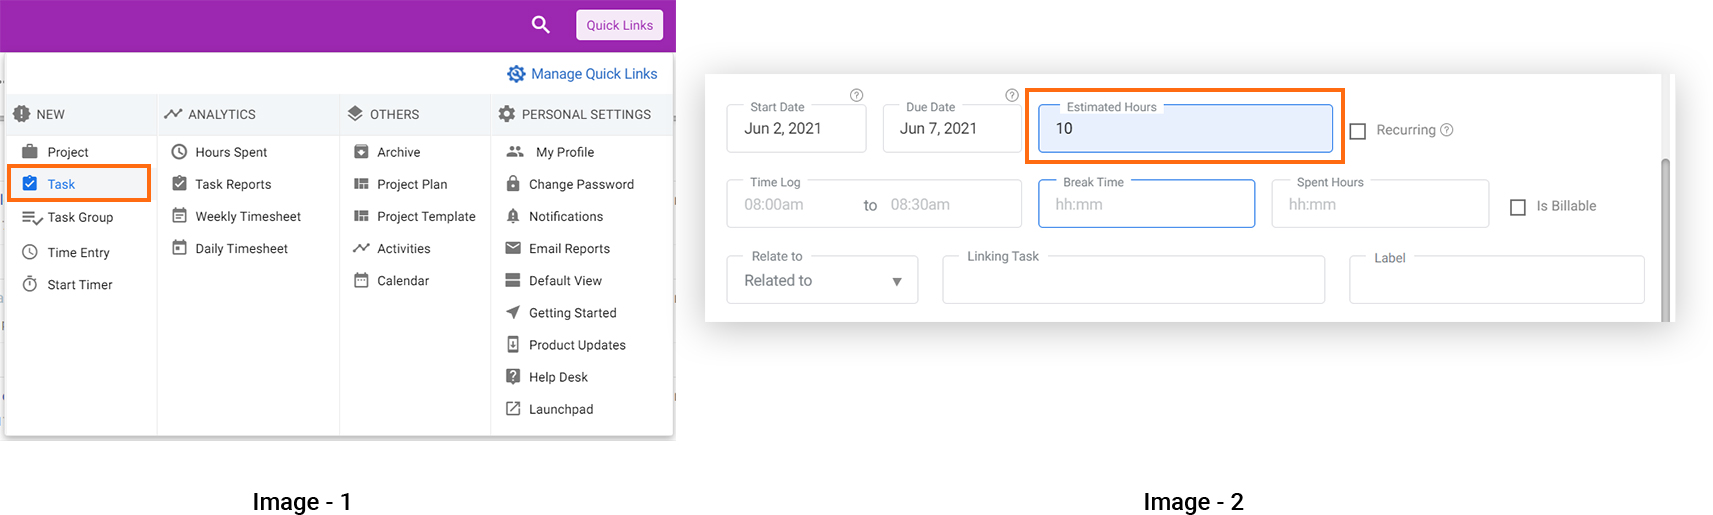
Furthermore, you can review the [estimated hours vs the actual spent hours](https://helpdesk.orangescrum.com/what-is-resource-utilization/) upon task completion.
# Can I Create Duplicate Tasks?
> How can I create duplicate tasks in Orangescrum SaaS Project Management Tool
> For the complete documentation index, see [llms.txt](https://helpdesk.orangescrum.com/llms.txt).
Source: https://helpdesk.orangescrum.com/can-create-duplicate-tasks
---
YES, you can create a Duplicate Task.
1. Navigate to **Task Listing Page.**
2. Click  icon of the task.
3. Click on ‘**Copy**’. (Refer Image 1)
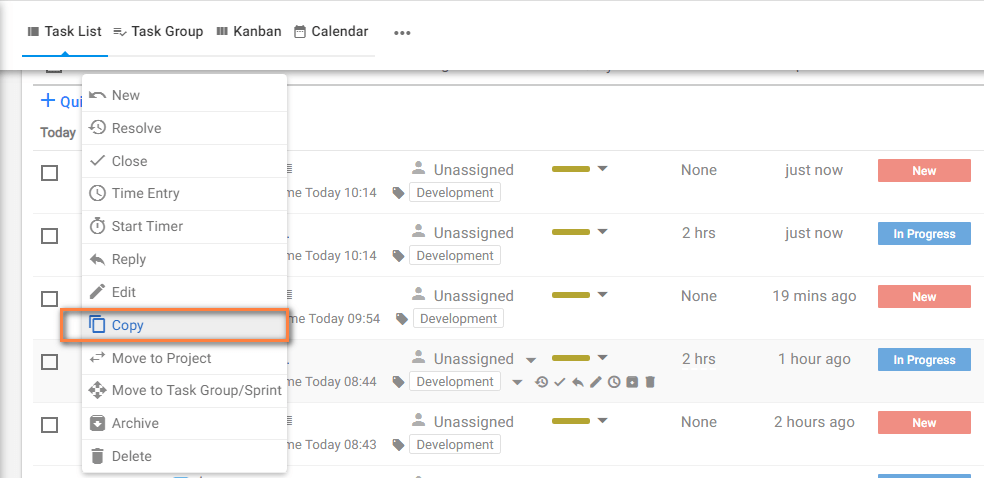
**(Image-1)**
# How to View & Manage your Task Groups?
> How to View your Task Groups
> For the complete documentation index, see [llms.txt](https://helpdesk.orangescrum.com/llms.txt).
Source: https://helpdesk.orangescrum.com/view-task-groups
---
1. Navigate to Left Menu, Click on **Tasks**
2. To change the Task List view to Task, Click on on the top left header of the task list section and select Task group.
**How to Assign Tasks to a Task Group?**
1. Navigate to Left Menu, Click on **Tasks**
2. To change the Task List view to Task, Click on on the top left header of the task list section and select Task group.
3. On the **Subtask** **Page**, hover on the **Task Group**
4. Click  **icon > Assign tasks.**
5. Select tasks from the Pop-up & Click ‘**Assign**’.
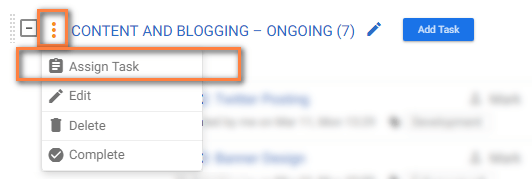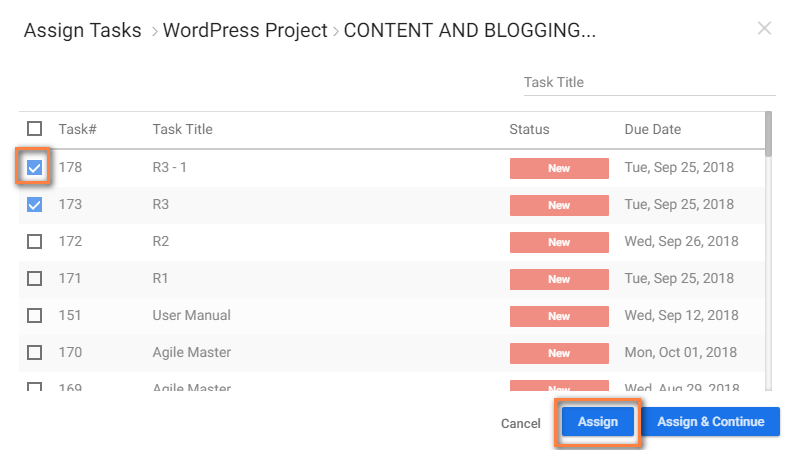
#### **How to Move a Task from One Task Group to Another?**
1. Hover on **icon** of the **Task** & Click ‘**Move to Task Group/Sprint**’.
2. Select your required **Task Group** to move your **Task** & Click ‘**Move Task**’.
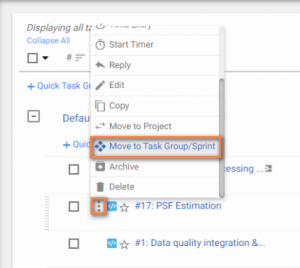 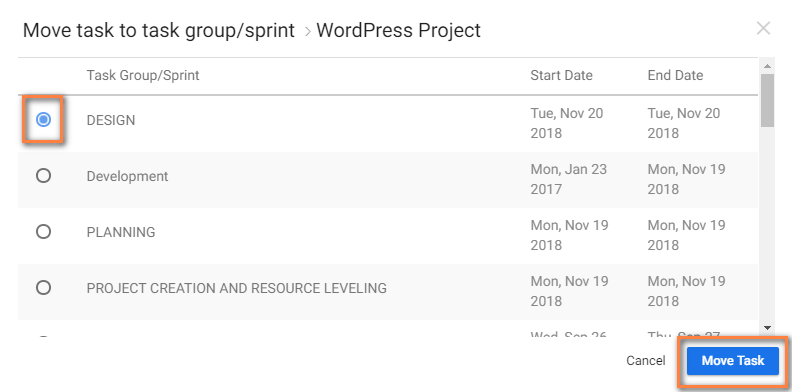
**Note**: You can also drag and drop the tasks to the resulting tasks.
# What is Task Group? How can I create & manage Task Group?
> Orangescrum helps to accomplish a specific task in a project in collaboration with proper information sharing in proper control without any conflict. You can use Task Groups as a means to break your project into smaller manageable modules or phases Create Task Group: Click New in the global sidebar…
> For the complete documentation index, see [llms.txt](https://helpdesk.orangescrum.com/llms.txt).
Source: https://helpdesk.orangescrum.com/create-task-group
---
Orangescrum helps to accomplish a specific task in a project in collaboration with proper information sharing in proper control without any conflict. You can use Task Groups as a means to break your project into smaller manageable modules or phases
#### Create Task Group:
1. **Click  New in the global sidebar of dashboard page.**
2. Click **“Task Group”** option
3. Fill in the details as needed, and then click “**Save**”.
Or
1. Click [**Quick Links**](https://helpdesk.orangescrum.com/how-can-i-manage-the-menus-in-quick-links/) > **Task Group**
2. Fill in the details as needed, and then click “**Save**”.
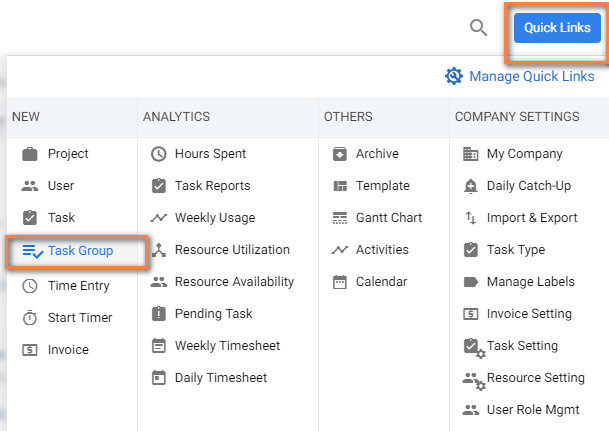 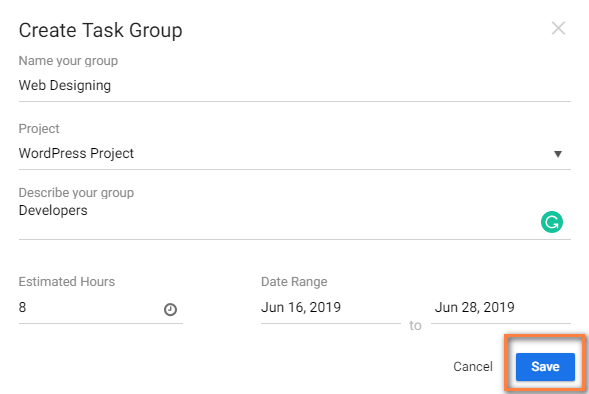
Or
1. Navigate to Left Menu, Click on **Tasks**
2. To change the Task List view to Task, Click on on the top left header of the task list section and select Task group
3. Click in the right bottom corner of the page
4. Click “**Create Task Group**” option
5. Fill in the details as needed, and then click “**Save**”.
#### **How to Edit a Task Group?**
1. Navigate to Left Menu, Click on **Tasks**
2. To change the Task List view to Task, Click on on the top left header of the task list section and select Task group
3. On the **Task Group Page**, hover on the **Task Group**
4. Click  **icon > Edit**
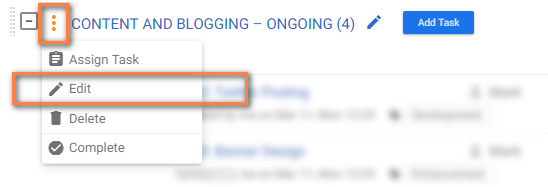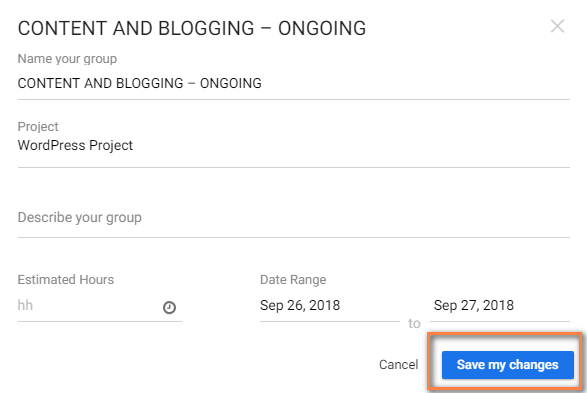
5. Make required changes & Click ‘**Save my changes**’.
#### **How to Delete a Task Group?**
1. Navigate to Left Menu, Click on **Tasks**
2. To change the Task List view to Task, Click on on the top left header of the task list section and select Task group.
3. Hover on **icon > Delete > Task Group > Ok.**
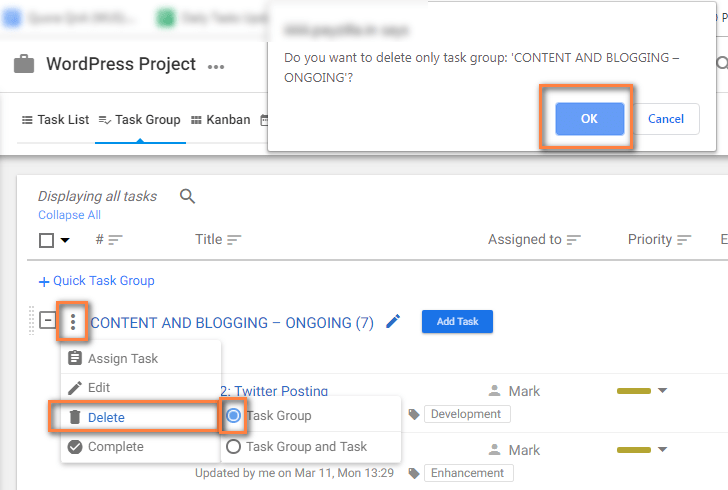
# How to Create Recurring Task?
> How to Create Recurring Task
> For the complete documentation index, see [llms.txt](https://helpdesk.orangescrum.com/llms.txt).
Source: https://helpdesk.orangescrum.com/create-recurring-task
---
1. Click **Quick Links > Task** (Refer Image 1)
2. Select **Recurring** option (Refer Image 2)
3. Provide required details on the pop-up & click **Save** (Refer Image 3)
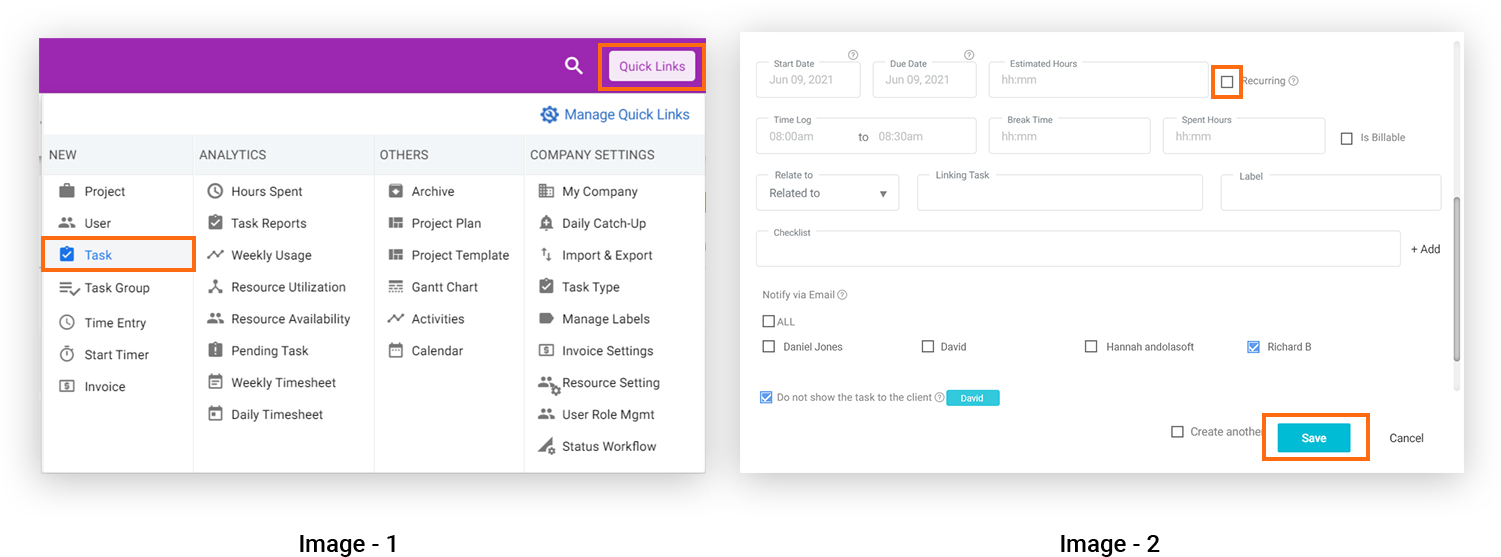
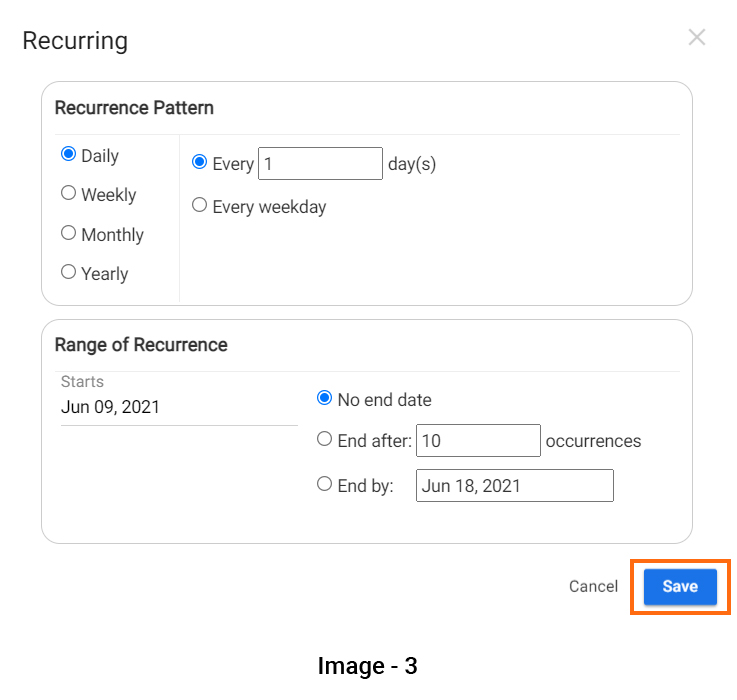
# How to edit Task?
> How to edit a task in Orangescrum Cloud Project management Software
> For the complete documentation index, see [llms.txt](https://helpdesk.orangescrum.com/llms.txt).
Source: https://helpdesk.orangescrum.com/how-to-edit-a-task
---
There are 2 ways you can EDIT a [Task](https://helpdesk.orangescrum.com/how-to-create-a-new-task/).
- On the **Task Listing Page**
- On the **Task Detail Page**
**On the Task Listing Page**
1. Navigate to **Task Listing Page**
2. Hover on  icon of the task.
3. Click **‘Edit’.** (Refer Image 1)
4. Make required changes
5. Click ‘**Update**’.

**(Image-1)**
**On the Task Detail Page**
1. Navigate to **Task Detail Page.**
2. Click  & make required changes (Refer Image 1)
3. Click ‘**Update**’.
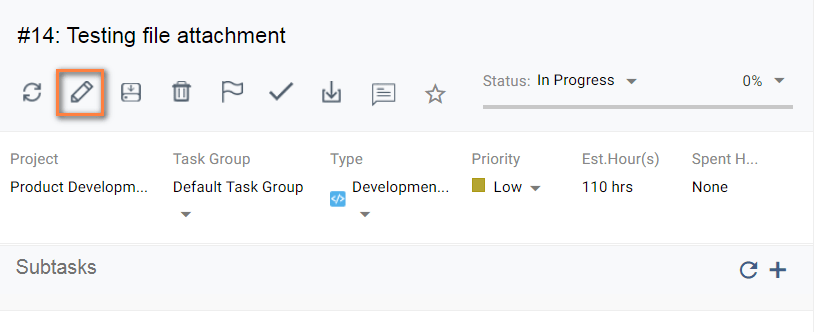
**(Image-1)**
# How to Change the “Task Type”, “Assign to”, and “Due Date” on the Task Listing Page?
> How to Change the "Task Type", "Assign to", and "Due Date" on the Task Listing Page
> For the complete documentation index, see [llms.txt](https://helpdesk.orangescrum.com/llms.txt).
Source: https://helpdesk.orangescrum.com/how-to-change-the-task-type-assign-to-due-date-on-the-task-listing-page
---
**Change ‘Task Type’:**
1. Navigate to **Task Listing Page**
2. Hover on the task & click on the icon to change the **Task Type** (Refer Image 1). Please note that the task type drop-down will only show the default task types and task types added for that project. For the users who have signed up before 18th November 2019 will have default task types, company level task types and project level task types in the project.
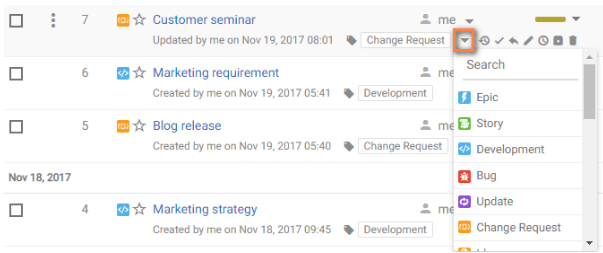
**(Image 1)**
**Change ‘Assign to’:**
1. Navigate to **Task Listing Page**
2. Hover on the task & click on the icon near icon (Refer Image 1)
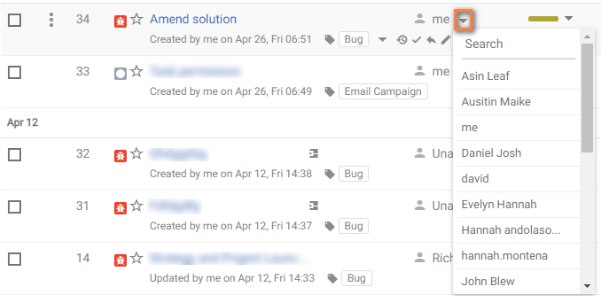
**(Image 1)**
**Change ‘Due Date’** :
1. Navigate to **Task Listing Page.**
2. Click icon of the task (Refer Image 1)
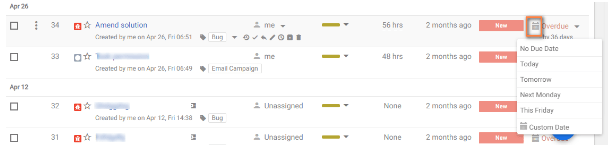
**(image 1)**
# How to Create Task Template?
> Learn how to create task templates in Orangescrum with our detailed guide. Streamline your workflow and improve project efficiency.
> For the complete documentation index, see [llms.txt](https://helpdesk.orangescrum.com/llms.txt).
Source: https://helpdesk.orangescrum.com/how-to-create-task-template
---
1. Hover on the “**More**” menu in the left panel.
2. Click “**Project Plan**”.
3. Click “[**Task**](https://helpdesk.orangescrum.com/how-to-create-a-new-task/)” on top bar .
4. Click  in the right bottom corner of the page.
5. Fill in the details i.e. Specify your template name and Describe your template.
6. Click “**Create**”.
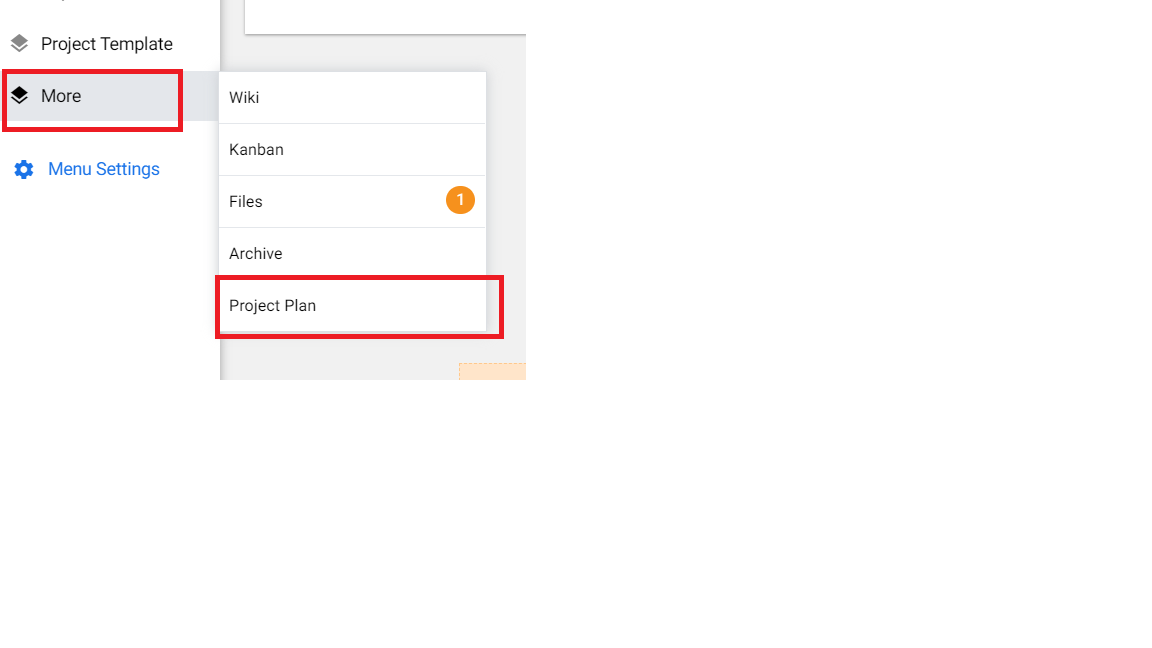
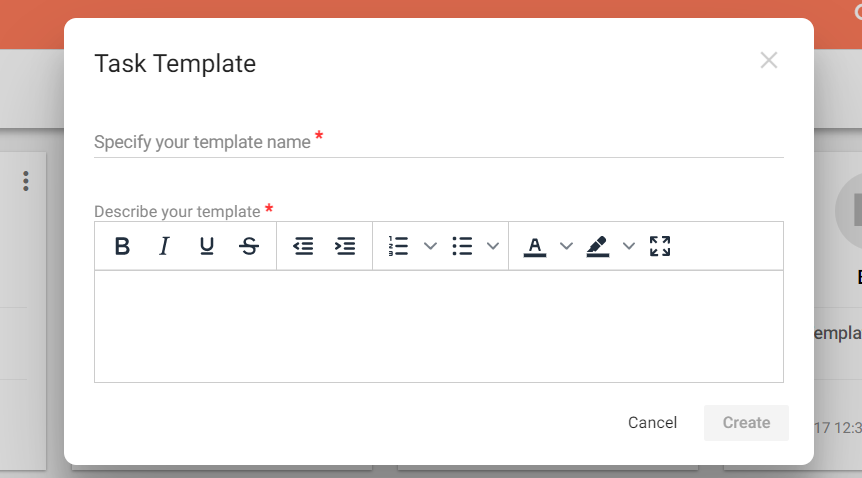
# How to Filter My Task and See it in Calendar View
> How to Filter My Task and See it in Calendar View
> For the complete documentation index, see [llms.txt](https://helpdesk.orangescrum.com/llms.txt).
Source: https://helpdesk.orangescrum.com/how-to-use-the-calendar-view-to-view-and-sort-my-tasks
---
1. Navigate to **Left Menu > Tasks > Task assigned to me** (Refer Image 1)
2. Hover on icon & Click ‘[**Calendar**](https://helpdesk.orangescrum.com/month-view-and-week-view/)’ (Refer Image 2)
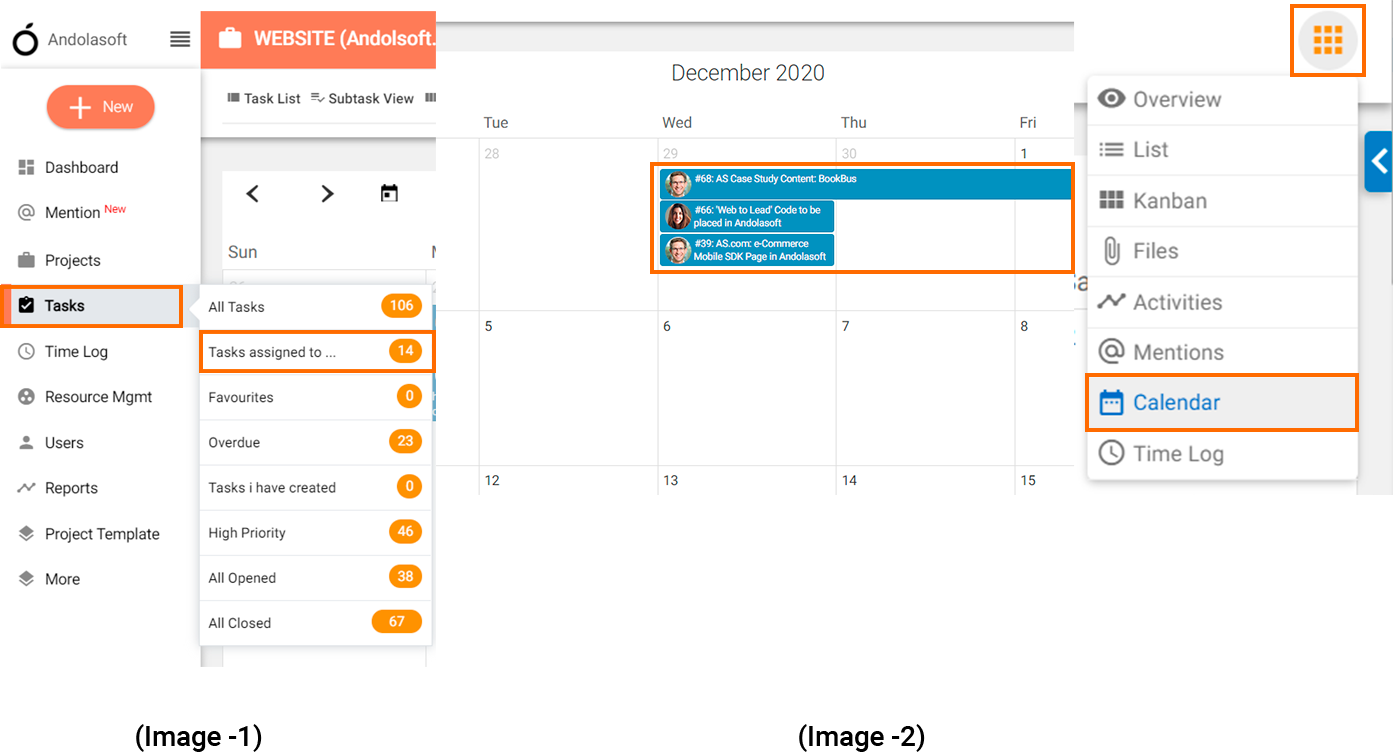
# How to Change to Previous Month or Jump to Next Month?
> How to Change to Previous Month or Jump to Next Month
> For the complete documentation index, see [llms.txt](https://helpdesk.orangescrum.com/llms.txt).
Source: https://helpdesk.orangescrum.com/how-to-change-to-previous-month-or-jump-to-next-month
---
1. Log in to your OrangeScrum account using your credentials.
2. Once logged in, navigate to task listing page of specific project.
3. Click on [**Calendar**](https://helpdesk.orangescrum.com/how-to-use-the-calendar-view-to-view-and-sort-my-tasks/) section.
4. Click on  and to jump to the next or previous month.(Refer image-1)
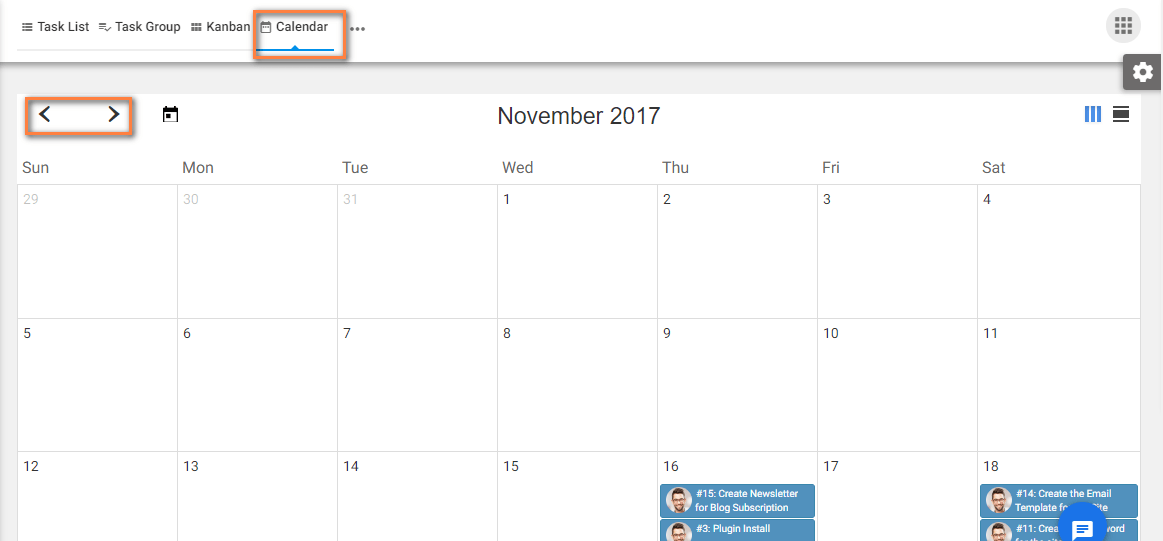
# How can I view list of tasks in Month view and week view in Calendar?
> Hover on icon & Click ‘Calendar’ (Refer Image 1) Click icon for ‘Month View’ & icon for ‘Week View’ (Refer Image 2) (Image-1) […]
> For the complete documentation index, see [llms.txt](https://helpdesk.orangescrum.com/llms.txt).
Source: https://helpdesk.orangescrum.com/month-view-and-week-view
---
1. Hover on  icon & Click ‘**Calendar**’ (Refer Image 1)
2. Click  icon for ‘**Month View**’ &  icon for ‘**Week View**’ (Refer Image 2)
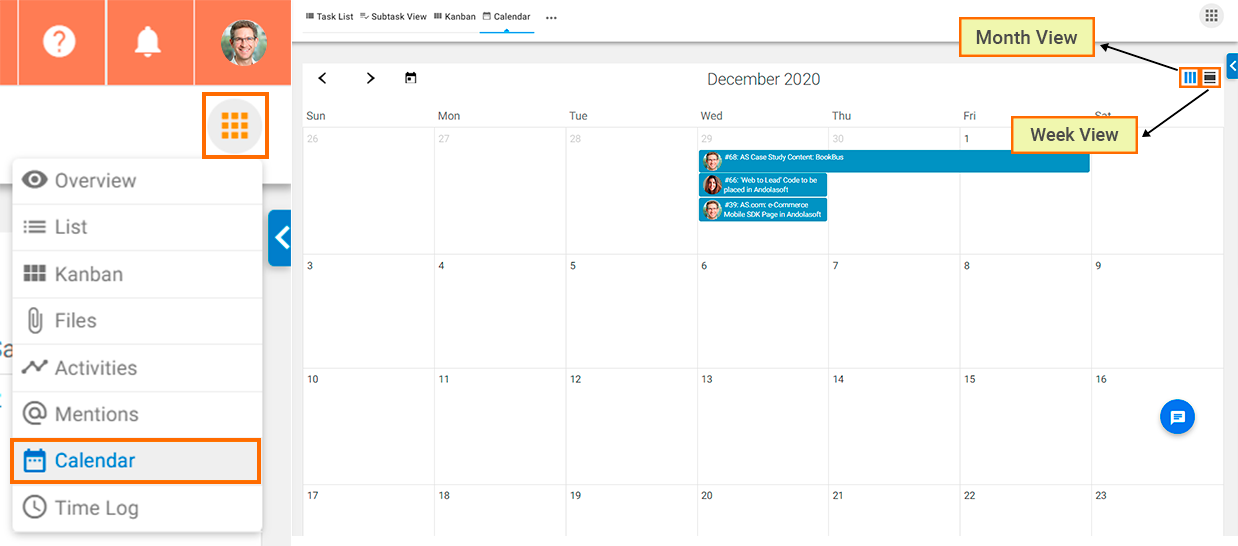
**(Image-1) (Image-2)**
**Note:** Only tasks with Start date and Due date will be shown here.
# What is Kanban view? What are the Type of Views in Kanban?
> What are the Type of Views in Kanban
> For the complete documentation index, see [llms.txt](https://helpdesk.orangescrum.com/llms.txt).
Source: https://helpdesk.orangescrum.com/what-are-the-type-of-views-in-kanban
---
Kanban is a visually efficient way of task management. With Kanban view, you can find out the number of tasks present in each status. You can drag & drop any tasks across the status lanes to change its status. Kanban is available for projects with **Simple** project template only. However, for other [Project templates](https://helpdesk.orangescrum.com/what-project-management-methodologies-are-available-in-orangescrum/) like Content Management, Bug tracking etc, [Kanban](https://helpdesk.orangescrum.com/how-to-use-the-kanban-view-to-view-and-sort-my-tasks/) is available in the form of Board view. And for [Scrum](https://helpdesk.orangescrum.com/what-is-scrum-project-management-and-what-are-the-features-available-in-orangescrum/) projects you have the Scrum board.
There are 2 types of views in Kanban;
- **Kanban Task Status** view
- **Kanban Task Group** view
1\. **Kanban Task Status** view shows the tasks under each task status in a column view where each status is one column. The ability to create multiple status is provided by the [Status Workflow](https://helpdesk.orangescrum.com/what-is-status-workflow-setting/).
In order to access the **Kanban Task Status** view of a project you can follow the below steps-
- Navigate to the Project listing page from the left panel.
- Select any project with **Simple** project template.
- Navigate to Left Menu, Click on **Tasks**
- To change the Task List view to Kanban, Click on  on the top left header of the task list section and select **Kanban.**
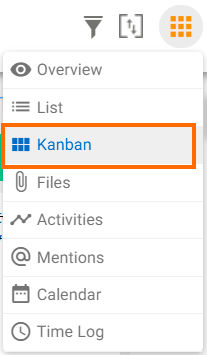
2\. **Kanban Task Group** view shows the number of tasks under each Task group and the progress or percentage of completion of each task group. This view is currently available only for users who have signed up before 1st Jan 2020.
In order access the **Kanban Task Group** view of a project you can follow the below steps-
- Navigate to the Project listing page from the left panel.
- Select any project with **Simple** project template.
- Navigate to Left Menu, Click on **Tasks.**
- To change the Task List view to Kanban, Click on on the top left header of the task list section and select
- Now click on the Task **group** in the top right of the page.
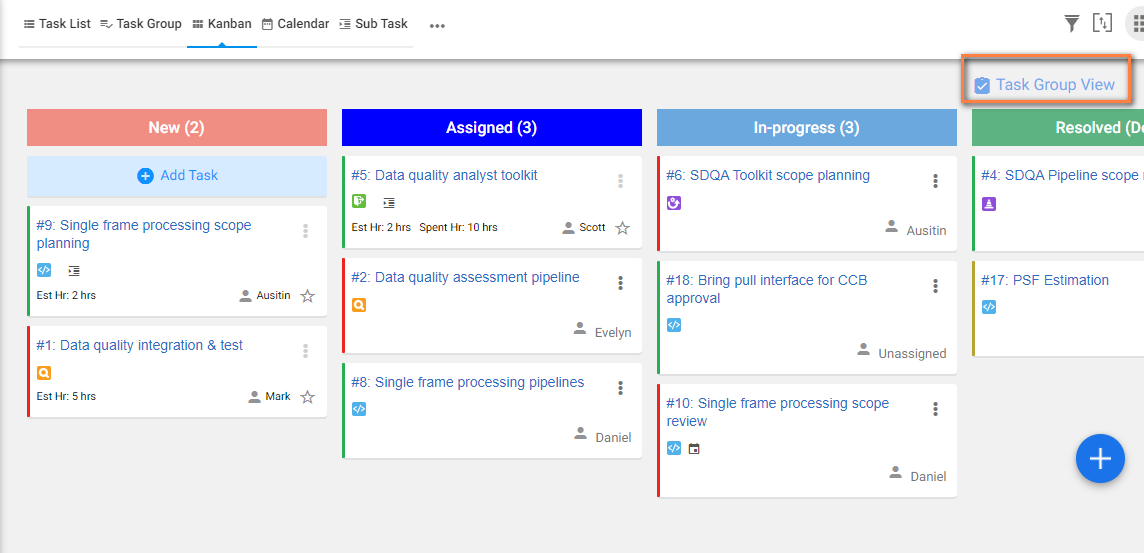
**How can I Get the Information of Task Group Progress in Kanban View?**
1. Click icon > **Kanban** \> **Task Group.**
 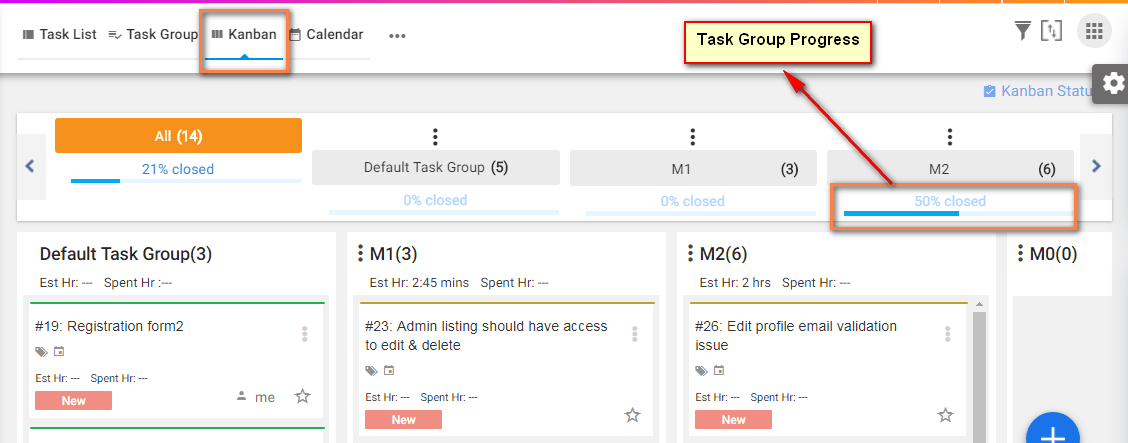
**How can you Drag & Drop the tasks to change its status?**
You can hold & drag the task for which you want to change the status and drop the task under the relevant status column.
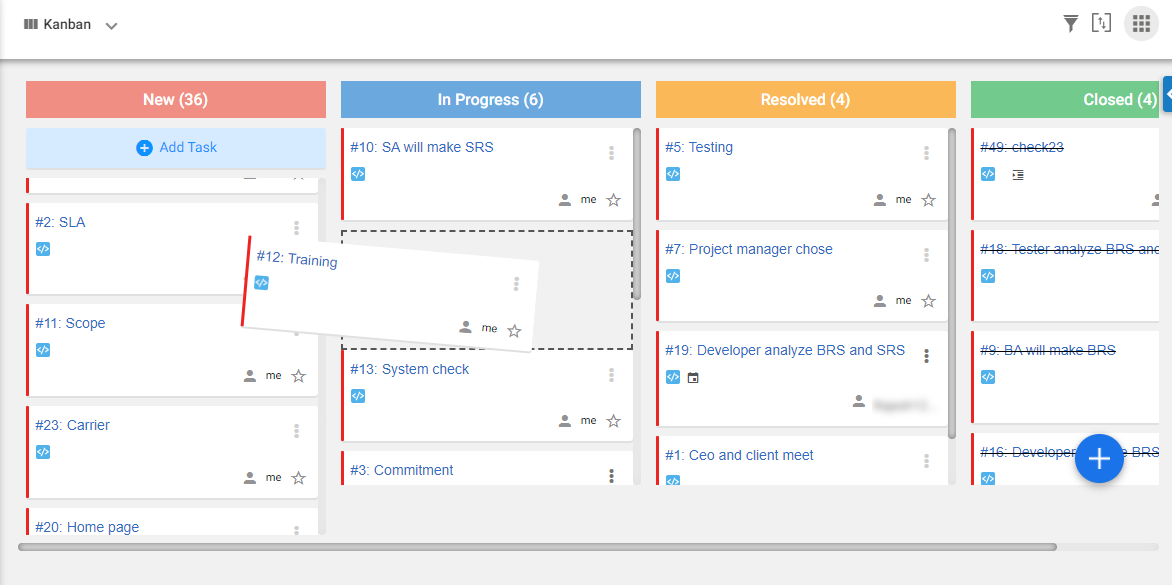
# What is “Task List” & How it Helps You?
> A Task List contains the list of tasks of a project or all projects. It is the work list for the entire project team with all vital information regarding the tasks in that project. The following details can be monitored or managed in the task list: You can perform a lot of actions right from […]
> For the complete documentation index, see [llms.txt](https://helpdesk.orangescrum.com/llms.txt).
Source: https://helpdesk.orangescrum.com/what-is-task-list-how-it-helps-you
---
A Task List contains the list of tasks of a project or all projects. It is the work list for the entire project team with all vital information regarding the tasks in that project.
The following details can be monitored or managed in the task list:
You can perform a lot of actions right from the task list without having to go inside a task.
1. Create a Task or add a task to Task List
2. View My Task List
3. View Closed Task List
4. View All Opened Task List
5. View the status reports of task list
6. Edit, Delete, Archive a task
7. Copy, Move and Archive multiple tasks
8. Copy and move a task list
9. Change the status of a task or task list
10. Task List Kanban, Task Group or Calendar view
11. Change Due Date,Estimated Time, Assign To, Priority
12. Task List Filter
13. Sorting of Task List
14. Task List Export
15. Show or Hide Columns
**Add a Task to Task List**
1. Navigate to Left Menu, Click on Tasks
2. Click on **[Quick Links](https://helpdesk.orangescrum.com/how-can-i-manage-the-menus-in-quick-links/)\>New>Task** or + icon or **\+ Quick Task** button
3. Type your Task Name and details and click on Save to add a task to task list.
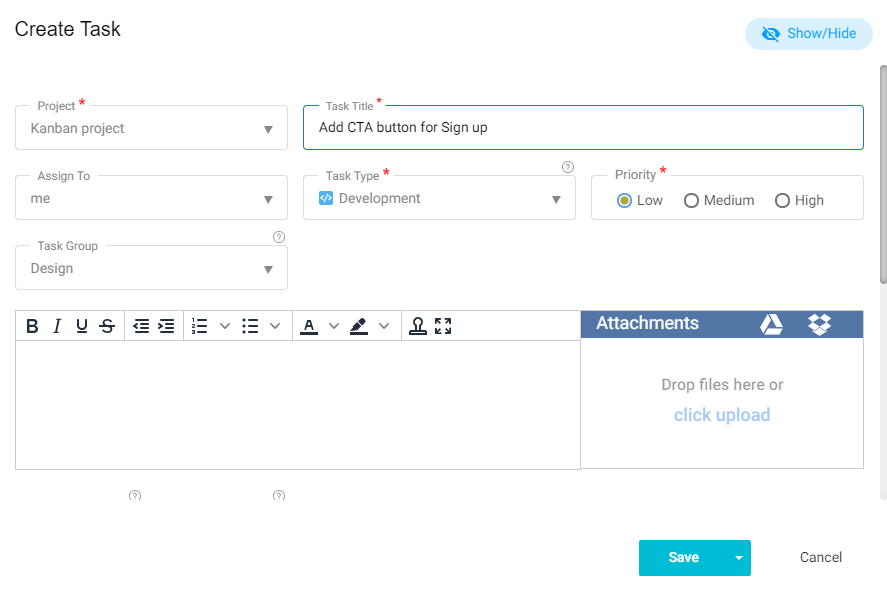
**View My Task List**
1. Navigate to [Left Menu](https://helpdesk.orangescrum.com/can-i-manage-my-left-menu-of-the-orangescrum/) and hover on Tasks
2. Click on **Tasks Assigned to me** from the submenu options to see all the tasks assigned to you
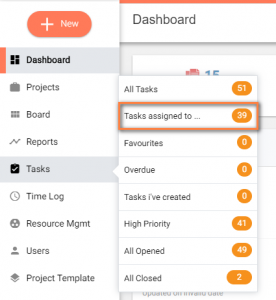
**View Closed Tasks**
1. Navigate to Left Menu, Click on Tasks
2. Click on the Closed Status in the status bar as shown in the image

**View All Opened Task List**
1. Navigate to Left Menu and hover on **Tasks**
2. Click on **All Opened** from the sub menu options to see all tasks which are not completed.
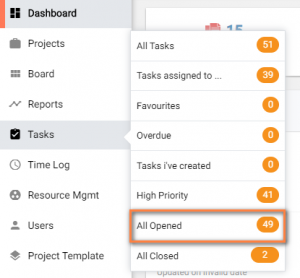
**View the status report of task List**
1. Navigate to Left Menu, Click on **Tasks**
2. On the right side, you can view how many tasks in New, In Progress, Resolved or Closed or any other statuses if you’re using the [custom task statuses.](https://helpdesk.orangescrum.com/cloud-category/task-status-management/)

In the above image, you can see 79 tasks are in new status, 29 In Progress etc.
3\. Click on any status will show the status wise filtered tasks.
**Edit, Delete, Archive a task**
1. Navigate to the Left Menu, Click on
2. Hover on any task from the list
3. Hover on , click to **Edit, Delete** or **Archive** a task.
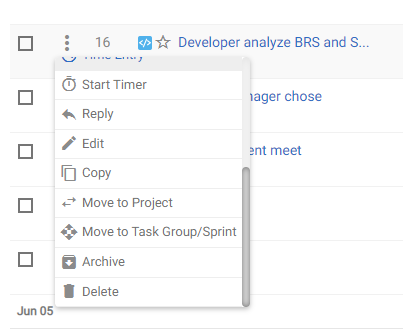
4\. To archive a task list, select multiple tasks or click on the checkbox on the top left of your task list and click on the dropdown arrow
5\. Click on Archive the task list.
**Copy, Move and Archive multiple tasks**
1. Navigate to Left Menu, Click on **Tasks**
2. Mark tasks from the list which you want to move,copy or archive.
3. Hover on , click on copy or move to project or move to task group/sprint of a task.
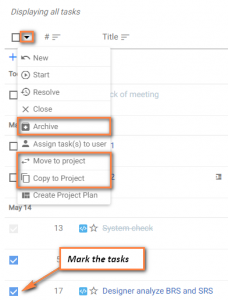
**Note:**
- Multiple delete option is not available. Once you archived multiple or all tasks, then from the archive page, you can delete all your tasks.
- Bulk actions are applicable for open tasks only. However, using Copy to project, you can copy the closed task to another project.
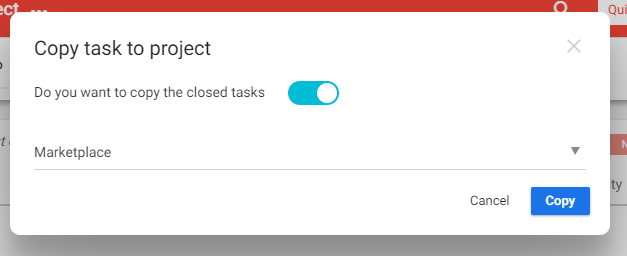
Upon enabling the close task selection, by default, all the closed tasks in the project will be selected. So this feature can be useful when you are copying all the tasks to another project.
- When Move to Project is selected, all the tasks will be moved to another project and selected tasks will be deleted from the current task list.
**Change the status of a task from task list**
1. Navigate to Left Menu, Click on **Tasks**
2. To change the status of a task, hover on the task
3. Hover on  and change the status of the task from the options.
#### **There are 4 task views to choose from –**
- Task List
- Kanban
- Sub task view
- Calendar view
1. Navigate to Left Menu, Click on **Tasks**
2. To change the task view, Click on on the top left header of the task list section and select the view you want to see.
**Change Due Date, Estimated Hours, Assign To, Priority**
1. Navigate to Left Menu, Click on Tasks
2. To change the due date, estimated hours, assign to or priority of any task, navigate to the respective column, and change the due date, estimated time, assign to or priority of the task.
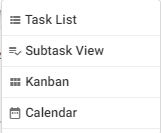
**Task List [Filter](https://helpdesk.orangescrum.com/?post_type=post&p=8117)**
1. Navigate to Left Menu, Click on Tasks
2. Navigate to top right corner of the task list page (below the notification icon) and click on filter
3. The task can be filtered on the basis of
- Task Creation time
- Due date
- Status
- Types
- Priority
- Commented by
- Created by
- Assign To
- Label
4. You can save a filter for quick view as well. For more details on custom filters, refer to the documentation.
**Sorting of Task List**
1. Navigate to Left Menu, Click on Tasks
2. Click on any column head to sort Task #, Task, Assign To, Priority, Est. Hours, Updated, Due Date
**Task List Export**
1. Navigate to Left Menu, Click on Tasks
2. Hover on , click on Export to CSV or Export to PDF.
3. In the export pop-up, mark the fields you would like to have in the CSV sheet, then click export.
**Show or Hide Columns**
1. Navigate to Left Menu, Click on Tasks
2. Click on , select or unselect columns to show or hide columns.
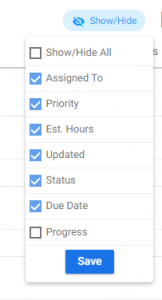
# How to Delete My Account?
> How to delete my account
> For the complete documentation index, see [llms.txt](https://helpdesk.orangescrum.com/llms.txt).
Source: https://helpdesk.orangescrum.com/how-to-delete-my-account
---
You cannot delete the account. However, you can send cancel request to us. Refer [here](https://helpdesk.orangescrum.com/how-to-cancel-my-account/)
# How to Cancel My Account?
> How to Cancel My Account
> For the complete documentation index, see [llms.txt](https://helpdesk.orangescrum.com/llms.txt).
Source: https://helpdesk.orangescrum.com/how-to-cancel-my-account
---
1. Navigate to **User Profile Icon > Account Settings > Subscription**(Refer Image 1)
2. Click **Cancel Subscription.** Fill required details & click **Cancel My Account**(Refer Image 2)
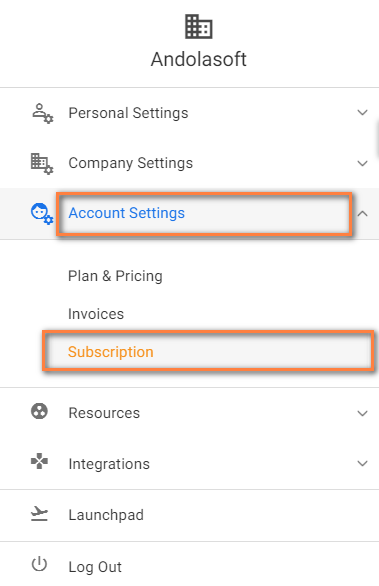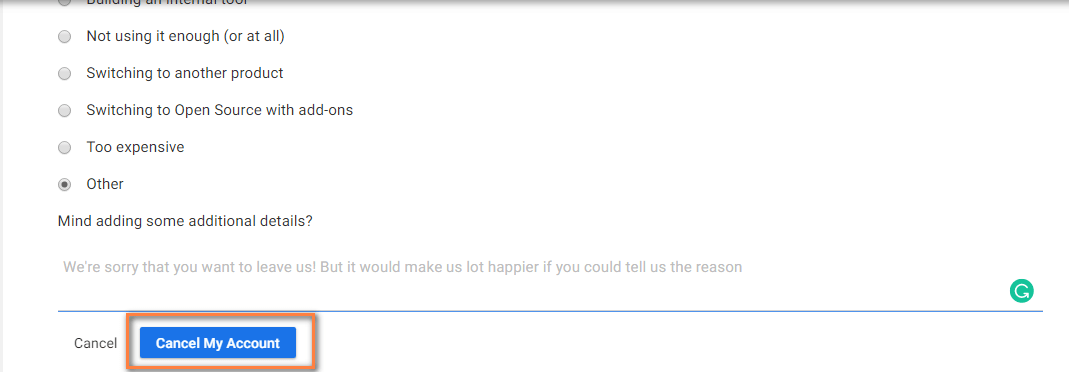
**(Image 1) (Image 2)**
# How Much is the Free Space Available for Use? Is it Expandable?
> The current free storage space is provided as per your subscription plan. Orangescrum Project Collaboration Tool currently offers 5 monthly and yearly subscriptions. The free storage space for them are as follows: Startup Plan – 5 GB Professional Plan – It starts with 5 GB for 11 users & can be…
> For the complete documentation index, see [llms.txt](https://helpdesk.orangescrum.com/llms.txt).
Source: https://helpdesk.orangescrum.com/how-much-is-the-free-space-available-for-use-is-it-expandable
---
The current free storage space is provided as per your subscription plan. Orangescrum Project Collaboration Tool currently offers 5 monthly and yearly subscriptions. The free storage space for them are as follows:
- Startup Plan – 5 GB
- Professional Plan – It starts with 5 GB for 11 users & can be limited to 150 GB with 500 users
- Corporate Users plan- It depends on the number of users you have subscribed.
However, if your projects need more space, drop us a note at support@orangescrum.com for custom plans.
# Apart From Online Payment, is there Any Other Way of Making Payment?
> You can make payments for your subscriptions via credit card online on our website.You can also request invoice and for our 3 other payment methods. like paypal, wire transfer and credit card.
> For the complete documentation index, see [llms.txt](https://helpdesk.orangescrum.com/llms.txt).
Source: https://helpdesk.orangescrum.com/apart-from-online-payment-is-there-any-other-way-of-making-payment
---
You can make payments for your subscriptions via credit card online on our website.You can request us an invoice and choose from 3 other payment methods. Mainly – PayPal, wire transfer and credit card.
In all of these options we will send you an invoice. However, we do not encourage monthly payments via the above options because it isn’t productive, includes administrative overhead and ends up in additional transaction charges.
The other options are as follows:
1. Request us for an invoice to make payment directly via credit card using our secure payment gateway. The invoice option is recommended for 6months or yearly payments.
2. Similarly, we also allow for wire transfer payments. We will send you an invoice based on your chosen subscription plan. And again, this is recommended for 6 months or yearly payments.
3. Paypal payments are also possible and the paypal charges will have to be borne by our customers.
# Can I Downgrade from a Paid Plan to Free Plan?
> Can I Downgrade from a Paid Plan to Free Plan
> For the complete documentation index, see [llms.txt](https://helpdesk.orangescrum.com/llms.txt).
Source: https://helpdesk.orangescrum.com/can-i-downgrade-from-a-paid-plan-to-free-plan
---
No, once you have [upgraded](https://helpdesk.orangescrum.com/how-can-i-upgrade-from-monthly-to-yearly-subscription-under-same-plan/) your account, you can only downgrade to any lower paid plans.
Please note that before downgrading, you need to deactivate users according to the specific plans. Let say, you are downgrading to [Startup plan](https://www.orangescrum.com/pricing) and your current plan is Professional with 20 users.
You can downgrade only if, you have [disable 10 users](https://helpdesk.orangescrum.com/how-to-restrict-an-user-to-access/).
# How can I Upgrade From a Free Plan to Paid Plan?
> How can I Upgrade From a Free Plan to Paid Plan
> For the complete documentation index, see [llms.txt](https://helpdesk.orangescrum.com/llms.txt).
Source: https://helpdesk.orangescrum.com/how-can-i-upgrade-from-a-free-plan-to-paid-plan
---
1. Click on your profile picture from the top right corner > Account settings > Plan & pricing
2. Choose a plan of your choice > Click on ‘Upgrade’
3. Make the payment & you’re good to go.
**Note:** Payment will be deducted from your account, only after the end of your free trial.
# What are the Other Email Notifications and Settings?
> You can get real-time notifications for every new task(s) created, replied, comment or any changes in “Task Type”. Navigate to “Notification”.
> For the complete documentation index, see [llms.txt](https://helpdesk.orangescrum.com/llms.txt).
Source: https://helpdesk.orangescrum.com/what-are-the-other-email-notifications-and-settings
---
- “Weekly Usage”, “Task Status”, “Task Due”, “Daily Update Report” are different types of email notifications and settings.
- You can get real-time notifications for every new task(s) created, replied, comment or any changes in “Task Type”. Navigate to “[Notification](https://helpdesk.orangescrum.com/can-i-disable-the-task-create-or-reply-emails-i-am-getting/)” and select which the kind of notifications you want to receive.
# Can I Post A Reply by Replying to the Task Create Email from My Inbox?
> Yes, You can reply to the task create email. It will be posted as comments to the task.
> For the complete documentation index, see [llms.txt](https://helpdesk.orangescrum.com/llms.txt).
Source: https://helpdesk.orangescrum.com/can-i-post-a-reply-by-replying-to-the-task-create-email-from-my-inbox
---
Yes, You can reply to the task create email. It will be posted as comments to the task.
# Can I Cancel a Daily Catch-up?
> Can I Cancel a Daily Catch-up
> For the complete documentation index, see [llms.txt](https://helpdesk.orangescrum.com/llms.txt).
Source: https://helpdesk.orangescrum.com/can-i-cancel-a-daily-catch-up
---
**YES**, you can cancel a Daily Catch-up.
Please follow below steps to cancel a daily catch-up
1. Click **User Profile > Project Settings> Daily Catch-Up** (Refer Image 1)
2. Click  Icon & select the **Project** in which Daily Catch-up alert has been set.
3. Click **Cancel Daily Catch-up > OK** (Refer Image 2)
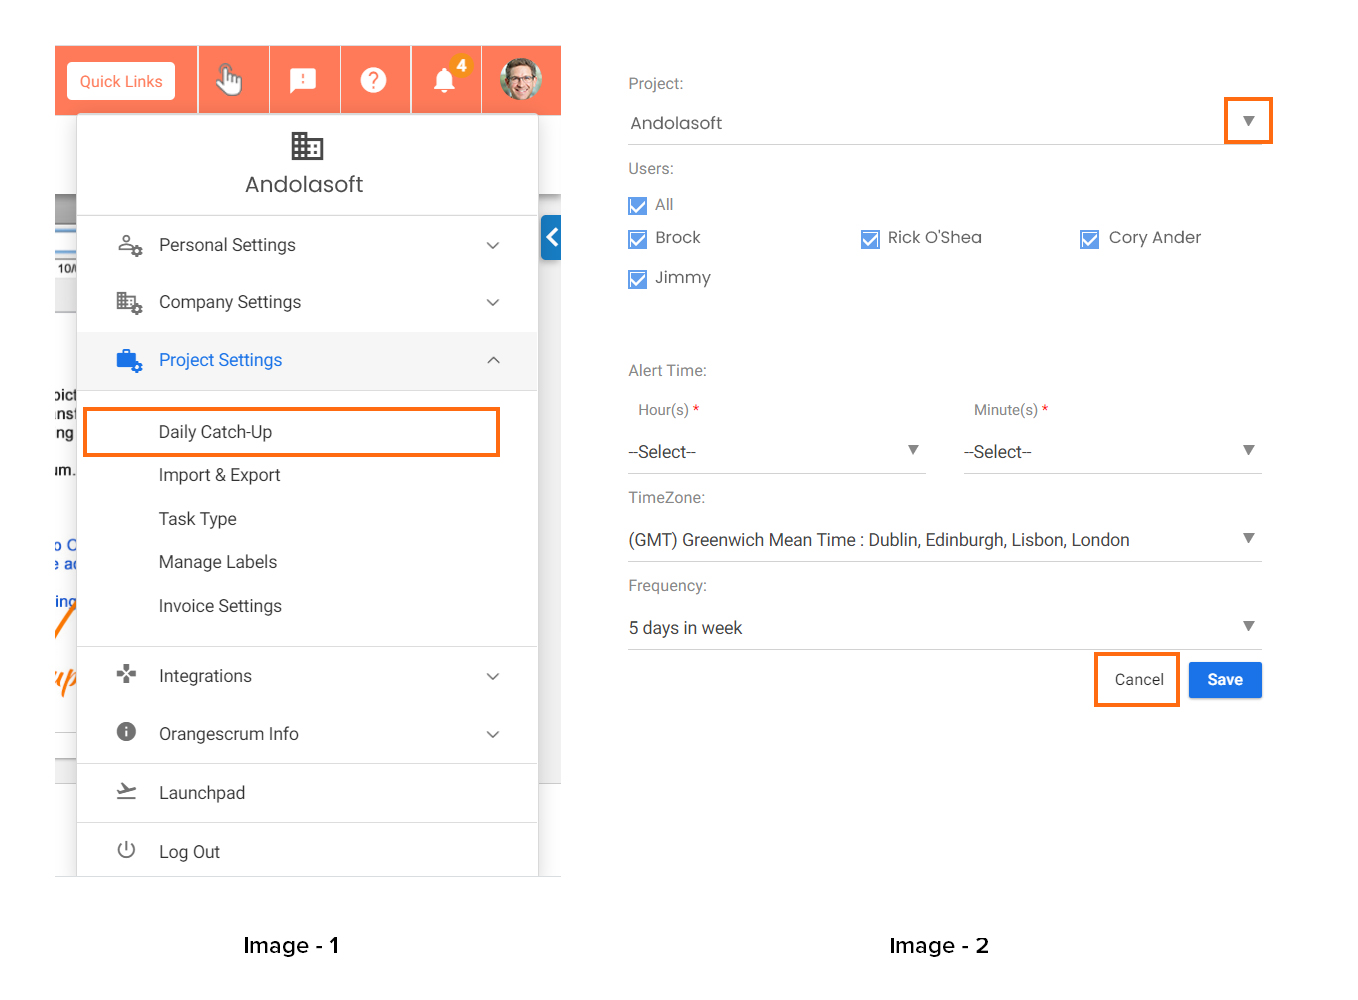
# What is Daily Catch-ups?
> In order to get rid of such situation, the admin can set up a reminder option, by which the team member would get a reminder email.
> For the complete documentation index, see [llms.txt](https://helpdesk.orangescrum.com/llms.txt).
Source: https://helpdesk.orangescrum.com/what-is-daily-catch-ups
---
Sometimes team members forget to send their daily progress update at the end of the day. In order to get rid of such a situation, the admin can set up a reminder option, by which the team member would get a reminder email. In turn, he/she is required to just respond to that email with the daily progress updates.
#### **How to Get Daily Catch-Up Alerts for a Project?**
- Click **User Profile > [Project Settings](https://helpdesk.orangescrum.com/?post_type=post&p=7983) > Daily Catch-Up**
- Select the project, provide required details such as Project name, select resources, Daily catch-up frequency and time.
- Click **‘Save’.**
- Once saved, an automatic email will be triggered at the defined time of the day on a daily basis to all the selected project users.
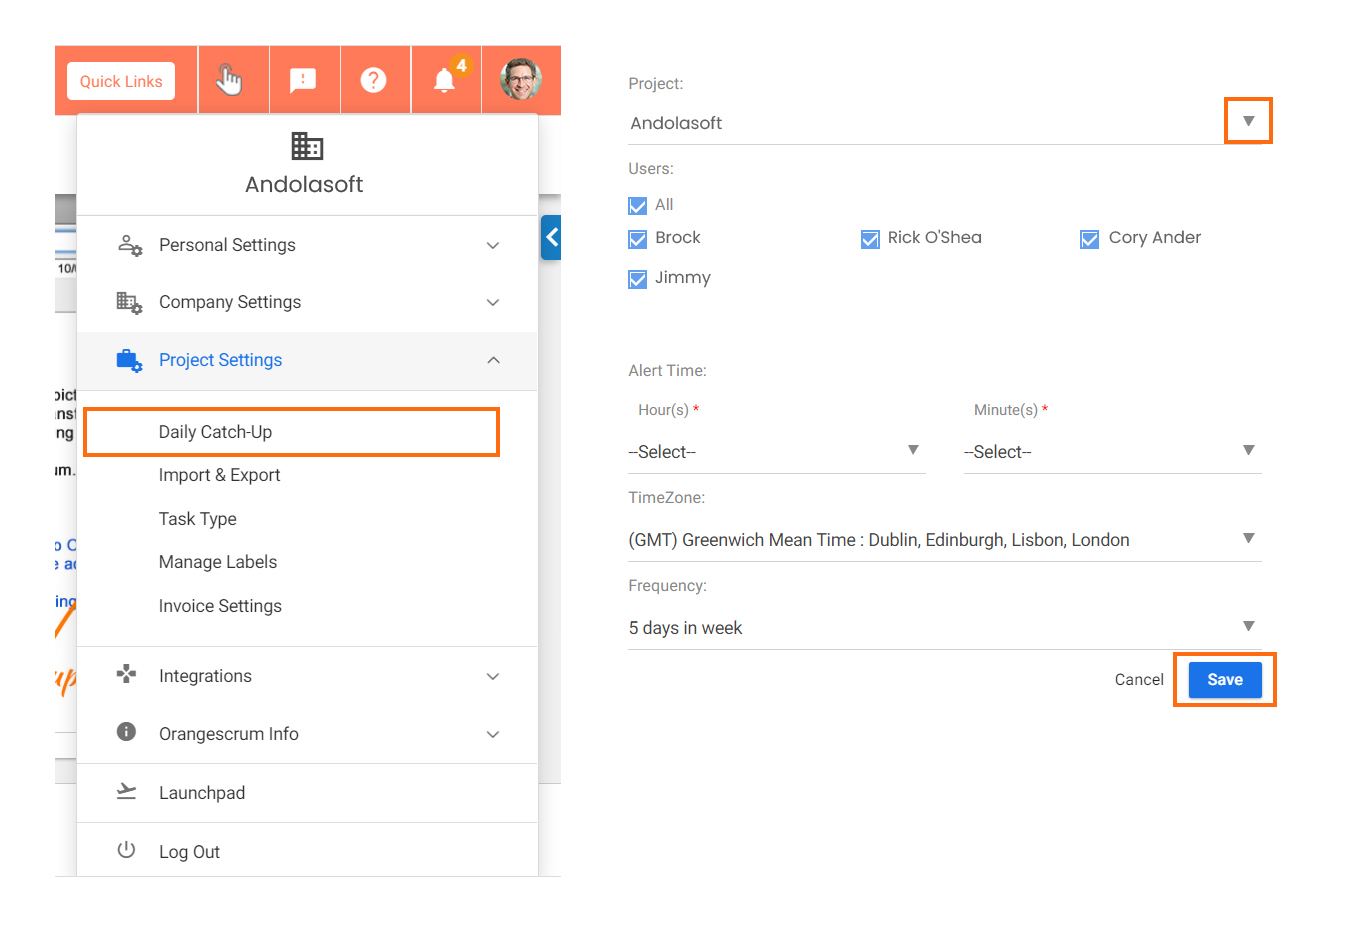
# How Can I Change My Password?
> Log in to your OrangeScrum account using your current credentials. Once logged in, navigate to your profile by clicking on your profile picture or avatar, usually located at the top right corner of the screen. From the dropdown menu of “Personal setting” , select the “Change Password” option. Enter…
> For the complete documentation index, see [llms.txt](https://helpdesk.orangescrum.com/llms.txt).
Source: https://helpdesk.orangescrum.com/how-can-i-change-my-password
---
1. Log in to your OrangeScrum account using your current credentials.
2. Once logged in, navigate to your profile by clicking on your profile picture or avatar, usually located at the top right corner of the screen.
3. From the dropdown menu of “Personal setting” , select the “Change Password” option.
4. Enter your old password in the “Old Password” field.
5. Enter your new desired password in the “New Password” field. Your password should be at least 8 characters long and contain a mix of letters, numbers, and symbols.
6. Re-enter your new password in the “Confirm Password” field to ensure that it matches.
7. Click on the “Change” button to save your new password.(Refer image-2).
8. Once you have completed these steps, your new password should be in effect.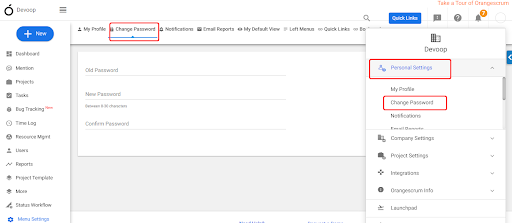 Image-1 Image-2
# How to Use the Gantt Chart for My Projects?
> Learn how to utilize the Gantt Chart in Orangescrum to plan, visualize, and manage your projects efficiently.
> For the complete documentation index, see [llms.txt](https://helpdesk.orangescrum.com/llms.txt).
Source: https://helpdesk.orangescrum.com/how-to-use-the-gantt-chart-view-for-my-projects
---
1. On the left panel, click **More** \>**Gantt** chart option.
2. You can also go to **+Quick links> Gantt chart**
3. Select the respective ‘Project’, from the top Project drop-down menu once you are in the Gantt View.
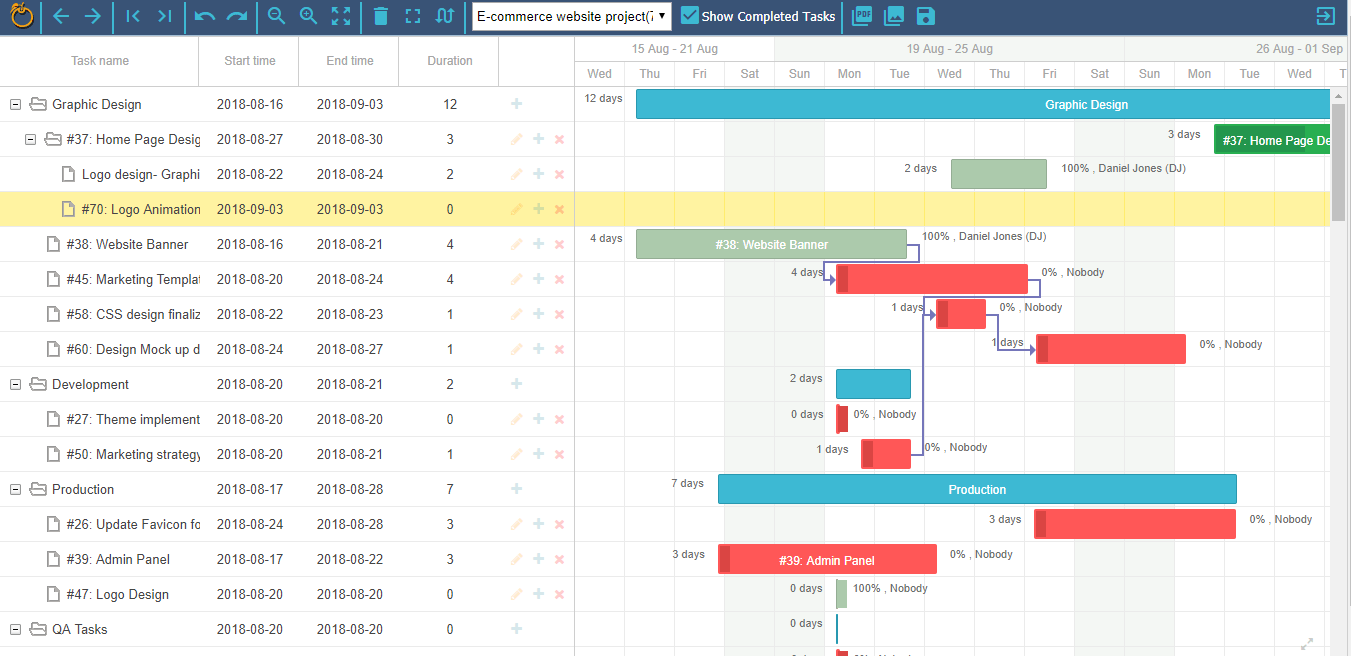
#### **Who can View the Gantt Chart?**
Only the owner and admins can view the Gantt chart. If you need to provide permission to specific users, then you can do so by navigating [**User role management** **settings**](https://helpdesk.orangescrum.com/?post_type=post&p=6909).
#### **How can I Create Task Dependencies?**
1. Choose your project from the drop down menu in header > Navigate to ‘Gantt Chart’ from the left menu.
2. Hover on a taskbar at the beginning or the end. You can find two circles on both the ends.
3. Click on one of the circle & drag an arrow to another task bar you wish to link with.
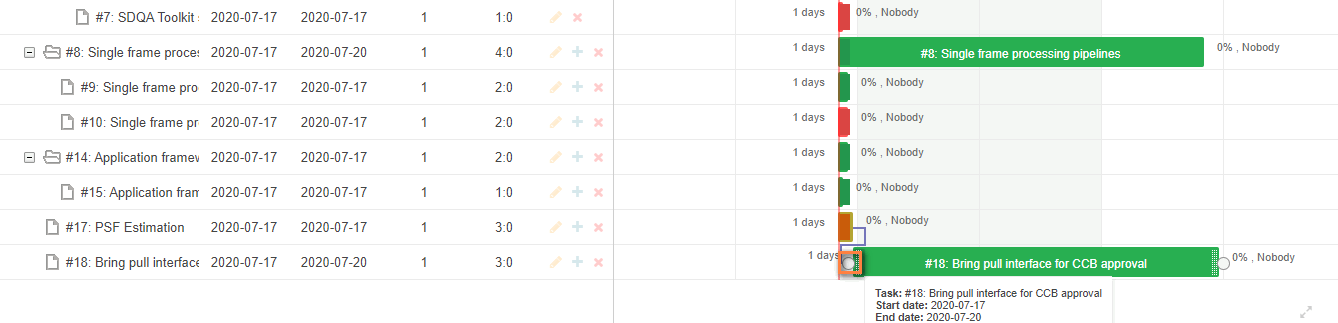
#### **How to Delete Dependency in Task?**
1\. Go to +Quick links> Gantt chart
2\. Double-click on the dependency you’d like to delete > Click ‘OK’ on the pop-up > Click Save Icon from the header menu of the Gantt view.
# Can I Get the Tasks or Files Once I Delete them from Archive Section?
> Can I Get the Tasks or Files Once I Delete them from Archive Section
> For the complete documentation index, see [llms.txt](https://helpdesk.orangescrum.com/llms.txt).
Source: https://helpdesk.orangescrum.com/can-i-get-the-tasks-or-files-once-i-delete-them-from-archive-section
---
Once the file or task deleted from the Archive section, it will not be restored after that.
# Can I See the Archived Tasks or Files of My Team Members?
> YES, you can see all the archived tasks and files of your team members from the ‘Archived Listing Page’. Please click on More > Archive on left menu.(Refer Image-1) (Image-1)
> For the complete documentation index, see [llms.txt](https://helpdesk.orangescrum.com/llms.txt).
Source: https://helpdesk.orangescrum.com/can-i-see-the-archived-tasks-or-files-of-my-team-members
---
**YES**, you can see all the archived tasks and files of your team members from the **‘Archived Listing Page**’. Please click on **More > Archive** on left menu.(Refer Image-1)
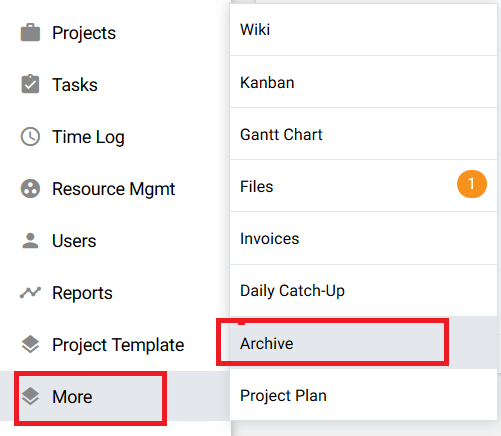
**(Image-1)**
# Can I Restore Archived Tasks or Files?
> Can I Restore Archived Tasks or Files
> For the complete documentation index, see [llms.txt](https://helpdesk.orangescrum.com/llms.txt).
Source: https://helpdesk.orangescrum.com/can-i-restore-archived-tasks-or-files
---
**YES**, you can restore archived tasks or files.
Please follow below steps to restore archived tasks
1. 1. Navigate to **Left Menu > More > Archive** (Refer Image 1)
2. Select Task or File that you want to archive & navigate to its **Detail Page**
3. Click  **icon > OK** (Refer Image 2).
**(Image-1)**
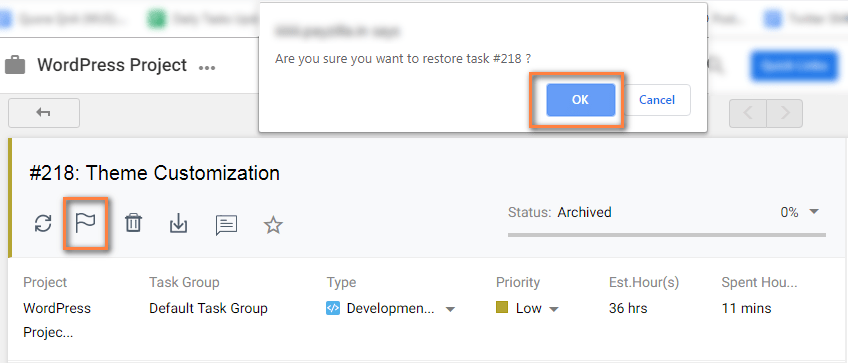 **(Image-2)**
# How can I See No. of Tasks Created for Various Task Types?
> How can I See No. of Tasks Created for Various Task Types
> For the complete documentation index, see [llms.txt](https://helpdesk.orangescrum.com/llms.txt).
Source: https://helpdesk.orangescrum.com/how-can-i-see-no-of-tasks-created-for-various-task-types
---
Navigate to **Left Menu > Dashboard** (Refer Image 1)
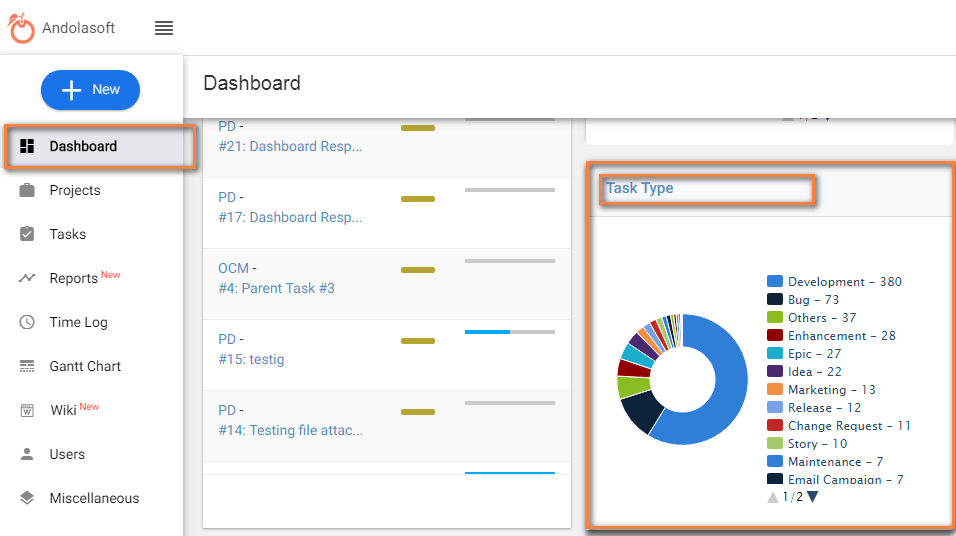
**(Image-1)**
# How to Add Customer?
> You can add customers in 2 ways; From ‘Manage Customers’ Tab While creating invoice From ‘Manage Customers’ Tab: Navigate to Left Menu > More > Invoices Click Manage Customers > Add Customer 3. Provide required details & click ‘Create’. While Creating Invoice: Navigate to Left Menu > More> Invoices…
> For the complete documentation index, see [llms.txt](https://helpdesk.orangescrum.com/llms.txt).
Source: https://helpdesk.orangescrum.com/how-to-add-customer
---
You can add customers in 2 ways;
- From ‘Manage Customers’ Tab
- While creating invoice
From ‘Manage Customers’ Tab:
1. Navigate to Left Menu > **More > Invoices**
2. Click Manage Customers > Add Customer
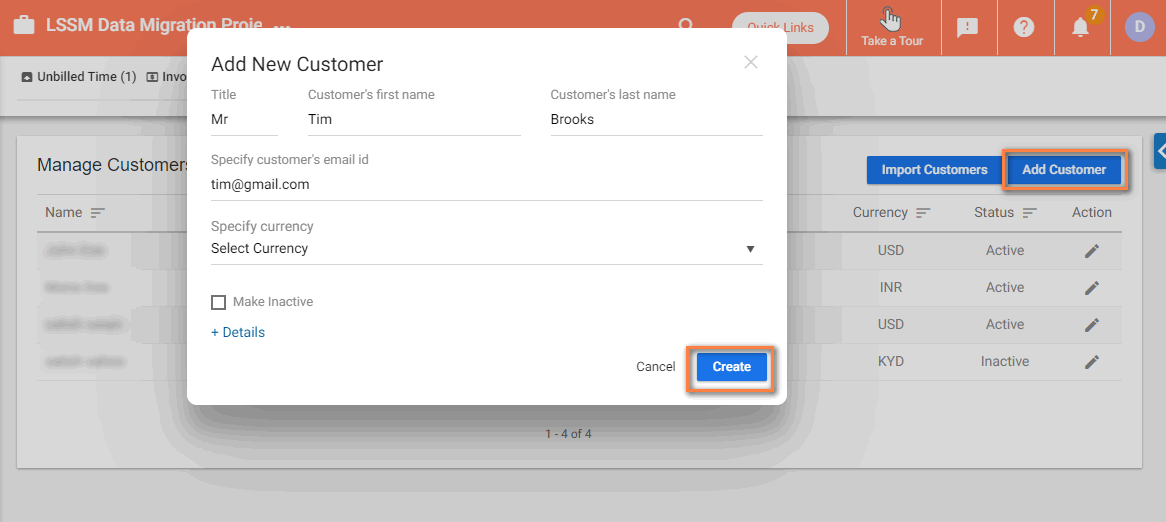
3. Provide required details & click **‘Create’**.
While Creating Invoice:
1. Navigate to Left Menu > More> Invoices > Unbilled Time. The Unbilled Time tab shows the billable time logs that need to be Invoiced.
2. Select one or more Time Log Entries & click ‘Create Invoice’
3. Click ‘Add New Invoice’ from the drop-down
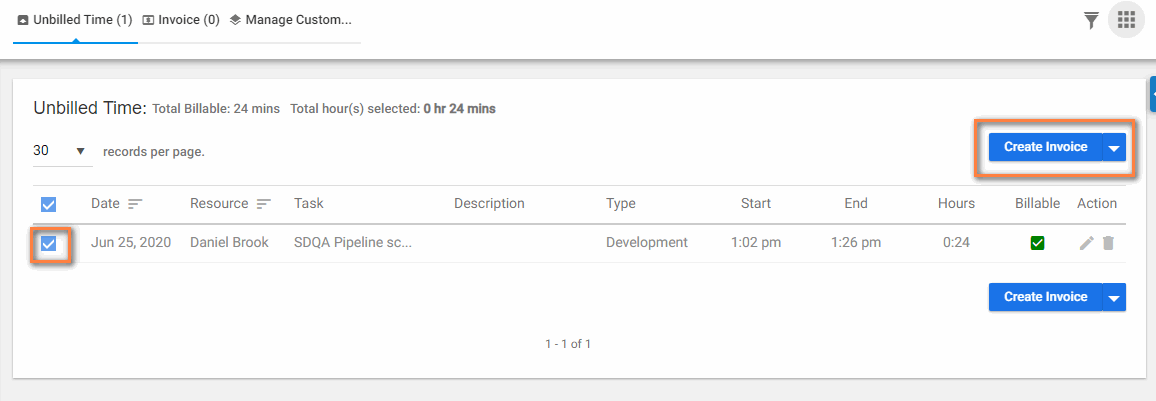
4. Click ‘Add New Customers’ from ‘Choose a Customer’ option in the invoice .
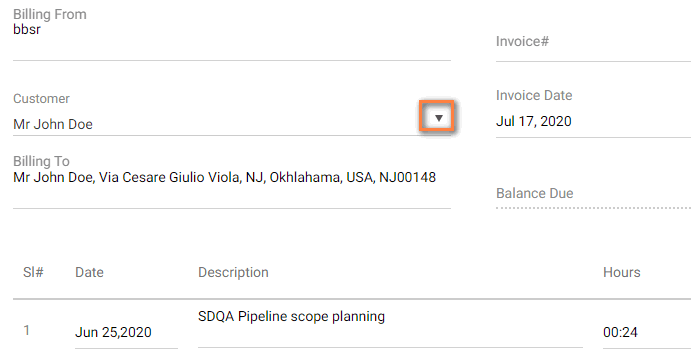
5. Provide required details & click ‘Create’
**Note: – The customers are not the same as your “Client” users. Customers are just an entity for you to link your invoices.**
#### **How to View Customers?**
1. Navigate to **Left Menu** > **More > Invoices**
2. Click ‘**Manage Customers**’ to view the list of customers
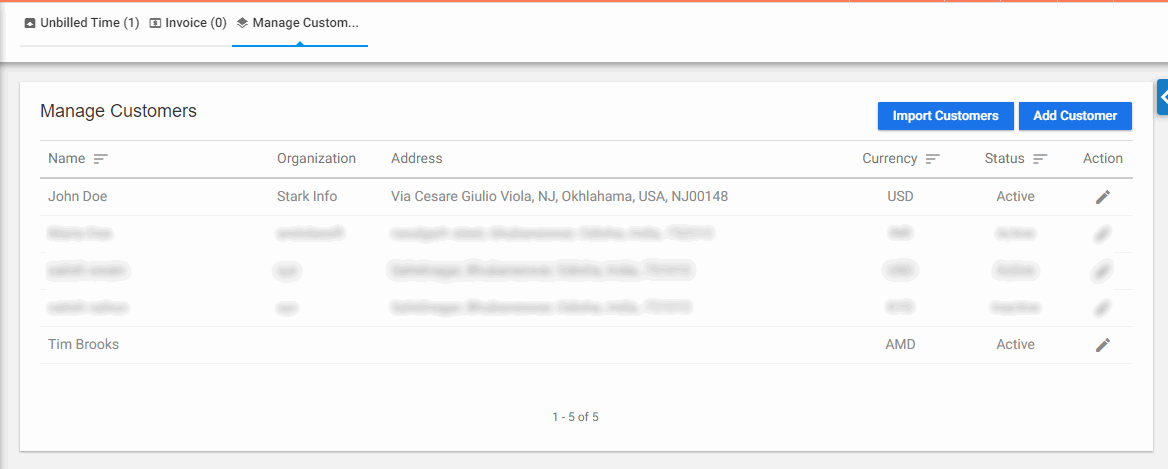
#### **How to Manage Customers?**
1. Navigate to **Left Menu** > **More> Invoices > Manage Customers**
2. Click icon from the ‘**Customer Detail Page**’.
3. Select ‘**Make Inactive**’ from the drop-down & click ‘**Update**’ . After unmark, the client will be removed from customer drop-down in invoice
4. You can unmark this to make the client active.
# How can I modify unbilled hours?
> How to Modify an Invoice
> For the complete documentation index, see [llms.txt](https://helpdesk.orangescrum.com/llms.txt).
Source: https://helpdesk.orangescrum.com/how-to-modify-an-invoice
---
1. Navigate to **Left Menu** > **More > Invoices**
2. Click icon to make required changes & click ‘**Save**’ (Refer Image 1 & 2)
**(Image 1)**
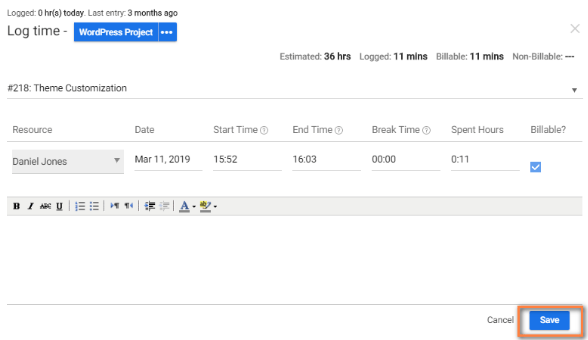
**(Image 2)**
# How to Create Invoice Without Unbilled Time?
> Navigate to Left Menu > More > Invoices Click ‘Unbilled Time’ Select one or more Time Log Entries & click Icon near ‘Create Invoice’ option Click ‘Create Invoice Without Unbilled Time’(Refer Image 1) Provide required details like Invoice#, Terms, Customer, etc & Click ‘Save & Send’. (Image-1)
> For the complete documentation index, see [llms.txt](https://helpdesk.orangescrum.com/llms.txt).
Source: https://helpdesk.orangescrum.com/how-to-create-invoice-without-unbilled-time
---
1. Navigate to **Left Menu** > **More > Invoices**
2. Click ‘**Unbilled Time**’
3. Select one or more **Time Log Entries** & click Icon near ‘**Create Invoice**’ option
4. Click ‘**Create Invoice** **Without Unbilled Time**’(Refer Image 1)
5. Provide required details like **Invoice#**, **Terms**, **Customer,** etc & Click ‘**Save & Send**’.
**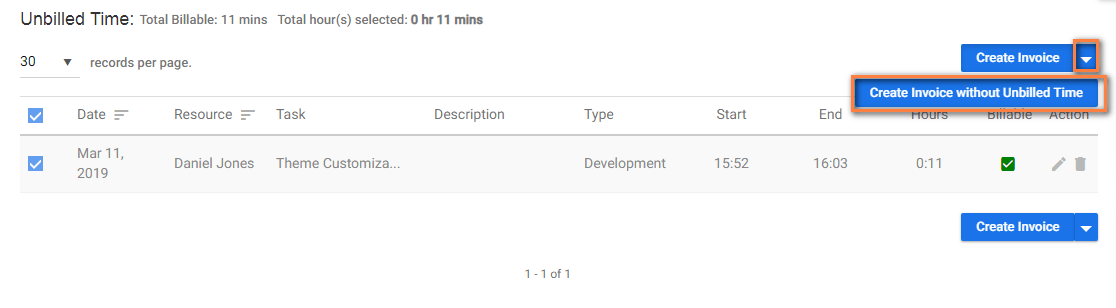
**
**(Image-1)**
# How to See Invoice List?
> How to See Invoice List
> For the complete documentation index, see [llms.txt](https://helpdesk.orangescrum.com/llms.txt).
Source: https://helpdesk.orangescrum.com/how-to-see-invoice-list
---
1. Navigate to **Left Menu** > **More> Invoices**
2. Click ‘**Invoice**’ (Refer Image 1)

(Image:1)
# How to See Unbilled Time?
> How to See Unbilled Time
> For the complete documentation index, see [llms.txt](https://helpdesk.orangescrum.com/llms.txt).
Source: https://helpdesk.orangescrum.com/how-to-see-unbilled-time
---
1. Navigate to **Left Menu** > **More > Invoices.** (Refer Image 1)
2. Click ‘**Unbilled Time**’. (Refer Image 2)
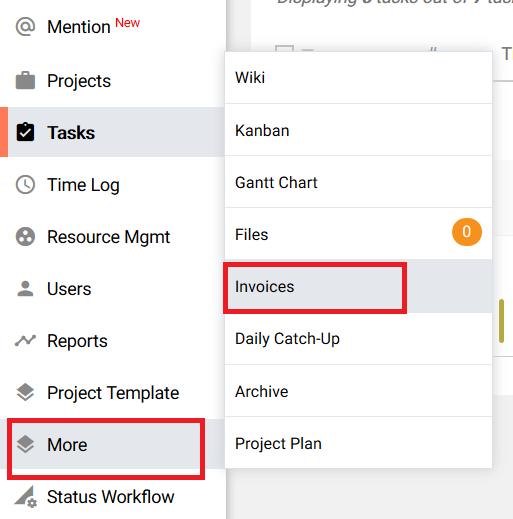
(Image : 1)
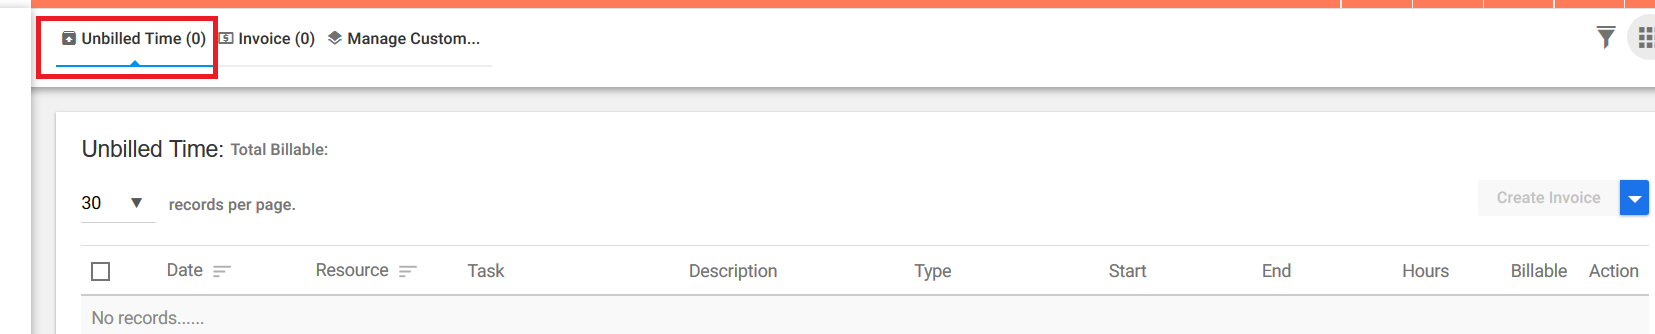
(image :2)
# How to Create Invoice?
> How to Create Invoice
> For the complete documentation index, see [llms.txt](https://helpdesk.orangescrum.com/llms.txt).
Source: https://helpdesk.orangescrum.com/how-to-create-invoice
---
1. Navigate to **Left Menu>More**\>**Invoices** or **Quick links> Invoices.**
2. Mark one or more Time Log Entries in the Unbilled **Time tab** & Click ‘**Create Invoice**’.
3. Create a new Invoice or add it to the existing invoice.
4. Provide the required details in the invoice. Click on **Save & Send.** “**Save & Send**” button to save invoice and send email to the [customer](https://helpdesk.orangescrum.com/?post_type=post&p=4633).
5. It will ask for a custom message you would like to send to the customer. You can provide required details and click on **Send**.
**Optional steps:**
1. Click on “**Save & Download**” button to save invoice and download it as pdf.
2. Click on “**Save and Close**” button to save invoice and go to invoice list page.
3. Click on “**Save and New**” button to save invoice and create another invoice.
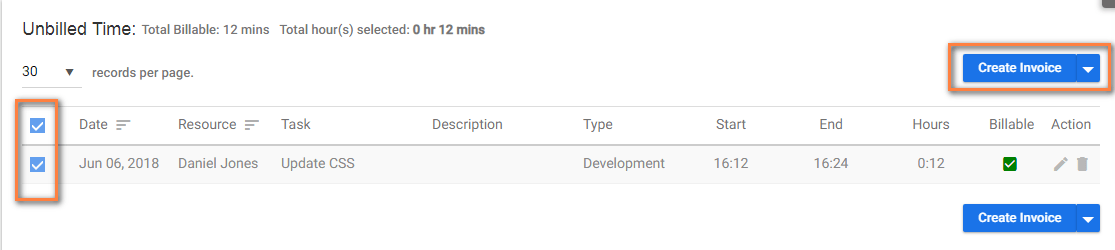
**(Image-1) (Image-2)**
#### **How to Create Invoice Without Unbilled Time?**
1. Navigate to **Left Menu** > **More> Invoices**
2. Click ‘**Unbilled Time**’ tab
3. Select one or more Time Log entries & click Icon near ‘**Create Invoice**’ option
4. Click ‘**Create Invoice** **Without Unbilled Time**’. Using this option you can create custom invoices.
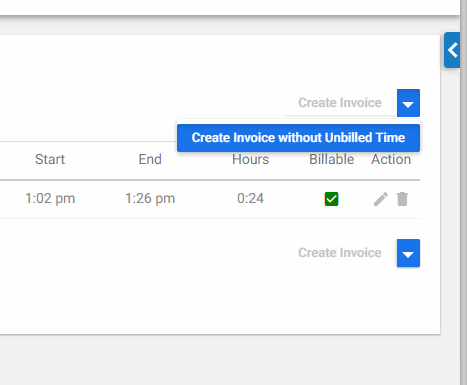
5. Provide required details like **Invoice#**, **Terms**, **Customer,** etc & Click ‘**Save & Send**’.
#### **How can I manage Invoices?**
1. Navigate to **Left Menu** > **More> Invoices**
2. Click ‘**Invoice**’. Here you can perform the following actions-
- – This option enable you to send email to the client
-  – With this option, you can download the email.
- – You can click on this option print the invoice
- – You can click on this option to delete the invoice
-  – You can mark paid/unpaid for the invoice

# How Do I Filter Time Log Records?
> Navigate to Left Menu > Time Log Click on Icon. Select your Search Type, Date or Resource as per your choice. (Refer Image 1) Mark required filter to filter out records.
> For the complete documentation index, see [llms.txt](https://helpdesk.orangescrum.com/llms.txt).
Source: https://helpdesk.orangescrum.com/how-do-i-filter-time-log-records
---
1. Navigate to **Left Menu > Time Log**
2. Click on  Icon.
3. Select your Search Type, **Date** or **Resource** as per your choice**.** (Refer Image 1)
4. Mark required filter to filter out records.
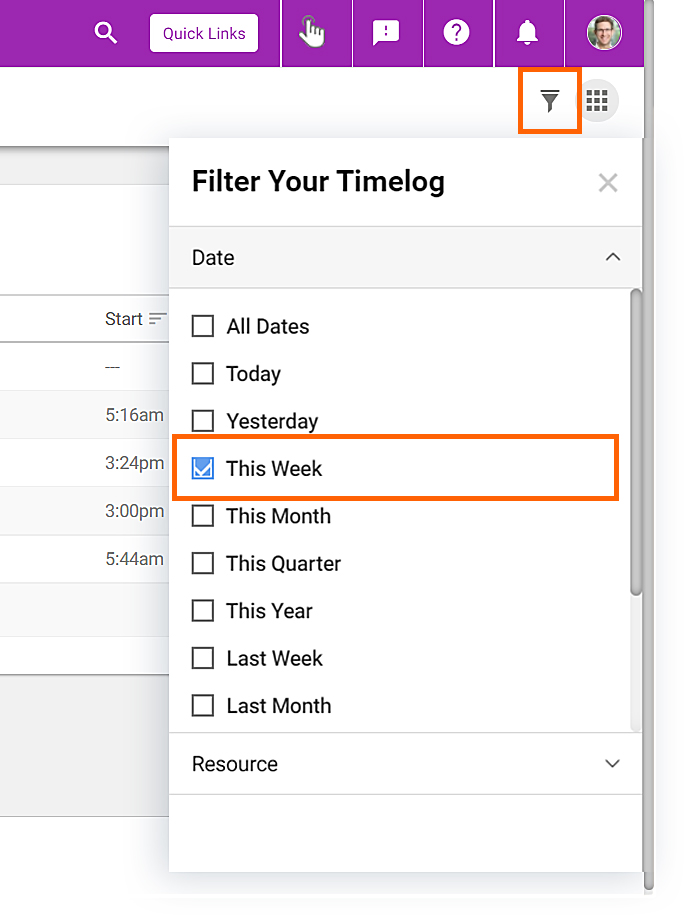
# How Do I Log Time While Creating Task?
> How Do I Log Time While Creating Task
> For the complete documentation index, see [llms.txt](https://helpdesk.orangescrum.com/llms.txt).
Source: https://helpdesk.orangescrum.com/how-do-i-log-time-while-creating-task
---
1. Click **Quick Links > Task**
2. Add Task Details such as **Project**, **Task title**, **Task Type**, **Assigned to**, etc
3. Enter **Start Time**, **End Time** & **Break Time** from ‘**Time Range**’ option. **Spent Hour** will be calculated automatically (Refer Image 1)
4. Click ‘**Save & Exit.**’
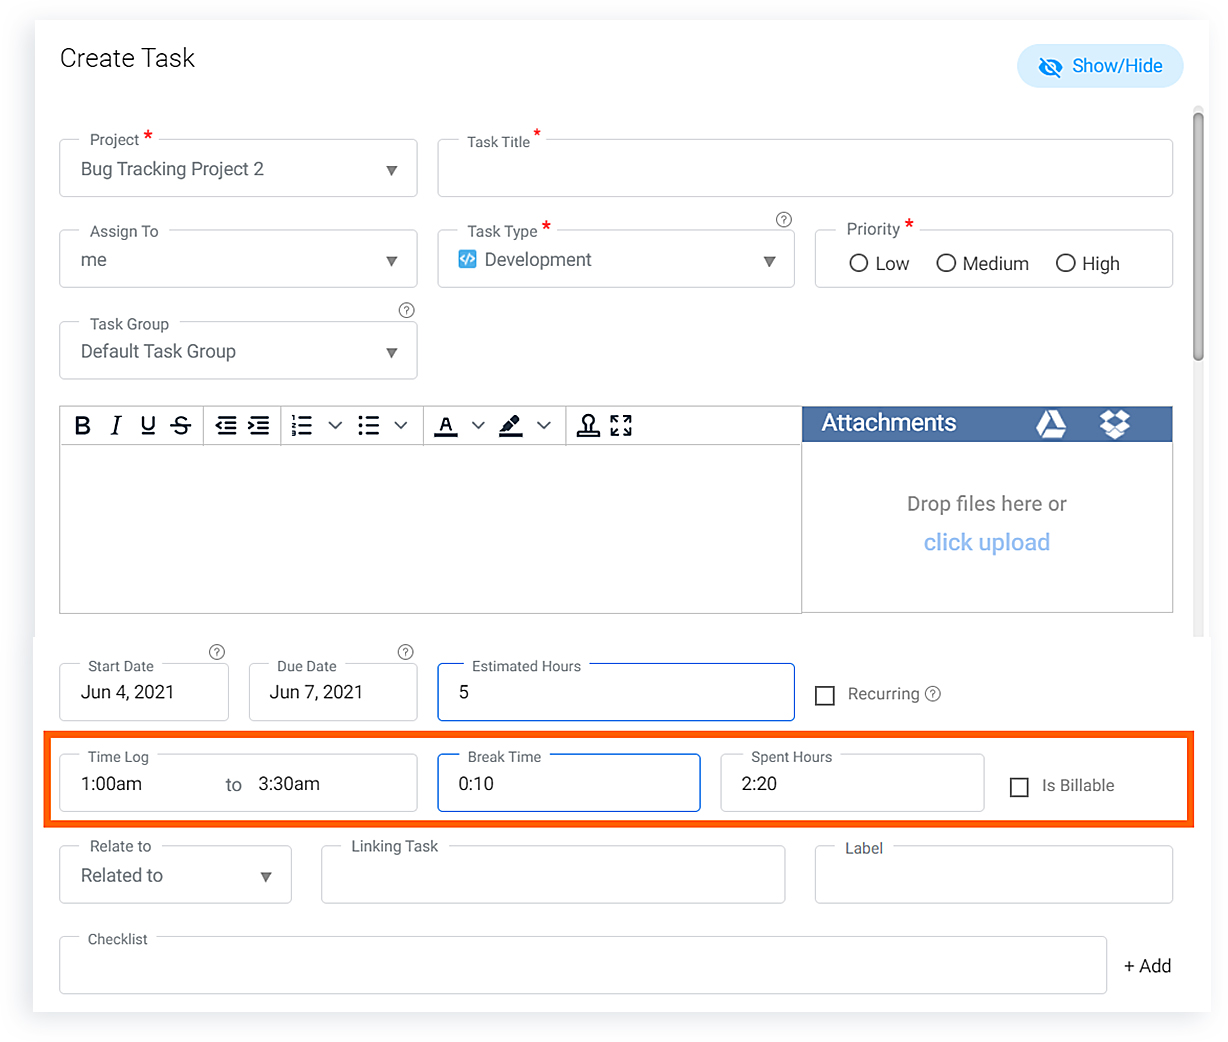
# How to Remove User from Multiple Projects ?
> Navigate to User section from left panel. Click on icon for the specific user. Hover on the projects in the left section to find the cross mark. Click on the cross mark to remove the user from the project.(Refer Image-1)
> For the complete documentation index, see [llms.txt](https://helpdesk.orangescrum.com/llms.txt).
Source: https://helpdesk.orangescrum.com/how-to-remove-projects-from-users
---
1. Navigate to [**User**](https://helpdesk.orangescrum.com/can-edit-user/) section from left panel.
2. Click on  icon for the specific user.
3. Hover on the projects in the left section to find the cross mark.
4. Click on the cross mark to remove the user from the project.(Refer Image-1)
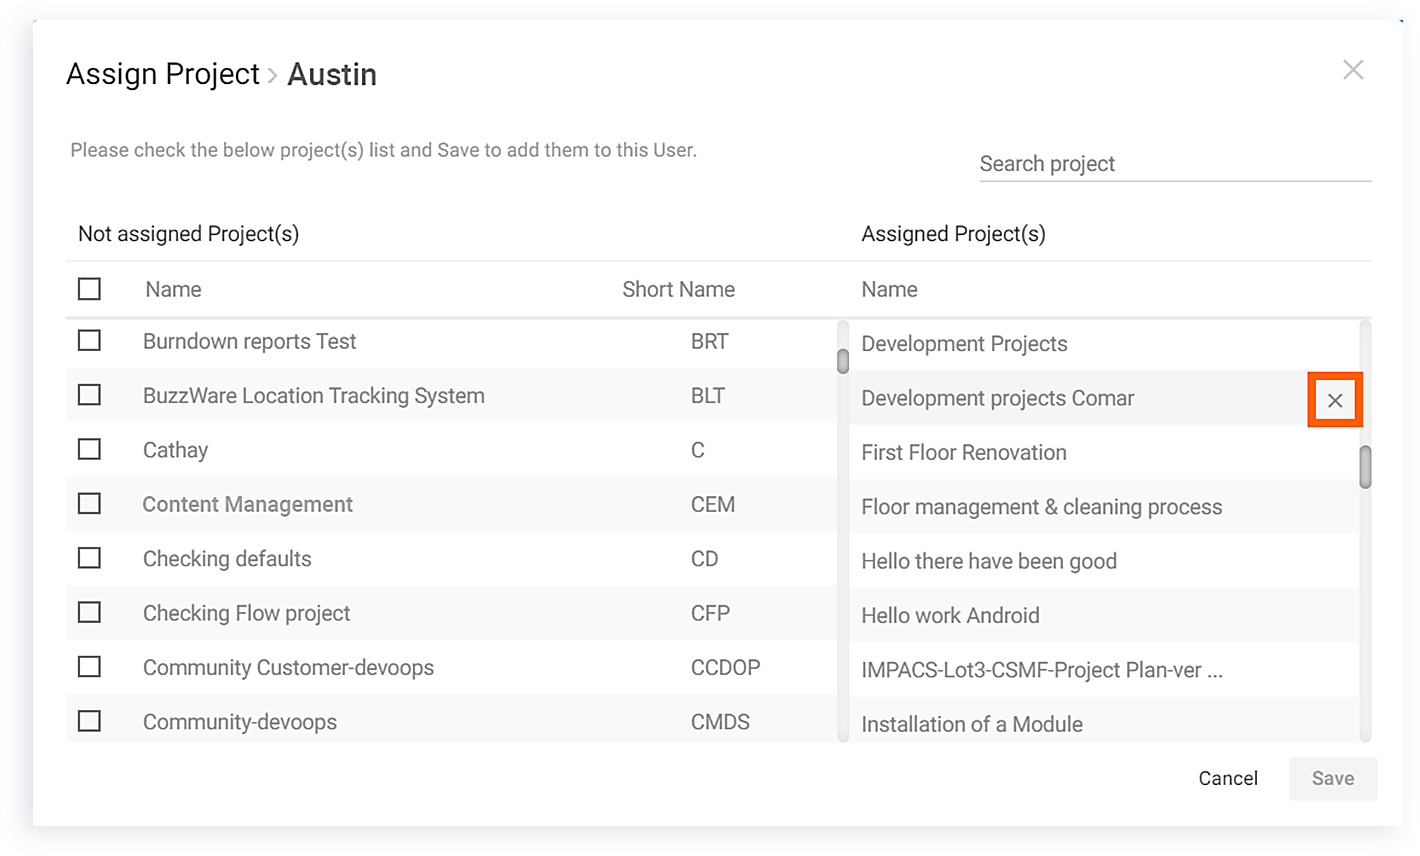
# Can a User be in Multiple Account in Orangescrum?
> Can a User be in Multiple Account in Orangescrum
> For the complete documentation index, see [llms.txt](https://helpdesk.orangescrum.com/llms.txt).
Source: https://helpdesk.orangescrum.com/can-a-user-be-in-multiple-account-in-orangescrum
---
**YES**, a user can be in multiple companies with the same user account.
Please refer below image as an example. (Refer Image 1)
After sign in to your Orangescrum account, select one Company to get inside. If you are already signed in to one company and need to change your company, then Navigate to User Profile Icon > Launchpad (Refer Image 2)
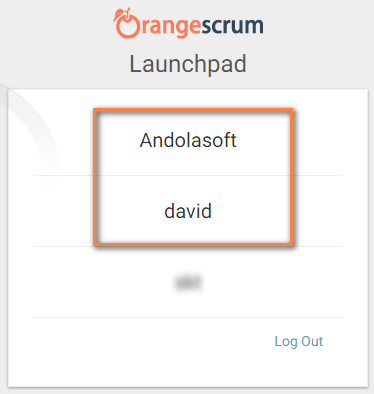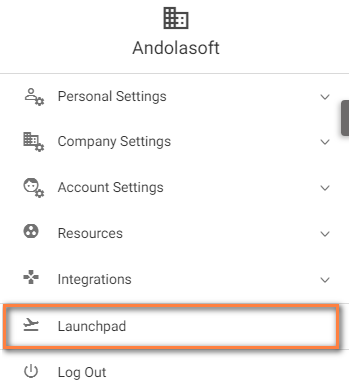
**(Image 1) (Image 2)**
# How to Invite a New User to Orangescrum?
> Orangescrum account owner/admin can invite a user to assign & collaborate tasks. You can mark the user as client or grant admin access.
> For the complete documentation index, see [llms.txt](https://helpdesk.orangescrum.com/llms.txt).
Source: https://helpdesk.orangescrum.com/how-to-invite-a-new-user-to-orangescrum
---
You can invite/add a new user in 2 different ways;
- From **Quick Links**
- From **User Listing Page**
### **From Quick Links:**
1. Click **Quick Links > User** (Refer Image 1)
2. Provide required details on the pop-up & Click **Add** (Refer Image 2)
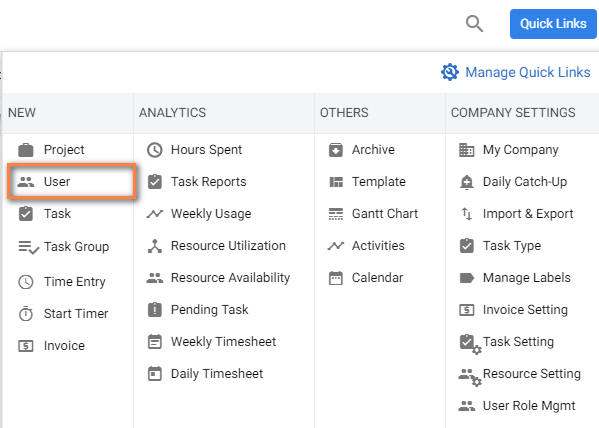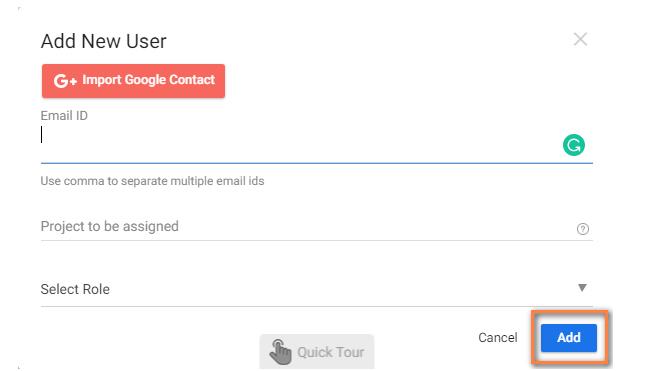
**(Image-1) (Image 2)**
### **From User Listing Page:**
1. Navigate to Left Menu > Users (Refer Image 1)
2. Click icon from **User Listing Page**
3. Provide required details on the pop-up & Click **Add** (Refer Image 2)
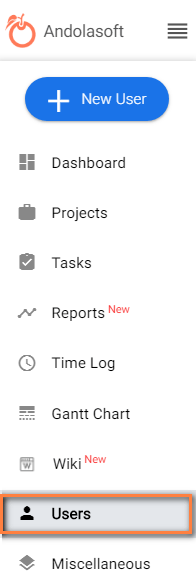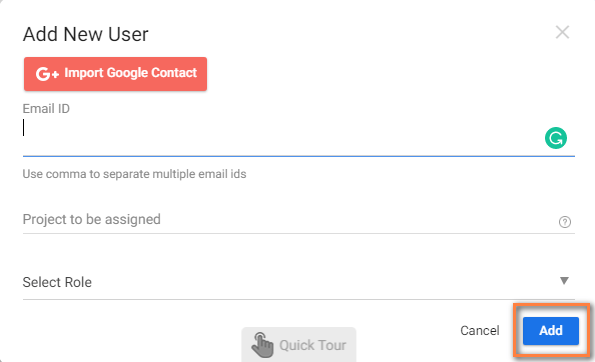 **(Image 1) (Image 2)**
# What is “Project Plan” & How it Helps You?
> To get away of creating a complex product workflow, marketing campaign, employee onboarding etc. projects repeatedly, we have Project Templates for you.
> For the complete documentation index, see [llms.txt](https://helpdesk.orangescrum.com/llms.txt).
Source: https://helpdesk.orangescrum.com/what-is-project-plan-how-it-helps-you
---
Project Plan can simplify your projects that are large & complex yet identical. To get away from creating a complex product workflow, marketing campaign, employee onboarding etc. projects repeatedly, we have Project Plan for you.
Project Plan enables you to replicate and reuse the structure and content of existing projects, including Task Groups and tasks with estimated hours, task type and task priority to speed up new project creation and standardize workflow processes.
The most use cases of Project Plan are
- Business proposal
- Web Development Project Plan
- App development Project Plan
- Product Development Workflows
- SEO Template
- Audit or QA Project Plan
- Event Planning
- Marketing Campaigns
- New Employee Onboarding
- Installation Checklists & so on
You can learn how to create project plan from [here](https://helpdesk.orangescrum.com/how-to-create-custom-project-templates-in-orangescrum/).
# Can I Move a Task from One Project to Another?
> Sure, you can. Here’s how… For a Single Task: In the task listing page > choose a task > click on it’s menu > Move to Project Select a project from the drop down > Move For Multiple Tasks: In the task listing page > select the tasks you wish to move using checkbox Click […]
> For the complete documentation index, see [llms.txt](https://helpdesk.orangescrum.com/llms.txt).
Source: https://helpdesk.orangescrum.com/can-i-move-a-task-from-one-project-to-another
---
Sure, you can. Here’s how…
### **For a Single Task:**
1. In the task listing page > choose a task > click on it’s menu > Move to Project
2. Select a project from the drop down > Move
### **For Multiple Tasks:**
1. In the task listing page > select the tasks you wish to move using checkbox
2. Click on the drop down option from top left corner of the listing table > Move to Project
3. Select a project from the drop down > Move
# How to Create & Manage Project?
> How to Create a Project
> For the complete documentation index, see [llms.txt](https://helpdesk.orangescrum.com/llms.txt).
Source: https://helpdesk.orangescrum.com/how-to-create-a-project
---
You can create a project in 2 ways;
- From **Left Menu**
- From **Quick Links**
**From Left Menu**:
1. Click on **\+ New Project** from **Left Menu** (Refer Image 1)
2. Provide required details & click **Create** (Refer Image 2)
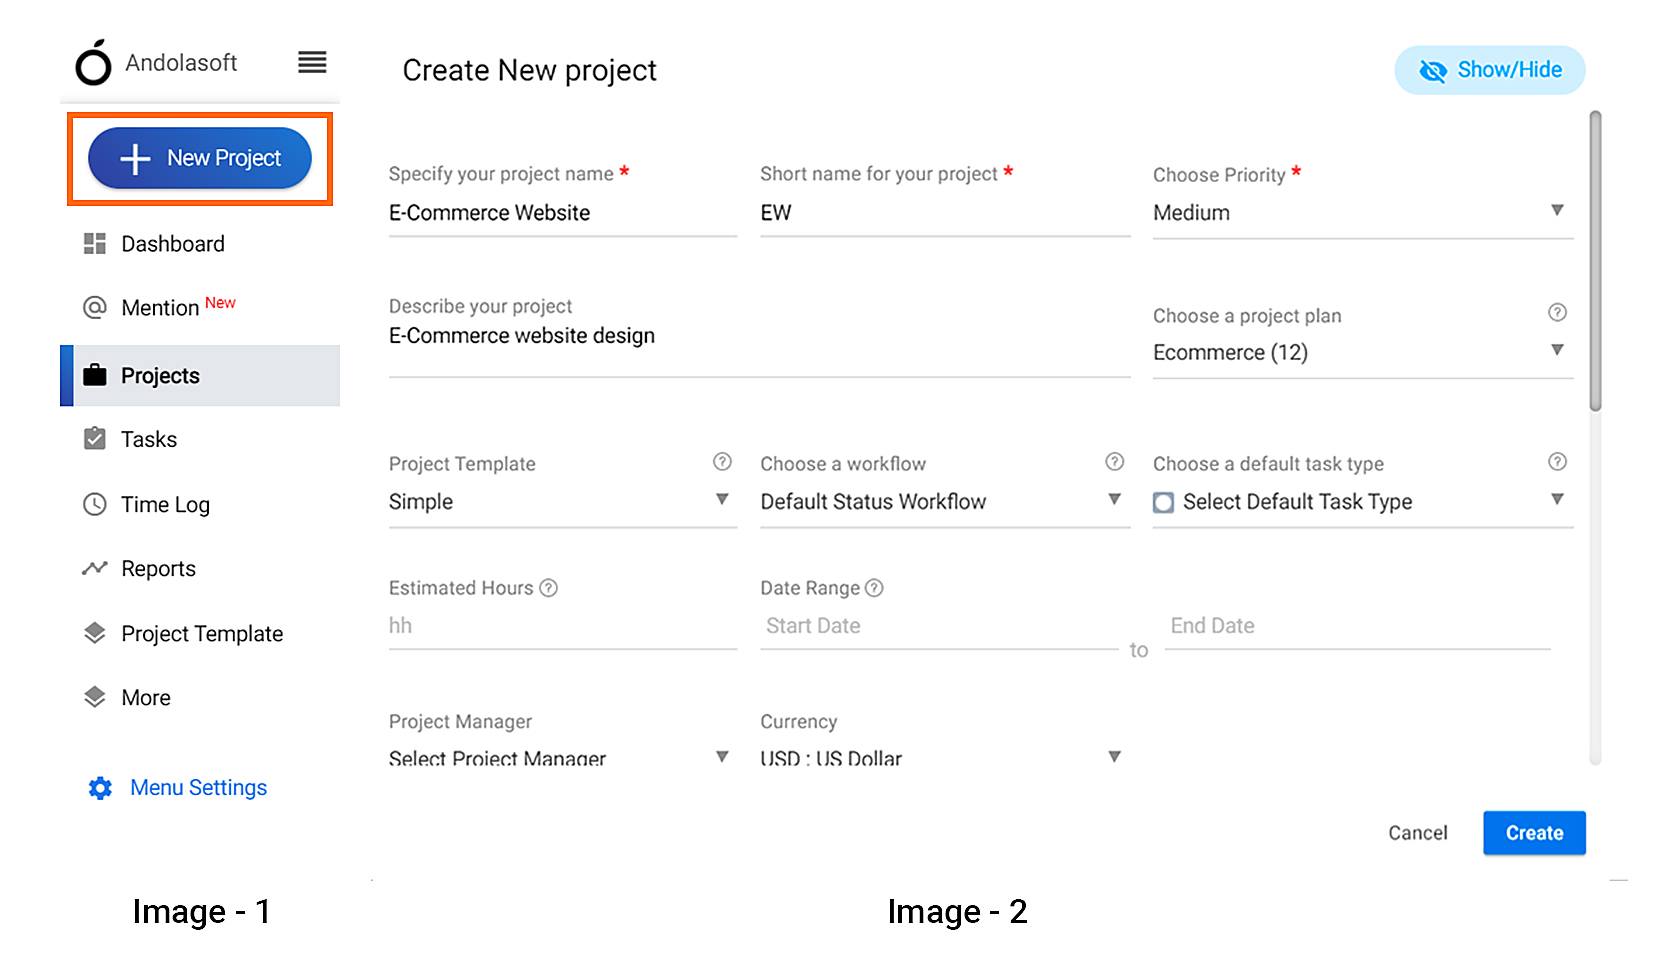
**From Quick Links:**
1. Click **Quick Links > Project**(Refer Image 1)
2. Provide required details & click **Create** (Refer Image 2)
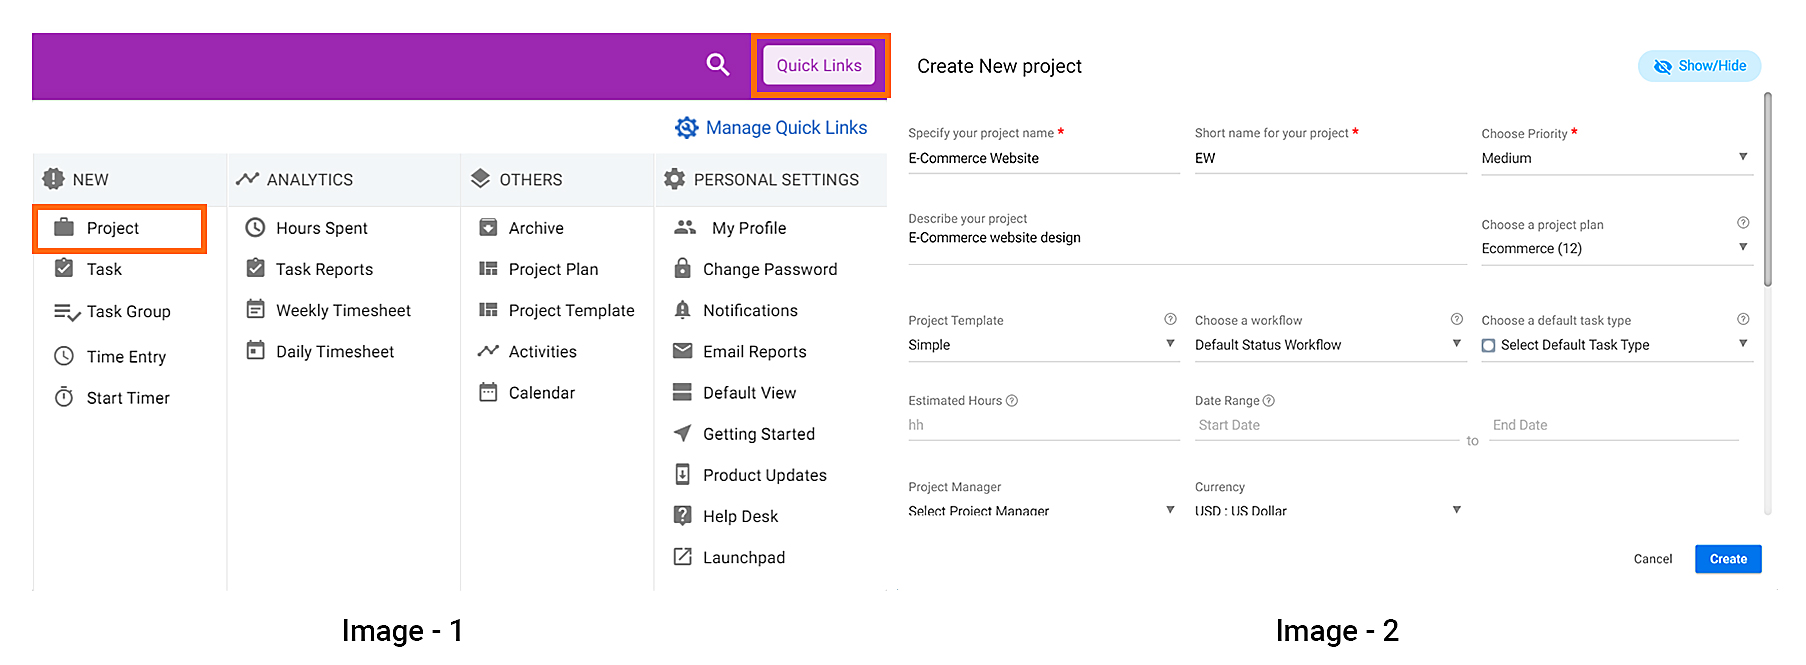
Note:- You can use up to 5 characters for the **Project Short Name** & special characters are not allowed.
#### **How can I Edit a Project?**
1. Navigate to **Left Menu > Projects**
2. Click  **icon > Edit** on the specific project (Refer Image 1)
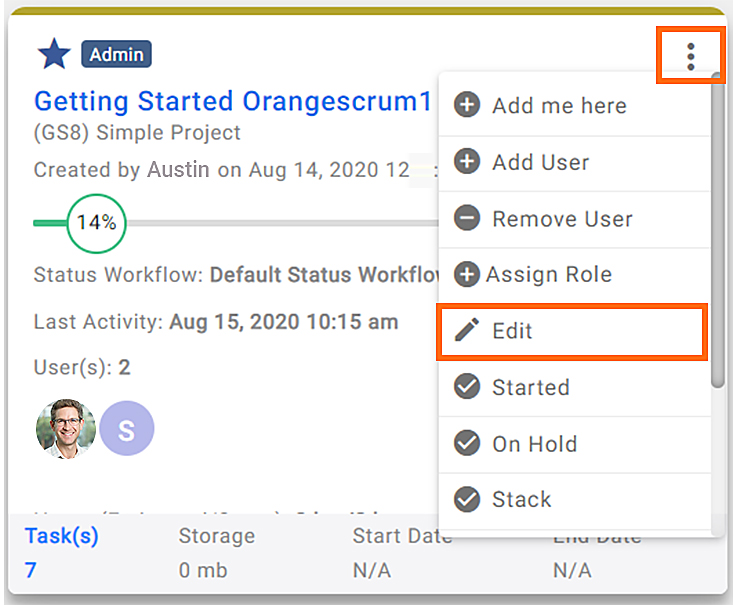
**Image 1**
#### **How can I Disable or Complete a Project?**
1. Navigate to **Left Menu > Projects**
2. Click  **icon > Complete** on the specific project (Refer Image 1)
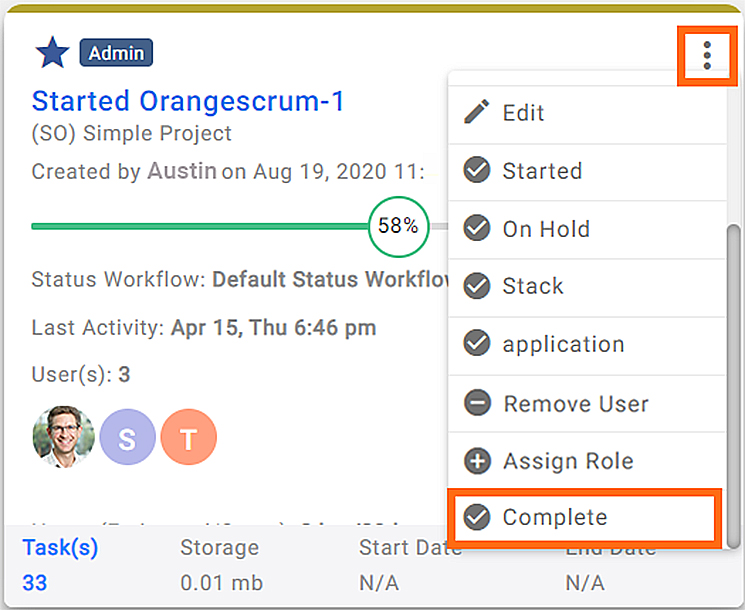
**(Image 1)**
#### **How can I Delete a Project?**
1. Navigate to Left Menu > Projects
2. Click on **Completed** tab.
3. Click  **icon > Delete** (Refer Image 1)
4. Click ‘**OK**’ on the pop-up
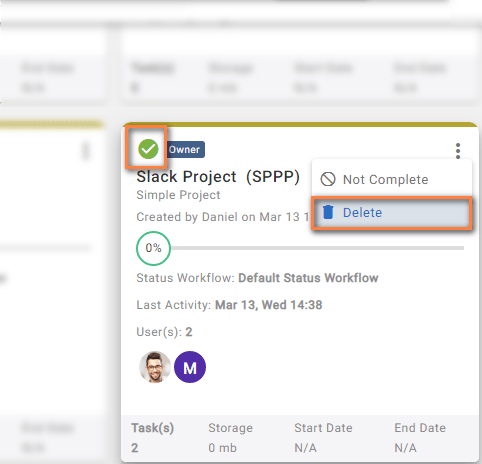
**(Image 1)**
**Note:-** You can only delete the projects if there are no tasks in the Project or the project is marked as complete
#### **How to Add Users to Existing Projects?**
1. Navigate to **Left Menu > Projects**
2. Click  **icon** of the project **> Add User** (Refer Image 1)
3. Select users & Click ‘**Save**’ (Refer Image 2)
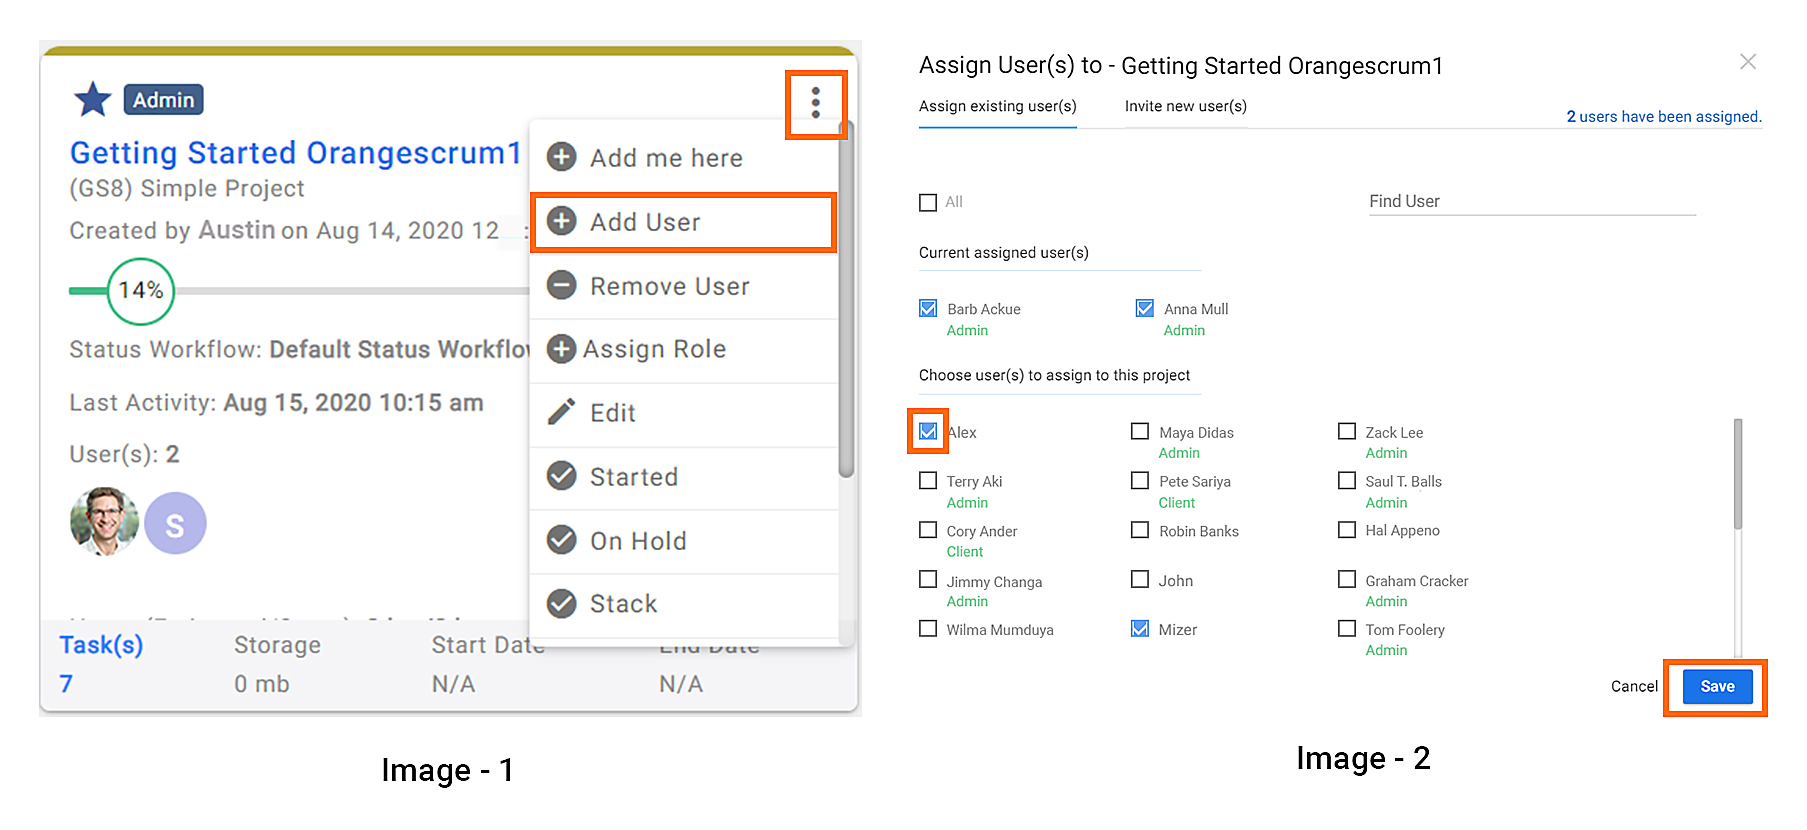
#### **How to Remove Users From Projects?**
1. Navigate to **Left Menu > Projects**
2. Click  **icon > Remove User** of the specific project (Refer Image 1)
3. Select User(s) & Click ‘**Remove**’ (Refer Image 2)
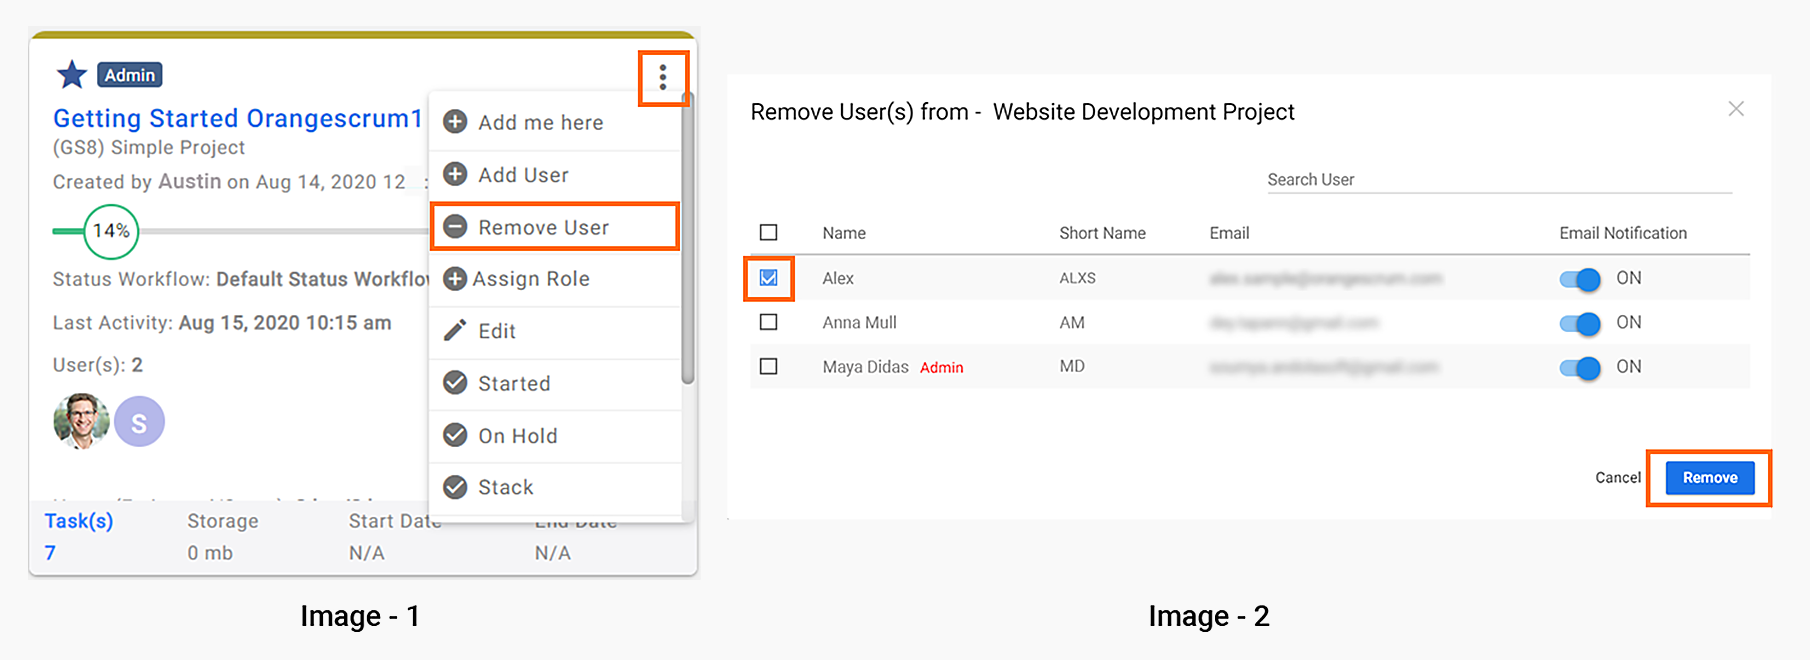
# Can I Download All Files in a Zip?
> Can I Download All Files in a Zip
> For the complete documentation index, see [llms.txt](https://helpdesk.orangescrum.com/llms.txt).
Source: https://helpdesk.orangescrum.com/can-i-download-all-files-in-a-zip
---
Currently, you can download files one at a time.
# Can I Archive or Delete a File of a Task?
> You can Archive or Delete a file attached to your tasks from the centralized Files view.
> For the complete documentation index, see [llms.txt](https://helpdesk.orangescrum.com/llms.txt).
Source: https://helpdesk.orangescrum.com/can-i-archive-or-delete-a-file-of-a-task
---
You can Archive or Delete a file attached to your tasks from the centralized Files view.
Follow the steps below to Archive or Delete a file in Orangescrum.
1. Go to **More > Files**
2. Select the desired project to which the file is attached to from the Project dropdown at the top of the Files page.
3. Click on  next to the file you want to archive or delete.
4. Select Archive if you want to archive the chosen file.
5. Select Remove if you want to delete the file entirely from Orangescrum.
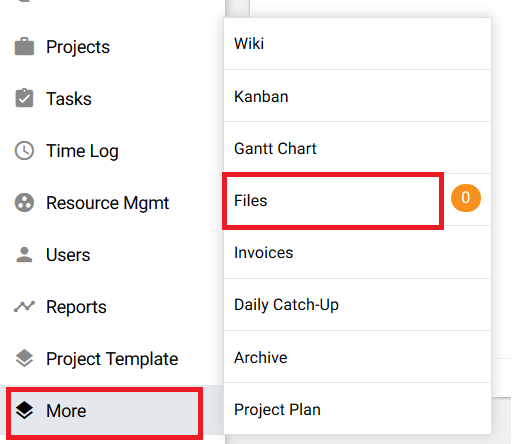
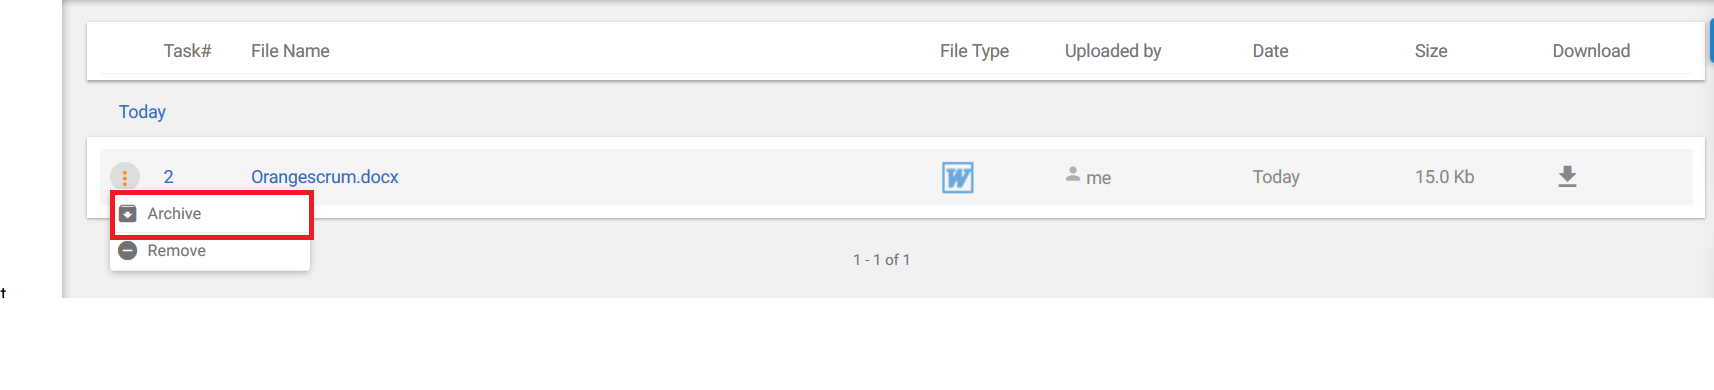
**Note:-** All archived files are still available in Orangescrum in the Archive view. You can view the archived files by going to the Archive page under the More section available on the Left Main Menu.
# How Can I see all Files of My Projects?
> How Can I see all Files of My Projects
> For the complete documentation index, see [llms.txt](https://helpdesk.orangescrum.com/llms.txt).
Source: https://helpdesk.orangescrum.com/how-can-i-see-all-files-of-my-projects
---
A centralized **Files** view is provided under the **More** section in the Left Main Menu within your Orangescrum account.(Refer Image-1)
Once on the Files page you can see all files of the current selected project. You can see all the relevant files of specific projects by selecting relevant projects from the Project dropdown menu at the top of the Files page.(Refer Image-2)
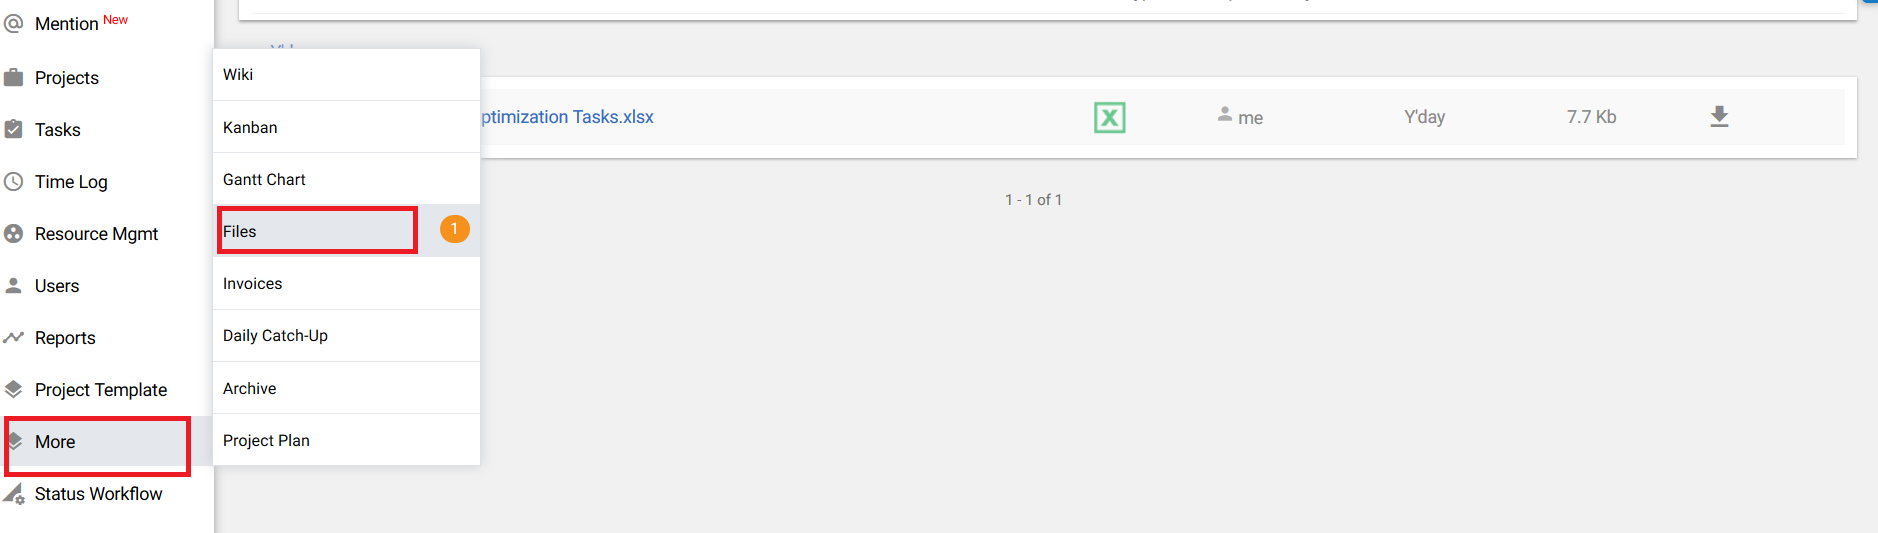
**(Image :1)**
**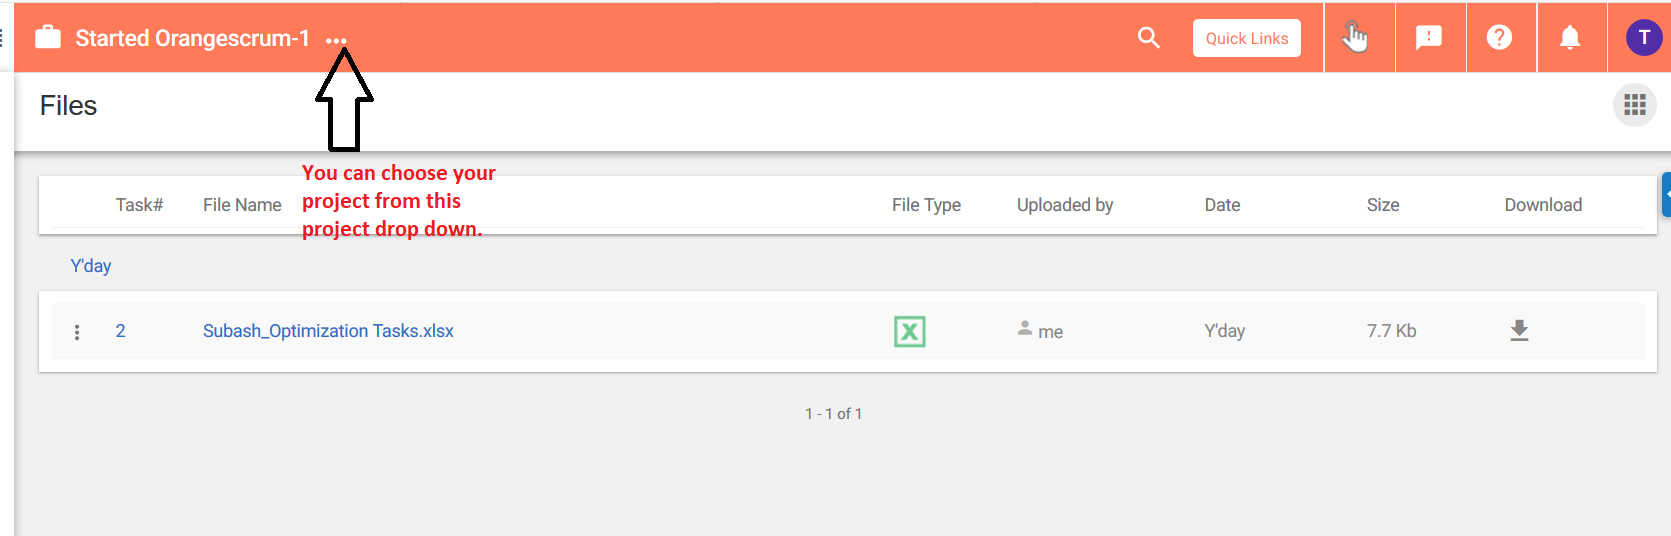 (Image:2)**
# Can I Upload Files Without Creating a Task?
> Google Drive and Dropbox integration are also available with Orangescrum. You can link documents and files from your preferred account to Orangescrum tasks.
> For the complete documentation index, see [llms.txt](https://helpdesk.orangescrum.com/llms.txt).
Source: https://helpdesk.orangescrum.com/can-i-upload-files-without-creating-a-task
---
Orangescrum currently doesn’t allow for ad-hoc file uploads. All files have to be attached to the relevant tasks only. You can attach files to a task by visiting the comments section in the task details page.
Google Drive and Dropbox integration are also available out of the box with Orangescrum. You can link documents and files from your preferred account to Orangescrum tasks.
Learn more on how to integrate your [**Google drive**](https://helpdesk.orangescrum.com/google-drive-file-attachment-show-there-is-no-read-permission-how-to-fix-this/) or **dropbox** account with Orangescrum.